Mini DIY Snake Plant with Masking Tape
Creating your own mini-version of a snake plant DIY-style is a great project that can be done so simply it will shock people who ask you about it!
A DIY Snake Plant is Easier Than You Think!
Creating a DIY snake plant is definitely easier than you think.
Snake plants (also called “mother in laws tongue” plant), known for their long leaves that stand up, are known for positive energy, peace, and calmness. If you place a snake plant in an area of your house that is known to be busy (and perhaps a bit chaotic) it can help calm down the energy. Its aesthetics is very calming in nature.
In addition, this type of plant truly matches with anything. You can place a snake plant in almost any room and it will match. It can either be added to other plants, or be there on its own.

However, this type of plant may be best if you do not have the time or energy to take care of a plant. By creating this mini plant DIY style, you’ll have all the benefits of a snake plant without the upkeep!
Want to receive a ton of inspiration and money saving ideas for decorating, gift-giving and crafting? Join HERE!
Materials Needed
Disclosure: This post contains affiliate links for your shopping convenience. Should you choose to purchase through them, we will make a small commission at no extra cost to you. You can read our full disclosure policy here.
- Masking Tape
- Wire, cut to 6”
- Paint in dark green and Citron green
Paintbrushes - Clay pot
- Floral foam
- Pebbles
- Scissors
How to Make a Decorative Snake Plant with Masking Tape
I shared the tutorial for making this snake plant craft on a Youtube video which you can catch here. Or if you prefer the photo tutorial, continue reading below.

Preparing the Masking Tape
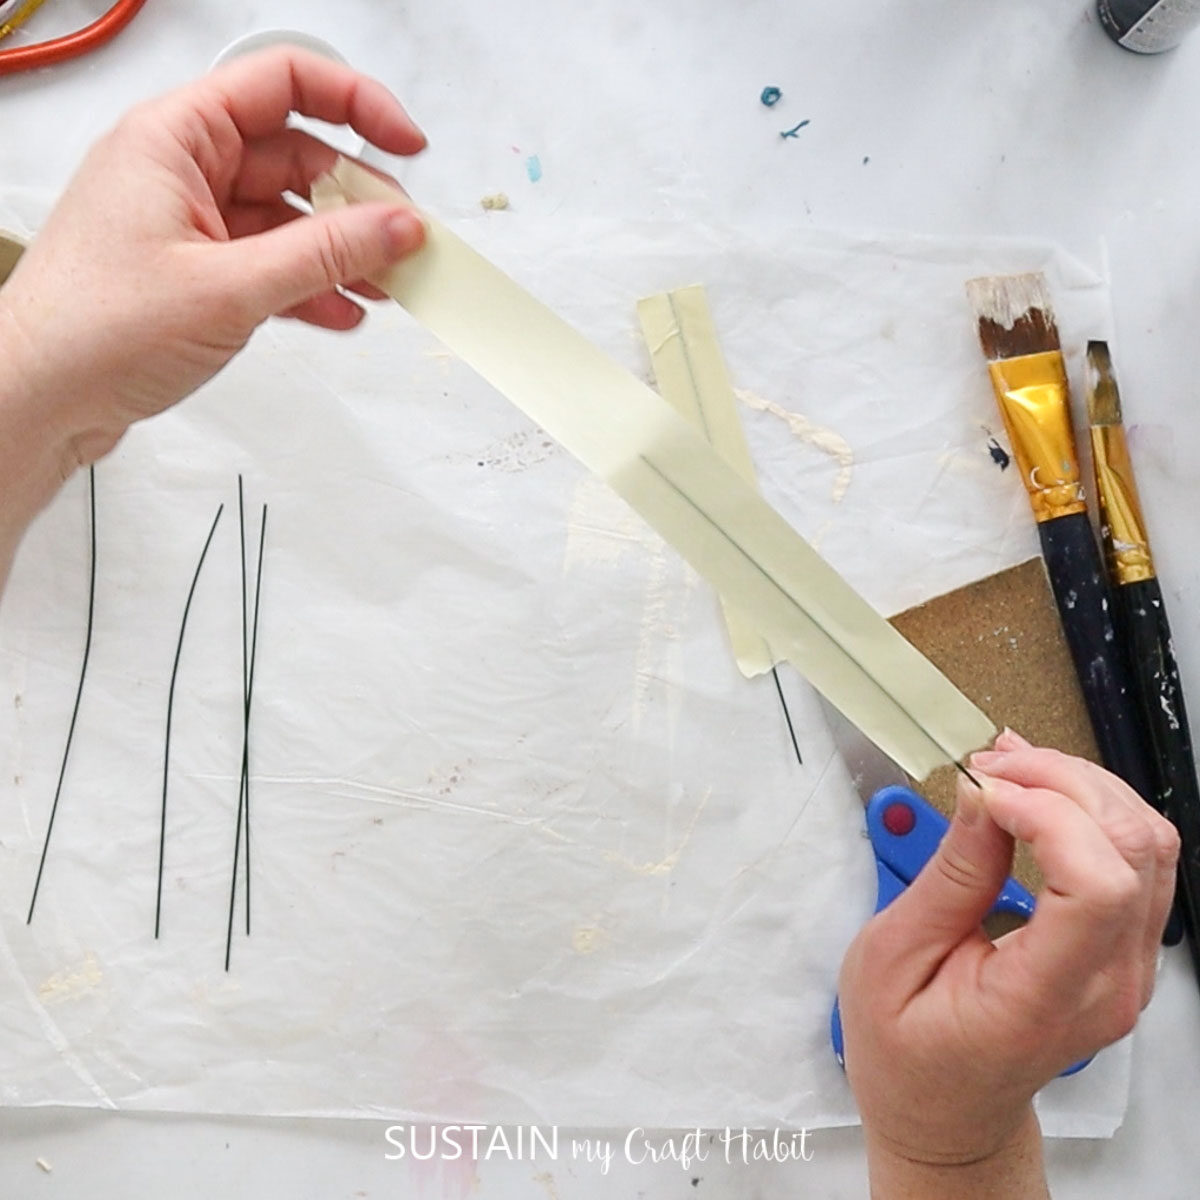
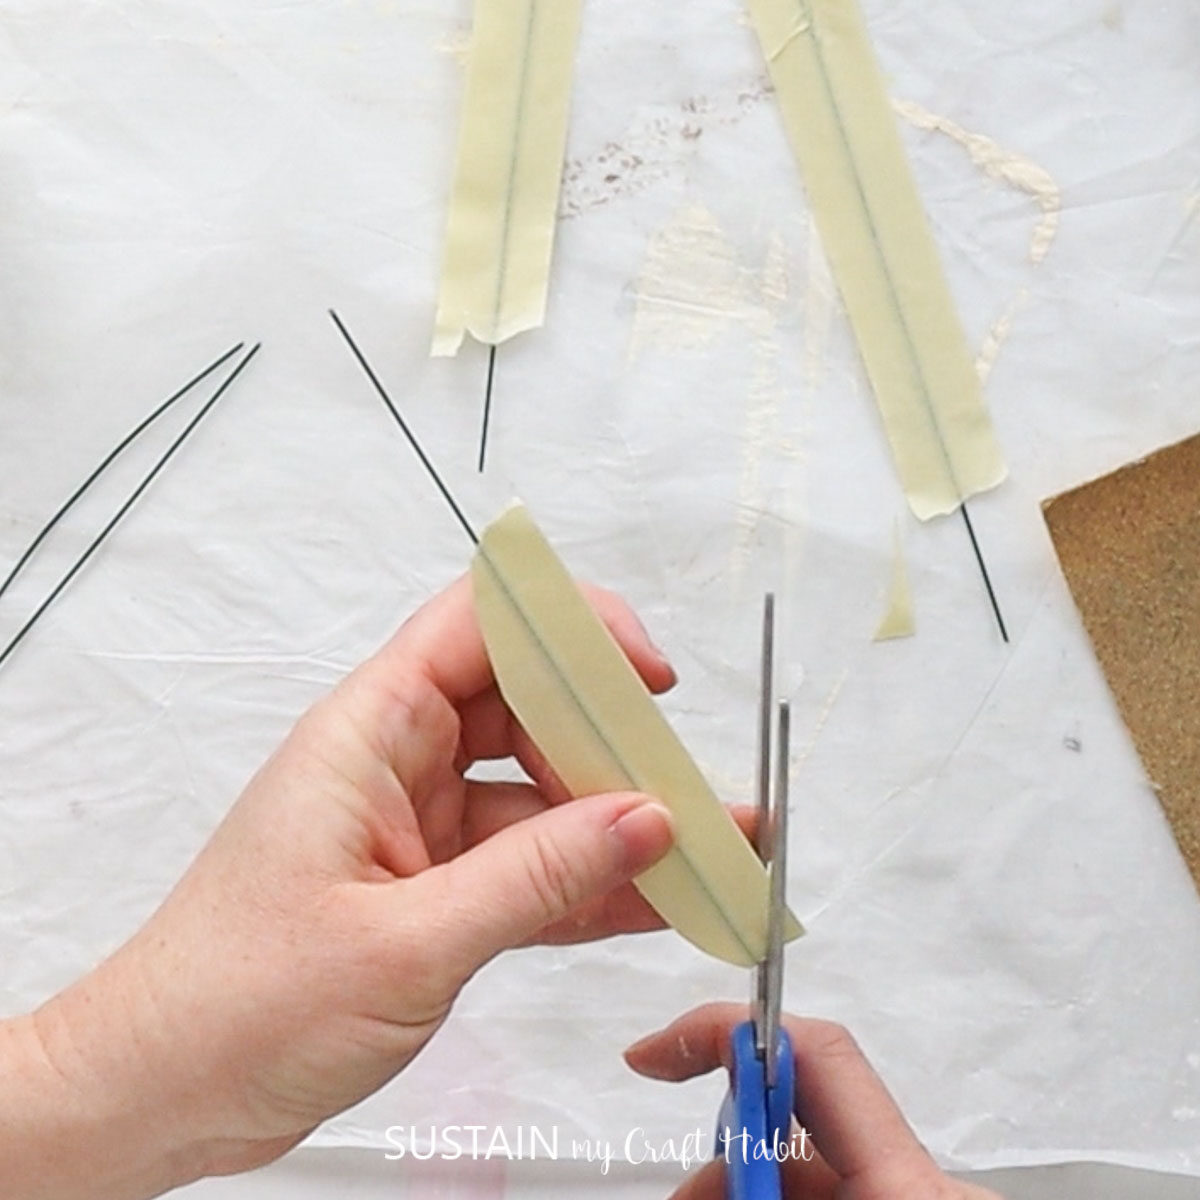
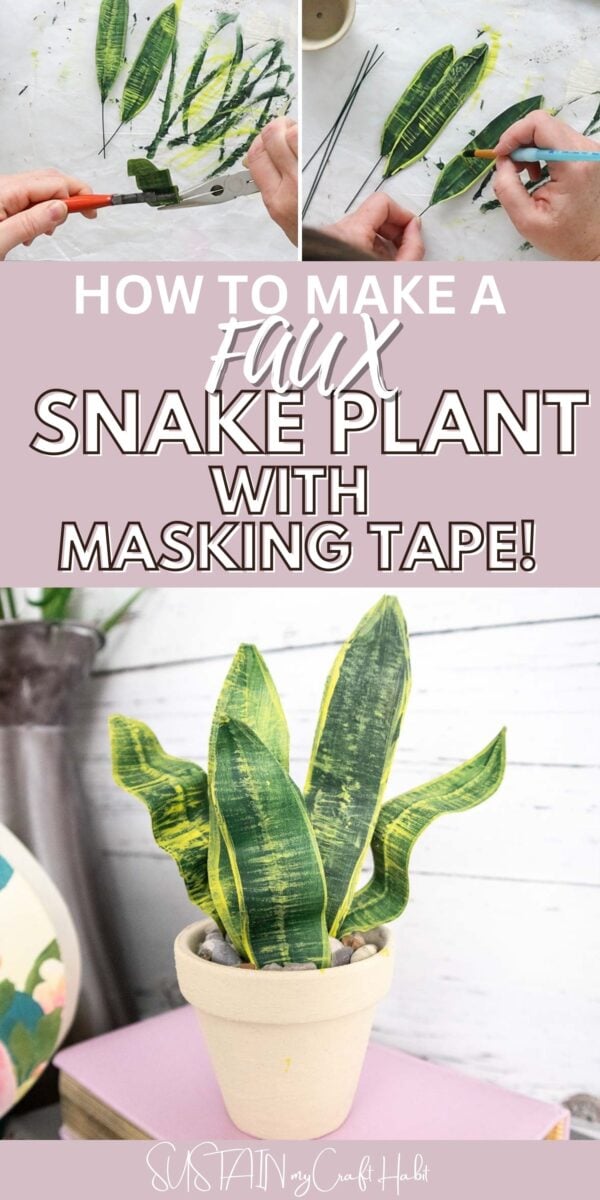
Cut several pieces of floral wire to 5-6″ long. Lay a piece of masking tape over top of one wire (covering about 2/3’s of the wire as shown) and wrap the masking tape over the top and press it together with the tape on the reverse side (sticky sides pressed together).
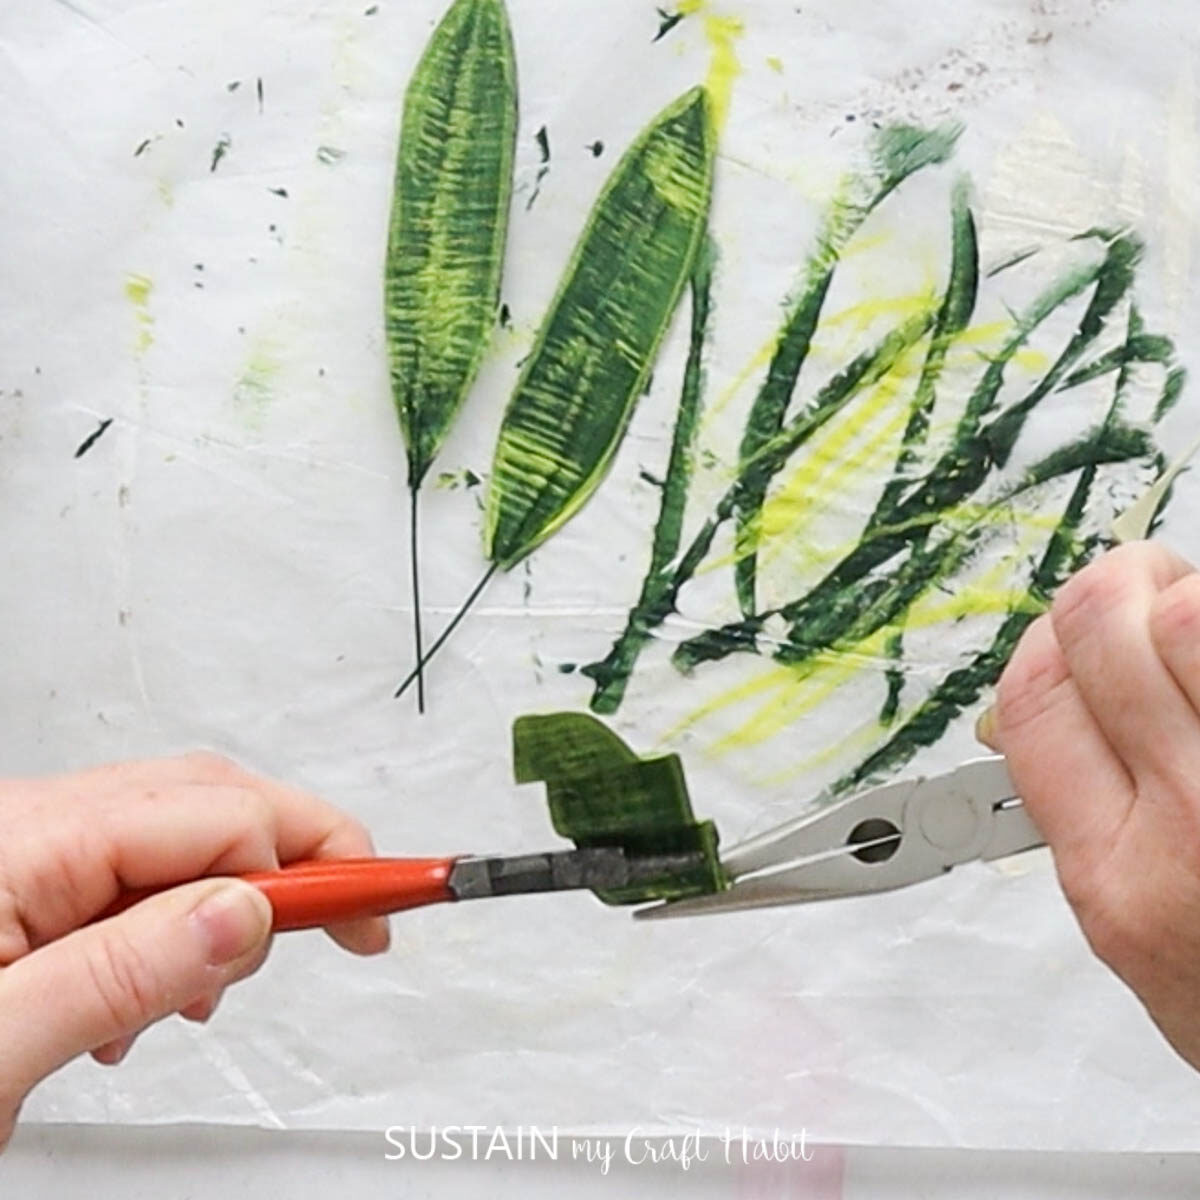
Trim off the corners making them all rounded.
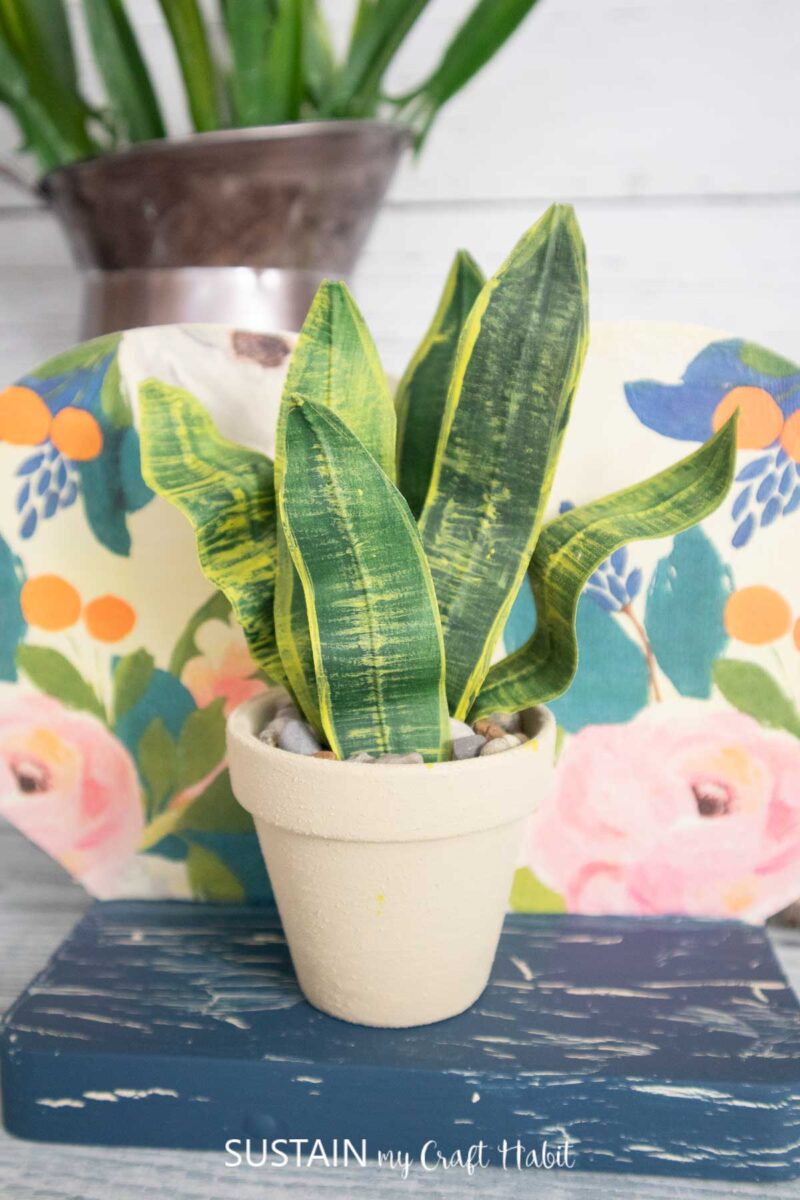
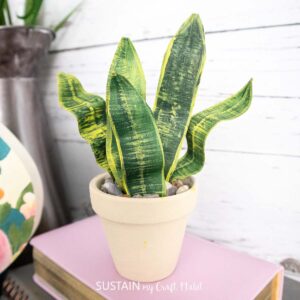
Repeat these steps for more leaves. Create as many or as few as you like. To fill my mini clay pot, I made six faux leaves.
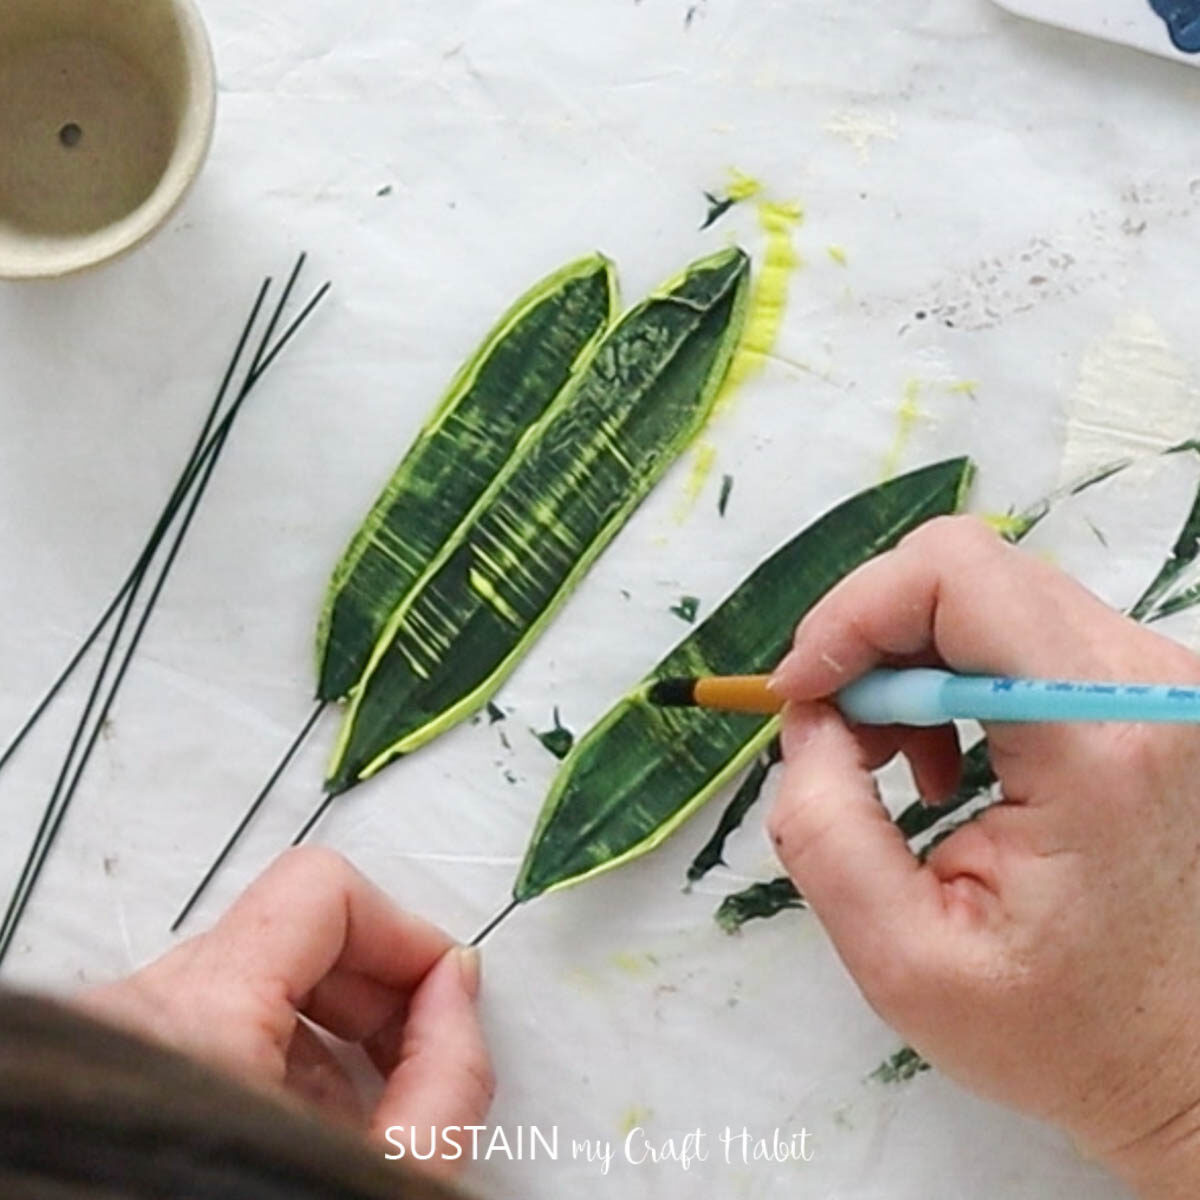
Painting the Masking Tape
Next, paint both sides of the masking tape in a darker green color.
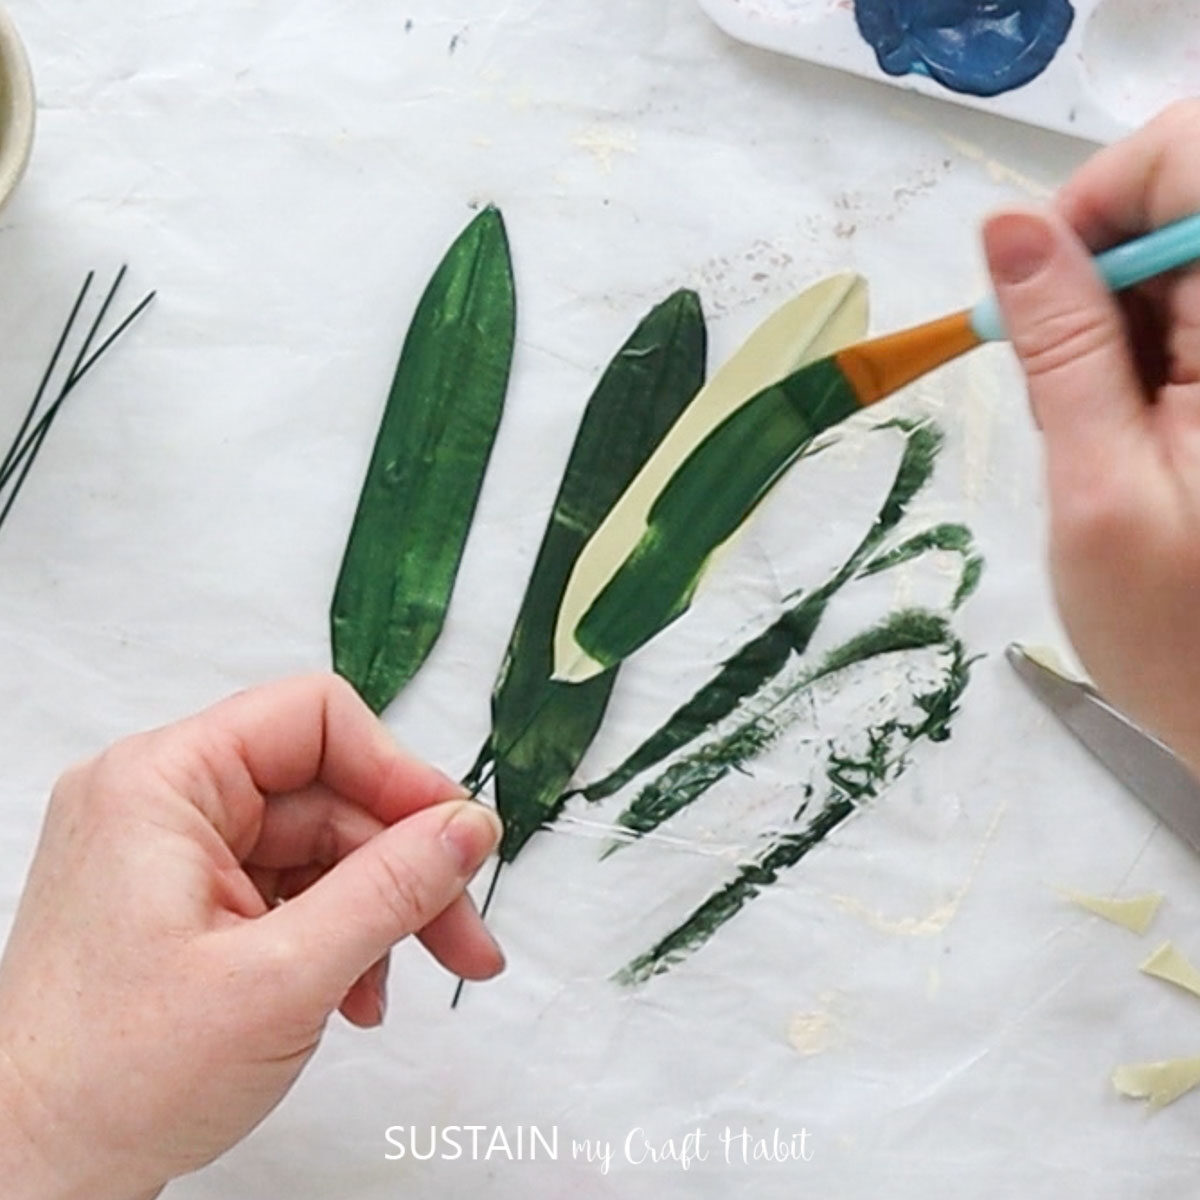
Then add dry brushing to the outer edges of the masking tape and over top of the darker green in a yellow acrylic paint color.
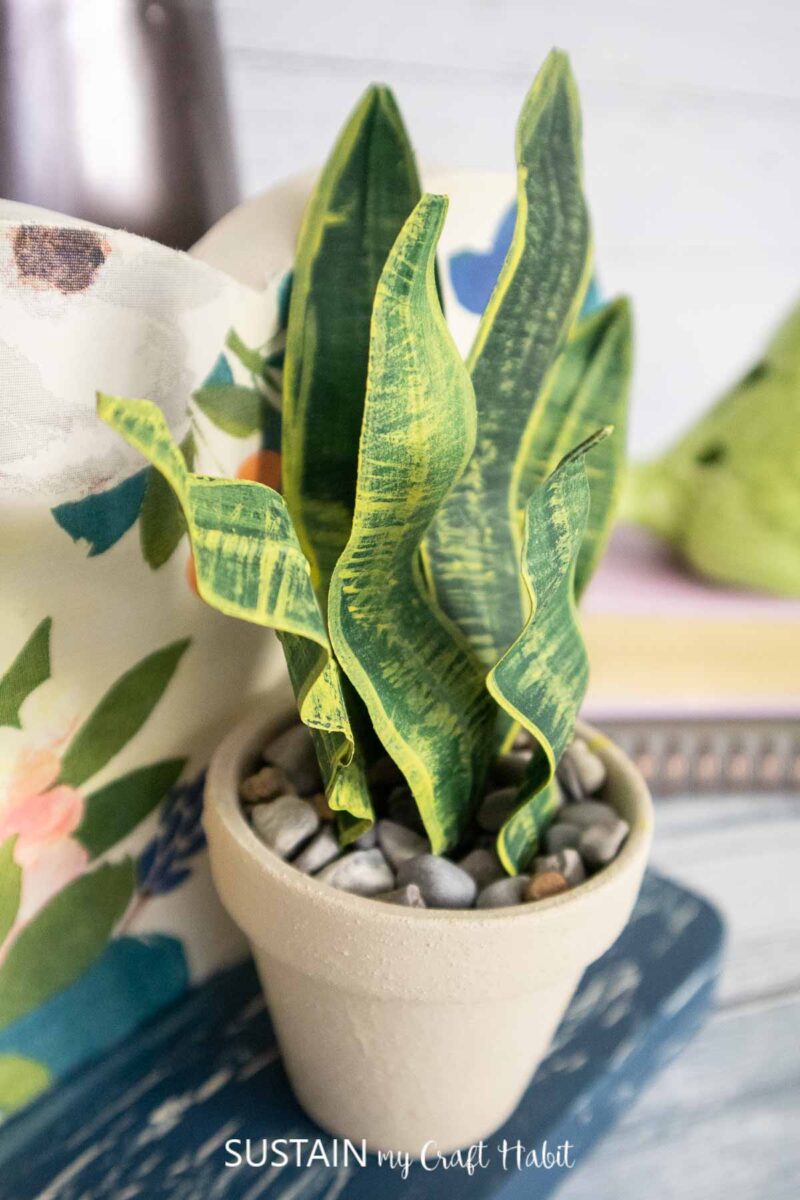
Once dry, bend each leaf making “kinks” in the wire to form a wave effect.
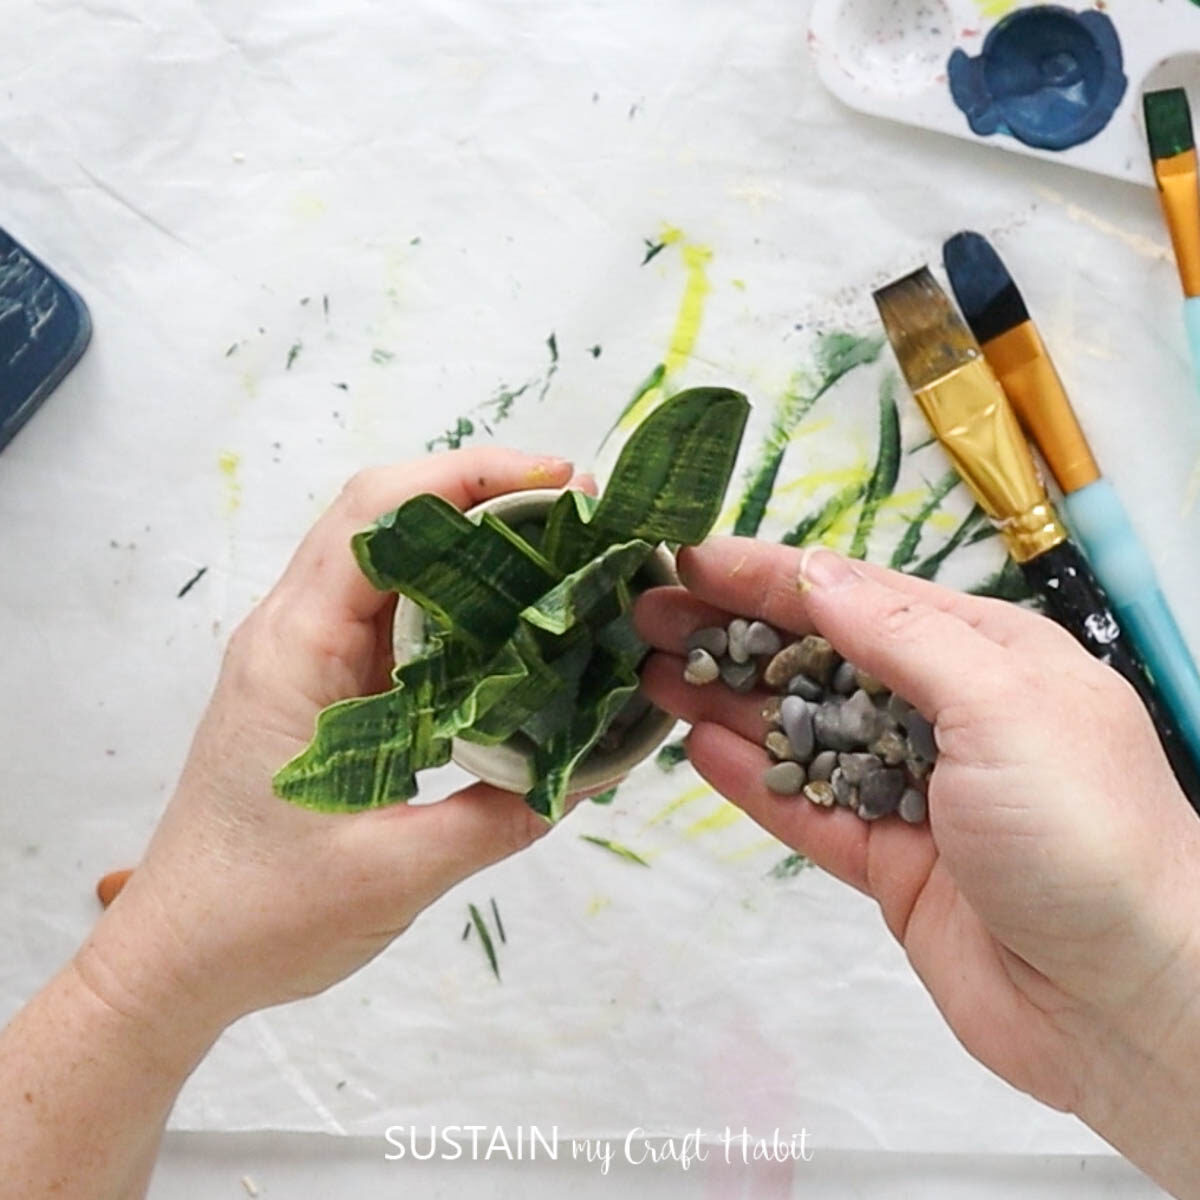
Assembling the Mini Planter Pots
Insert the wire ends into a small piece of floral foam in side the mini clay pot. Then fill in the areas with mini pebbles.
And that’s it, the craft is complete and ready to display on your shelf, desk or to gift someone special! After the popularity of this masking tape snake plant, I also created a mini monstera plant version on a recent Facebook Live video which you can catch here.
More Faux Plant Crafts
We’re so often inspired by nature and plants, that we can’t help but make crafts that look like the real thing. Check out these lovely DIYs:
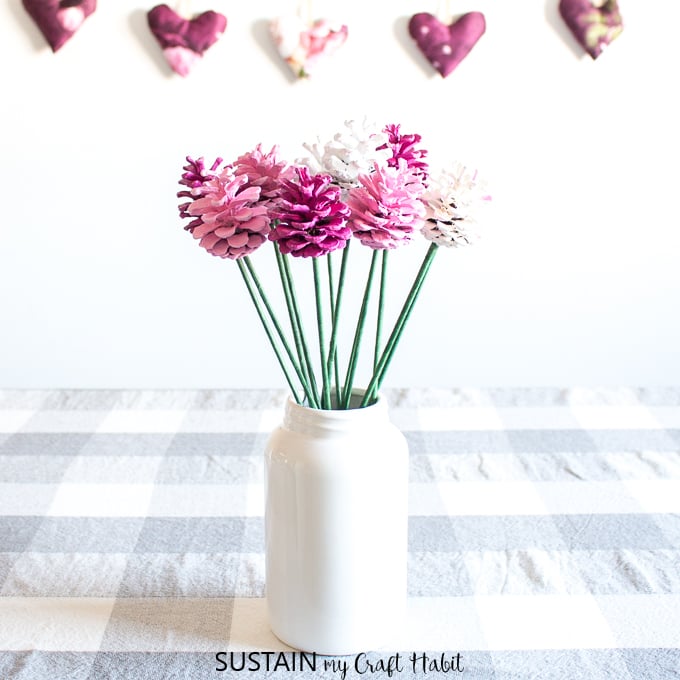
- Pine Cone Flowers
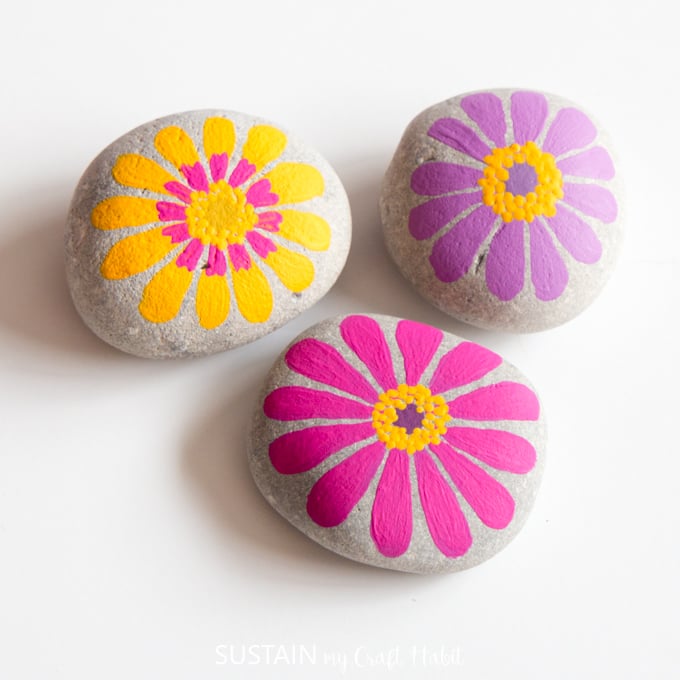
- Flower Painted Rocks
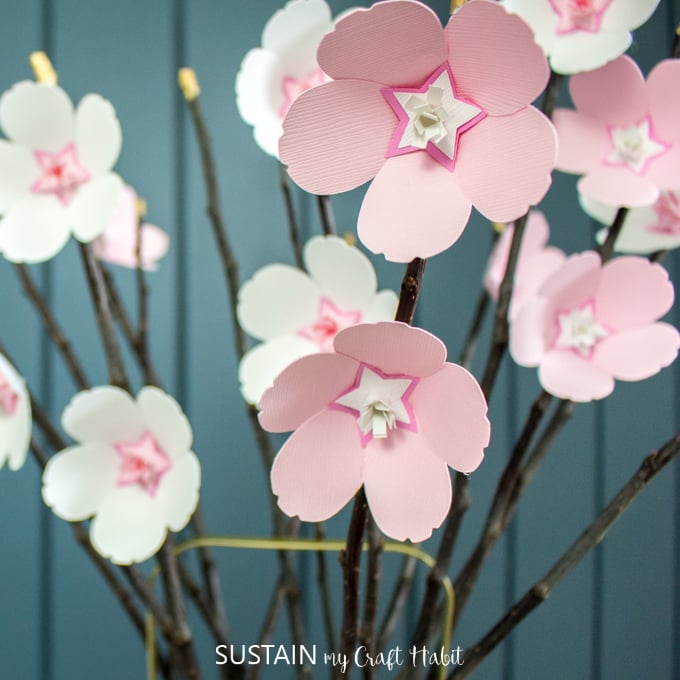
- Cherry Blossom Paper Flowers
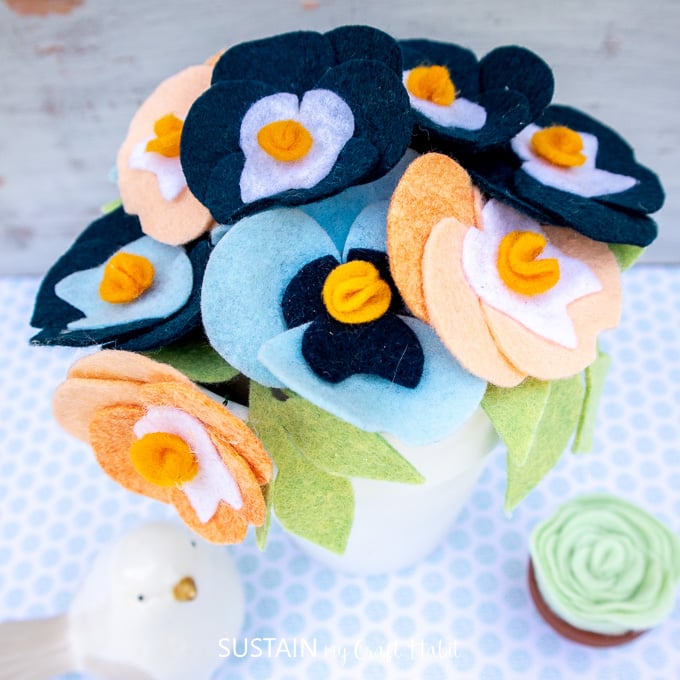
- Potted Faux-Pansies
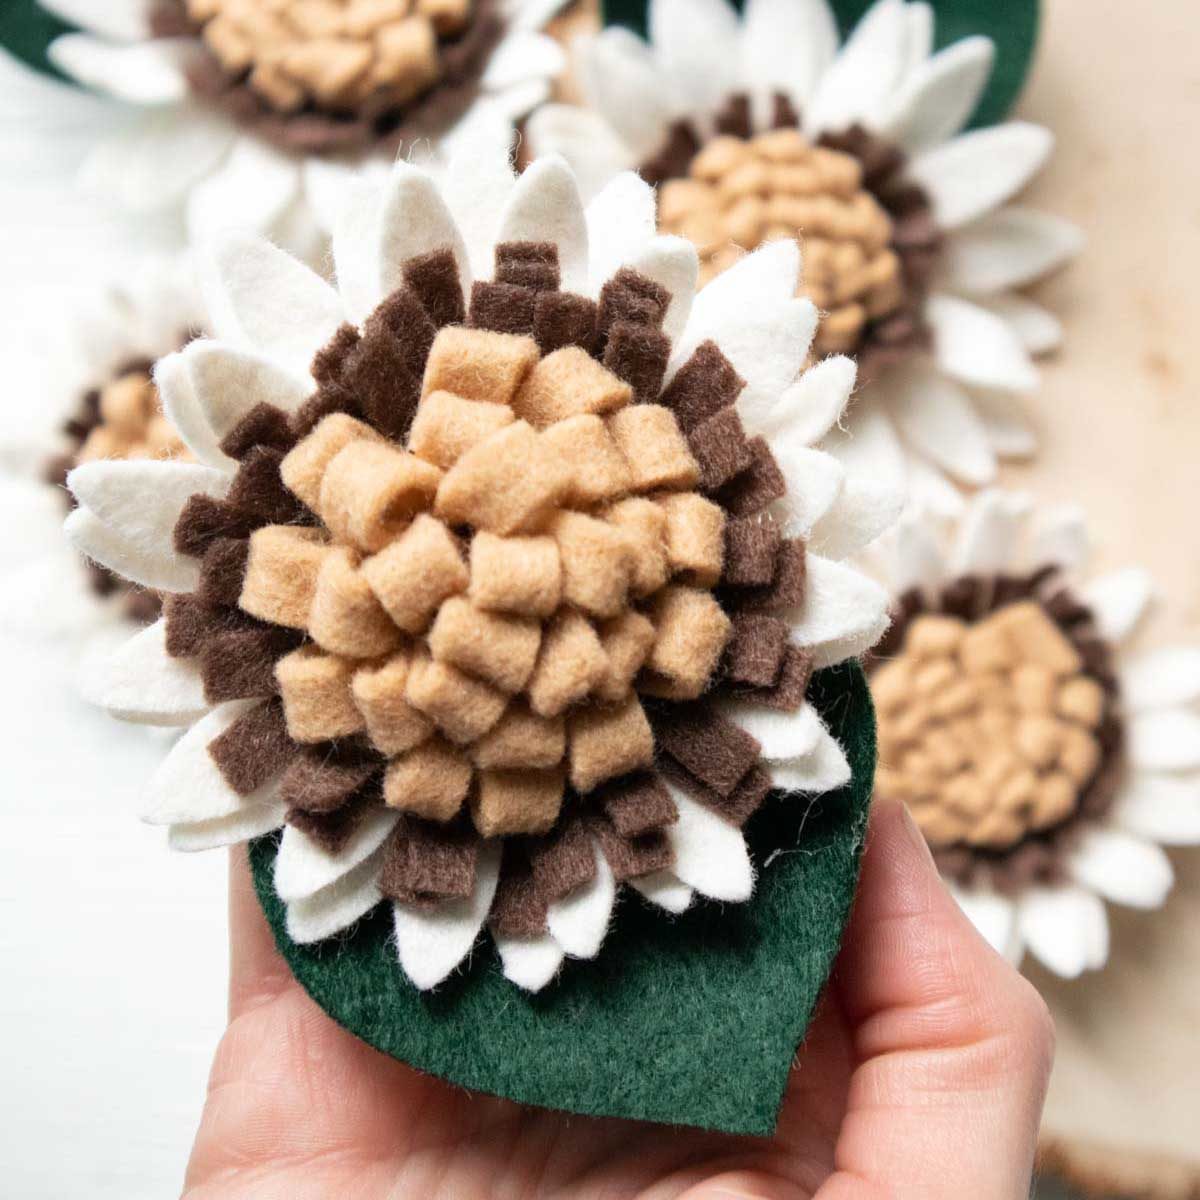
- DIY Felt Sunflowers
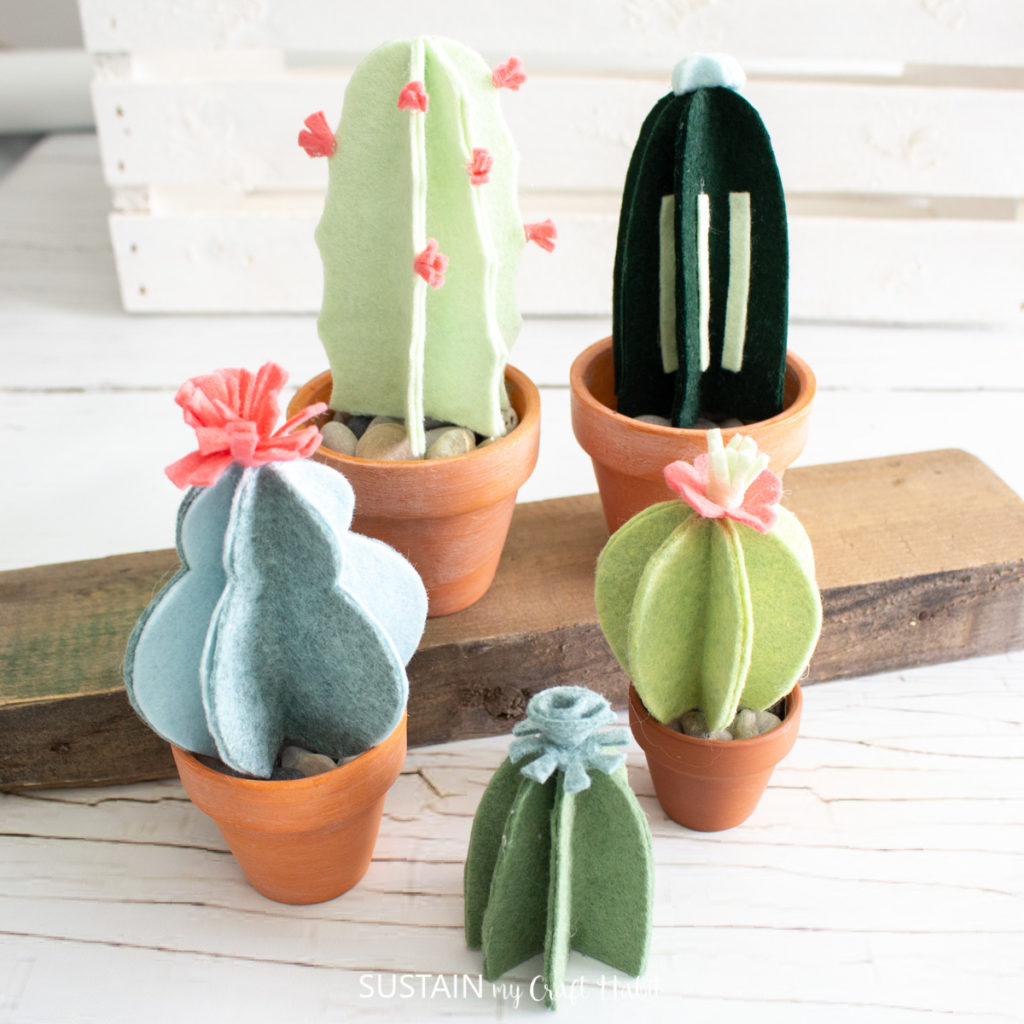
- 3D Cactus Plants made from felt sheets
Now that you have down the instructions step-by-step, you can agree with us that it is a lot easier than imagined to make this DIY snake plant. Because it is so easy to make, it also makes for great gifts.
Once you’ve made it, make sure to show it off to us! Tag us on Facebook or Instagram– we can’t wait to see it!
Stay in the know on our latest crafts, special offers and freebies by joining our mailing list.
Like it? Pin it for later!
Mini DIY Snake Plant with Masking Tape
Materials
- Masking Tape
- Wire cut to 6”
- Paint in dark green and Citron green
- Paintbrushes
- Clay pot
- Floral foam
- Pebbles
- Scissors
Instructions
Preparing the Masking Tape
- Cut several pieces of floral wire to 5-6″ long. Lay a piece of masking tape over top of one wire and wrap the masking tape over the top and press it together with the tape on the reverse side (sticky sides pressed together).
- Trim off the corners making them all rounded.
- Repeat these steps for more leaves.
Painting the Masking Tape
- Next, paint both sides of the masking tape in a darker green color.
- Then add dry brushing to the outer edges of the masking tape and over top of the darker green in a yellow acrylic paint color.
- Once dry, bend each leaf making “kinks” in the wire to form a wave effect.
Assembling the Mini Planter Pots
- Insert the wire ends into a small piece of floral foam in side the mini clay pot. Then fill in the areas with mini pebbles.