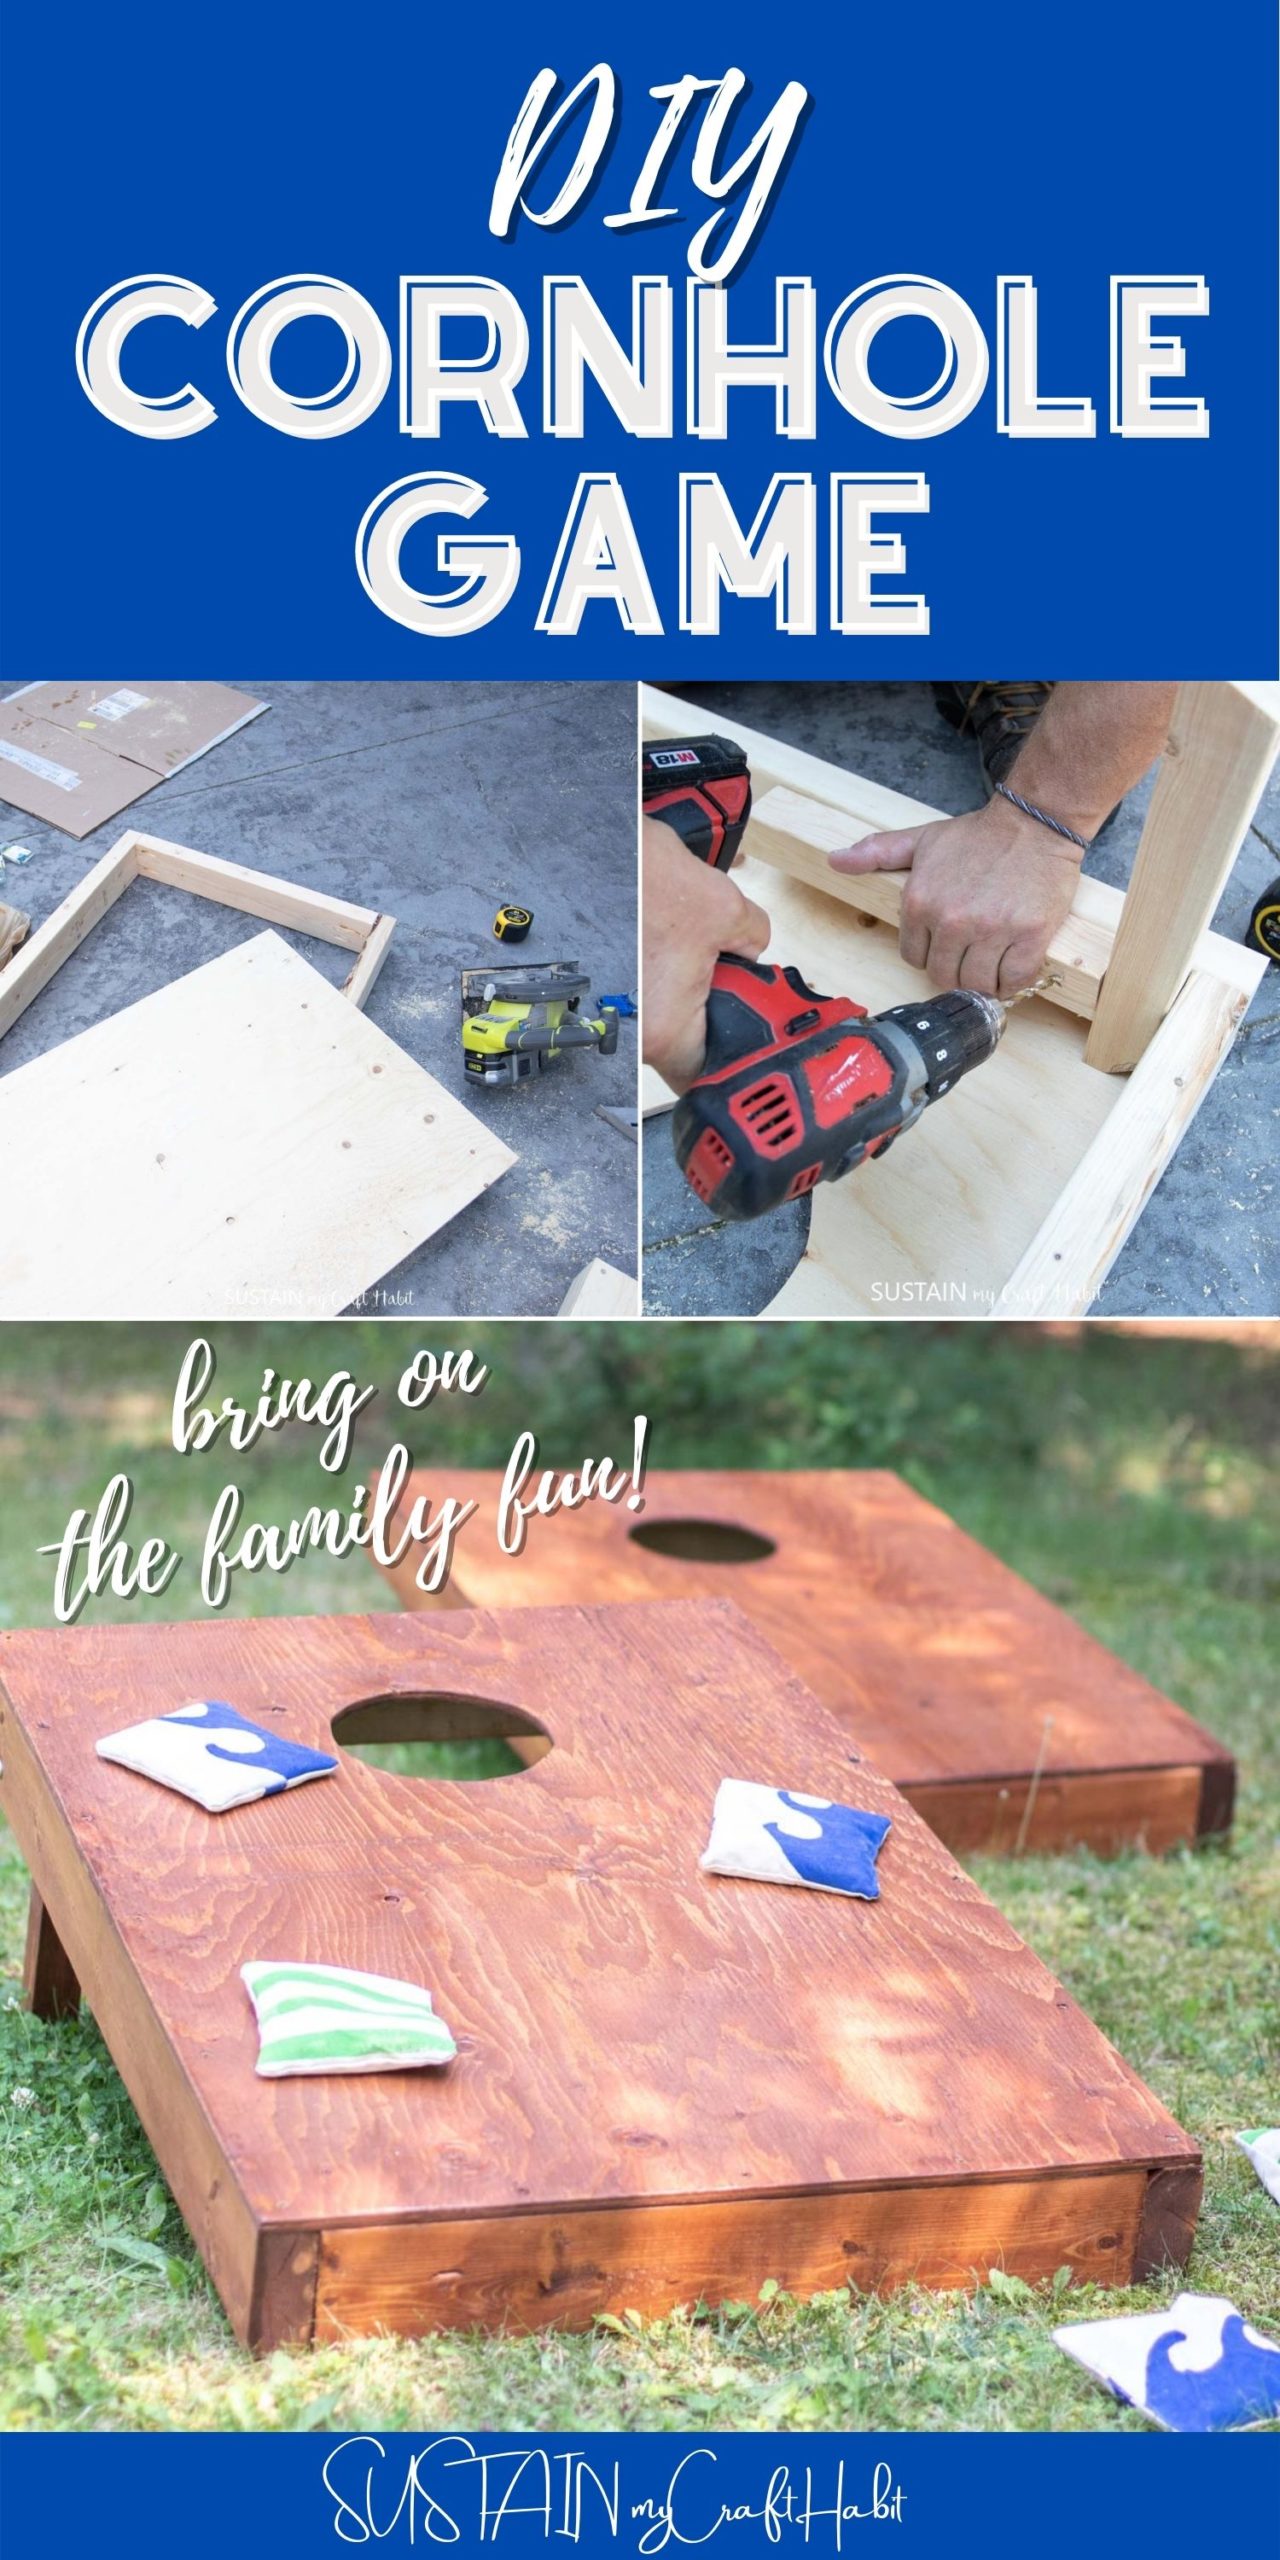
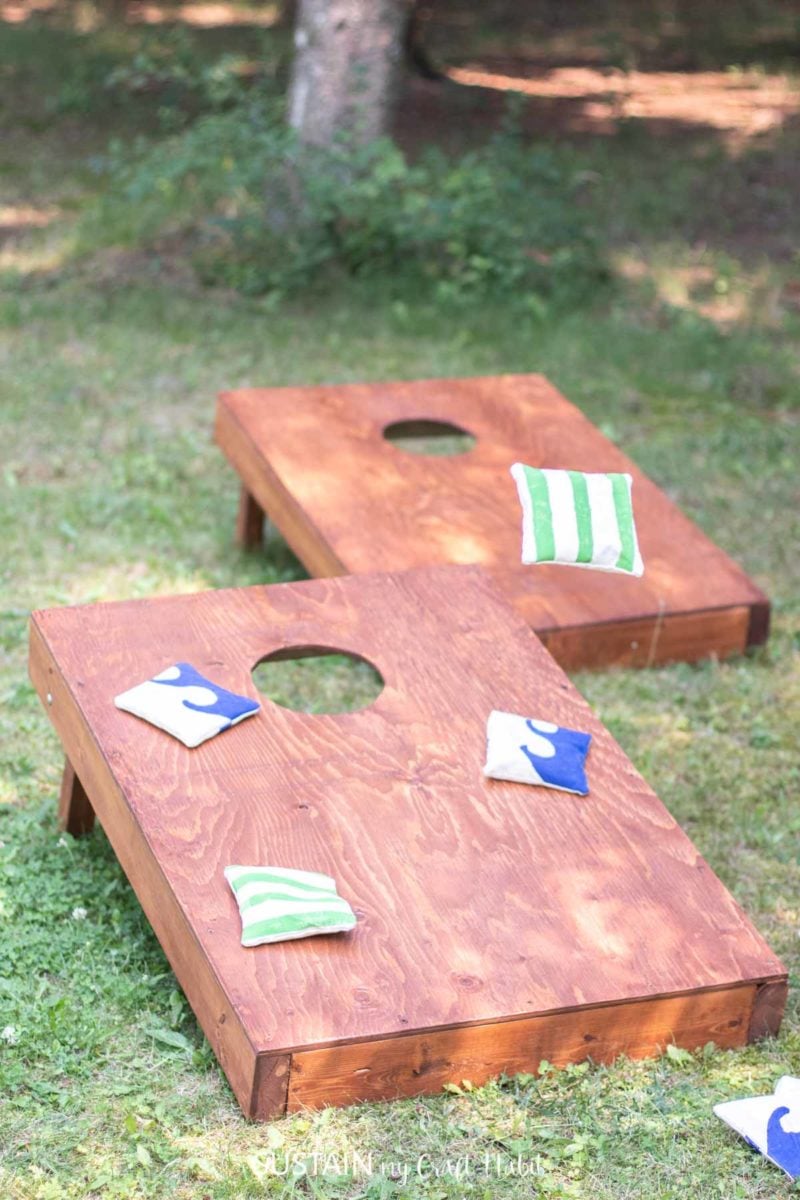
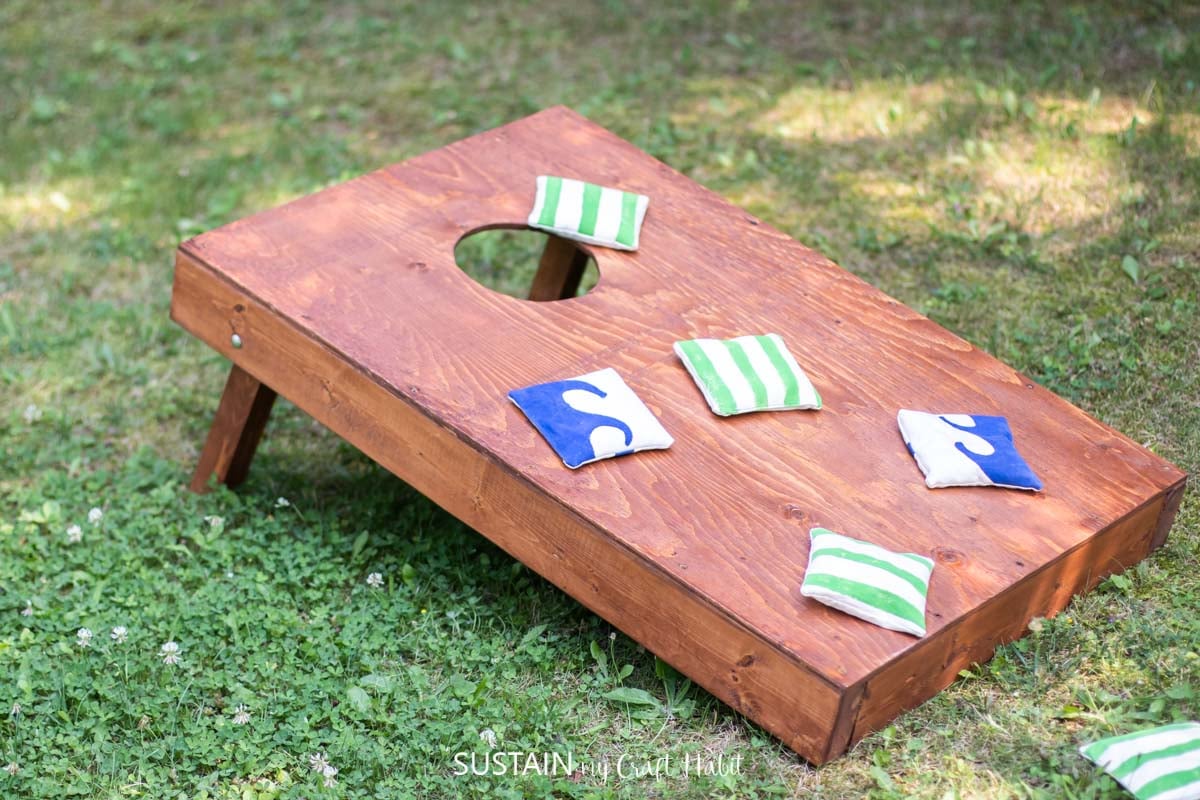
DIY Cornhole Game Board

Hi friends! With the summer underway, we’re adding some much needed backyard family fun time with this DIY cornhole game. So if you wish to do the same, you can grab the plans along with the step by step tutorial below.
Making a Cornhole Game Board
I first played cornhole on one of my vacations down to Florida where the resort I was staying at had these boards set up in the common area. They reminded me of the horseshoe pit we had in my backyard growing up and I instantly thought this cornhole game would be a fun option for our own backyard.
The rules of the game are pretty straightforward
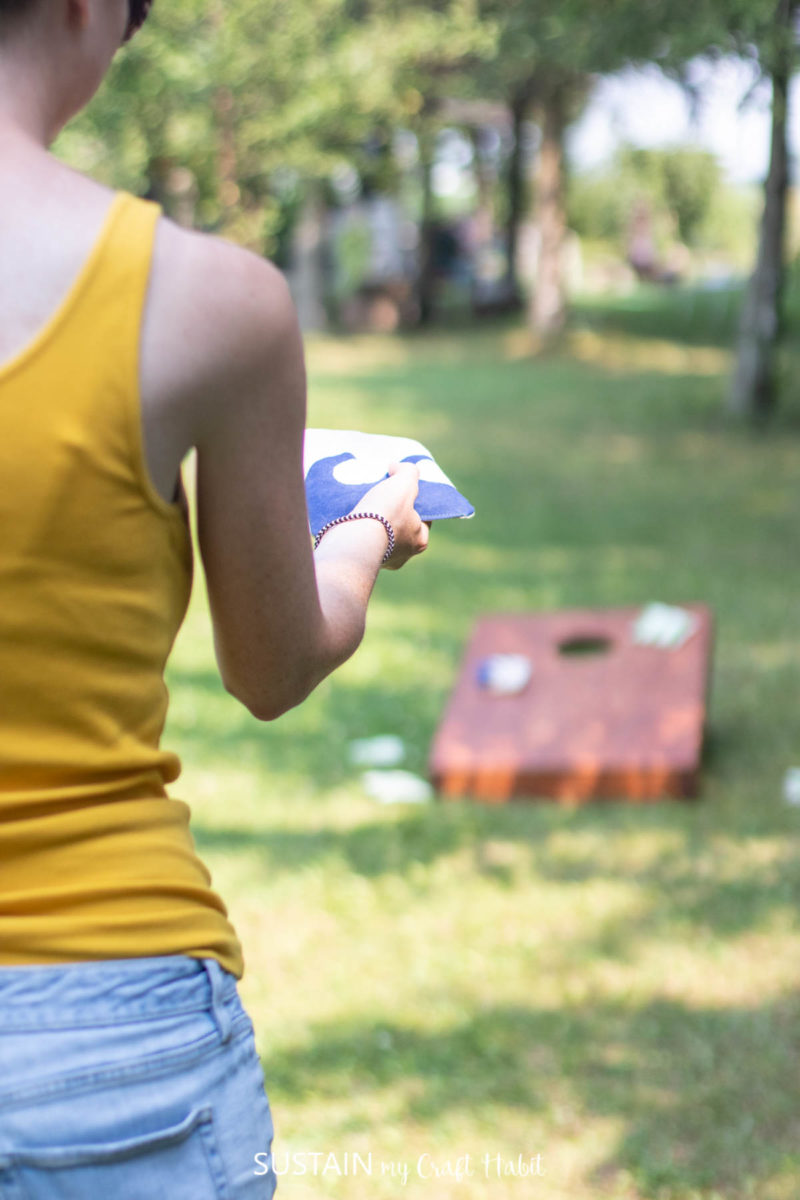
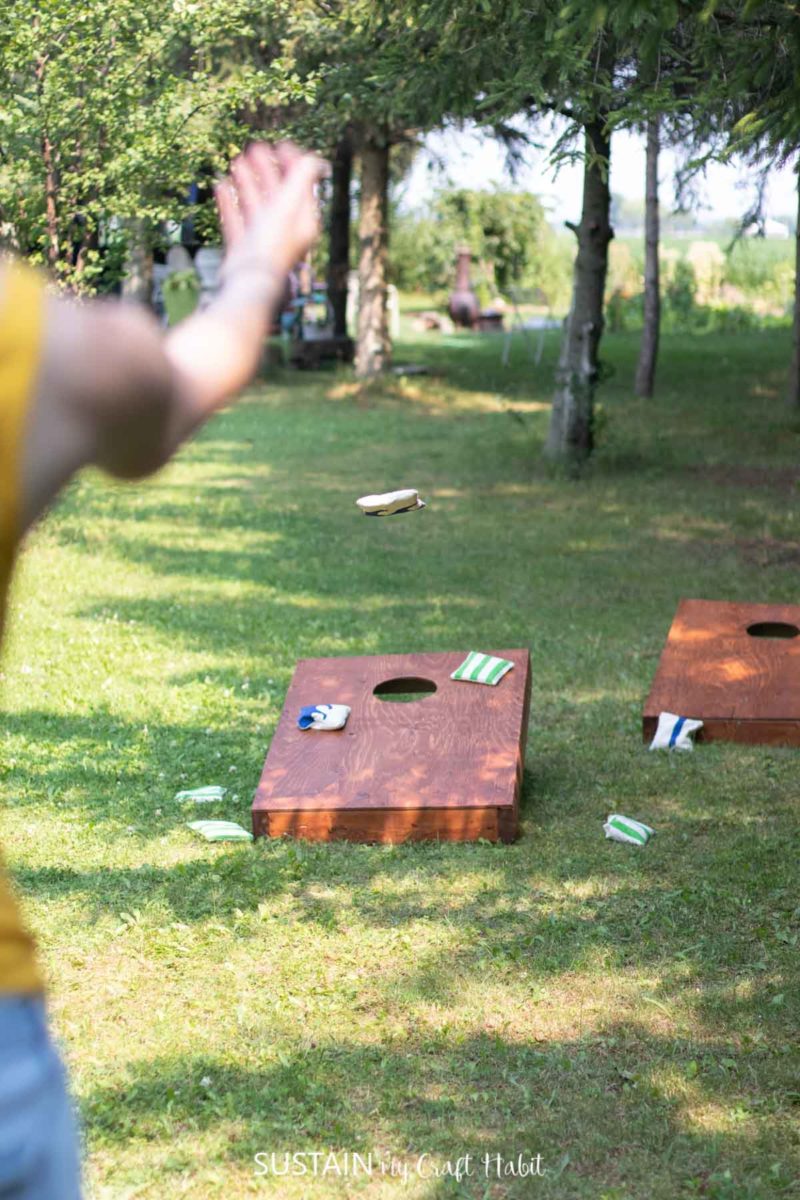
- Position the boards about 15 feet apart and team members at opposite boards.
- Players alternate throwing four toss bags into the hole until no bags remain.
- Points are accumulated whenever the target is met.
To buy a ready built cornhole game board, the prices start from US$75, which is too much for my thrifty wallet. So with a budget in mind, I found someone locally selling off their extra plywood and scrap wood and came up with a plan to put it all together. We wanted to be able to store the boards away easily so we built the legs to swivel and tuck away when not in game mode.
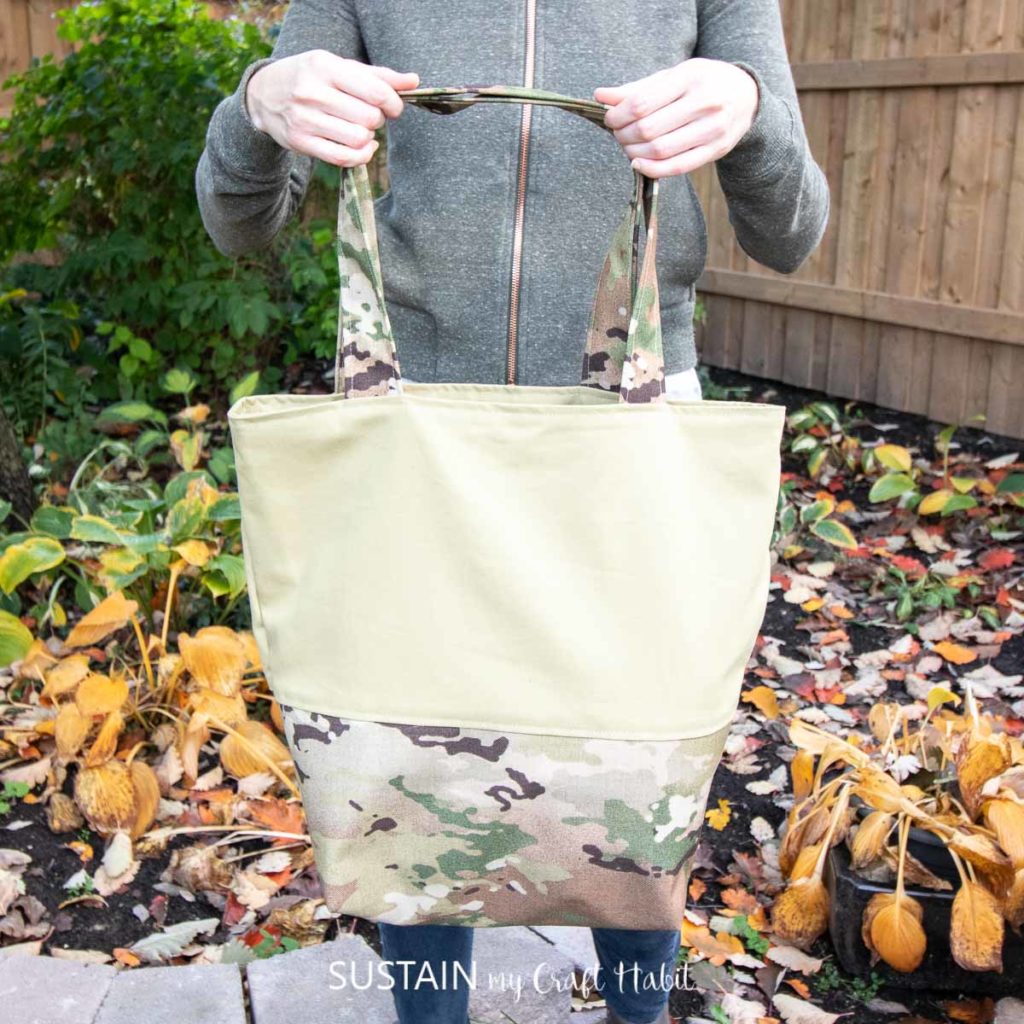
Then using 100% cotton duck cloth from
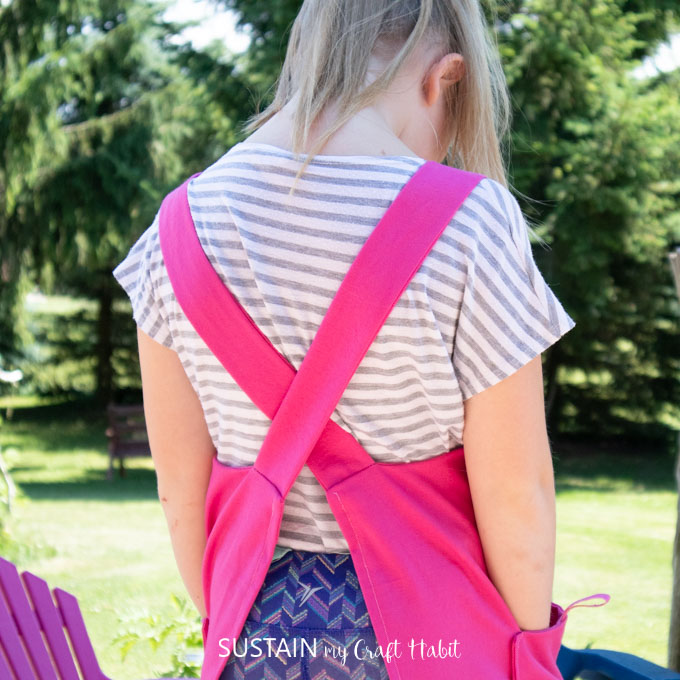
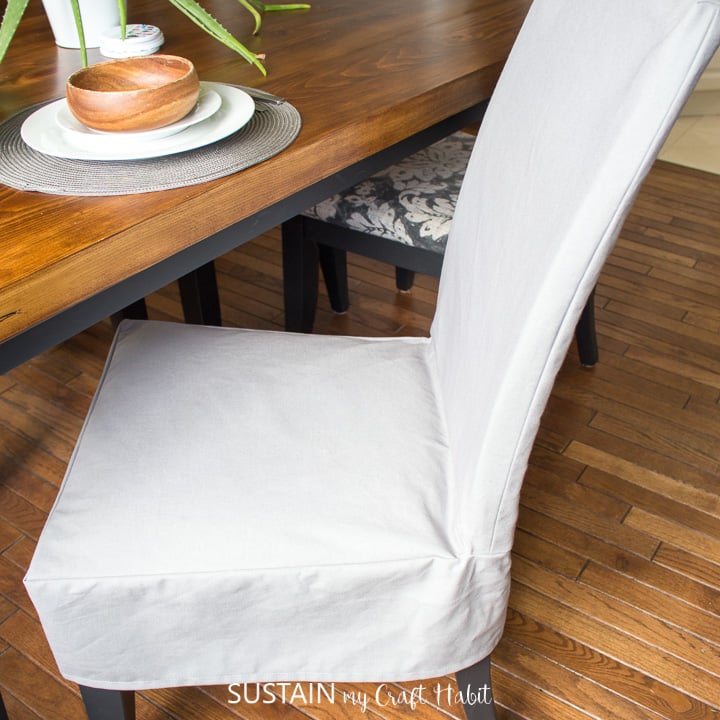
We use the same fabric in a khaki color for making this handy oversized tote bag as well as for making this pink and grey hanging toy storage, kid’s pink apron and grey colored chair covers.

Tote Bag 
Kid’s Cross Back Apron 
Chair Covers Hanging Toy Storage
Materials Needed:
- Plywood, ⅝” thick, 2 rectangular pieces cut to size 2’ x 3’
- 2×2 lumber, 4’ long in total (divided)
- 2×4 lumber, 20’ long in total (divided)
- Jigsaw
- Circular Saw
- Miter Saw
- Craig Jig (this predrills holes on an angle which is perfect for joining corners, it’s optional but really comes in handy!)
- Drill with screws
- Carriage Bolts, 3.5″ long x 1/4″, x4 in total
- Wing nuts, x4
- Washers, x8
- 2” long wood screws (qty as needed)
- Wood glue
- Measuring tape, pencil
- Sandpaper
- Wood stain, we used Walnut finish
- Polycrylic Varnish in matter finish
- 100% cotton duck cloth canvas in natural, 10oz
- Fabric scissors (my go-to favorite pair of fabric scissors are these Fiskars scissors)
- Dried Corn (or rice or dried beans)
- Sewing machine and matching thread
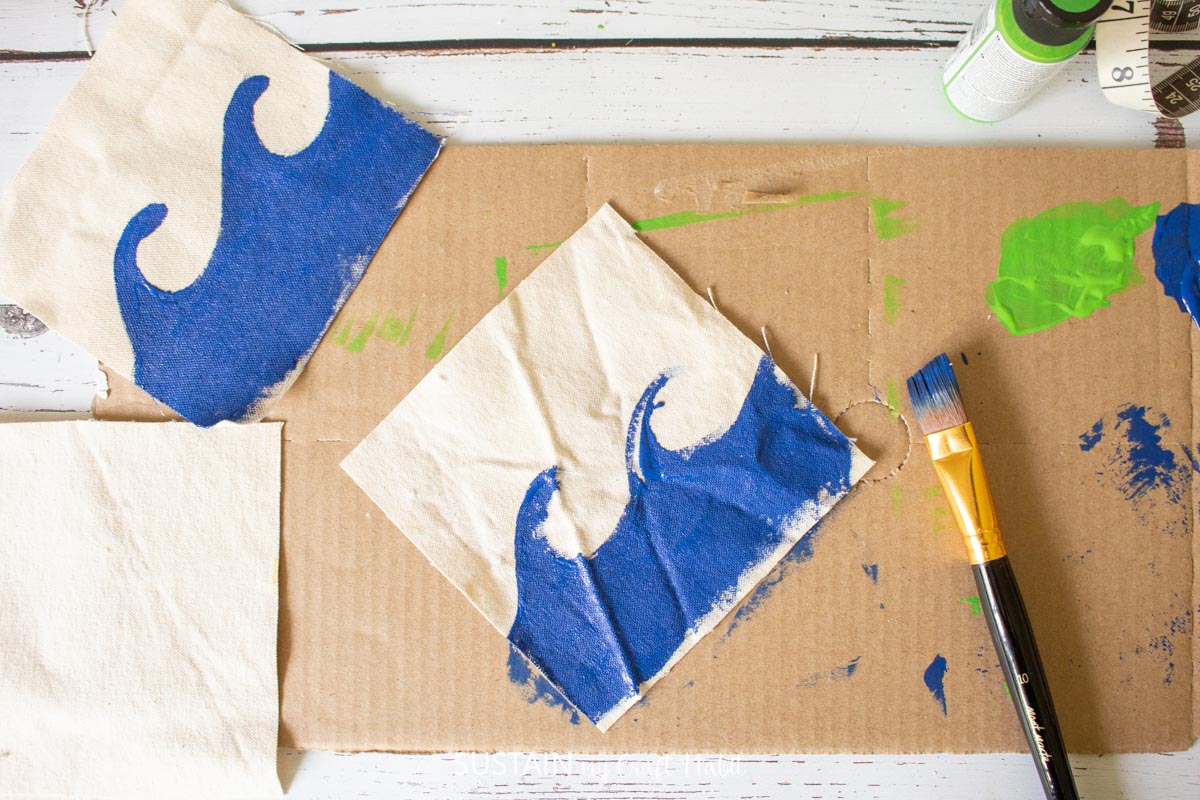
- Fabric Paint (we use DecoArt SoSoft in Bright Avacado and Mediateranean Blue)
- Paintbrush
How To Make a Cornhole Game:
Cutting and Preparing the wood board game pieces
Using a circular saw, cut 2 pieces of plywood measuring 2’ wide x 3’ long. Sand the edges.
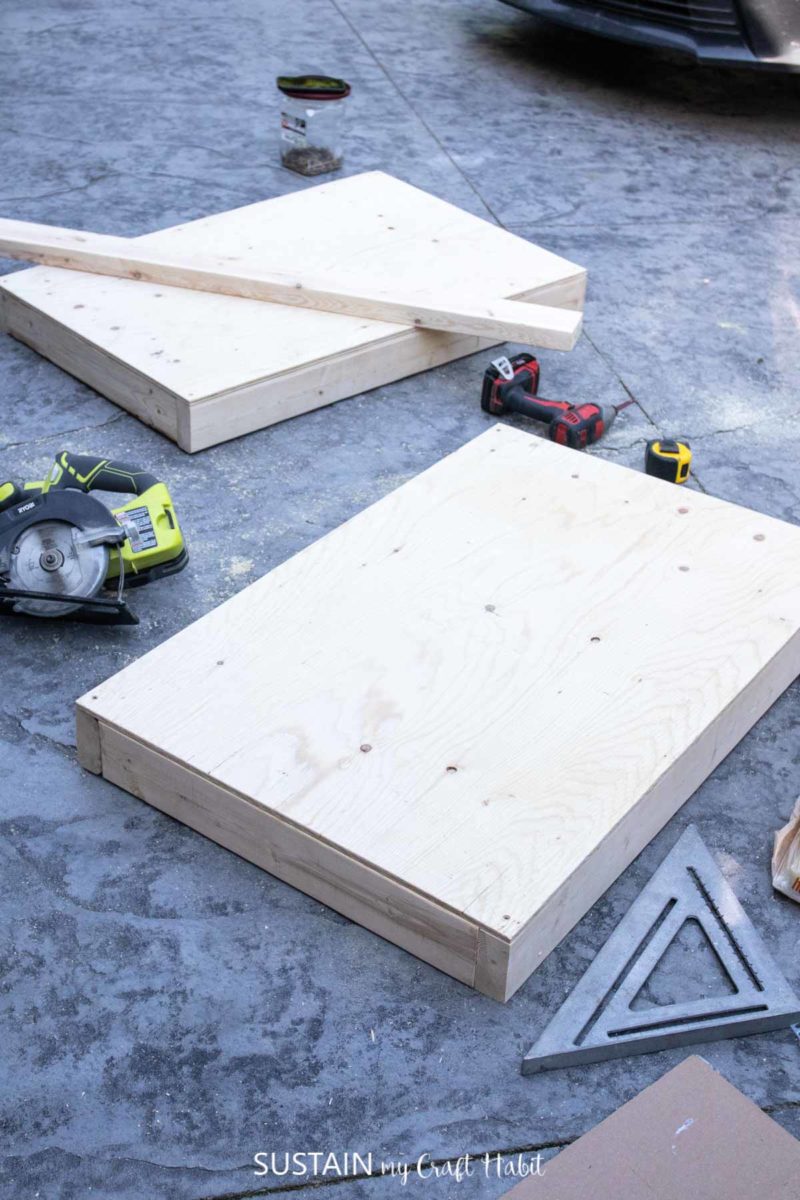
With a miter saw, measure and cut 4 pieces of 2×4 measuring 21” long and another 4 pieces of 2×4 measuring 36” long.
Cut 4 pieces of 2×2 measuring 10” long. Cut one end of the pieces on a 22.5 degree angle.
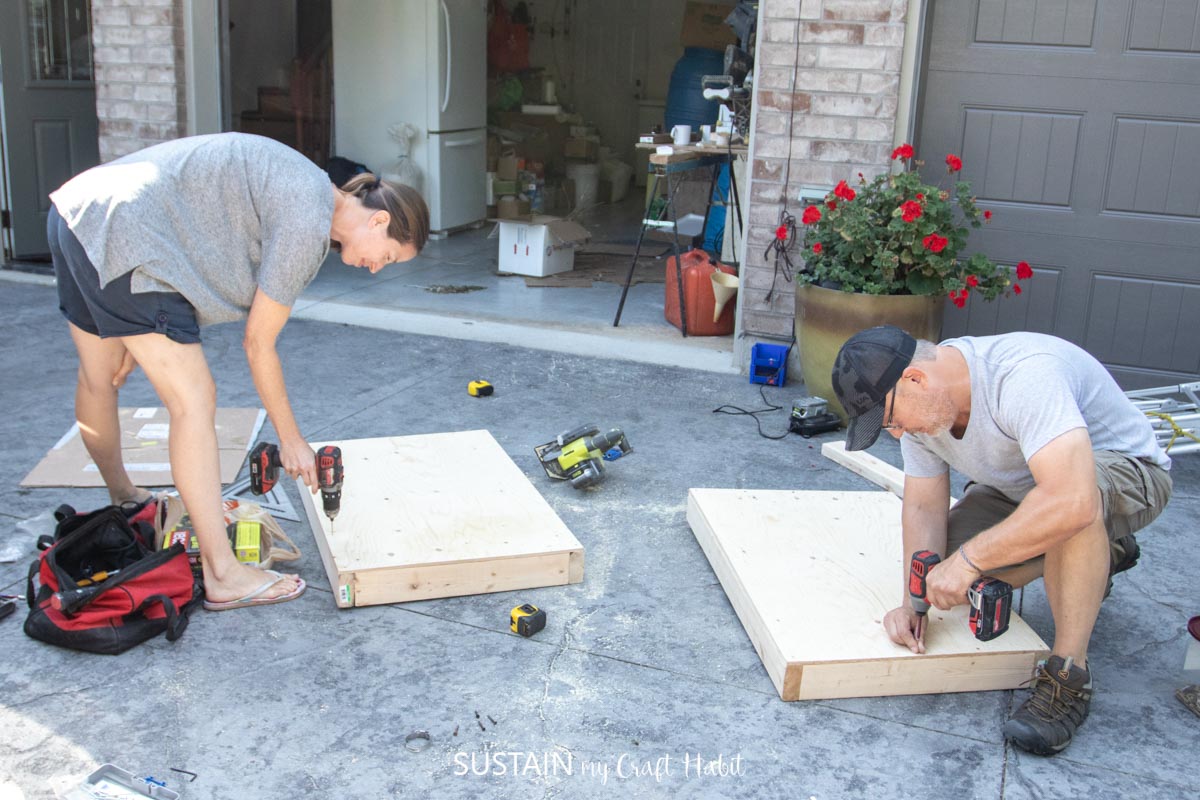
Assembling the Cornhole Game
Working one of the boards at a time, assemble the base of the corn hole building a box to lay the plywood on top of.
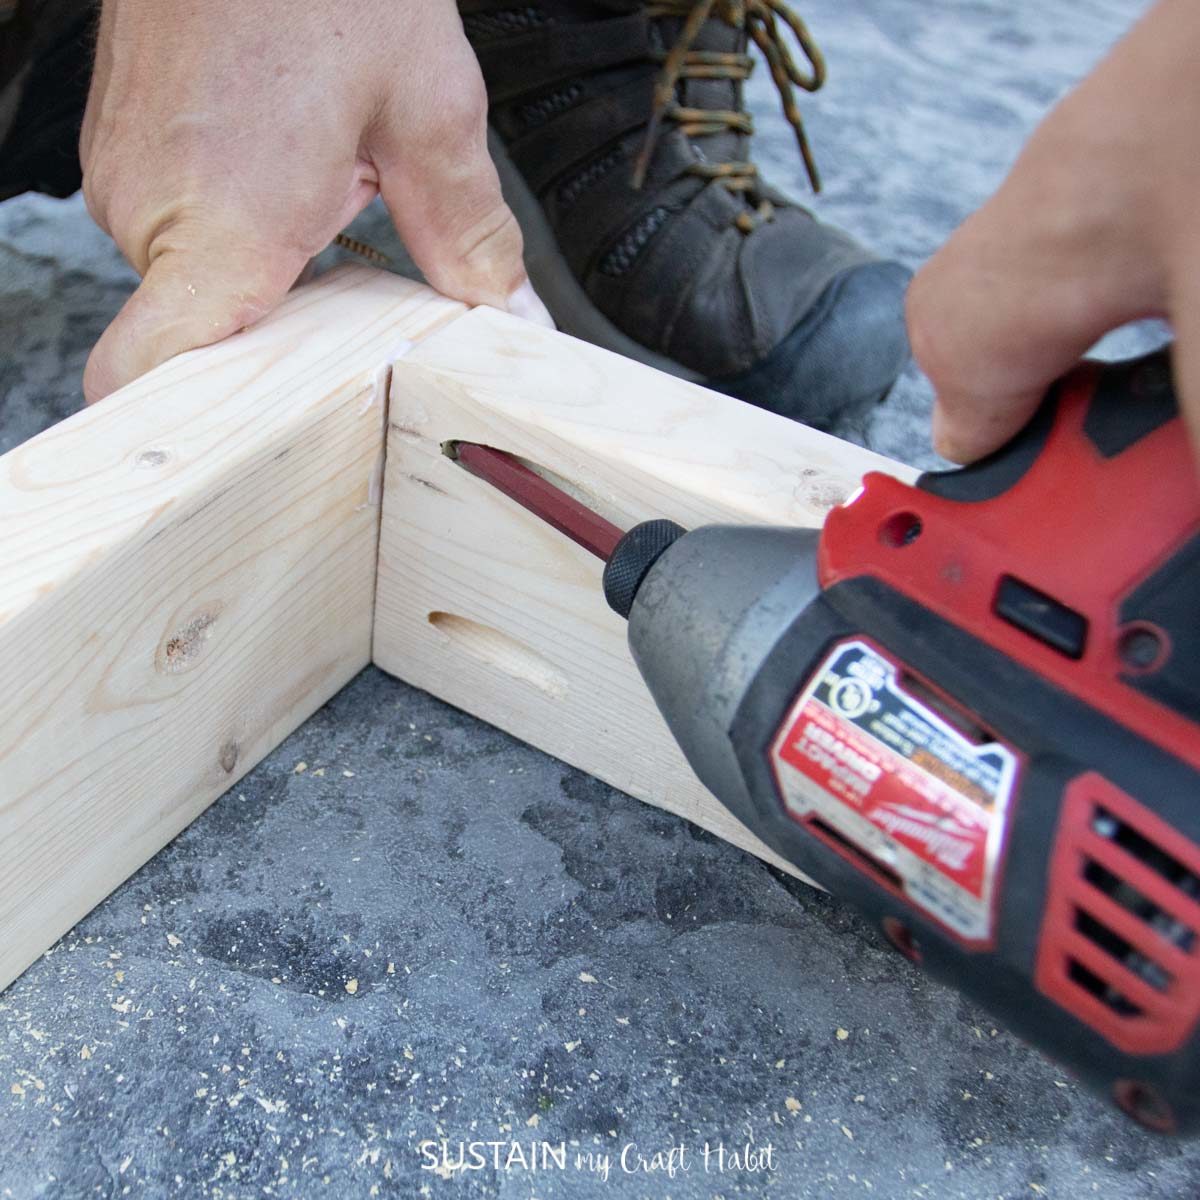
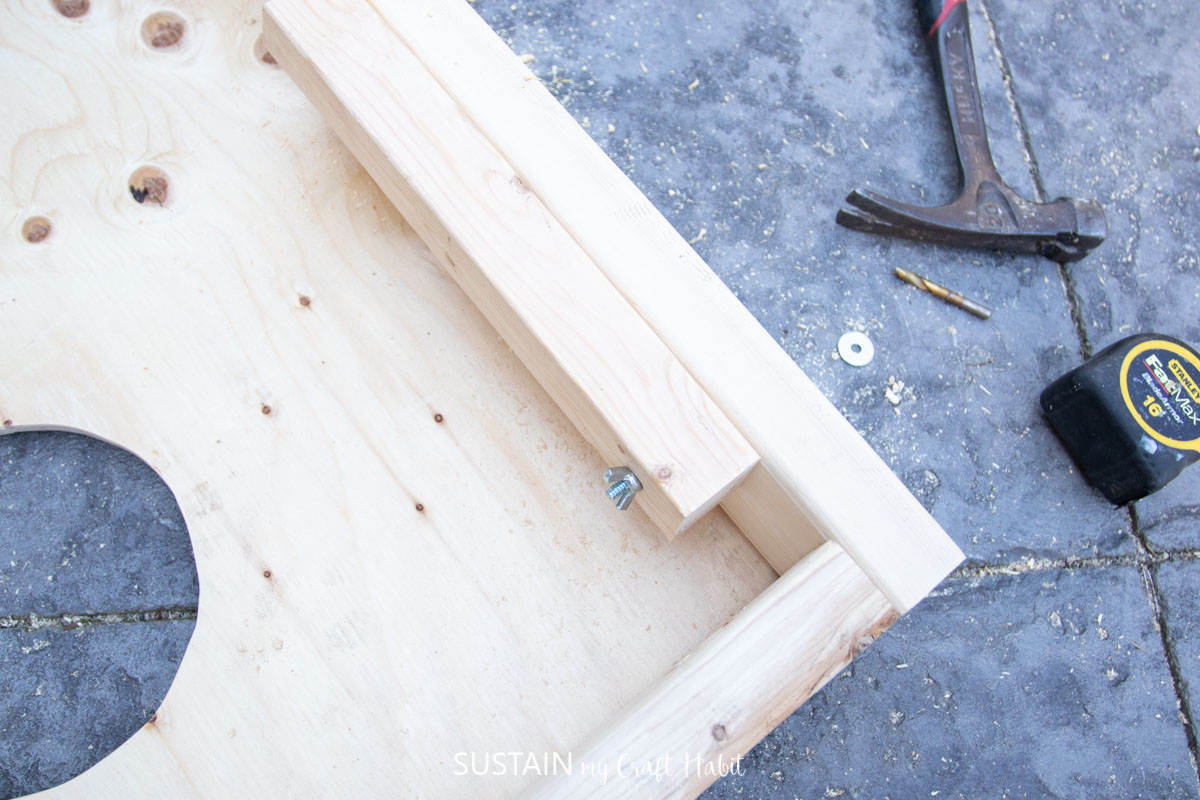
First, use the craig jig to predrill angular holes at the ends of the 21” long 2×4 pieces.
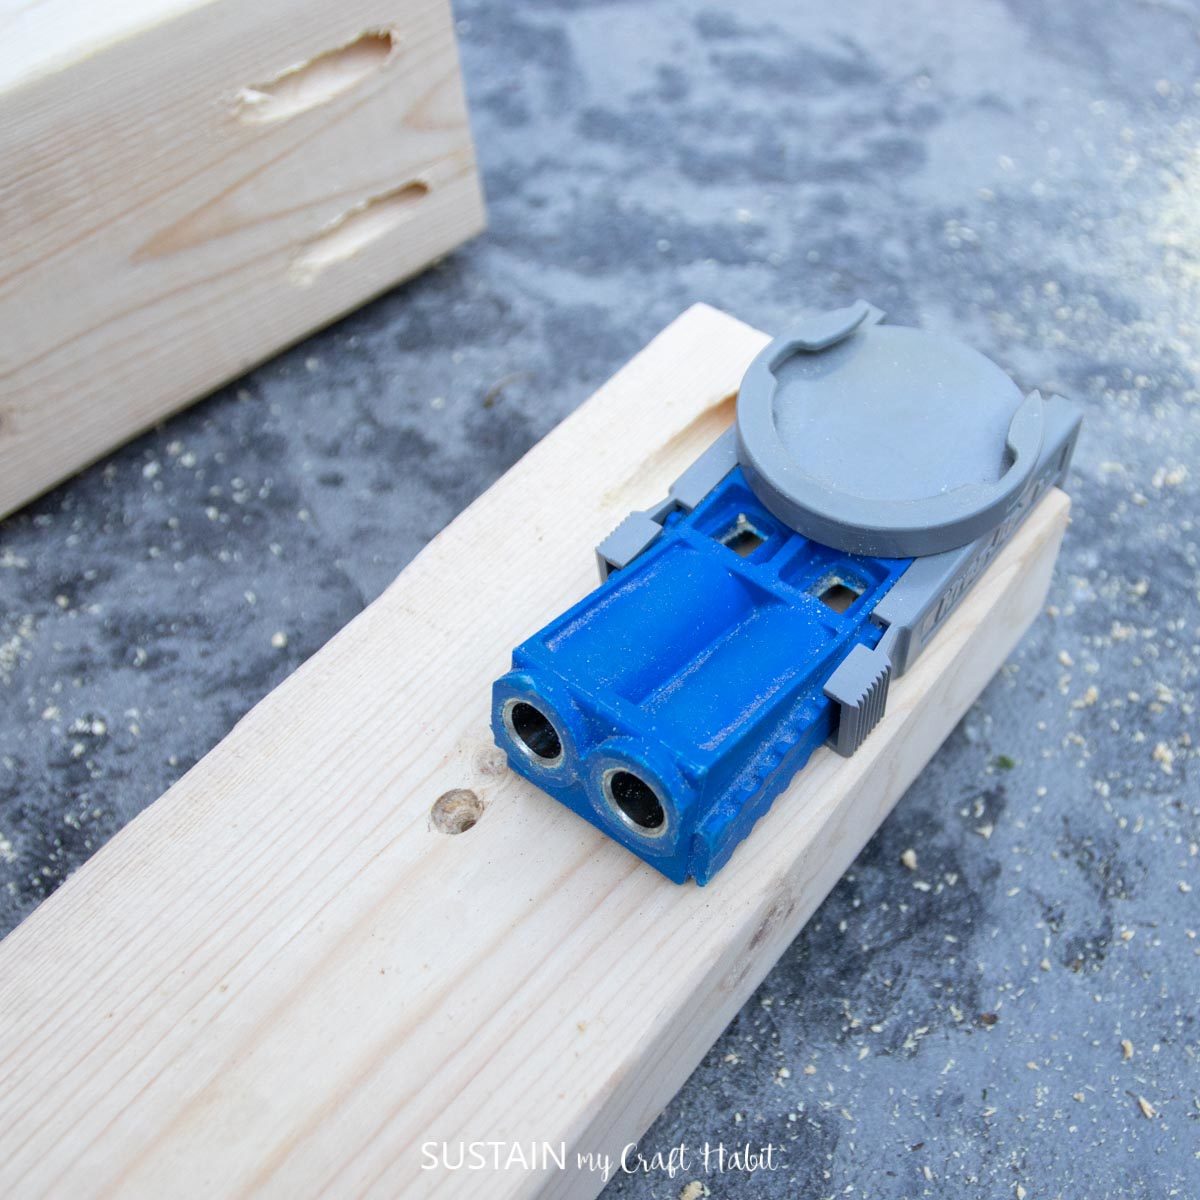

Add wood glue to the ends of these 21” pieces.
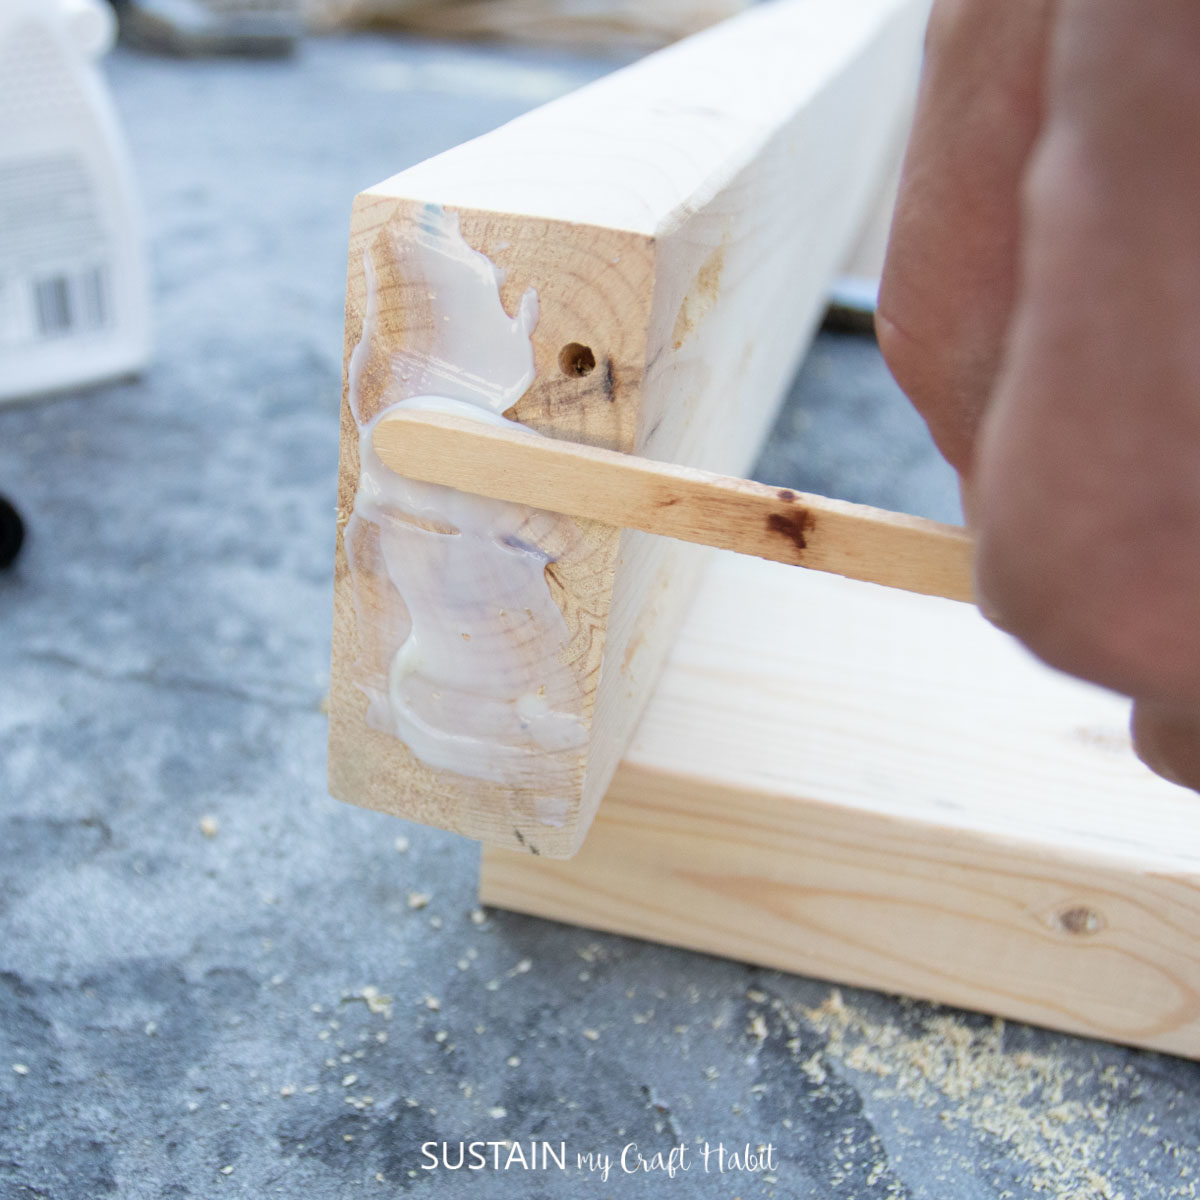
Lay out the 2×4 pieces forming a rectangular box with the longer 2×4 pieces overlapping the ends of the shorter 2×4 pieces.
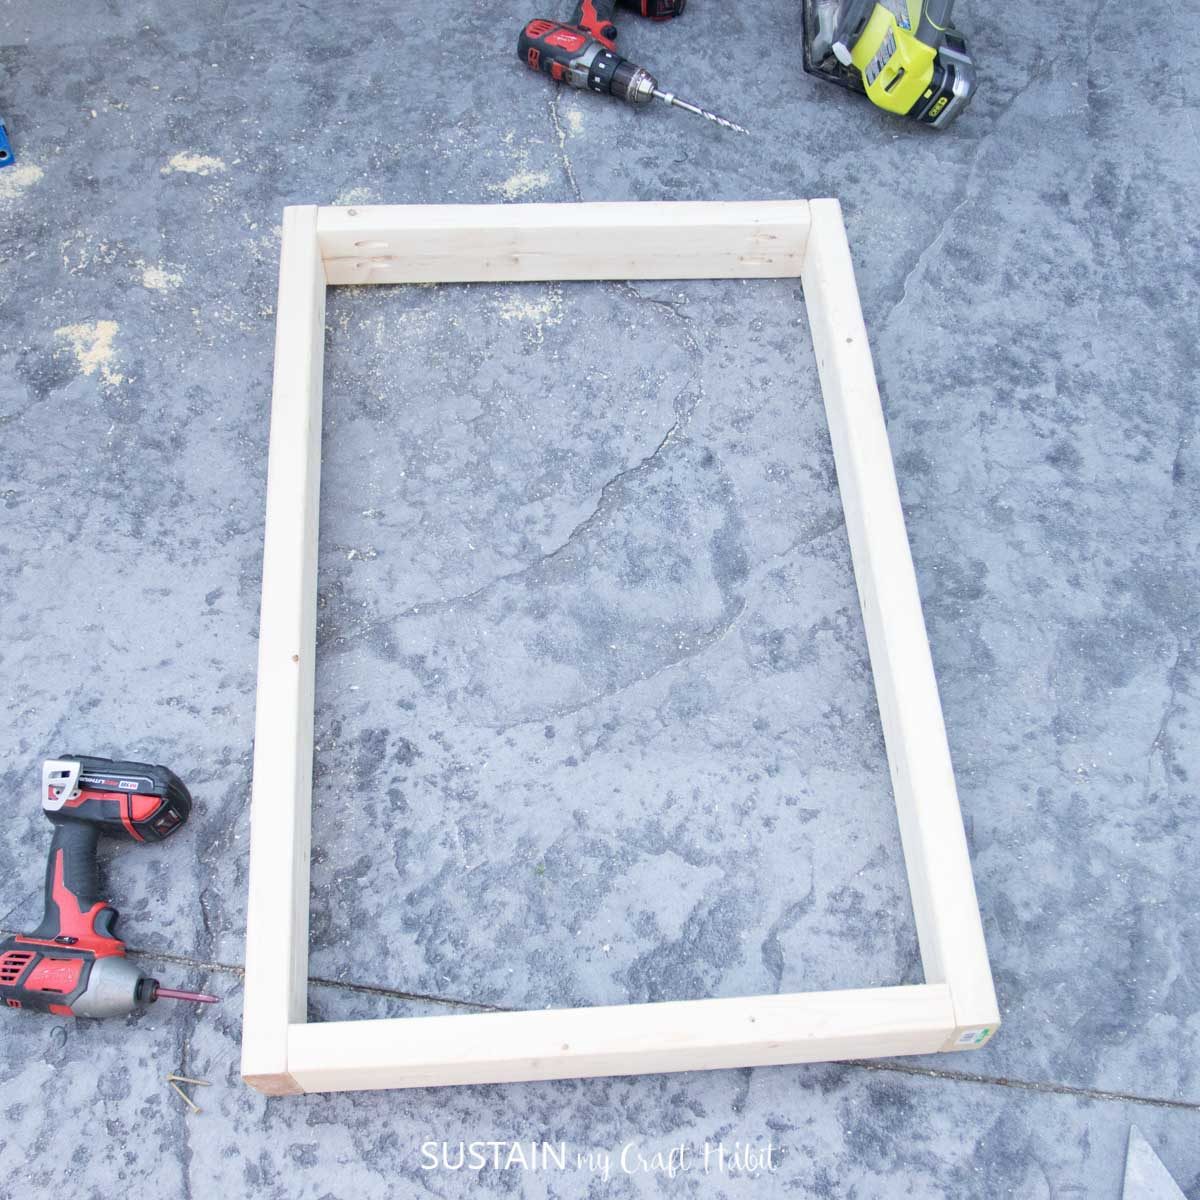
With a drill, screw the corners together through the pre-drilled holes.
Lay the plywood on top of the base and screw together from the top at all 4 corners and every 8-10” apart around the perimeter.
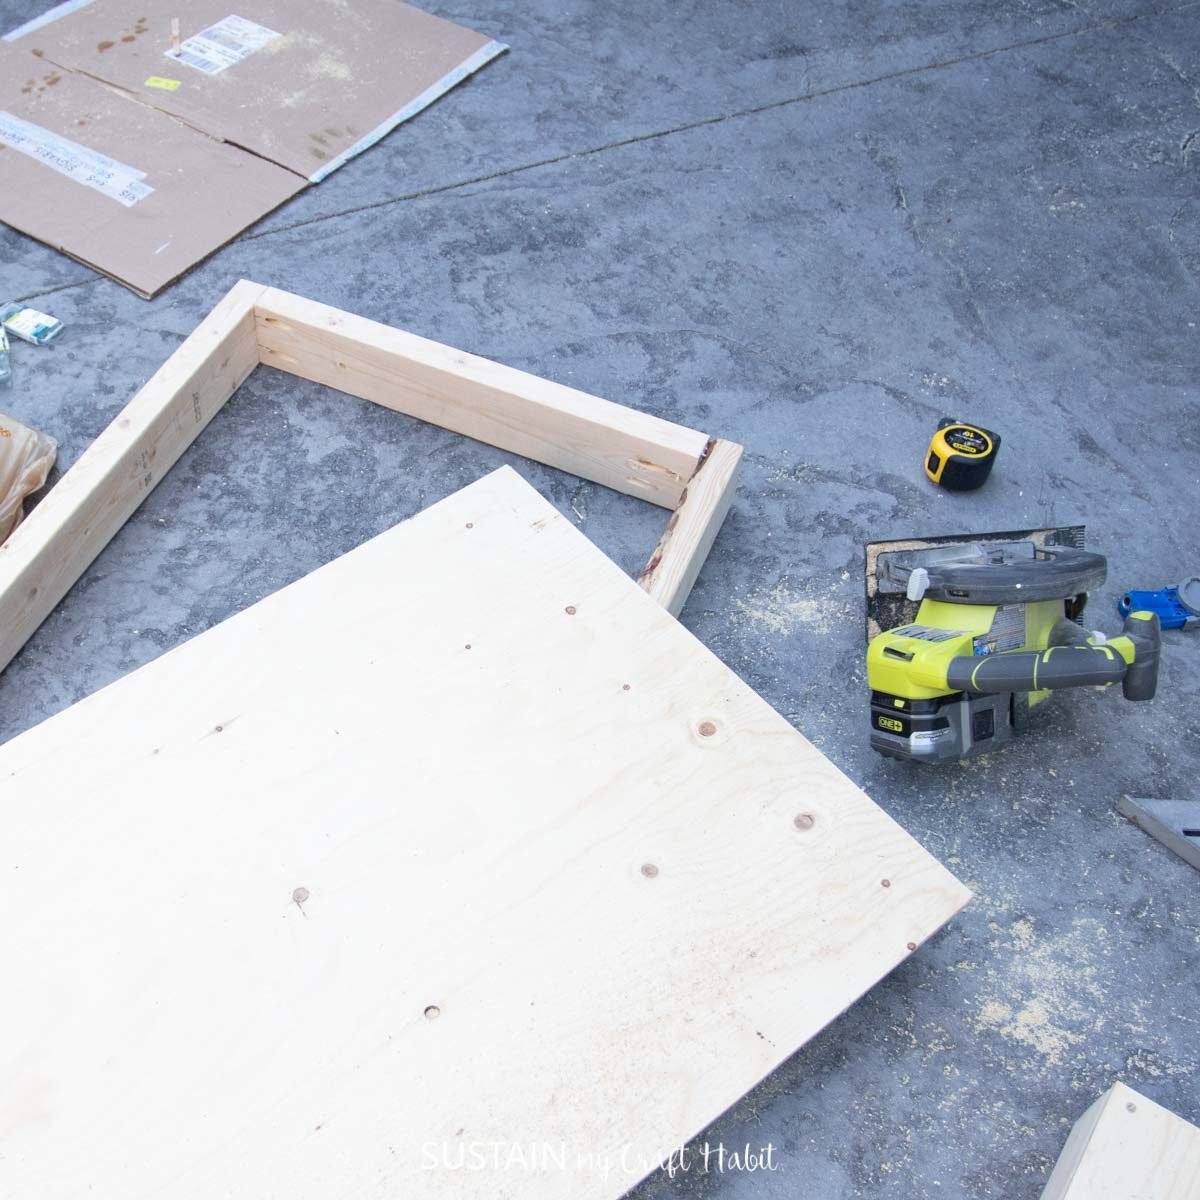
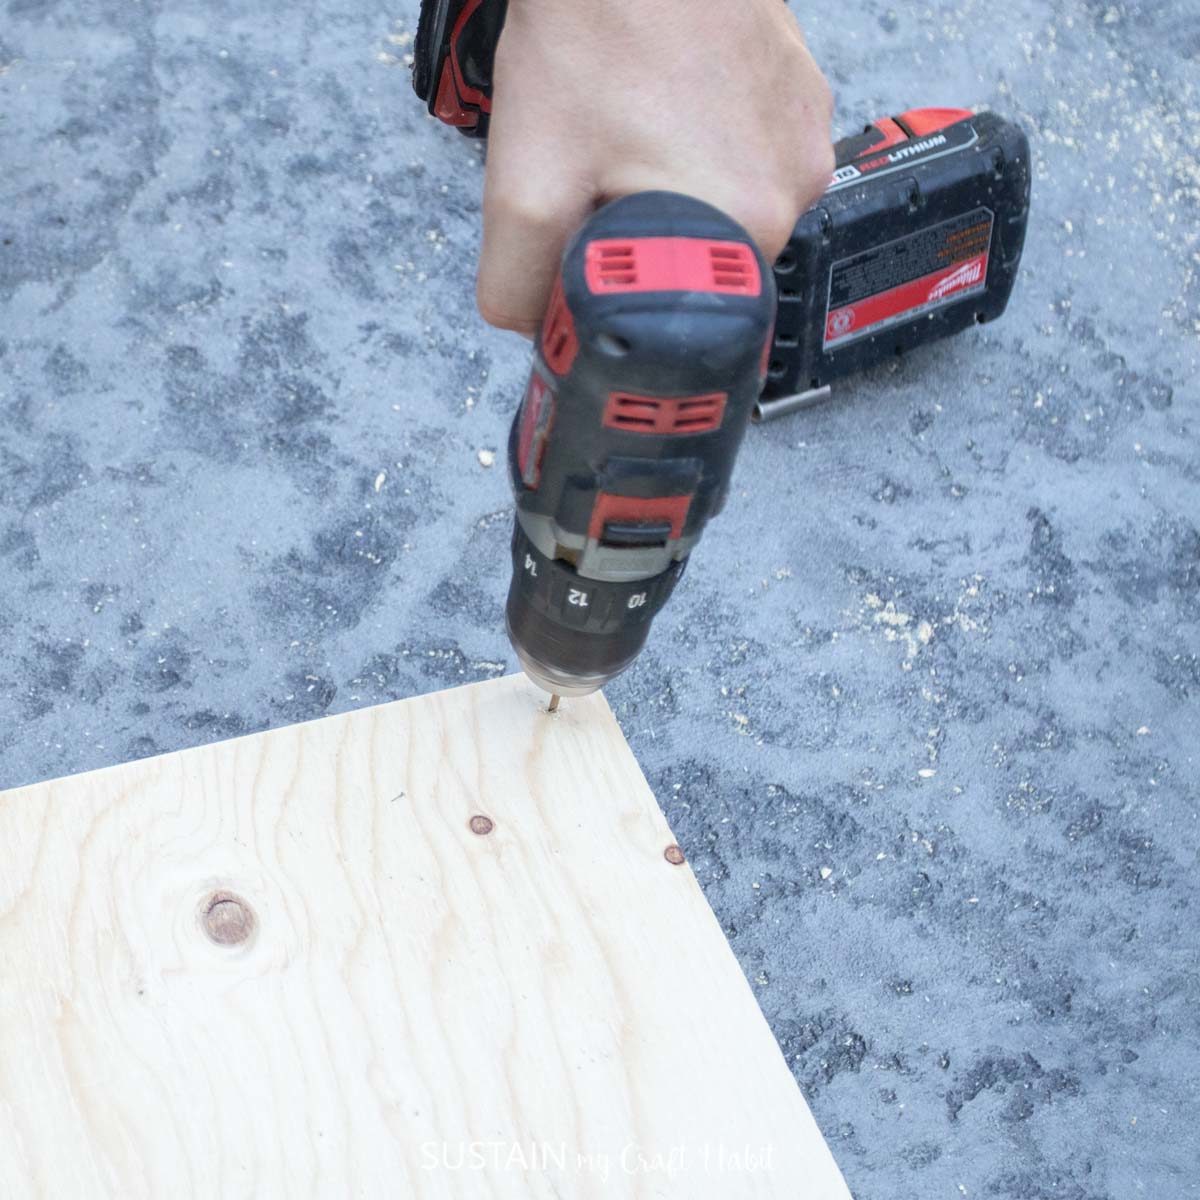
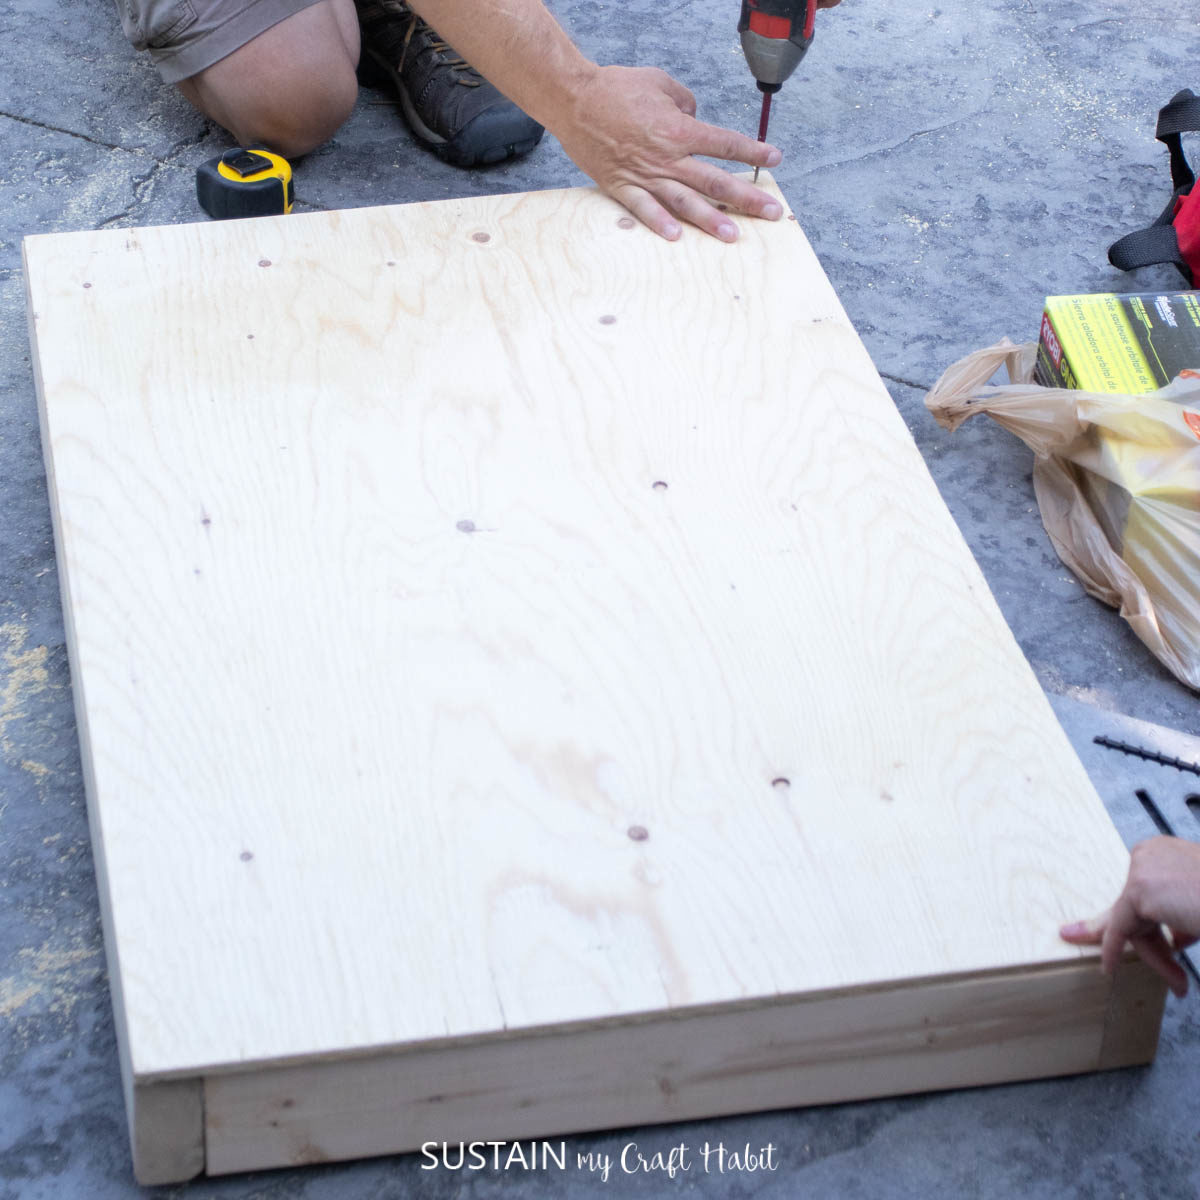
Predrill holes for all of the screws to make assembly easier.
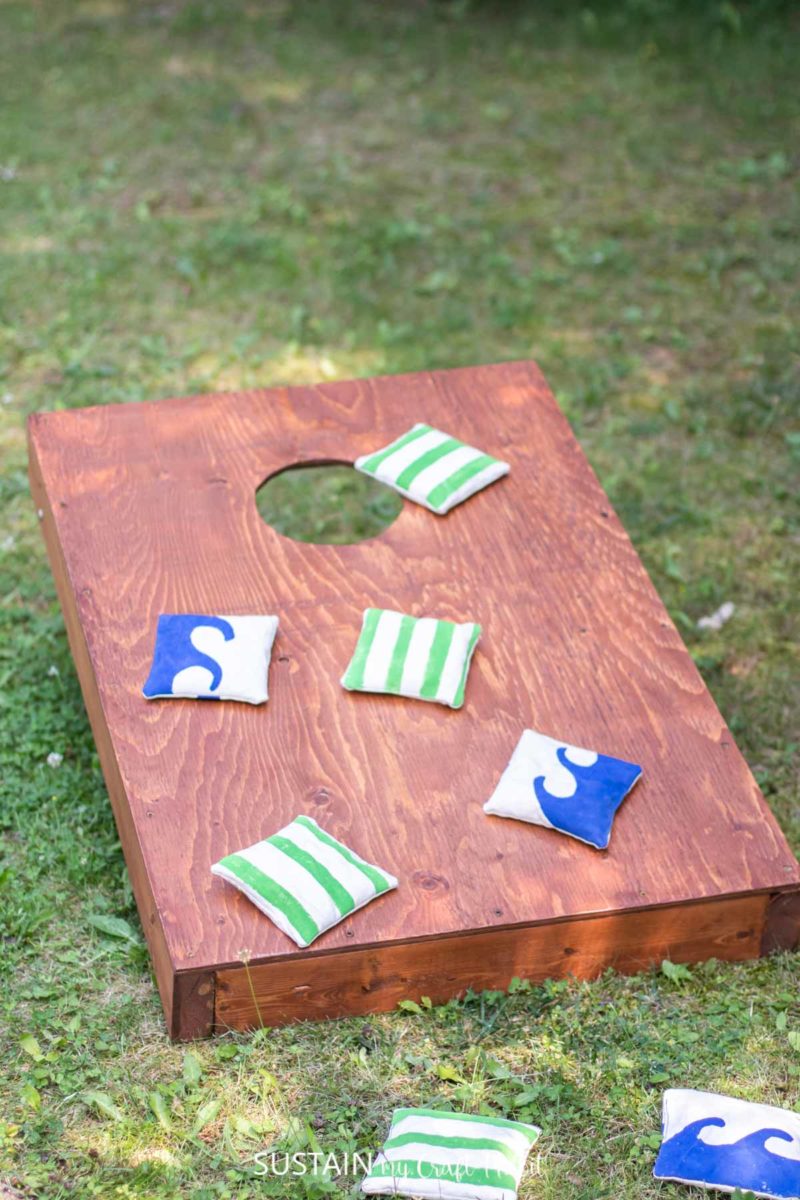
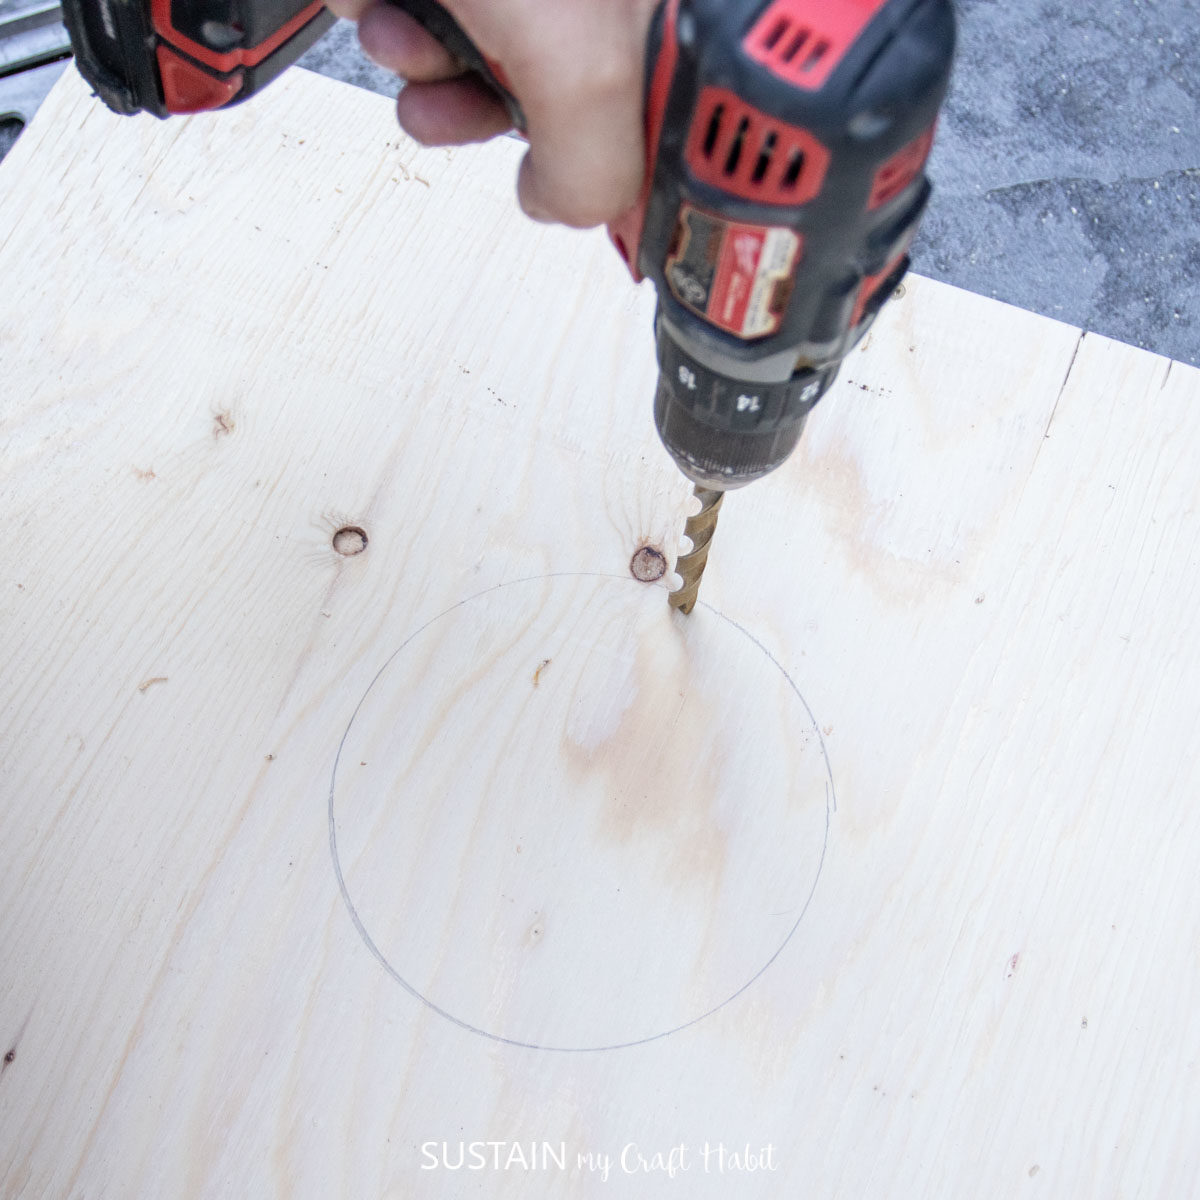
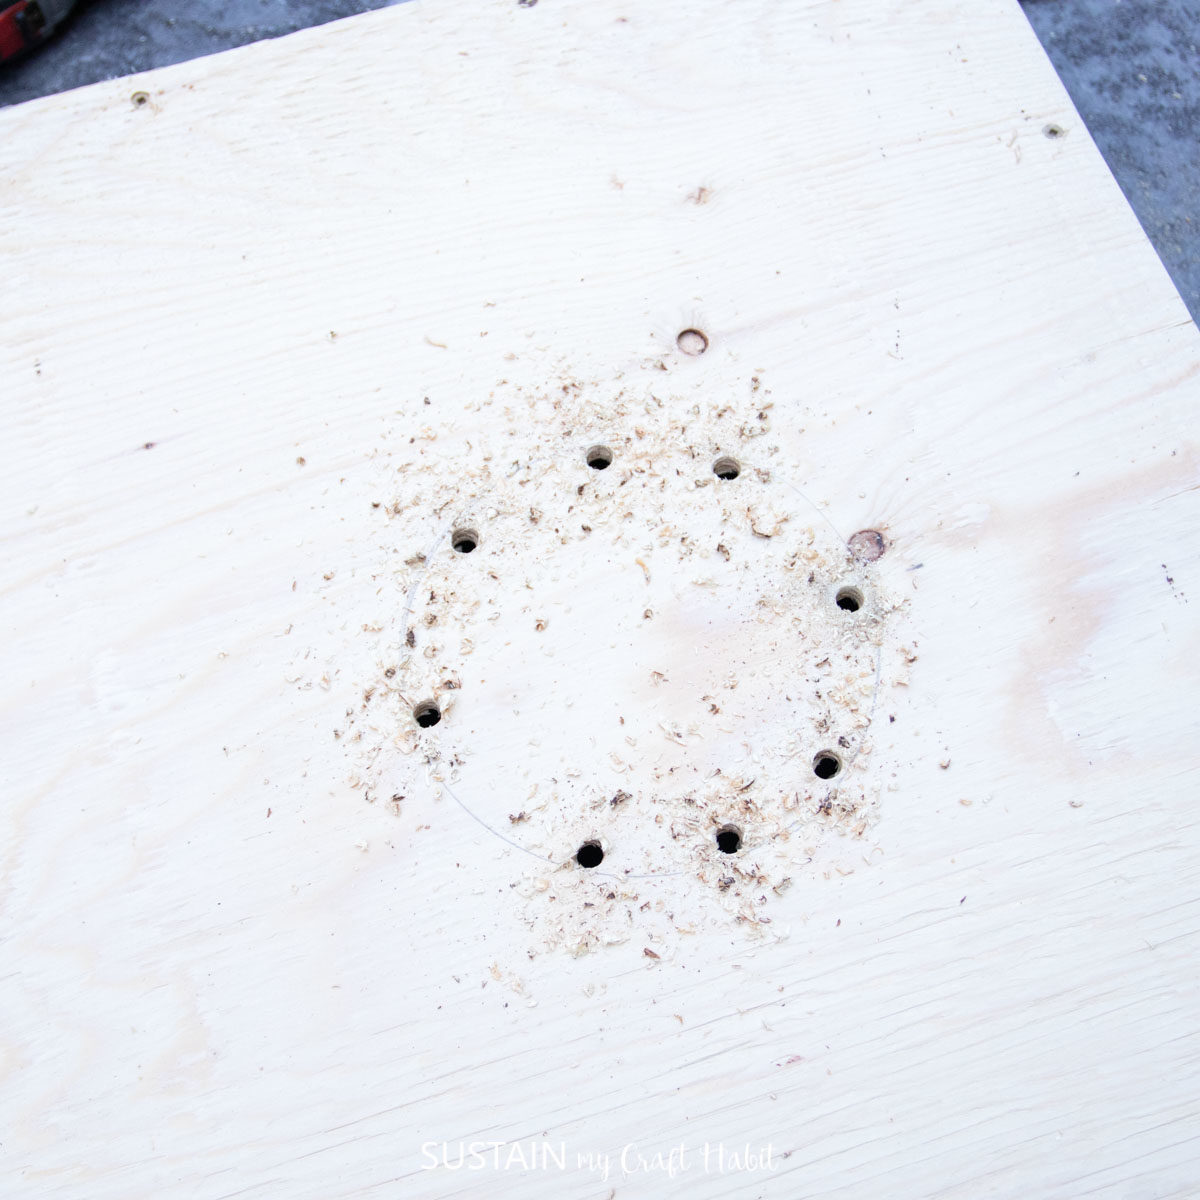
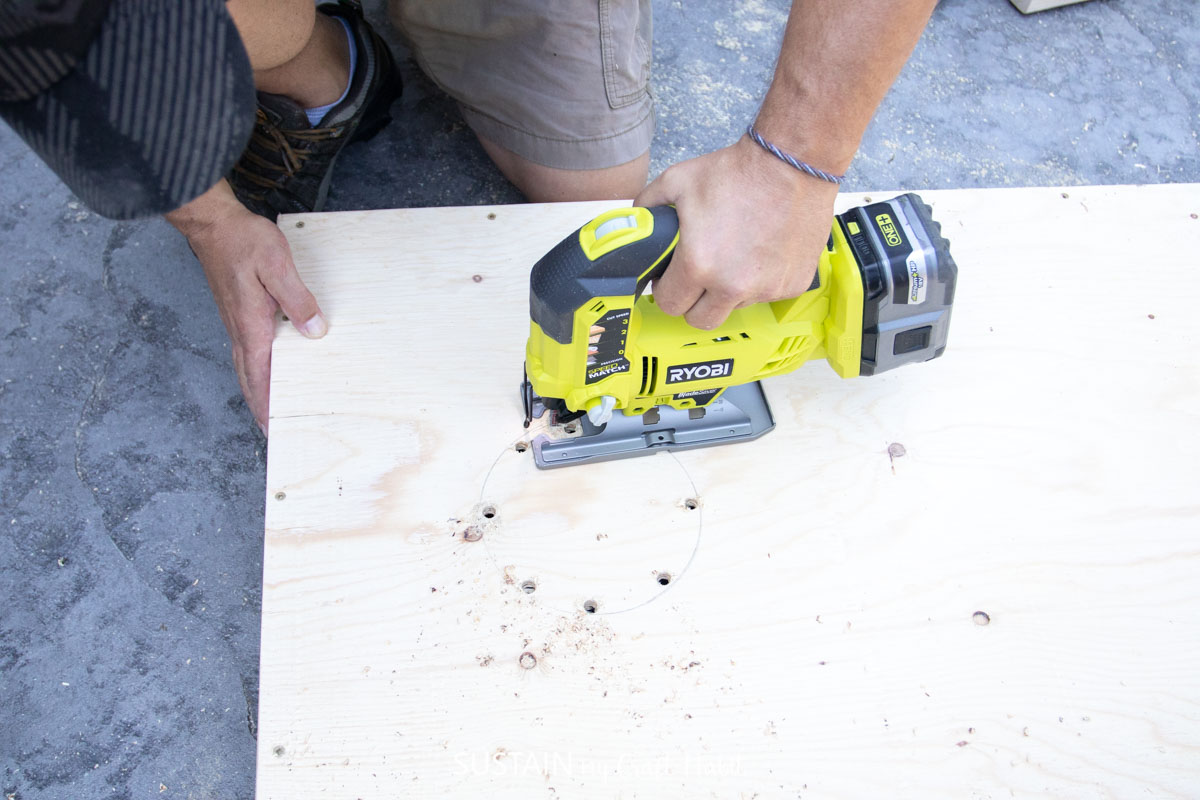
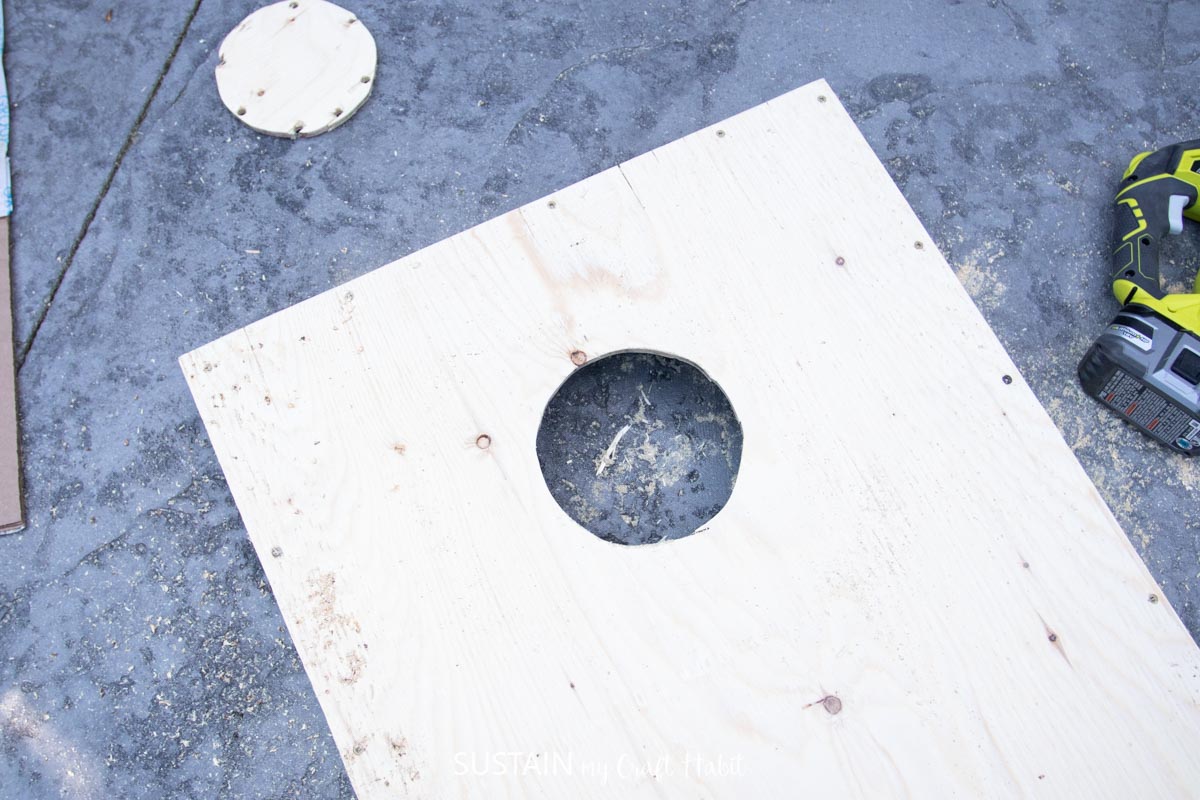
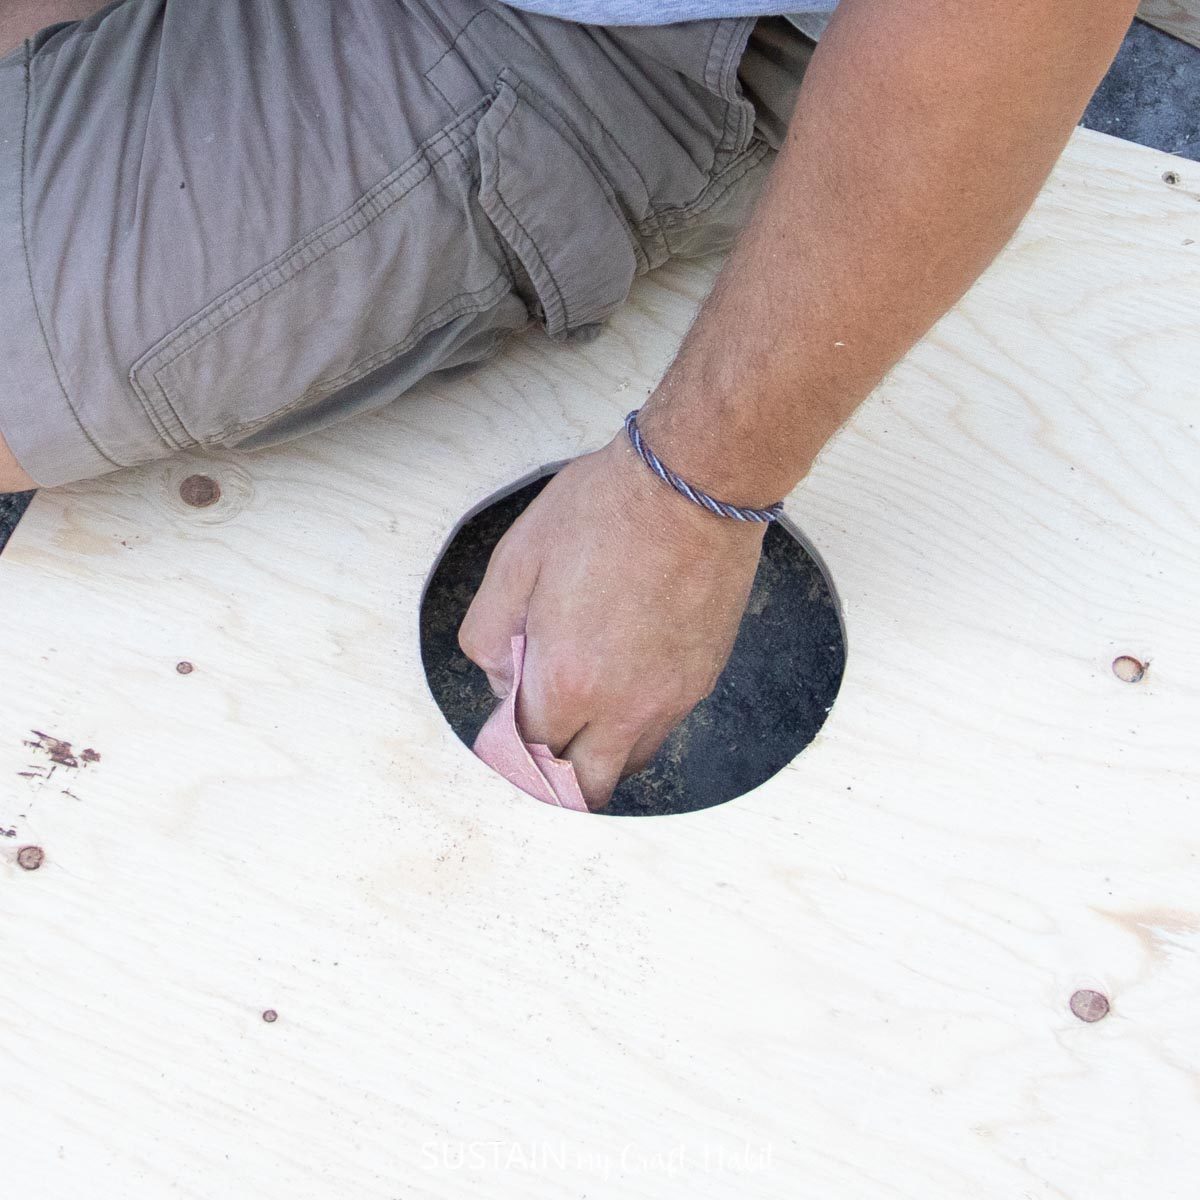
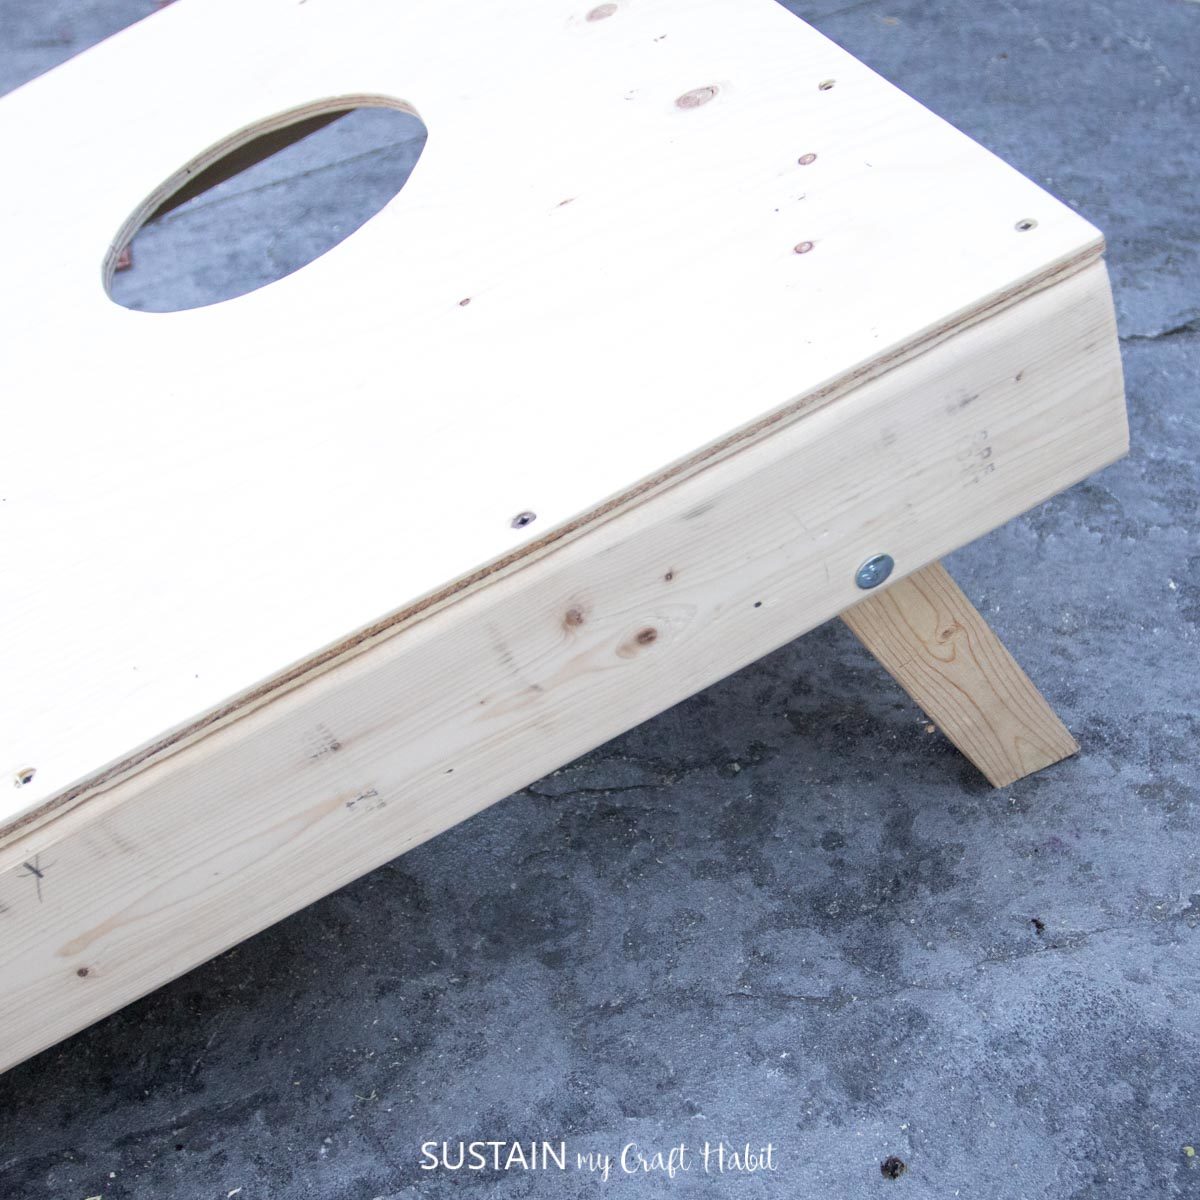
Measure and mark a 6” circle centered at 6” below the top edge.
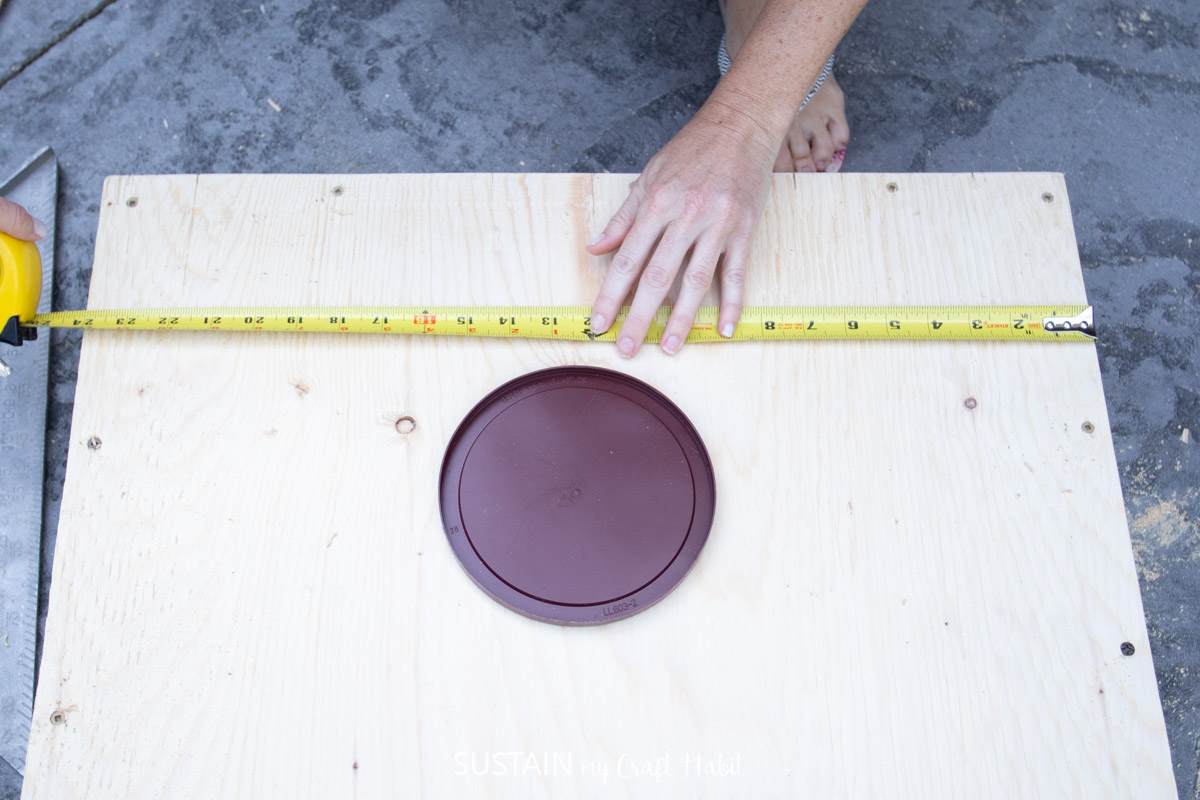
Using a jigsaw, cut out the circle and then sand down the edges to make smooth.
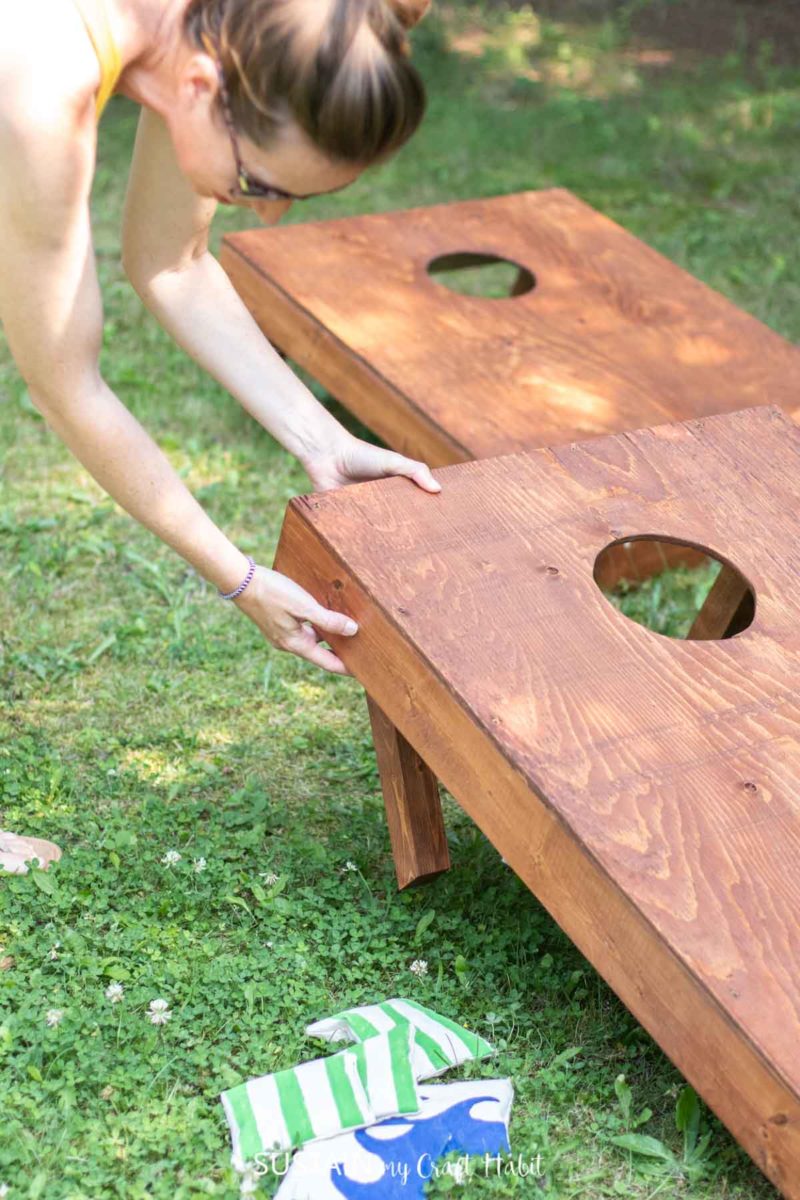
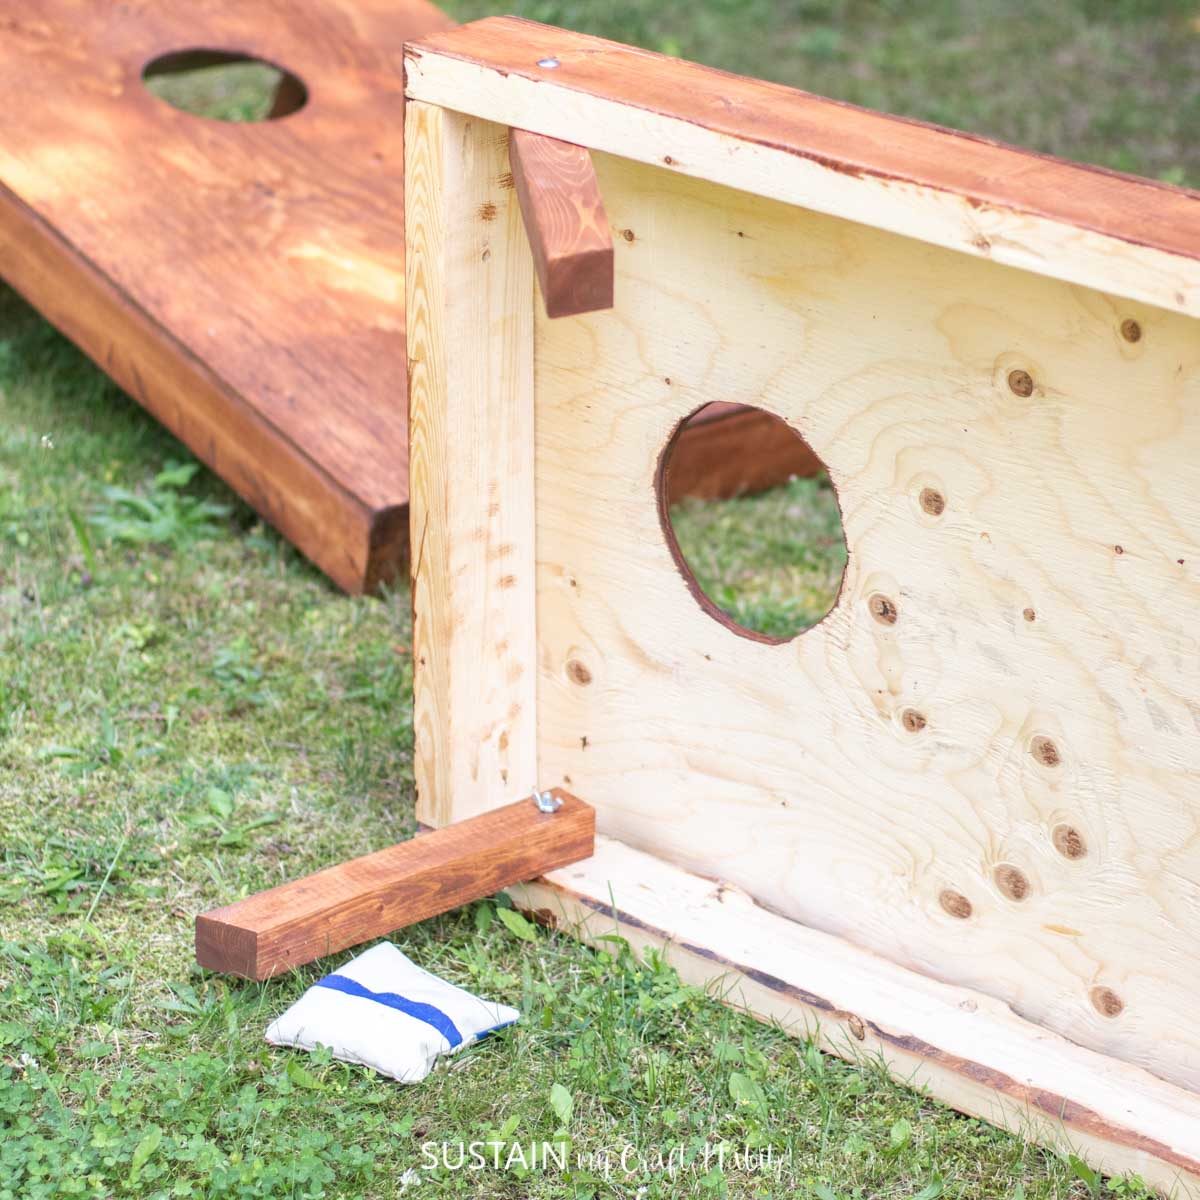
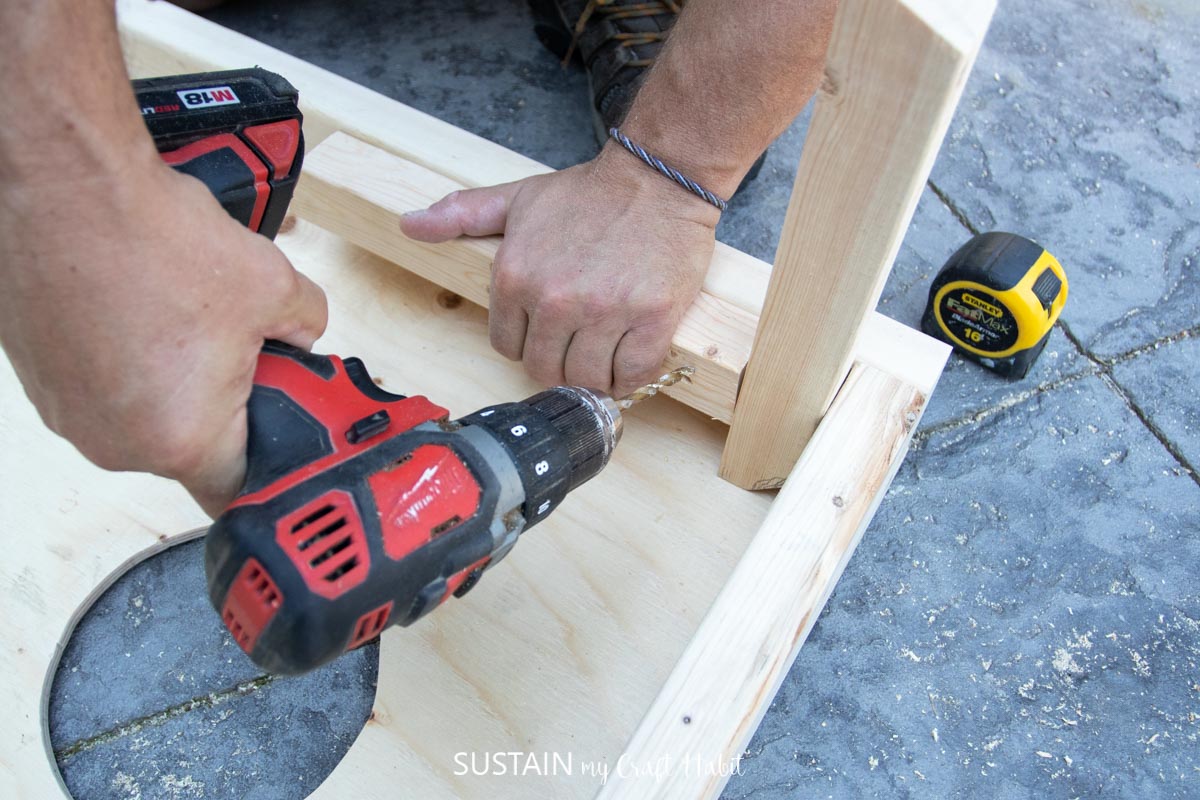
Turn the corn hole game upside down and position the 2×2 legs in the upper left and right corners. Use a spacer of some sort to ensure placement is the same on both sides.
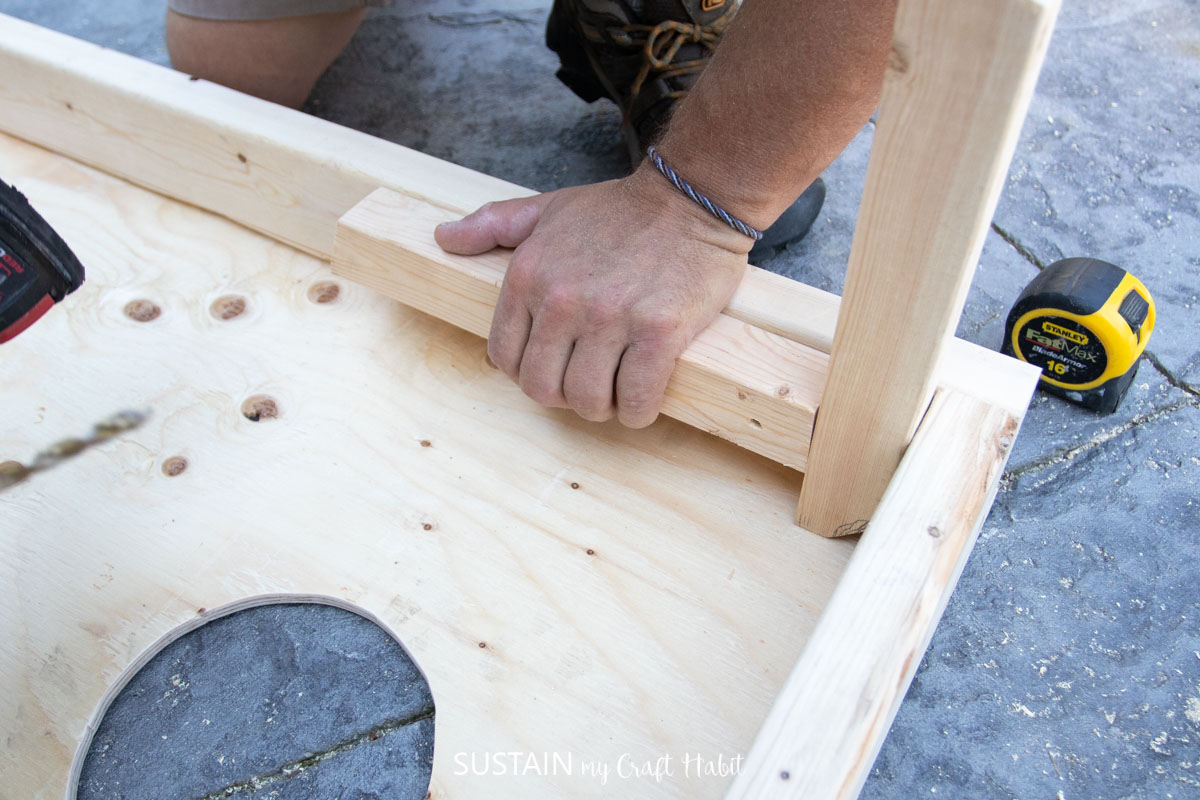
Predrill holes through the flat ends of the 2×2 pieces and through the sides of the 2×4 base.
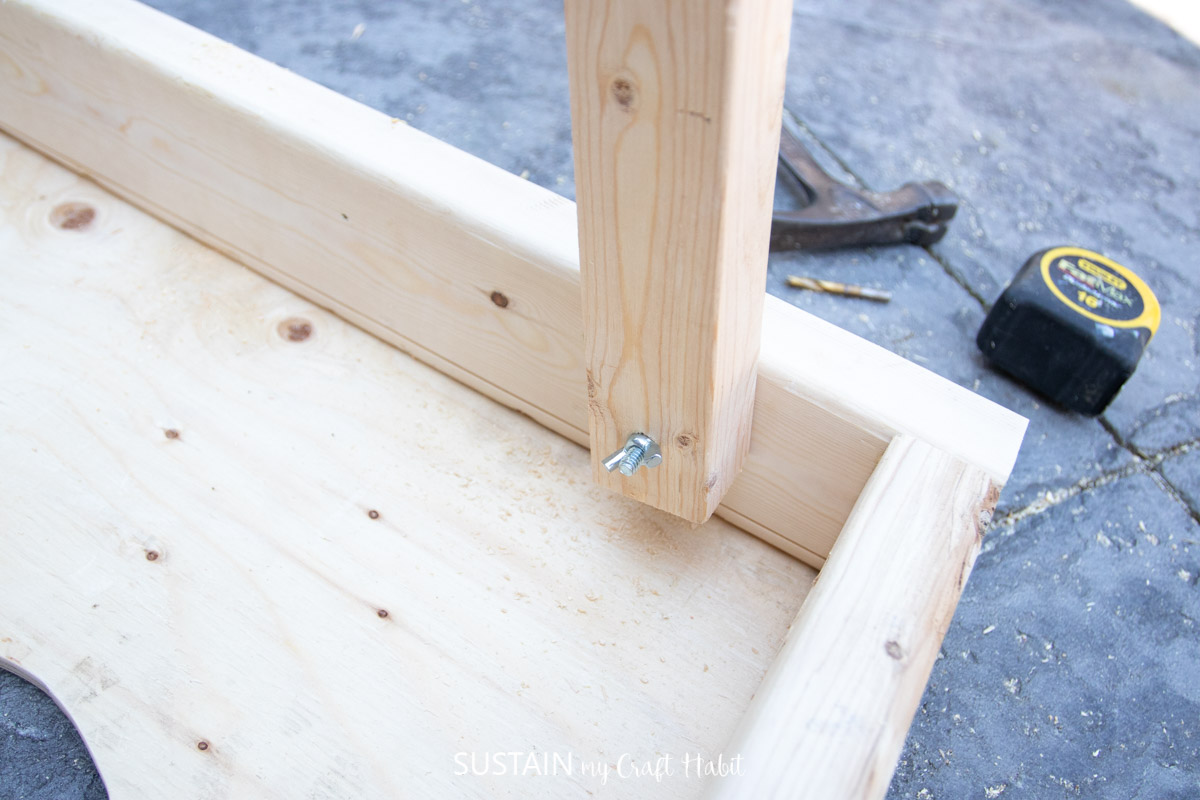
Insert carriage bolts through the holes connecting the legs to the base and use wing nuts to secure and adjust. Add washers to prevent the wood from wearing down when adjusting the tightness.
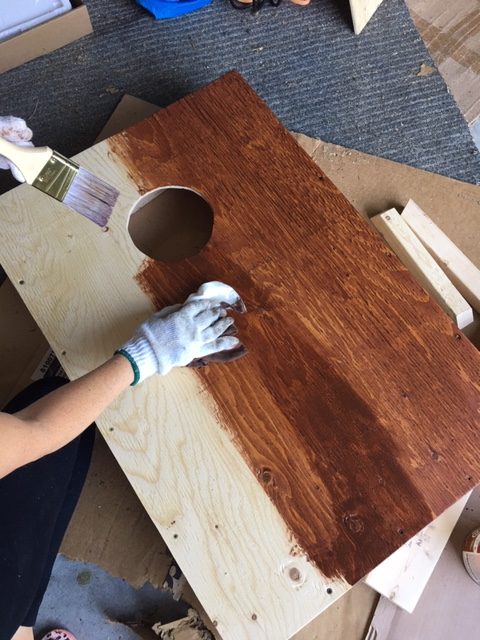
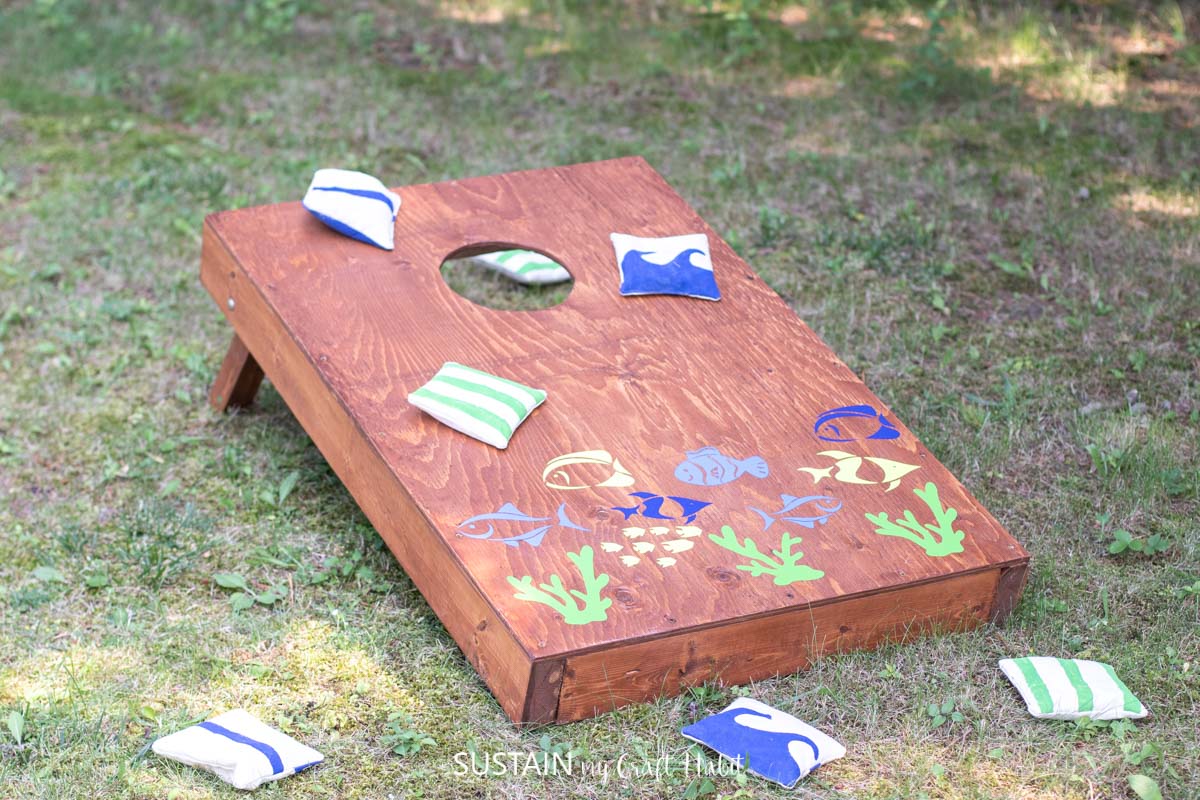
Stain all of the wood surfaces and than apply a weather resistant sealer such as a polycrylic varnish. We used a dark walnut colored stain for our game but a natural color would also look great! Leave the sealer to dry fully 24 to 48 hours before using the game.

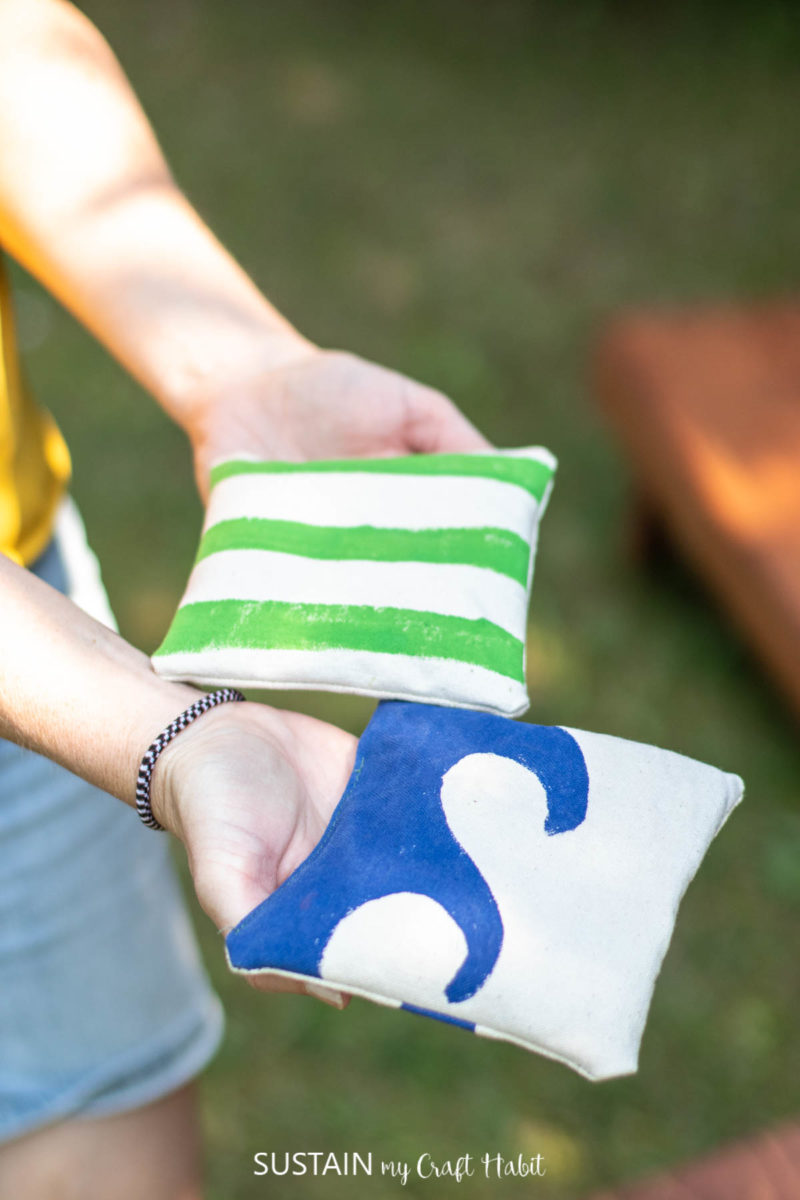
Making the cornhole toss bags
In the meantime, make the bags for playing.
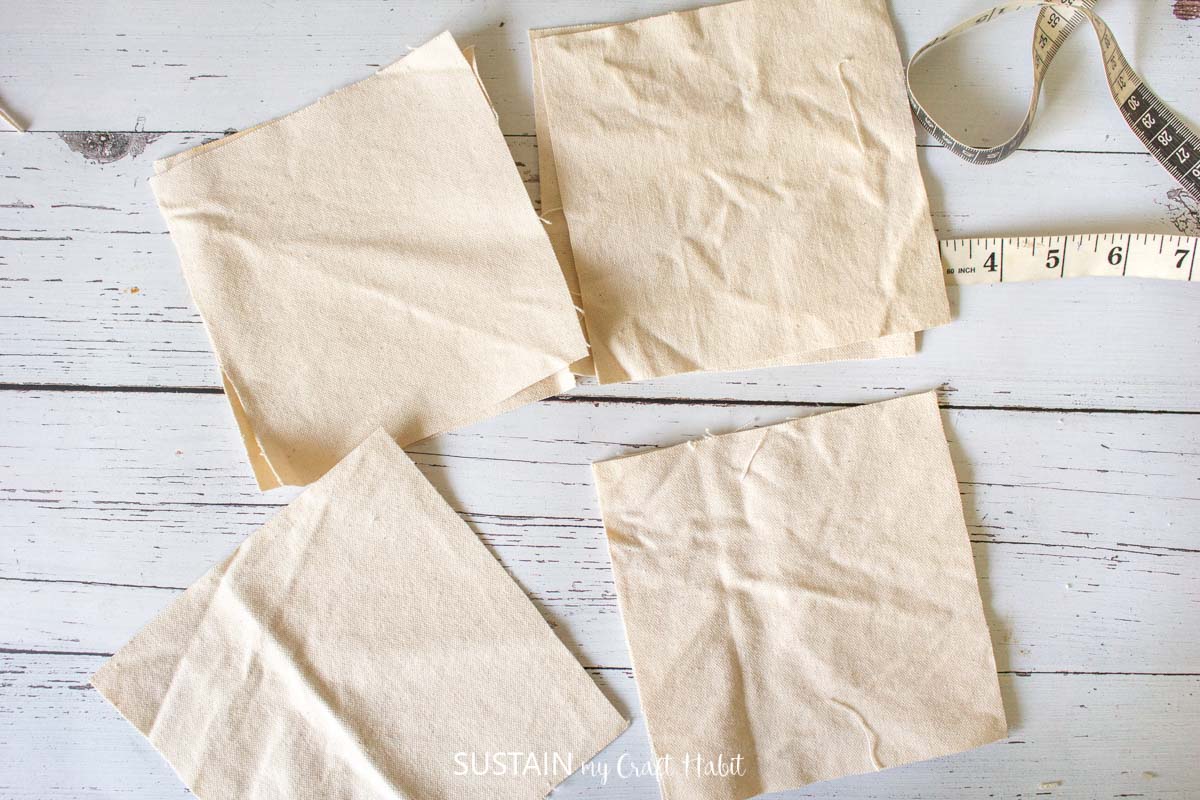
Cut 16 square pieces of 100% cotton canvas measuring 6” x 6” and separate them into two piles of 8.

On 8 of the squares, paint stripes (or polka-dots or other patterns if desired) across the front with a paintbrush in one of the fabric paint colors.
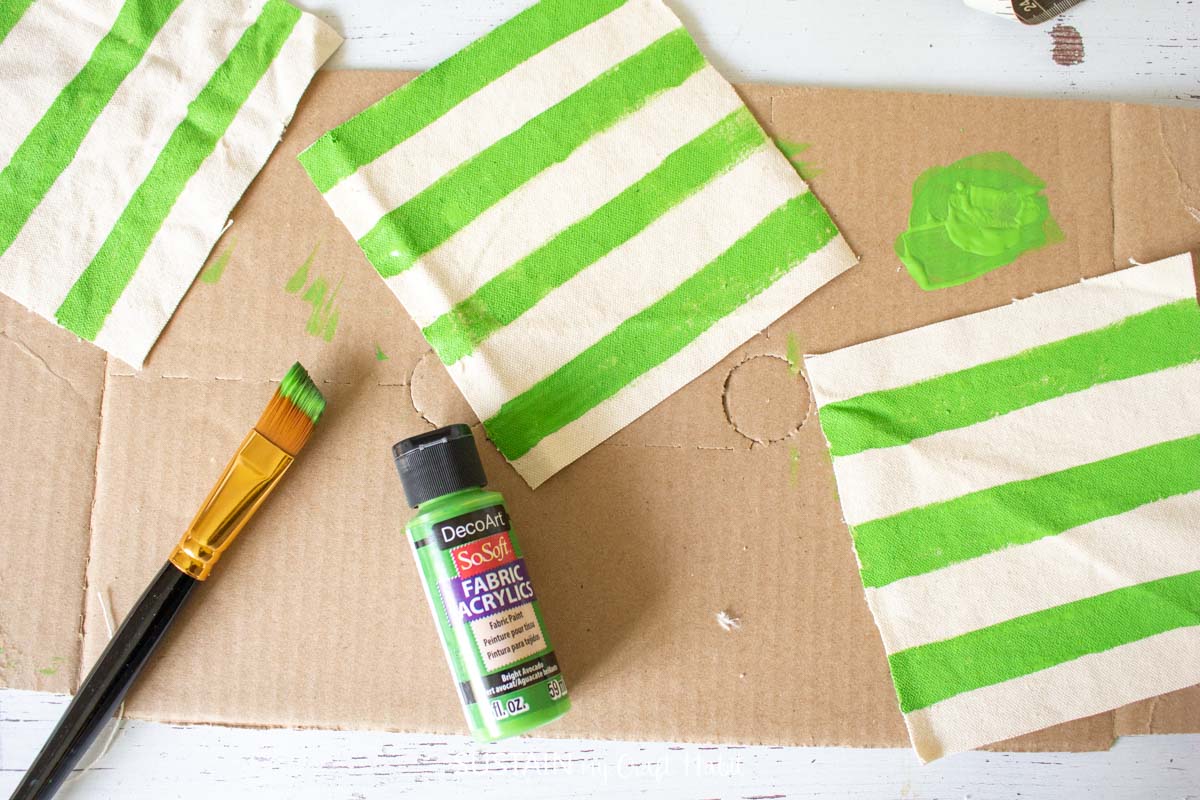
Repeat with the other 8 squares in a different paint color. We painted a wave pattern on one side and a stripe pattern on the reverse side. Let the paint dry before sewing the pieces together.
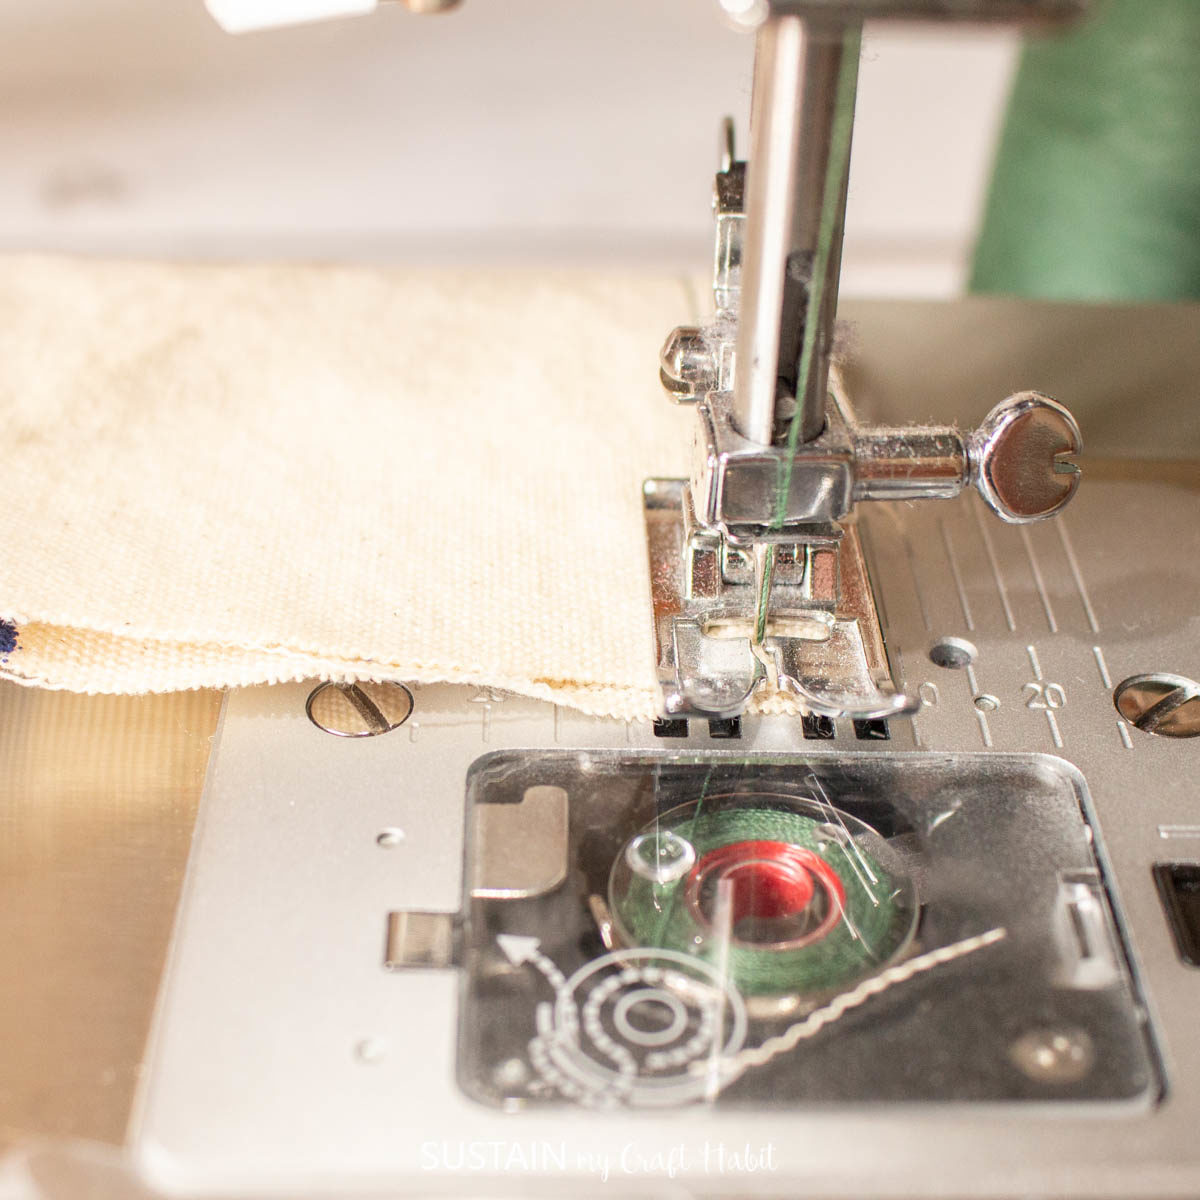
Once dry, line up two same colored squares with right sides together. Stitch around 4 sides of the square with a 1/2” seam allowance, leaving a 2” gap along one side.
Turn the bags right side out and fill with rice.
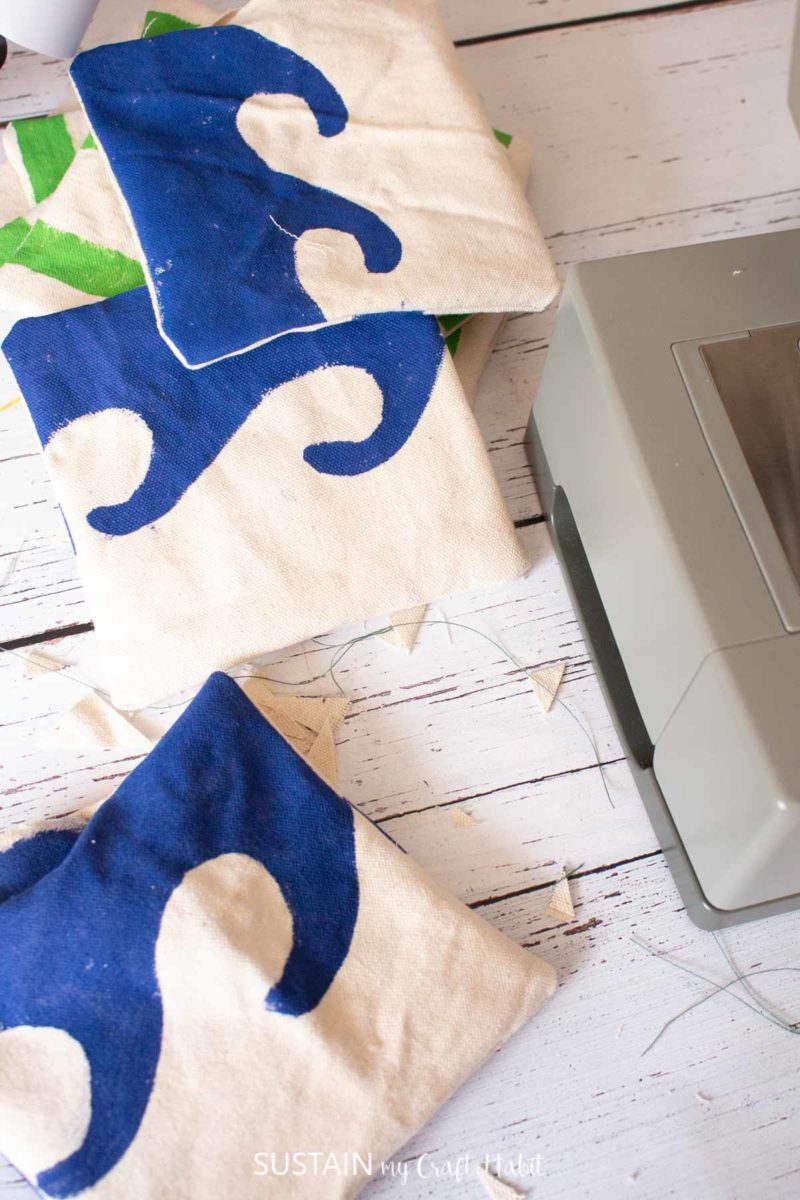
Stitch the gap opening closed to finish and repeat to make 8 bags in total, 4 for each color. Once done, place them along with the boards in the backyard and let the games begin!
For added fun, you can customize the boards with your own decals and designs to make for the perfect cornhole set. Find out how we embellished our cornhole game with fun fishies in an upcoming post.
And for other DIY outdoor game ideas, check out this tic-tac-toe project.
Like it? Pin it for later!