Personalized Gift for Grandpa with the Cricut Maker
Have someone difficult to shop for this holiday season? See how we used our Cricut Maker and EasyPress 2 to create a personalized gift for grandpa that he’s sure to love!
This is a sponsored conversation written by me on behalf of Cricut. The opinions and text are all mine.
Personalized Gift for Grandpa
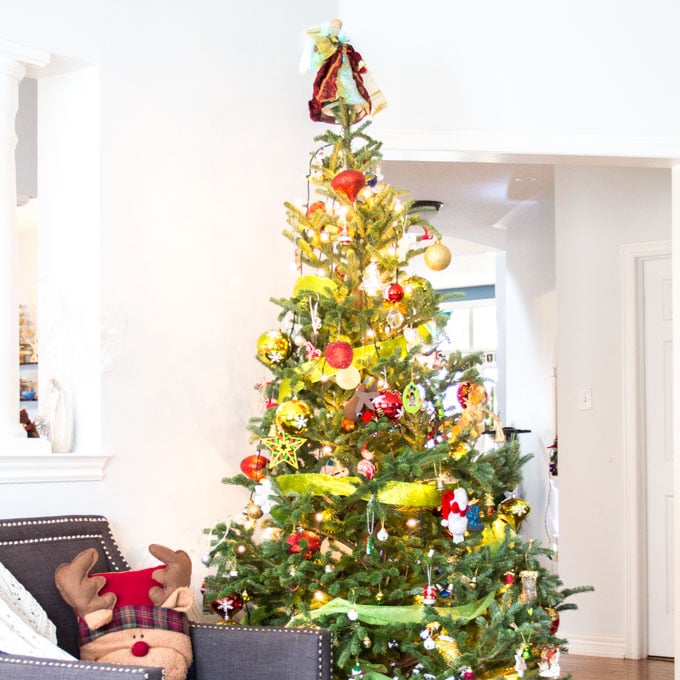
Due to his chronic back pain our dad has a favourite spot on his couch from where he enjoys his television shows. He always has a pillow behind his back for extra support. However, whenever we come to visit, the kids inevitably take “Djeda’s” spot and pillow!
So for Christmas (and his birthday which is on the same day!) we wanted to make our dad a new special pillow.
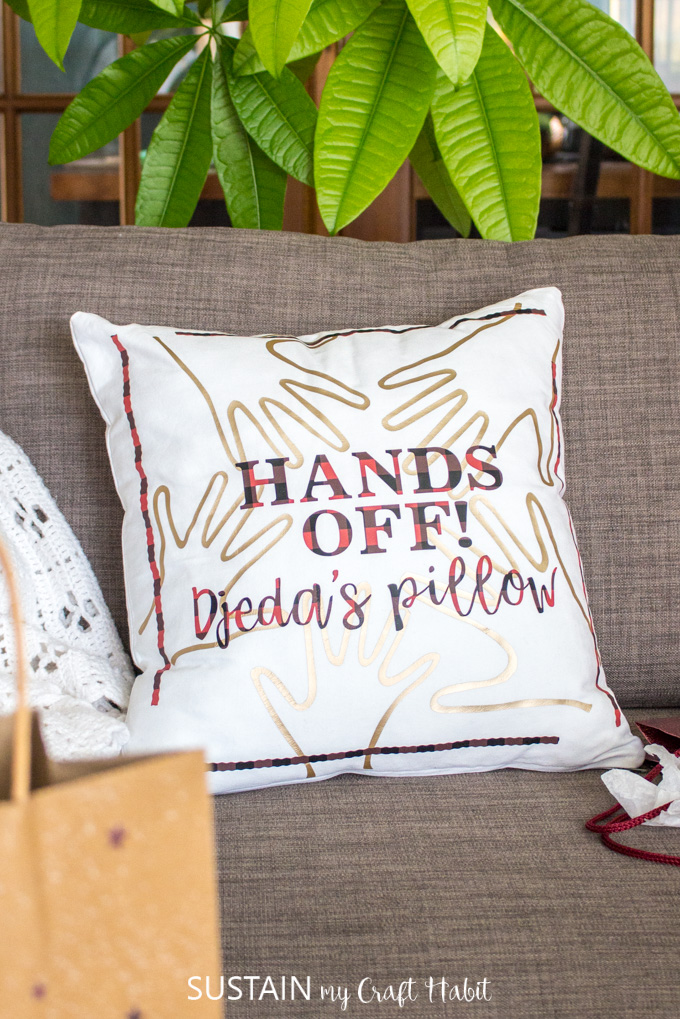
Using the Cricut Maker and EasyPress 2 we captured a handprint from all five of his grandchildren and created a playful, personalized saying for the throw pillow: “Hands off! Djeda’s pillow”. “Djeda” is what the kids call him and there’s nothing more that our dad loves than his grandchildren.
The Cricut Maker made it so easy to create this professional, yet personal, gift idea. With the capability of cutting over 300 materials and a wide range of tools for cutting, scoring, writing and adding decorative effects, the Cricut Maker really does it all! The QuikSwap housing unit, allowed us to effortlessly switch to the Wavy Blade so we could create a nice decorative border around the entire design. The pillow turned out – not too girly 😀 – making it an ideal gift for him.
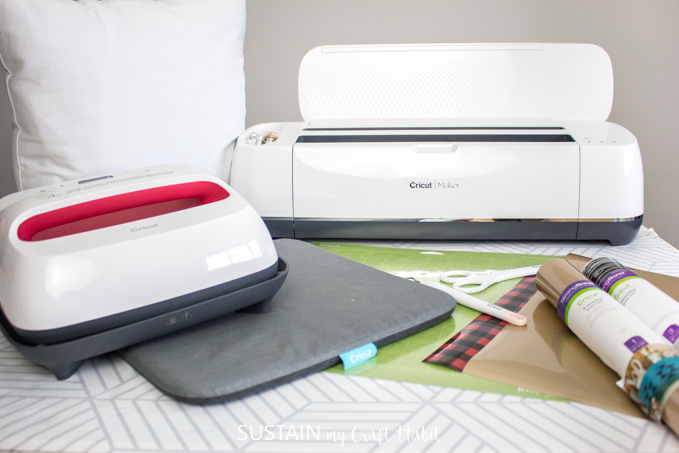
Materials Needed to Make a Hand Print Throw Pillow:
- Cricut Maker Machine
- Cricut Standard Grip Mat
- Scissors
- Design Space Personalized Hand Print Pillow template
- Everyday Iron-On in Gold
- Patterned Iron-On in Buffalo Plaid from the Rustic Lodge Lumberjack Sampler
- Wavy Blade
- Fine Point Blade
- Weeder
- EasyPress 2
- EasyPress Mat
- Throw Pillow cover, 16”x16” (purchase one like this or make your own)
- Pillow Form Insert (purchase one to fit or upcycle your old pillows to make one)
How to Make a Personalized Hand Print Gift for Grandpa:
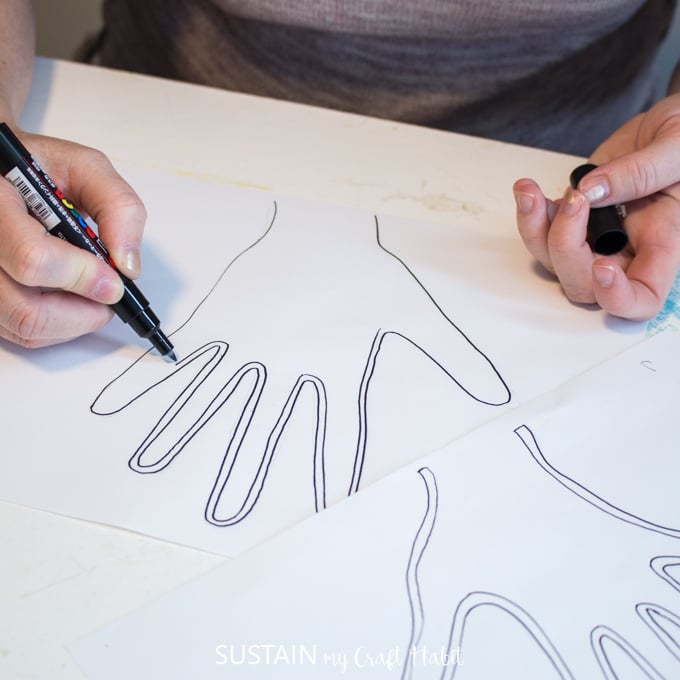
For this project, we started off by tracing each of the kid’s hands. In an upcoming post, we’ll be sharing the full tutorial for uploading your own little ones hand print. But for now, you can skip to the next step and upload the hand print design template and size the hand print patterns accordingly.
Cutting the Iron-on Vinyl with the Cricut Maker
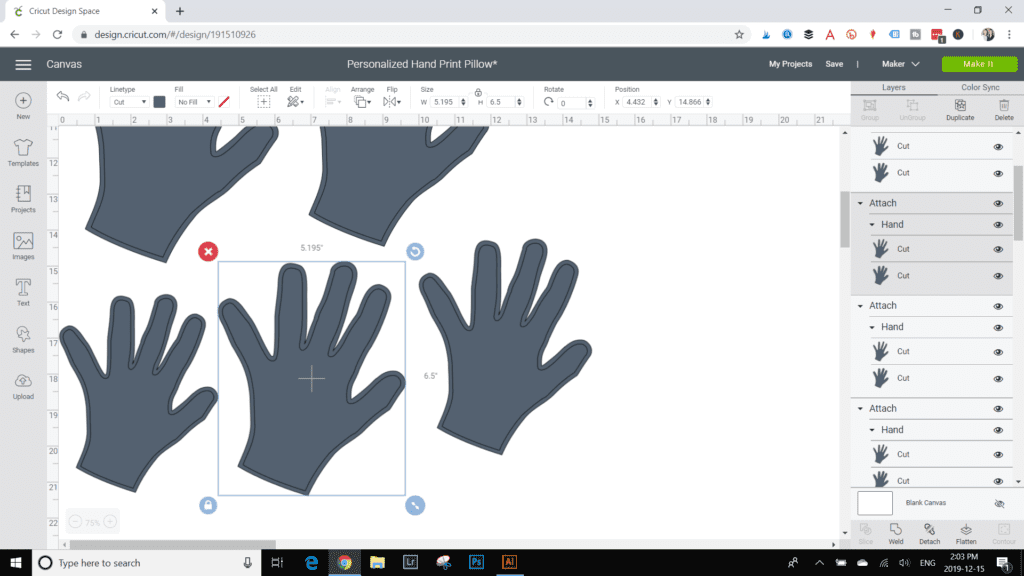
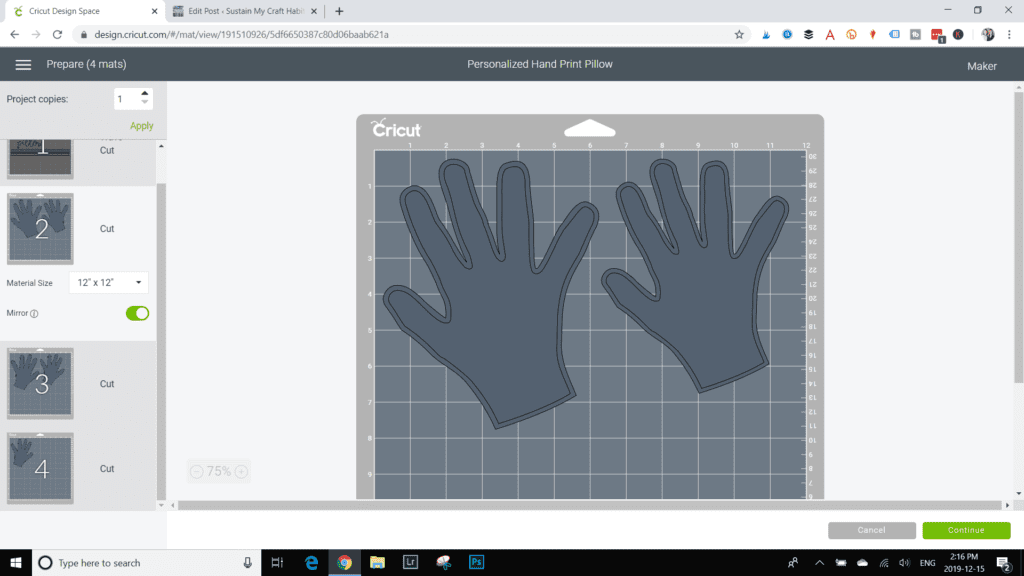
Upload the Personalized Hand Print Pillow pattern template from Design Space.

Select Customize to adjust the hand print patterns: our dad has five grand children so we sized each of the hand prints to the length of each of the kids starting at 5.5″ long to 7.5″ long.
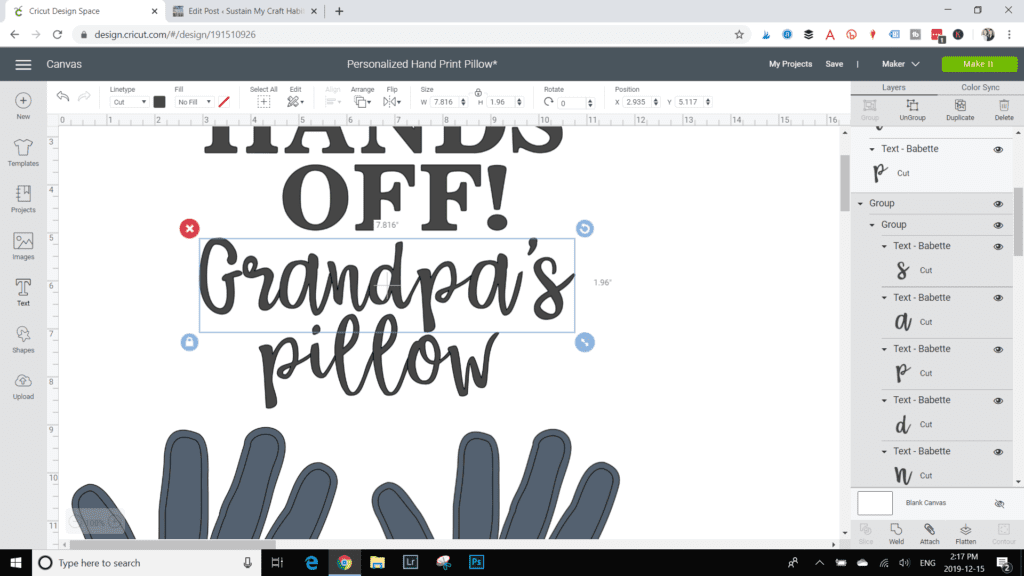
And if your kids have a “papa” or a “djeda” (like us) instead of a “grandpa”, you can also adjust the text accordingly. Refer to this post for help on letter spacing in Cricut’s Design Space. When ready click on Make It.
Position the hand print patterns on a few different mats and select the iron-on vinyl sheet size. Click on the “mirror on” toggle button for all iron-on vinyl cuts.
Press Continue. Set the material option to Everyday Iron-On vinyl. In our case, the cut worked best when pressure was set to more versus default.
Place a sheet of Everyday Iron-On Vinyl in gold on a standard grip mat with the shiny side down.
Ensure the fine point blade is inserted in the Cricut Maker and load the prepared mat.
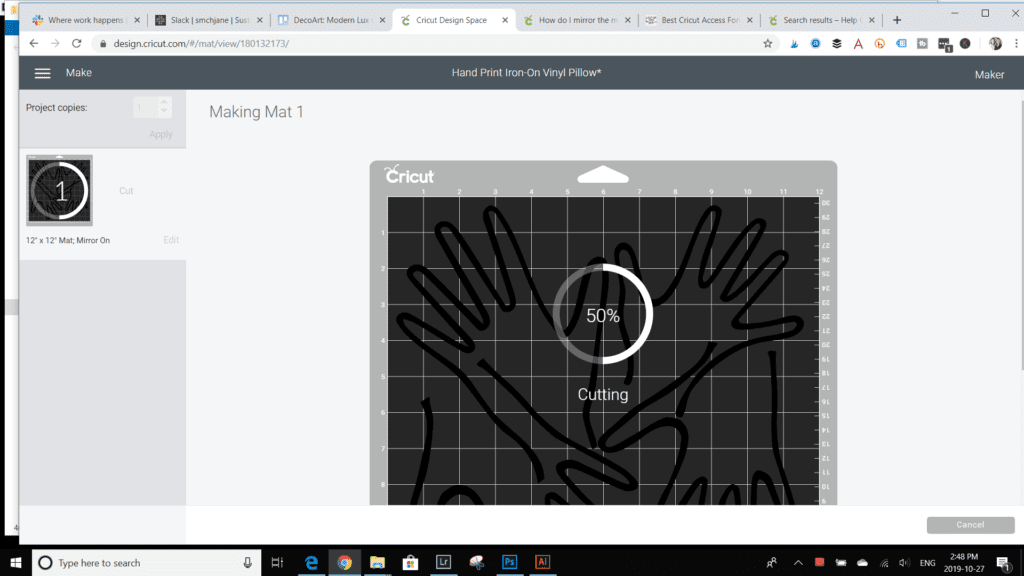
Press continue to have the Maker cut out the pattern precisely.
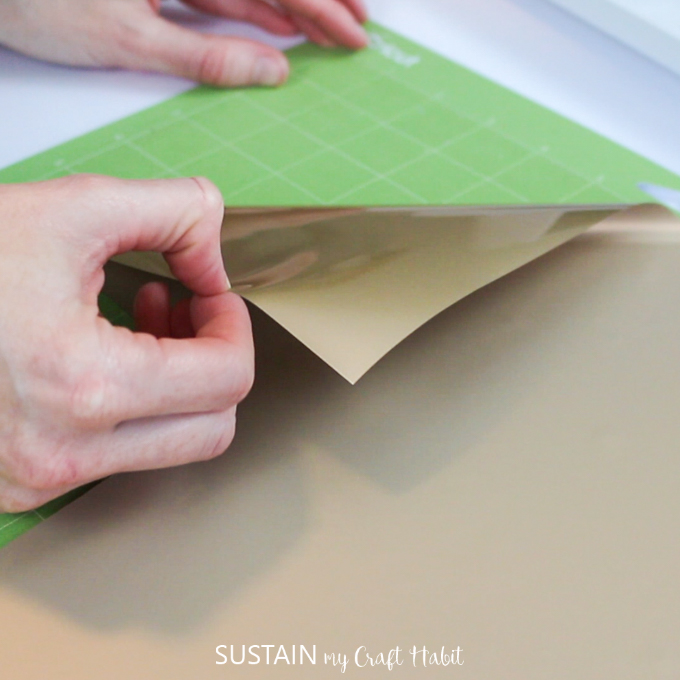
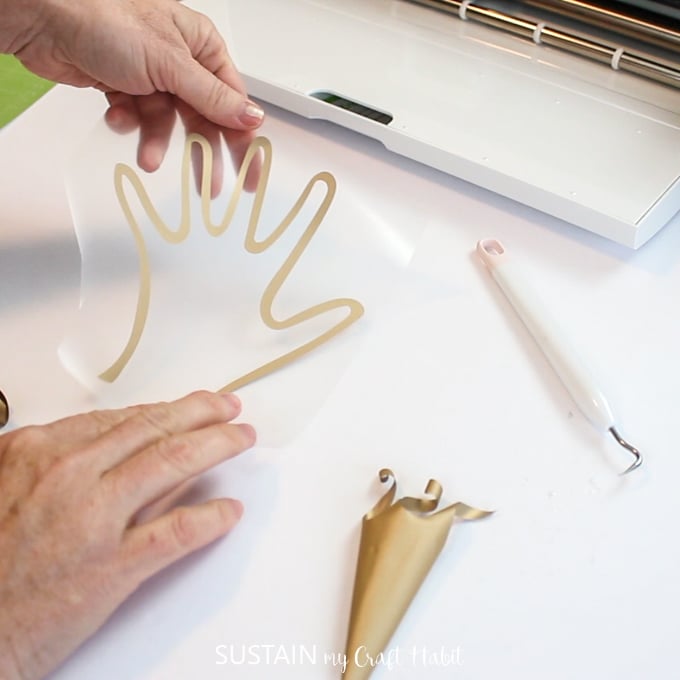
When prompted unload the mat and peel away the iron-on vinyl sheet from the mat.
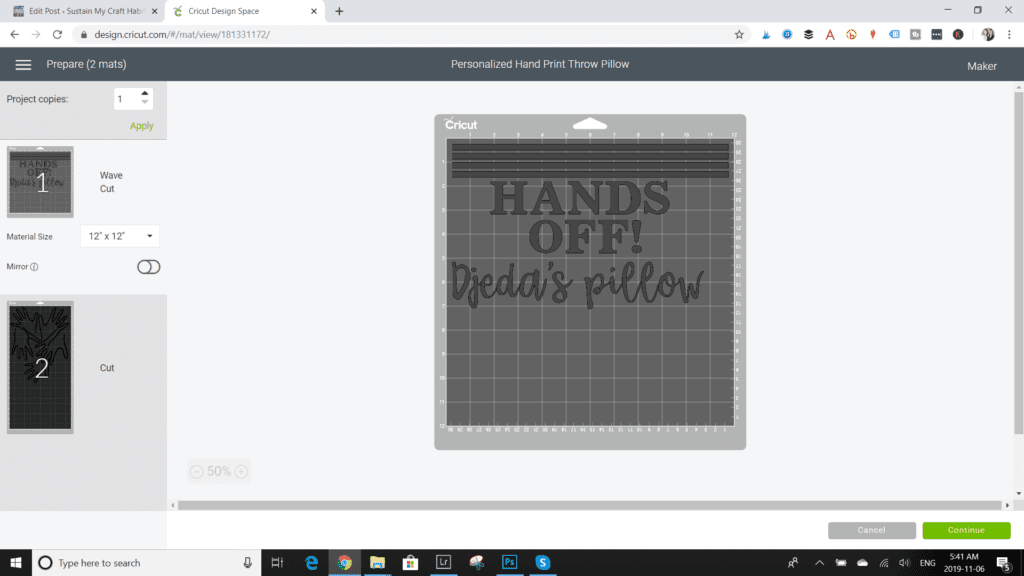
Continue with the remaining pattern pieces (“HANDS OFF Djeda’s pillow” text and decorative wavy strips) by following the prompts in Design Space.
Place a sheet of buffalo plaid pattern iron-on vinyl on the standard grip mat shiny side down.
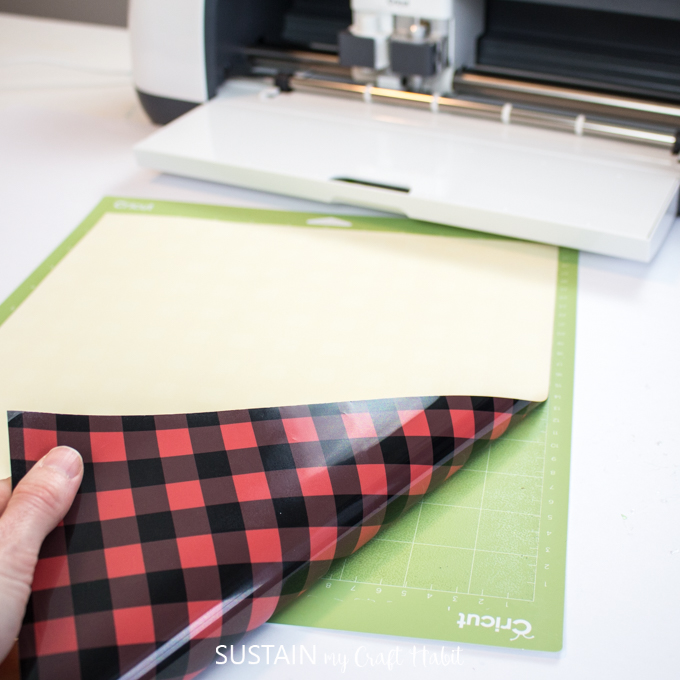
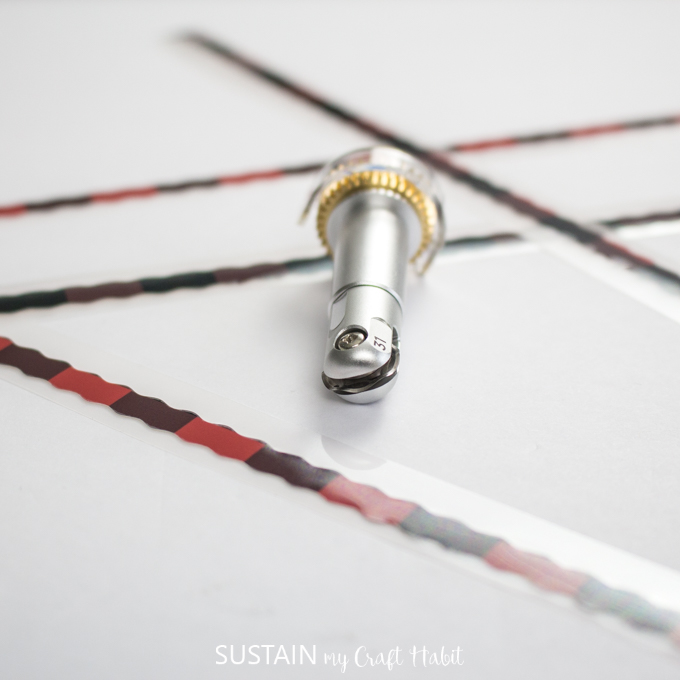
Following the prompts on the screen, insert the wavy blade into the Cricut Maker and load the prepared mat. Only the long strips for the border will be cut with a wavy edge.
The screen will then prompt you to switch the tool to a fine point blade for cutting out the text.

When complete, unload the mat and peel off the iron-on vinyl sheet.
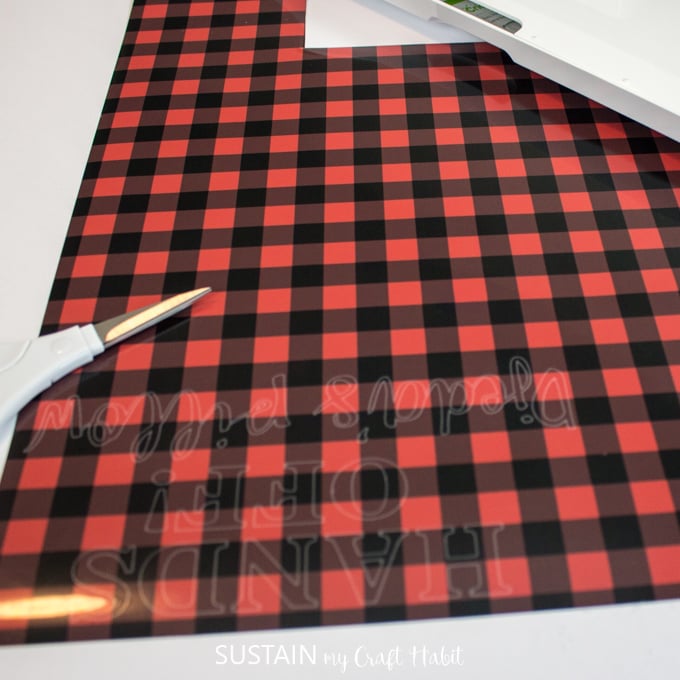
Remove all the excess iron-on vinyl with the help of a weeder and cut the hand prints and long wavy strips into separate pattern pieces.
Applying the Iron-on Vinyl with the EasyPress 2
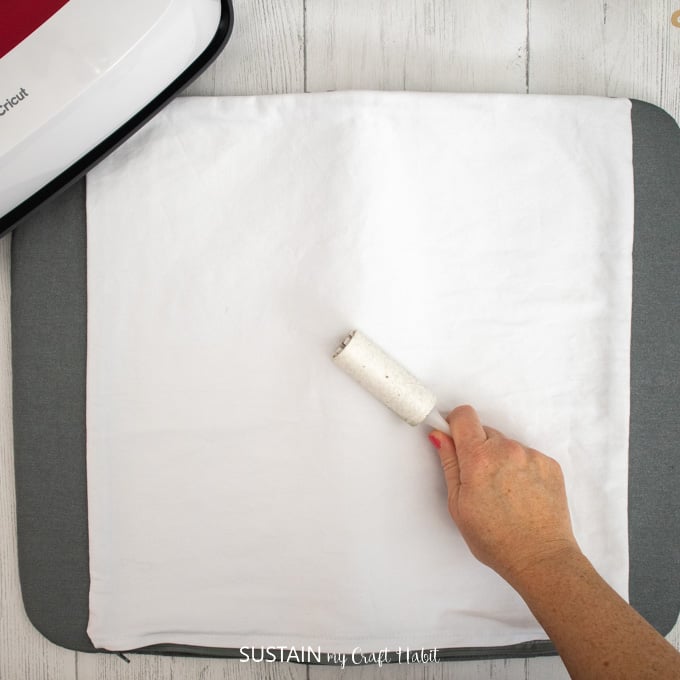
Place the throw pillow cover on top of the EasyPress 2 mat and use the lint roller over the tote bag to eliminate any loose fibers before heat pressing.
Preheat the fabric for 5 seconds.
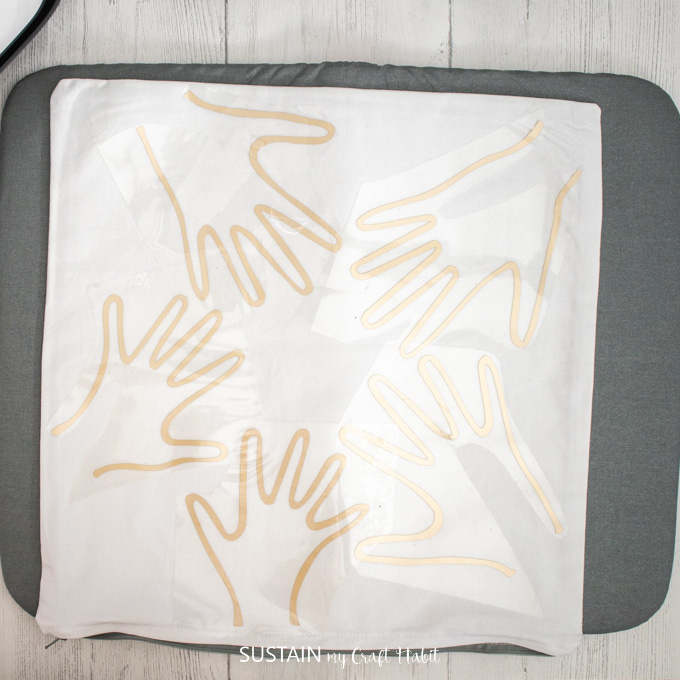
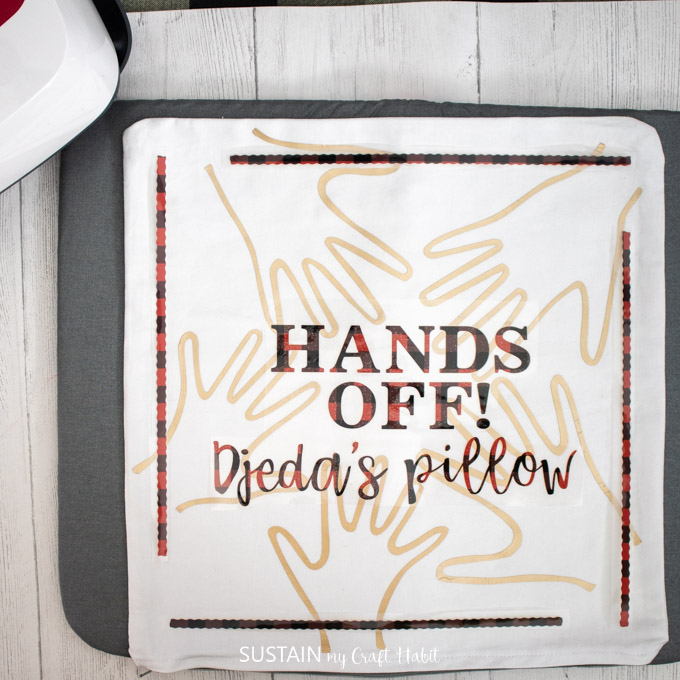
Position the iron-on vinyl cut pieces onto the pillow cover.
Next, refer to the EasyPress Reference Guide for instructions and heat press settings for applying the iron-on vinyl onto the pillow cover.
Since the patterned iron-on vinyl requires a higher temperature setting than the Everyday iron-on vinyl, it is best to apply the pieces in stages.
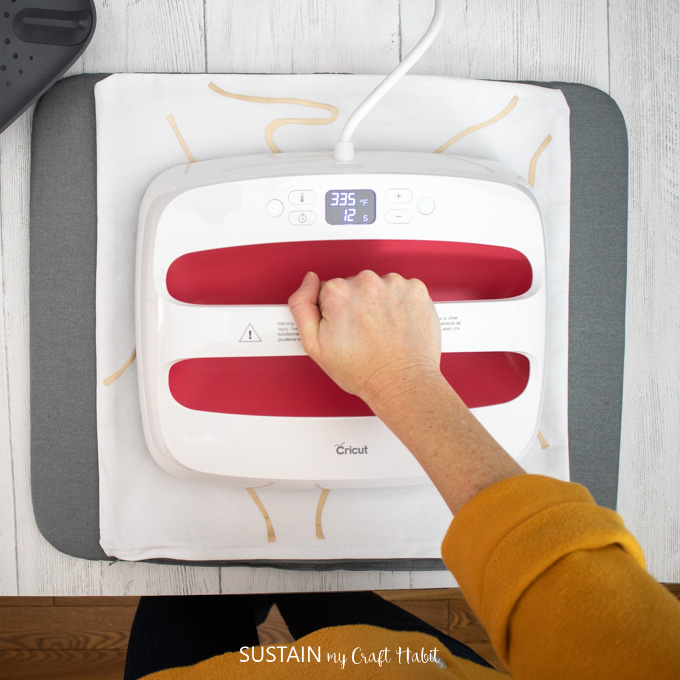
The Heat Guide suggests setting the temperature to 315F but we found the gold iron-on vinyl did not adhere to the fabric. We increased the heat to 330F and pressed for at least 30 seconds. Always test your own fabric before proceeding.
Heat one section at a time until all areas of the pattern are heat pressed.
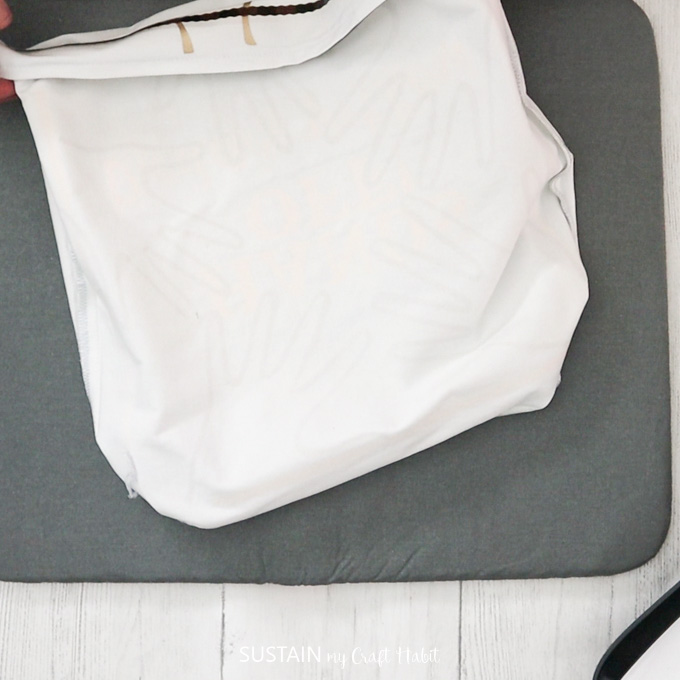
Turn the pillow case inside out and press for an additional 15 seconds.
While still warm, peel away the plastic cover and discard.
Did you catch our post on “10 Things you Didn’t Know you Could Do With the Easy Press 2“?
Move on to the other patterned pieces next. Set the temperature to 345F and position the text piece in the center of the pillow case and press in place for 30 seconds with firm pressure.
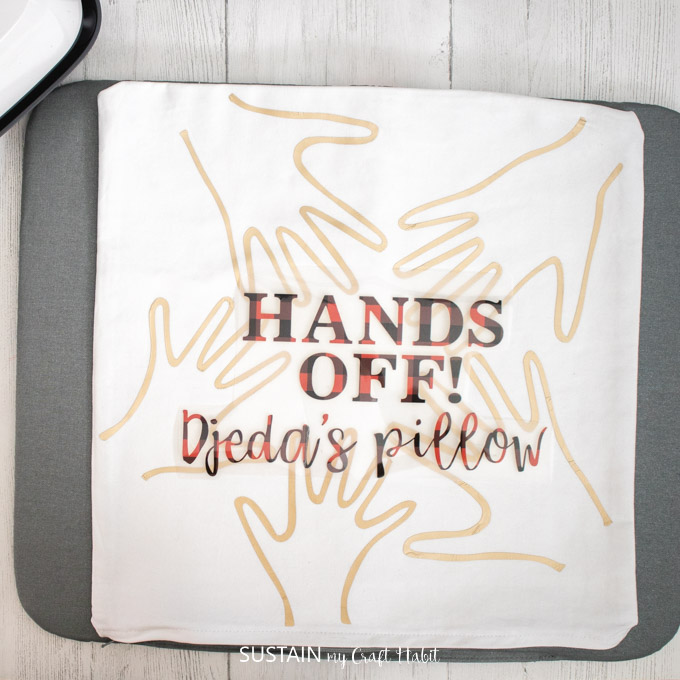
Repeat the same steps for the long wavy pattern pieces. Place them around the perimeter of the design for a decorative border.
Turn the pillow case inside out and press for an additional 15 seconds.
Finishing the Throw Pillow
Leave the iron-on vinyl to cool completely before peeling away the plastic covering.
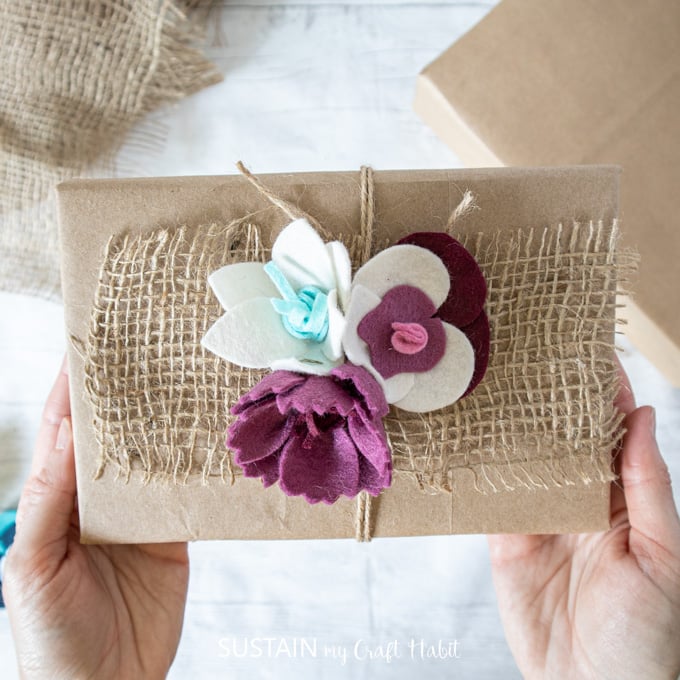
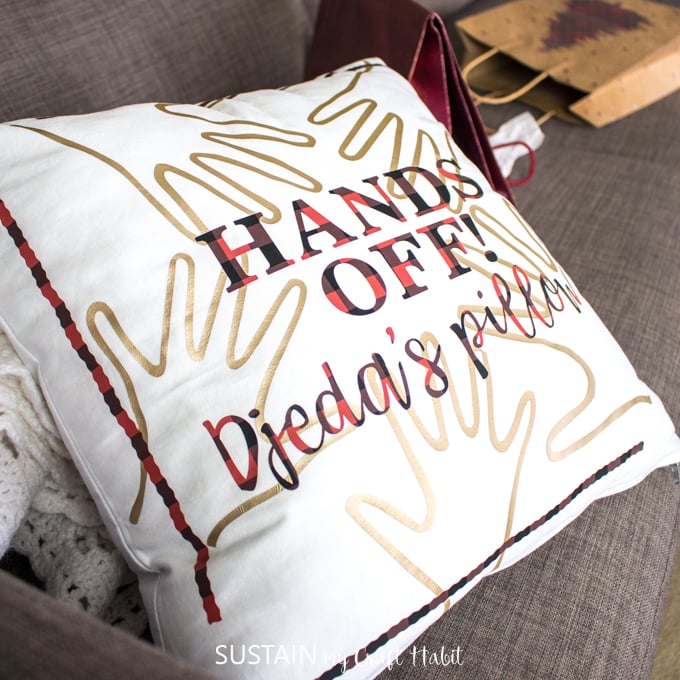
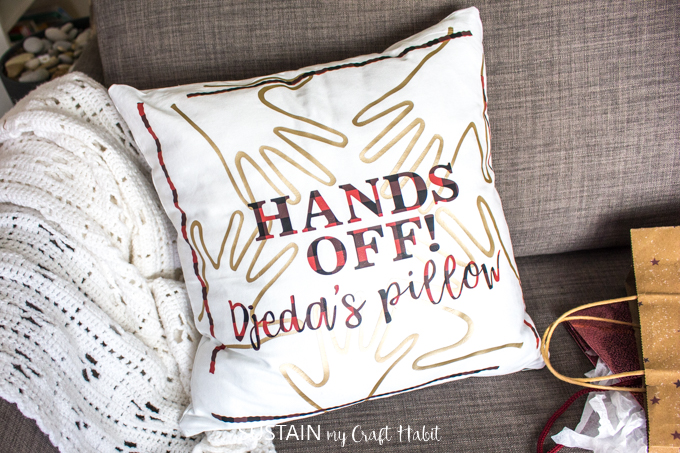
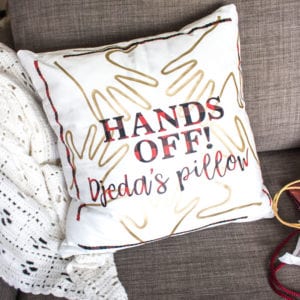
Place the pillow insert inside the pillow cover and your personalized gift for grandpa is ready to gift wrap! It might just fit in the Christmas fabric gift bag we made last year.
We’re so excited to see Djeda’s expression when he gets his new pillow. Now, every time he sits down, even when the kids aren’t around, he’ll be thinking of and feeling close to them.
The Design Space software gives you the flexibility to upload your own designs, like we did with the kid’s hand prints. Or alternatively, you can choose from hundreds of project ideas to find one that suits your personalized holiday gift.
And will the kids dare to take it? We’ll just have to wait and see!
If you’re interested in additional personalization ideas with Cricut check out:
- Personalized binders for back-to-school
- Halloween trick-or-treat bags with Infusible Ink
- Personalized wood serving tray
- Customized candle.
Like it? Pin it for later!

Personalized Gift for Grandpa with the Cricut Maker
Materials
- Cricut Maker Machine
- Cricut Standard Grip Mat
- Scissors
- Design Space “Personalized Hand Print Throw Pillow” template or custom design your own
- Everyday Iron-On in Gold
- Patterned Iron-On in Buffalo Plaid from the Rustic Lodge Lumberjack Sampler
- Weeder
- EasyPress 2
- EasyPress Mat
- Throw Pillow cover 16”x16” (purchase one like this or make your own)
- Pillow Form Insert purchase one to fit or upcycle your old pillows to make one
Instructions
- Upload the “Personalized Hand Print Throw Pillow” pattern template.
- Select Customize to adjust the text or hand print patterns.
- Following the prompts in Design Space, cut out the pattern pieces in the Patterned Iron-On vinyl and Everyday Iron-On vinyl with the Cricut Maker.
- Switch tools when prompted.
- Using a weeder, remove all the excess Iron-On vinyl around the cut pieces.
- Position the Iron-On vinyl pieces on the throw pillow cover.
- Refer to the EasyPress Reference Guide for instructions and heat press settings for applying the Iron-On vinyl onto the pillow cover.
- Place the pillow insert inside the pillow cover.