DIY Rag Rug: How to Finger Crochet a Circular T Shirt Rug
Do you have a crafting bucket list? If the answer is no, then I’ll admit, this might sound kinda crazy. But on the other hand, if the answer is yes, then you’ll totally understand where I’m coming from! At the top of my crafting bucket list are things like: crochet, quilting, pottery, and yes, a DIY rag rug. I may never become an expert in all these things but I will at least have given them a try at some point.
And now, I’m happy to say I can cross off TWO of those things from my bucket list: making a DIY rag rug and crocheting!
DIY Rag Rug
I was always intimidated to start crochet. It just seemed so complicated with all those knots and different hook sizes. But then I came across this video on how to make a giant circular rug by Expressions Fiber Arts. She makes a beautiful rug with roving using her fingers to crochet, and as I watched the tutorial I thought, “I can do this!”.
For another crochet project, check out Jane’s free crochet afghan pattern and crochet coaster pattern for beginners.
This circular rag rug DIY is made using only t-shirt yarn. Following one of our most popular posts on how to make t-shirt yarn using the whole t-shirt, I prepared 9 skeins of tshirt yarn.
Materials Needed to Make your own DIY T Shirt Rug:

- T-shirt Yarn, crochet 2 strands at a time
- Scissors
- Your Fingers 🙂 (no hook needed)
- Stitch Marker
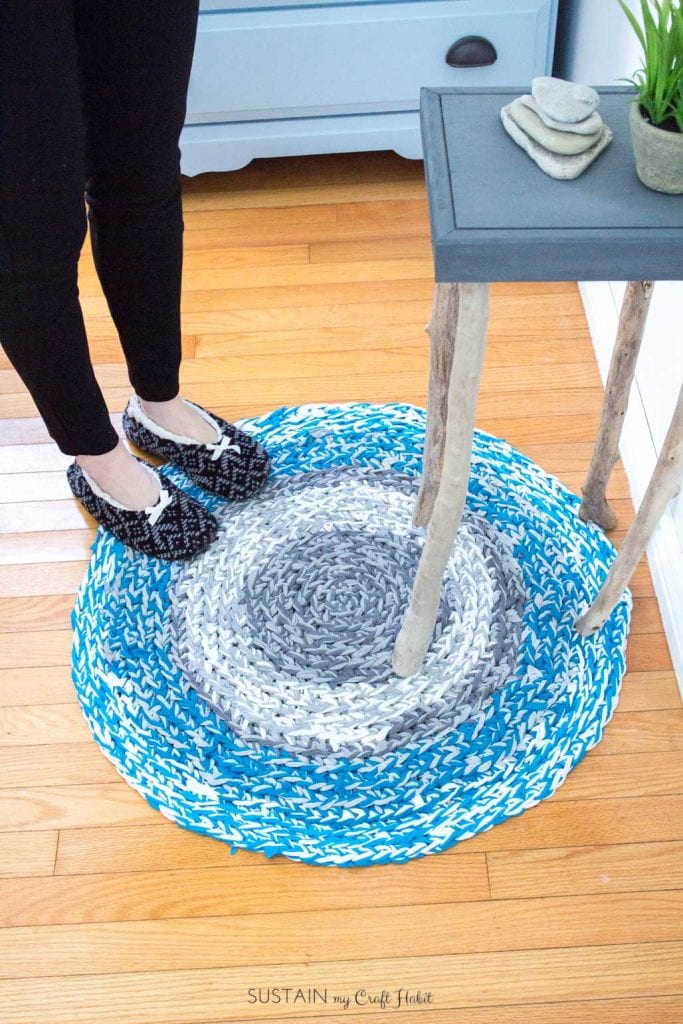
This rag rug DIY measures 2’ across and uses 9 men’s size large cotton t-shirts.
How to Make a Rag Rug:
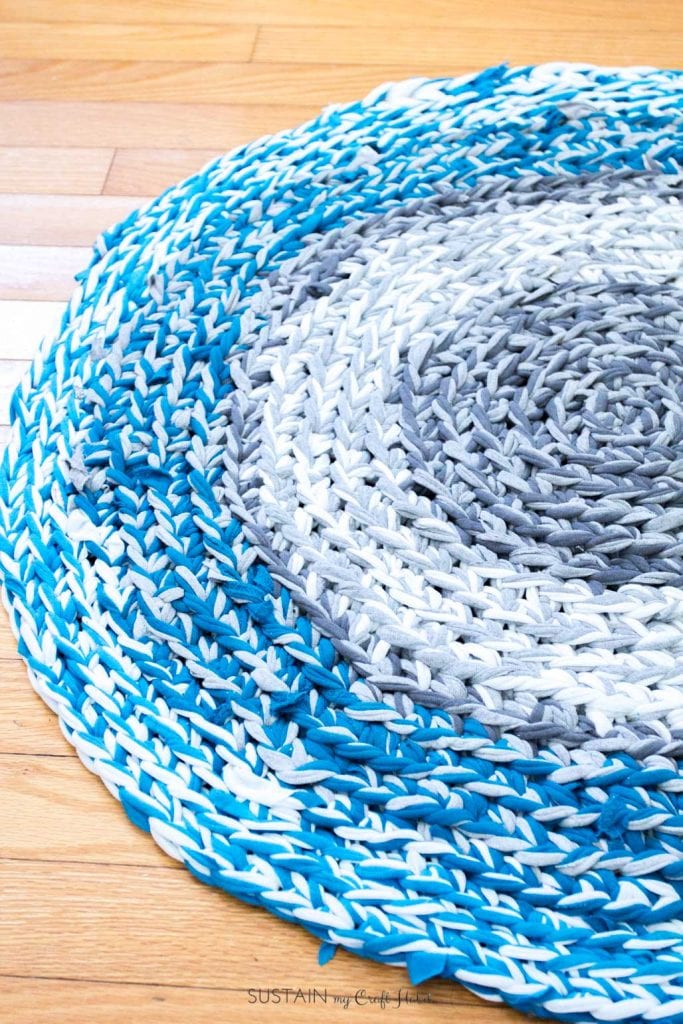
The t shirt rug is made up of a bunch of single crochet stitches using your fingers, no hook.
Round 1:
To begin, create a slip knot with 2 strands of t-shirt yarn together.
Remember to keep your stitching very loose.
Next, reach through and pull out another loop forming a chain stitch. Then, reach through and pull out another loop.
With your fingers through the last loop, do a single crochet through the slip knot and pull out the yarn. You’ll now have two loops on your fingers. Take your yarn and pull it through your loops to form one loop. That’s a single crochet.
Now do another single crochet through the same slip knot. Continue and crochet 6 single crochets into that same first slip knot. Grab your yarn tail and pull it gently to tighten the hole in the middle.
Fasten some kind of stitch marker (like a large safety pin, clothes pin, clip or scrap yarn) to the last stitch formed to mark the round. You should now see 6 single crochets. As you work around, only work into the back loop of each stitch to form the spiral pattern on top.
Round 2:
Work a single crochet into the 1st stitch and then work another single crochet into the same stitch. Repeat that into the back loop of each stitch this round and you should have 12 stitches.
Remove stitch marker and place on last single crochet stitch of that round.
Round 3:
Now work 1 single crochet into the 1st loop, than two single crochets in the 2nd loop and continue that pattern for the entire round. At the end of that round, you should have 18 stitches. Basically you are increasing 6 stitches each round.
Remove stitch marker and place on last single crochet stitch of that round.
Round 4:
Now work 1 single crochets into the 1st loop, than 1 single crochet in the 2nd loop and two single crochets in the 3rd loop and continue that pattern for the entire round. At the end of that round, you should have 24 stitches.
Remove stitch marker and place on last single crochet stitch of that round.
Round 5:
Now work 1 single crochet into the 1st loop, than 1 single crochet in the 2nd loop and another single crochet in the 3rd loop, and 2 single crochets in the 4th loop. Continue that pattern for the entire round. At the end of that round, you should have 30 stitches.
Round 6:
Continue this pattern of increasing each round by 6 stitches until you have 36 stitches in one round.
All Additional Rounds:
If you were to continue with adding 6 stitches each round, you would end up with a hexagon shaped rug. After reaching 36 stitches, you no longer need to use a stitch marker.
In order to keep the rug shape circular, work the following pattern for the remainder of your rug:
- Work a single crochet into the 1st loop.
- Work a single crochet into the 2nd loop.
- Work a single crochet into the 3rd loop.
- Work a single crochet into the 4th loop.
- Work 2 single crochets into the 5th loop.
- Skip over the 6th loop.
- Work 2 single crochets into the 7th loop.
- Repeat this pattern for the rest of the rug.
TIP – assess your rug as you go ensuring that you have the right amount of stitches in one round:
- If you have too many stitches – edges will ripple. Do more single crochets and increase less stitches.
- If you have too little – edges will begin curling upward). Increase more stitches with 2 single crochets within one stitch.
Continue until your DIY rag rug is the size you want it to be. My rag rug measures 3’ across and uses 10 size large men’s tees.
Finishing:
To finish, work 2 single crochet stitches and pull yarn end fully up and out.
In order to hide the end, push it through the side of the next loop and push it down through the loop from which it came, forming a fake loop.
Finally, weave the rest of the yarn end into the back side of the rug.
How to crochet a t-shirt yarn rug video coming soon!
If you need help with assembling your t-shirt yarn, check out our You Tube video on making t-shirt yarn using a whole t-shirt.

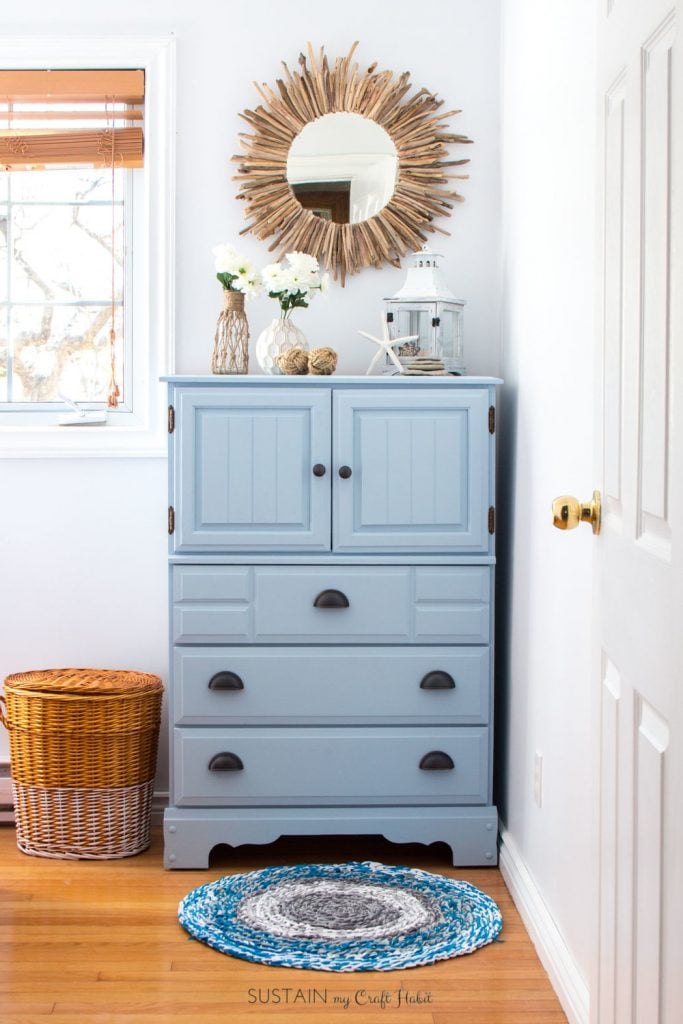
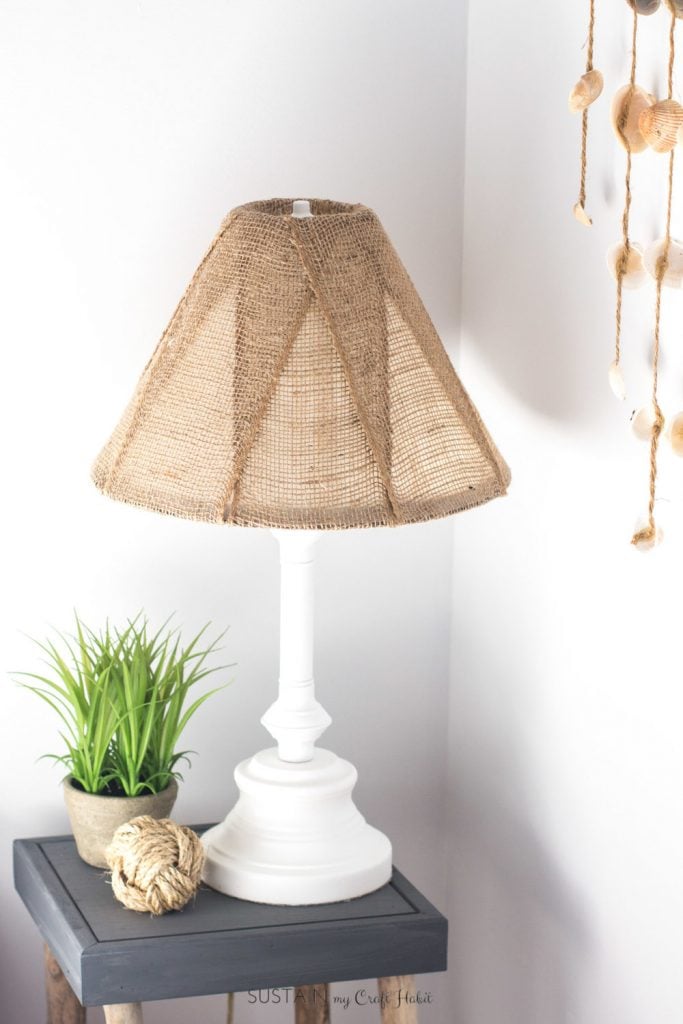
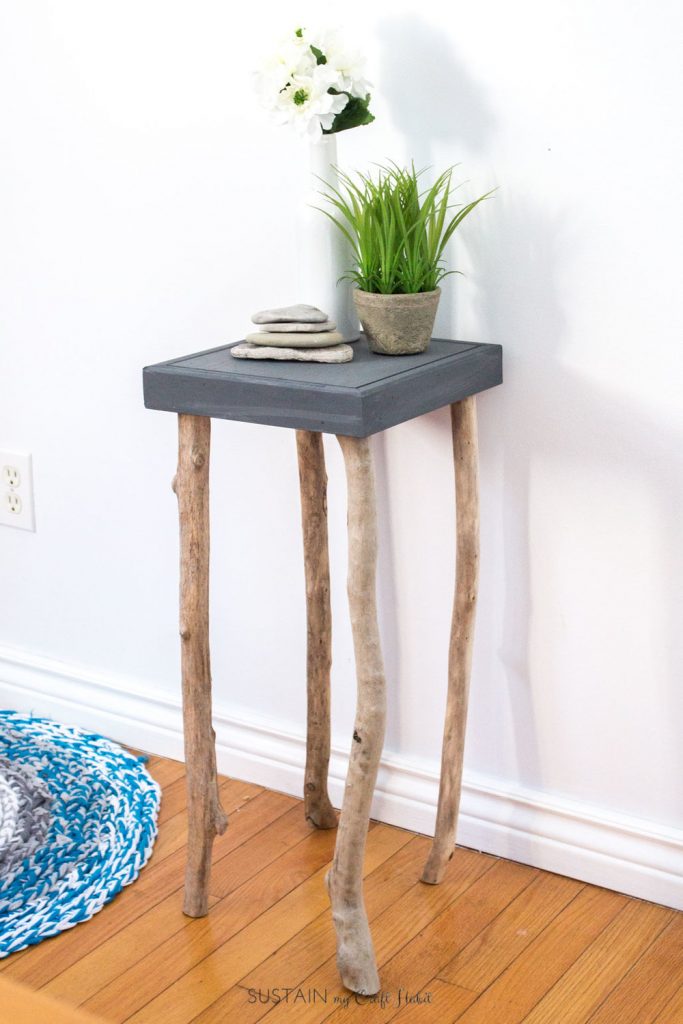
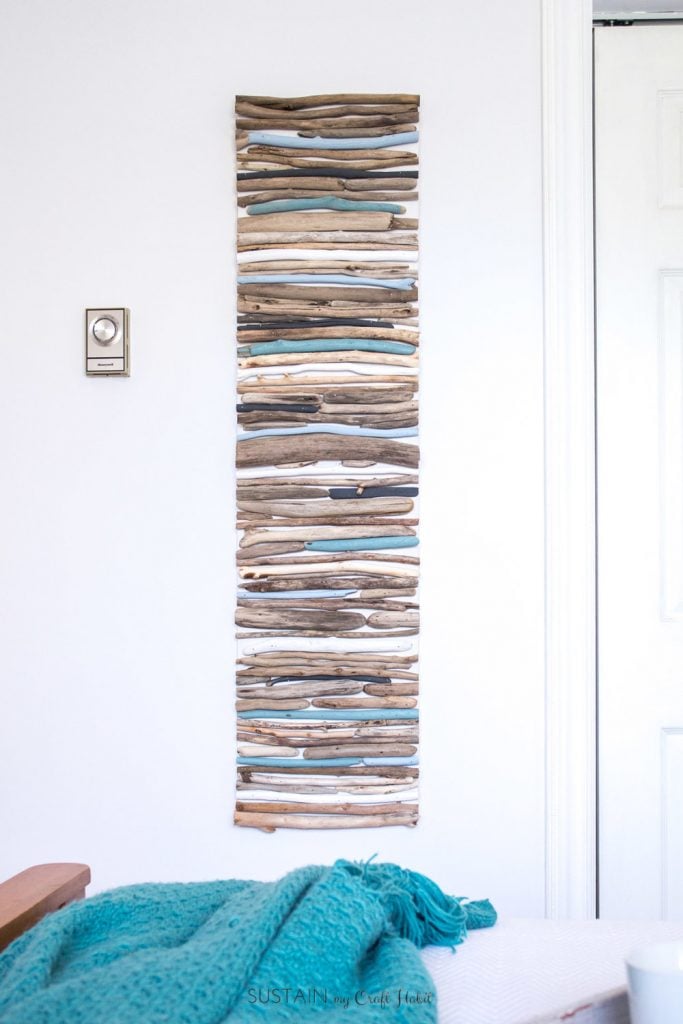
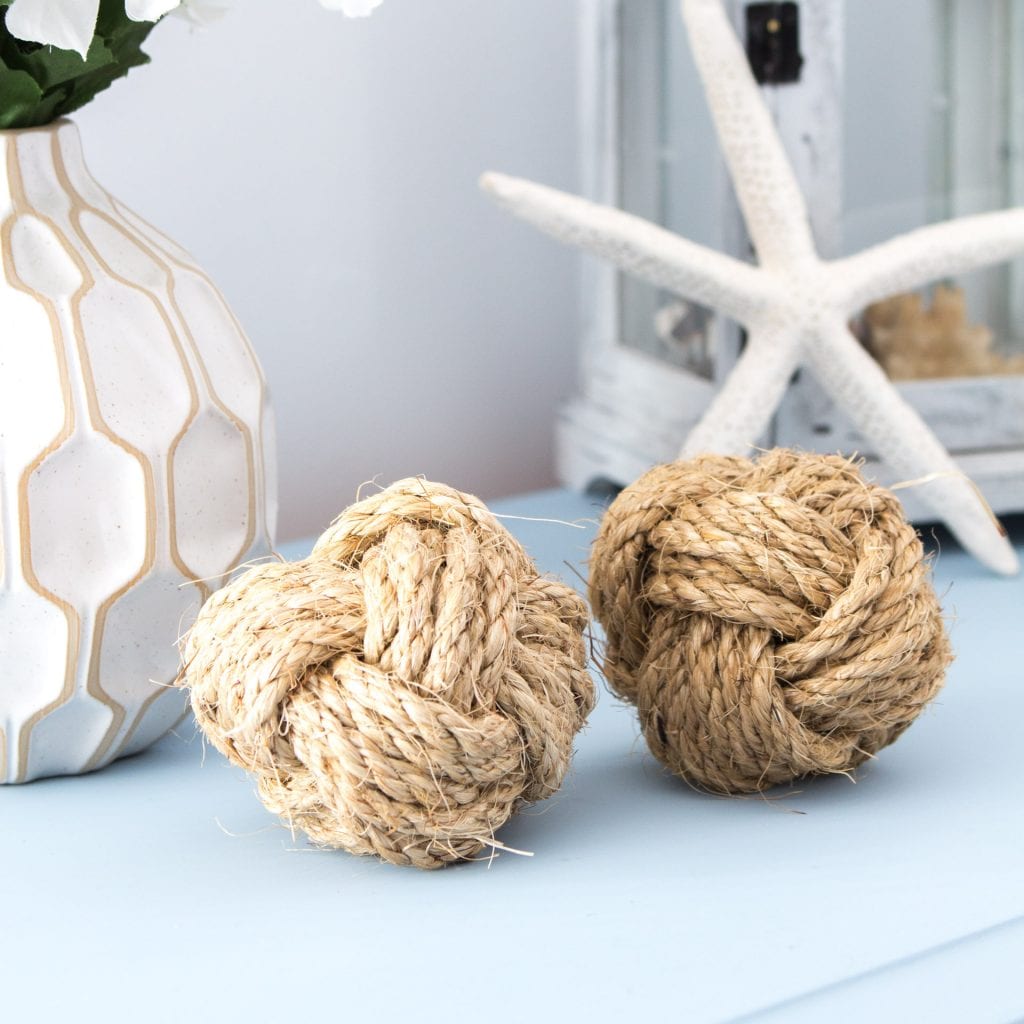
We’ve added this DIY t shirt rug to our Graystone Beach cottage Orchardview coastal bedroom makeover. Here are some additional DIY beach decor ideas to explore:

We hope you’ve found this tutorial on how to make a rag rug useful. We have a whole bunch of additional upcycling ideas and crafts for you as well!
What’s on your crafting bucket list?


I really need to try this sometime! I love the colors you chose!
Thank you so much Farrah! It’s pretty satisfying, especially stretching the strips to make the yarn 🙂 . We hope you get to try it soon!
Thank you for stopping by. -Jane
Hi, do you continue using the back loop of each stitch for the entire rug?