How Many Men does it take to Make a Nightstand with Driftwood Legs?
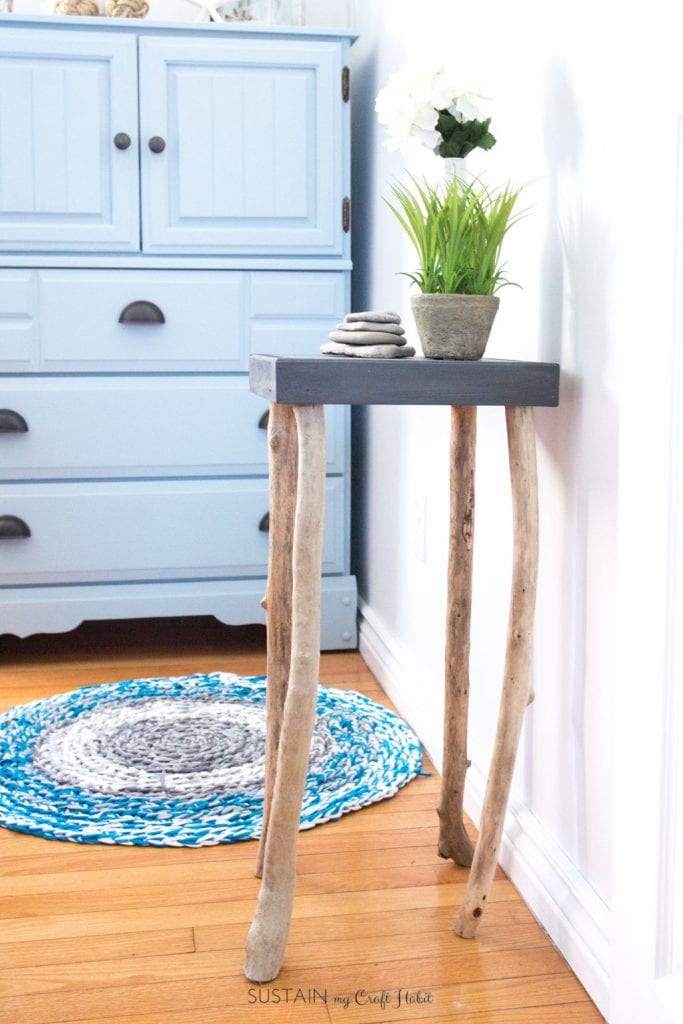
Let’s just say some things are best left to a woman…
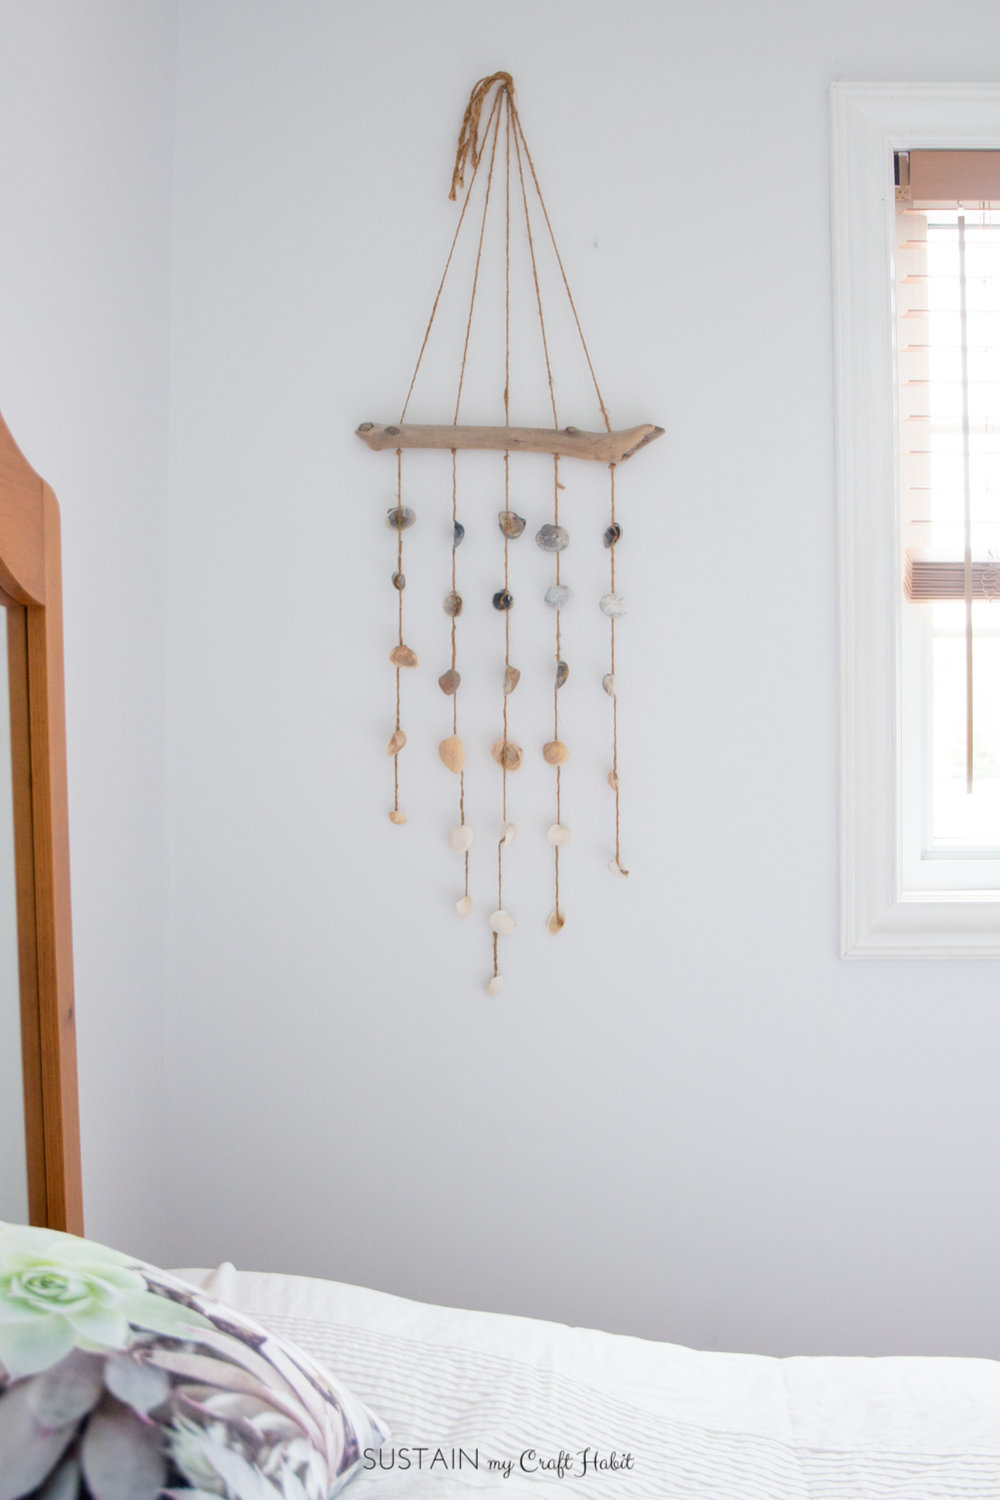
We’ve been renovating our small family cottage on the shores of Lake Huron, Ontario over the last couple of months (check out the pre-reno tour here). To date, we’ve painted all the walls and wood trim, added a seashell wind chime and other decorative pieces and are now working on the furniture.
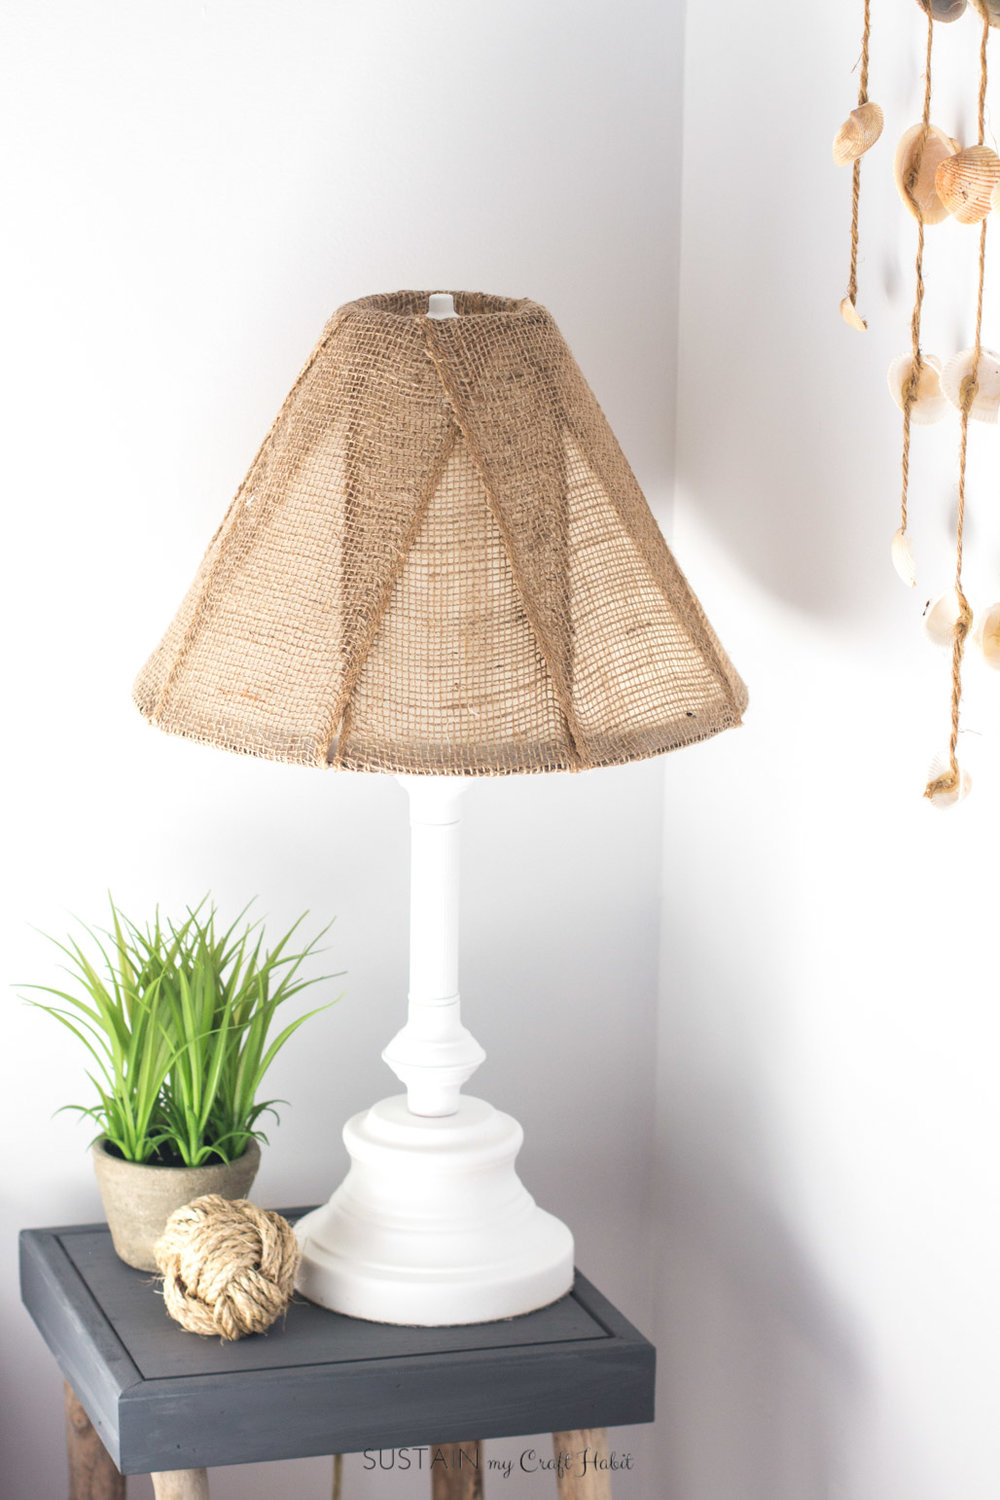
We needed a small nightstand on the window side of the bed. There’s only about 18” of space between the bed and the wall, so the nightstand needed to be pretty compact. As we’re trying to DIY as much of reno as possible (we are on a very tight budget!) I brainstormed ideas to make one using scrap wood we had on hand.
I’ve always wanted to make a little table with driftwood legs.
So I asked hubby for his opinion and he started talking about metal brackets, stainless steel pins and industrial strength glue. Images of Junkyard Wars came to mind, rather than the beautiful rustic coastal Fixer Upper I was envisioning.
In comes our dad, the strong but silent type and immediately starts to work. The problem is, he hasn’t asked what I want it to look like. So I have no idea what he’s thinking of making and he brushes off my attempts to get information out of him! There he is in the garage, rummaging for scrap pieces of wood, the oak wood stain, leftover stairway spindles to use for the legs (note- there’s no DRIFTWOOD being gathered).
Amidst all this commotion, in walks my brother-in-law, coffee mug in hand. He scans the situation, shrugs his shoulders, shakes his head, turns around and leaves without a word.
I was really determined to make something though, so in the end I wrangled my poor dad and forced him to slow down so I could take pictures as we worked.
Supplies needed for this rustic coastal decor idea:
“*The paint we used for this project was provided to us free of charge by DecoArt. Our opinions expressed in this post are truly are our own: we wouldn’t be sharing products with you that we didn’t love to use ourselves.
Also, this post contains affiliate links which means if you buy any products through these links – at no additional cost to you – we make a small commission. ”
- Small piece of wood (mine was 10″ x 9″ x 3/4″)
- ~3/4” x 2” piece of finishing wood: 2 pieces each 10 1/2″ and 11 1/2″
- Four straightish pieces of driftwood for the legs at least 1.5” thick and ~24″ long
- Wood glue
- Pneumatic nail gun with 2” nails
- Decoart Chalky Finish paint in Relic* (or any colour of your choice), Decoart Clear Creme Wax sealer* and a soft bristled paintbrush* (this is the softest brush we’ve used yet!)
How to make a DIY nightstand with driftwood legs:
Step 1: Cut the wood pieces to size.
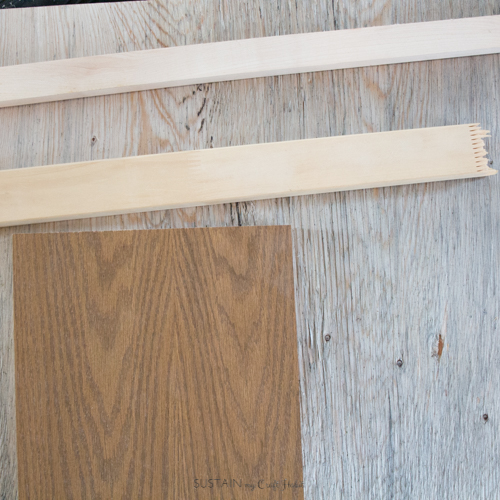
We used scrap pieces of wood which we had on hand for this project:
- one nice piece of 3/4″ thick wood cut to 9″ x 10″;
- a piece of pine which had rounded edges to “frame” the surface and create an over-hanging lip to which we could attach the driftwood pieces;
- 4 pieces of driftwood with similar thicknesses cut to 24″ long.
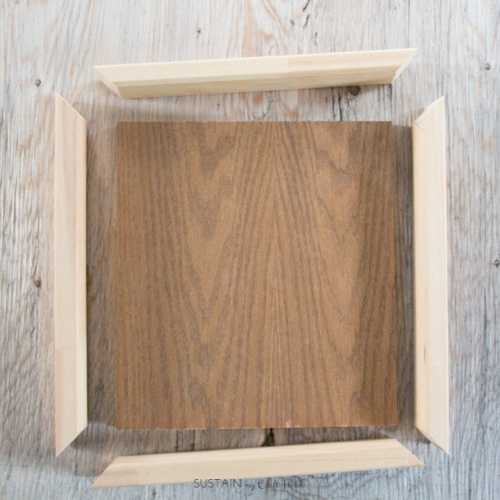
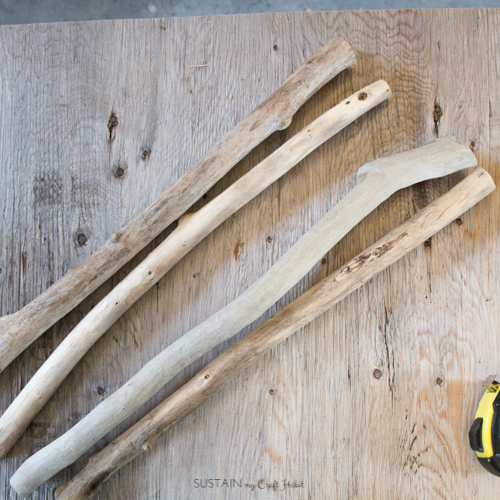
Step 2: Assemble the table top.
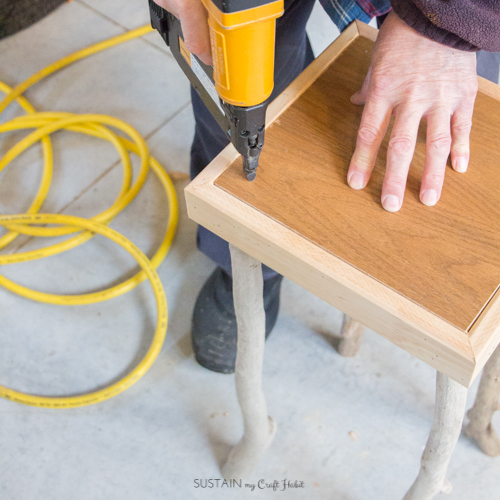
Apply some wood glue around the edges and then attach the frame pieces using a nailer gun.
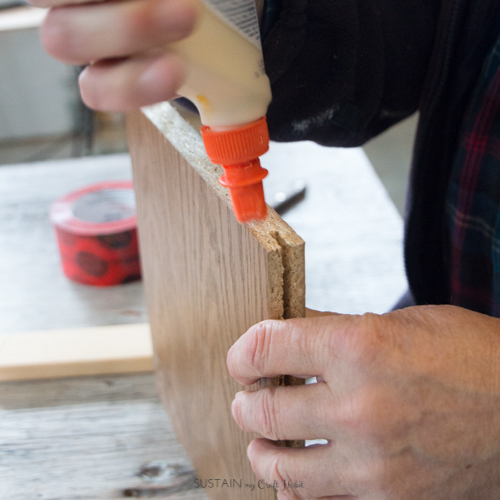
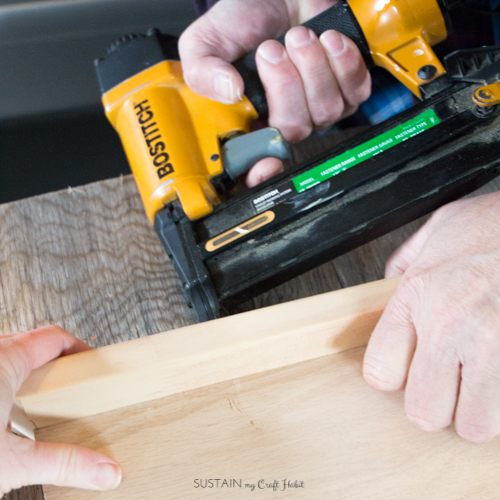
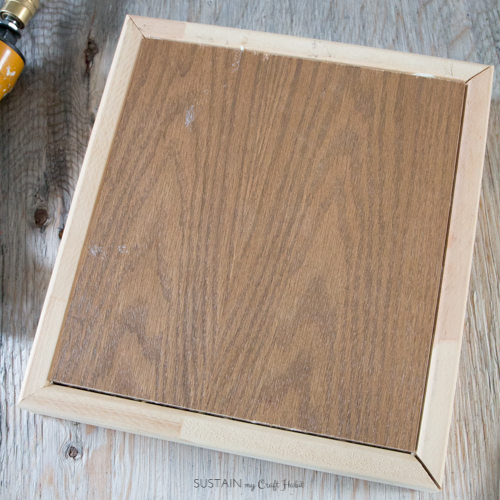
Step 3: Attach the driftwood legs.
Level each leg and attach to the underside and outer overhanging edge of the table top using wood glue and the nailgun. Secure with final nails through the top of the table.
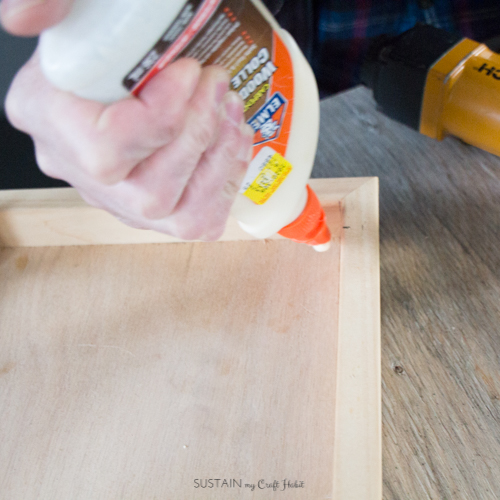
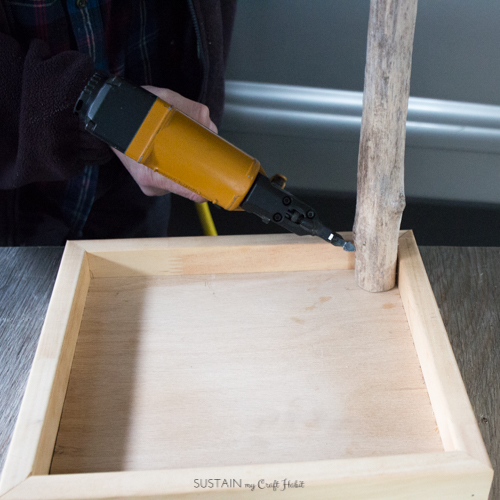
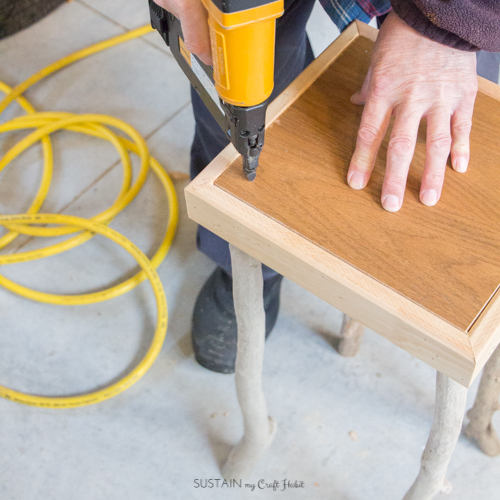
Step 4: Paint the bedside table top.
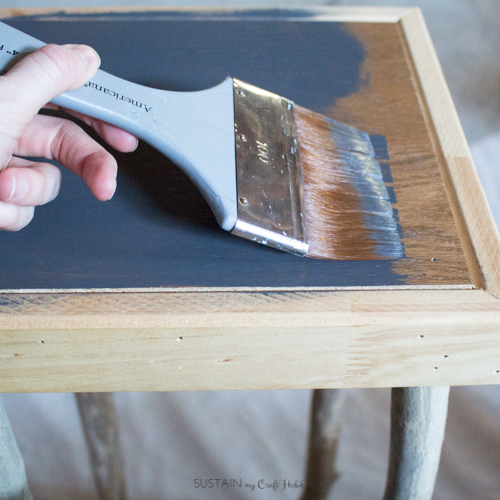
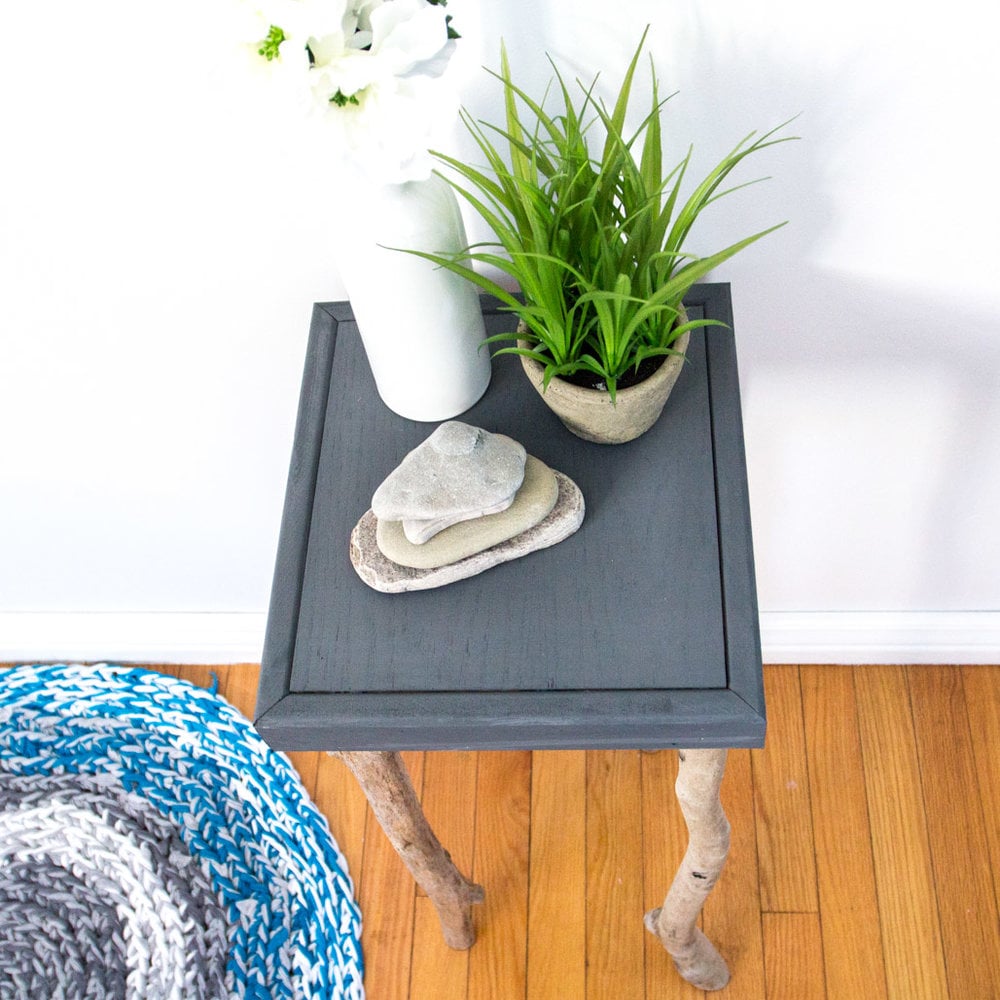
Fill in the the nail gun holes with wood filler. Sand lightly once dried then paint the table top in a colour of your choice. We used a dark gray DecoArt Chalky Finish paint (Relic) and clear Creme Wax sealer.
Step 5: Show off your creative abilities to hubby and brother-in-law!
I love this little nightstand. The legs look like those of a little reindeer. Although it’ll hold some bedside basics (a lamp, book, magazine) it wouldn’t survive being climbed on by a child. I’d make some adjustments the next time around including slightly thicker pieces of driftwood and maybe bracing cross pieces to connect the legs closer to the floor to provide more stability (hubby would help with that I’m sure 🙂 ).
Be sure to join us to keep up with all the coastal cottage reno fun!
So, how helpful with your DIYs are the men in your life?

