One Room Challenge: Spring 2019 Edition – Installing Shiplap – Week 4
Our momentum may have slowed somewhat as we find ourselves smack dab in the middle of our bathroom renovation. But with only 6 weeks to get this project from start to finish, we’ll need some serious full steam ahead. Excitedly, we’ve begun installing shiplap over one of the walls and decided on the flooring to complete this makeover.
Prepping Walls and Installing Shiplap
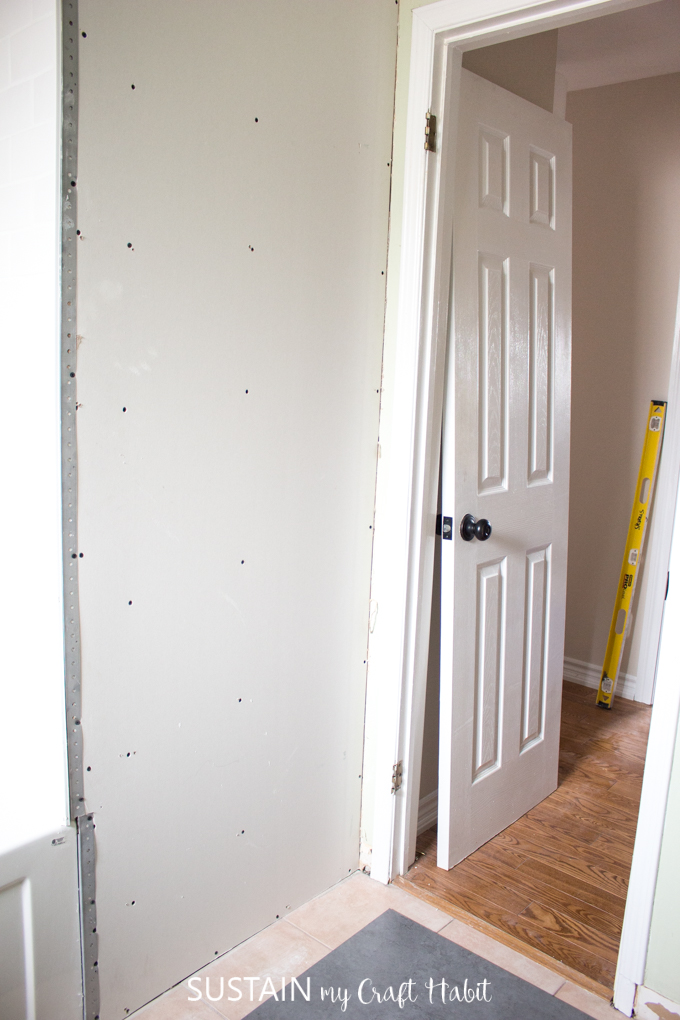
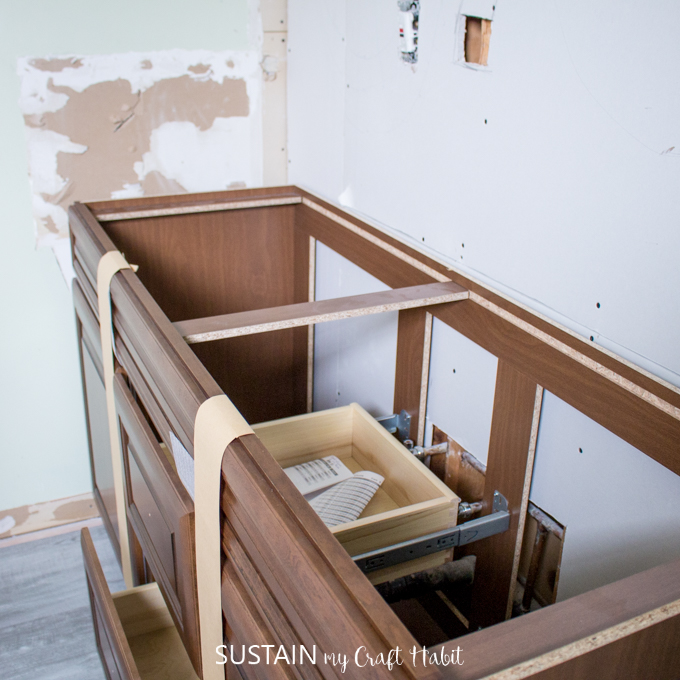
In case you noticed, it’s true, I decided to skip week 3’s One Room Challenge update altogether. With so much stuff on the go with the bathroom renovation and with life in general, there just wasn’t enough time. But that’s life for you. And in all honesty, based on the look of the bathroom, it didn’t appear like much progress was made. Although truthfully, we’ve been steadily busy working on the renovations. Over the past two weeks, my husband demolished the other half of the bathroom by removing the old vanity, taking down the tiled backsplash and removing the large mirrored medicine cabinet. This left our walls pretty beat up to say the least! The one nice thing about this demo stage is that once the demo is done, it’s time to rebuild.
We’ve since started to patch up the walls with new drywall. This is still a work in progress but I think I can see the light at the end of the tunnel.
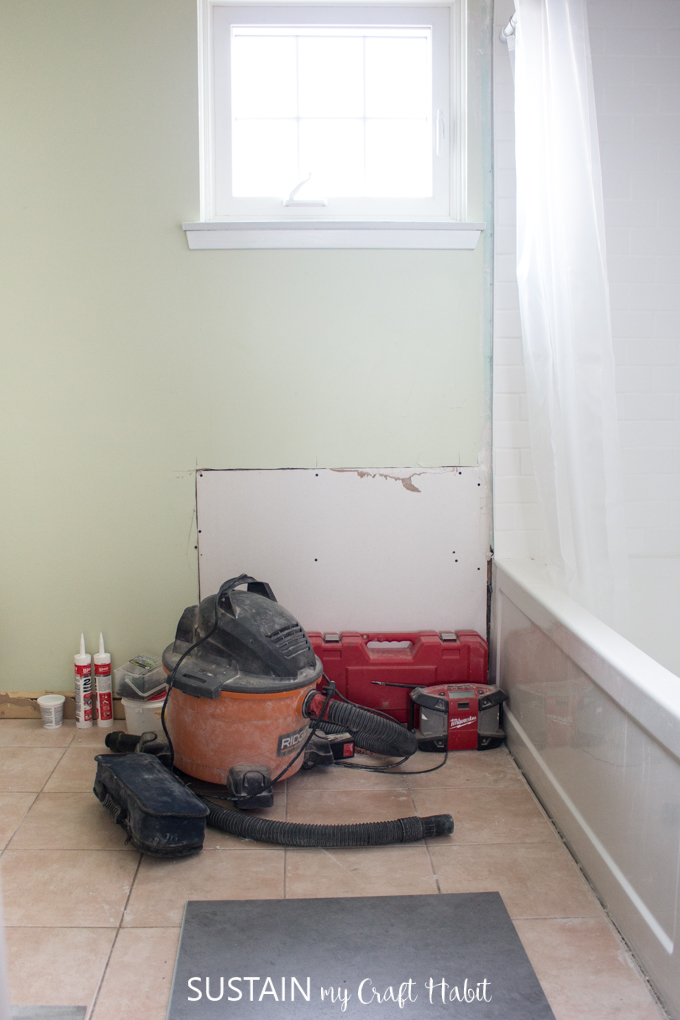
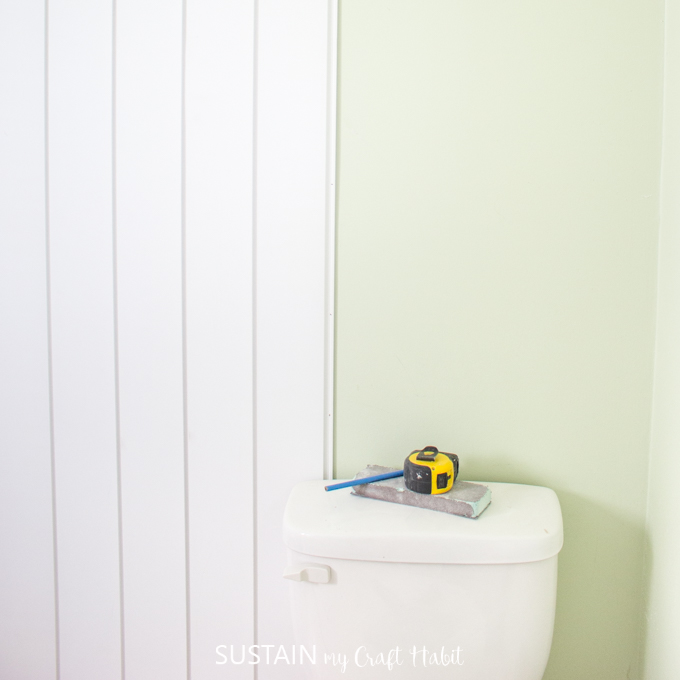
We also made a pretty big decision and purchased shiplap to install vertically along one of the main walls. It’s not only going to add some nice detail and texture to this small-ish space but it’s going to be waaaay easier than re-drywalling and mudding and sanding (and repeating) the biggest wall in the bathroom! After placing a new sheet if drywall over the demo’d wall and ensuring all joining edges were flush, we began installing the shiplap.
Tools Needed for Installing Shiplap:
- Shiplap, primed fiberboard
- Meauring tape, pencil
- Level
- Mitre saw
- Circular saw or table saw
- Jigsaw
- Nail gun, 1 1/4″ finishing nails
The process for installing shiplap is quite easy. Considering this was our first attempt, the boards went up quickly and smoothly. Having two sets of hands makes the process go quicker but it is a job that could be done by one person.
How To Install Shiplap:
- Measure the wall and mark the shiplap to be cut if needed. The shiplap comes in 8 feet (96.5″) lengths and our bathroom walls are 96″ high so we had to cut off 1/2″ from each board using a mitre saw before starting. Alternatively, a jigsaw would also work to cut off the excess amount.
- Place the first shiplap board on the far left corner wall. Place a level along the shiplap edge to make sure it is perfectly straight. Once the board is leveled, nail the board in place along the far right edge starting at the top and working downward.
- Position the second board flush with the first board overlapping the edges. The part of the board that was nailed is now covered by the next overlapping board. Continue to use the level as you place the boards.
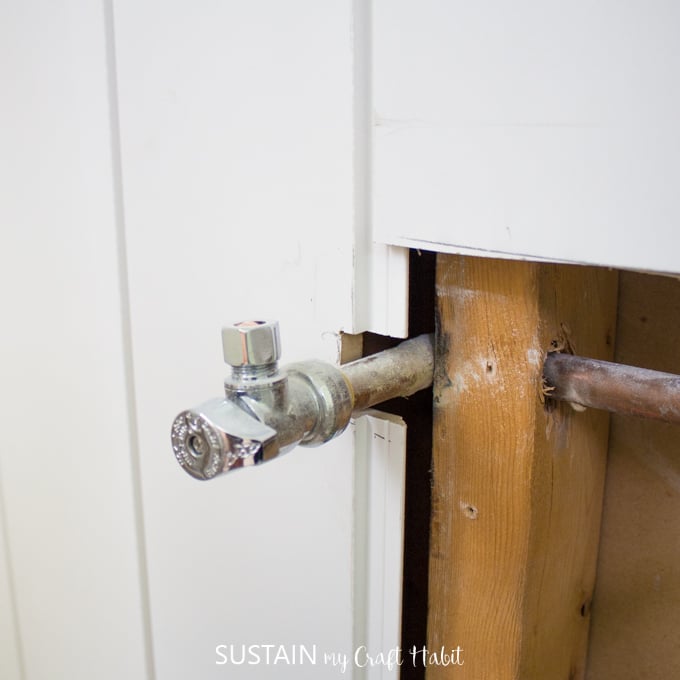
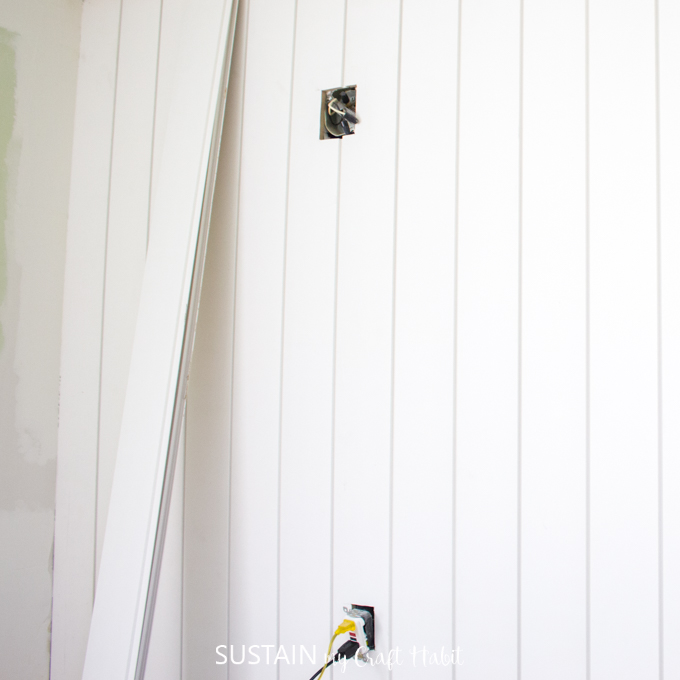
- Continue installing shiplap boards for the entire length of the wall. For any areas along the wall that need to be cut out, such as the electrical socket or the plumbing fixtures, a jigsaw works best. As always, measure twice and cut once!
- The last board to be placed along the wall, will need to be cut down lengthwise to size. To secure in place, use wood glue and some nails directly in to the board. Finish the holes with some wood filler.
- For finishing, apply a simple trim along the top edge flush with the ceiling and add some paintable mud cocking in any of the gaps along both adjacent walls.

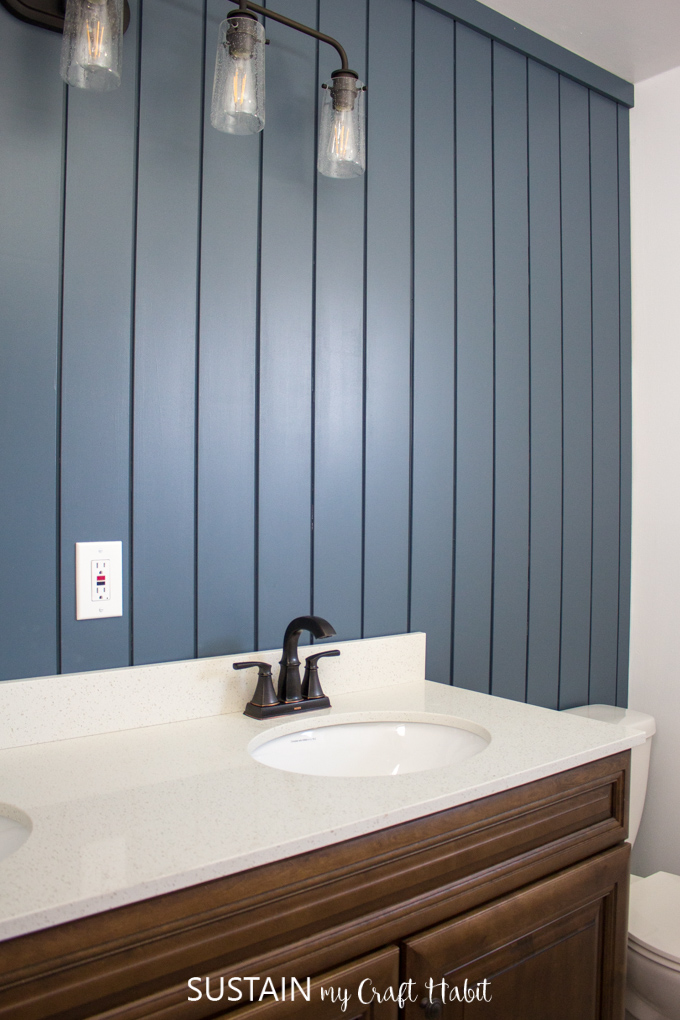
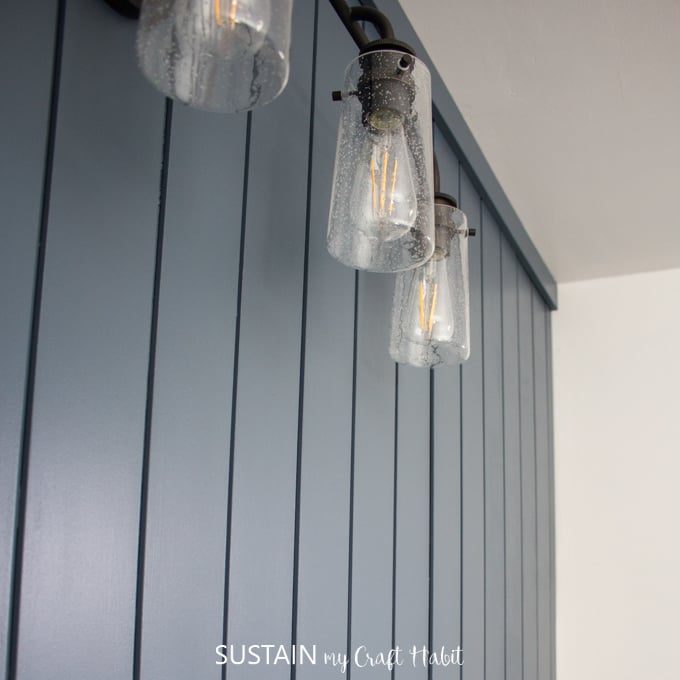
- The final step is to paint the primed shiplap boards. We selected this beautiful moody Twilight Blue color as our accent wall.
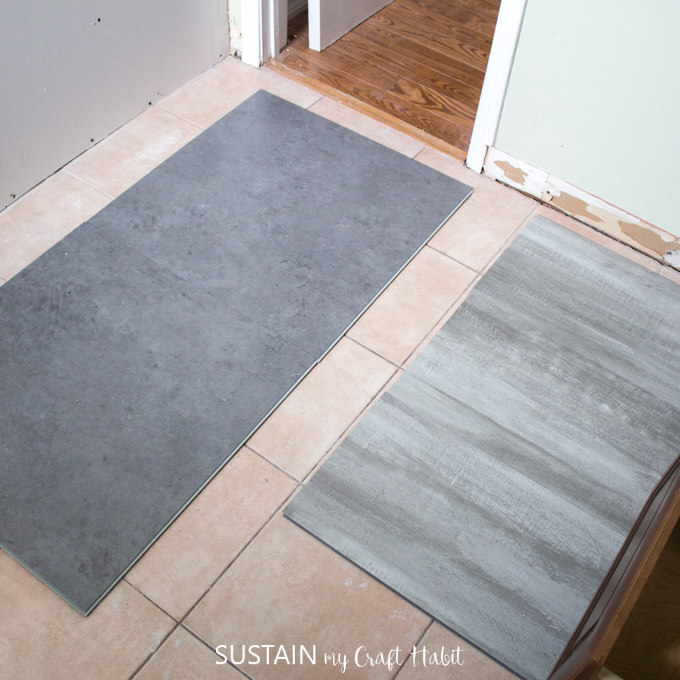
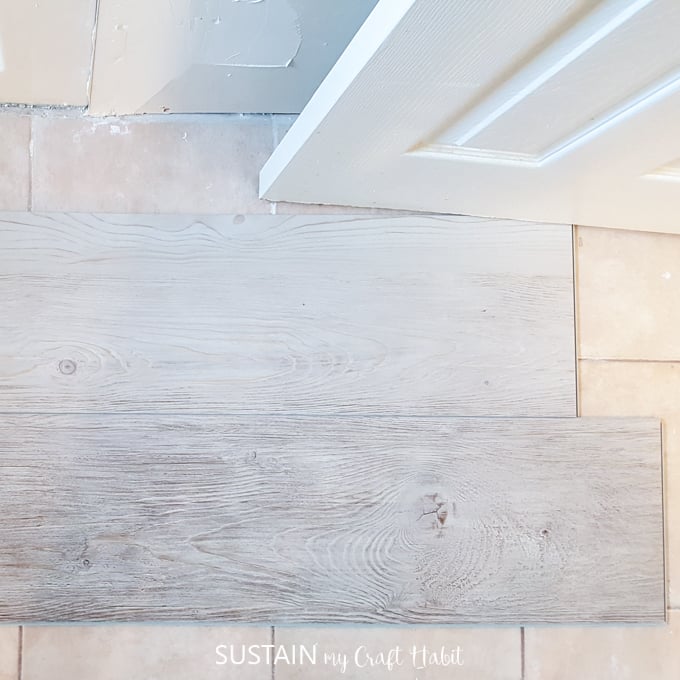
Selecting the Right Flooring
Another big decision we made was regarding the floors. We selected a few vinyl plank flooring options and laid them out in the space to compare. We decided on the Lifeproof Multi-Width frosted oak finish, which gave us the lightest and most natural looking finish that we were going for. We installed a similar 100% waterproof luxury vinyl plank flooring in our cottage directly over top of the ceramic tiles. We plan to do the same for this bathroom as well.
Although it’s hard to believe it’s already week 4 of a 6-week challenge, another part of me feels like our bathroom has been in this unfinished state forever! Knowing this is exactly how I felt when we were painting kitchen cabinets for our last one room challenge family kitchen remodel and how I felt when we were painting the bathroom vanity turquoise for another challenger, gives me some comfort. At least know it’s totally normal to feel this way in the middle of a big home renovation.
Here’s a recap of where we’re at in this 6 week bathroom remodel:
Week 1: The Before Photos and the Moodboard
Week 2: Bathtub and tiling project
Week 3: Drywall and paint
Week 4: (you are here) Installing shiplap and painting walls
Week 5: Installing plank vinyl flooring over the existing ceramic tile
Week 6: The Final Reveal!
This is going to be our catch-up week as we have big plans to paint the walls, install a new light fixture and hopefully, begin installing the new plank vinyl flooring. Even though we’re behind our in schedule, I’m still very hopeful that we’ll make our 6 week one room challenge deadline. Wish us luck getting to the finish line!
Like it? Pin it for Later!


I am intersted in where you purchased the light fixture. Thank you.
Hi there, thankyou! I love that light fixture as well and although I’ve since moved, I’m seriously considering buying it for my new home. I found it on Wayfair but here is an affiliate link for the same light fixture on Amazon https://amzn.to/3DkdlwP
@Jane and Sonja,
Thank you.
Hi what brand of paint is Twilight Blue? It’s exactly the colour I’m looking for for my shiplap wall!
Hi Alana, thankyou so much! It is a great blue and I love it so much as well. The paint brand is from Canadian Tire (likely just in Canada), it’s one of their blue color swatches.