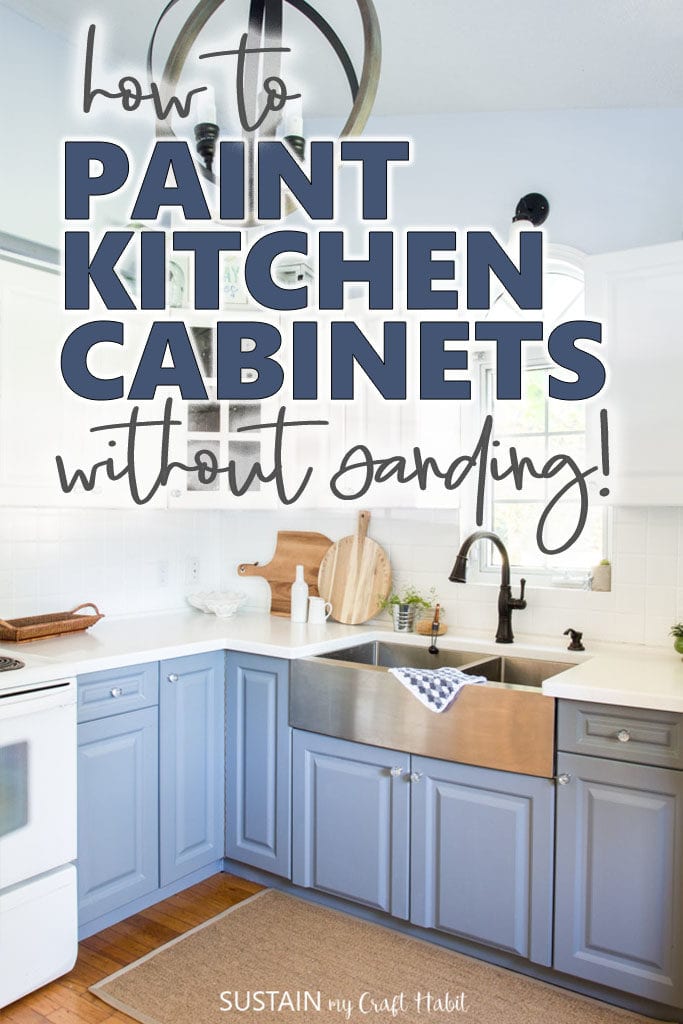

Having just completed the renovation of our coastal cottage kitchen, we’re sharing our experience on how to paint kitchen cabinets without sanding. This DIY kitchen cabinet painting project was a relatively simple and budget-friendly way to completely refresh the entire room!
DIY Kitchen Cabinet Painting
Since we’ve started renovating our family cottage, we’ve completed the orchard view bedroom, the lakeside bedroom as well as the beach-themed bathroom. We’ve also painted the front door a gorgeous Harbour Blue color that made all the difference! Check out these posts if you haven’t yet had a chance to see the before and after pictures.
We certainly didn’t have it in our budget to replace all the kitchen cabinets so the next best option was to refinish the existing white cabinets, cupboards and drawers. The kitchen is almost 20 years old and although it was still in decent condition, it was starting to appear dated. The laminate kitchen cabinets had started yellowing and some of the edges had begun to peel and chip away. Although this DIY kitchen cabinet painting project took some effort, the end result is well worth it; saving us thousands of dollars.

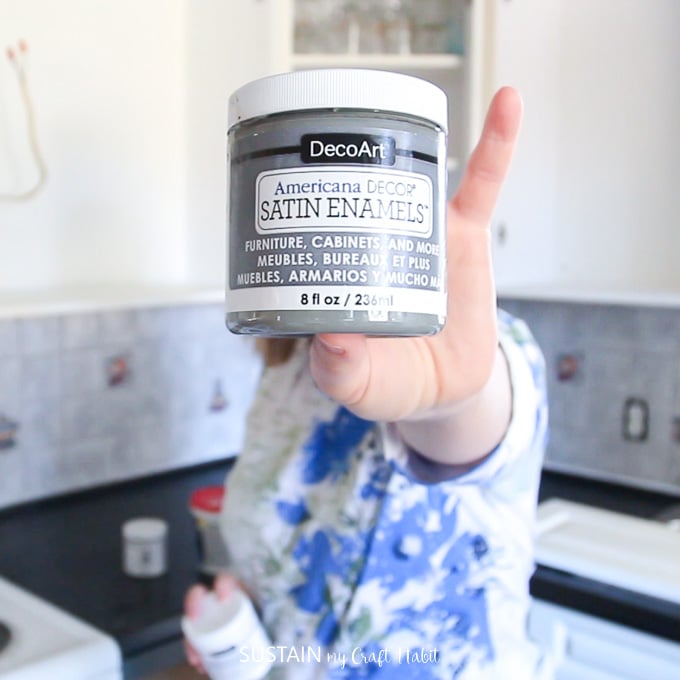
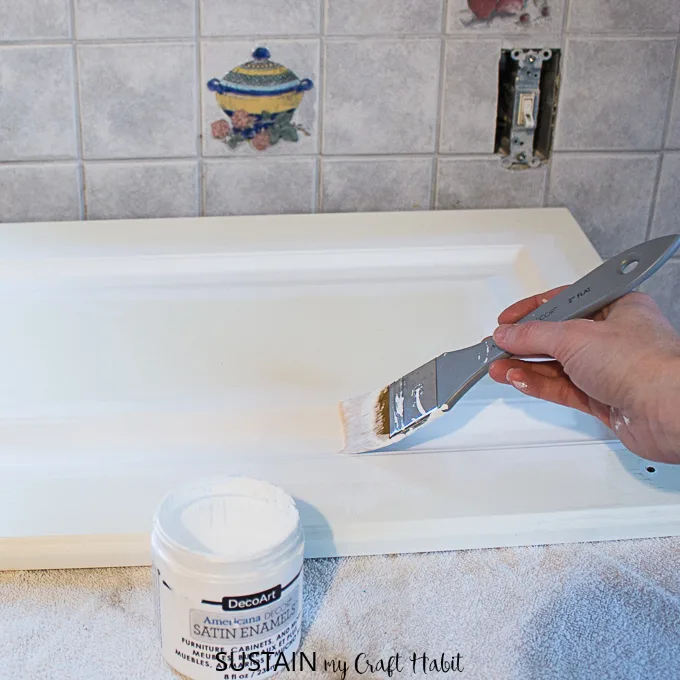
We are not new to refinishing furniture and have loved the results from using DecoArt Satin Enamels paint on other projects such as refinishing a headboard and for painting the bathroom vanity. There are some really helpful tips for using the Americana Decor Satin Enamels paint on the Decoart website. You’ll also find some inspiration projects using the various colours of Satin Enamels paint. The paint is durable and recommended for high traffic areas such as the kitchen and bathroom and with 21 colours to choose from finding the right one for our project was pretty easy.
Some tips for Painting Laminate Kitchen Cabinets without Sanding:
Supplies Needed for Kitchen Cabinet Painting:
“Disclosure: We have not received any compensation for this post. However, we have (and continue to) receive products from DecoArt. This post also contains affiliate links (indicated with *). Should you choose to purchase items through these links we will make a small commission – at no expense to you. You can find our full disclosure here.”
- Americana Decor Satin Enamels in Pure White* (we used 2 8oz containers to paint the upper cabinets)
- Americana Decor Satin Enamels in Smoke Grey* (we used 3 8oz containers to paint the lower cabinets)
- Americana Decor Stain Blocker * (we used 3 8oz containers for the entire kitchen)
- Americana Decor Paint brush, 1” angled*
- Foam Paint roller, small
- TSP*or similar heavy duty all-purpose cleaner and degreaser
- Spatula / wood fill, sandpaper (for any damaged spots)
- Painter’s tape such 3M Scotchblue Painter’s Tape*
- Dropsheet*
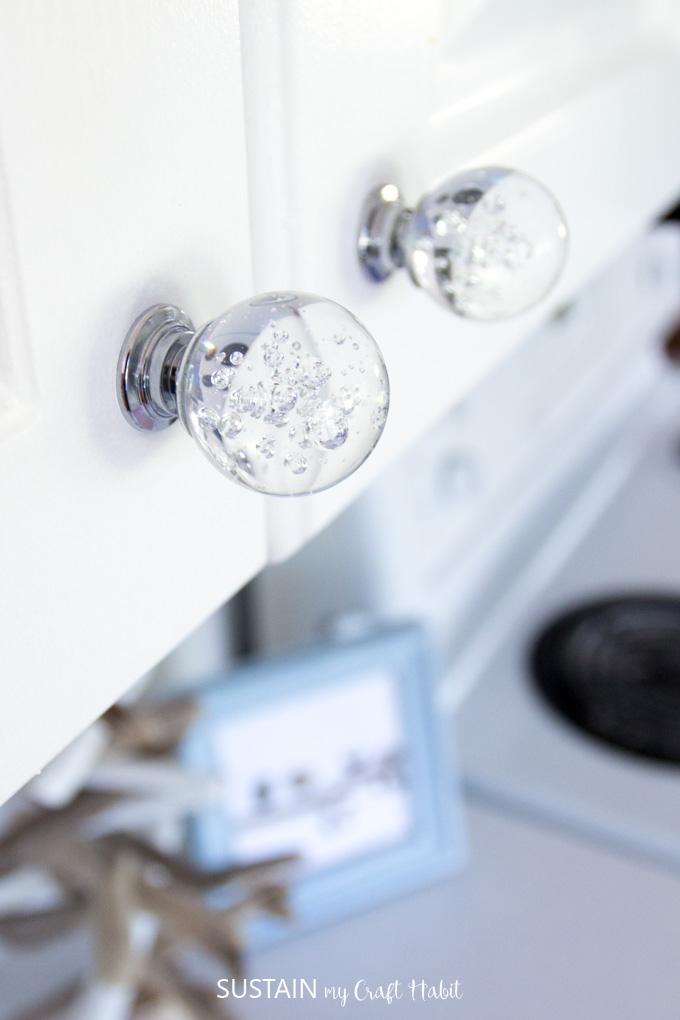
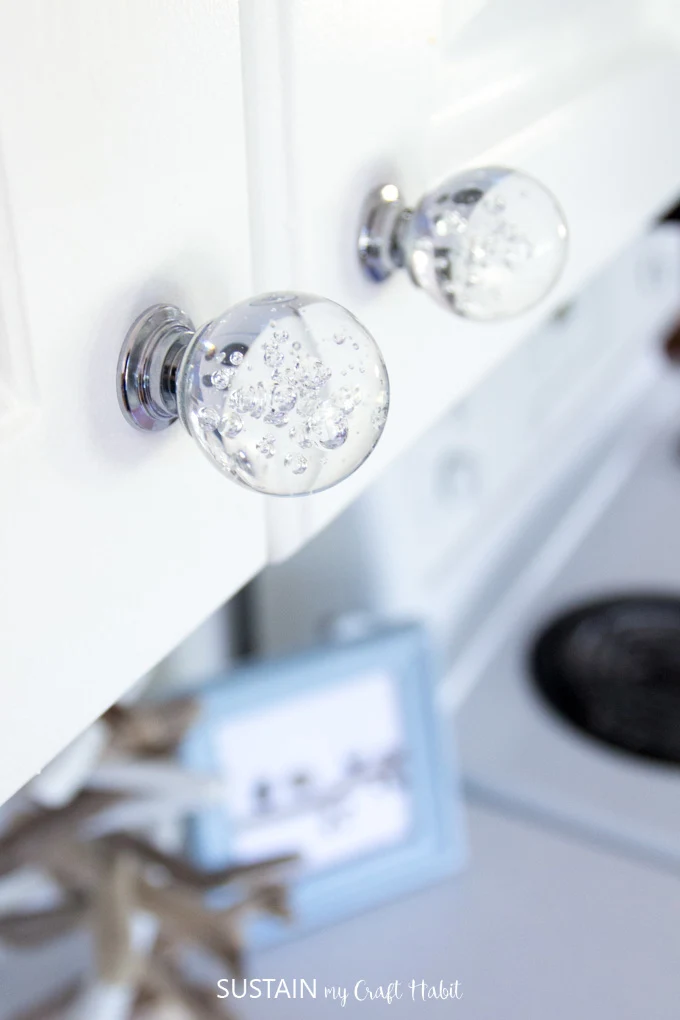
- Cabinet and Drawer Knobs (we purchased these beautiful bubbly glass knobs from Amazon*)

How to Paint Kitchen Cabinets without Sanding:
The Prep Work
Begin by removing all cabinet doors and drawers from the kitchen, leaving the hinges on the doors for easier reassembly. Remove all door knobs and handles and keep all hardware together and well organized. Try to keep the lower cabinets in one location and the upper cabinets in another for ease when reassembling the kitchen. This was especially beneficial for us since we were painting the uppers a different colour than the lower cabinets.
Thoroughly clean all surfaces before starting using a damp cloth and heavy duty all purpose cleaner and degreaser, such as TSP. Follow the instructions provided on the packaging. Leave the surfaces to dry completely before painting.
Remove the kick plate and crown moulding from the kitchen cupboards carefully if you plan to replace yours.
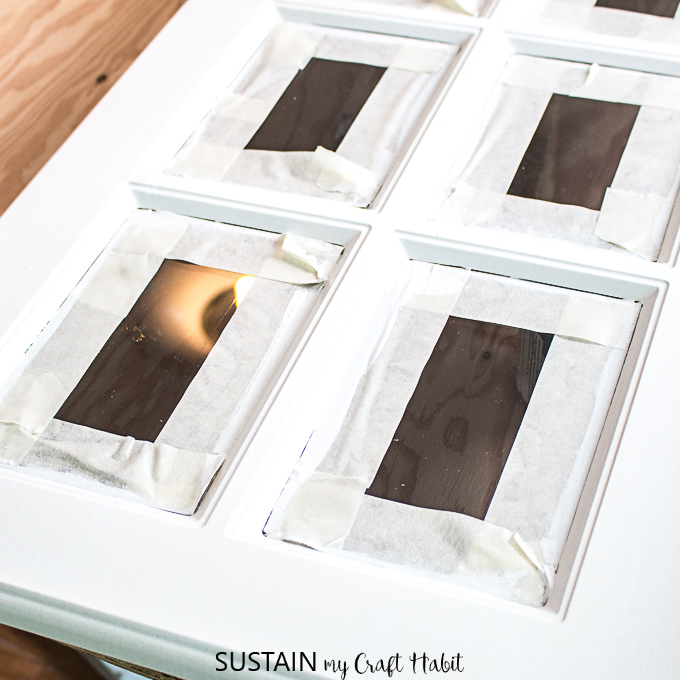
Since our kitchen cabinets and drawers have a laminate finish, some of the corners and edges were beginning to peel. We fixed these areas using a combination of wood glue, wood fill and a spatula. Gently sanded the rough edges when dry and wipe away the dust before painting.
Refinishing
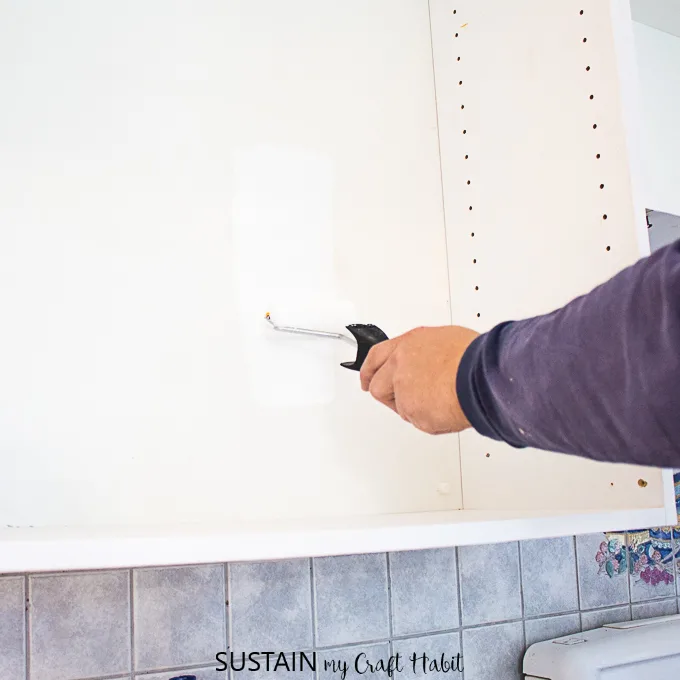
Using a combination of a roller and paintbrush, apply an even coat of stain blocker to all surfaces before painting. This will help the paint to adhere to the cabinets while also ensuring that no color bleeds through the new paint. This is especially important if painting over a darker stained kitchen with new lighter paint color.

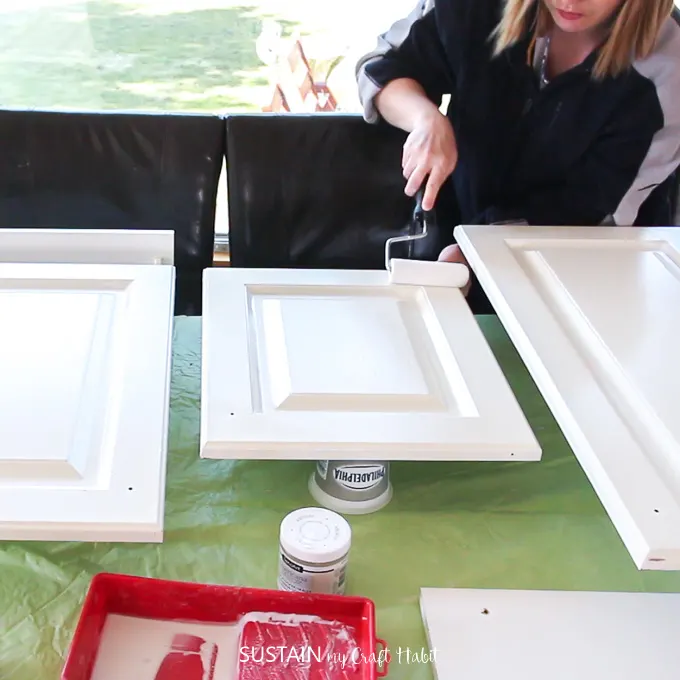
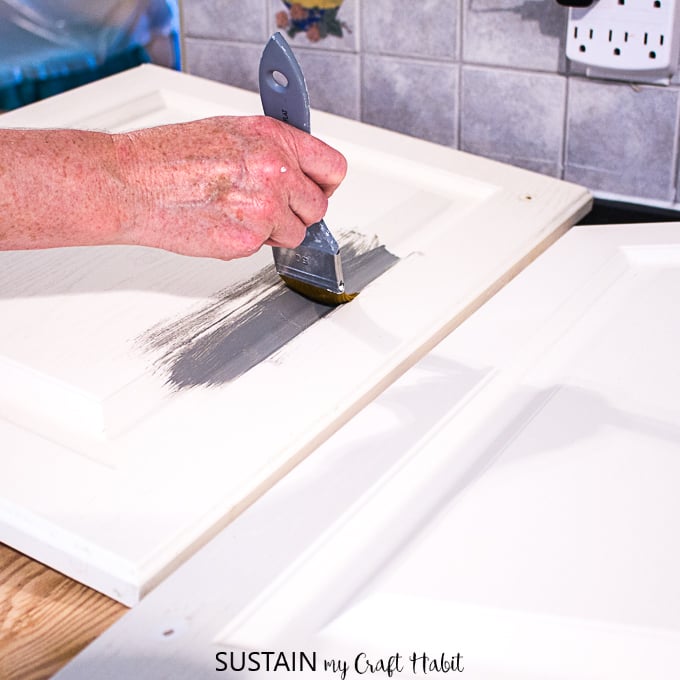
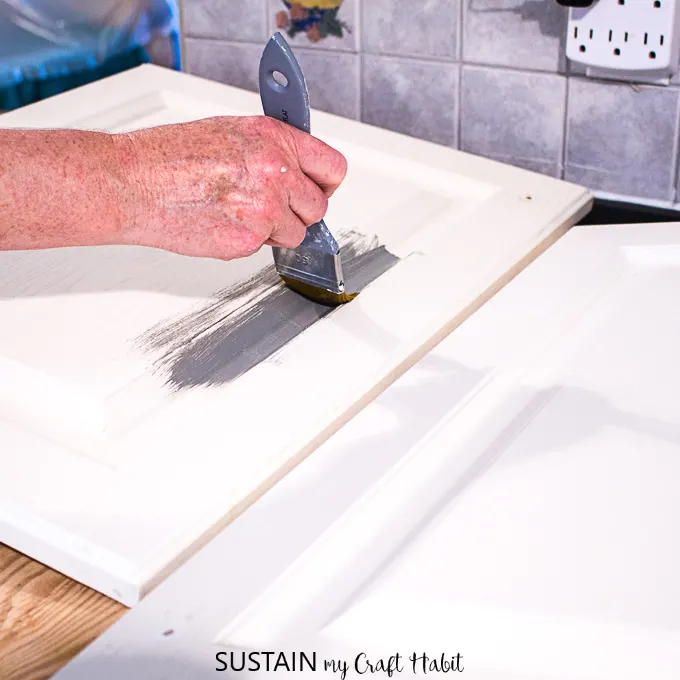
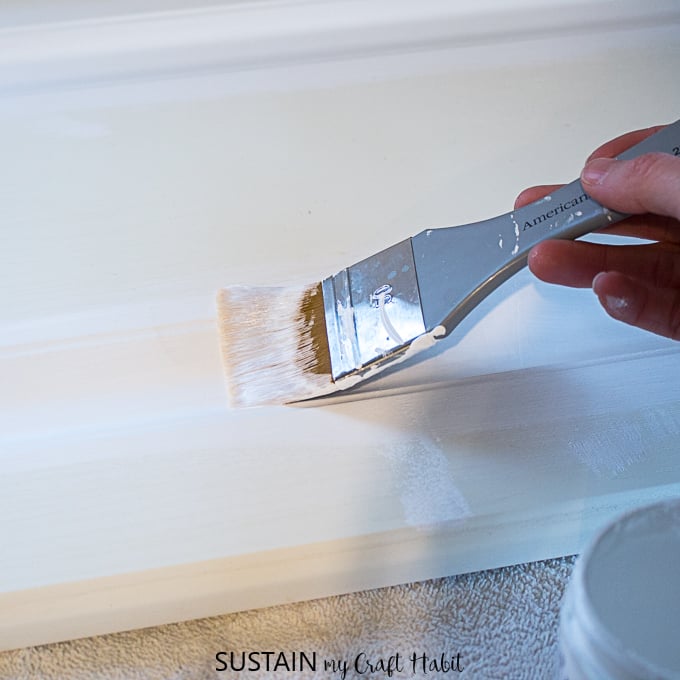
Using a good quality angled paint brush, begin painting into the grooves of the cabinets. With a paint roller, apply the paint to the rest of the flat surfaces.
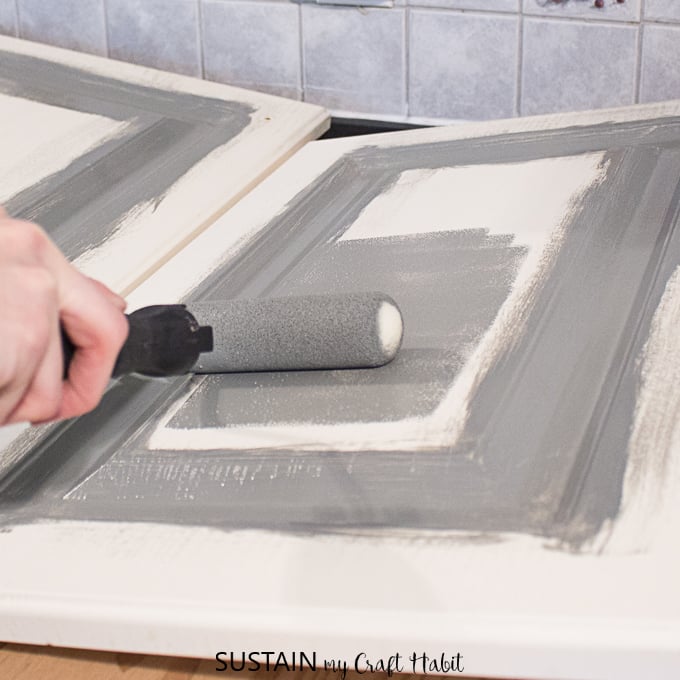
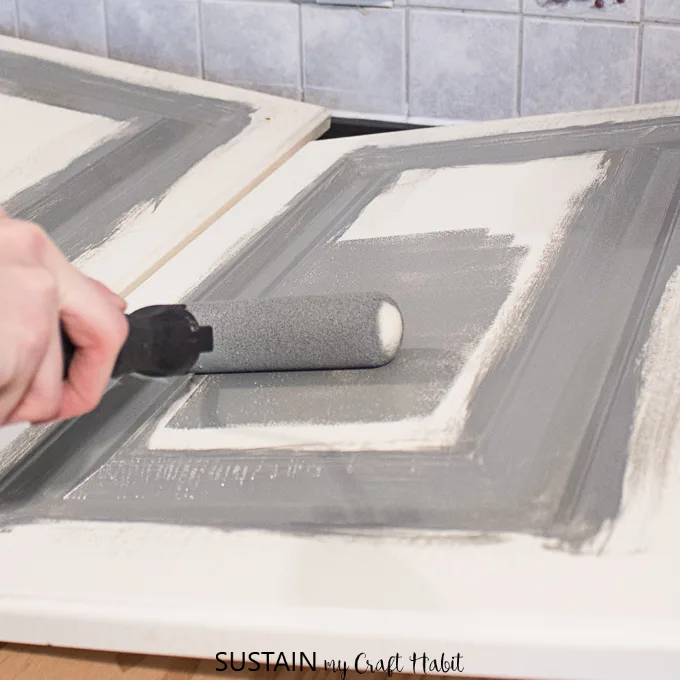

Work one colour at a time so for example, paint all the uppers first before moving on to the lowers.


Leave the paint to dry fully (approx 24-48 hours depending on temperature and climate) before turning cabinets over and painting the reverse side.


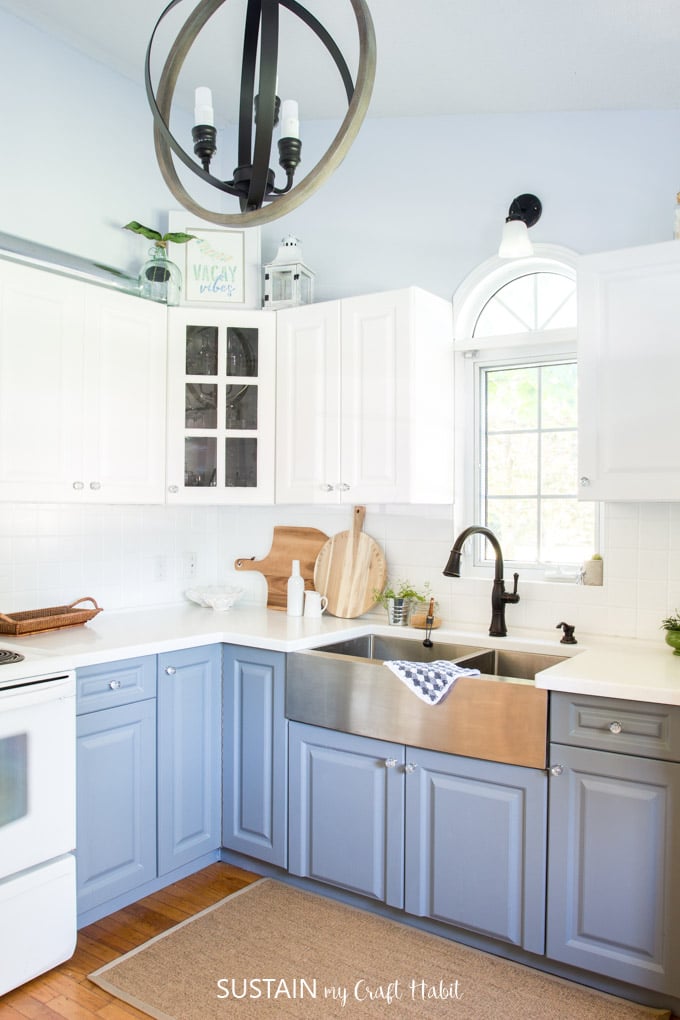
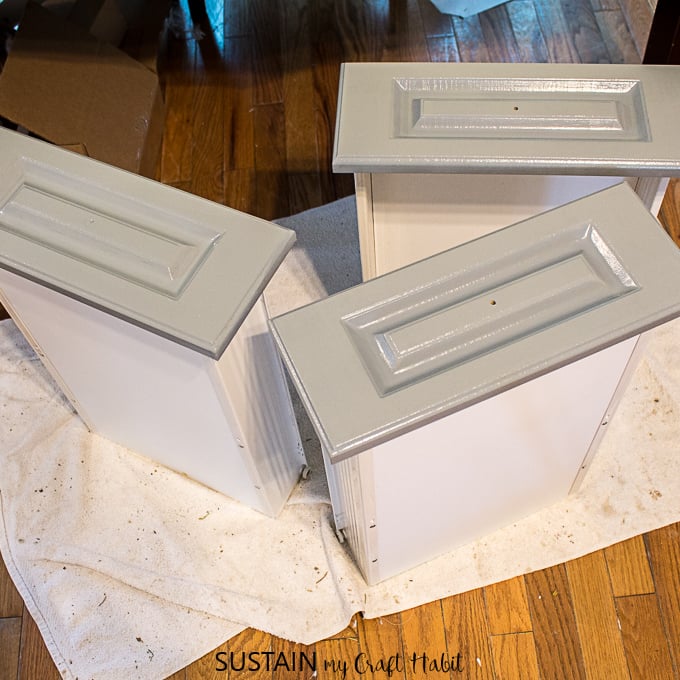
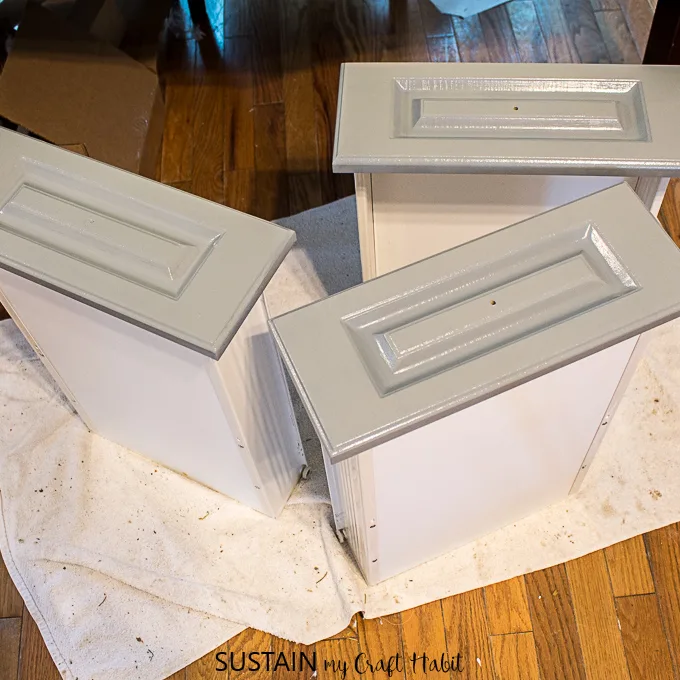
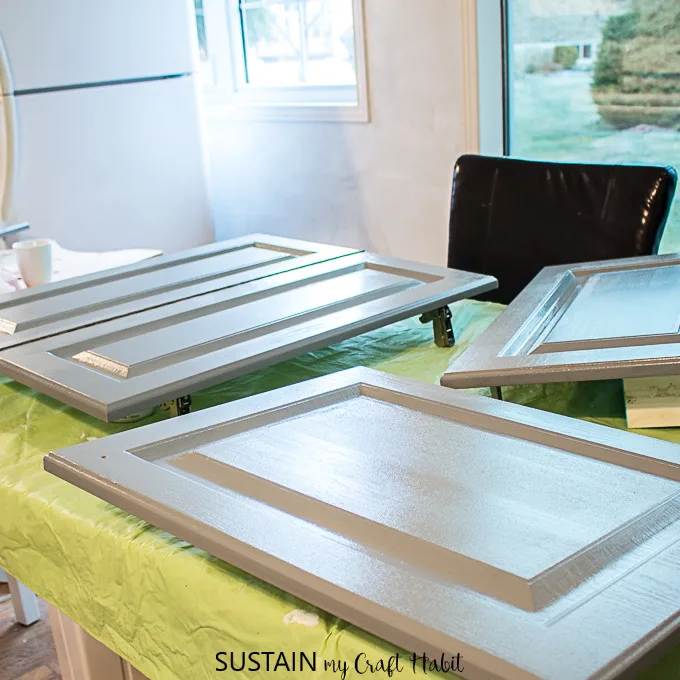
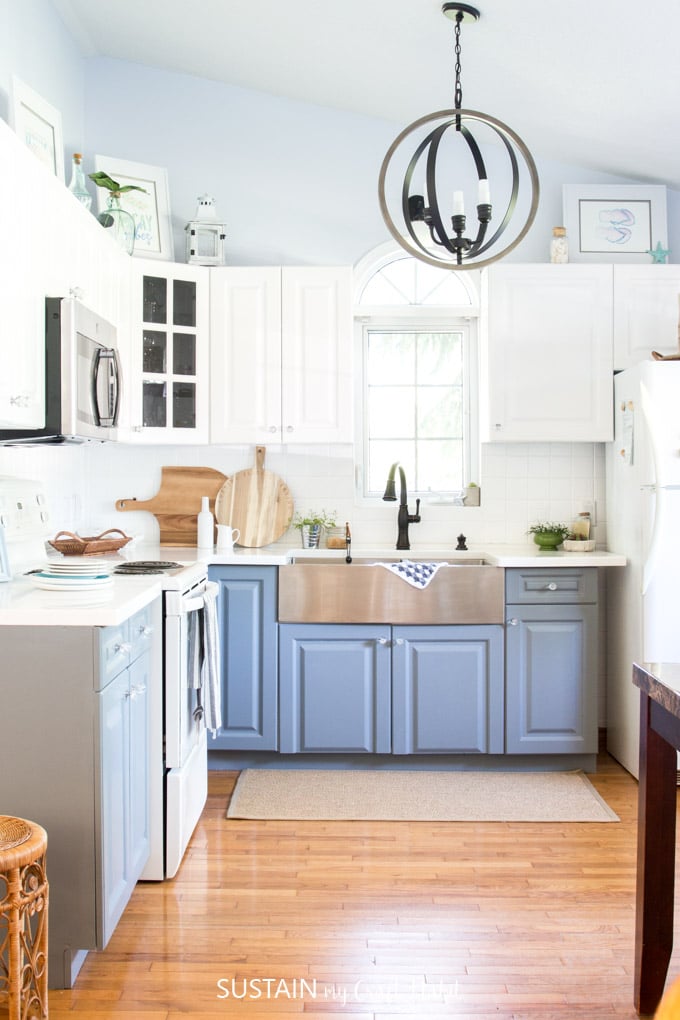
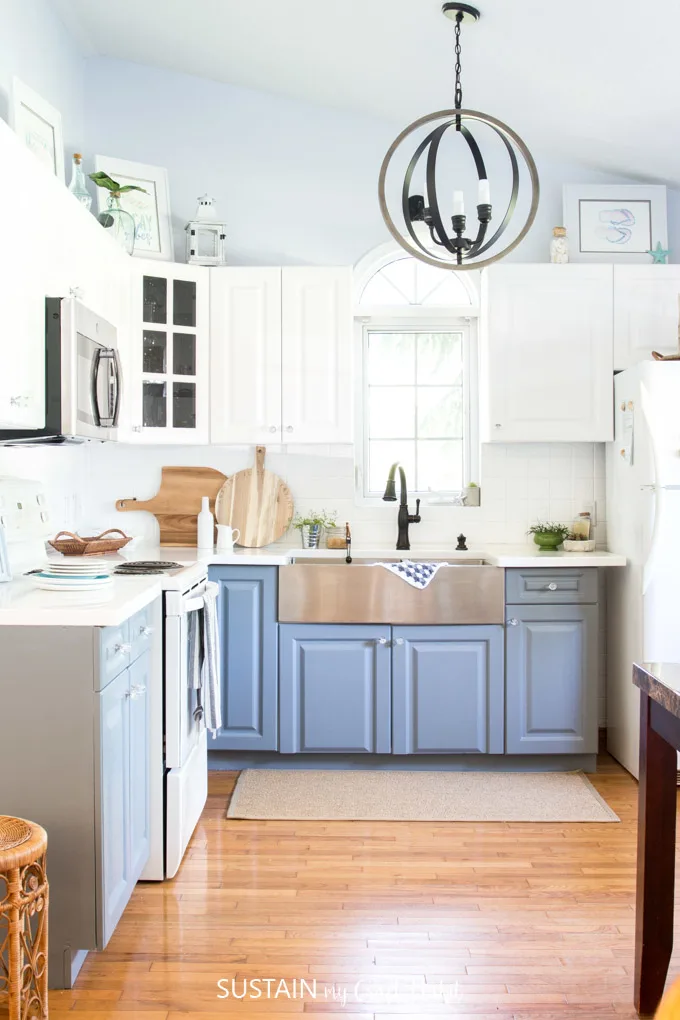
Repeat as needed until you achieve the desired coverage. We applied 2-3 coats of the smoke grey and 2 coats of the pure white paint over our existing white laminate cabinets.
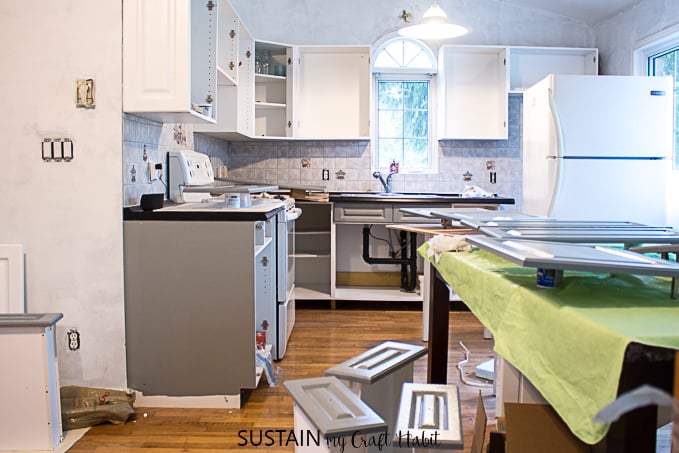
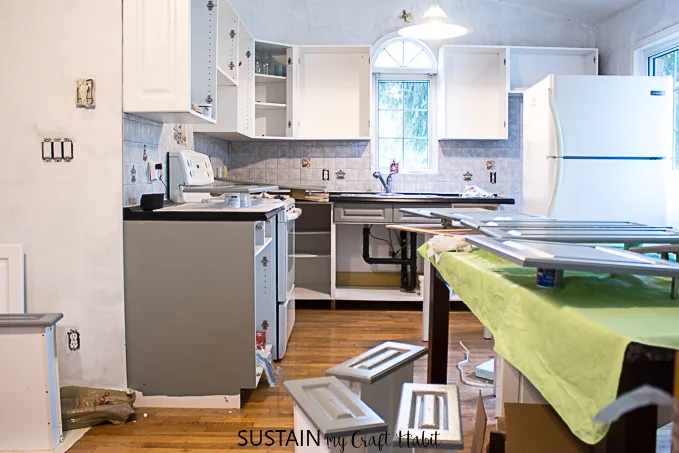
Work in progress..what a mess!
Leave the paint to fully dry and set, at least 72 hours before reassembling the kitchen. Reattach the kitchen cabinets and drawers to the painted cupboards. Take your time when reattaching the cabinets to avoid chipping the surfaces and when leveling the cabinets. This took longer than we expected so we recommend you not underestimate how long it will take to reassemble the kitchen afterwards.

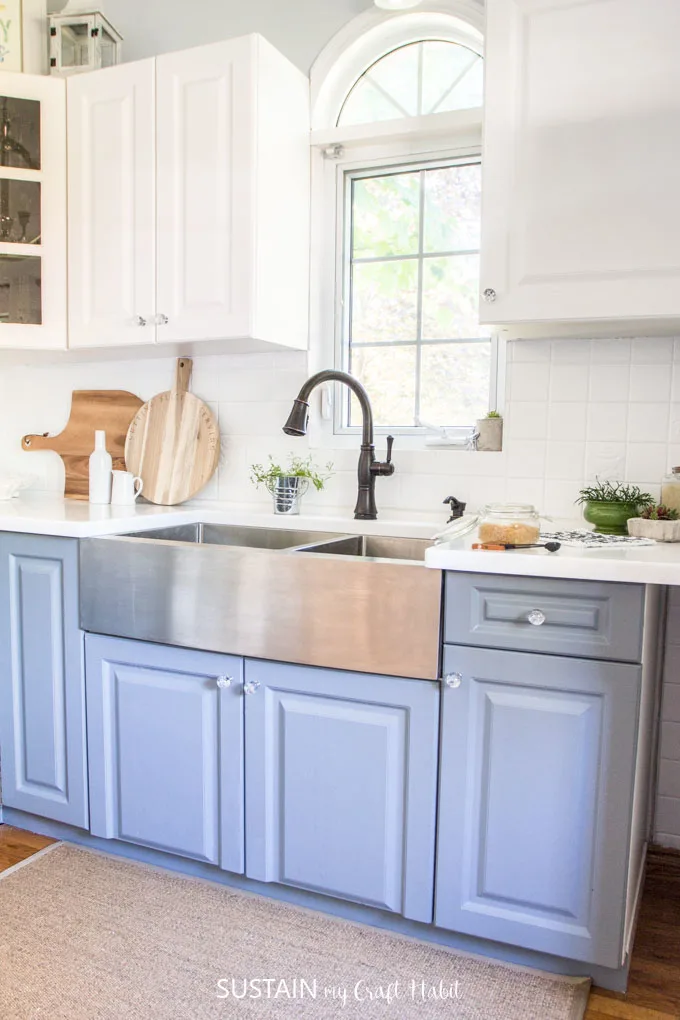
Attach the existing knobs and handles or replace with new knobs such as these bubbly glass ones*. Aren’t they pretty? You can find all the sources and additional details for our coastal kitchen makeover here.
Future Plans
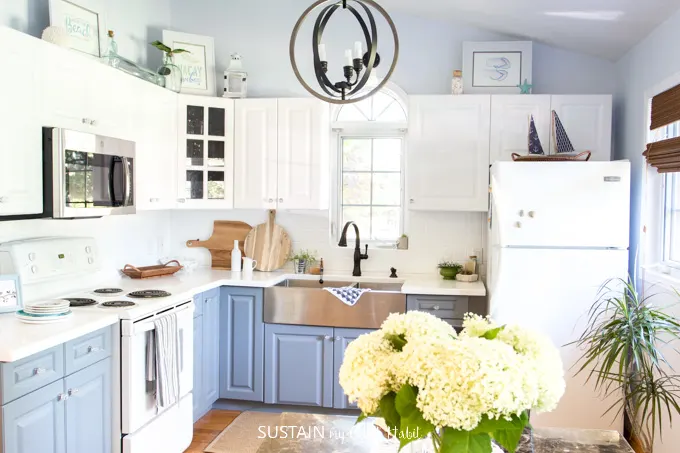
We’ll be adding a new crown moulding to the top of our kitchen cabinets in the future to help disguise the new venting we installed for the over the stove microwave. We switched the cabinets that were above the fridge with the cabinets that were over the stove in order to install the microwave. This took some handy work but was an important feature for us to free up the counter space.
We’ll be sure to post an update in a few months of how the painted kitchen cabinets are holding up.
Do you have any tips for how to paint kitchen cabinets without sanding?
Like it? Pin it for later!


Jeanne Hodgkins
Thursday 6th of January 2022
What colour is the wall above the cabinets?
Jane and Sonja
Thursday 6th of January 2022
Hello. It's called Effervescent 210A by Para Paints. You can find more photos here: https://sustainmycrafthabit.com/coastal-cottage-kitchen-remodel/ . Hope that helps! -Jane
Elegant Painters Vancouver WA
Wednesday 3rd of November 2021
Great post! Thanks for sharing with us this great ideas for kitchen cabinets very useful and helpful tips. :)
Michelle Fisher
Wednesday 6th of May 2020
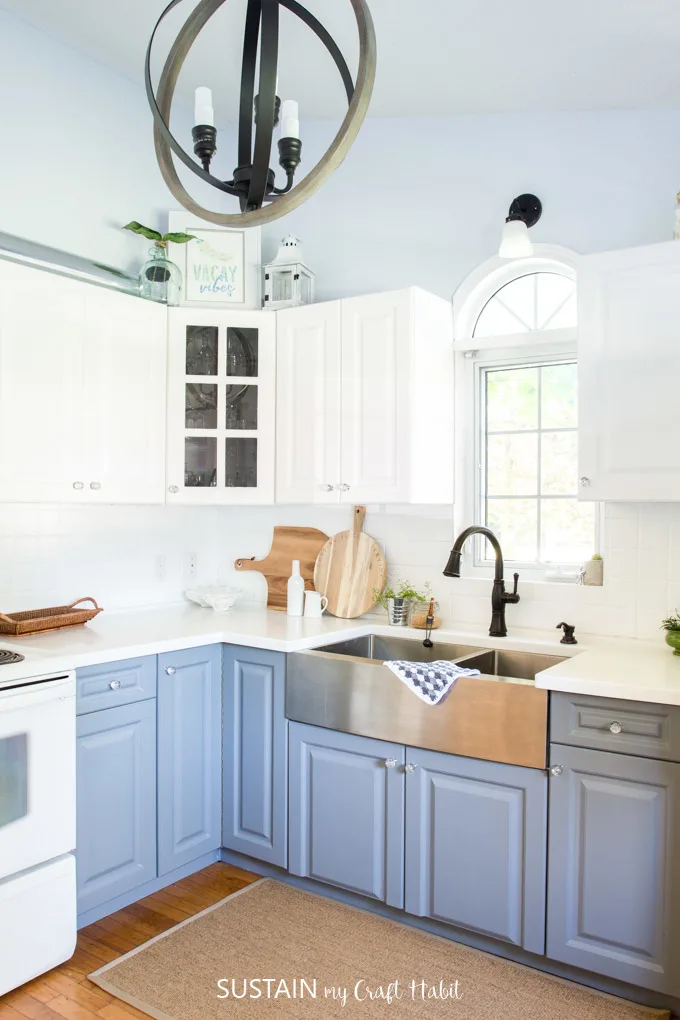
How has this held up over the last couple years? Also, did you do the same color on all the lower cabinets? It looks gray on one side and blue on the other.
Jane and Sonja
Friday 15th of May 2020
Hi Michelle, thanks for your question. We've been meaning to share an update on the painted cabinets but haven't had a chance yet. The paint has held up really well actually! Some of the paint on the lower cabinets has scratched off from the doors rubbing against each other. Otherwise, we are very happy with the results and still glad we chose to paint them. The lowers were all painted the one color (smoke grey) but depending on the lighting takes on a blueish tone.