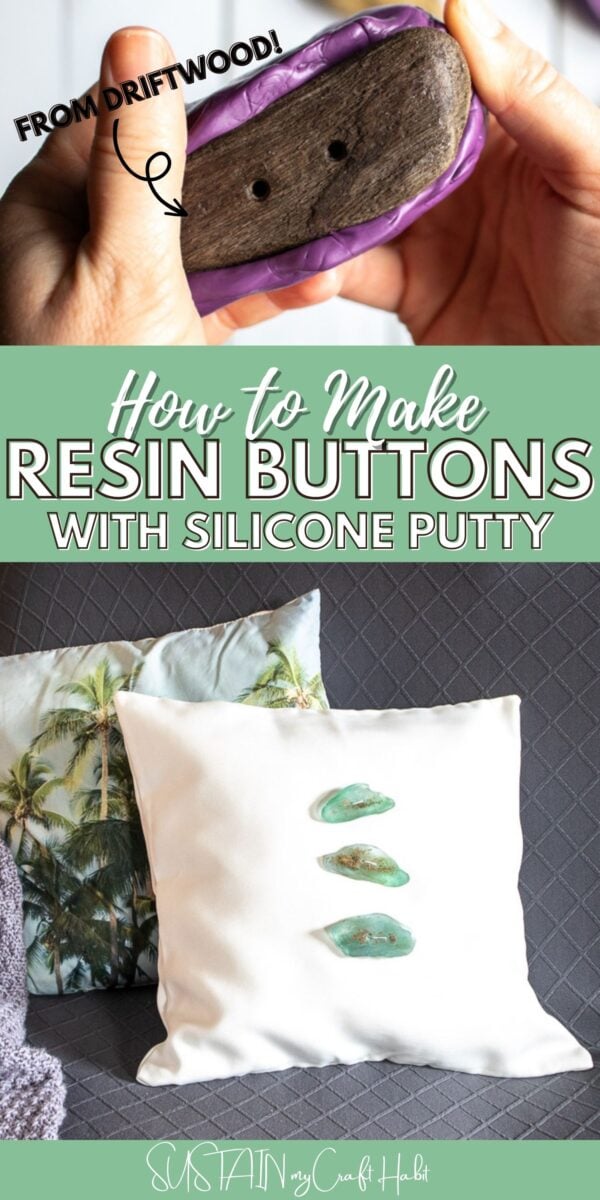
How to Make Resin Buttons with Silicone Putty
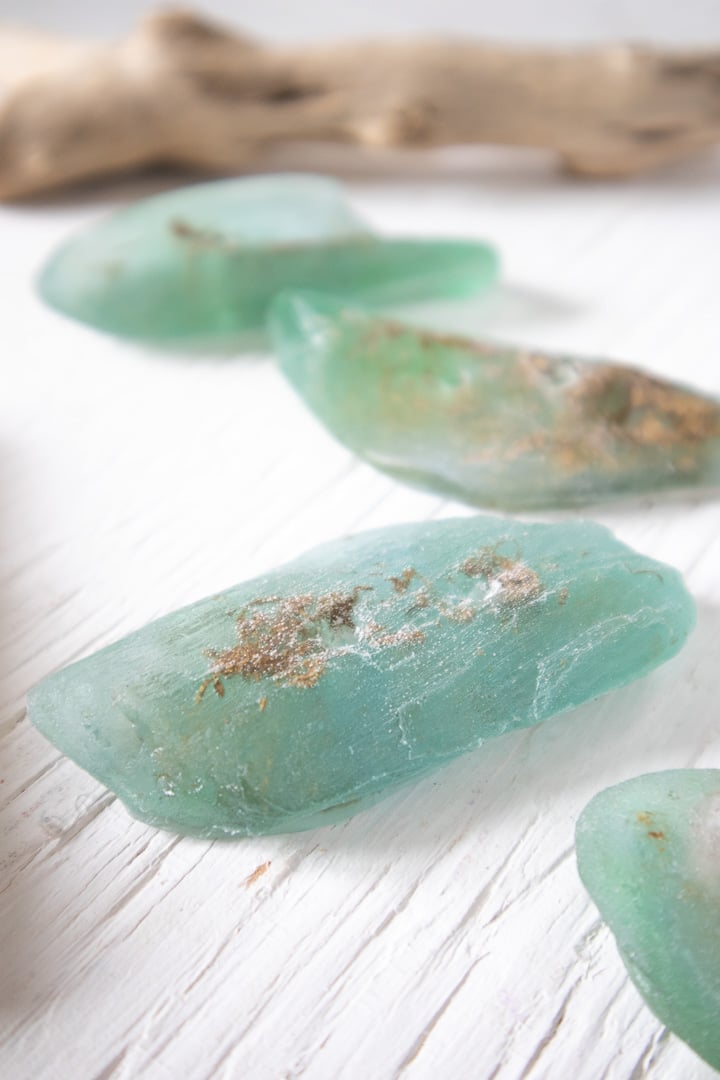
This DIY was a really interesting experiment combining our love of nature crafts with resin. Starting with pieces of driftwood that we found on the beach, we replicated the shape and texture using silicone putty to make actual resin buttons!
Making a Resin Button Mold
If you happen to have a button that you love and just can’t find a match to or you want to experiment with making resin buttons yourself, then you’ve come to the right place. Although we used driftwood, you can really use any object, shape or even another button to make your own resin buttons with the use of silicone putty.
Get updates on the latest posts and more from Sustain My Craft Habit straight to your inbox by joining our weekly newsletter. We promise to send you only the good stuff.
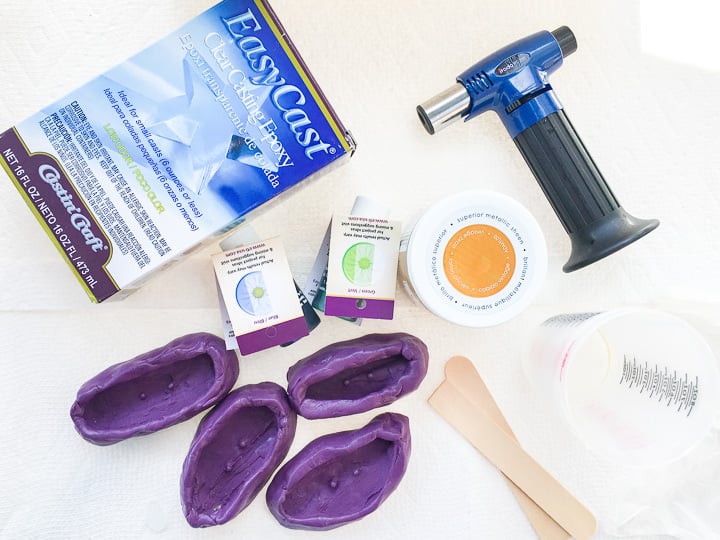
Materials Needed
Disclosure: This post contains affiliate links for your shopping convenience. Should you choose to purchase through them, we will make a small commission at no extra cost to you. You can read our full disclosure policy here.
- EasyCast Clear Casting Epoxy
- DIY driftwood buttons silicone molds (find out how to make your own silicone button mold here)
- Universal Translucent Dye in blue and green
- Gold metallic paint
- Measuring cups, wooden stir sticks, paper towels, toothpicks
- Butane kitchen torch
- Small inclusions such a pebbles, seashells (optional)
How to Make a Resin Buttons with Silicone Putty
Be sure to read all the instructions and work in a well ventilated area prior to using the EasyCast Clear Casting Epoxy.
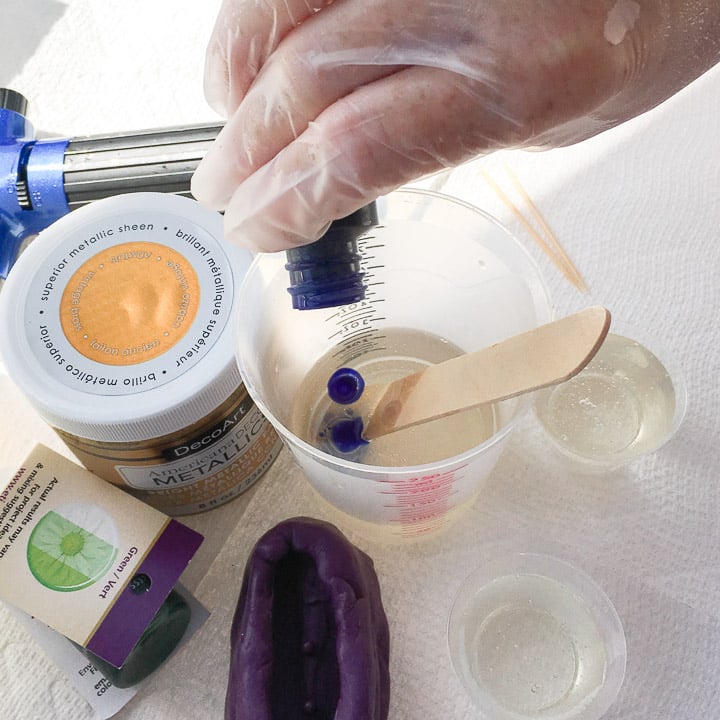
To prepare the resin for pouring, mix equal amounts of resin and hardener in a measuring cup. Two ounces of each should be sufficient for this part of the project.

Stir the two parts together for 2 minutes scraping the bottom and sides with the wooden stir stick.
Pour the mixture into a second measuring cup and continue stirring for another minute.

Divide the resin mixture amongst 3 cups.
Add 2 drops of the translucent blue dye into one portion and green dye to another. Stir until each color is completely blended. Your resin will then be ready to pour.
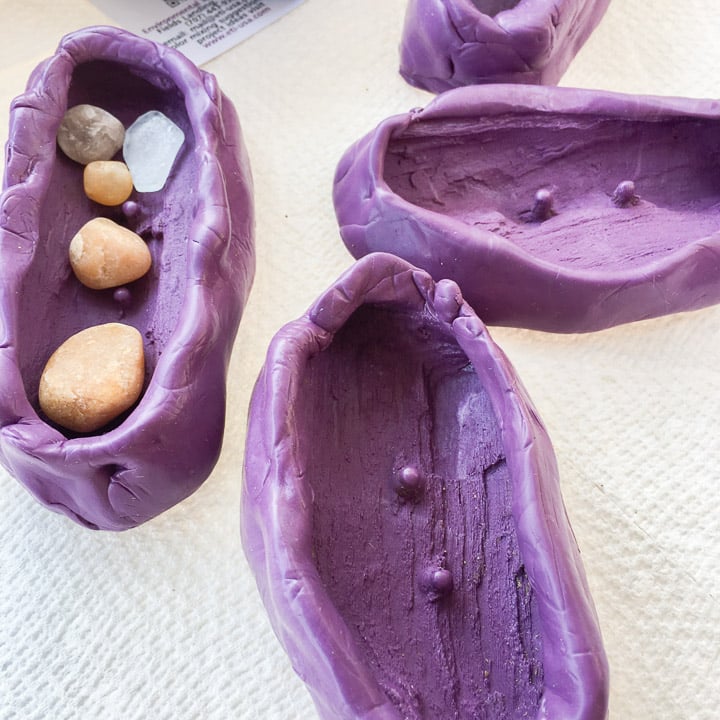
If you’d like, add small inclusions into one of the mold such as pebbles or sea glass.
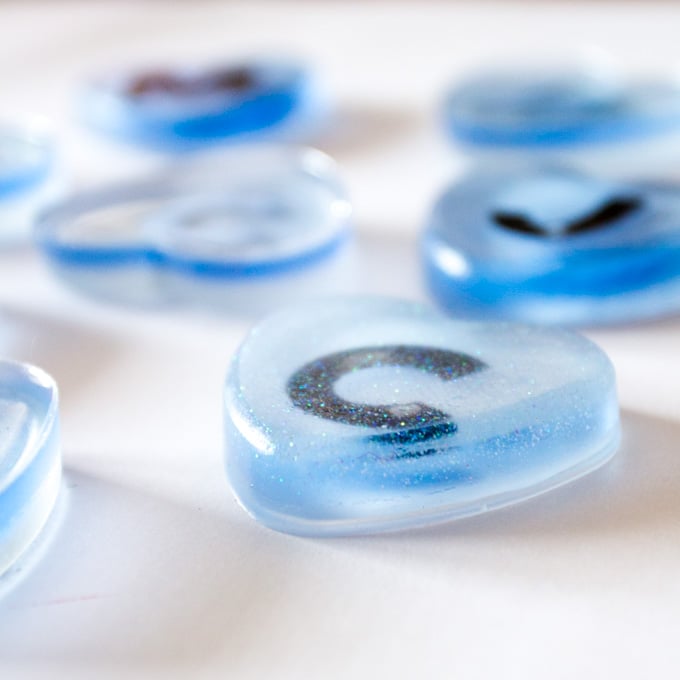
Next, alternate pouring each of the three colors of resin into the molds until filled.


Using a toothpick, add threads of gold metallic paint to the molds.
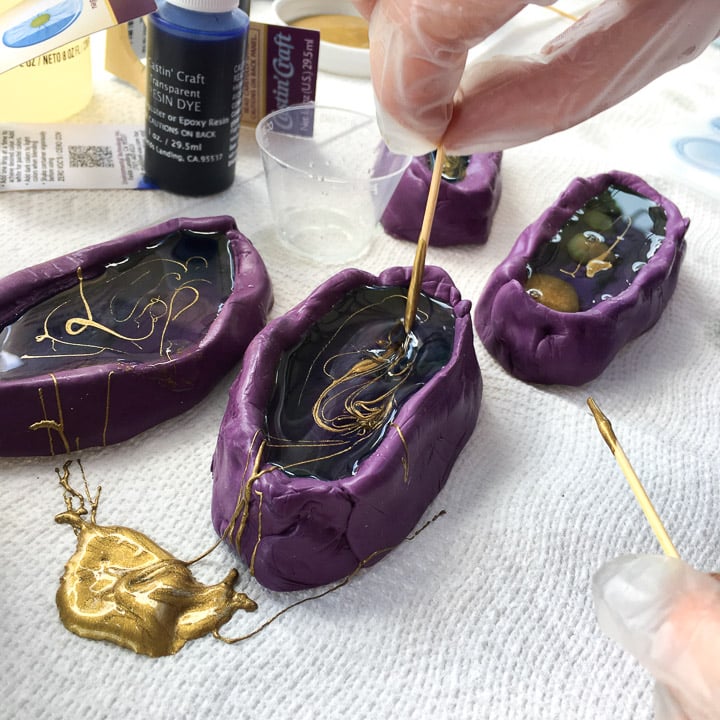
Swirl around and into the resin in the molds.
After about 15-20 minutes, blow off any bubbles that have risen to the surface of the resin using a kitchen torch (or your breath through a straw).
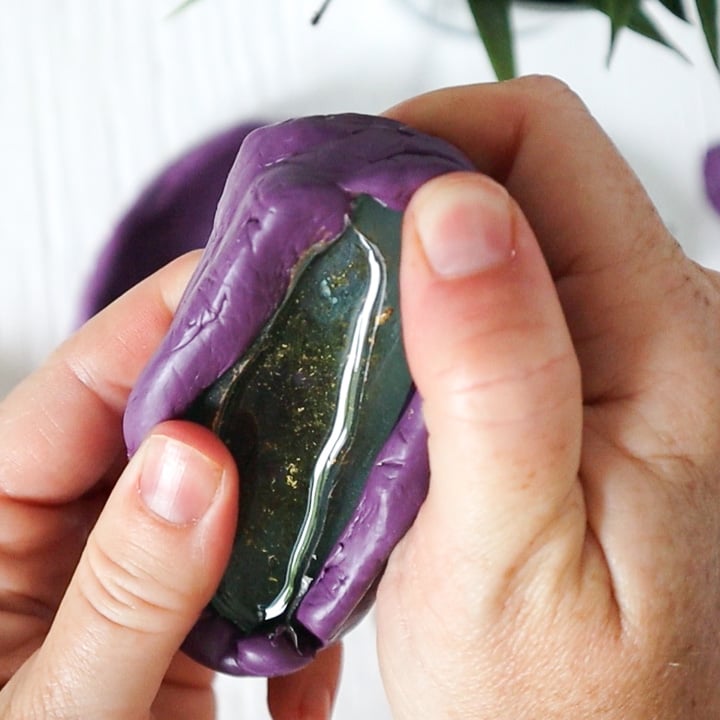
Cover and let cure for 24 to 48 hours before removing from the molds.
Finishing
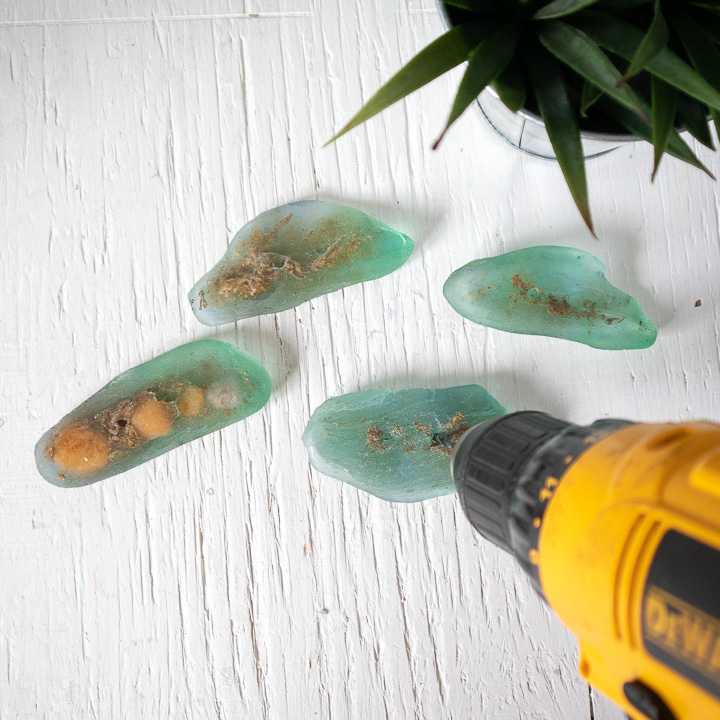
Carefully use a utility knife to clean off the sharp edges.

Use a drill with a drill bit the same size as the holes and drill through the resin all the way through. Use a toothpick to remove the fine sanded resin.
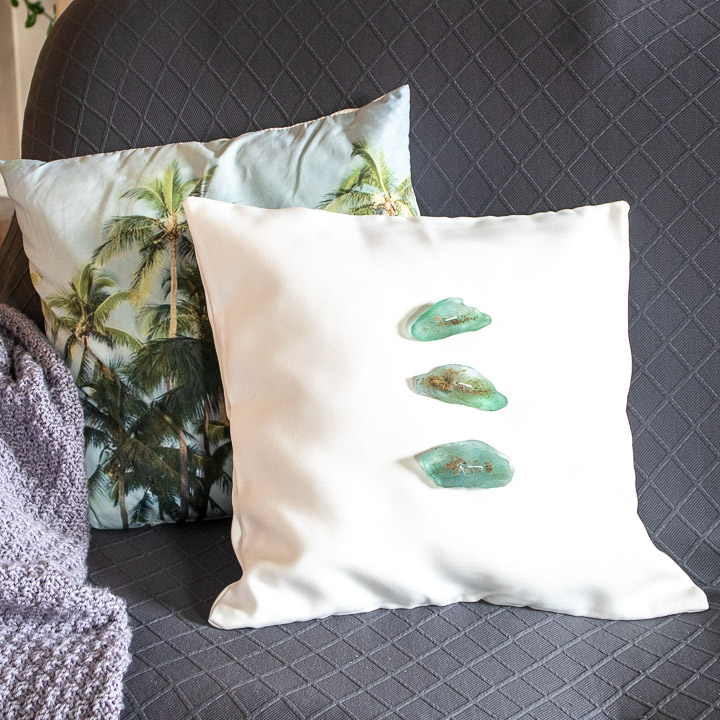
Attaching to a Throw Pillow
Position the buttons on a throw pillow and thread a needle with matching thread, stitch the buttons in place. You can of course use your buttons in any way you like but we love how our beachy buttons tie in to our beach-themed bedroom decor.
This project originally appeared on the Resin Crafts Blog.
More Resin Crafts
If you’re hooked on resin crafts then we’ve got plenty of other project ideas you can try out.
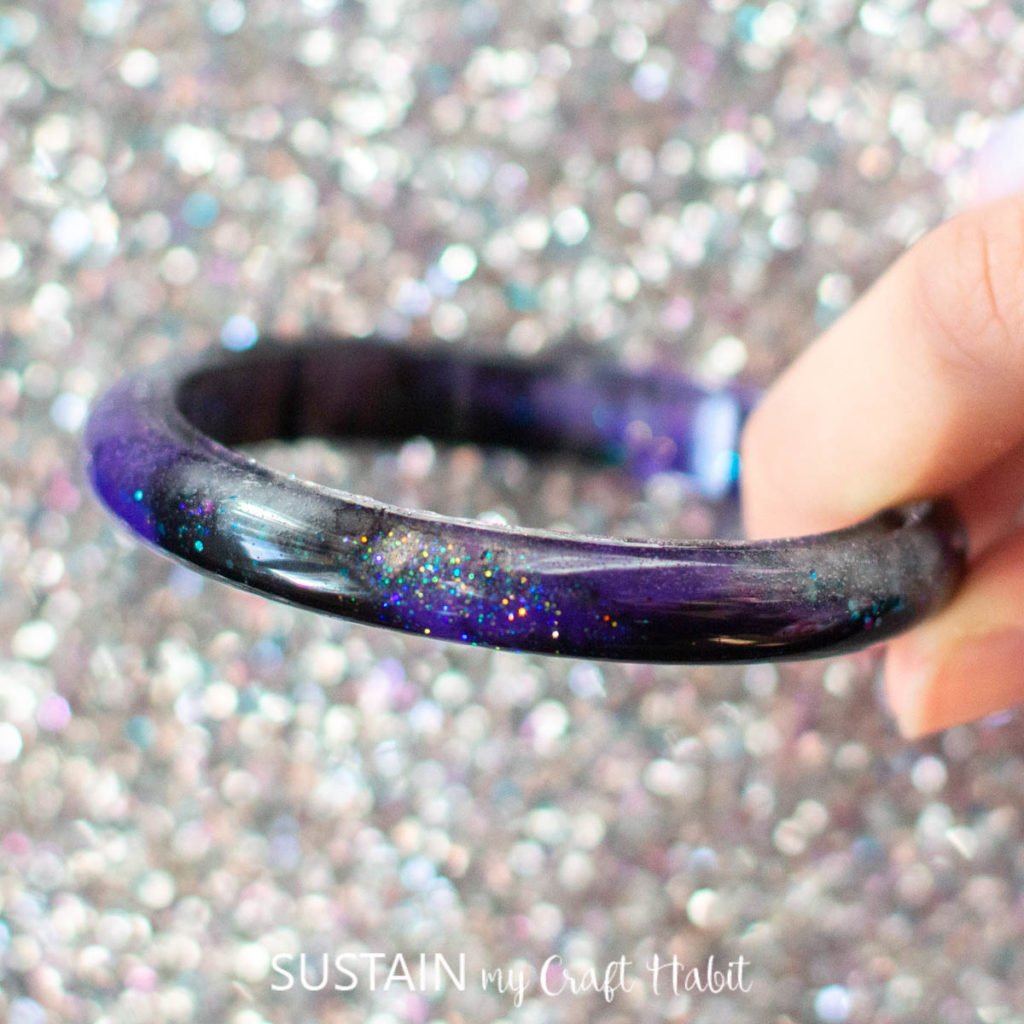
- Galaxy Resin Bracelet
- Cupcake Resin Charms
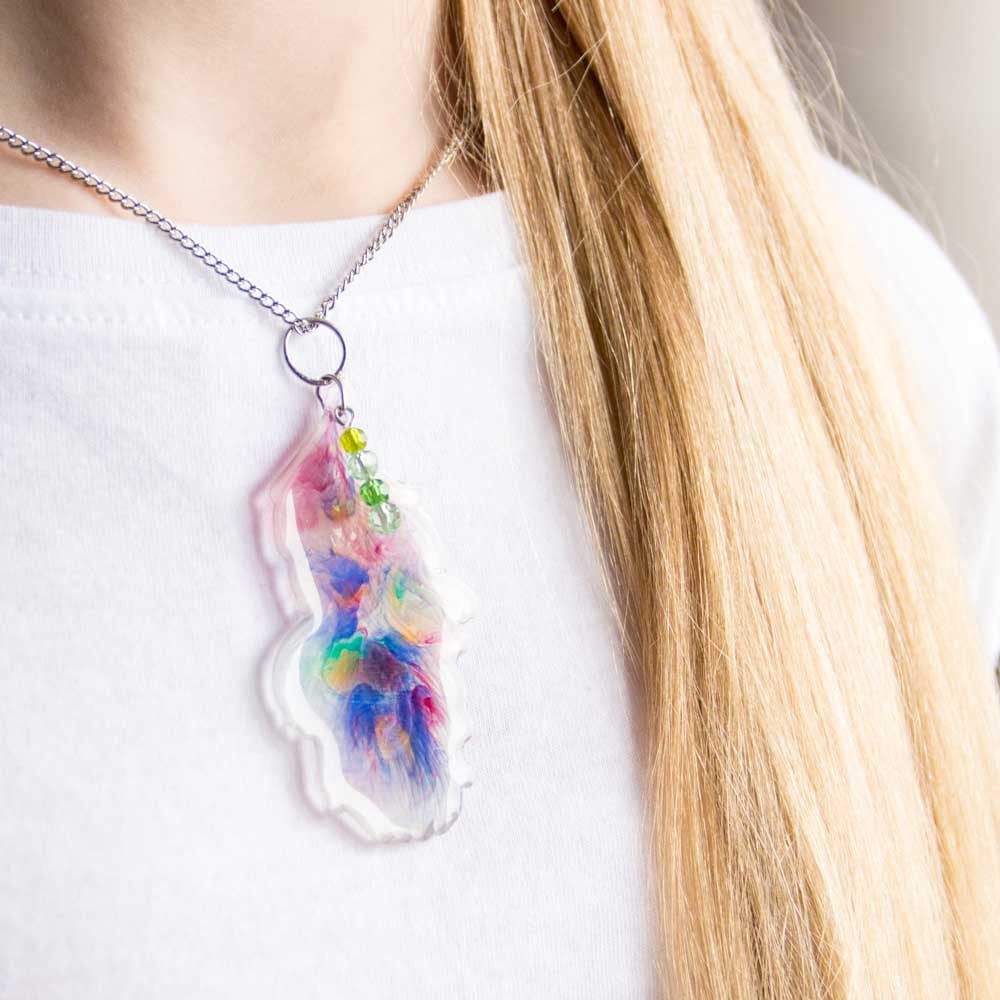
- Resin Feather Pendants
- Resin Seaglass Wall Hanging
- Monogram Fridge Magnets with Resin

Thanks so much for stopping by to visit us here on the blog. If you want to receive a ton of inspiration and money saving ideas for decorating, gift-giving and crafting? Join HERE!
Like it? Pin it for later!

How to Make Resin Buttons with Silicone Putty
Materials
- EasyCast Clear Casting Epoxy
- DIY driftwood buttons silicone molds
- Universal Translucent Dye in blue and green
- Gold metallic paint
- Measuring cups wooden stir sticks, paper towels, toothpicks
- Butane kitchen torch
- Small inclusions such a pebbles, seashells (optional)
Instructions
- To prepare the resin for pouring, mix equal amounts of resin and hardener in a measuring cup. Two ounces of each should be sufficient for this part of the project.
- Stir the two parts together for 2 minutes scraping the bottom and sides with the wooden stir stick.
- Pour the mixture into a second measuring cup and continue stirring for another minute.
- Divide the resin mixture amongst 3 cups.
- Add 2 drops of the translucent blue dye into one portion and green dye to another. Stir until each color is completely blended.
- Next, alternate pouring each of the three colors of resin into the molds until filled.
- Using a toothpick, add threads of gold metallic paint to the molds.
- Swirl around and into the resin in the molds.
- After about 15-20 minutes, blow off any bubbles that have risen to the surface of the resin using a kitchen torch (or your breath through a straw).
- Cover and let cure for 24 to 48 hours before removing from the molds.
Finishing
- Use a utility knife to clean off the sharp edges.
- Use a drill with a drill bit the same size as the holes and drill through the resin all the way through. Use a toothpick to remove the fine sanded resin.
Attaching to a Throw Pillow
- Position the buttons on a throw pillow and thread a needle with matching thread, stitch the buttons in place.