A simple and creative DIY, learn how to make your own resin button mold using silicone putty that can be used over and over to make as many buttons as you wish.

Making a Button Mold with Silicone Putty
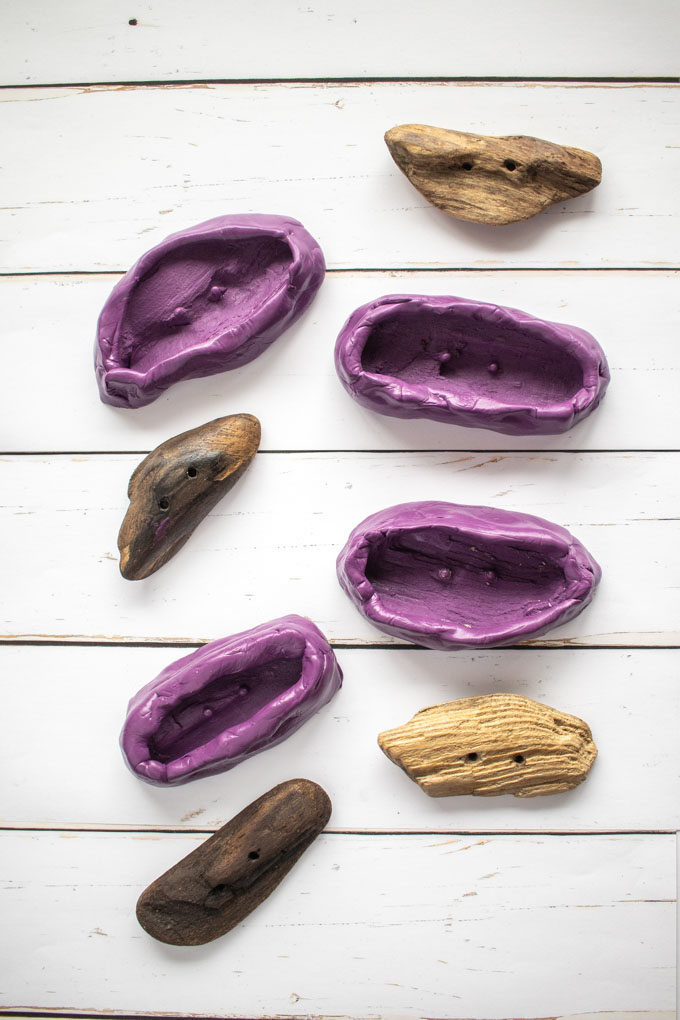
One of my favorite things to do with my family is to go beach-combing for treasures. We collect all sorts of goodies from sea glass for making Christmas tree decor to rocks for painting. One of the other things we love to collect is driftwood pieces for making decorative wood buttons.
The texture of the weathered wood and irregular shaped pieces make very interesting buttons. The only down-side is that they are more decorative than functional in that it would be best to avoid excessive wash and dry cycles. The solution: create driftwood shaped buttons using resin instead. This will allow us to handle the buttons the same as any other functional button while achieving a unique driftwood look with the resin mixture.


To make the process even easier, we made our own button resin mold using silicone putty! It’s a super simple craft project that is budget-friendly. You can easily find silicone putty at your local hardware store, Home Depot or Lowe’s.
You can of course use any found object to make your own button mold. That’s part of the fun in this craft!
Want to receive a ton of inspiration and money saving ideas for decorating, gift-giving and crafting? Join HERE!
Materials Needed
Disclosure: This post contains affiliate links for your shopping convenience. Should you choose to purchase through them, we will make a small commission at no extra cost to you. You can read our full disclosure policy here.
- Driftwood buttons (we sell these on our Etsy Shop)
- Sealer or glue
- Paintbrush
- EasyMold Silicone Putty
- Gloves, stir sticks, parchment paper
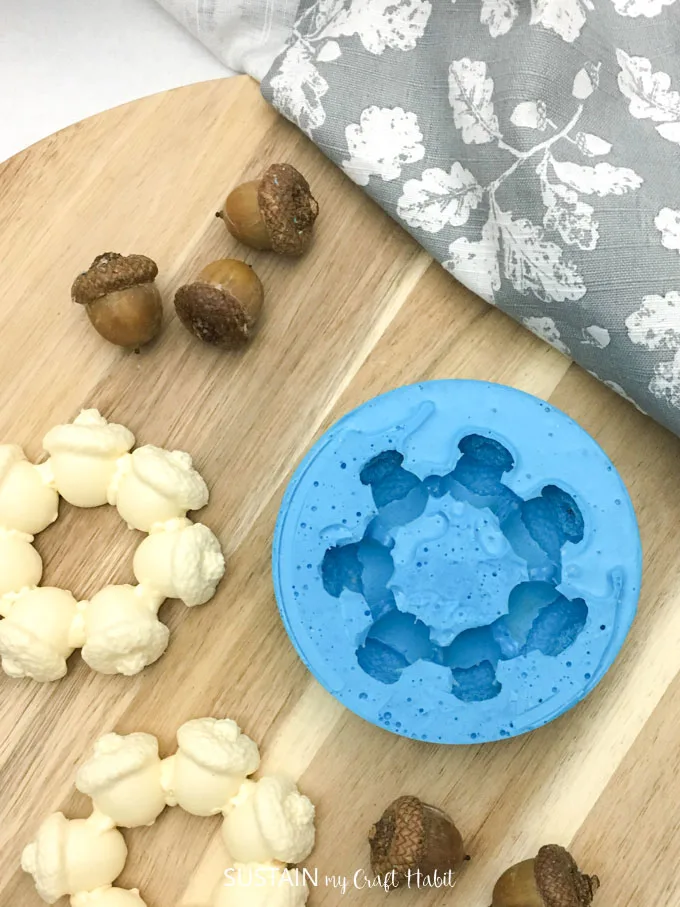
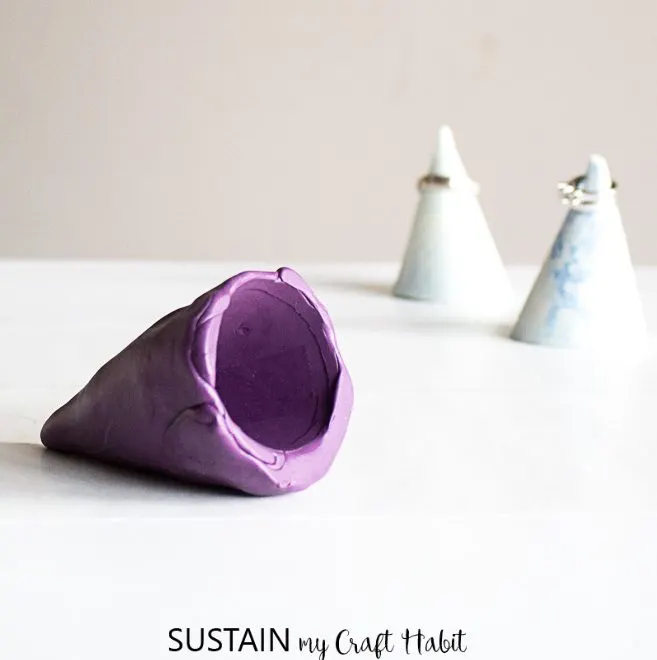
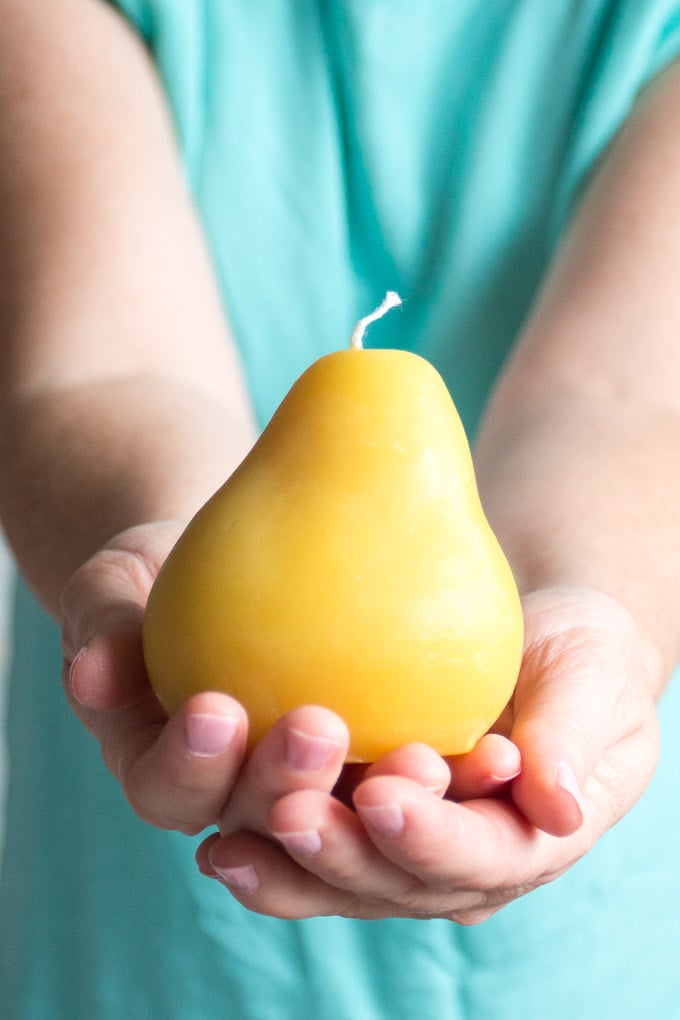
More Resin Molds to Make at Home
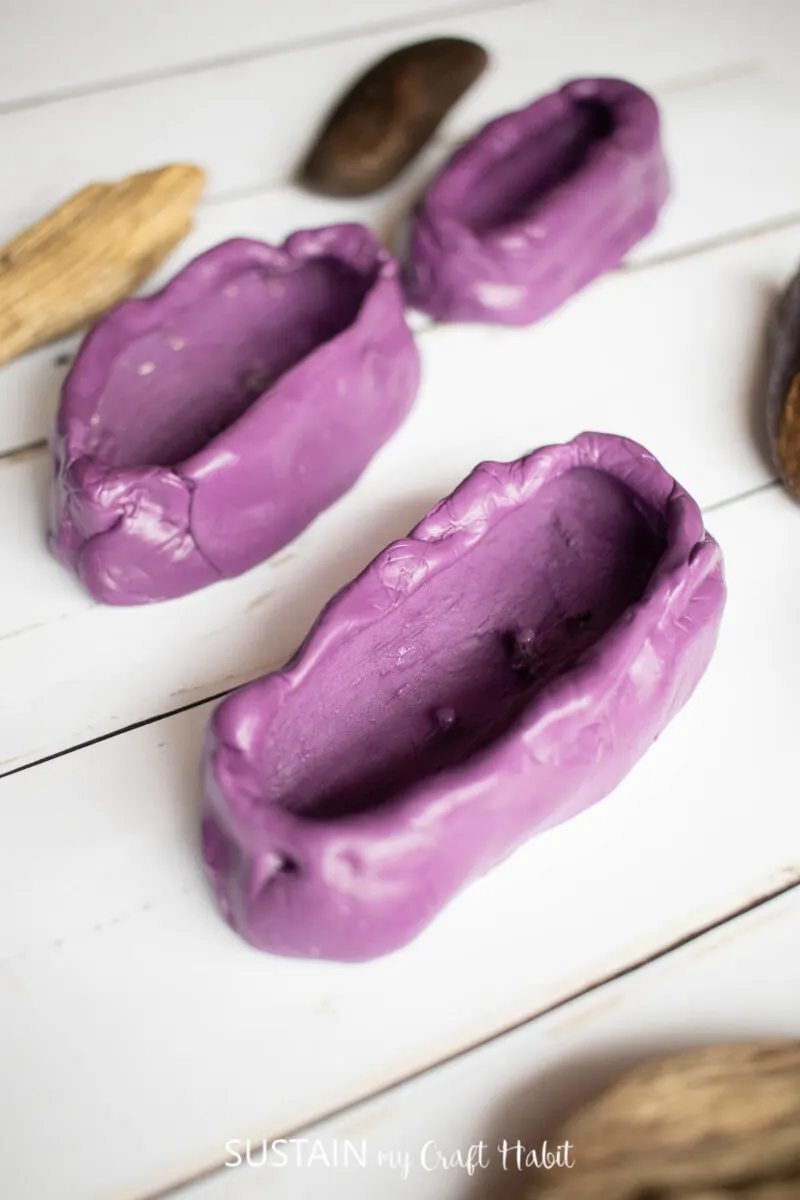
In order to do so, we need to make a mold out of the driftwood pieces. We used Silicone Putty to easily and quickly create 3 unique driftwood button molds for using and reusing repeatedly. The silicone molds can really make all the difference with a resin project. Here are some of our other favorite silicone putty molds:


How to Make a Resin Buttons with Silicone Putty
Preparing the surface
Since the surface of these wood buttons are rough and porous, we coated them with a sealer.
Using a paintbrush, apply a coat of liquid glue over the surface of the wood button. If the glue settles at the top of the buttonhole, poke it with a toothpick.
Take time ensuring all crevices are coated and then when the glue is dry, turn buttons over and seal the other side. Allow glue to dry fully before proceeding with the silicone putty.
Creating the silicone putty mold
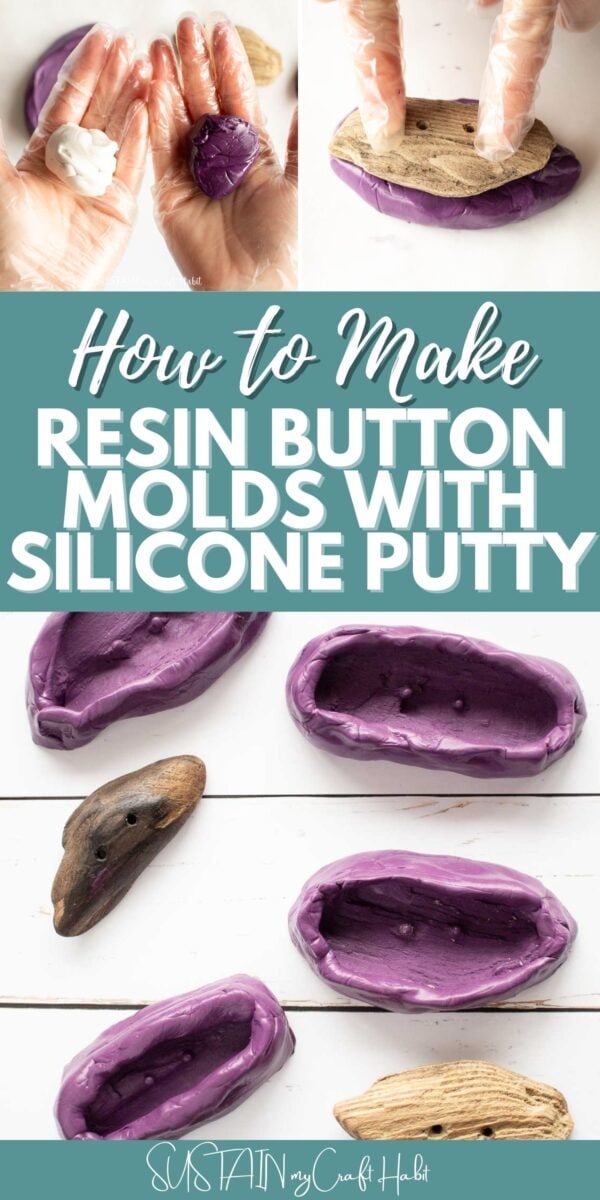
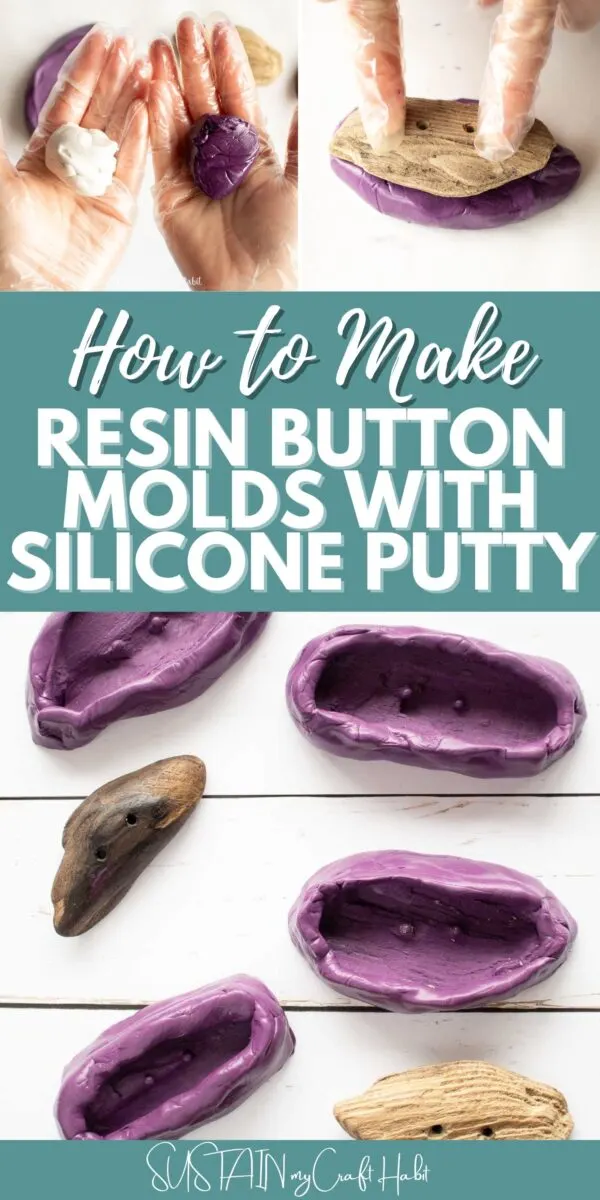
EasyMold Silicone Putty has 3 minutes of working time at regular room temperature, which means you need to work quickly.

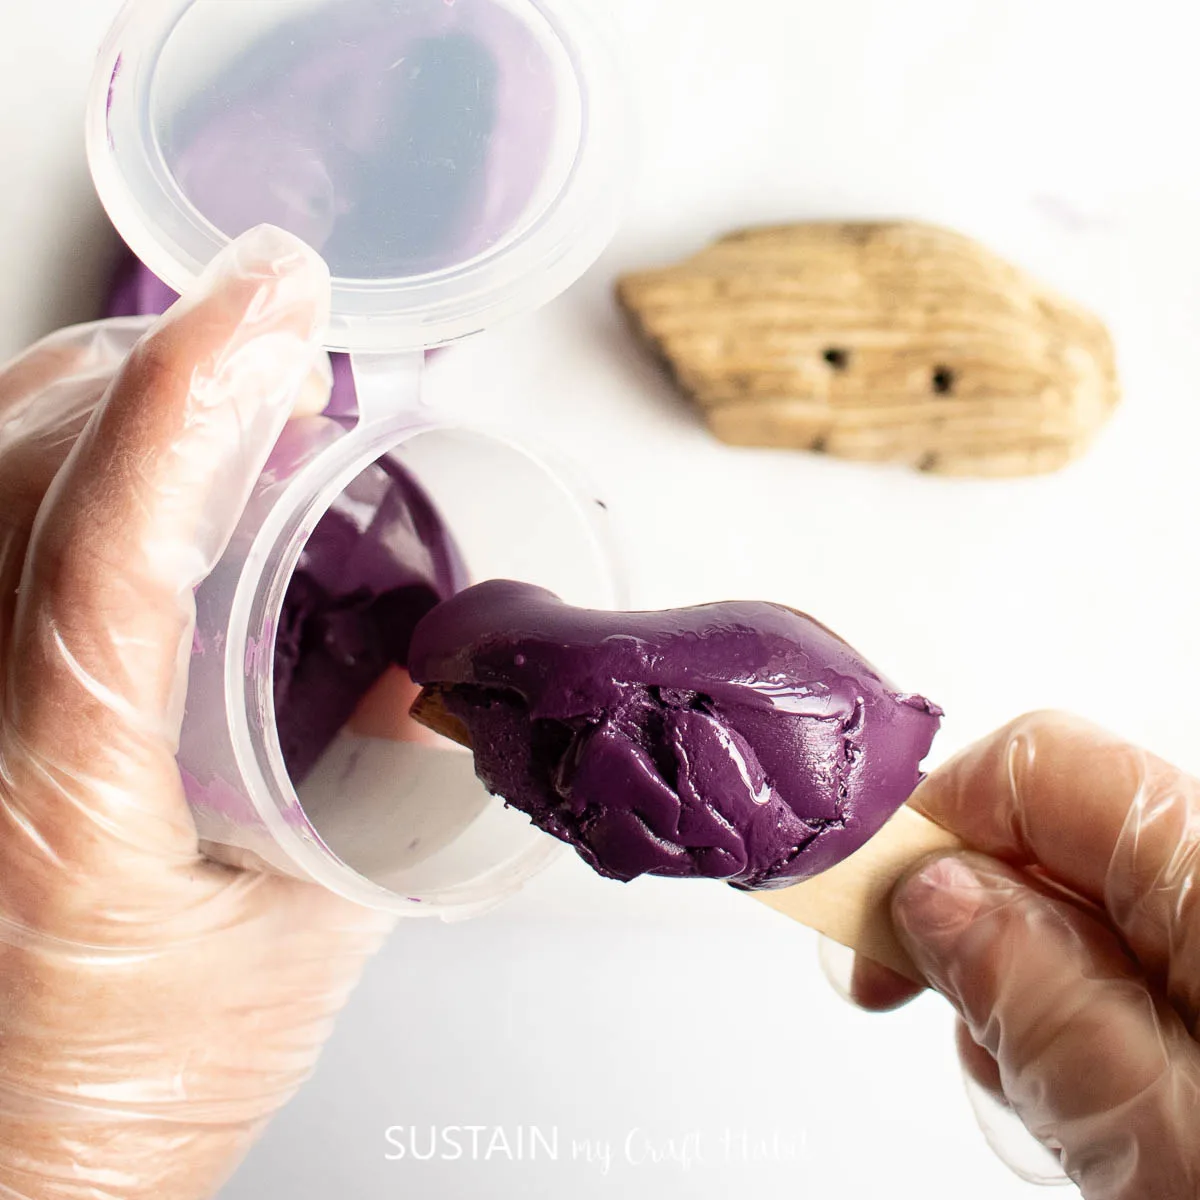
Mix only enough to make one mold at a time. Measure equal sized amounts of components A & B.
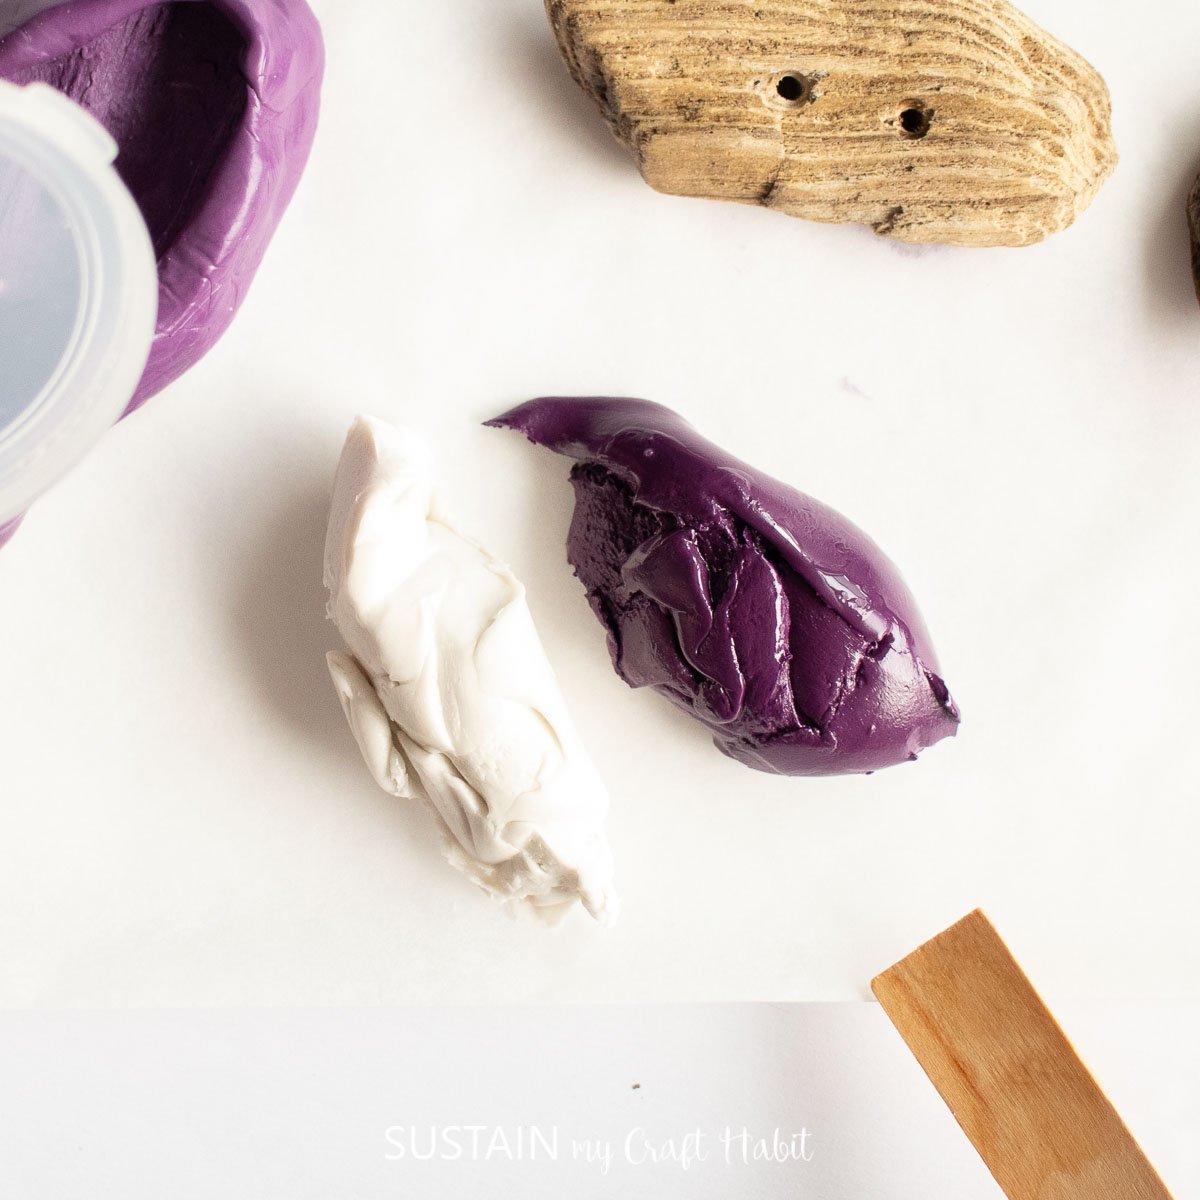

For this sized driftwood button, my components were each about two tablespoons.

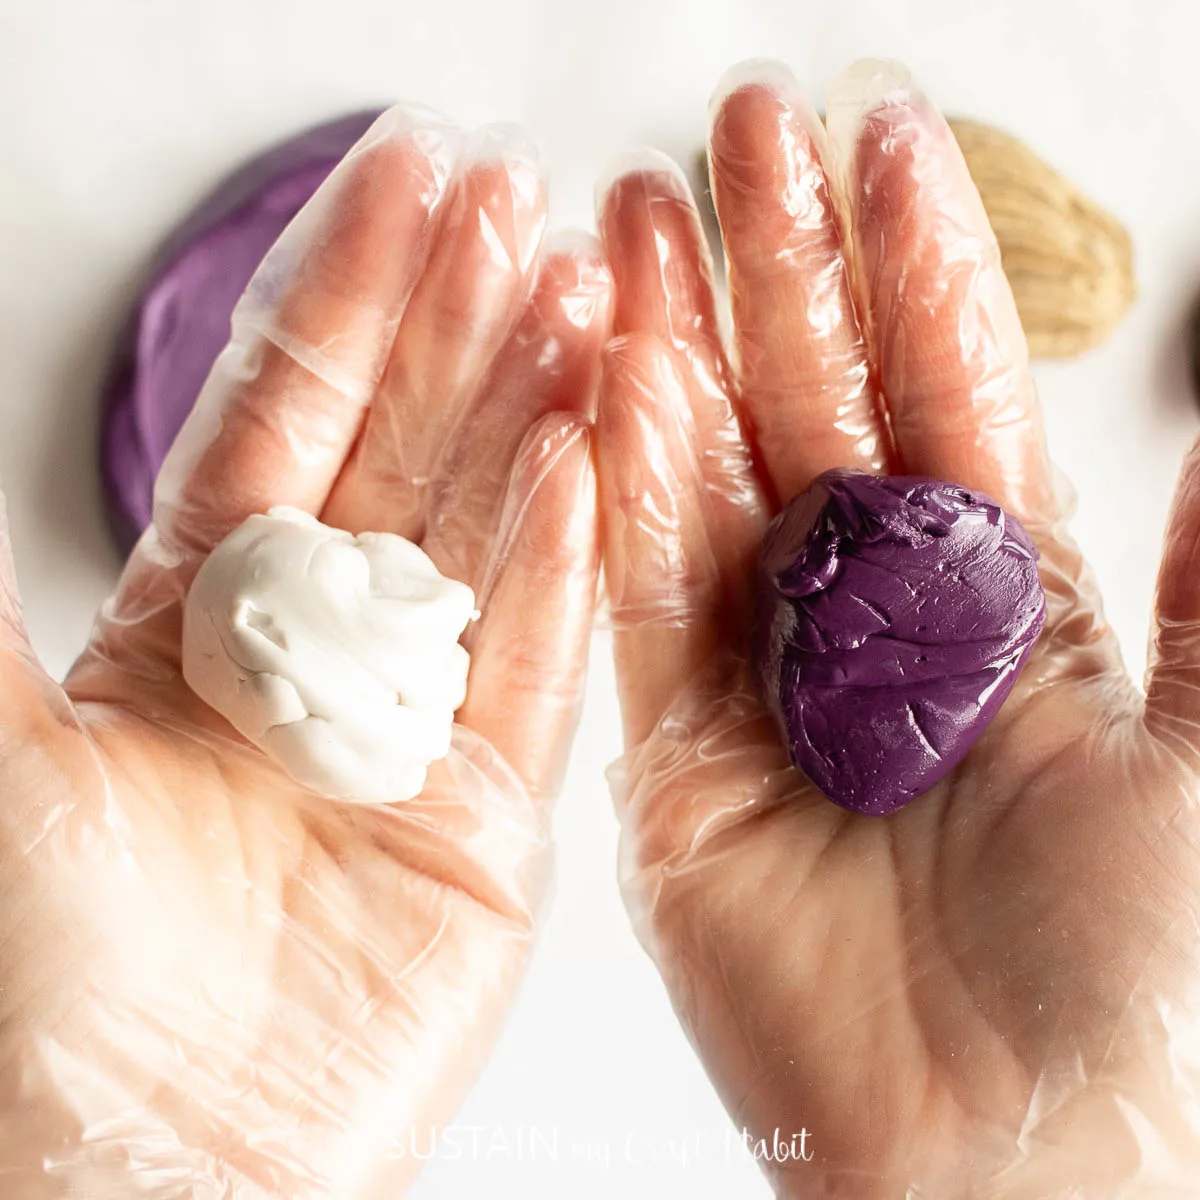
Quickly knead together the components until it is a uniform color, free of any swirls. This process takes about a minute.
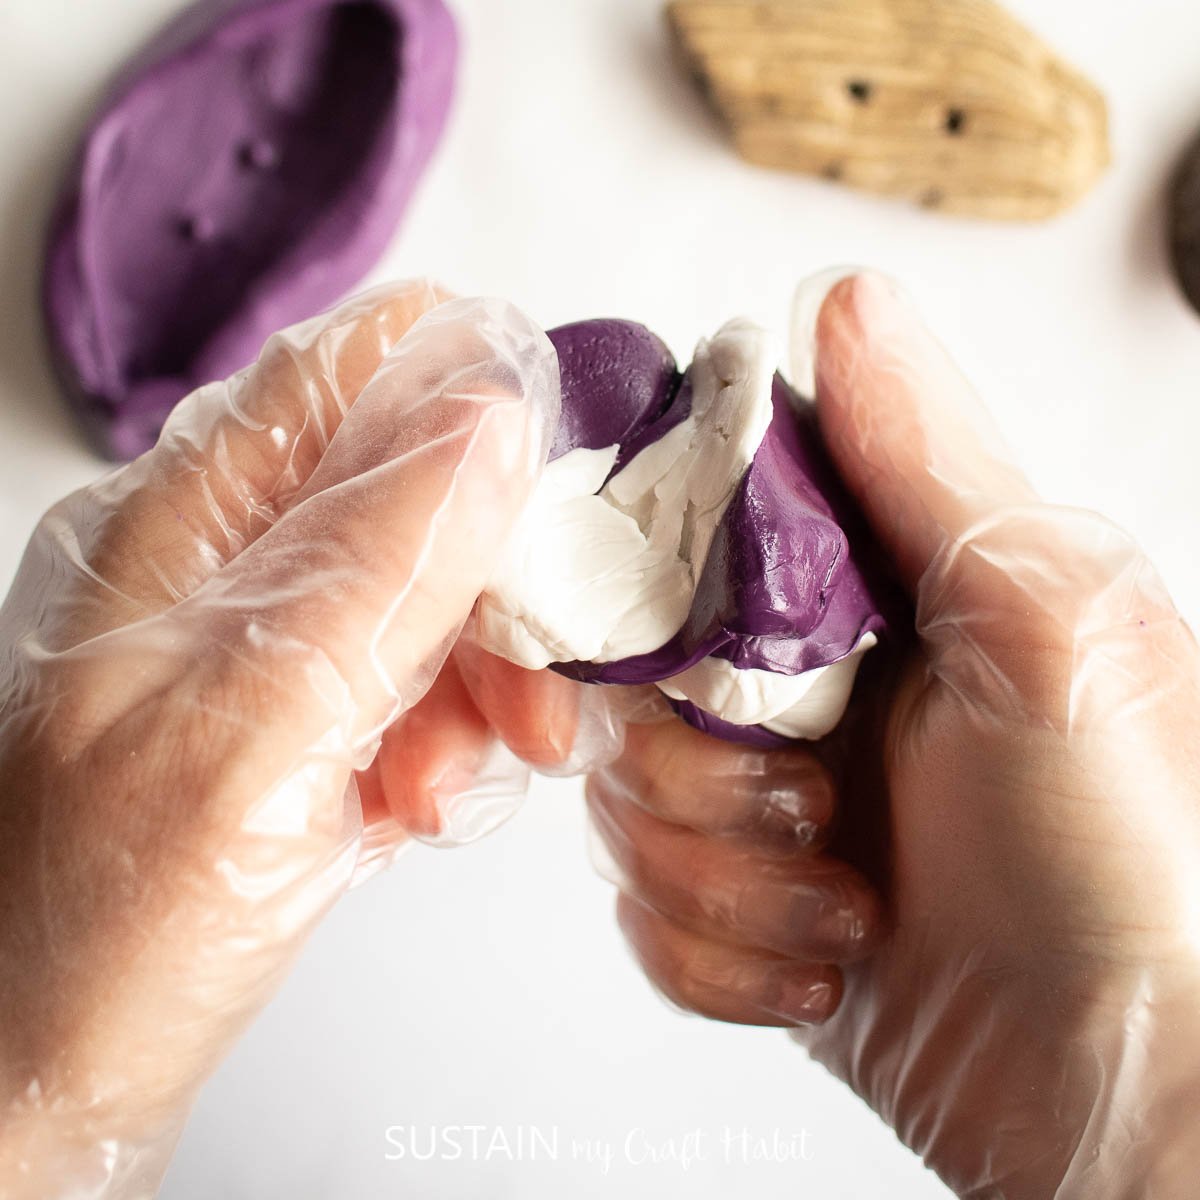


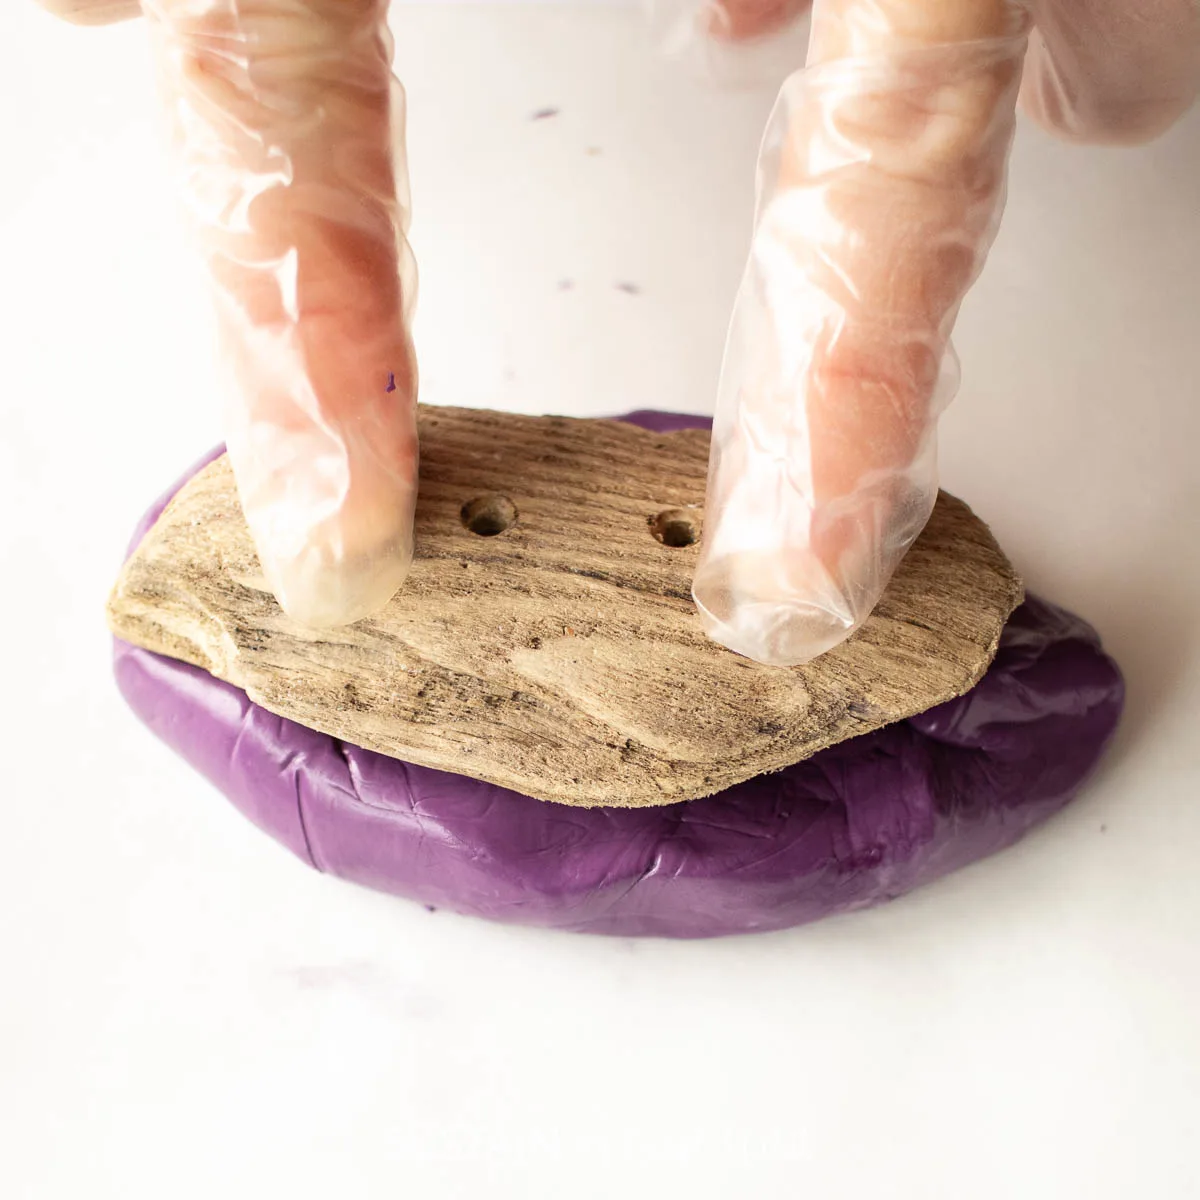
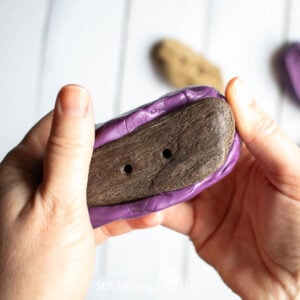
Roll the kneaded components into a ball and then flatten so you have enough to wrap fully around the sides of the driftwood button. Press putty firmly around the button.


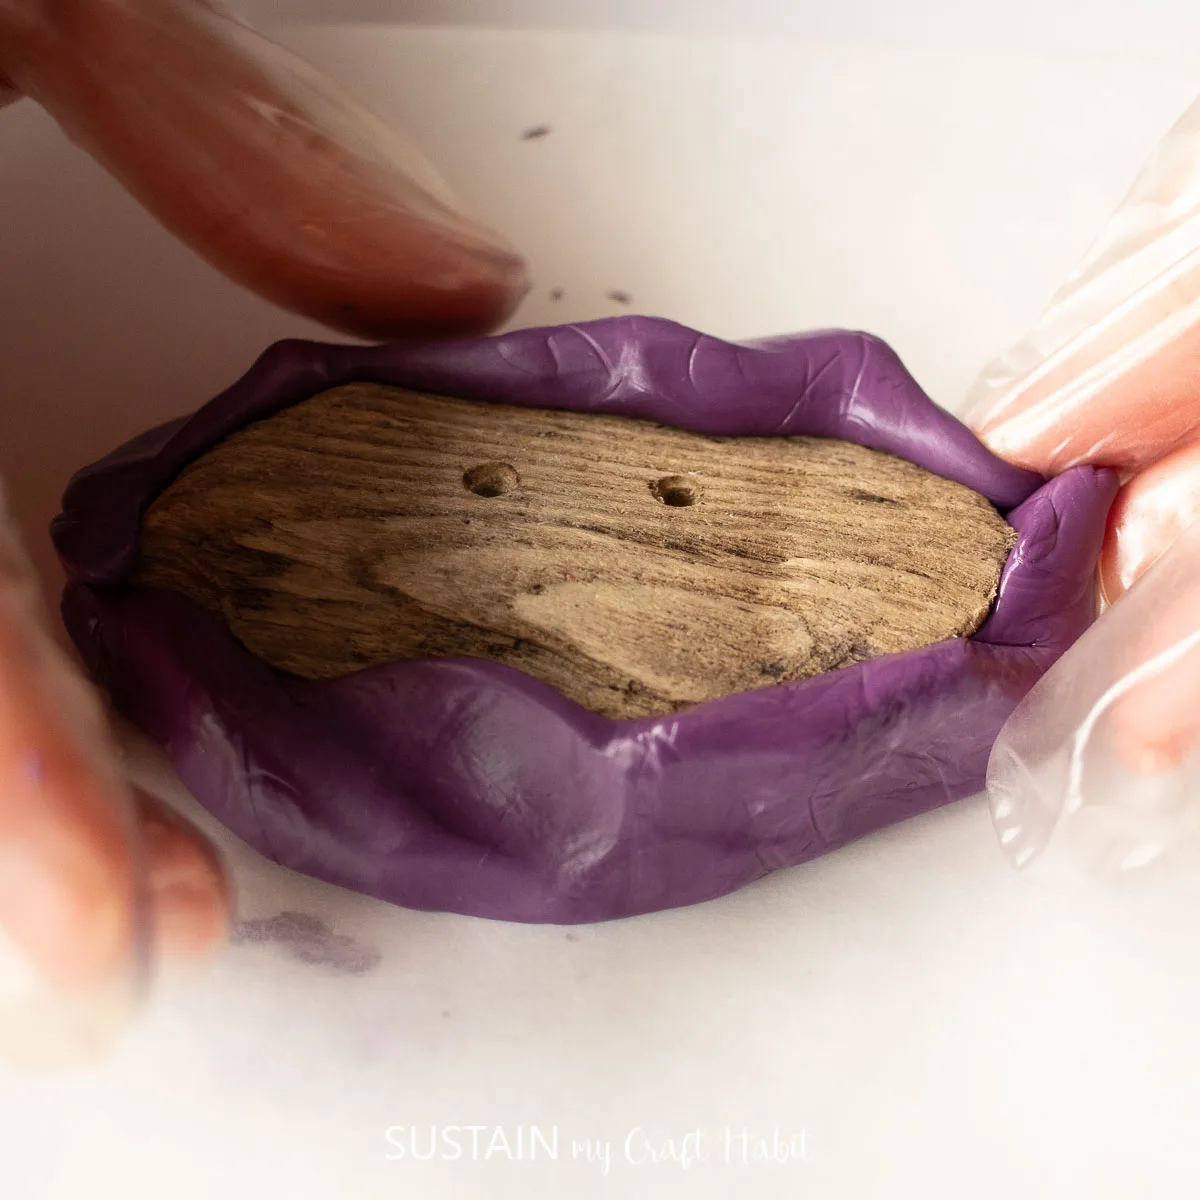
Leave the button inside the mold for about 25 minutes while it cures.
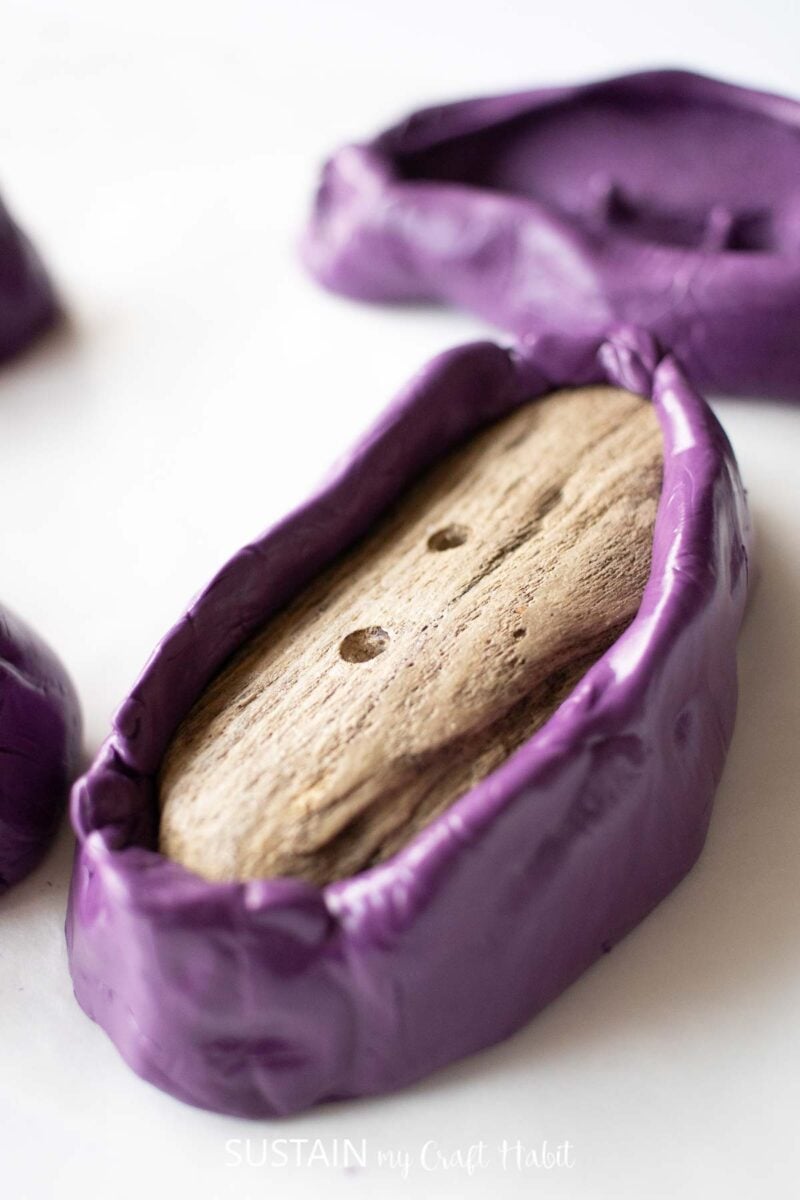

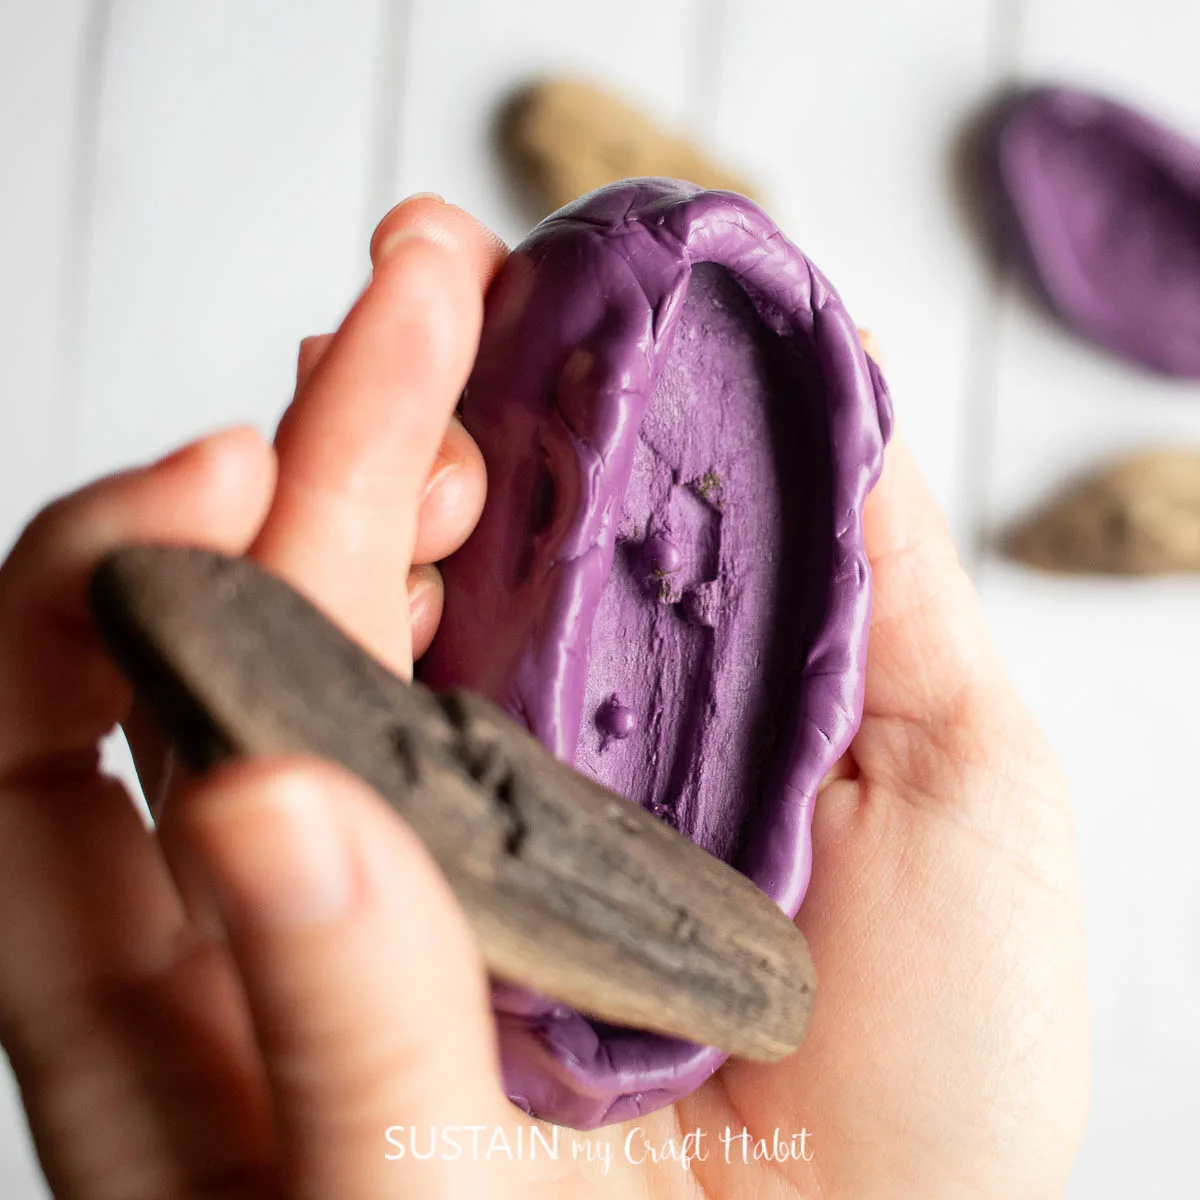
Remove the button and the mold is ready to be used!


Think about all of the unique and fun craft projects you can make with this resin button mold. Not to mention the money you will save by not buying sometimes costly buttons.

Stay in the know on our latest crafts, special offers and freebies by joining our mailing list. Thank you so much for stopping by to visit. Happy crafting, friends!
Like it? Pin it for later!

How to Make a Driftwood Button Mold with Silicone Putty
Materials
- Driftwood buttons
- Sealer or glue
- Paintbrush
- EasyMold Silicone Putty
- Gloves stir sticks, parchment paper
Instructions
Preparing the surface
- Using a paintbrush, apply a coat of liquid glue over the surface of the wood button.
- Take time ensuring all crevices are coated and then when the glue is dry, turn buttons over and seal the other side. Allow glue to dry fully before proceeding with the silicone putty.
Creating the silicone putty mold
- Mix only enough to make one mold at a time. Measure equal sized amounts of components A & B.
- Quickly knead together the components until it is a uniform color, free of any swirls. This process takes about a minute.
- Roll the kneaded components into a ball and then flatten so you have enough to wrap fully around the sides of the driftwood button. Press putty firmly around the button.
- Leave the button inside the mold for about 25 minutes while it cures.
- Remove the button and the mold is ready to be used!