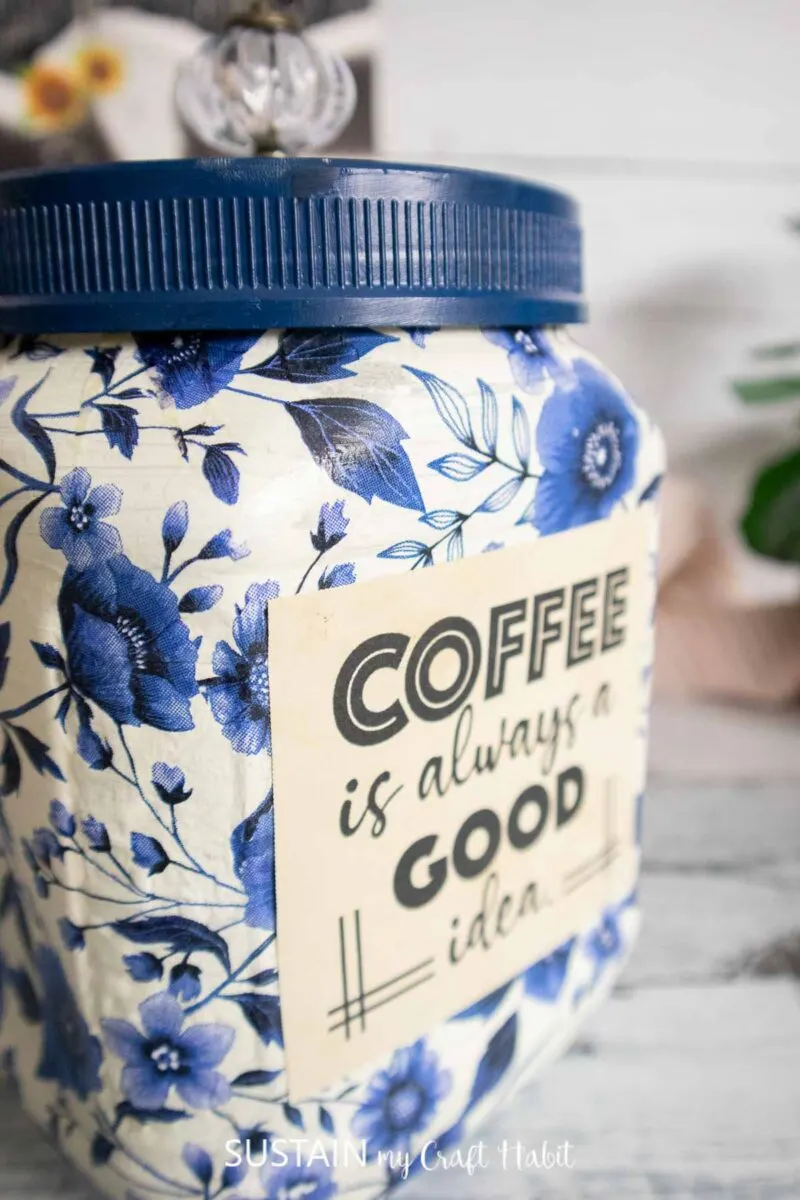
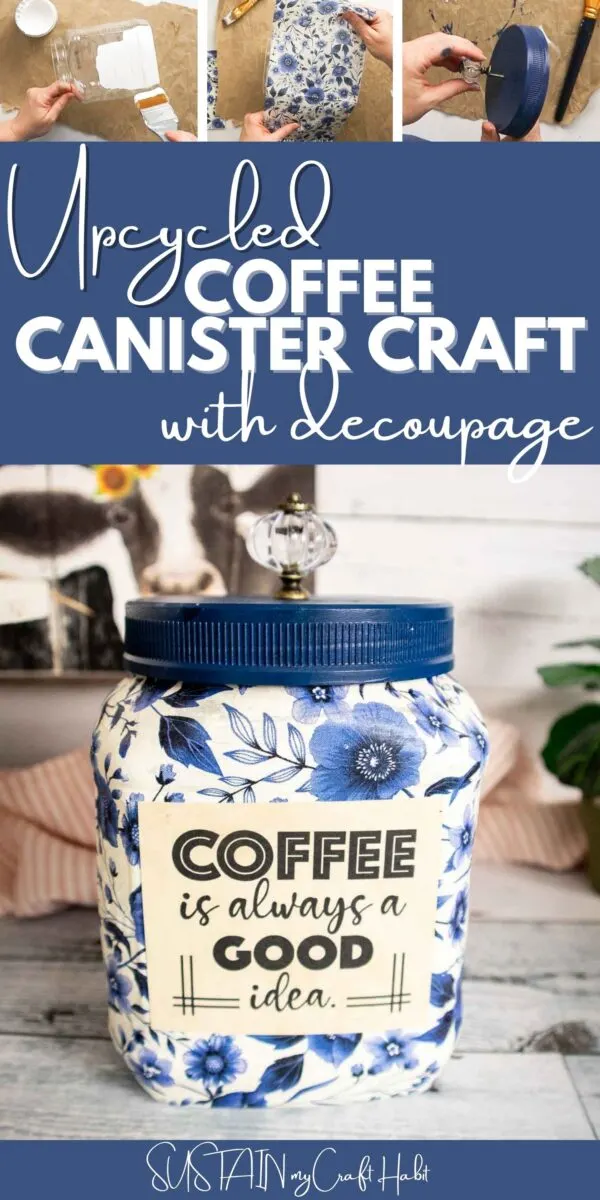
Instead of throwing out those empty coffee cans, upcycle them into cute coffee canister crafts with decoupage. Today, we’re sharing a beautiful and easy-to-make Folgers coffee canister craft made with a popular blue and white designed paper napkin! Yes, that’s right I said paper napkin.
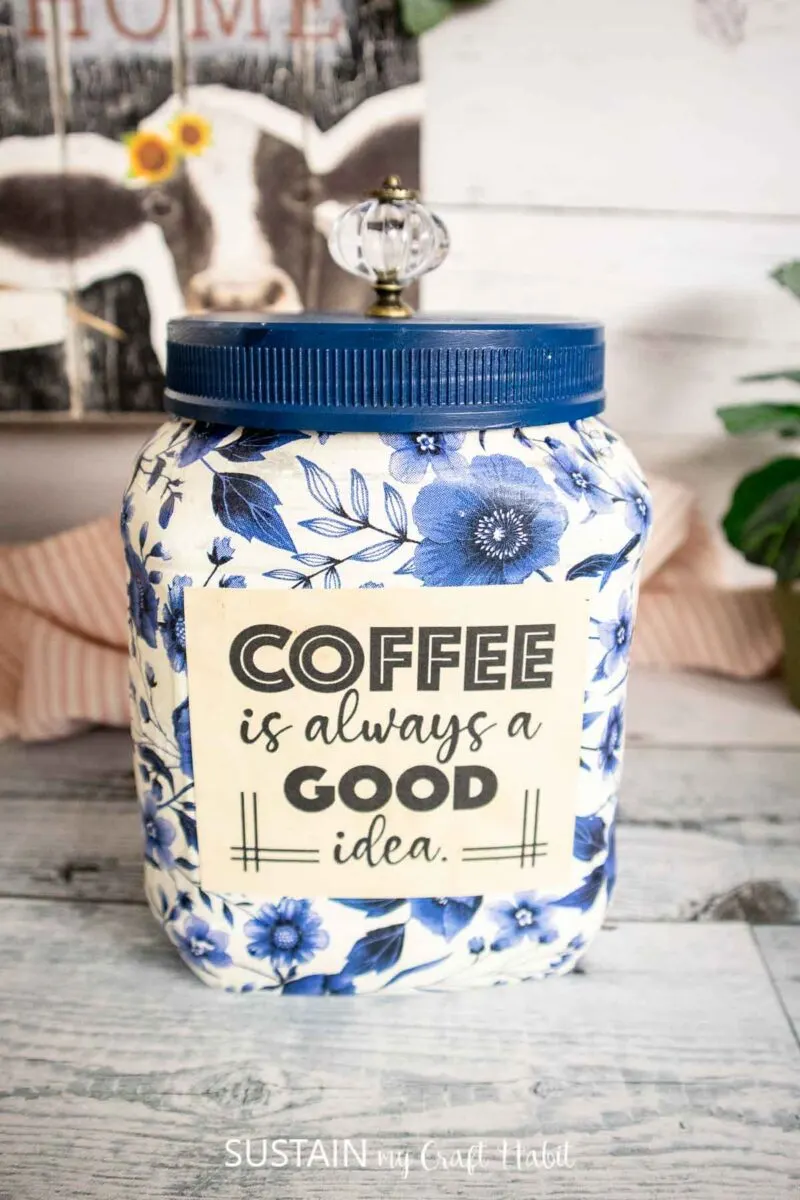
Crafting with Plastic Coffee Canisters
The great thing about this simple craft is you only need a few inexpensive supplies that you can find at most craft stores. Plus, you can upcycle just about any and all empty cans and jars following this same step-by-step tutorial.
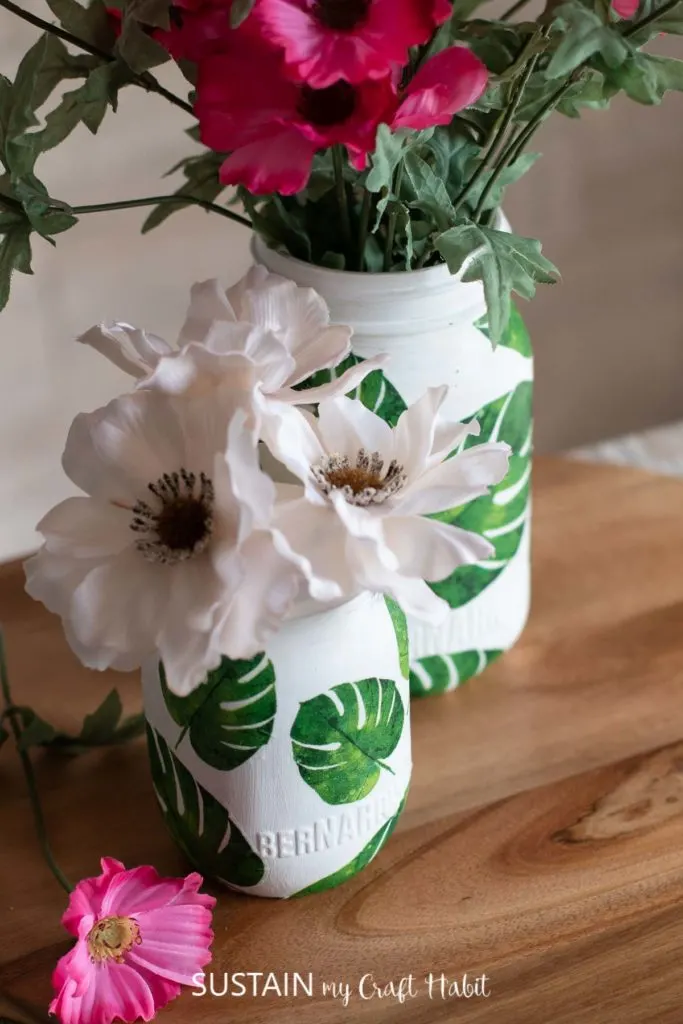
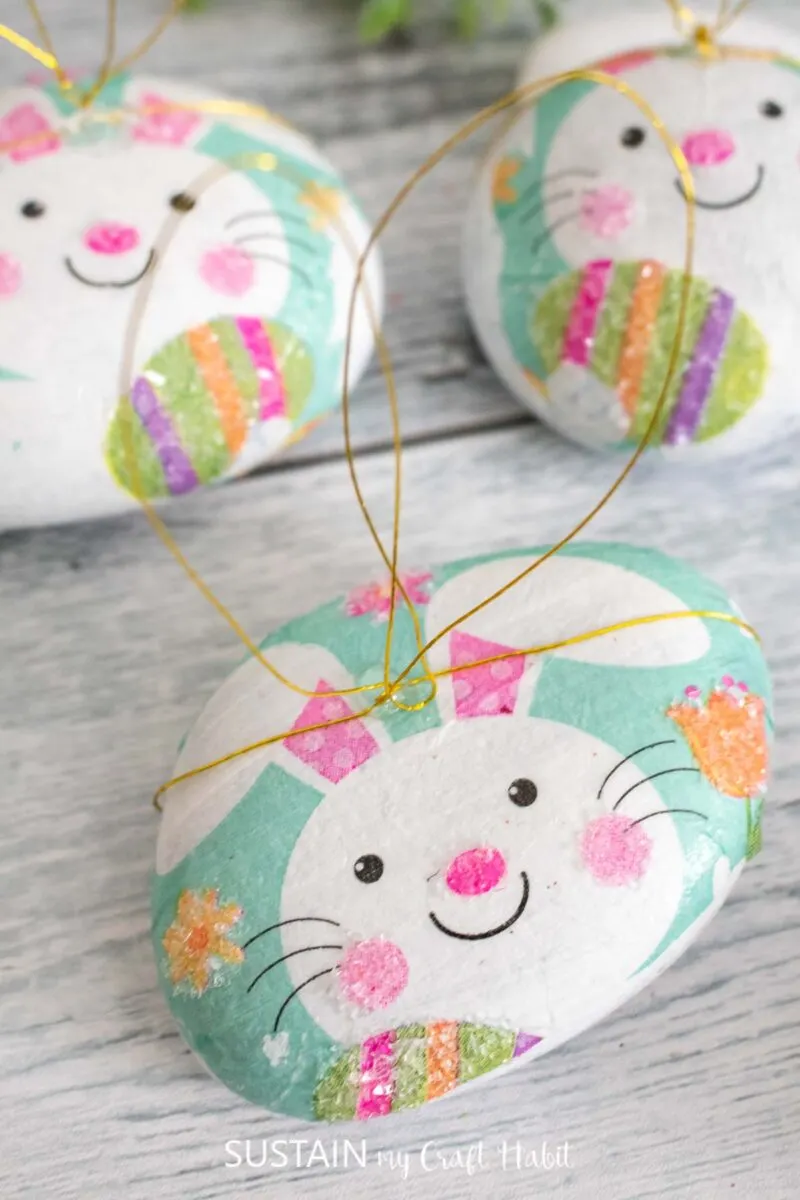
And, if you haven’t tried decoupage crafts yet, this opens up a world of possibilities for crafts and DIY projects. Let’s get to it! Just look at these other crafts we made with paper napkin decoupage.
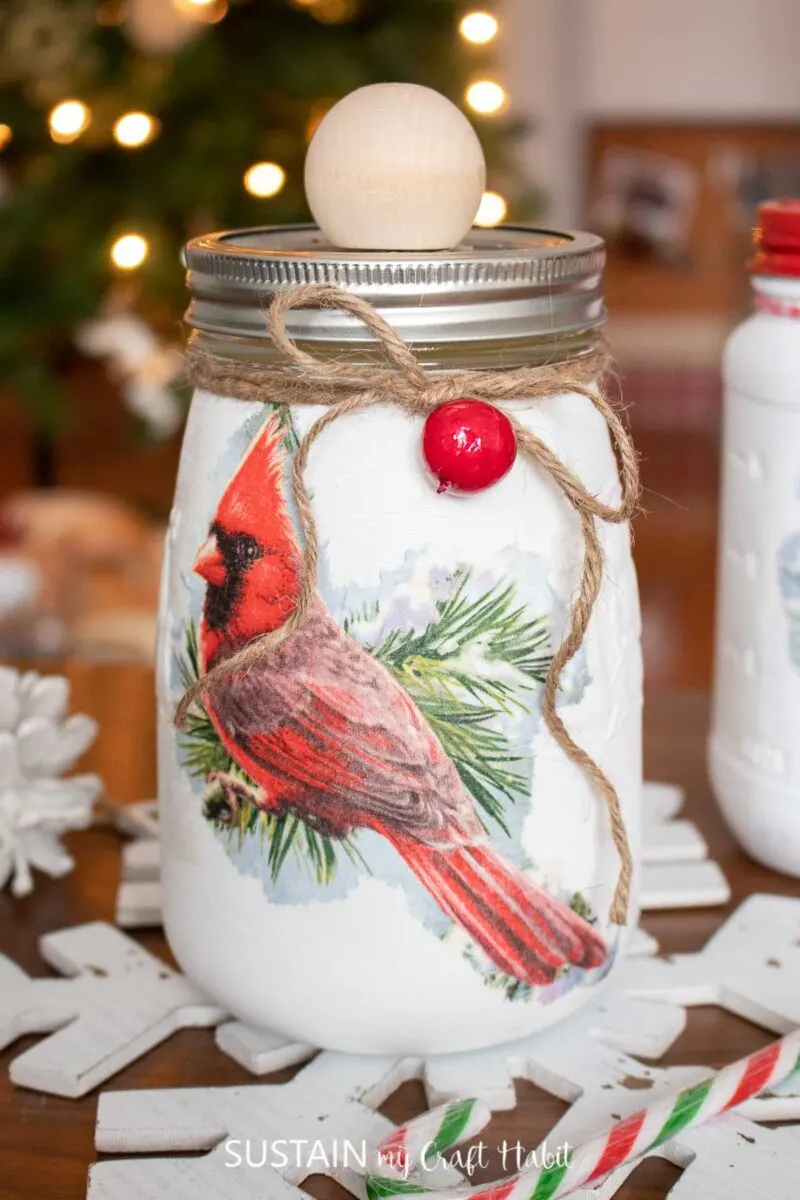
Want to receive a ton of inspiration and money saving ideas for decorating, gift-giving and crafting? Join HERE!
Materials Needed
Disclosure: This post contains affiliate links for your shopping convenience. Should you choose to purchase through them, we will make a small commission at no extra cost to you. You can read our full disclosure policy here.
- Plastic coffee canister (if you’re a coffee drinker, you’ll know how quickly these pile up)
- Decoupage or Mod Podge
- Brewed coffee or steeped tea
- White chalky paint
- Paint in navy blue
- Paintbrushes
- Decorative paper napkins
- Mini heat press (optional)
- Decorative knob
- Printable coffee saying (grab yours free from our shop)
How to Make an Upcycled Coffee Canister Craft with Decoupage
I shared the tutorial this upcycled coffee canister craft on a recent Facebook Live which you can catch here. Or if you prefer the photo tutorial, continue reading below.
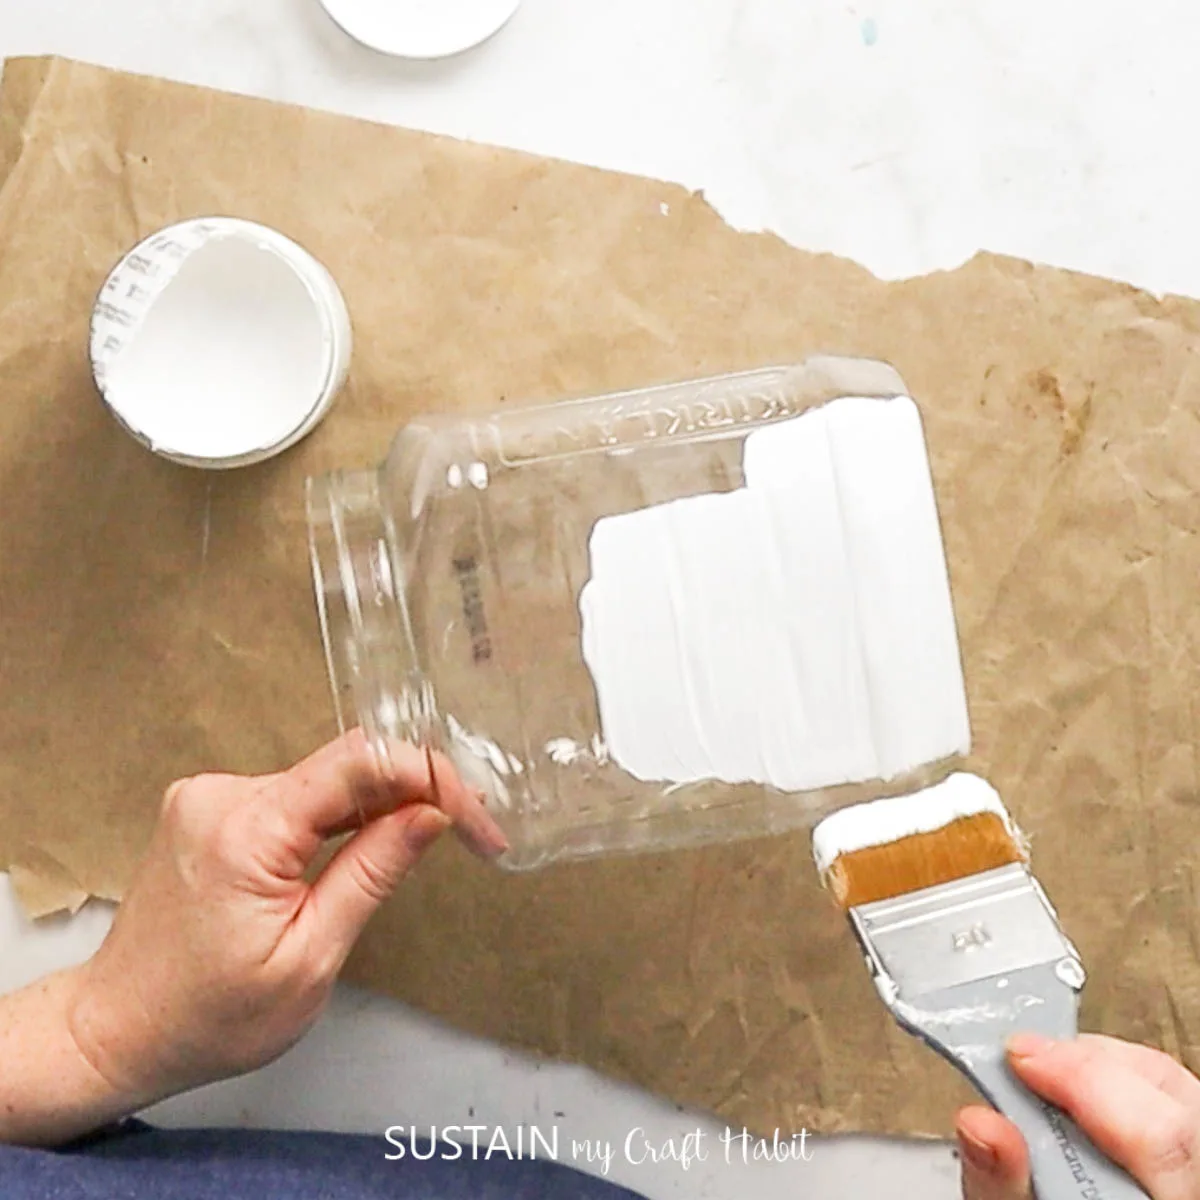
Remove any labels and paint the entire canister with white paint. Let dry.
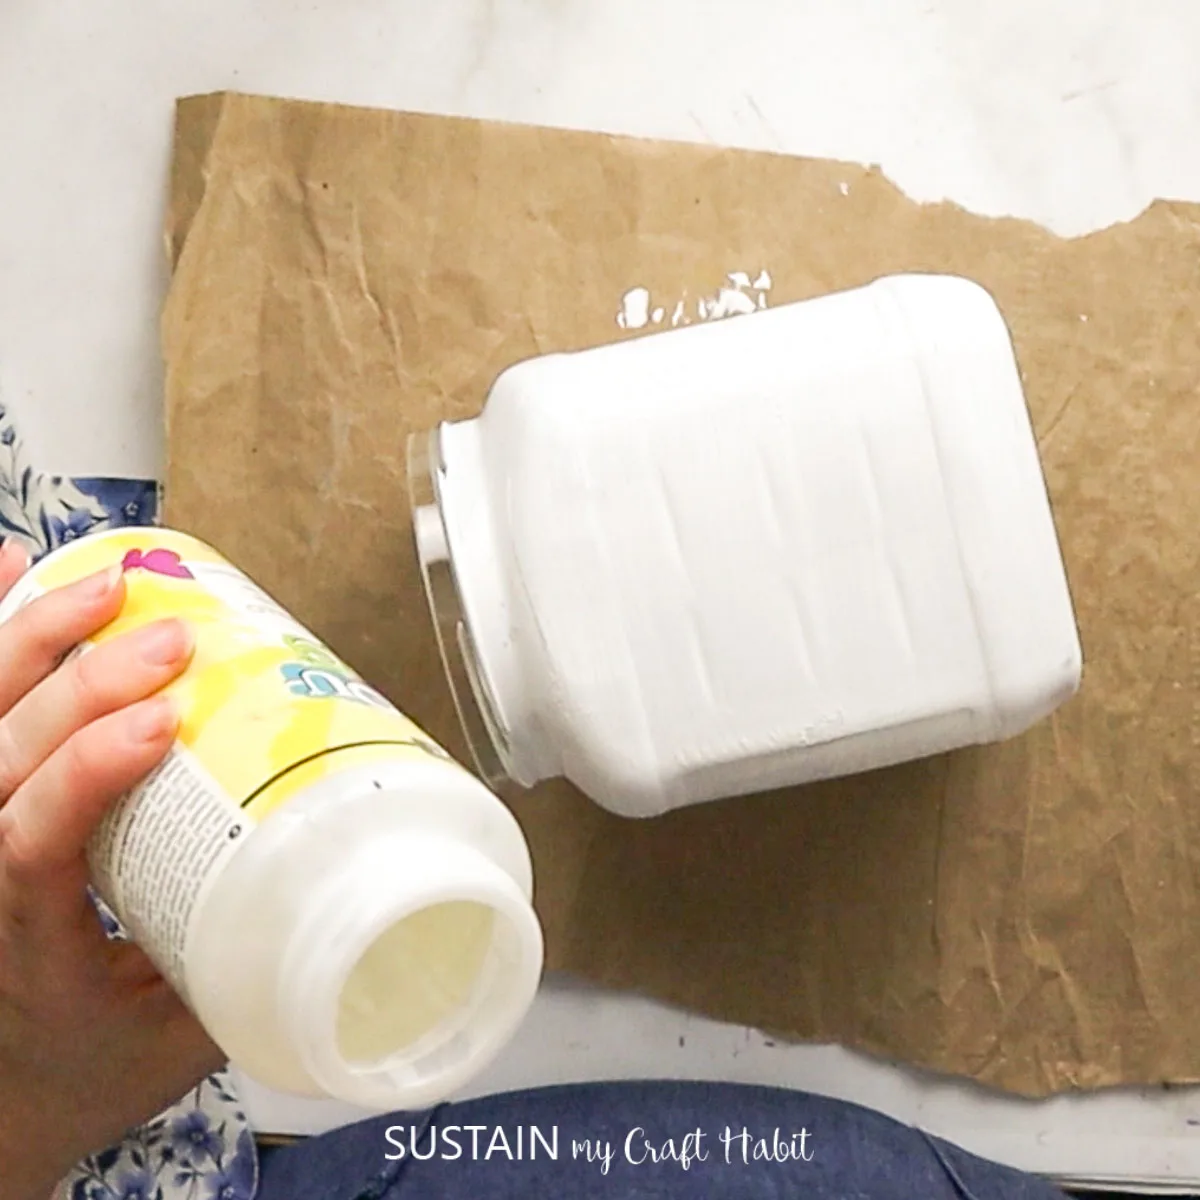
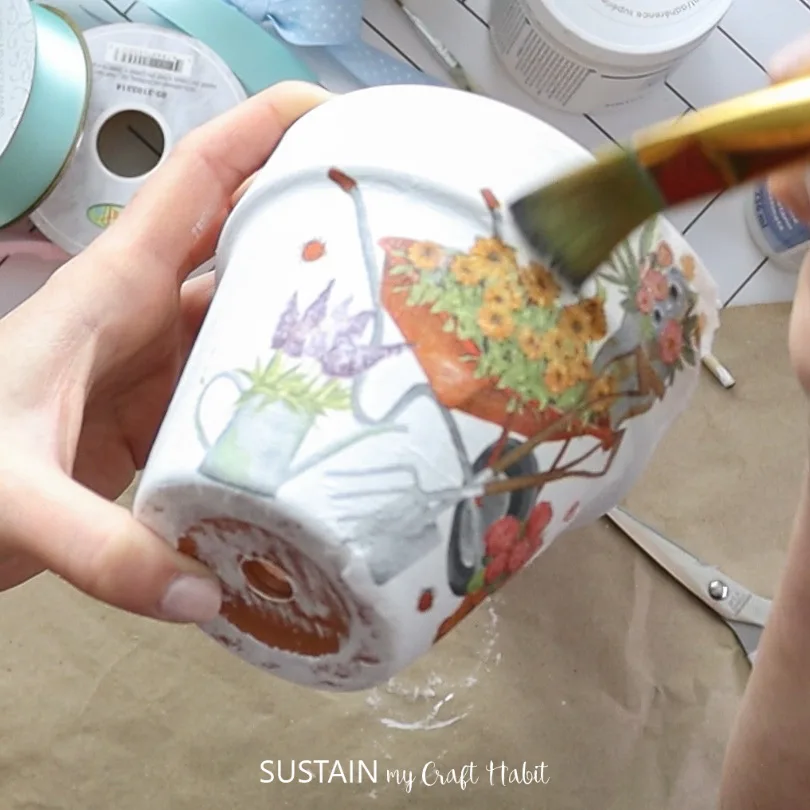
Apply a thin layer of Decoupage or Mod Podge all over the plastic container. Wait for the glue to slightly dry.
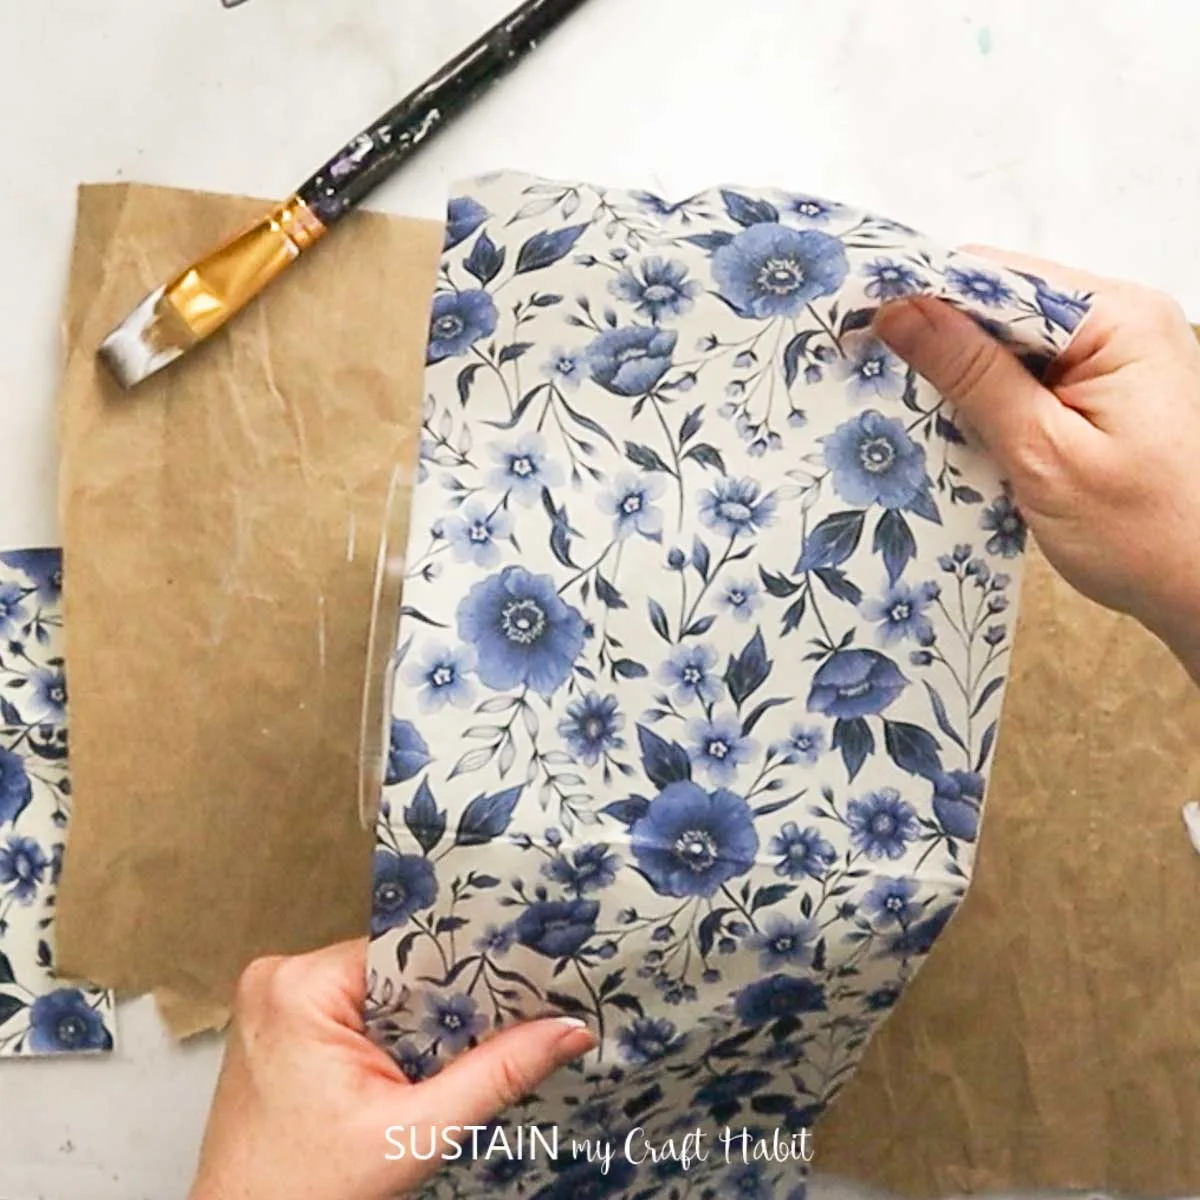
Place the napkin on top of the glued container and gently press down with your fingers. You can also place a piece of parchment paper over the glued napkin and take your heated iron and gently rub back and forth.
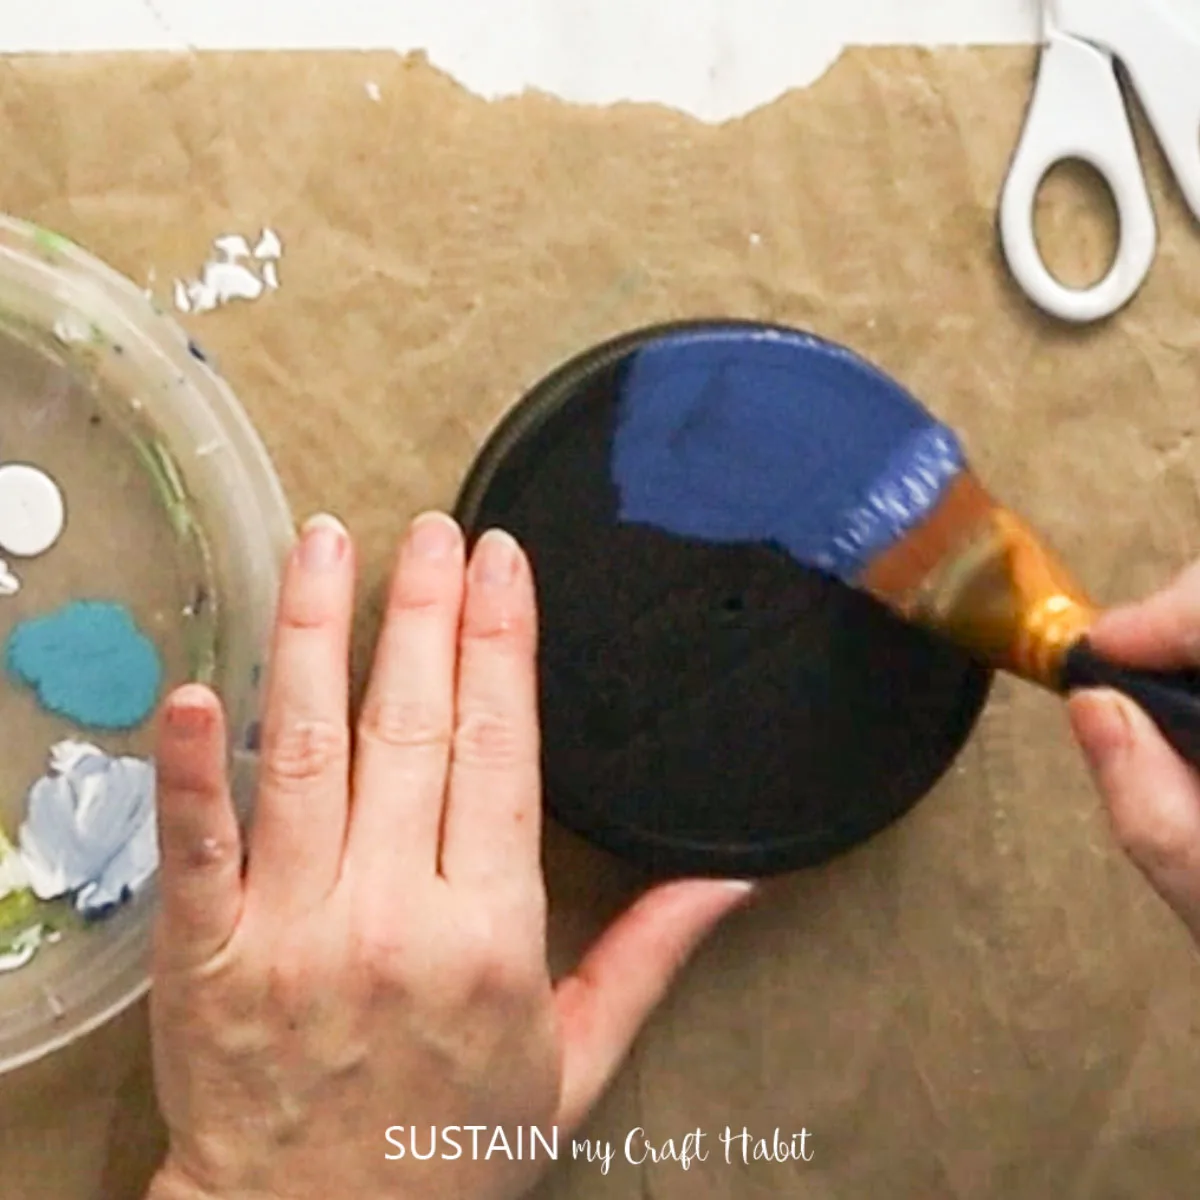
Next, paint the canister lid and let dry.
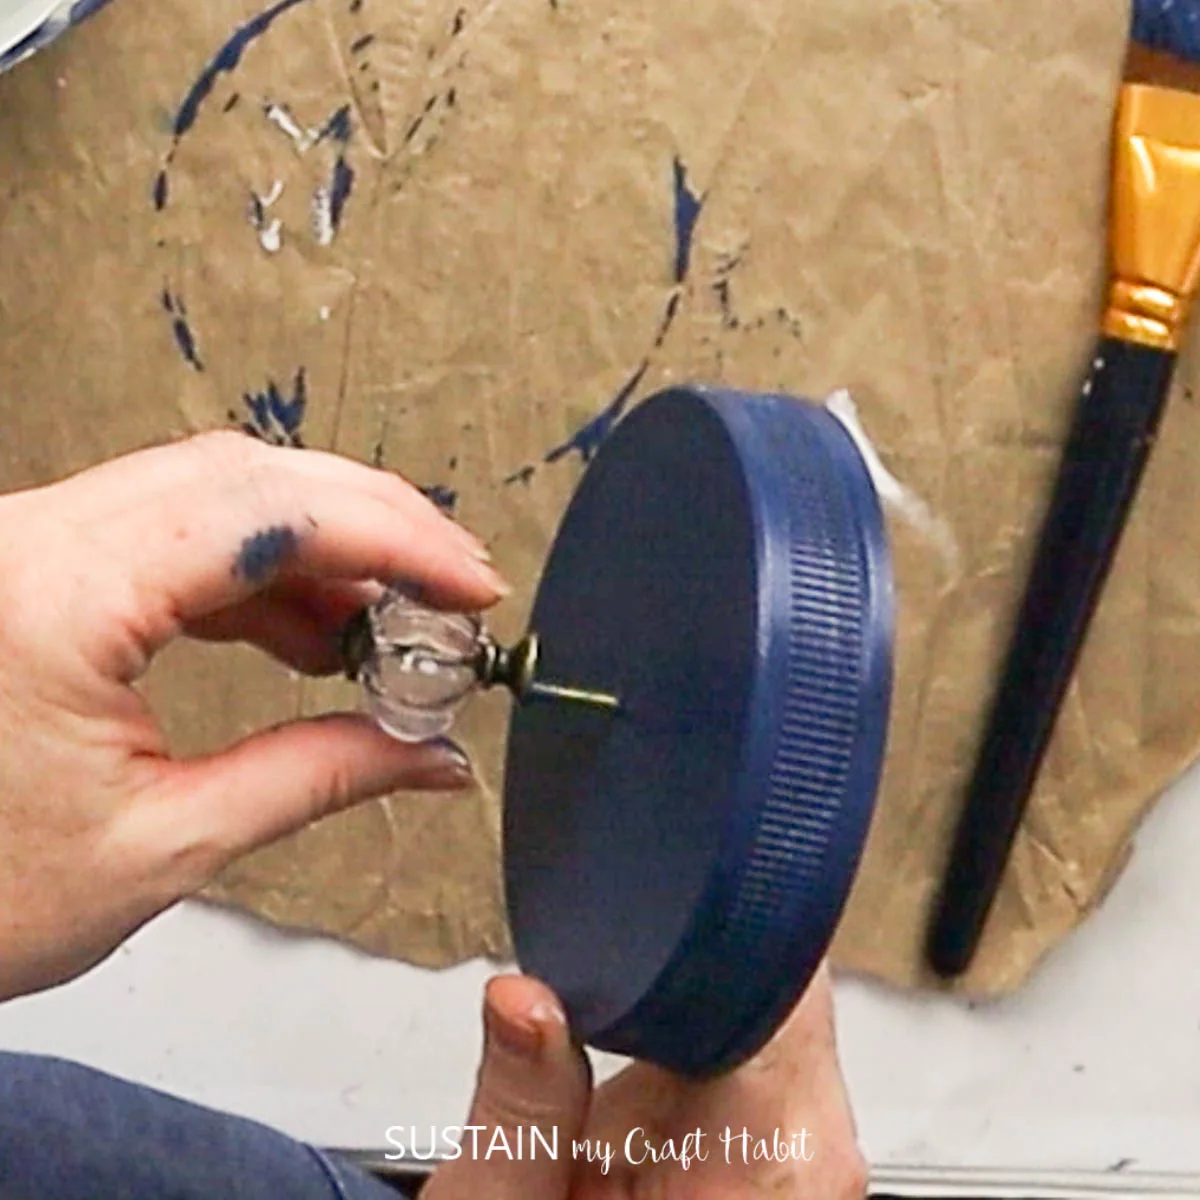
Attach a decorative knob to the lid.
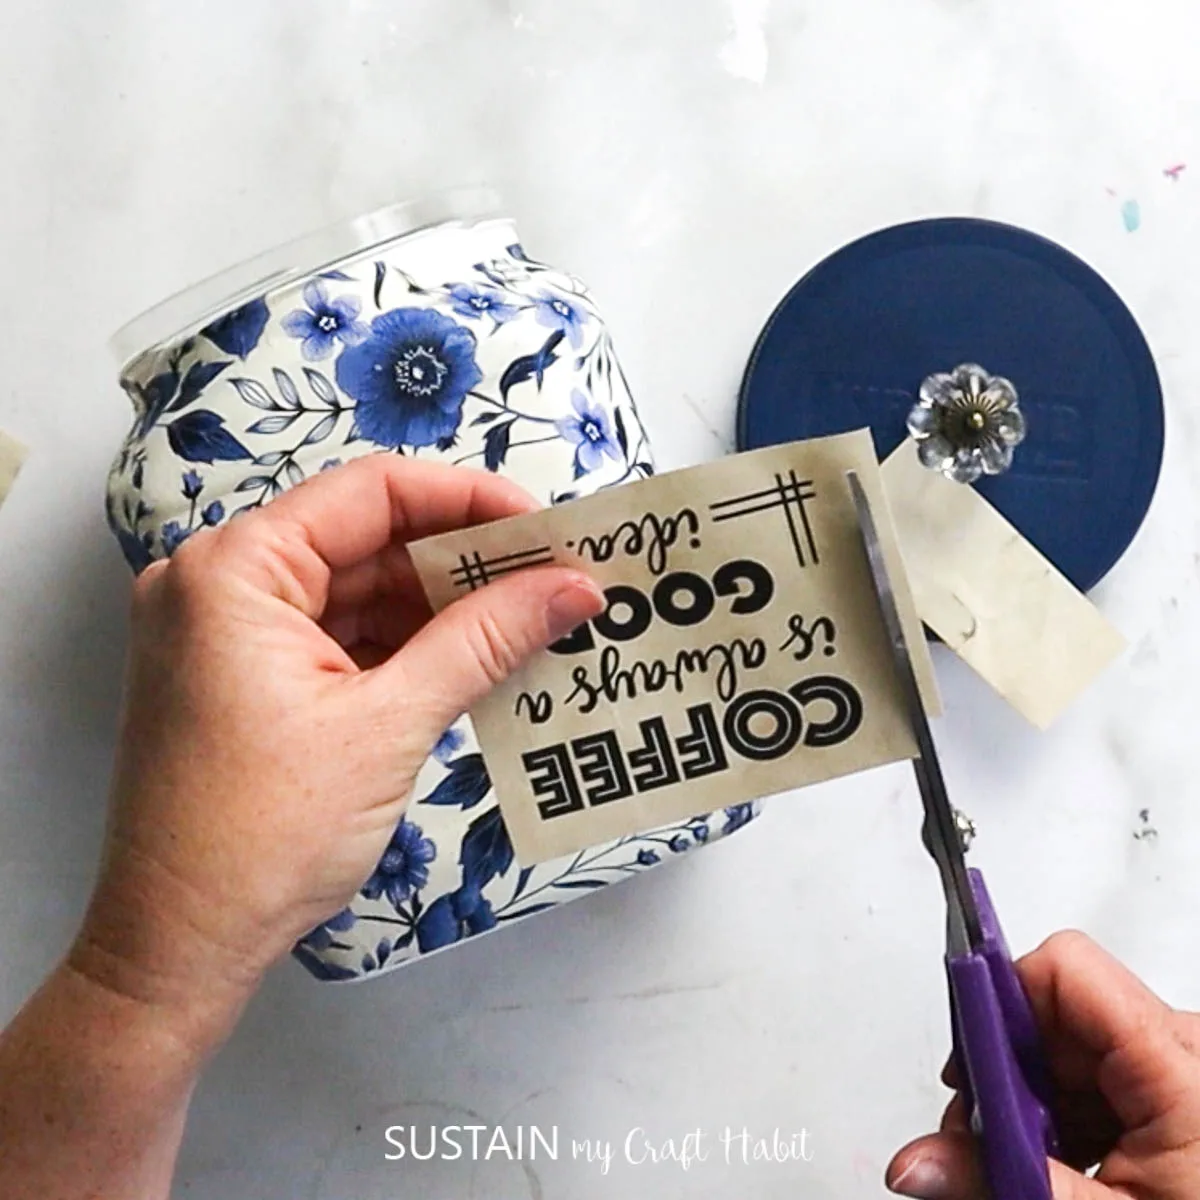
Glue the printable coffee saying to the canister and you’re done! To make your printable look aged, we used actual coffee. We’ll be sharing the tutorial for that soon!
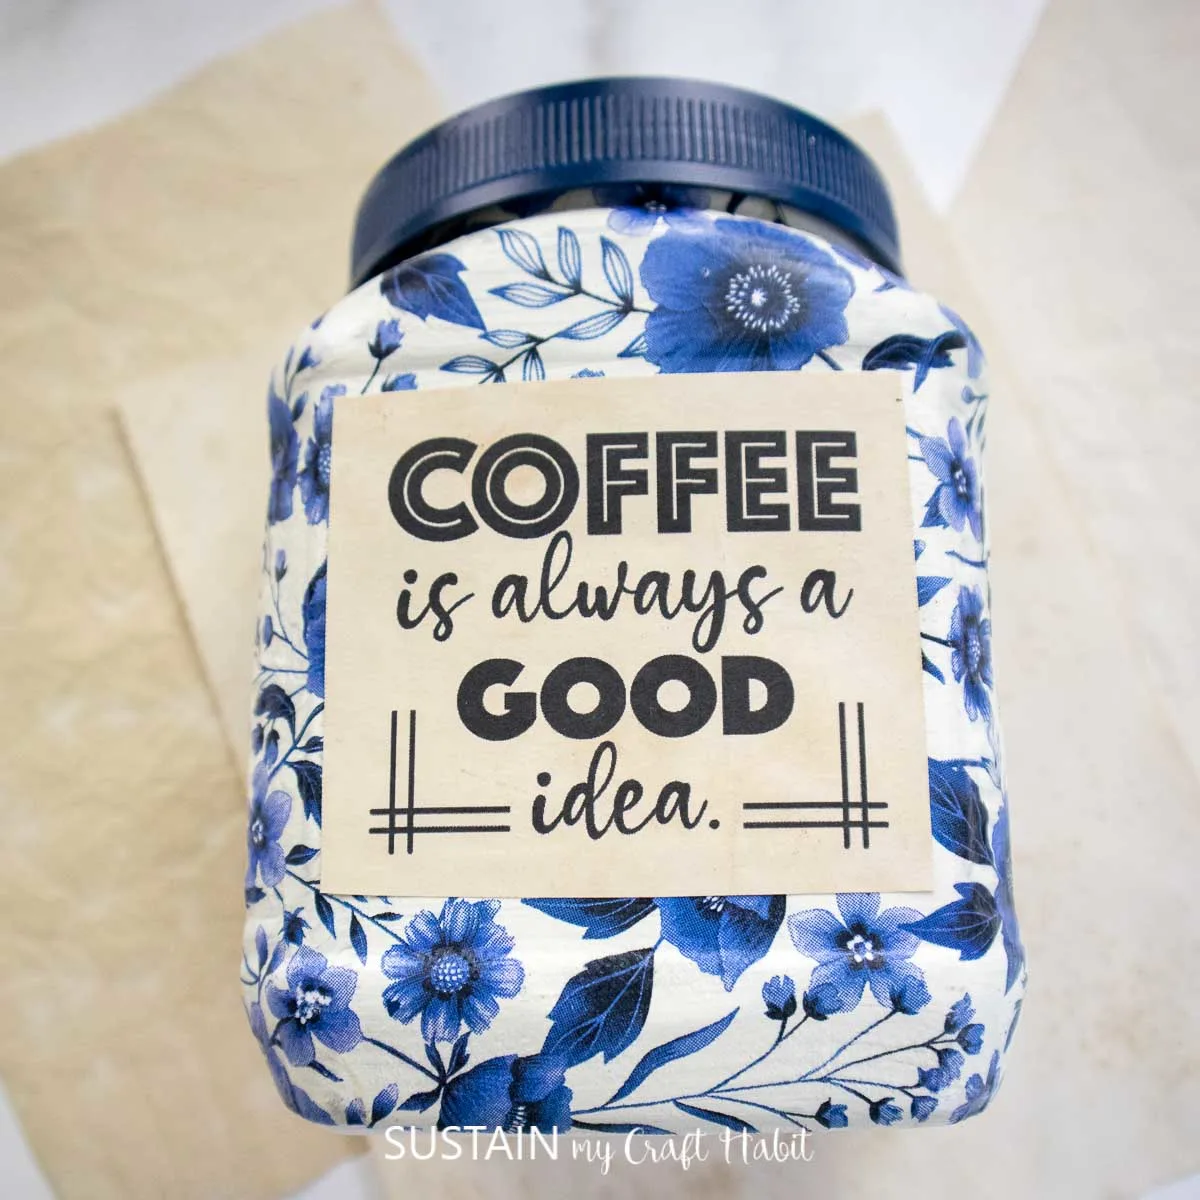
So, what do you think about this Folgers coffee canister craft idea? Is this something you can see yourself making? If you give it a try, please let us know by commenting below.

More Decoupage Crafts
We’ve done a lot of decoupage crafts over the years and we’d love or you to take a look and get inspired. It really does change the look completely!
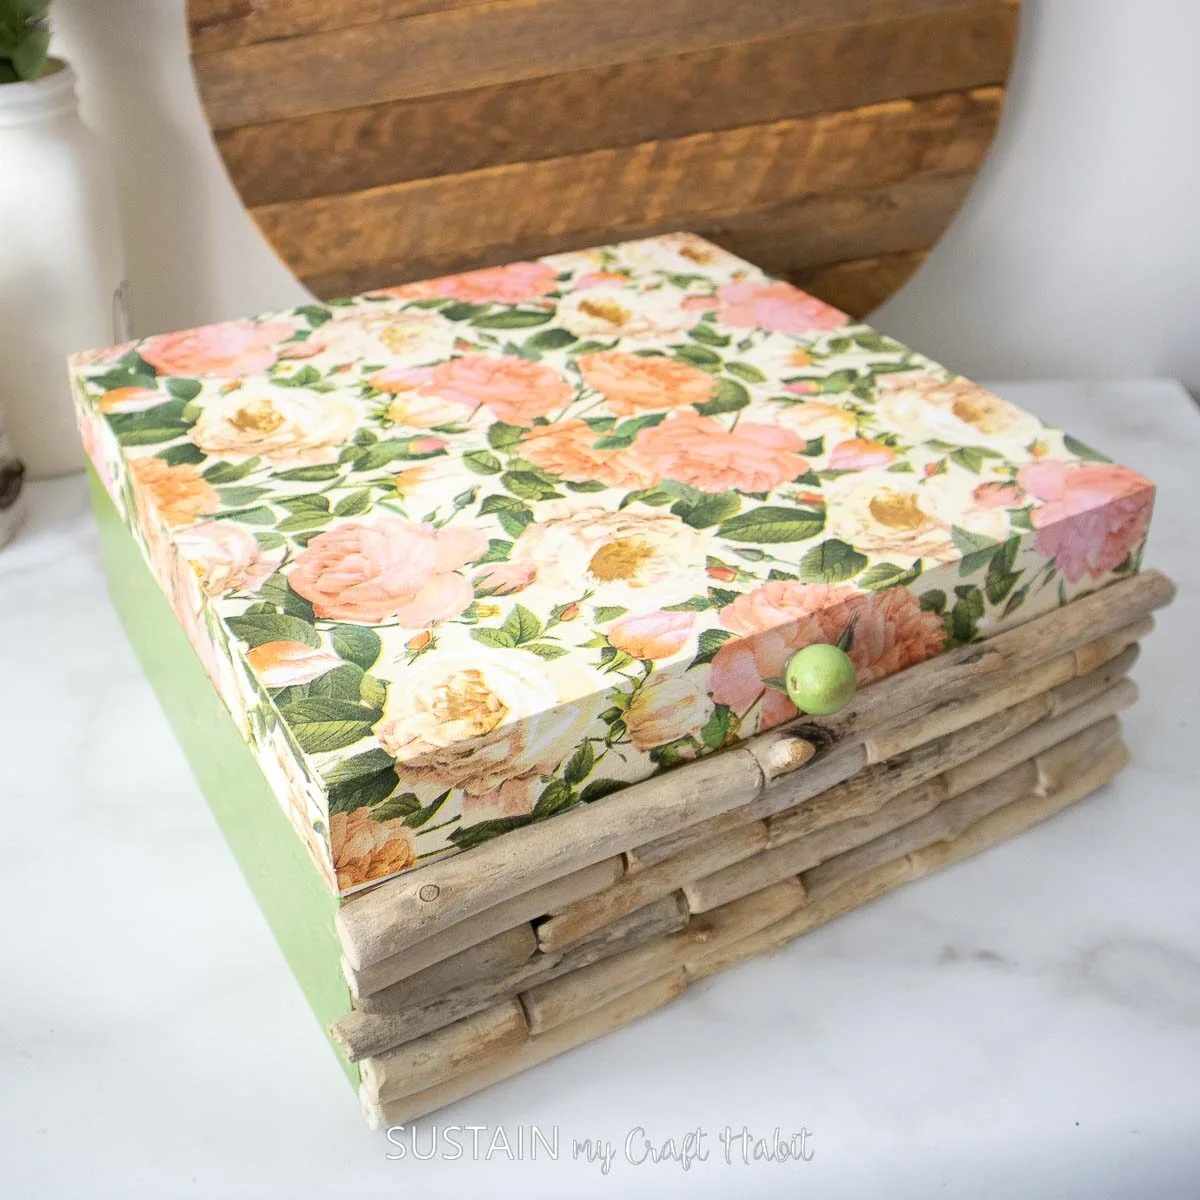
- Decoupage on Wood
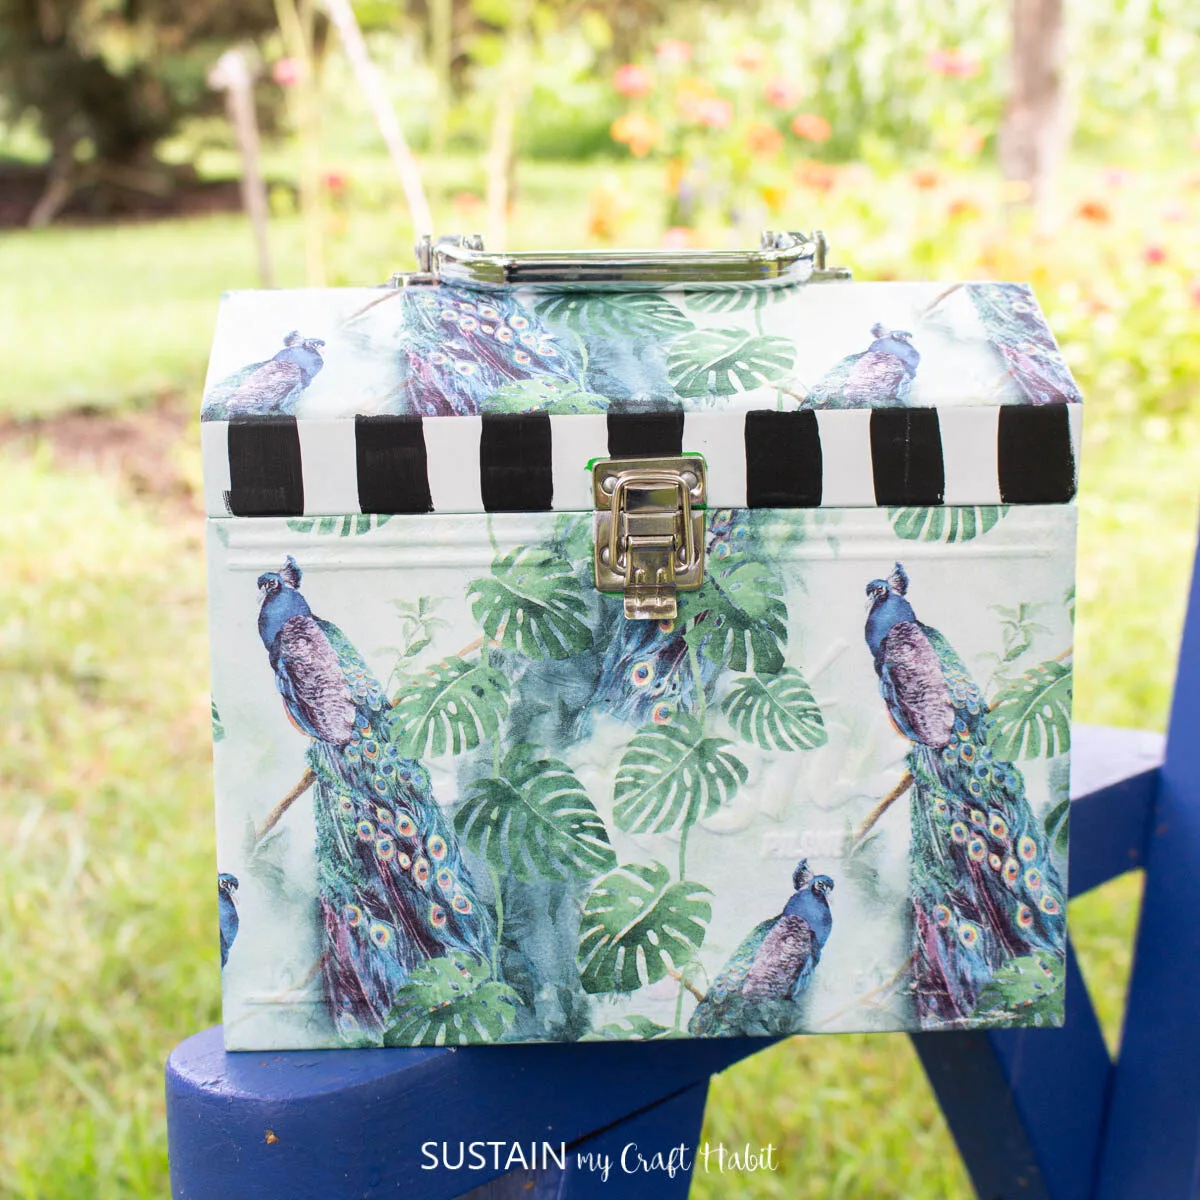
- Upcycled Metal Seed Packet Box
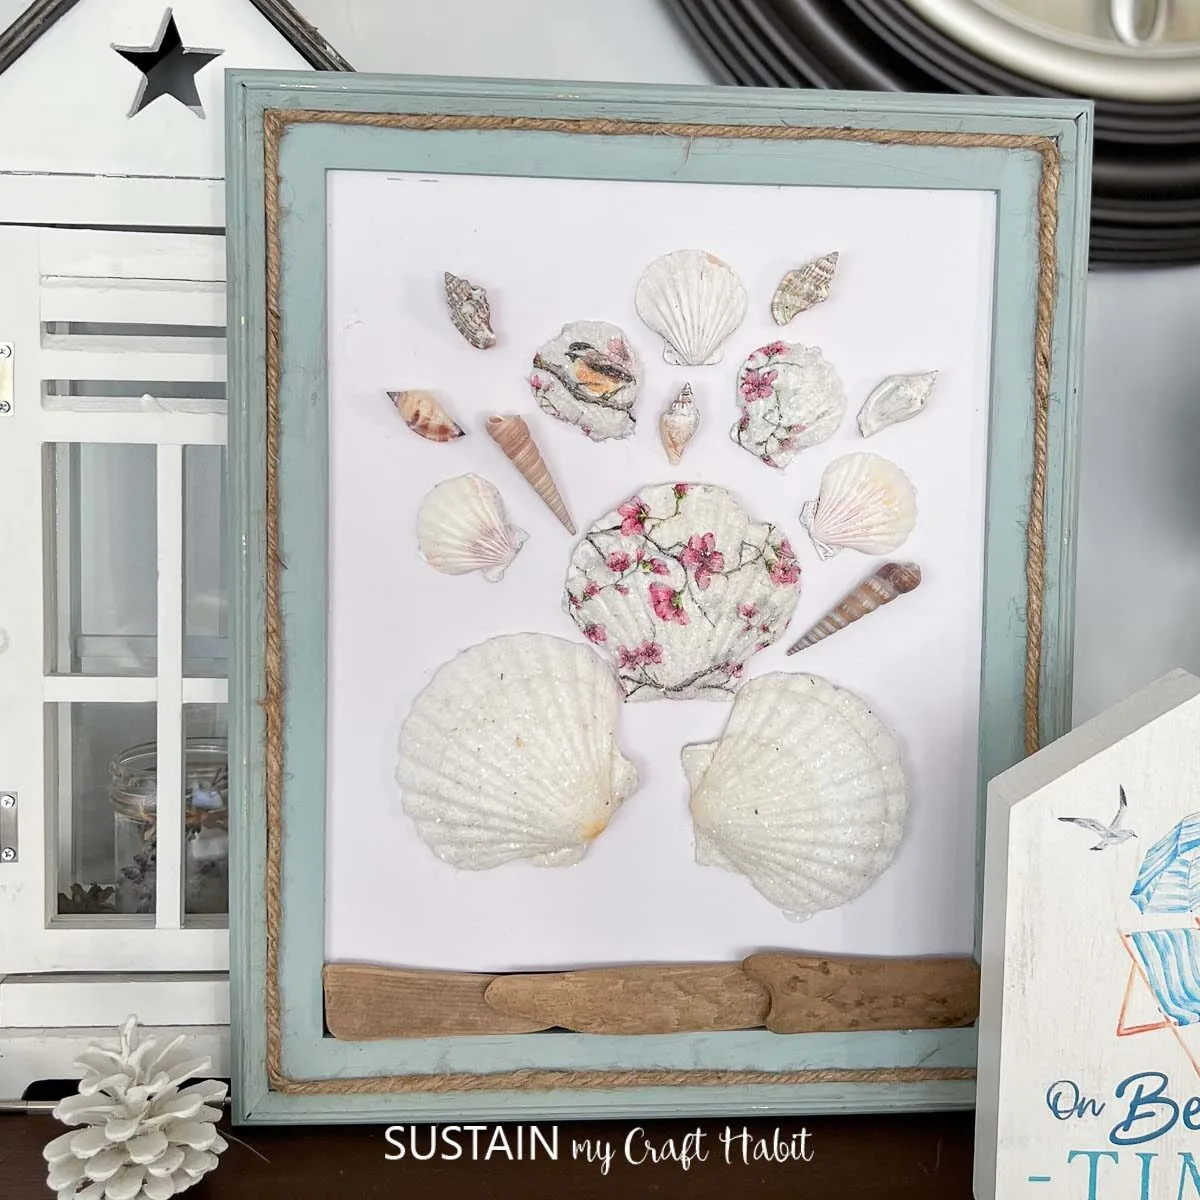
- Lovely Decoupage Seashells
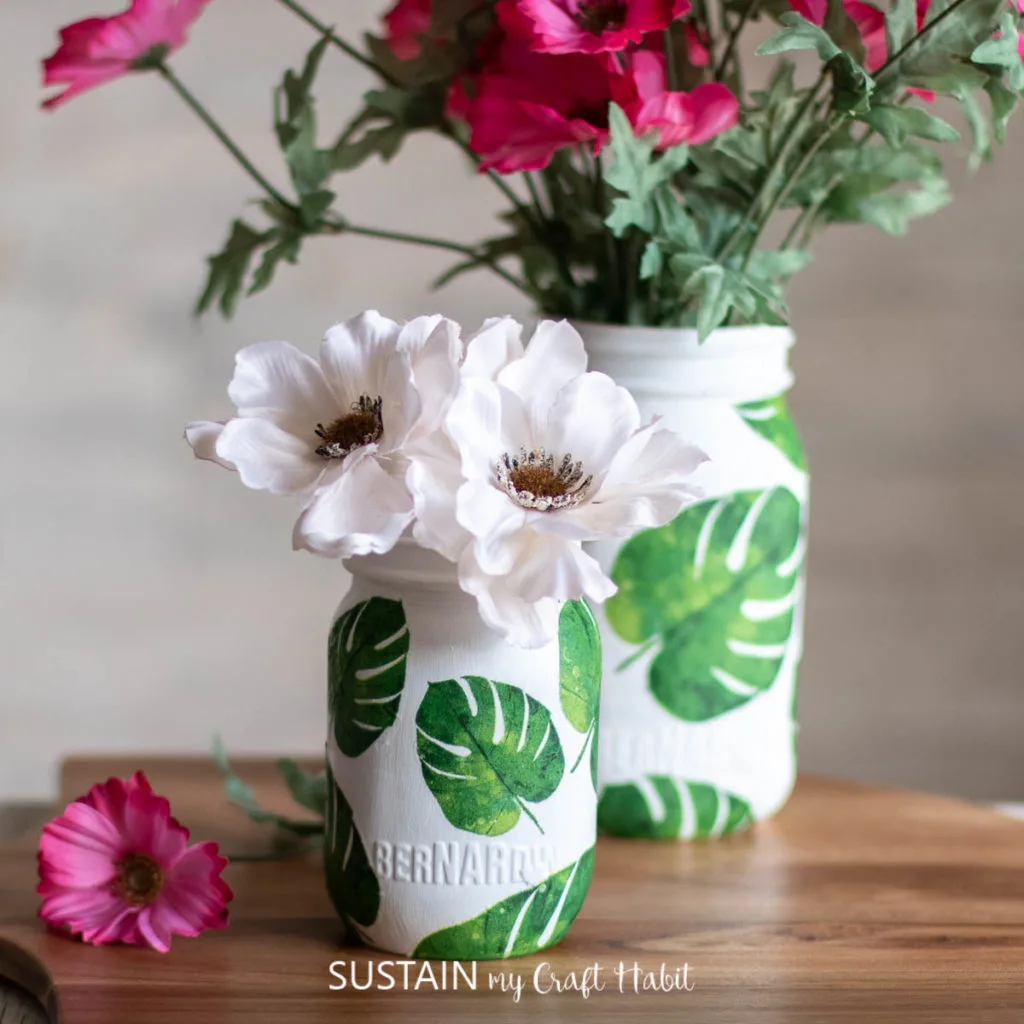
- Decoupage Napkins onto Glass Jars
- Paper Napkin Decoupage on Clay Pots
- Decoupage a Plastic Jar

Get updates on the latest posts and more from Sustain My Craft Habit straight to your inbox by joining our weekly newsletter. We promise to send you only the good stuff.
Thank you so much for stopping by to visit. Happy crafting, friends!
Like it? Pin it for later!

Upcycled Coffee Canister Craft with Decoupage
Materials
- Plastic coffee canister
- Decoupage or Mod Podge
- Brewed coffee or steeped tea
- White chalky paint
- Paint in navy blue
- Paintbrushes
- Decorative paper napkins
- Mini heat press
- Decorative knob
- Printable coffee saying
Instructions
- Remove any labels and paint the entire canister with white paint. Let dry.
- Apply a thin layer of Decoupage or Mod Podge all over the plastic container. Wait for the glue to slightly dry.
- Place the napkin on top of the glued container and gently press down with your fingers
- Next, paint the canister lid and let dry.
- Attach a decorative knob to the lid.
- Glue the printable coffee saying to the canister and you’re done!
