Engraving Thick Cutting Boards with XToolM1
Have you ever tried or thought about engraving a thick wooden cutting board with your laser engraving machine? If you have then you already know how tricky it is finding the right setting with the xTool M1 laser machine. And if you wish to try engraving thick cutting boards with
Engraving is a beautiful art form that has been around since the ancient times. It involves carving designs and patterns onto various materials to create unique and personalized pieces. From woodwork to metalwork, engraving has been used to add intricate details and personalization to everyday objects. And now we can DIY at home!
Why You Will Love Engraving Thick Cutting Boards with the xTool M1
The xTool M1 uses advanced laser technology to engrave designs onto thick cutting boards with precision and control. Unlike traditional engraving methods that require special skills and tools, the xTool M1 is designed for anyone to use. Its user-friendly interface and simple operation make it easy for beginners and professionals alike.
The laser engravings created by the xTool M1 are permanent and long-lasting. Unlike other methods that may fade or wear off over time, your cutting board will maintain its personalized design for years to come.
Find our full reviews of both the xTool M1 and xTool F1 (portable laser engraver):
What is the maximum thickness for the xTool M1 ?
The xTool M1 is designed to engrave on materials up to 25mm thick, which means it can handle even the thickest cutting boards with ease. This allows for more versatile designs and options when it comes to personalizing your cutting board. BUT it’s not as straight forward as you may expect – you will need to adjust the level at which the board rests for cutting. So keep reading below to find out how!
Get access to our resource library filled with cut files and other xTool craft ideas!
Materials Needed
Disclosure: This post contains affiliate links for your shopping convenience. Should you choose to purchase through them, we will make a small commission at no extra cost to you. You can read our full disclosure policy here.
- xTool M1
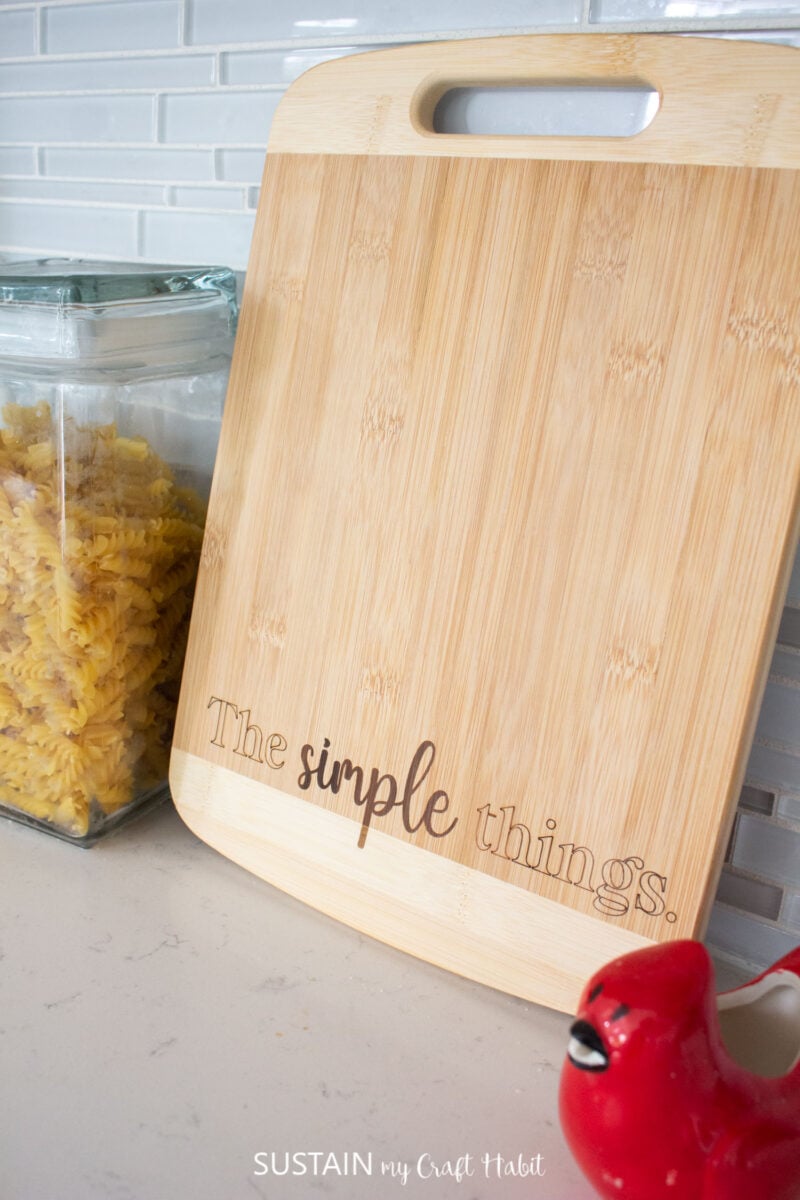
- Wooden Cutting Board (½” (or 13mm) thick)
- The Simple Things SVG (grab the free SVG design file here)

How to Engrave Thick Cutting Boards with xTool M1
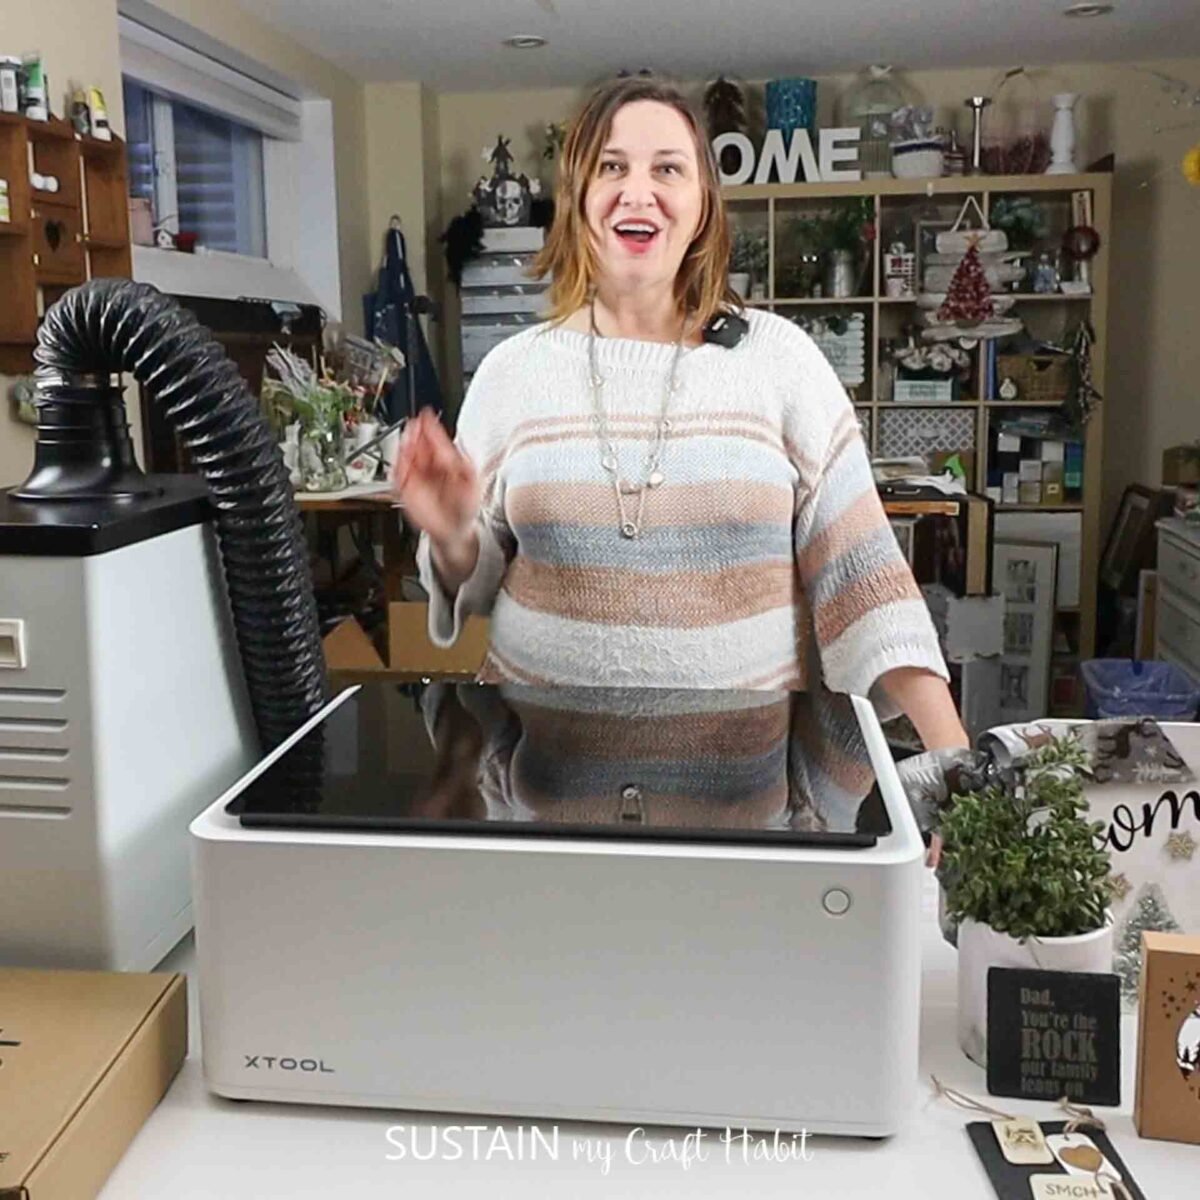
Open Creative Space app on mobile phone or on your desktop compuer (or laptop) and turn on the xTool M1.
Connect Creative Space app to the machine and click on “create project”.
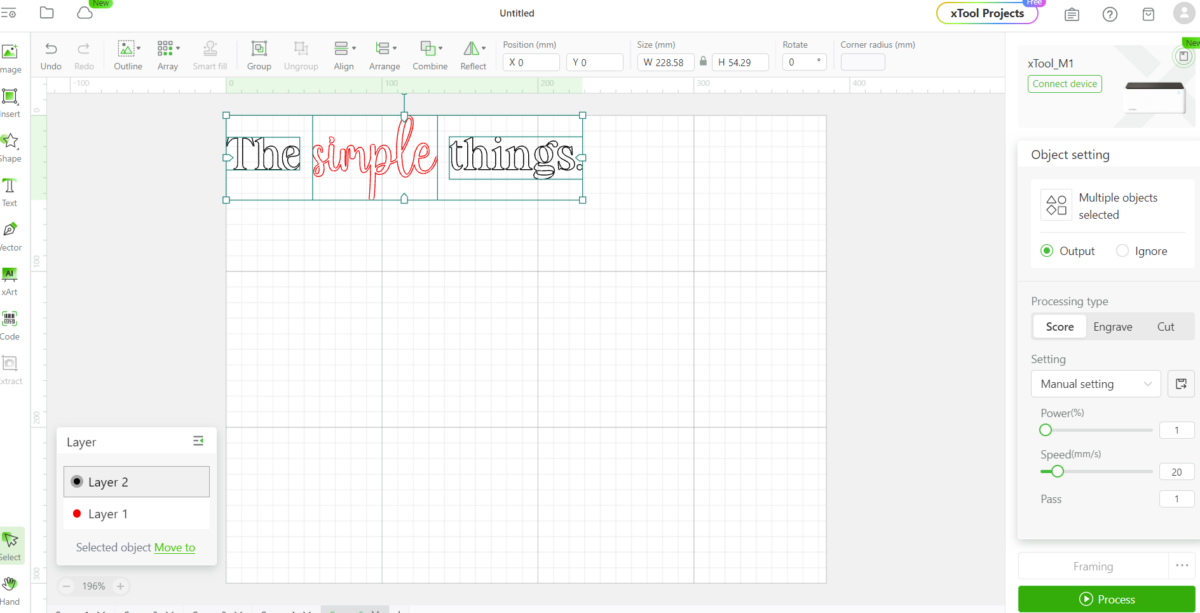
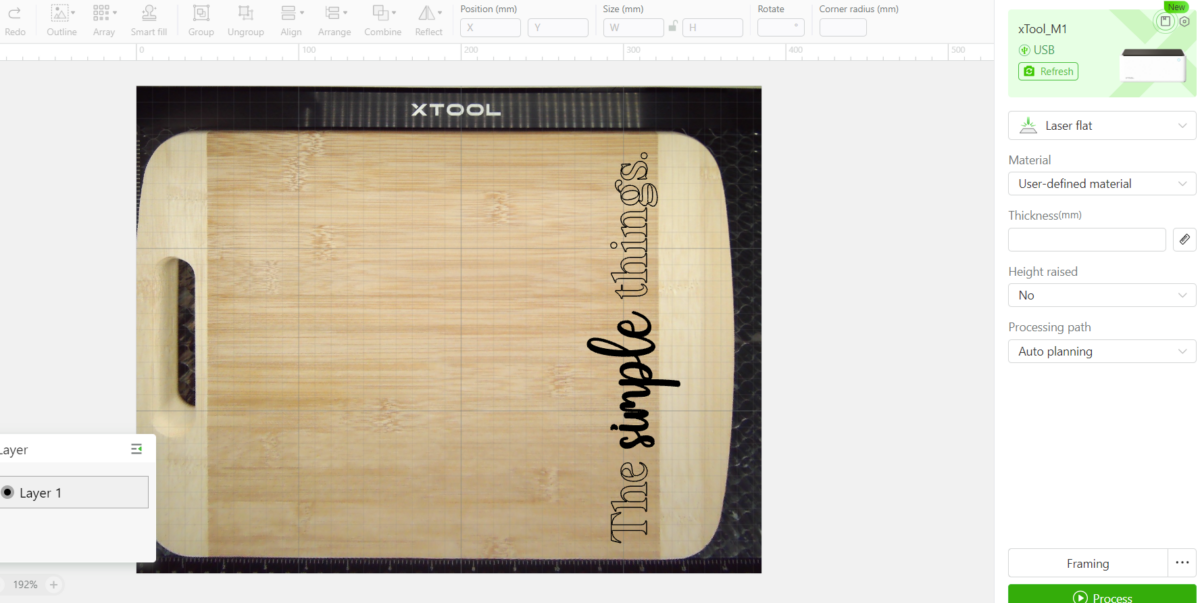
Import the image, such as our “The Simple Things” SVG after downloading it from our Sustain My Craft Habit shop.
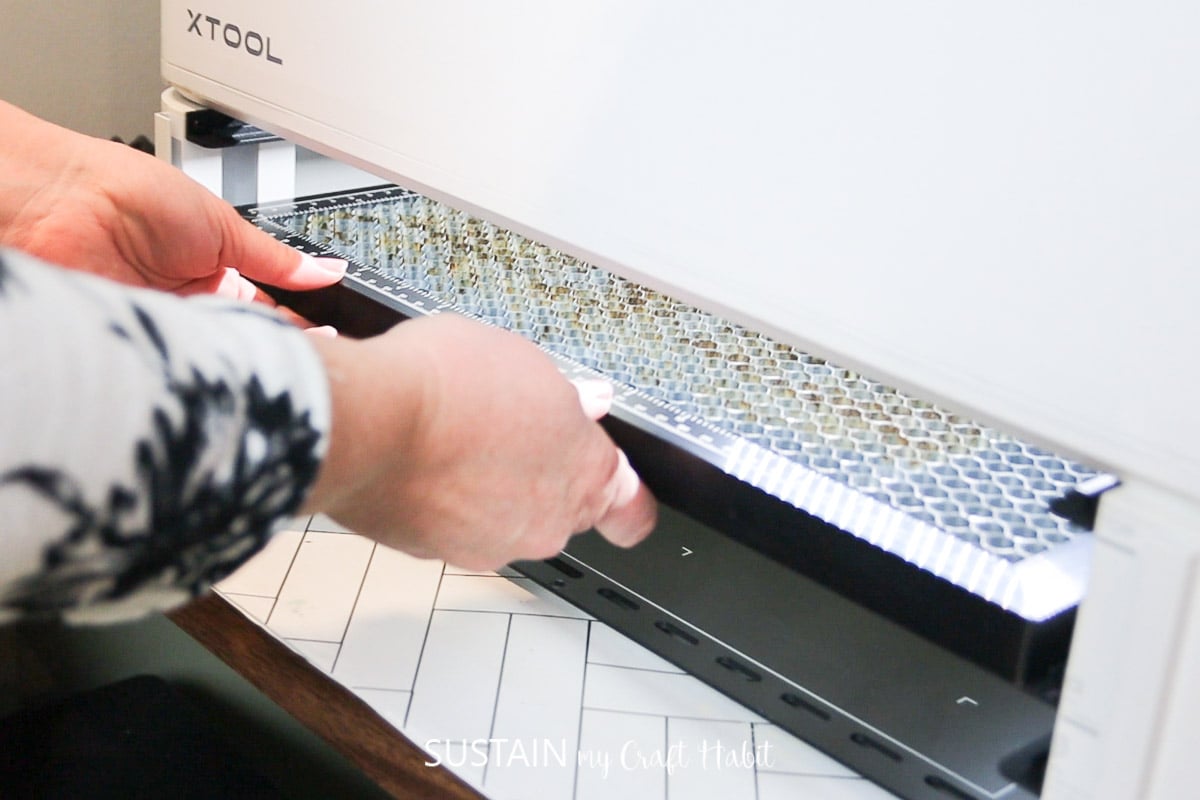
Load the cutting board into the cutting machine.
Size the “The Simple Things” to your desired size. In our case, we sized it to 8” wide to fit along the bottom edge of the board. If your wood is knotty, avoid engraving through those areas if possible. Position it on top of the material.
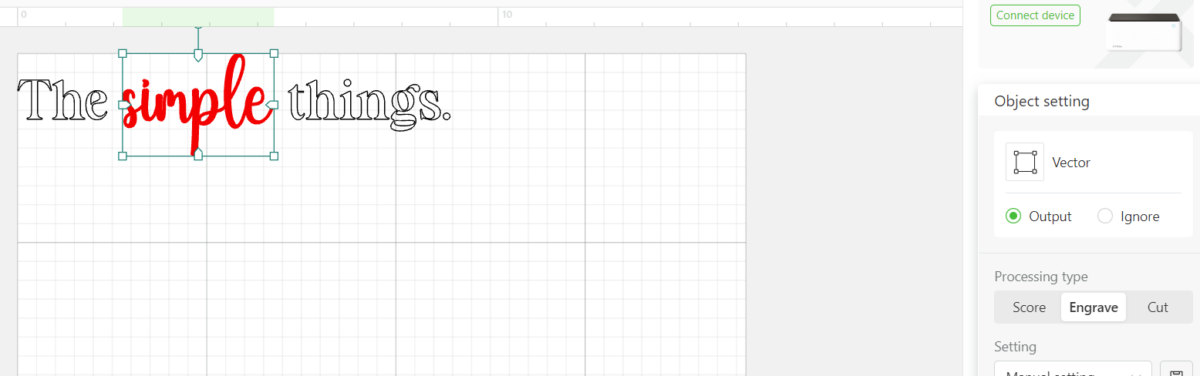
Ensure the machine parameter setting tab is set to the correct laser type. For example. We set the word “simple” to engrave and the other words set to score. The engrave will fill in the lettering whereas the score function will outline the letters.

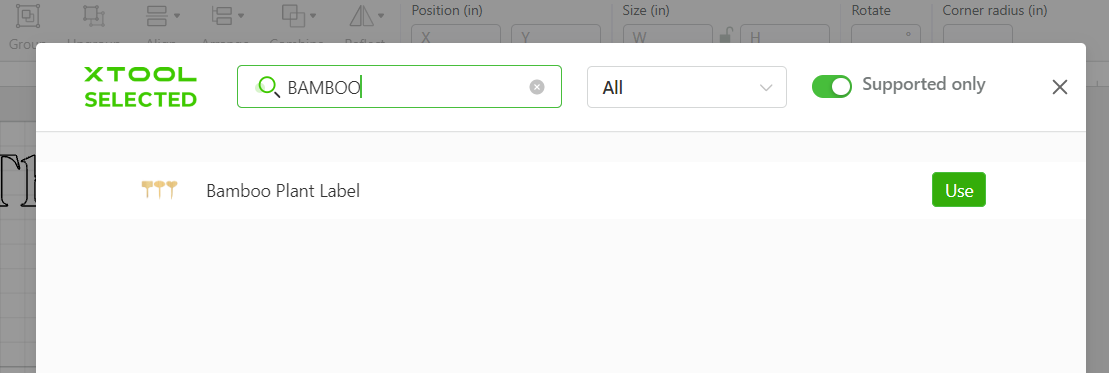
Move to the home screen, set material type to “bamboo” under more options as this isn’t an XTool material). Select ok.
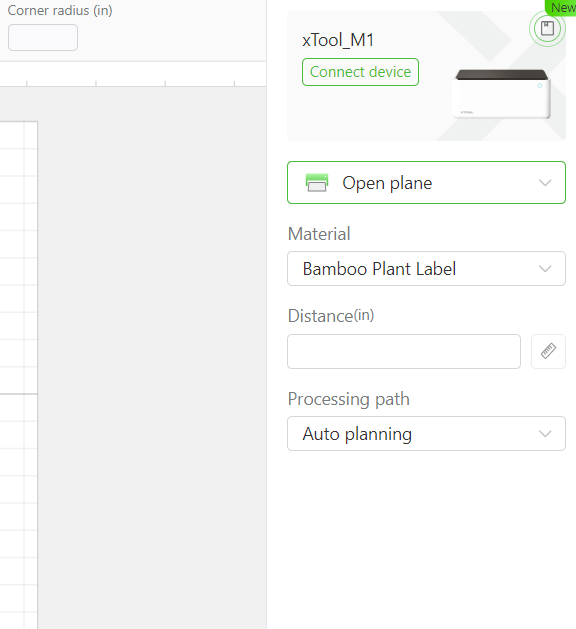
Adjust the laser function to “open plane” and then click on “auto-measure”.
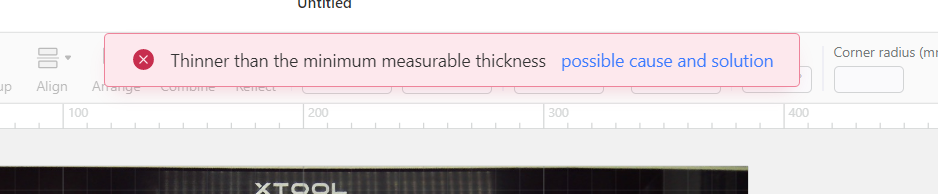
You will likely find the error message regarding the distance from the base plate.
To CORRECT for this, do the following:
- LOWER the honeycomb plate to the level marked with the alpha symbol; and then
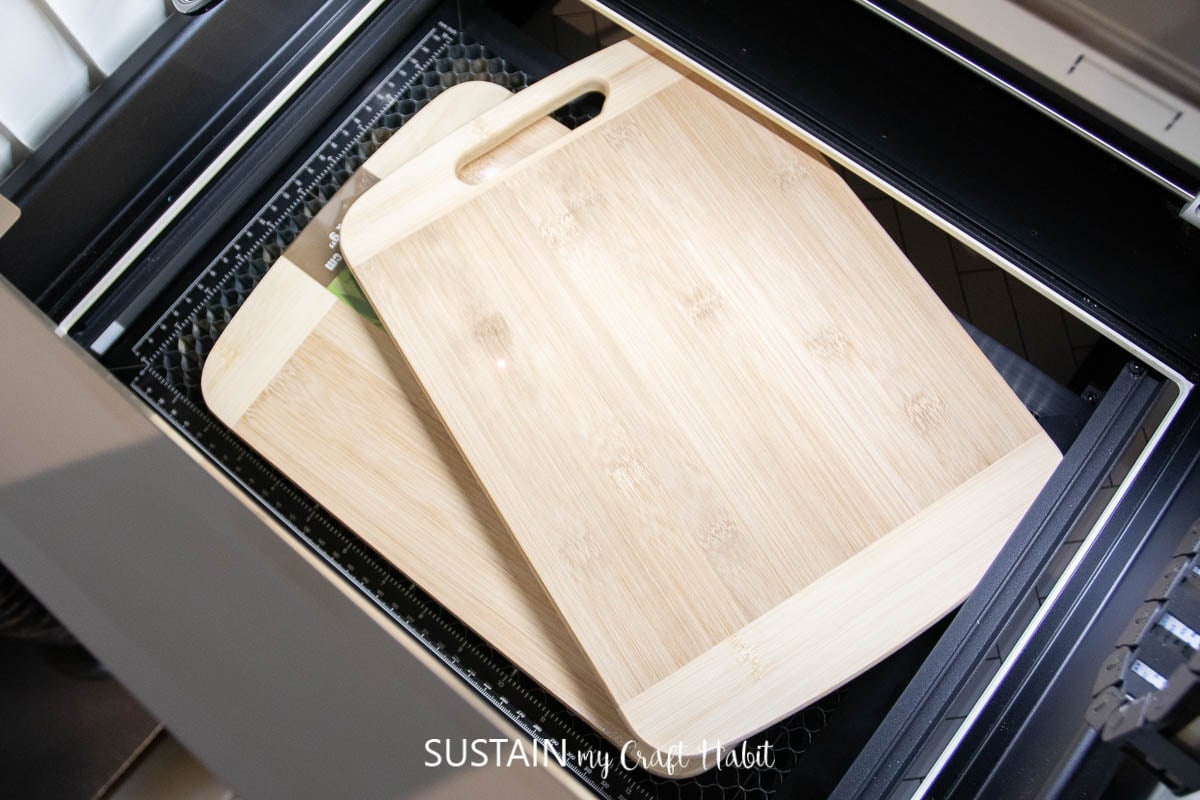
- STACK the cutting board on top of another cutting board (of equal size) or something of similar depth.
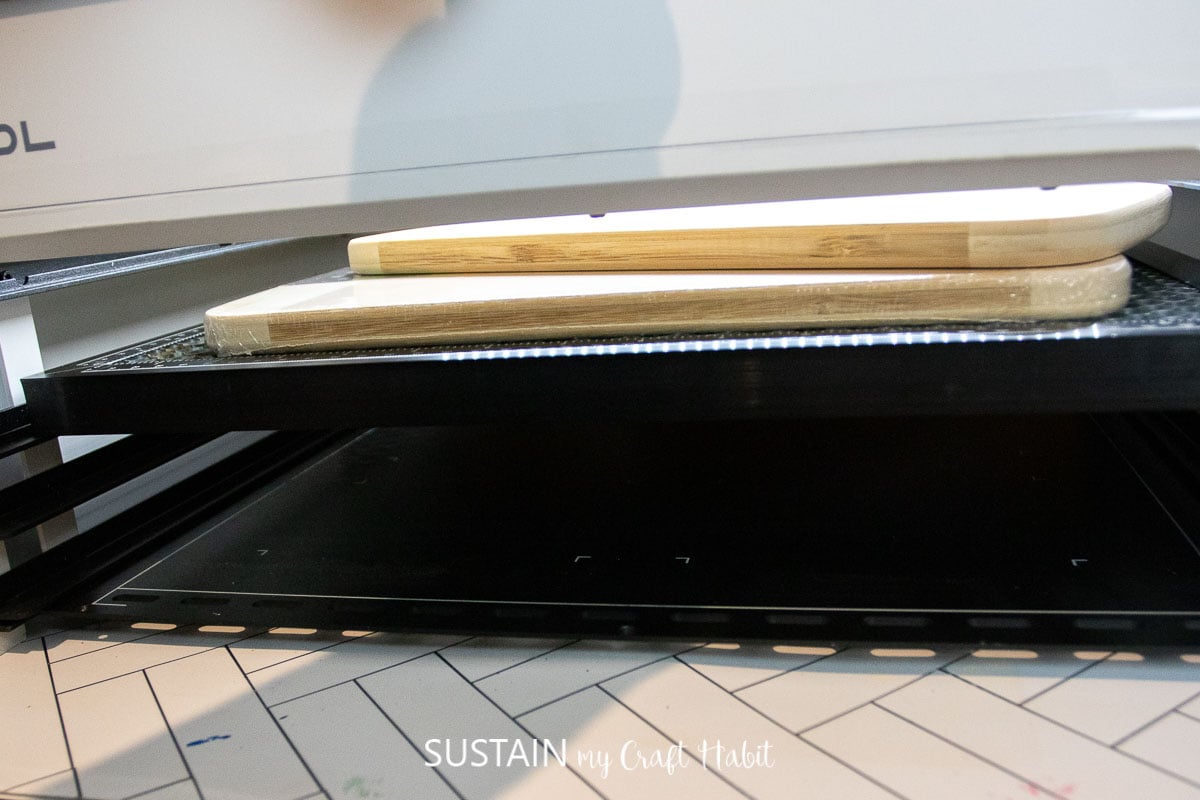
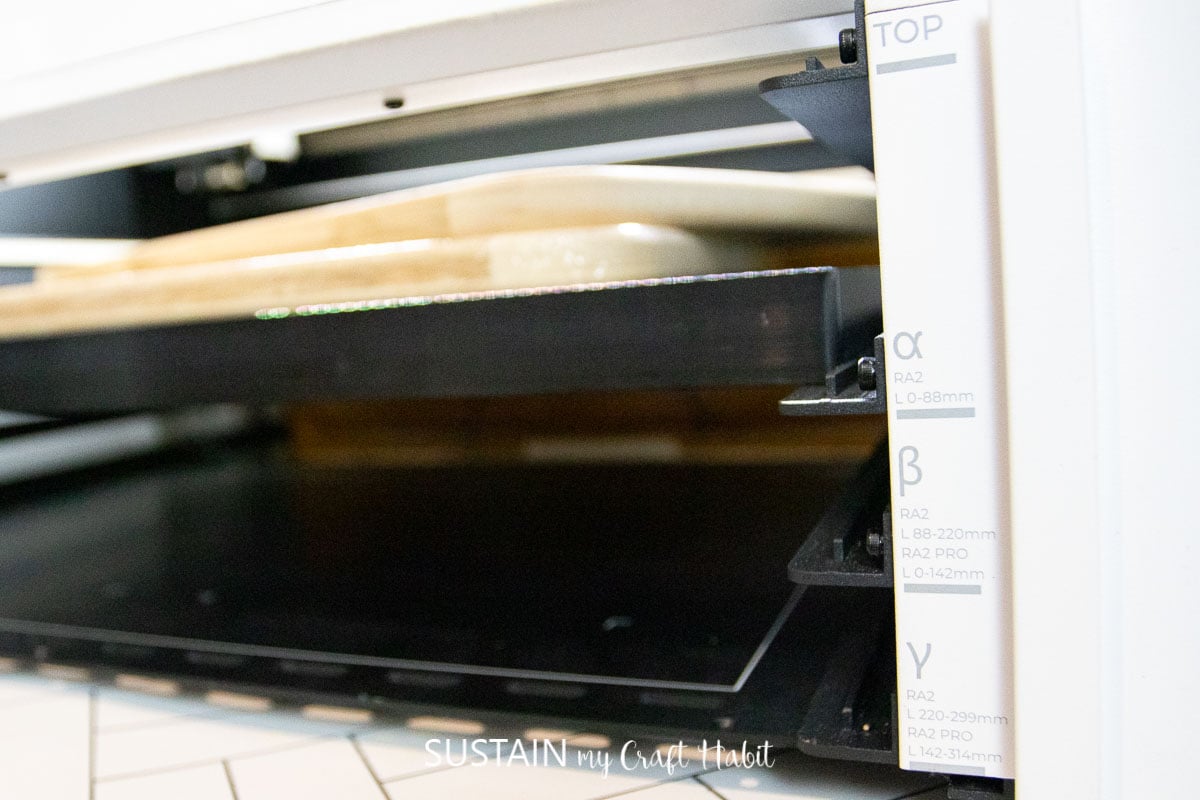
Once the pieces are back in place, click on “auto-measure” again and you will find the issue has been corrected.
If you have a cutting board that is not 13mm thick, you will likely need to manually adjust the level of the cutting board: try stacking on top of a thicker (or thinner) board until you have the correct level position.
Turn on air assist and hit process and remove when engraving is complete.

A DIY Game-Changer
Overall, engraving thick cutting boards with the xTool M1 is a game-changer for anyone looking to add a personal touch to their kitchen essentials. With its advanced laser technology, user-friendly interface, and ability to handle thick materials, the xTool M1 makes engraving a simple and enjoyable process.

So why settle for plain and ordinary cutting boards when you can create a unique and personalized piece with the xTool M1?
More xTool Engraving Crafts
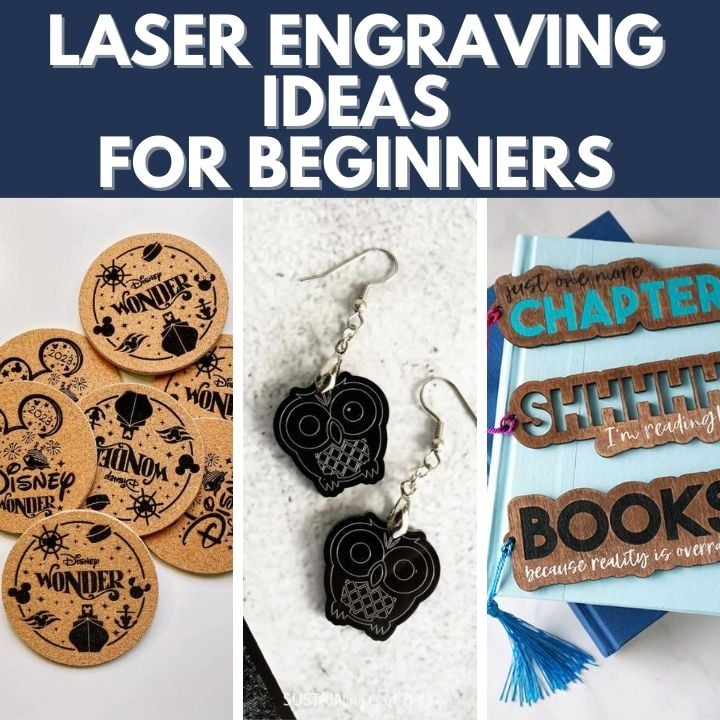
- Laser Engraving Ideas for Beginners
- Laser Engraving Jewelry
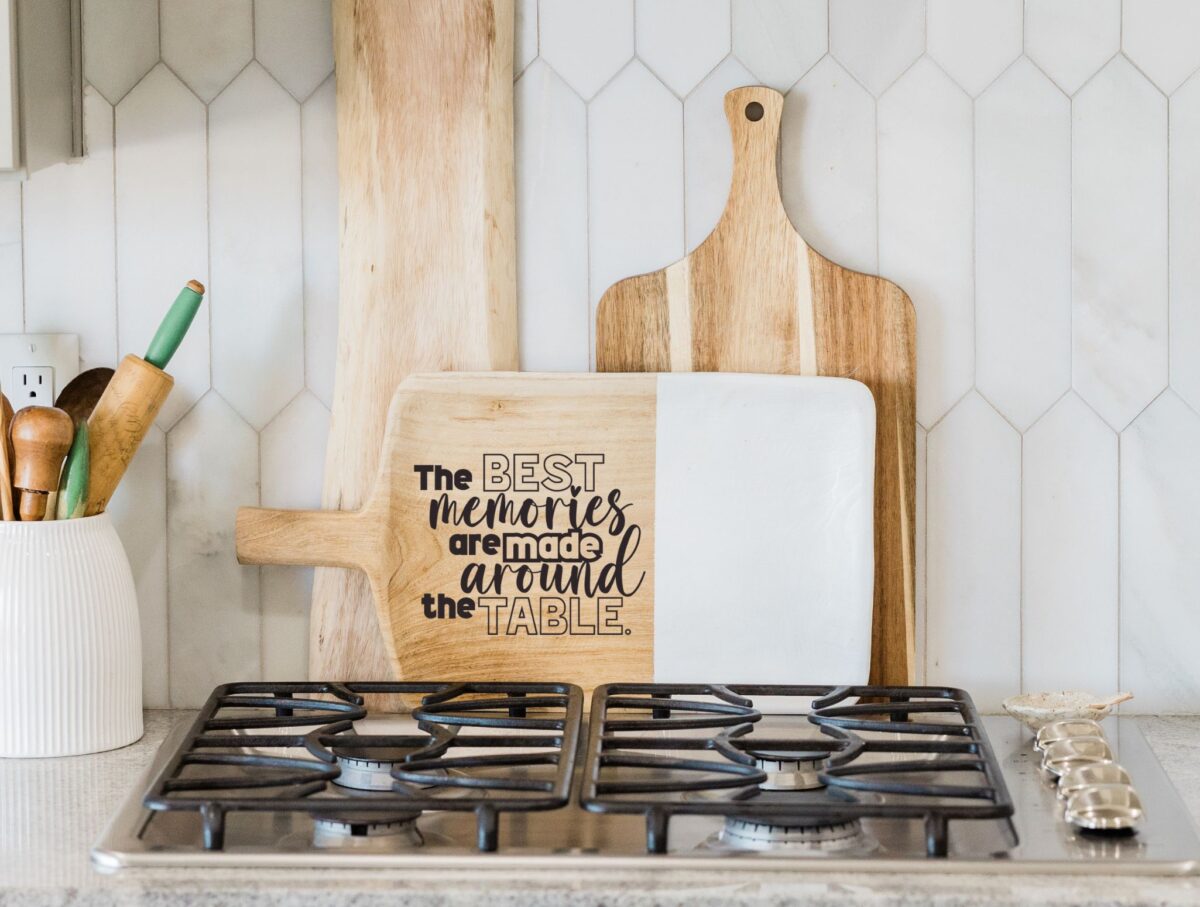
- Laser Engraving Charcuterie Board
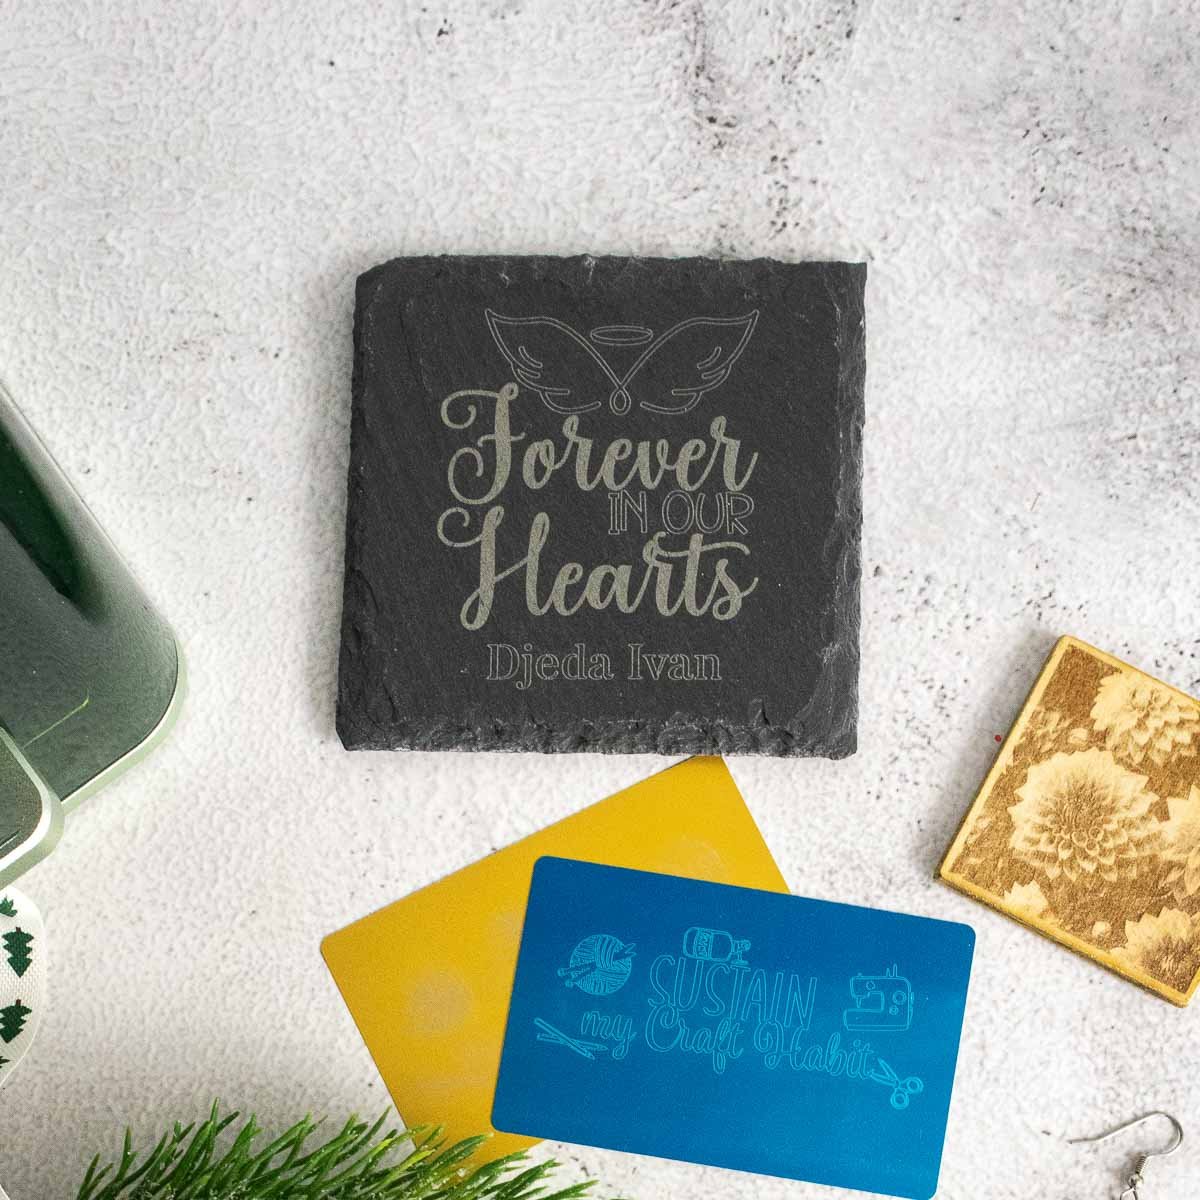
- Slate Coaster Engraving
- Engraving Acrylic Earrings


Become a Sustain My Craft Habit insider to receive fun freebies!
Like it? Pin it for later!


Engraving Thick Cutting Boards with XToolM1
Materials
- xTool M1
- Wooden Cutting Board ½” or 13mm thick
- The Simple Things SVG
Instructions
- Open Creative Space app on mobile phone.
- Turn on xTool M1.
- Connect Creative Space app to machine.
- Click on create project.
- Tap to start editing.
- Import Image – “The Simple Things” SVG.
- Load the cutting board into the cutting machine.
- Size the “The Simple Things” to your desired size. In our case, we sized it to 8” wide to fit along the bottom edge of the board. If your wood is knotty, avoid engraving through those areas if possible. Position it on top of the material.
- Ensure the machine parameter setting tab is set to the correct laser type.
- Move to the home screen, set material type to “bamboo” under more options as this isn’t an XTool material). Select ok.
- Adjust the laser function to “open plane” and then click on “auto-measure”.
- You will likely find an error message regarding the distance from the base plate.
- LOWER the honeycomb plate to the level marked with the alpha symbol and then STACK the cutting board on top of another cutting board (of equal size) or something of similar depth.
- Click on “auto-measure” again and you will find the issue has been corrected.
- Turn on air assist.
- Hit process.
- Remove when engraving is complete.


How did you stain the eord simple? What product did u use?