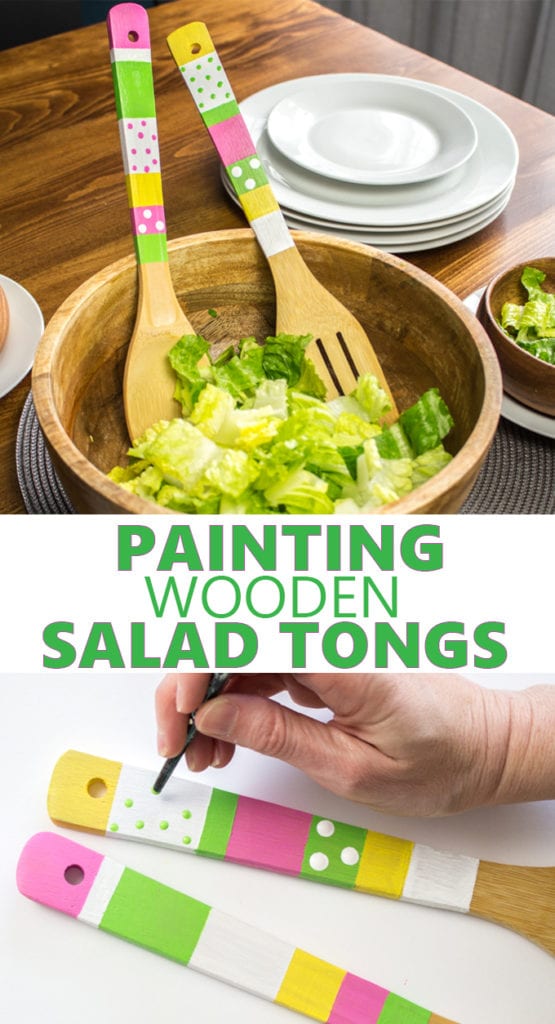
DIY Colourful Painted Wooden Salad Tongs
Painting a set of inexpensive wooden salad tongs takes them from ordinary to extraordinary! I’m excited to share this latest project idea that’ll leave you with colourfully painted wooden tongs that’ll bring out the fun in any salad.
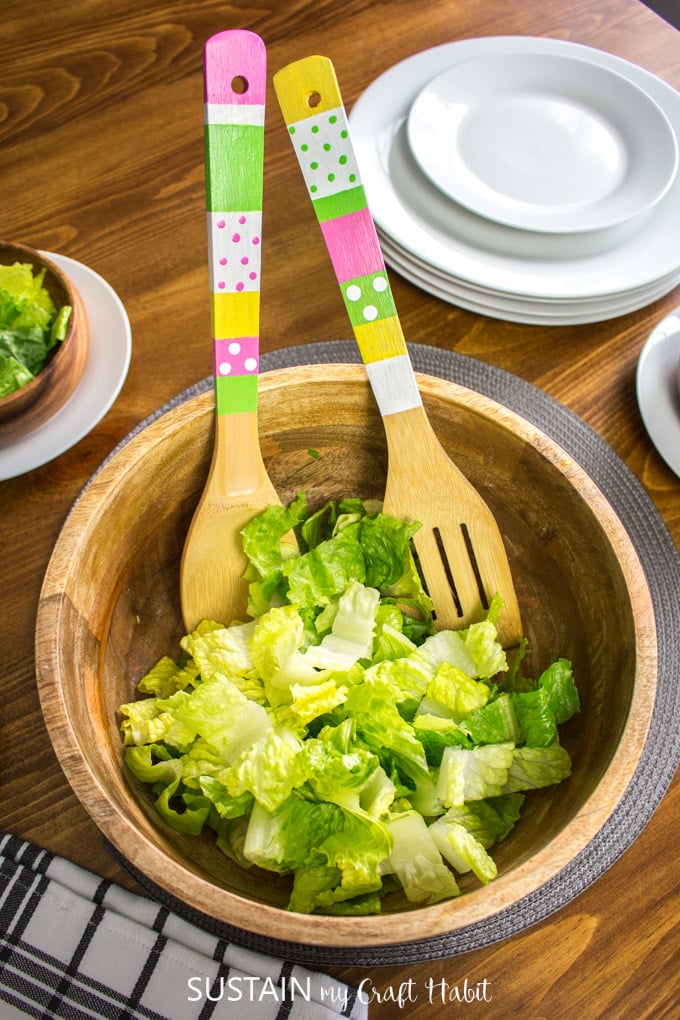
Serve your dishes with Colourfully Painted Salad Tongs
Several months ago I picked up a set of wooden serving spoons and tongs from the dollar store for just $2! As nice as they were plain, I knew they would be even nicer with some added color. Painting simple stripes and polka-dots on these plain wooden utensils makes them look appear original and interesting.
I love the playfulness and pop of unexpected color with these wooden salad tongs. Although the color scheme doesn’t quite match with our coastal cottage kitchen, I would love to make another set in coordinating cool blues, teals and whites for our beachy-inspired space. And seeing how enjoyable it was to make a set, perhaps some large wooden spoons painted in colourful Christmas hues will also be on my crafting to-do list. And now that I think of it, these painted wooden spoons would make a really nice gift giving idea for a hostess or a bridal shower, don’t you agree?
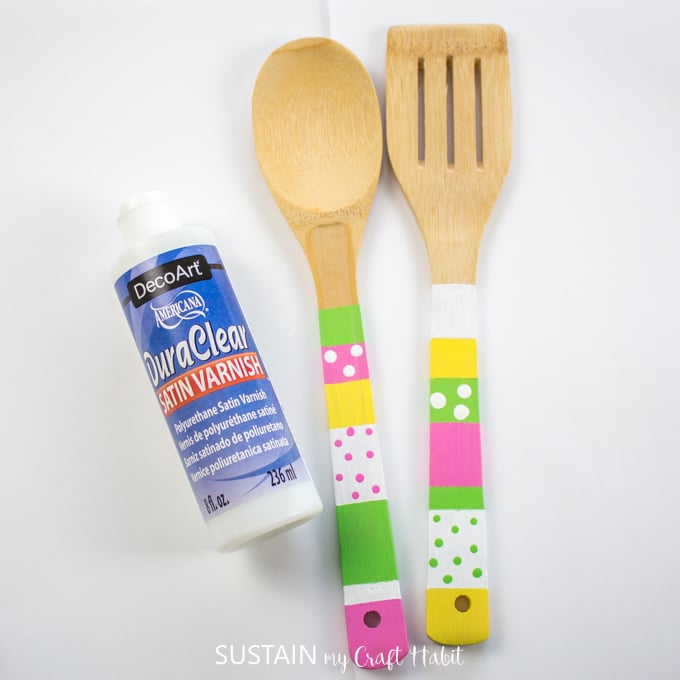
Typically we use the Multi Surface Satin for rock painting because of it’s excellent coverage and self sealing properties. Since we knew the tongs would get a lot of use during dinners and washing afterwards, we decided to apply a durable sealer on the painted handles. Alternatively, I’d love to try a set with poured resin over the handles like we did with these coastal inspired wooden cutting boards.
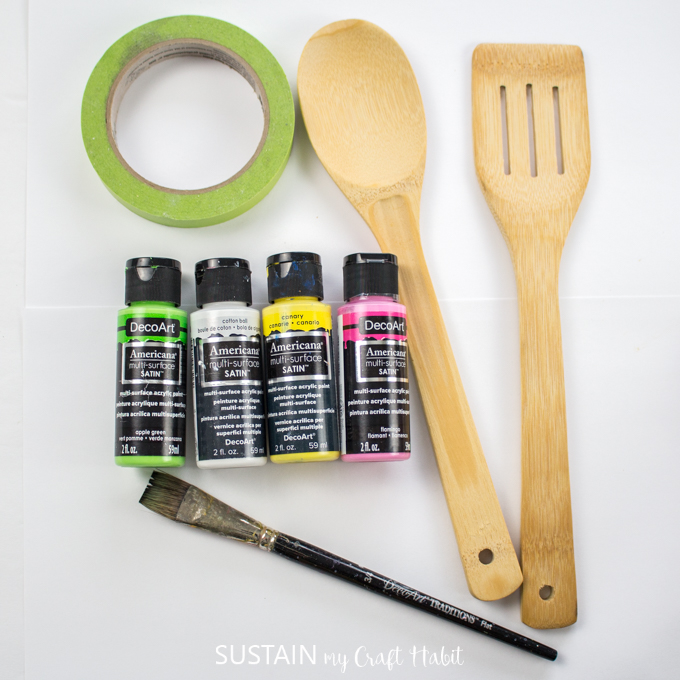
Supplies Needed:
This post contains affiliate links for you shopping convenience. You can read our full disclosure statement here.
- Wooden Salad Tongs (these tongs would work great or you can look for a similar set in a nearby dollar store)
- Decoart Americana Multi-Surface Satin paint in Canary, Cotton Ball, Flamingo, Apple Green
- Decoart Americana Duraclear Satin Varnish
- Acrylic paint brushes, one medium size and one fine tip
- Painter’s Tape, ½” wide
Instructions for Painting Wooden Salad Tongs:
Gather all your materials for painting. And as always protect your work surface with a sheet of newspaper or parchment paper.
Prep and Painting
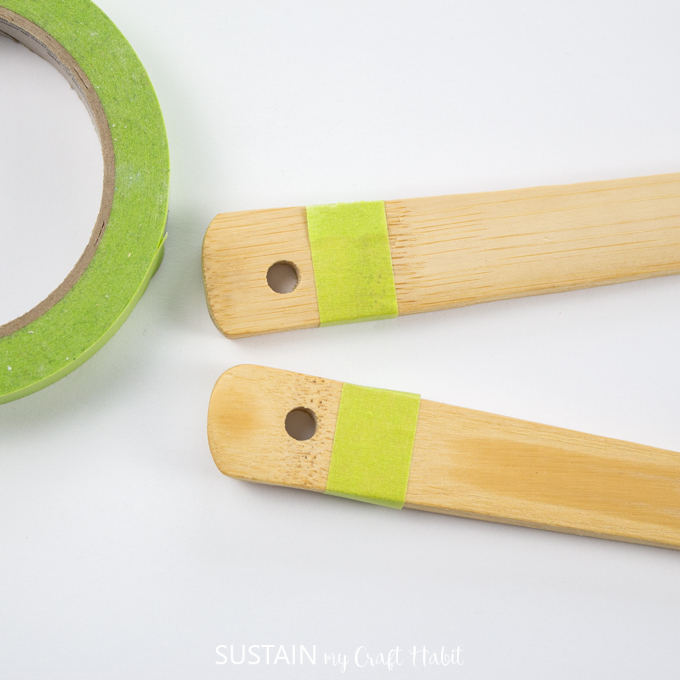
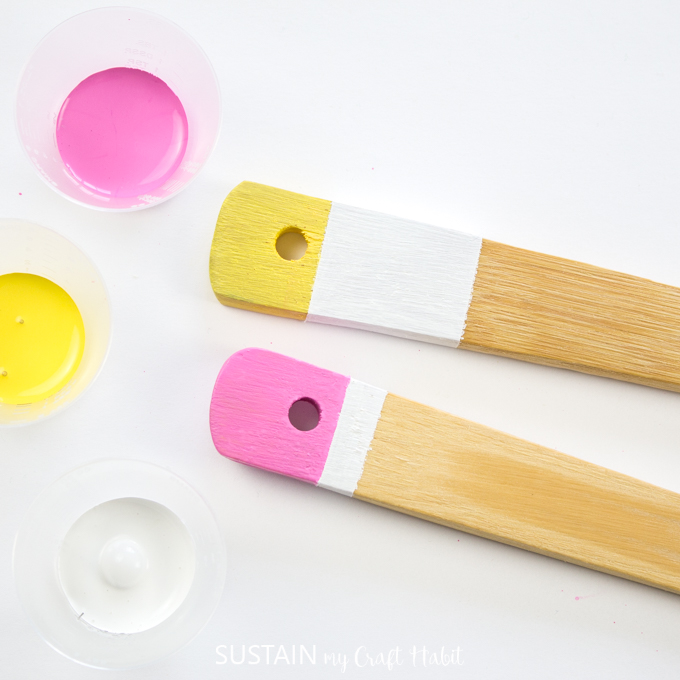
To start, wrap a piece of painter’s tape about ¾” from the end of each wooden handle. If you have a steady hand (or even if you don’t have any painter’s tape), you can also do this craft without.
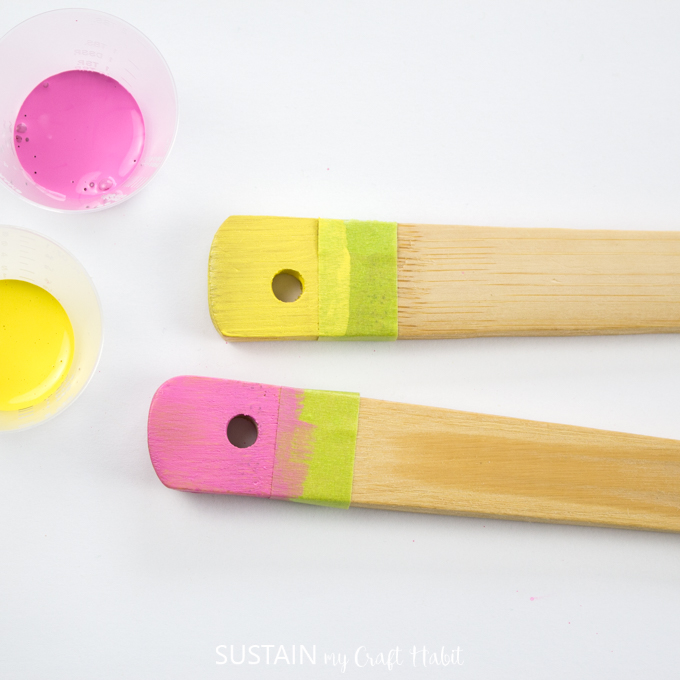
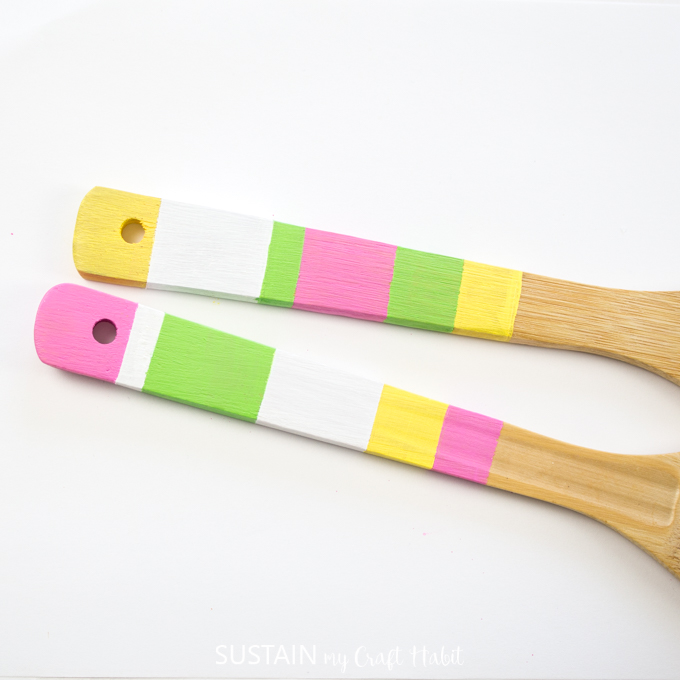
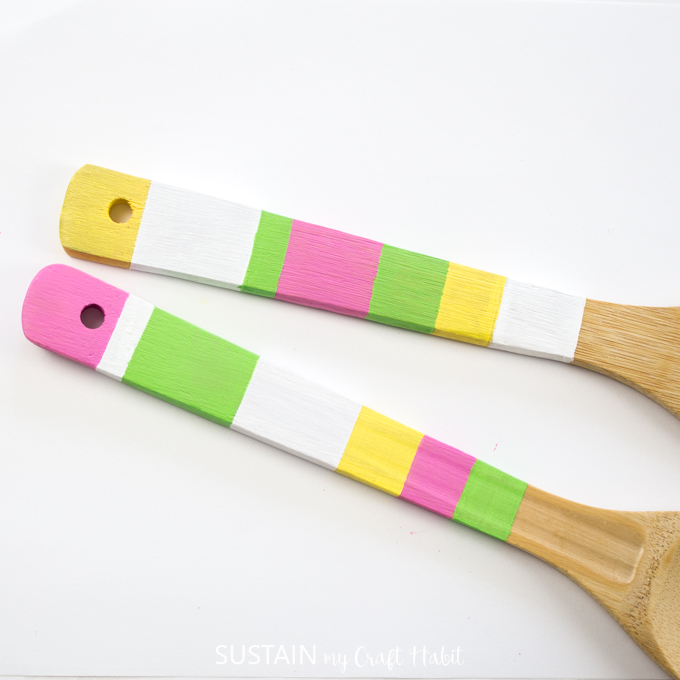
Using a medium sized paint brush, paint the end of one handle in flamingo and the other in canary. Repeat with as many coats as needed to achieve desired coverage.
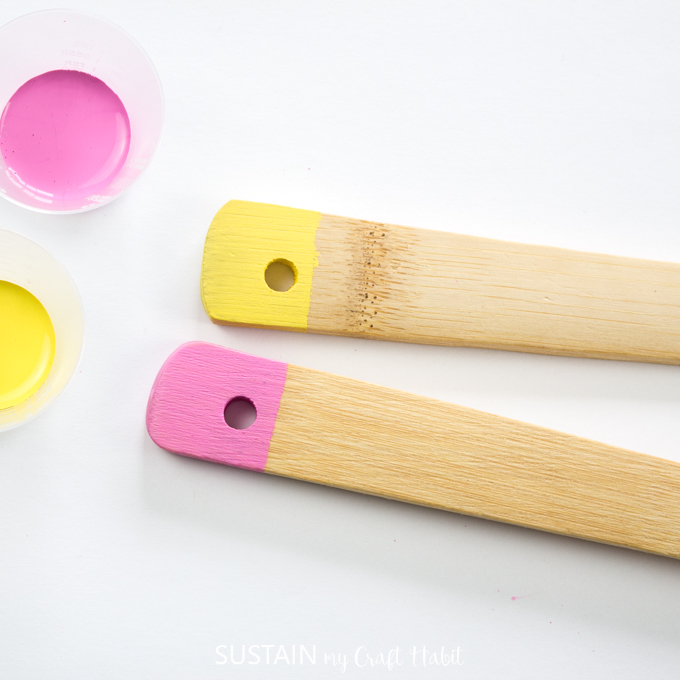
Remove painter’s tape. Allow paint to fully dry between steps and when changing to a new color.
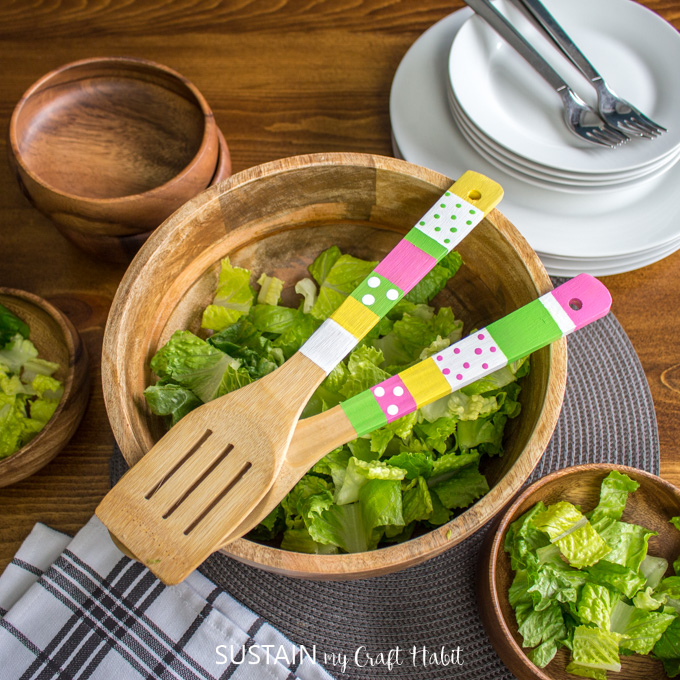
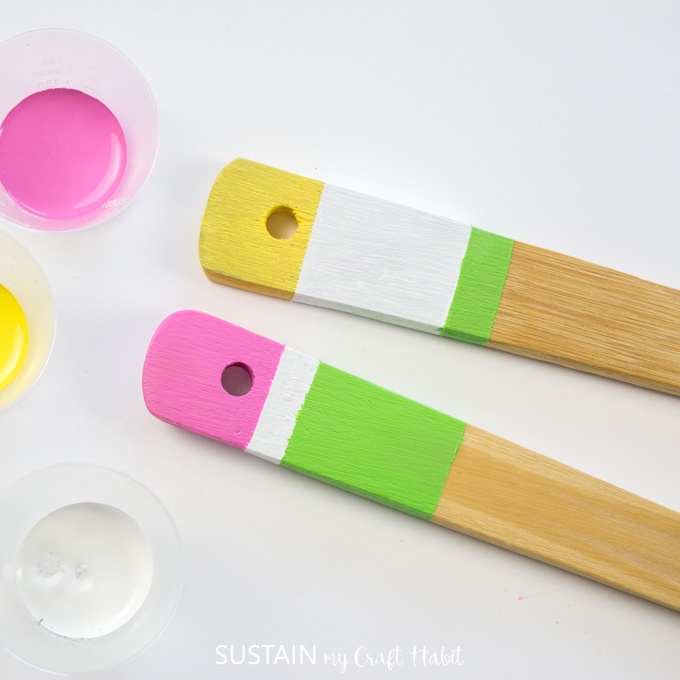
Continue these steps of removing and applying painter’s tape for the stripes along the entire length of the handles. And paint the stripes in this order of paint colors:
- 2nd stripe: cotton ball for both handles
- 3rd stripe: apple green for both handles
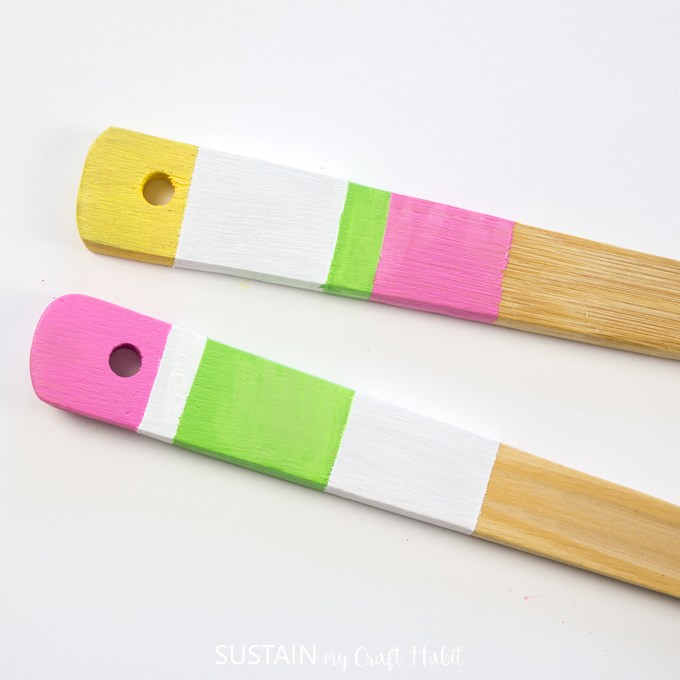
- 4th stripe: flamingo on one handle and cotton ball on the other handle
- 5th stripe: apple green on one handle and canary on the other handle
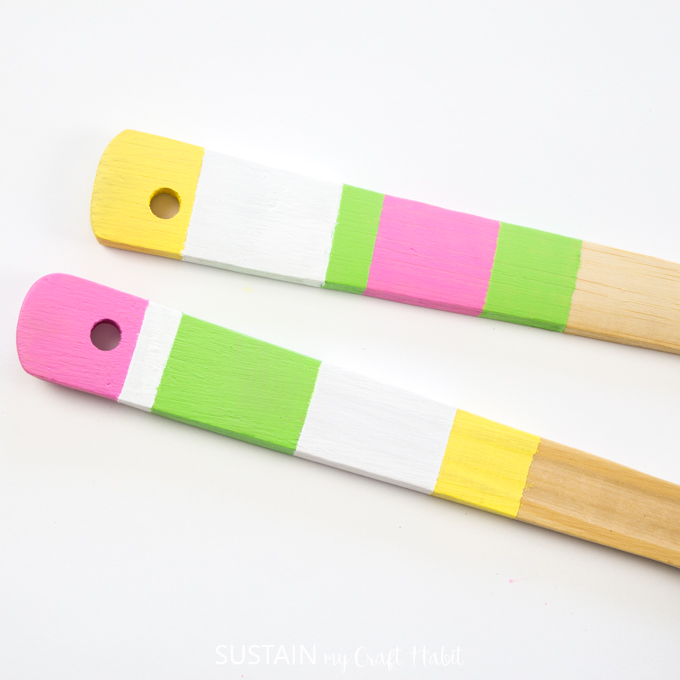
- 6th stripe: canary on one handle and flamingo on the other handle
- 7th stripe: cotton ball on one handle and apple green on the other handle.
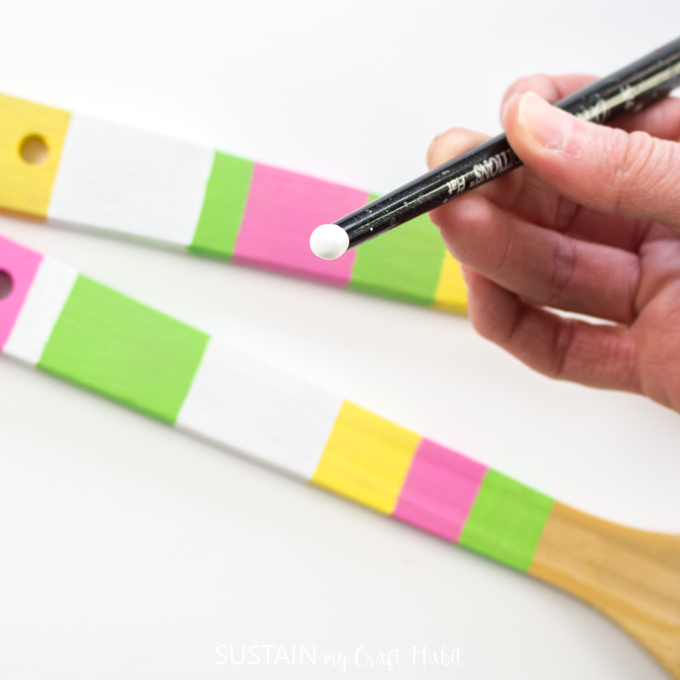
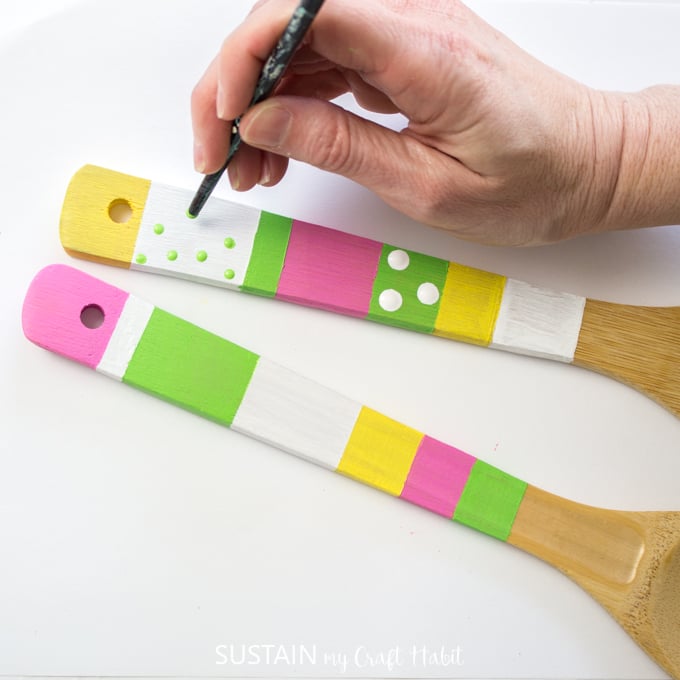
For the larger sized all over polka-dots, use the opposite end of the medium sized paint brush and dip it in cotton ball. Dab the dots over top of the wider apple green and flamingo stripes.

Next, dip the opposite end of the fine tip paintbrush in apple green and dab small dots over top of the wider cotton ball stripes. Add as many or as little dots as desired.
Finishing
Once done, you’ll need to seal the handles so they withstand all the use and washing over time. Apply a coat of Duraclear varnish over top of the painted handles and allow it to dry fully before using.
Use your newly painted salad tongs for serving a tasty salad. Consider making this easy spring mix salad or simple strawberry and kale salad for your next meal.
Like it? Pin it for Later!