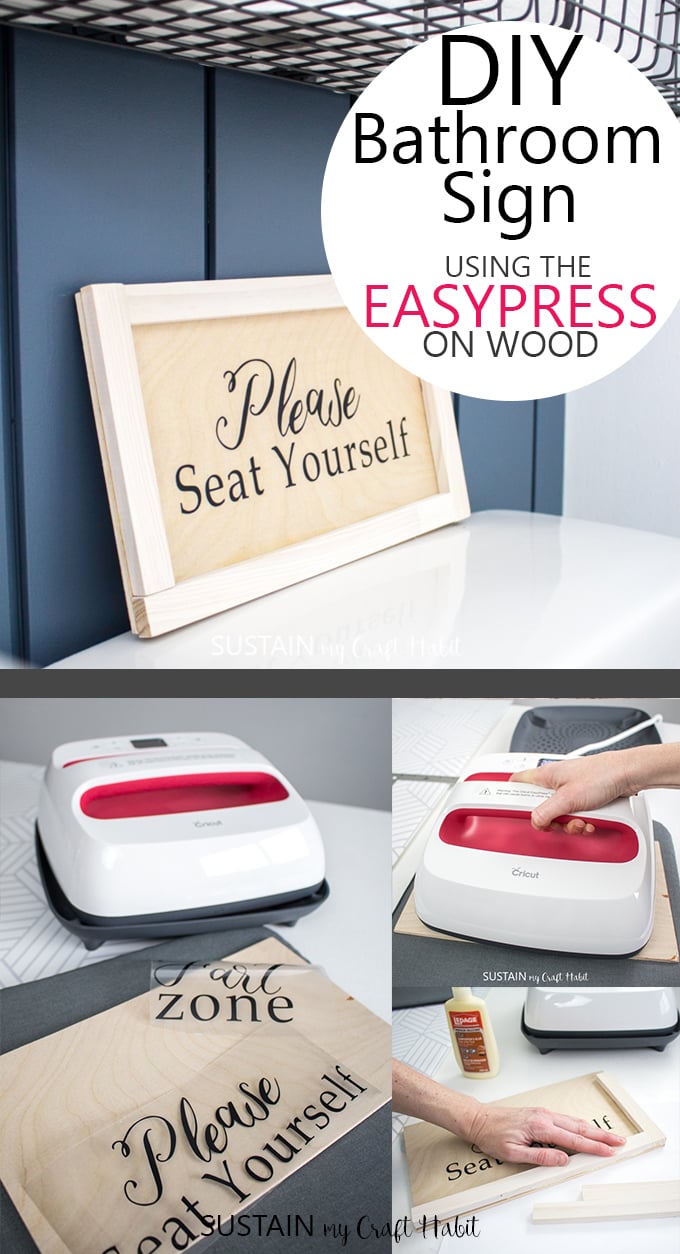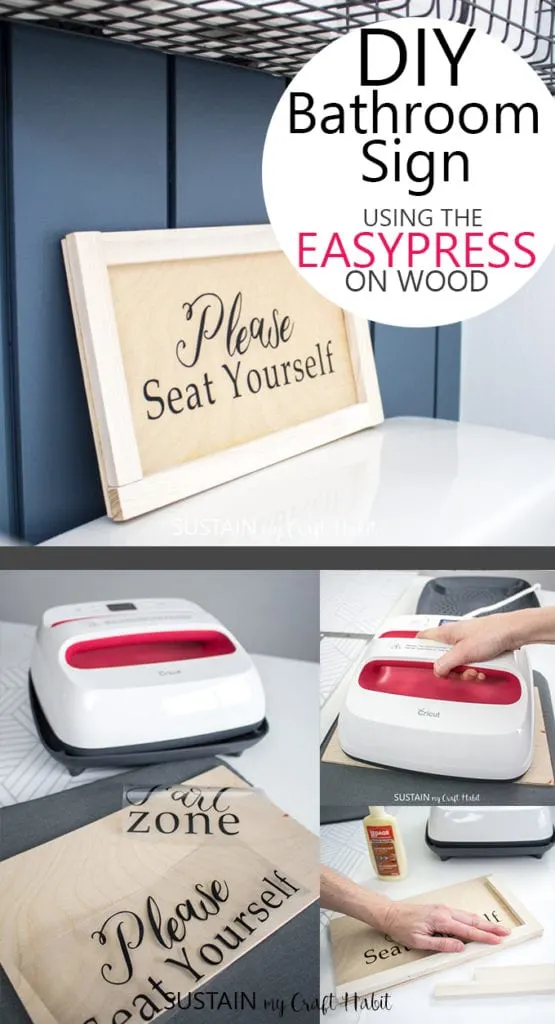
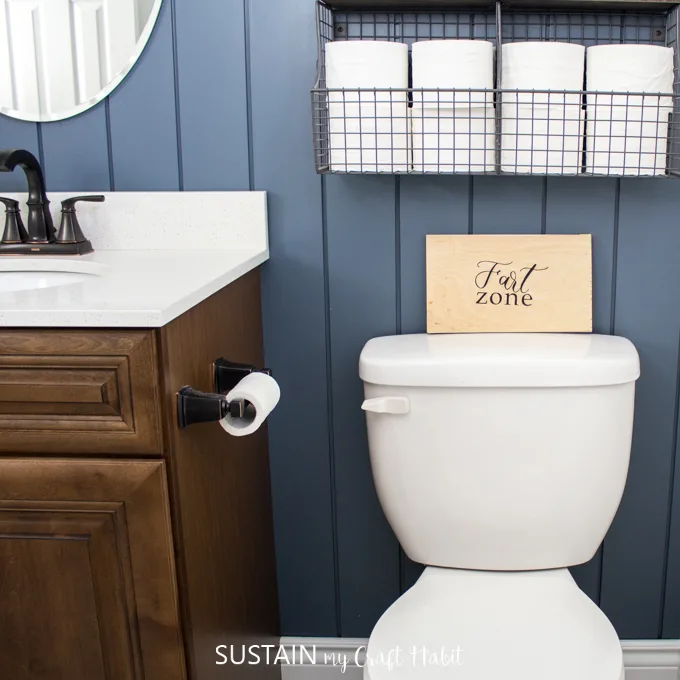
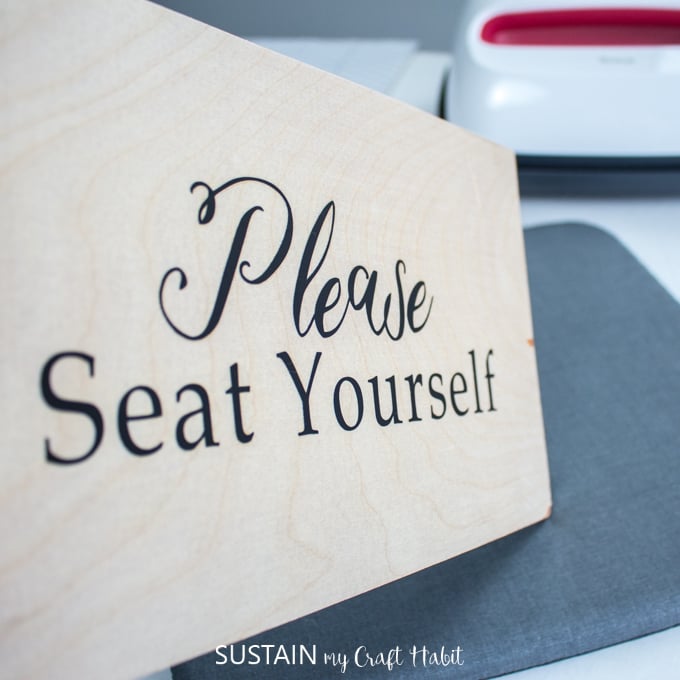
How fun is this silly bathroom sign I made using the Cricut EasyPress on wood scraps?

A Fun DIY Wood Sign for the Bathroom
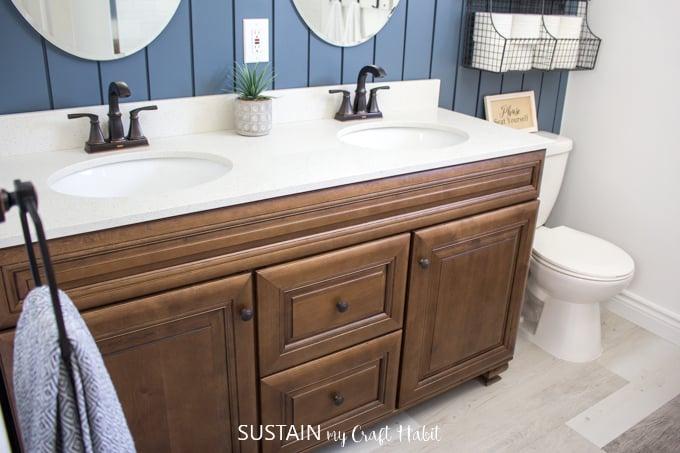
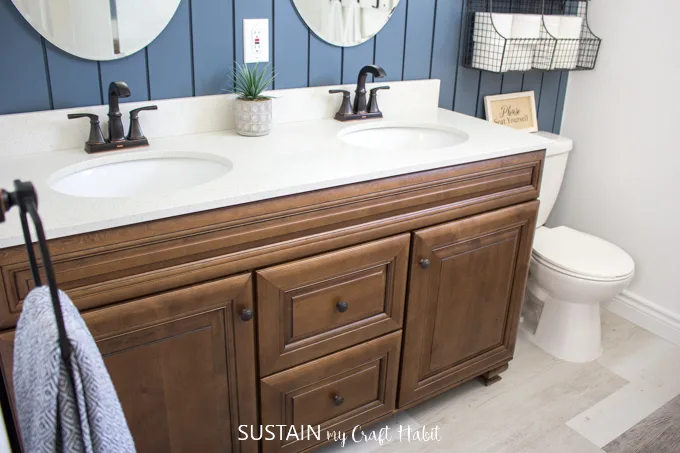
With the majority of the hard work of our main bathroom renovation completed, it was time to think about some fun DIY accessories and decor. Having recently compiled a list of 10 projects you didn’t know you could make with the Cricut EasyPress, trying the EasyPress on wood was high on my list of projects to try.
You might be asking yourself ‘why use the EasyPress on wood?’. Although it’s true you could also just use a regular adhesive vinyl but using the iron-on option adheres to the wood better leaving the surface smoother and more durable.
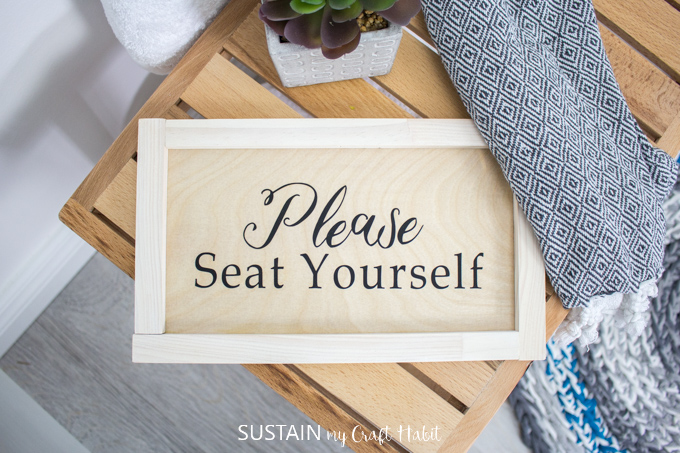

I used some leftover scrap wood I found in the garage and made this silly bathroom sign. I’ve seen these sorts of signs in little boutiques and shops and was excited to make my own. I even saw these hilarious bathroom signs on Amazon, which would make a really playful and unexpected house warming gift.
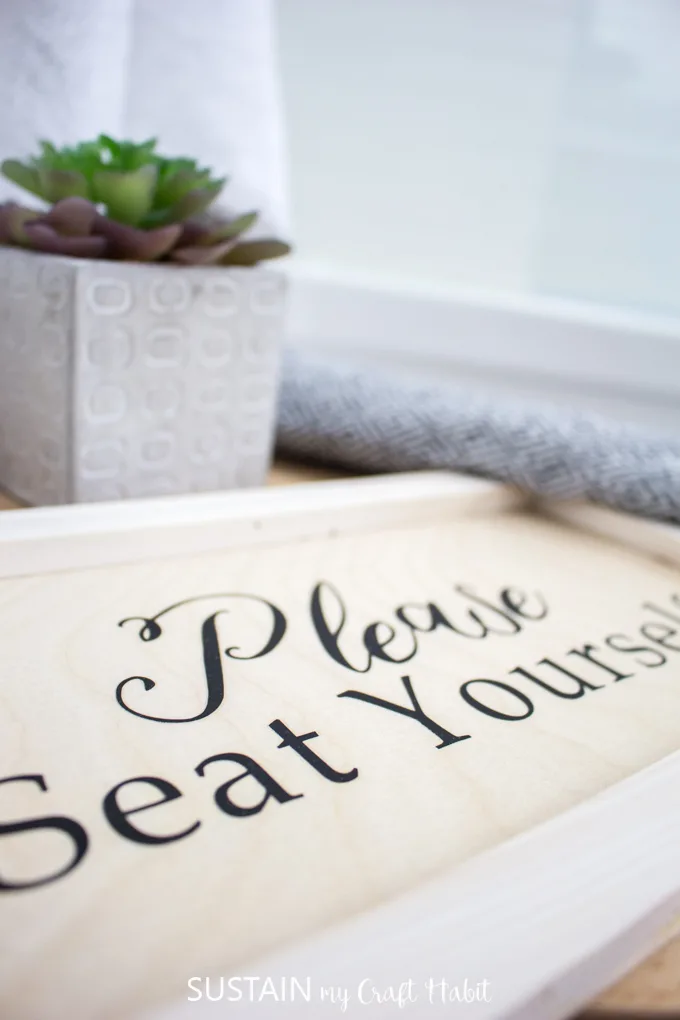
I chose the saying “please seat yourself”, but brainstorming other silly bathroom sayings was almost as fun as the DIY itself! As I was working on the sign, my daughter was quick to point out her disappointment that I didn’t choose one of the other sillier sayings. So I decided to make this DIY wood sign reversible and easily cut out another silly phrase that she approved of 😀 .

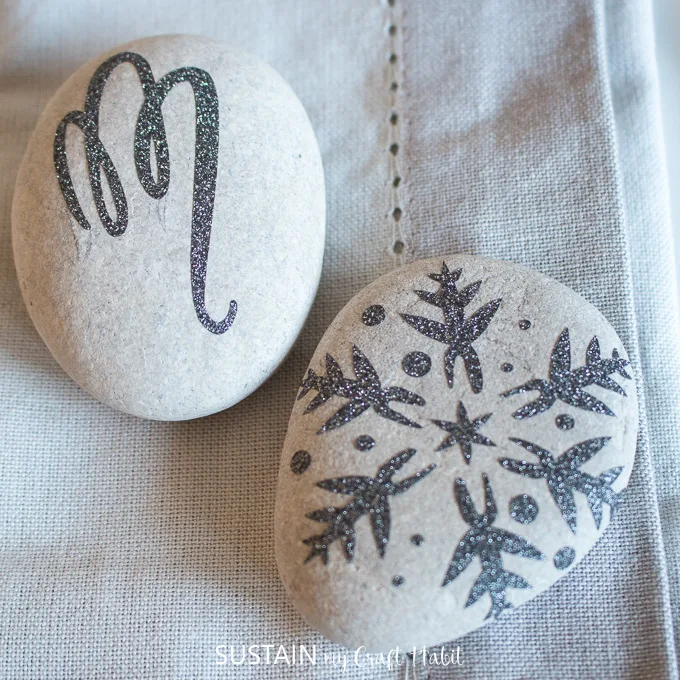
Since getting our first Cricut Maker a few months ago, we’ve enjoyed experimenting with different crafts and materials. So far we’ve made these cherry blossom paper flowers, this paper bunny DIY Easter garland and glittering snowflake and monogrammed rocks with the Maker as well as this DIY gift bag using the Cricut EasyPress 2.


Glittering Snowflake and Monogrammed Rocks 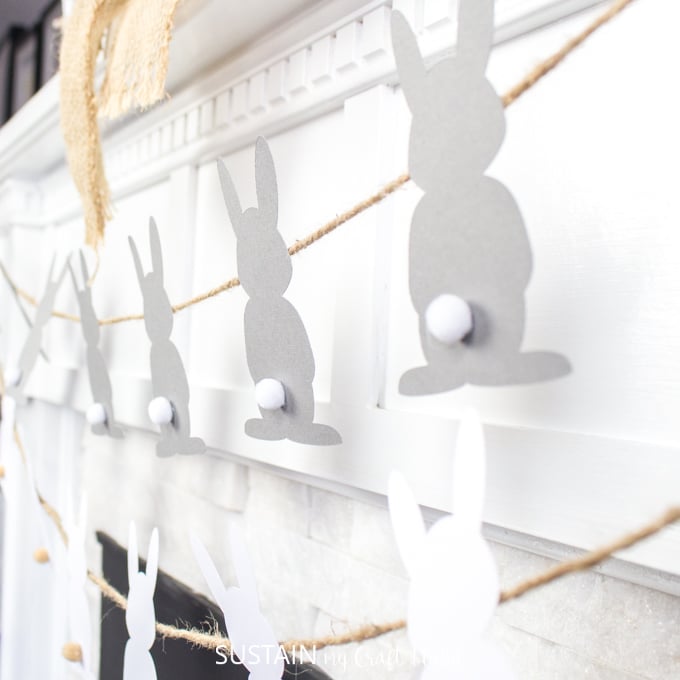
DIY Easter Garland with Paper Bunnies 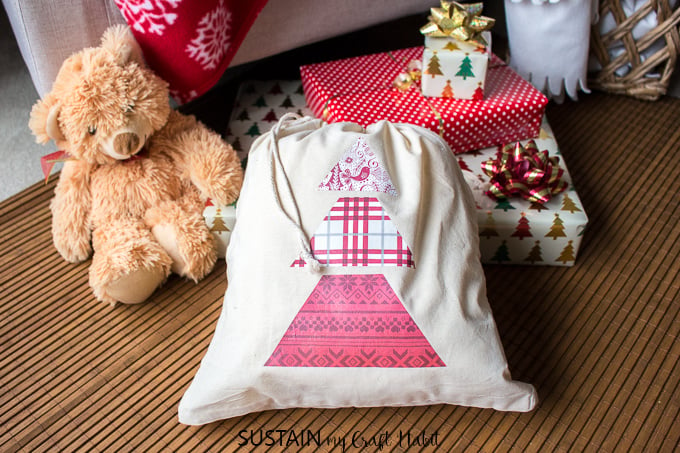

DIY Gift Bag for Christmas 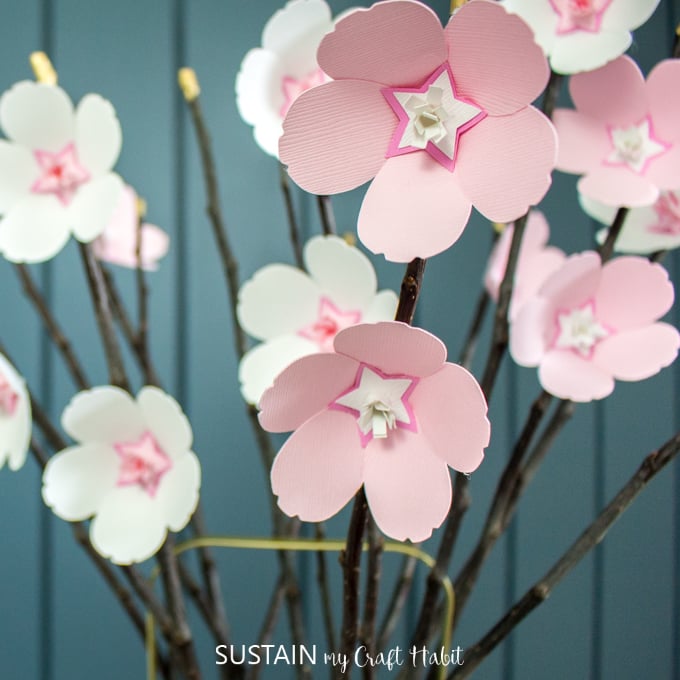
Cherry Blossom Paper Flowers


Materials Needed:
- Cricut Maker
- To create your own ‘Please Seat Yourself’ saying, head over to Cricut Design Space: help with letter spacing post.
- Standard grip Cricut mat
- Everyday Iron-on Vinyl in black
- Weeder
- Fabric sheers / scissors
- Cricut EasyPress
- EasyPress Mat
- Cricut BrightPad (optional)
- Plywood, ¼” thickness cut to 10 ½” by 7”
- 3/4” wide wood trim (by ⅜” thick), approx. 39” long (1 meter long). This is enough to add trim to just one side of your sign. If you want to add to both sides, double the amount of trim needed.
- Americana Decor Creme Wax in white
- Paint brush and rag or paper towel
- Sand paper
- Wood glue, clear drying
How to Make Bathroom Wood Sign:
Prepare Wood for Use
Cut a piece of plywood to measure 10 ½” wide x 7” high.
Cut the wood trim into 4 pieces: 2 pieces measuring 9 ¾” long and the other two measuring 6 ¼” long each.
Sand edges and surface of plywood and trim and then clean off all the loose dust.
Cutting the Iron-On Vinyl with the Cricut Maker
To create the “Please Seat Yourself” phrase or create your own silly phrase, refer to our post on Cricut Design Space: help with letter spacing. Click Make It.


On the cutting mat screen, select the material size of your vinyl (ie. 12”x12”) and turn on Mirror image toggle.
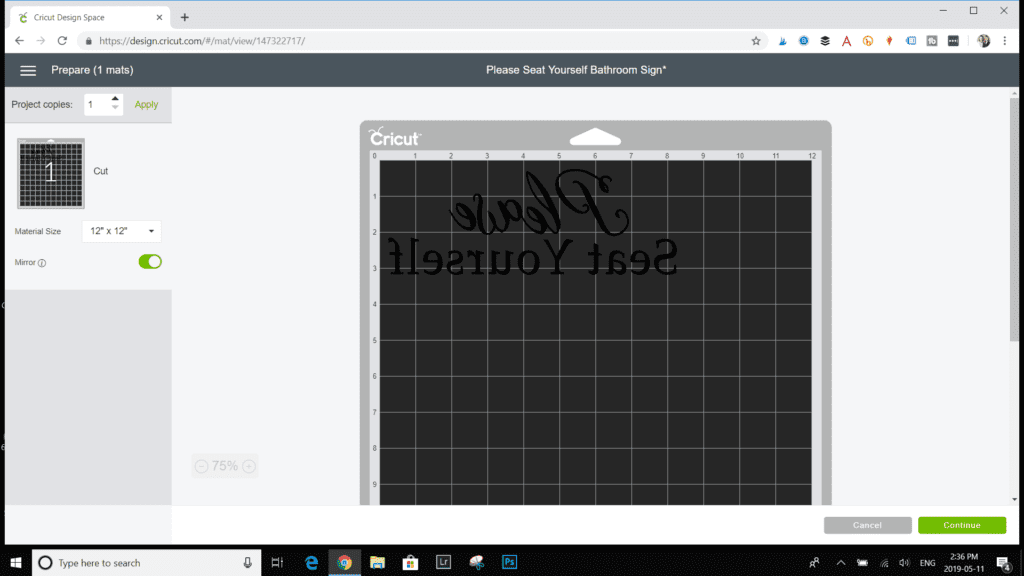

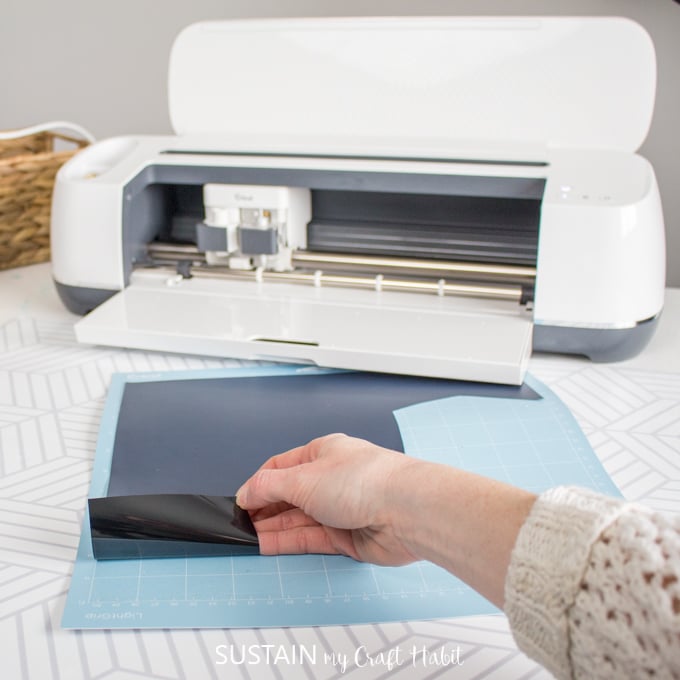
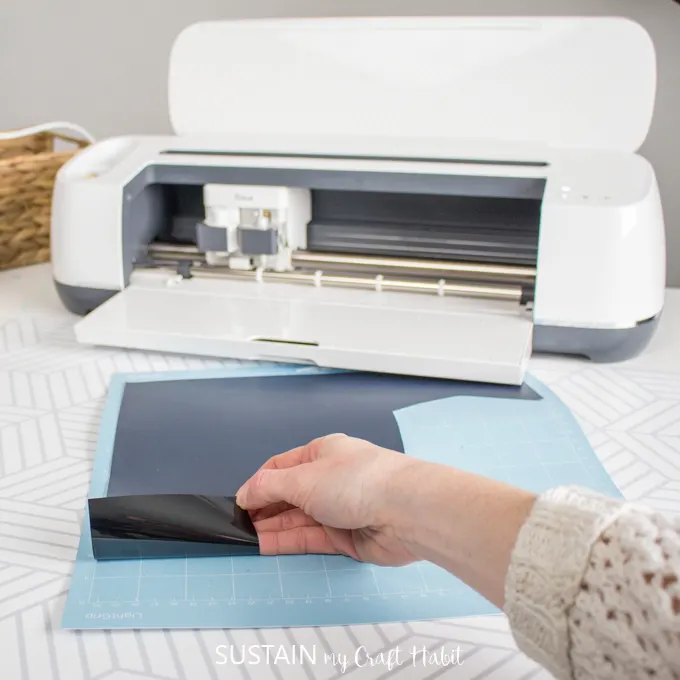
Place Everyday Iron on vinyl with shiny side down on the mat. Select continue.
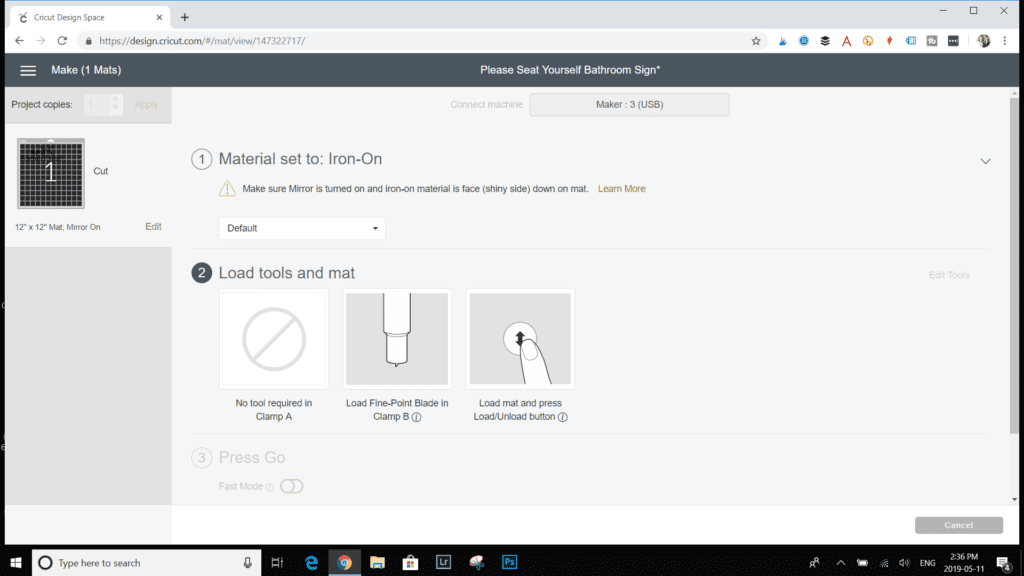
Set material to Iron-On. And notice the helpful reminder on the screen to ensure your mirror setting is turned on and the iron on material is face down (shiny side down) on the mat.
Check and load the proper cutting tool is in place. Load mat and select the Load/Unload button on the Cricut Maker.

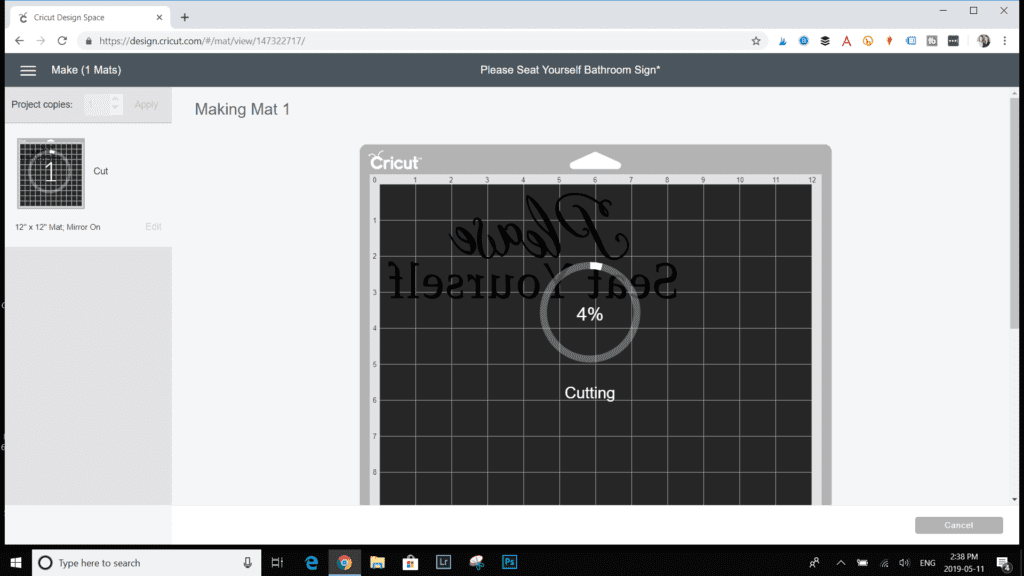
The Maker will begin cutting the vinyl as it is displayed on your screen.

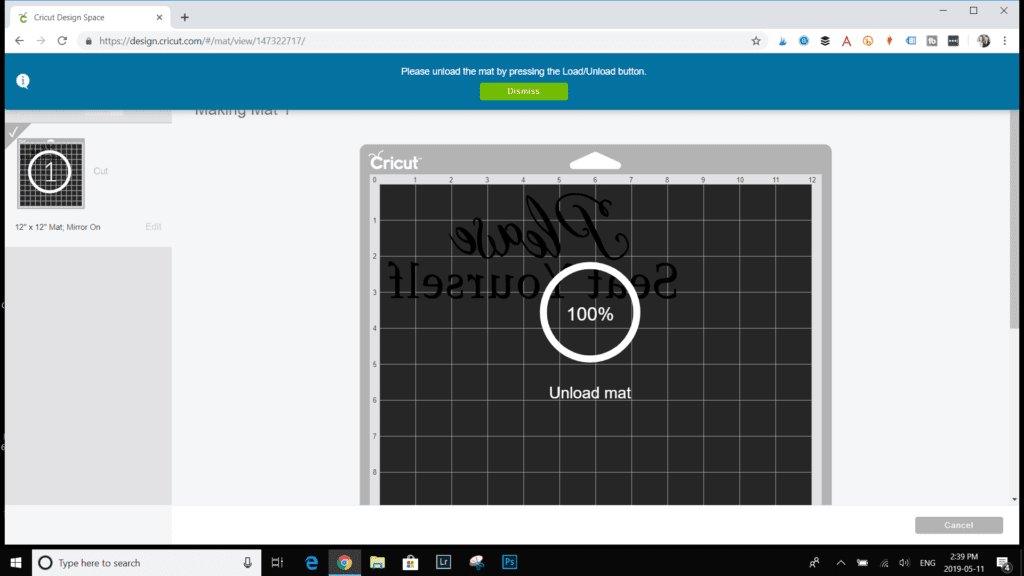
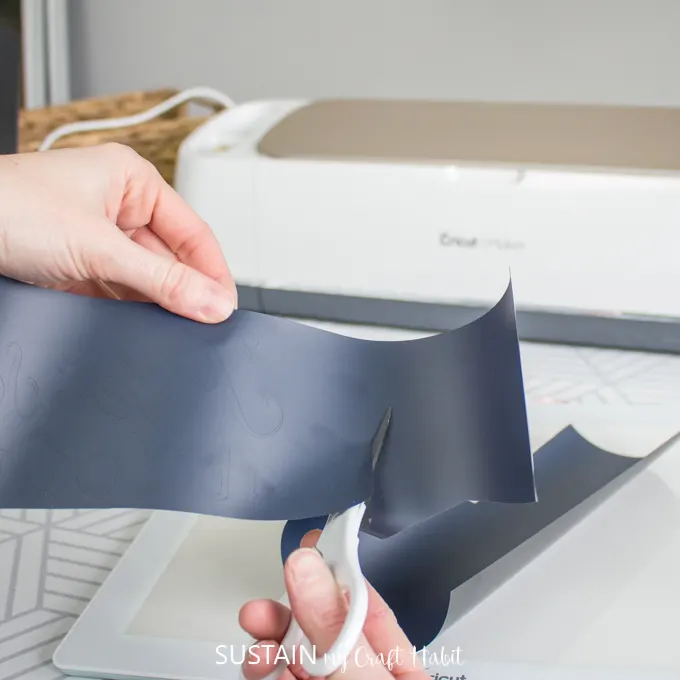
When cutting is at 100%, it’ll prompt you to unload the mat. Peel the vinyl away from the cutting mat and put aside.

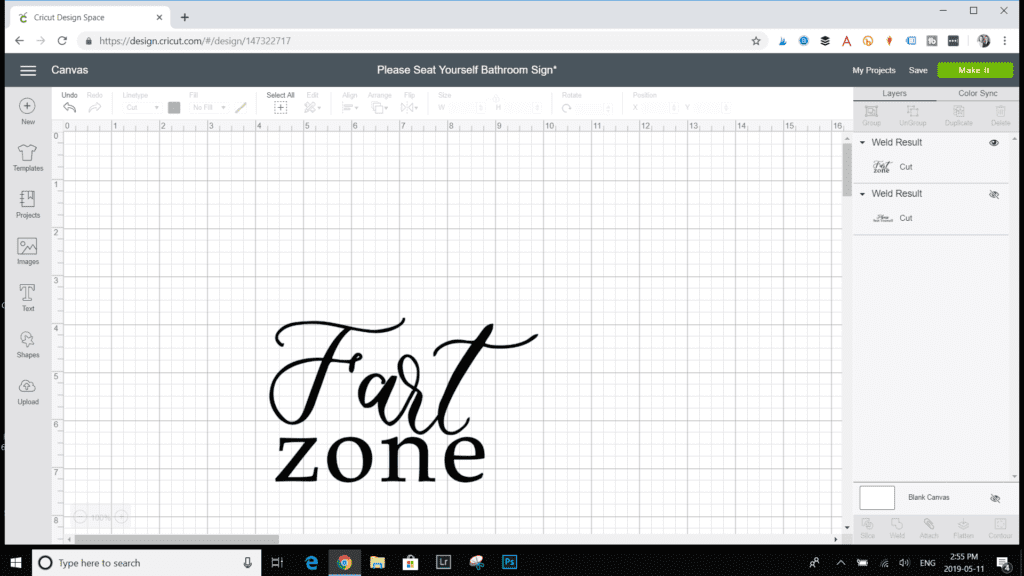
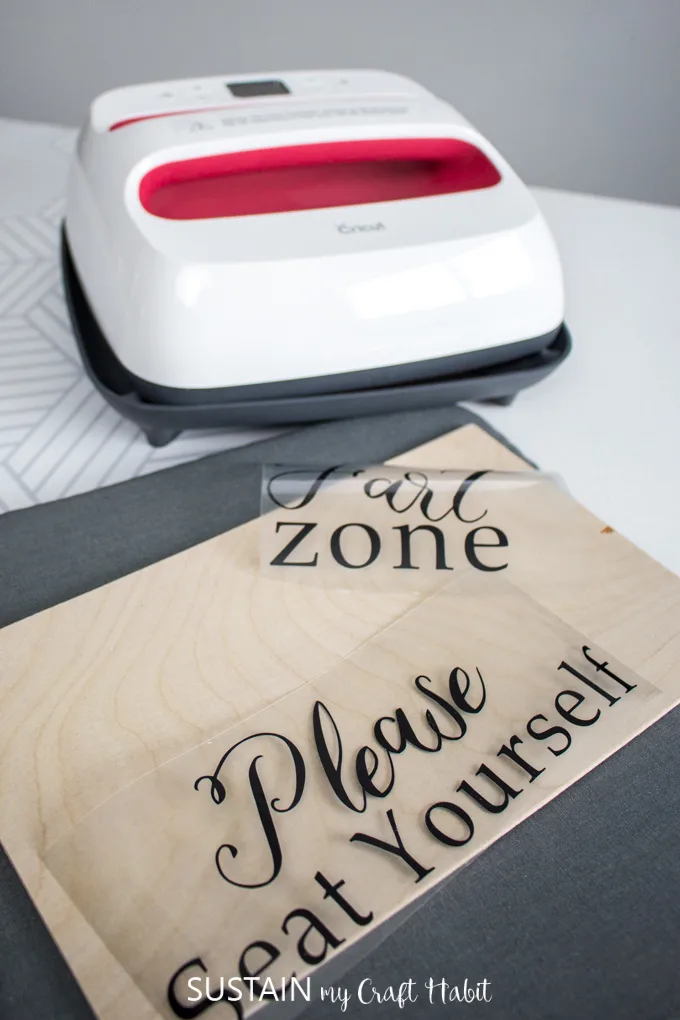
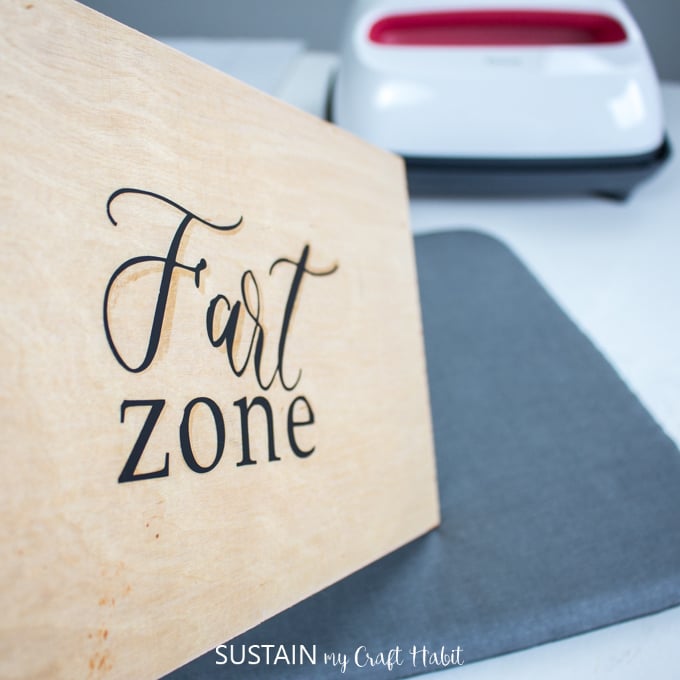
At this stage, I decided to create another sign on the reverse side that read “fart zone”.

Weeding the Cut Vinyl
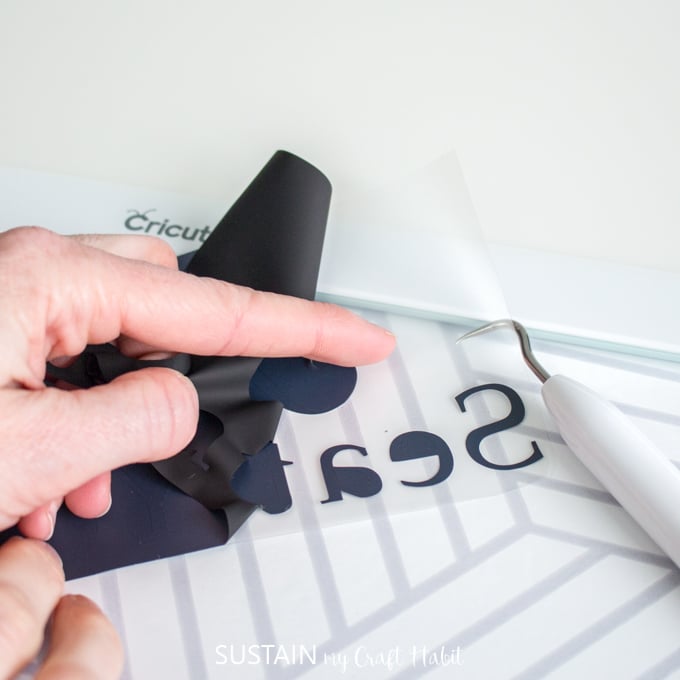
Using a pair of scissors (https://cricut.com/en_us/essentials/craft-tools/fabric-shears-5.html), cut a box shape around the Cricut cut iron-on vinyl phrase.

With the weeder (https://cricut.com/en_us/essentials/craft-tools/weeder.html), begin to remove the excess vinyl from the liner leaving behind only the part of the phrase / lettering you plan to use. The weeder is an essential tool for cutting vinyl as it’s intended for easily removing tiny cuts.
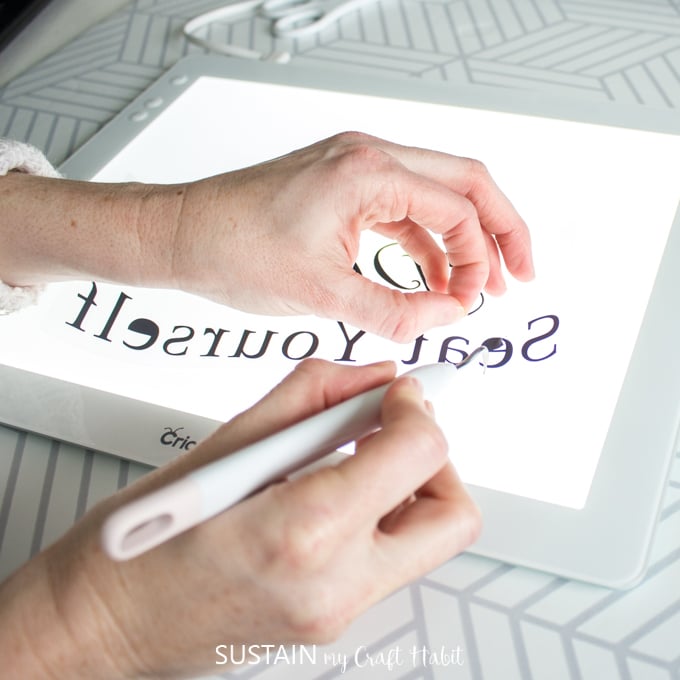
To help with weeding, you can use the Cricut BrightPad (https://cricut.com/en_us/essentials/brightpad.html#page-title-heading) underneath the vinyl. It illuminates every detail of the Cricut cut vinyl making it easier to peel away the excess. The BrightPad can be used for any craft that you need better lighting for, such as jewelry making or tracing.


These are the weeded vinyl phrases ready to be heat pressed on to the wood.
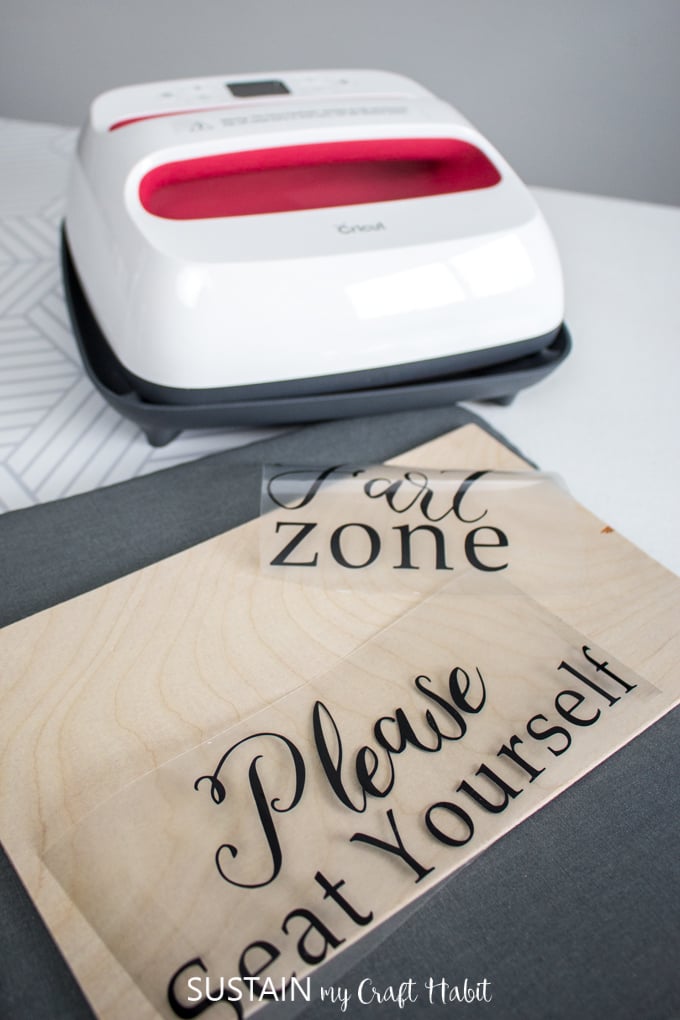
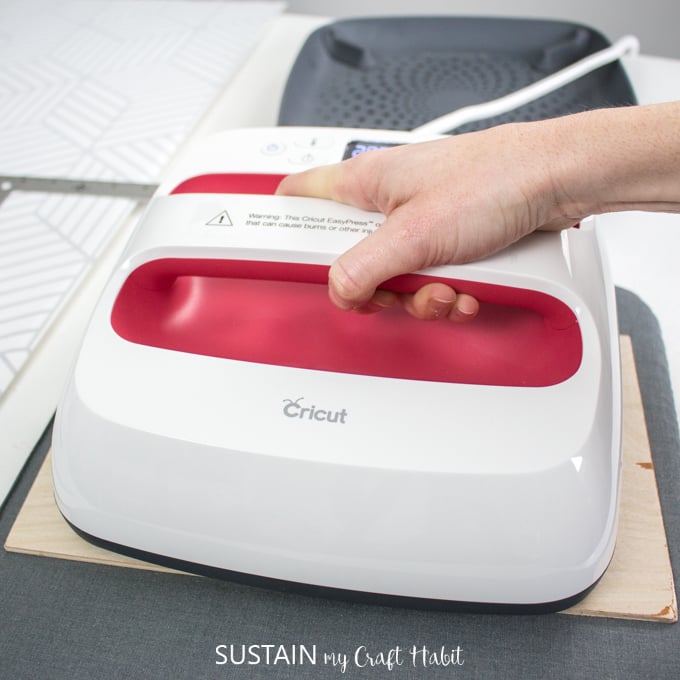
Using the Cricut EasyPress on Wood
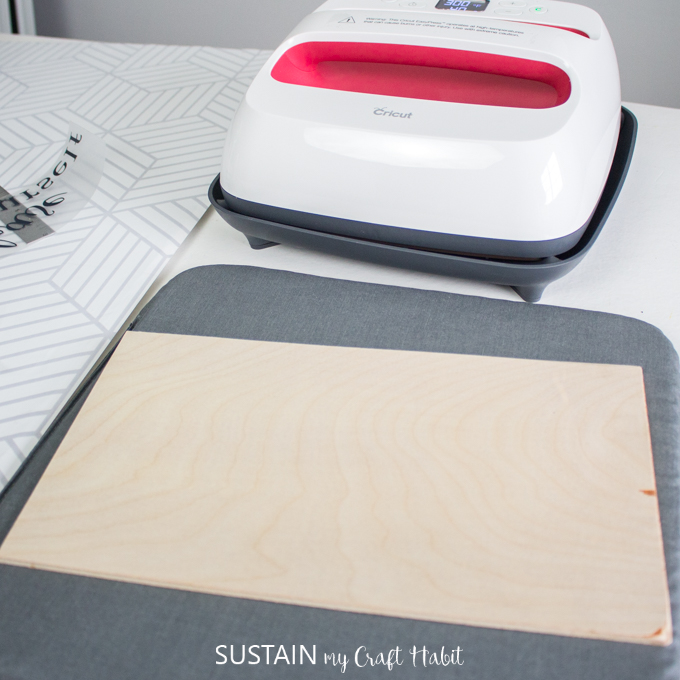
Place the prepared piece of plywood on matte (https://cricut.com/en_us/cricut-easypress-mat-20-x-16.html) or towel.

Prepare the EasyPress using the Cricut EasyPress Interactive Quick Reference Guide.
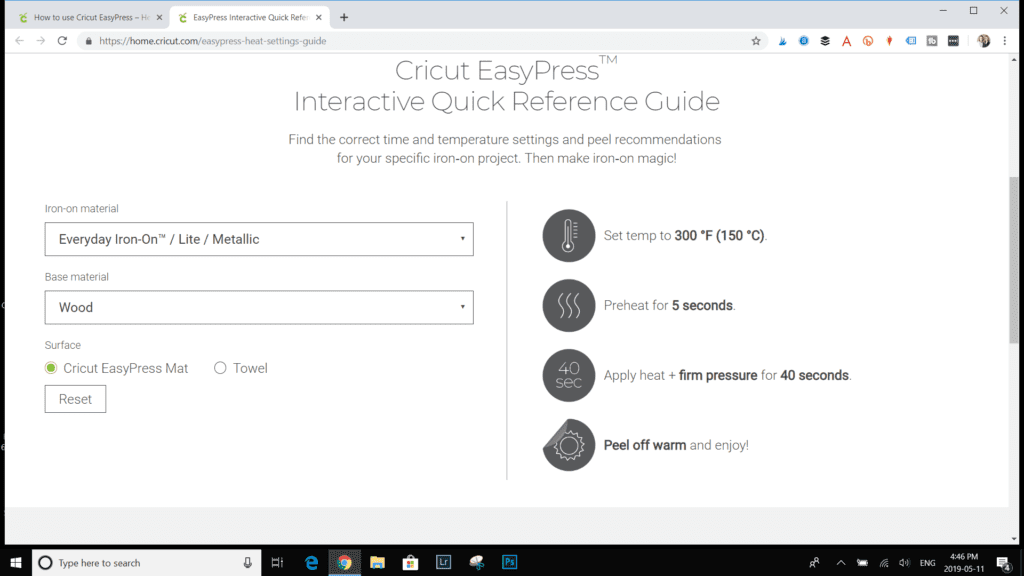

Set the temp to 300F. Set the time to 30 seconds.
Preheat the plywood for 5 seconds.
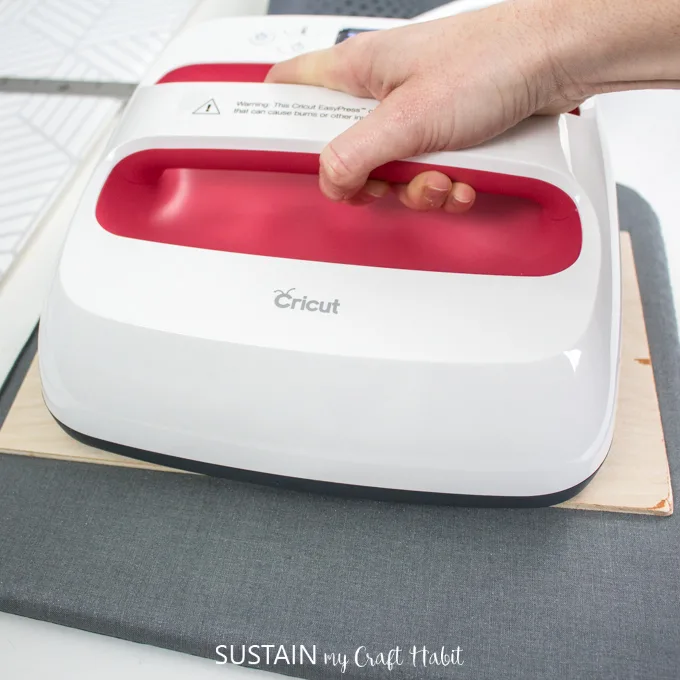
Place the prepared vinyl on the preheated wood.


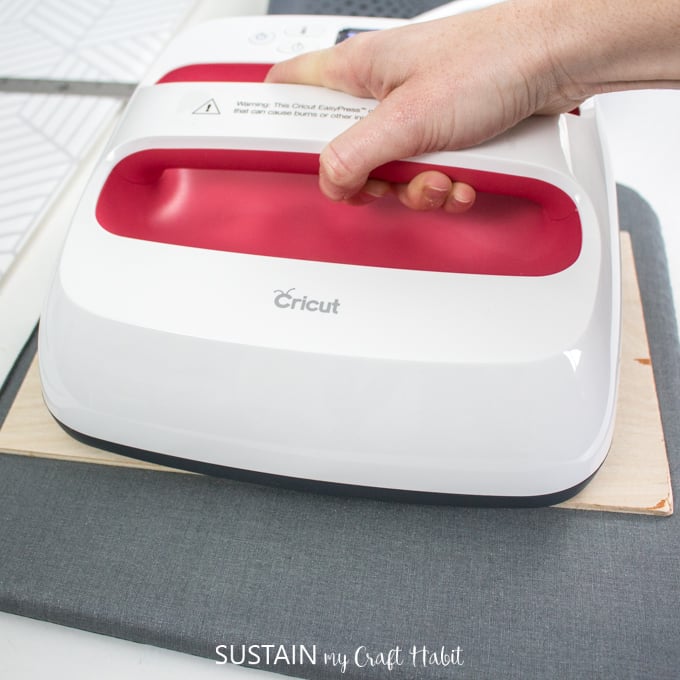
Apply the heat for 40 seconds with firm pressure. Be careful not to shift your work when pressing.

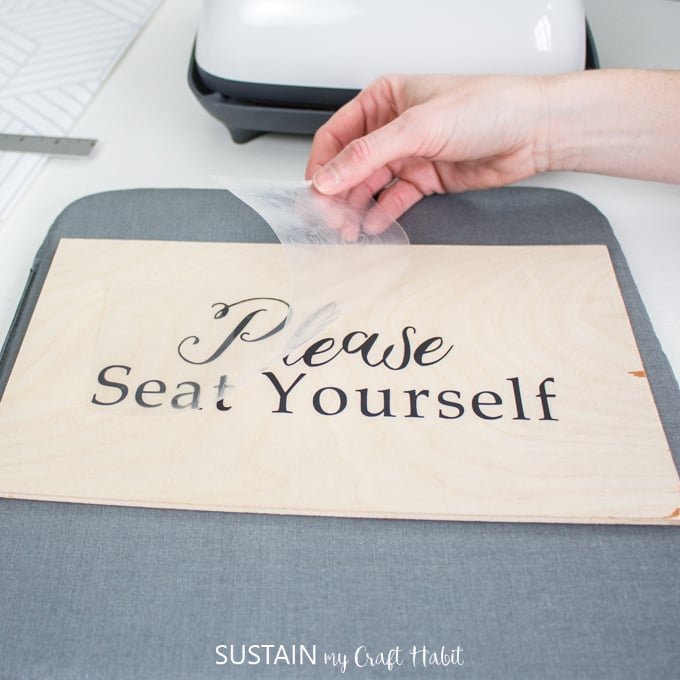
After 40 seconds, check the work to see if the vinyl has adhered to the wood. I found I had to use the EasyPress for another round of pressing for 30 seconds.
Peel away the liner when the vinyl is still warm (not hot and not completely cool).

Repeat these steps for the cut vinyl on the back side of the wood sign.
You can see that the “please seat yourself” turned out better than the reverse “fart zone” side. It appears as though the vinyl shifted during pressing exposing some of the glue so take care to keep your pressing firm.


Finishing the DIY wood trim
Gather the rest of the needed supplies to finish the bathroom sign.
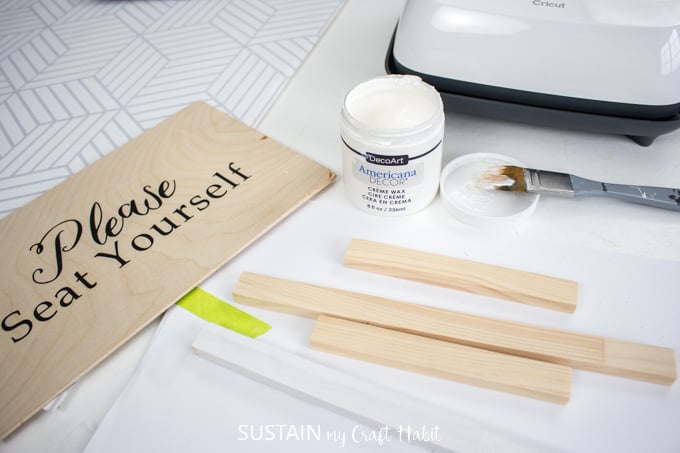

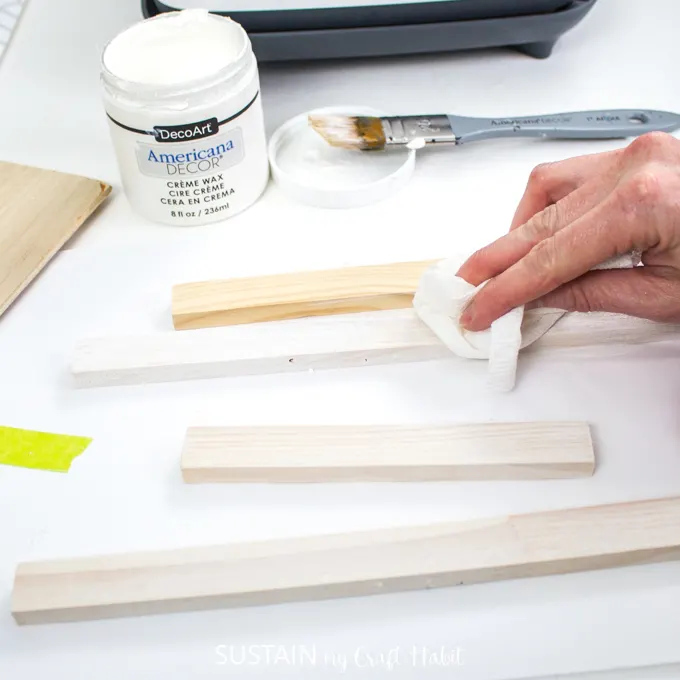
Paint the visible edges of the wood trim with Americana Decor Creme Wax. Simply paint one thin layer and wipe off using a clean cloth or paper towel to create a soft white washed finish. Leave the plywood in a natural, unpainted finish.

Once dry, place the painted trim around the edges of plywood and apply wood glue to the back side.

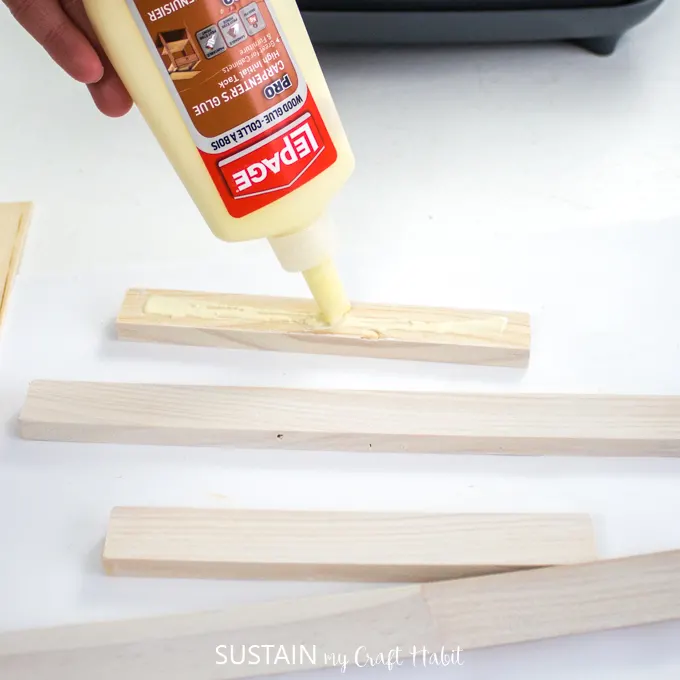
Press the trim onto the edges of the plywood to create the frame. Repeat with the remaining 3 sides.
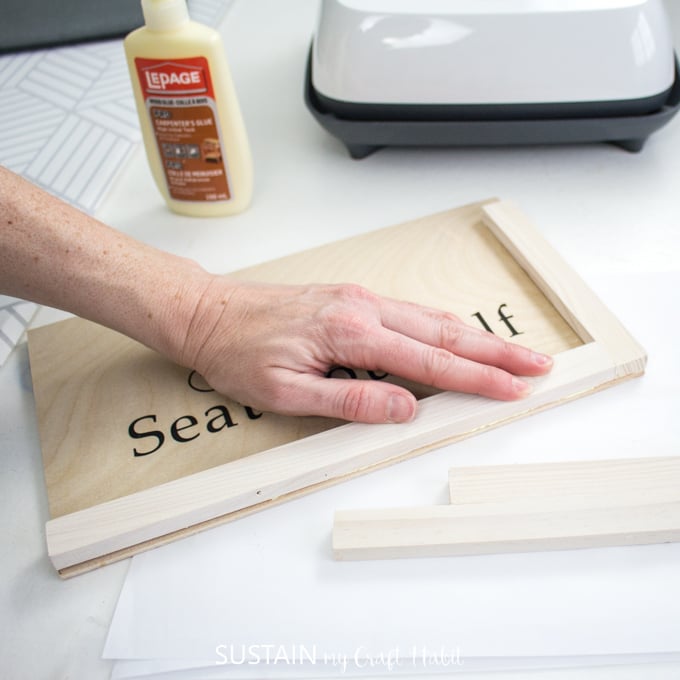

Place a heavy object over top of the glued trim and leave it until it dries fully before using.
You can add hanging brackets as well if you like but I chose have it leaning against the wall above the toilet.
What silly saying would you like to have on your DIY bathroom sign?
Like it? Pin it for Later!