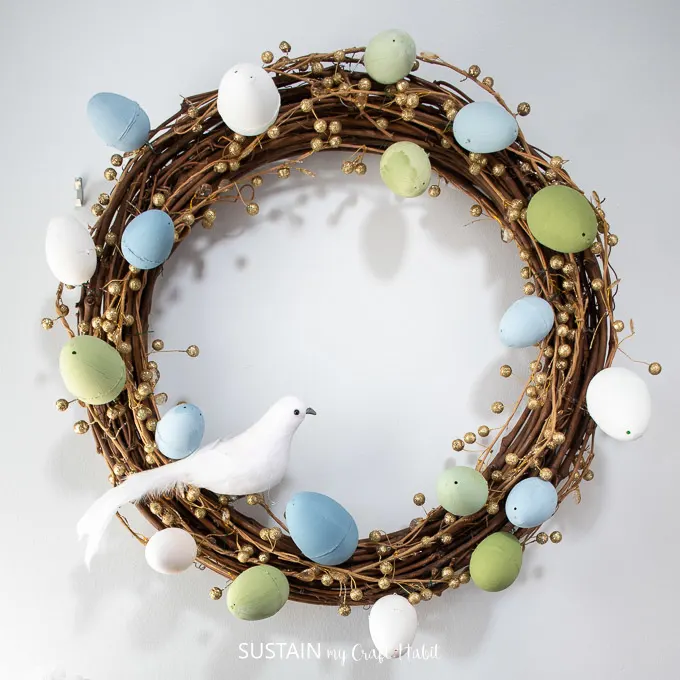
Are you like me and have accumulated dozens of plastic Easter eggs from seasons past? If so, you can create your own pretty DIY Easter wreath by upcycling those plastic eggs into chalky painted decorative eggs. It’s the perfect bird’s nest inspired decor to celebrate Easter and welcome spring!
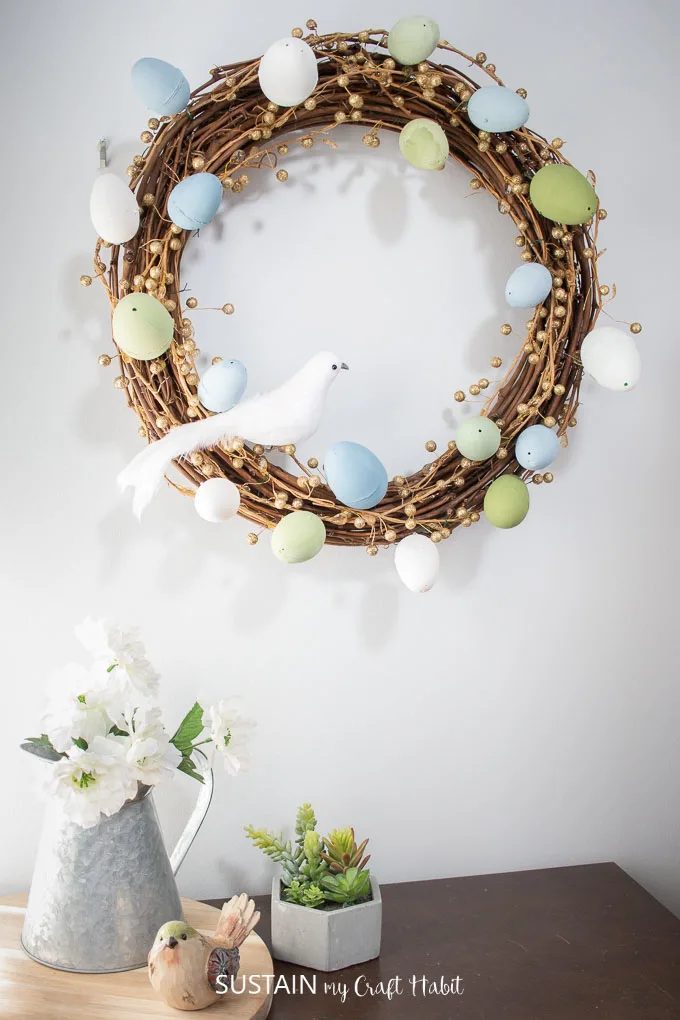
A Bird’s Nest-Inspired Easter Wreath
To commemorate this most important time of year, we enjoy creating all types of Easter crafts.
We especially like to use materials we have around us, whether it’s from nature like this mulberry vine wreath or this floral wall decor. Or supplies that we can upcycle, such as tin cans or in this case, plastic Easter eggs.
I wasn’t certain how these plastic eggs would look with a coat of paint but I was more than pleased with how they turned out!
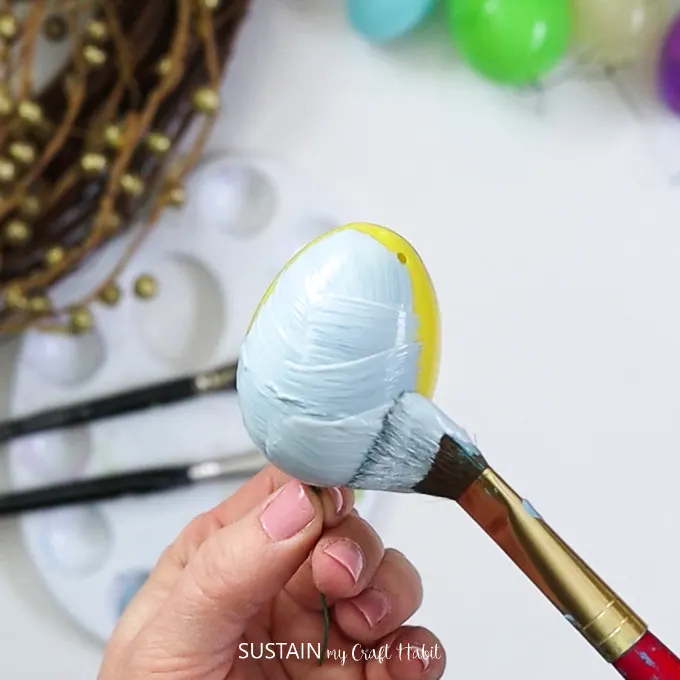
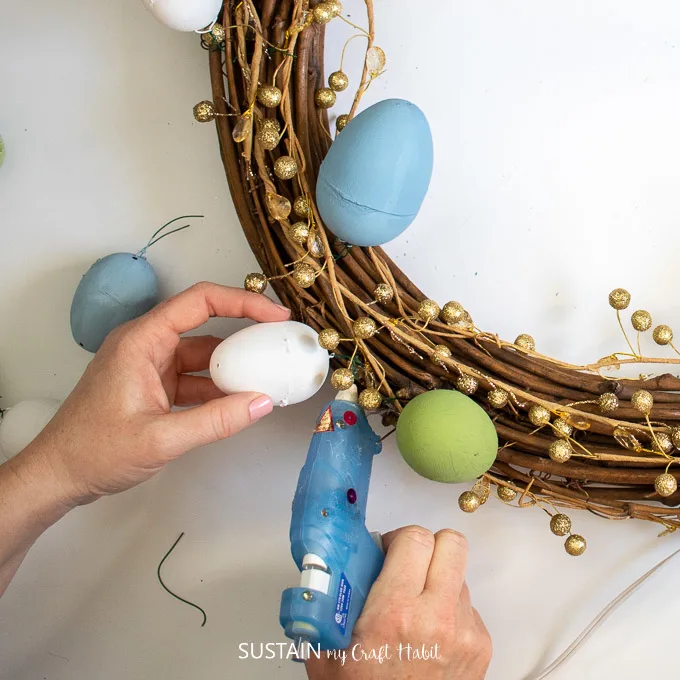
By using a chalky paint in a few coordinating colors, the shiny, colorful plastic eggs turned into soft, matte, realistic-looking bird’s eggs. Of course other paint will also do but chalky paint gives it that soft and subtle effect while adhering nicely to the plastic surface.
Check out the video here for making this DIY Easter Wreath or scroll down below for the step by step tutorial.
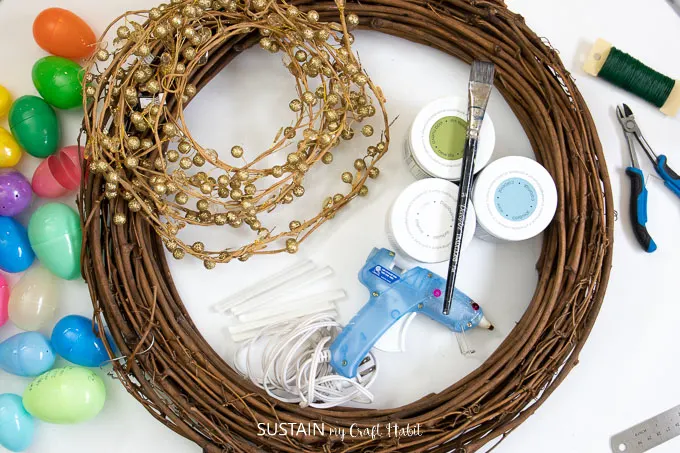
Materials Needed for this DIY Easter Wreath Idea:
Disclosure: This post contains affiliate links for your shopping convenience. Should you choose to purchase through them, we will make a small commission at no extra cost to you. You can read our full disclosure policy here.
- Plastic eggs in assorted sizes
- Chalky finish paints – we used DecoArt Americana in Everlasting (white), Colonial (blue) and New Life (green)
- Paintbrush
- Grapevine wreath
- Gold glitter decorative garland
- Floral wire
- Hot glue gun with clear craft glue sticks
How to Make an Easter Wreath with Upcyled Plastic Eggs:
Prepare the Eggs
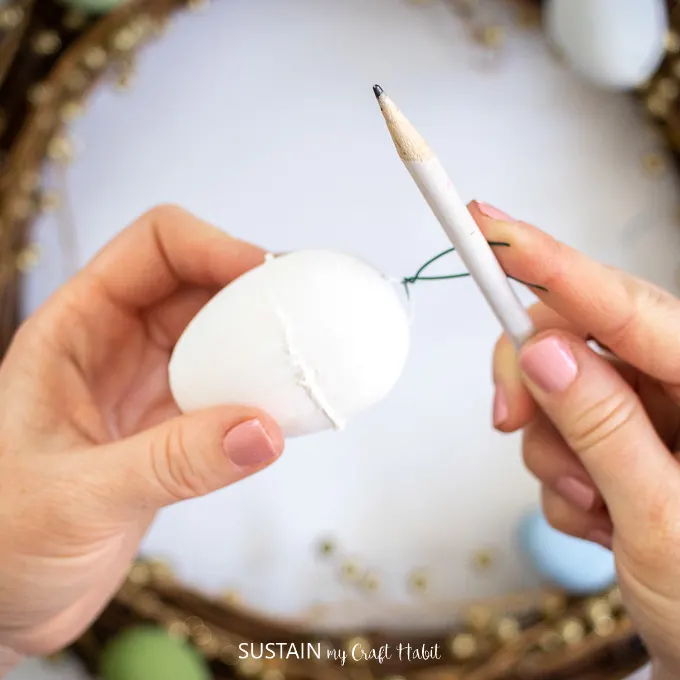
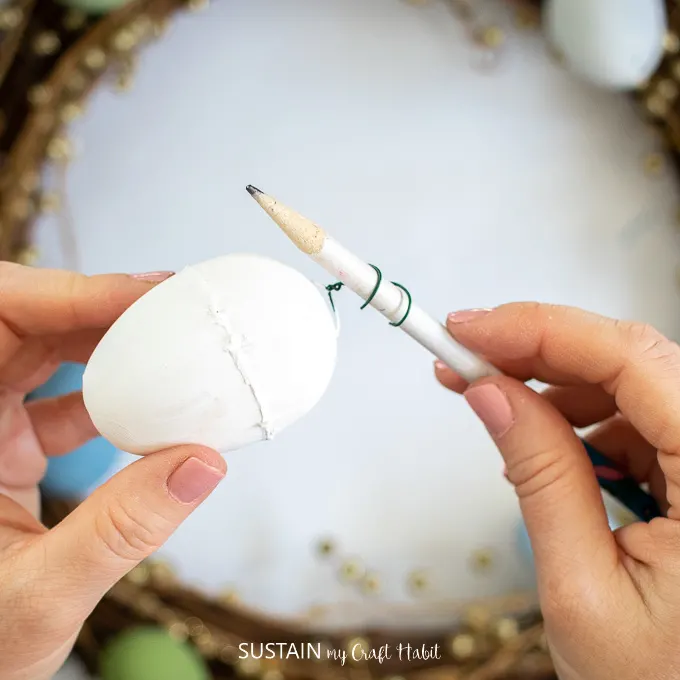
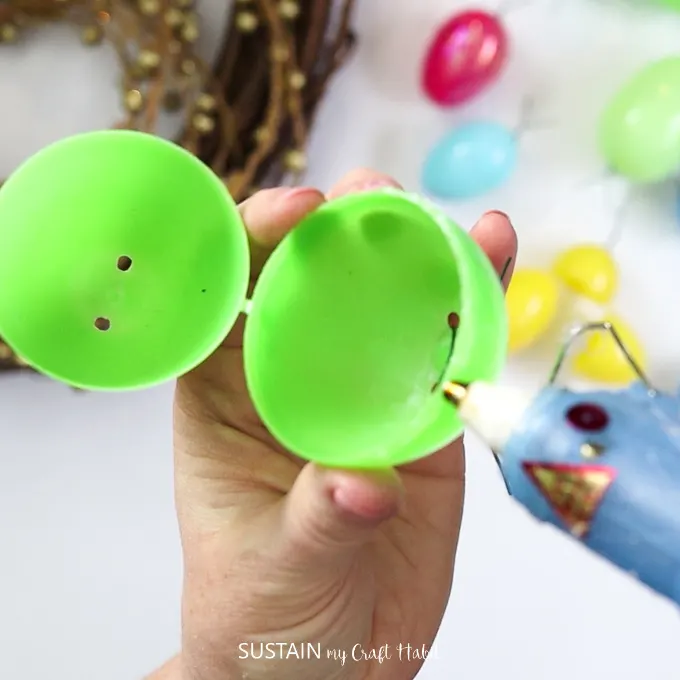
If your plastic eggs have holes on the ends (like ours have), thread a piece of floral wire through the holes to use for attaching the eggs on to the wreath.
Carefully glue the two pieces of the eggs together so that they stay closed.
Once set, paint each egg with different shades of blue and green Chalky Finish paint. Let dry completely.
Assemble the Easter wreath
If using it, attach the garland to the grapevine wreath using floral wire.
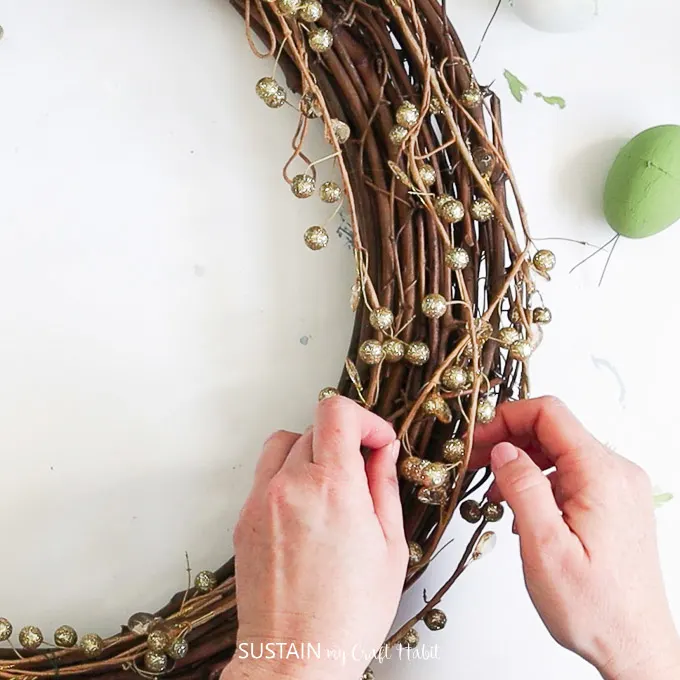
Attach the painted eggs to the grapevine wreath by either using the floral wire or by glueing them randomly around the wreath.
Finishing touches
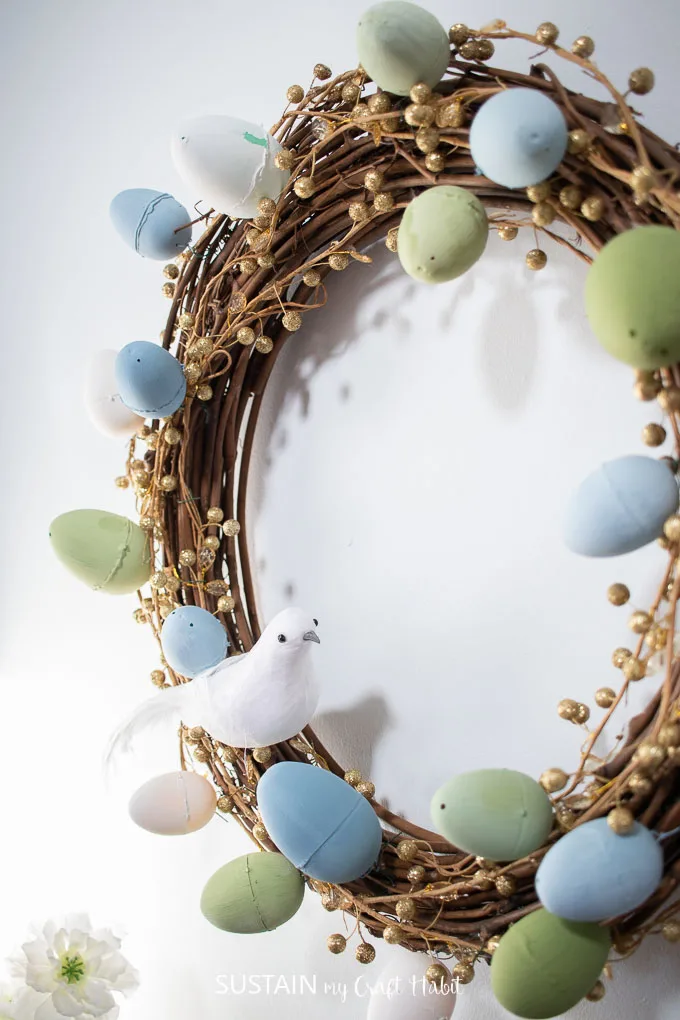
You can add ribbon, leaves or a phrase in the middle similar to our seashell wreath idea or simply add a decorative bird for the final touch!
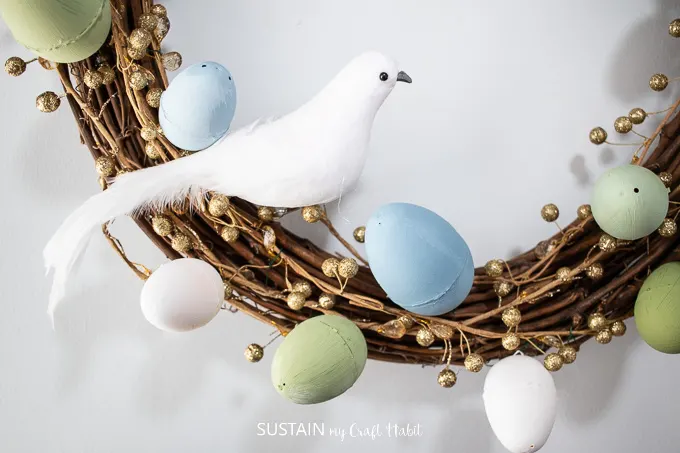
Hang and enjoy!
One of the best parts of this wreath is that we used materials we mostly already had at home. After Easter is done I may just remove the eggs and repurpose the wreath with a summer time theme. Would you add anything else to this Easter wreath?
Check out our other DIY Easter crafts for more project ideas:
This post originally appeared on Crafts by Amanda.
Like it? Pin it for later!

Easter Wreath with Chalky Painted Plastic Eggs
Materials
- Plastic eggs in assorted sizes
- Chalky finish paints – we used DecoArt Americana in
- Paint brush
- Grapevine wreath
- Gold glitter
- decorative garland
- Floral wire
- Hot glue gun with clear craft glue sticks
Instructions
- Prepare the EggsCarefully glue the two pieces of the eggs together so that they stay closed.Once set, paint each egg with different shades of blue and green Chalky Finish paint. Let dry completely.
- Assemble the wreathIf using it, attach the garland to the grapevine wreath using floral wire. Glue the painted eggs randomly around the wreath.
- Finishing touches Can add ribbon, leaves or a phrase in the middle similar to our seashell wreath idea.

