Adorable No-Sew Felt Easter Basket (with Template)
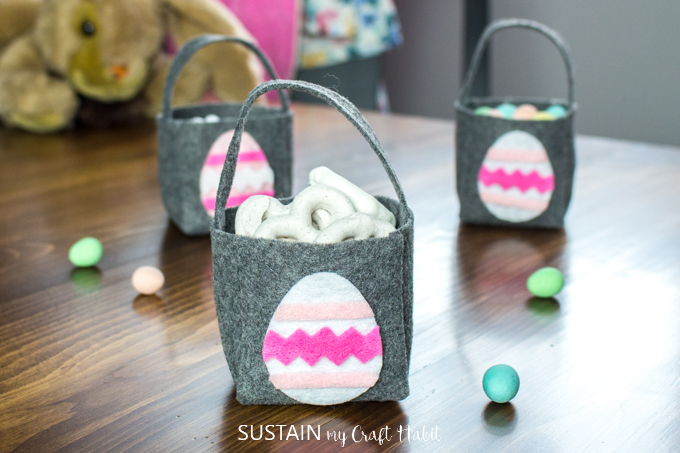
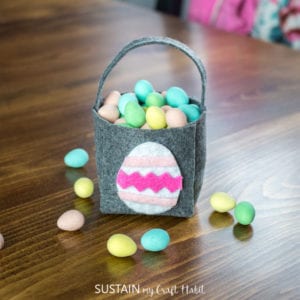
Add a homemade touch to your Easter gift giving this year with a sweet little no-sew DIY felt Easter basket. Fill it with stickers, miniature toys or delicious sweet treats for your loved ones.
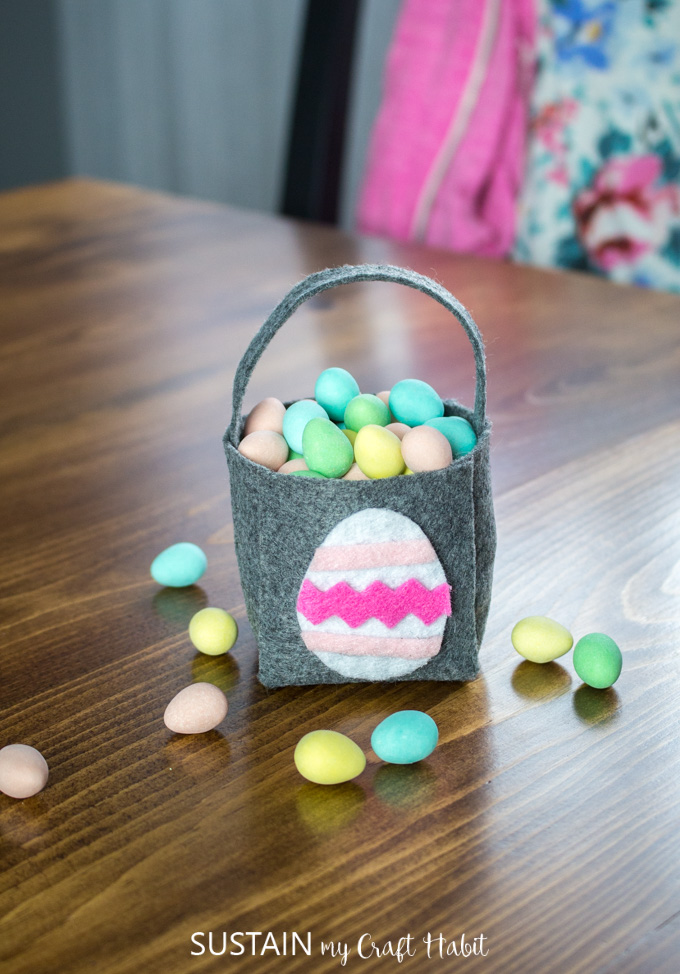
Making Little Felt Easter Baskets
Growing up I always loved receiving treats for Easter (but what child doesn’t?). No matter how little or how much I was fortunate enough to receive, I’d proudly display my Easter gifts in a row on top my headboard. Over the following weeks I’d slowly pick away at the yummy treats inside.
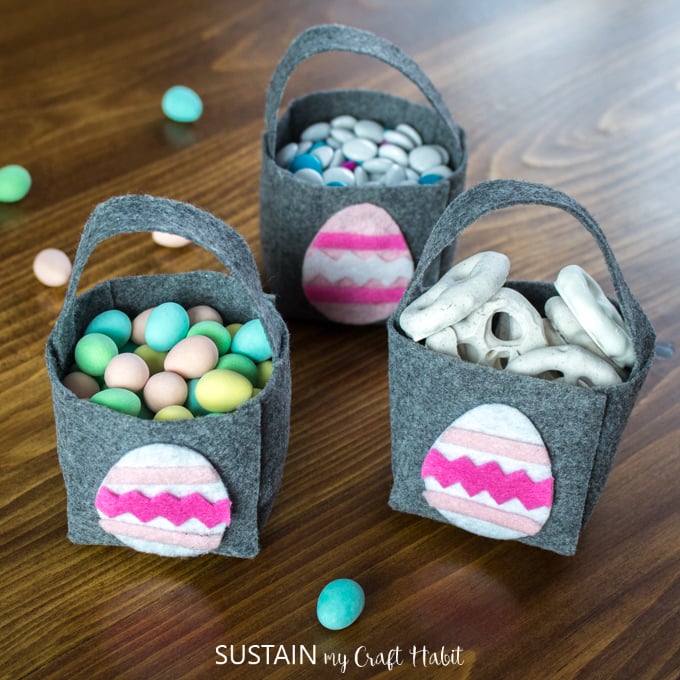
I’m so glad to continue this tradition with my daugher, nephew and nieces. These adorable DIY felt Easter baskets are just the right size to fit a small helping of candies, mini eggs and other sweets. You can easily customize each basket to suit your little one’s favorite goodies.
There is no sewing needed for these little felt baskets (one of the reasons felt is such a great material to craft with). Along with a variety of colors to choose from, felt retains its shape and can easily be glued or sewn. Since it’s no-sew, it’s a great craft for kids and teens to help with as well!
So far, we’ve shared these DIY felt crafts and we can’t wait to share some more:
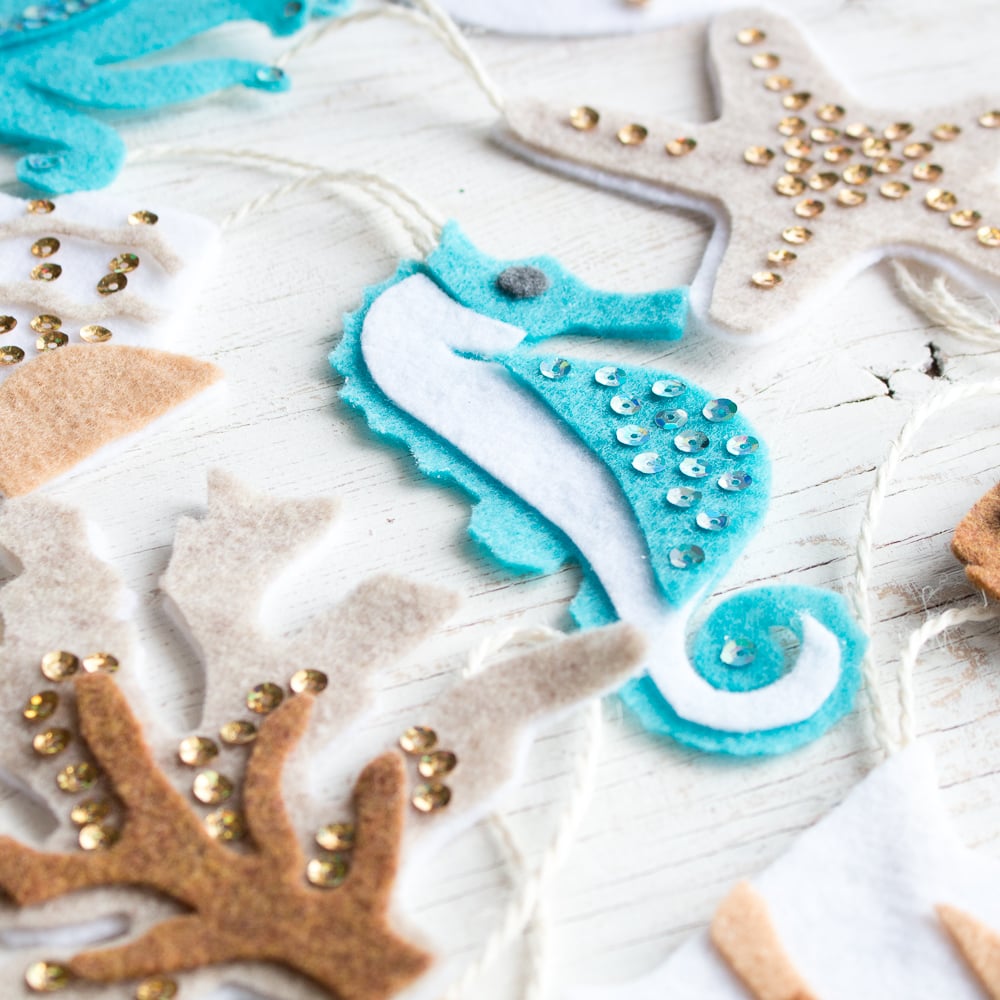
- Ocean life felt ornaments
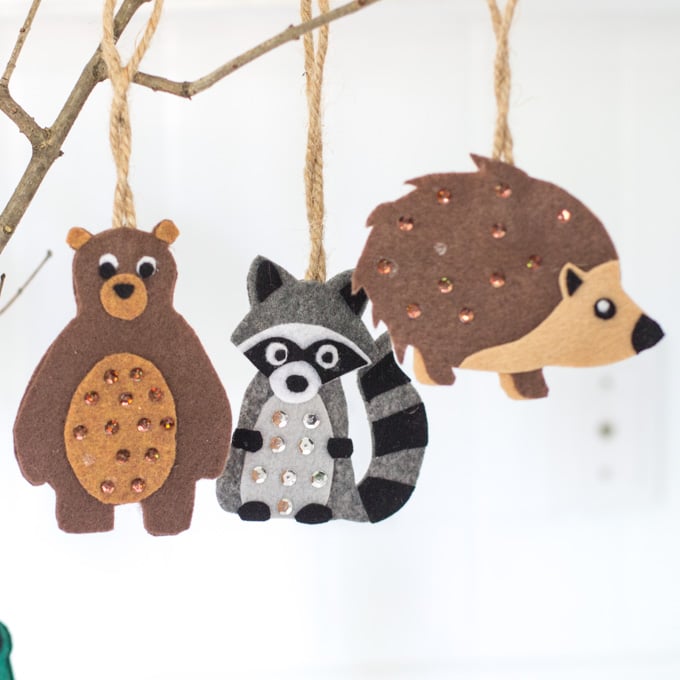
- Woodland animal felt ornaments
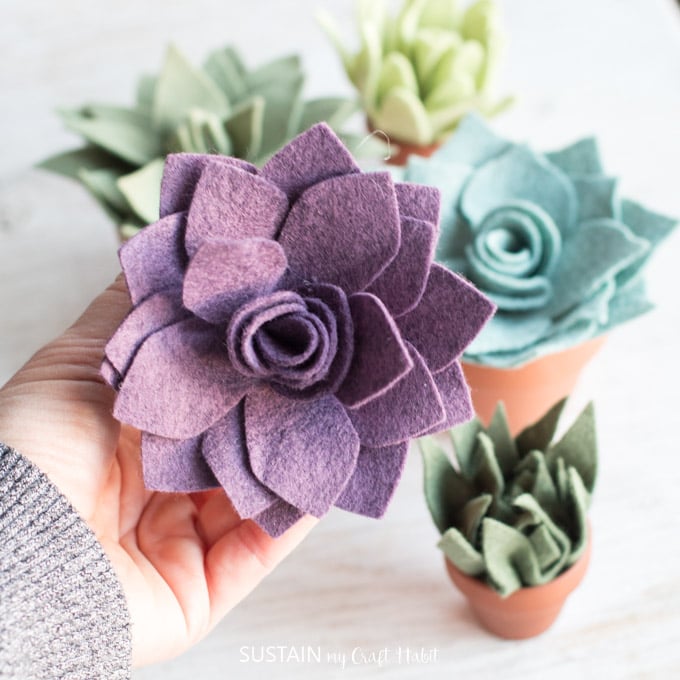
- Potted felt succulents
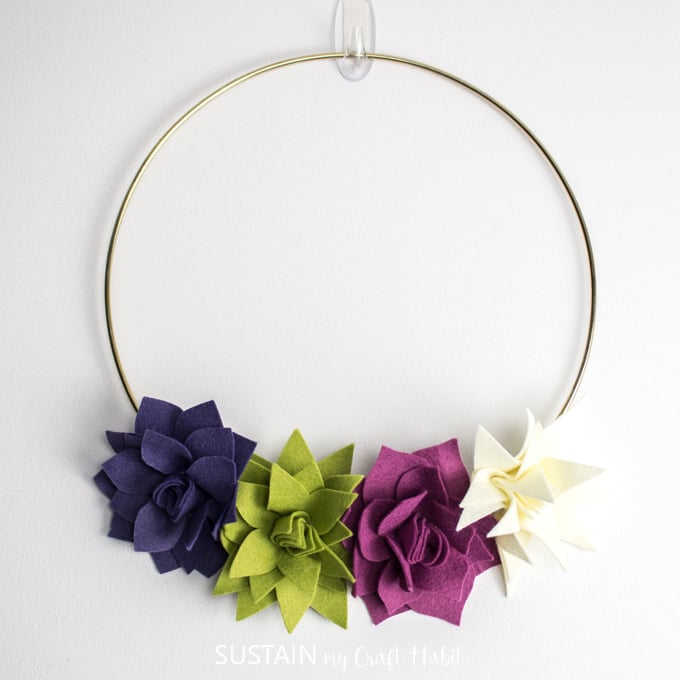
- Felt Succulent Wreath
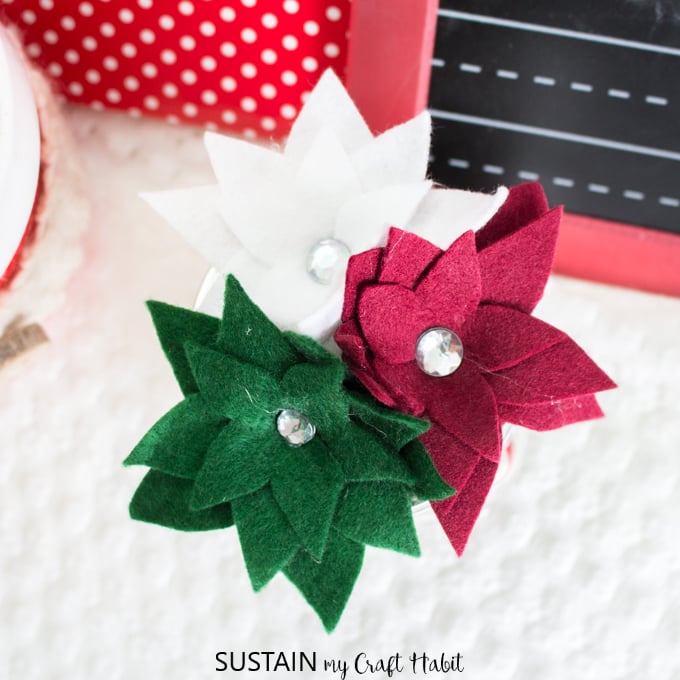
- Felt poinsettia mason jar topper
- DIY beach themed throw pillows with felt
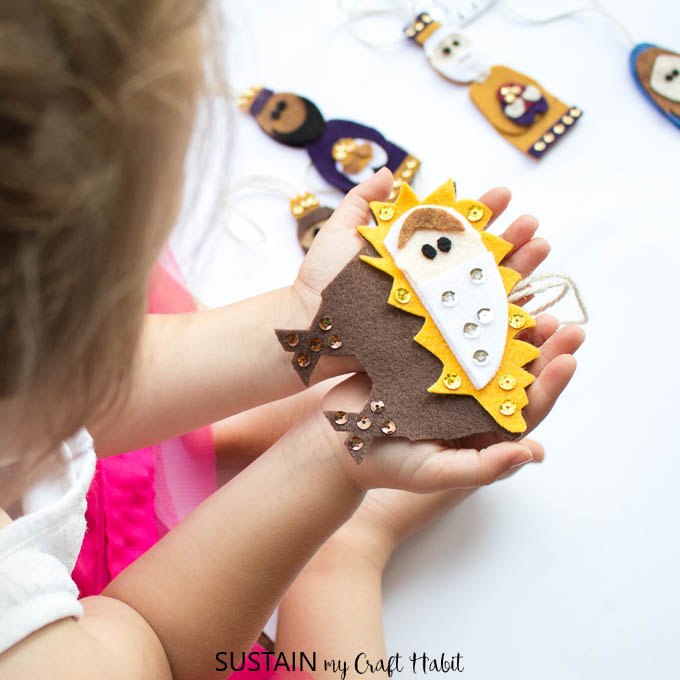
- Felt nativity crafts
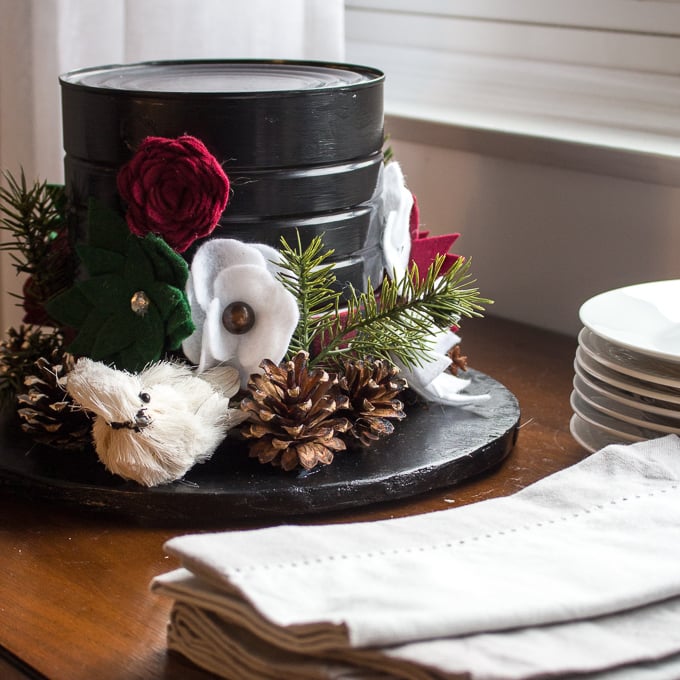
- Upcycled Winter centerpiece idea using pretty felt flowers

Get updates on our new Easter craft ideas and more from Sustain My Craft Habit straight to your inbox by joining our weekly newsletter. We promise to send you only the good stuff.
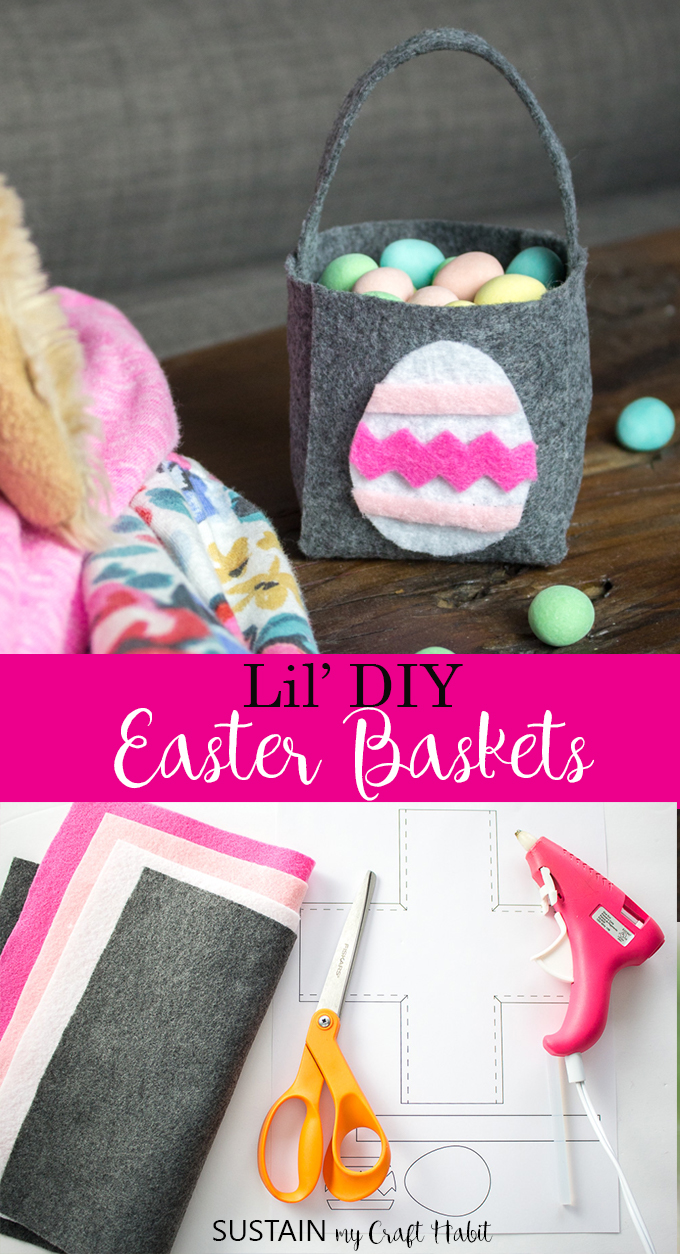
Materials Needed to make one Felt Easter basket:
This post contains affiliate links for you shopping convenience. You can read our full disclosure statement here.
- Felt sheet 9”x12” in charcoal and felt sheet scraps in white, light pink and dark pink (or any coordinating colors of your choosing)
- Fabric scissors (these Fiskars branded scissors are my favourite pair to use for cutting fabric)
- Easter Egg Basket Printable
- Glue gun with clear hot glue sticks
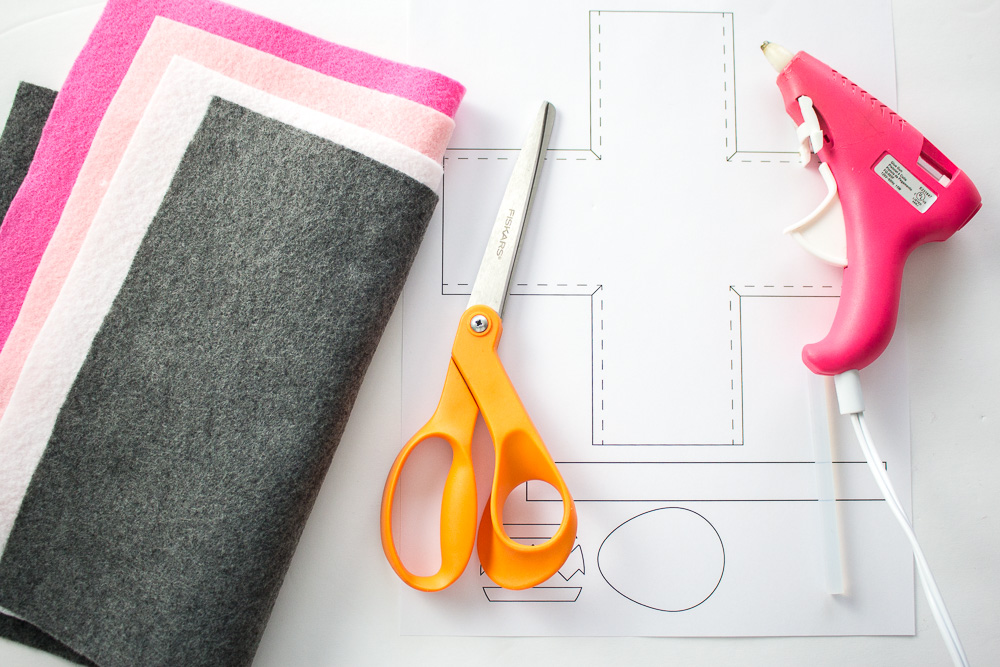
Instructions for Making one Felt Easter basket:
Print off the free Easter basket printable template.
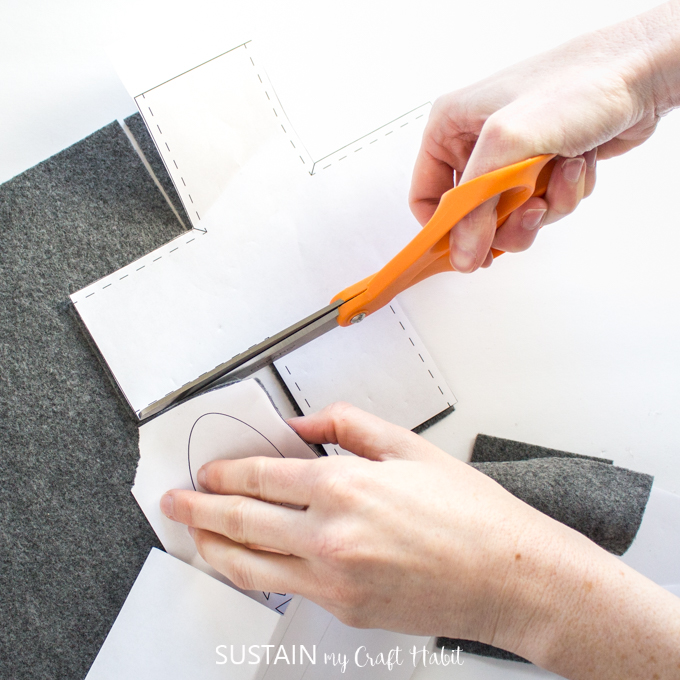
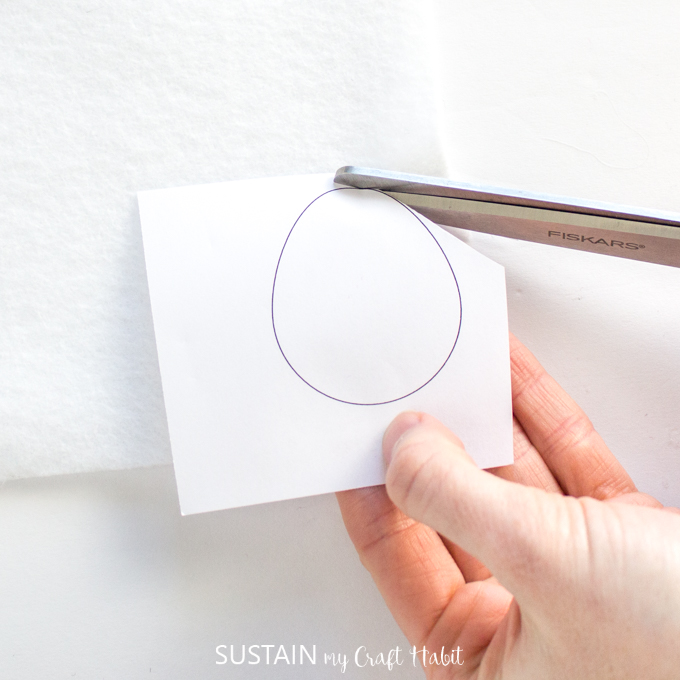
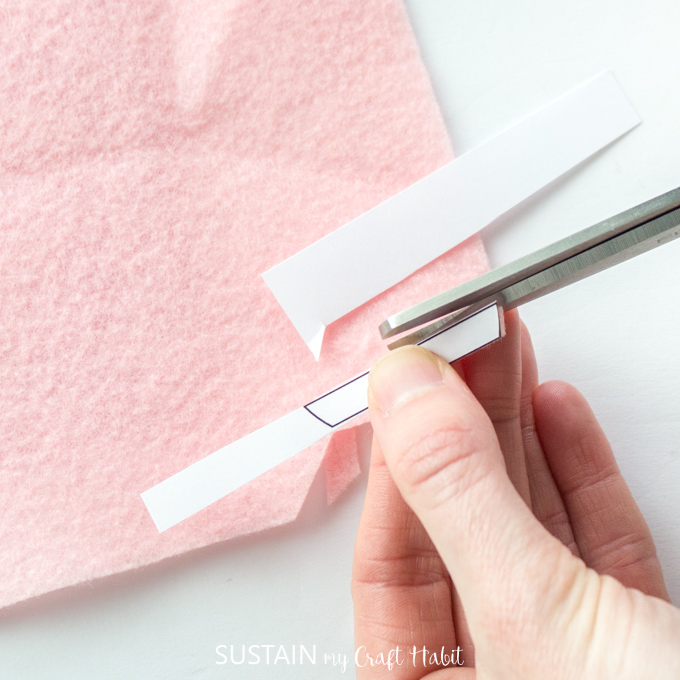
Using fabric scissors, cut the large box pattern and basket handle in charcoal felt and clip all four inner corners of the box pattern. Next, cut out the egg pattern in white felt. And finally, cut out the decorative pieces (stripes and zig zag) in any color of your choosing.
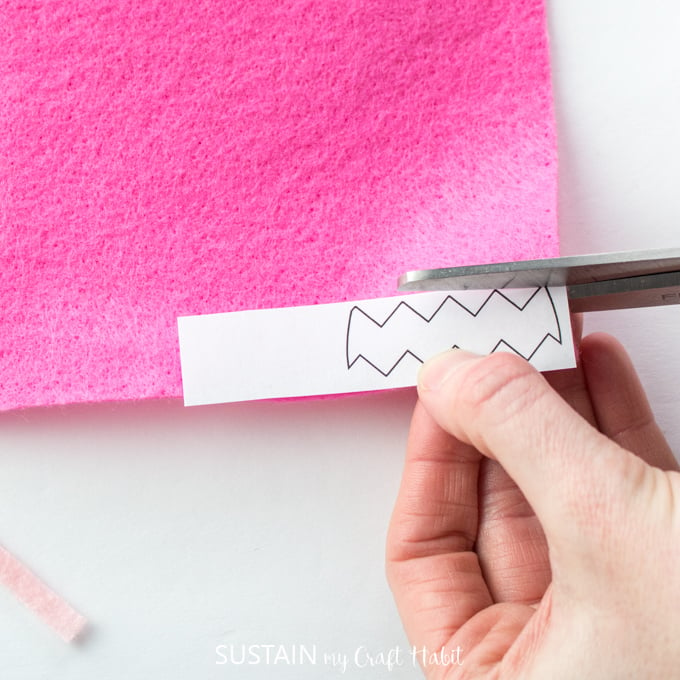
Preheat the hot glue gun and align the decorative egg pieces onto the cut egg shape for placement. Working with one decorative piece at a time, apply glue to the backside of the stripe and press onto the egg. Repeat for the other stripe and zigzag cut pieces.
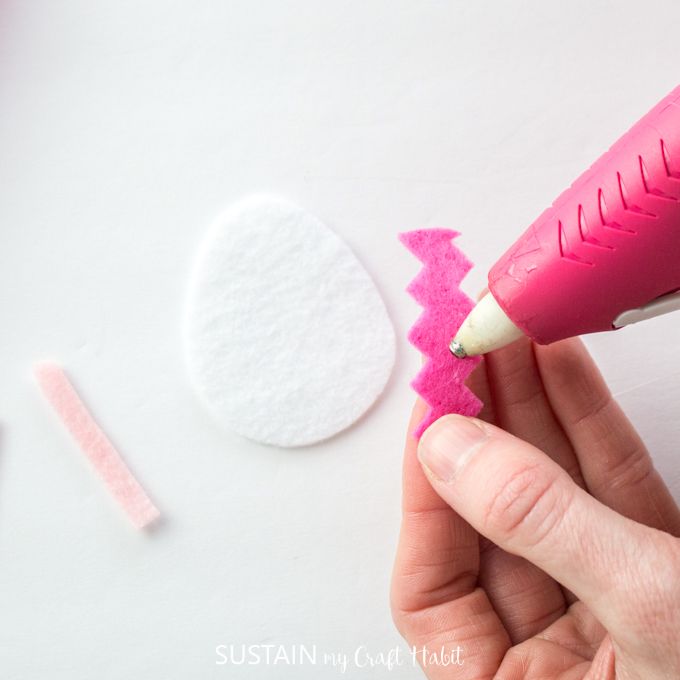
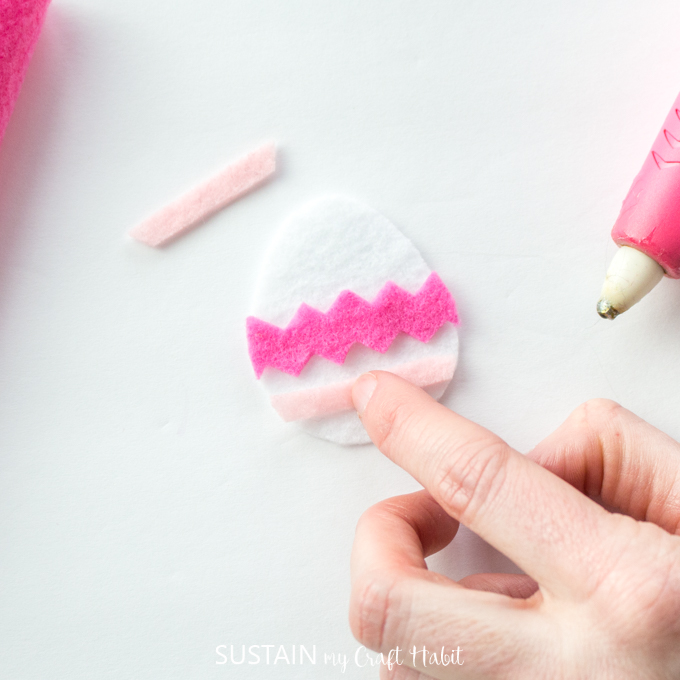
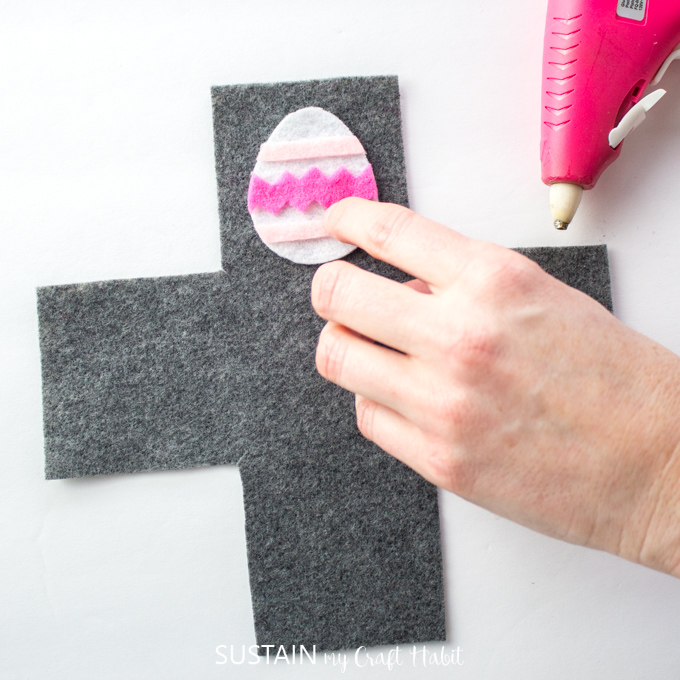
Turn the prepared egg face down and apply glue to the backside. Working quickly and carefully, press the egg onto the top section of the cut felt Easter basket pattern as shown. Take care to not place it too low on the one side.
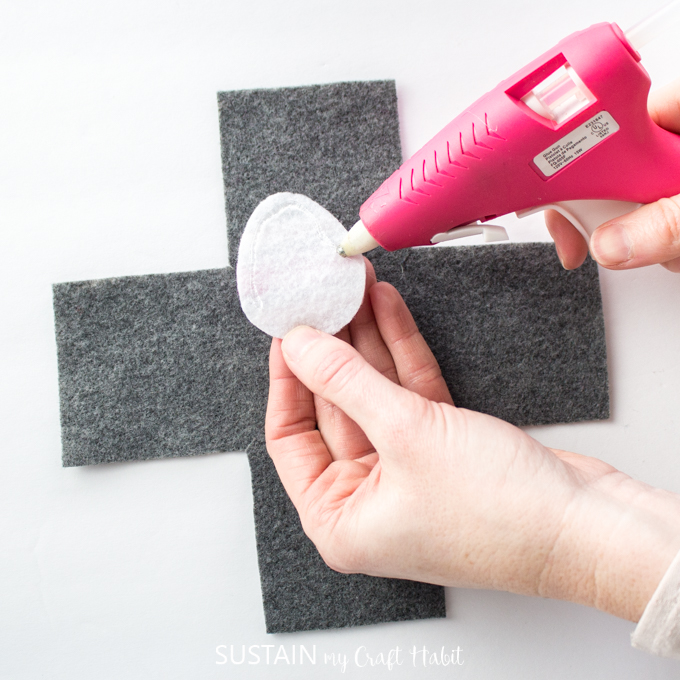
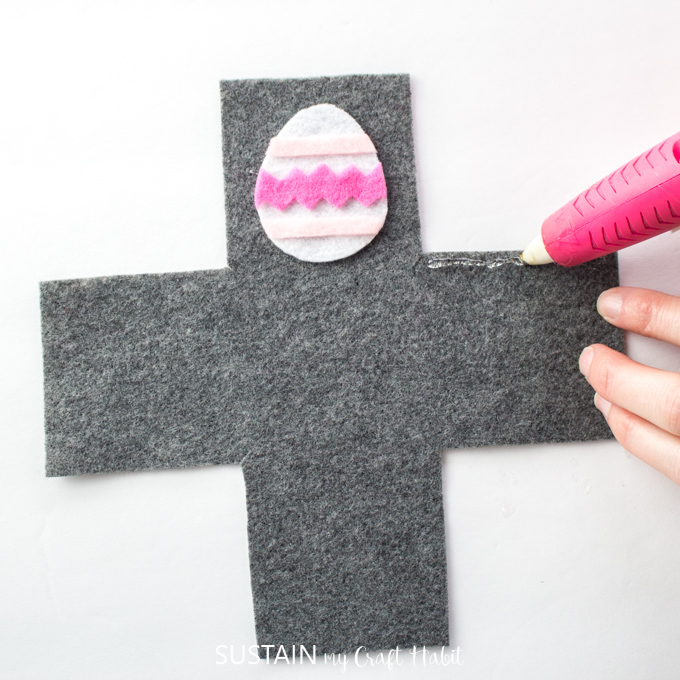
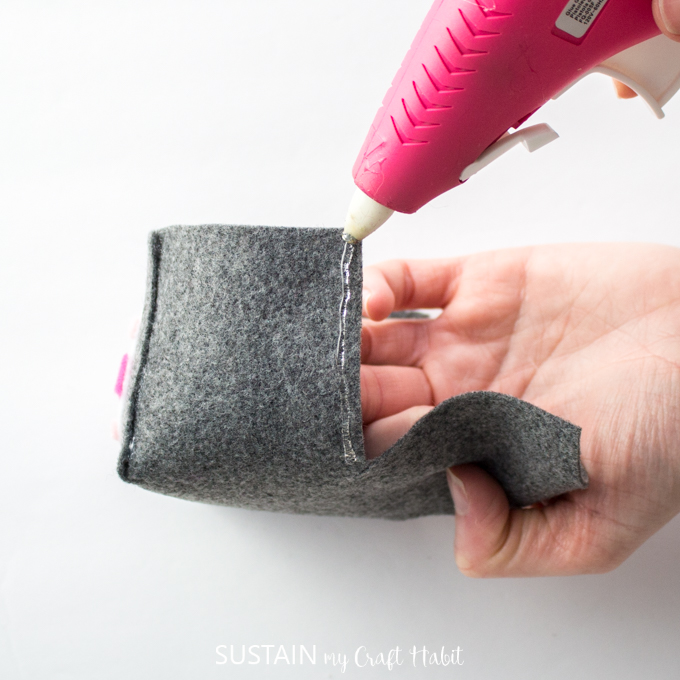
To assemble the Easter basket, work one corner at a time. Add a line of hot glue to one cut corner edge as shown and overlap with the other cut piece. Press together to form corner.
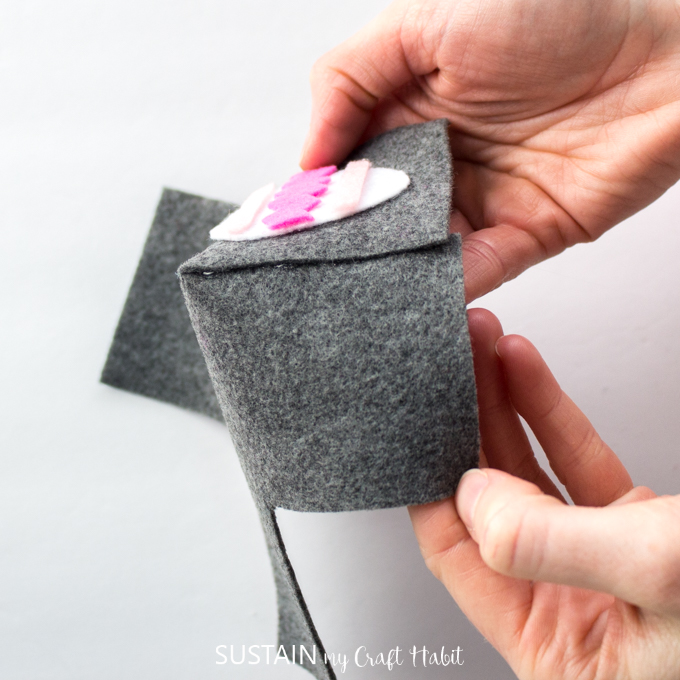
Repeat for remaining 3 corners and sides.
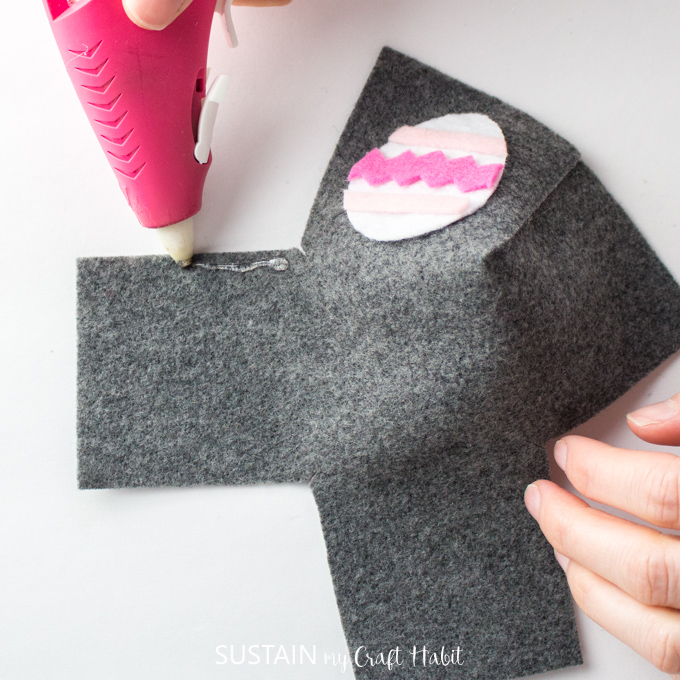
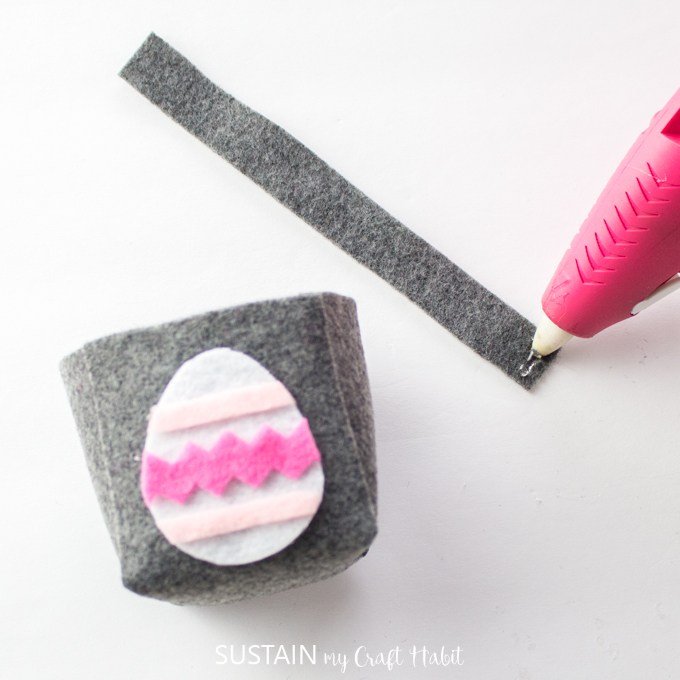
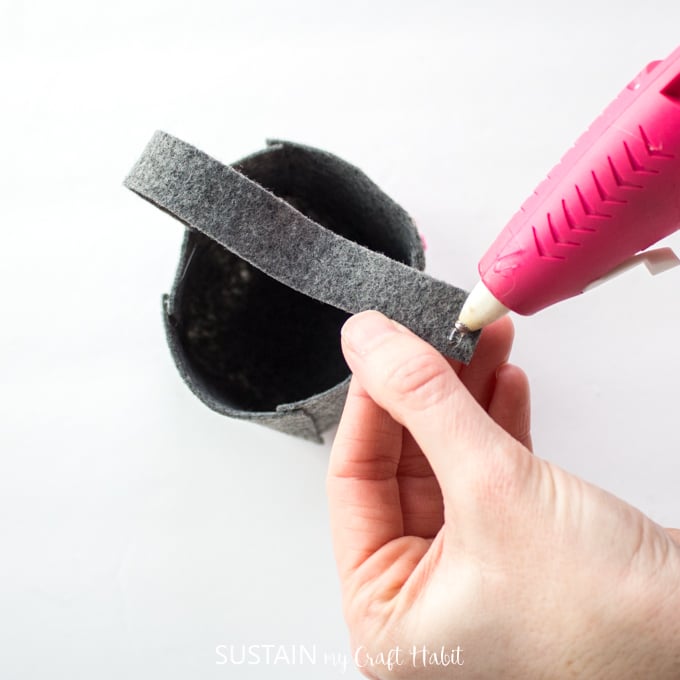
Add a bit of glue to the ends of the long rectangular piece and attach it to the inside of the felt Easter basket to form the handle.
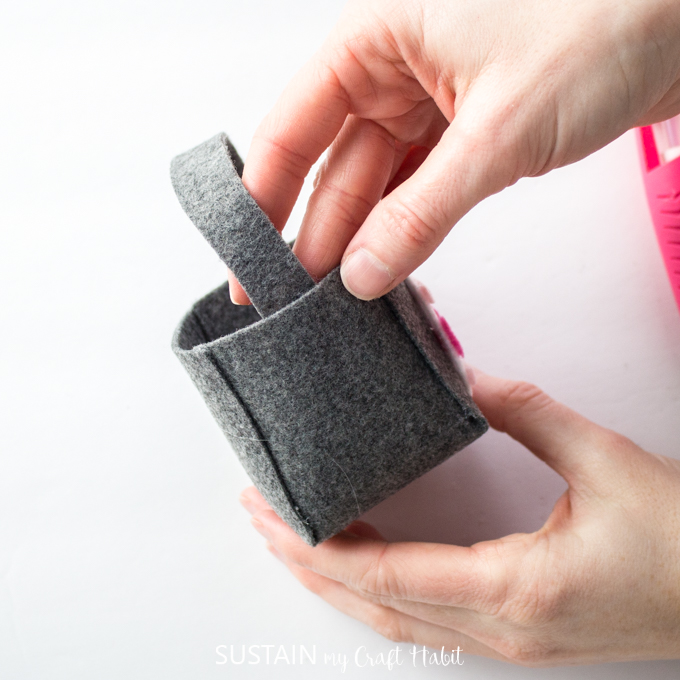
Fill the finished felt Easter basket with treats or alternatively you can fill a little plastic bag with treats and place it inside the felt box.
If you’re looking for some last minute Easter crafts, consider making a quick and simple DIY Easter wreath or bunny-full DIY Easter garland.
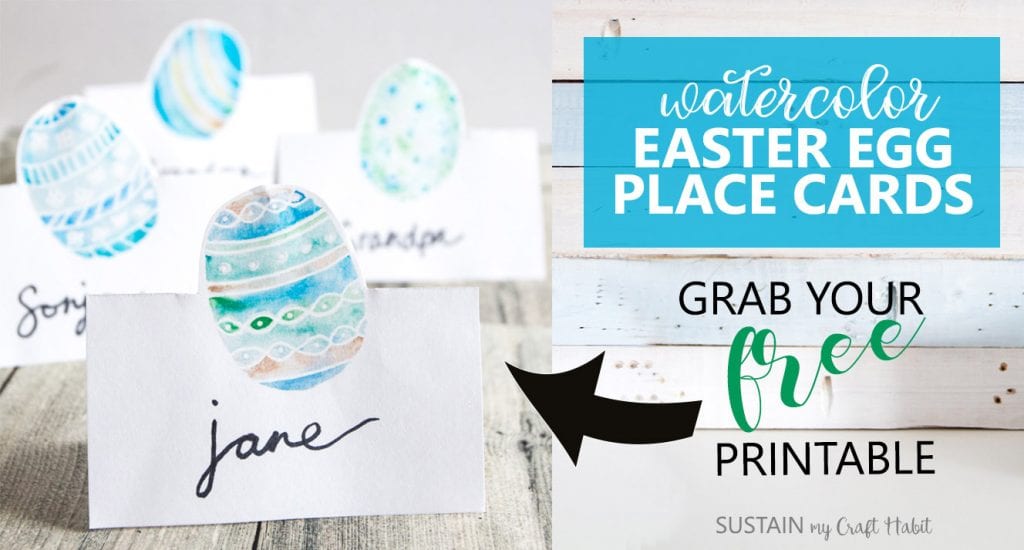
And if you’re hosting Easter this year, impress your guests with these free printable Easter place cards!
Stay in the know on our latest crafts, templates, special offers and freebies by joining our mailing list.
A Lil’ DIY Easter Basket with Felt
Materials
- Felt sheet 9”x12” in charcoal
- Felt scraps in white, light pink and dark pink (or any coordinating colors of your choosing)
- Fabric scissors
- Easter Egg Basket Printable
- Glue gun with clear hot glue sticks
Instructions
- Print off template.
- Using fabric scissors, cut the large box pattern and basket handle in charcoal felt. Clip all four inner corners of the box pattern. Put aside.
- Cut out the egg pattern in white felt.
- Cut out the decorative pieces (stripes and zig zag) in any color of your choosing.
- Preheat the hot glue gun.
- Align the decorative egg pieces onto the cut egg shape for placement. Working with one decorative piece at a time, apply glue to the backside of the stripe and press onto the egg. Repeat for the other stripe and zigzag cut pieces.
- Turn the prepared egg face down and apply glue to the backside. Working quickly and carefully, press the egg onto the top section of the cut box pattern as shown. Take care to not place it too low on the one side.
- To assemble the box, work one corner at a time. Add a line of hot glue to one cut corner edge as shown and overlap with the other cut piece. Press together to form corner. Repeat for remaining 3 corners.
- Add a bit of glue to the ends of the long rectangular piece and attach it to the inside of felt box to form the basket handle.
- Fill the finished felt basket with treats or alternatively you can fill a little plastic bag with treats and place it inside the felt box.
Like it? Pin it for Later!


This is so cute!!
Thank you so much Michelle!