Crafting a Hello Sign with Cricut

Want to create a cute welcome sign but don’t know where to start? This hello craft sign with the help of the Cricut is an excellent place to begin – a beautiful sign that can be used all year!
Crafting a Hello Sign With Cricut
I found this plaque from Dollarama, which is our Canadian version of the Dollar Store. I’ve noticed that the number of wooden items they have is getting fewer and fewer. I hope it doesn’t stay that way because they have amazing ones! I am sure you could find a wooden plaque at Michael’s, Hobby Lobby or even a thrift store.
Honestly, most of these items could be found at a dollar store. We love thrift stores and saving money, and we also love upcycling! This craft could easily be either, or both!

The great part about this is that you can use whatever artificial flowers you find. This means you can make it spring-like, an autumn craft, or pick flowers that would make it perfect to be year-round.
Stay in the know on our latest crafts, special offers and freebies by joining our mailing list.
Materials Needed
Disclosure: This post contains affiliate links for your shopping convenience. Should you choose to purchase through them, we will make a small commission at no extra cost to you. You can read our full disclosure here.
- wooden plaque about 12″ wide, painted in a dark grey
chalky paint or left natural - dried or faux florals
- plaid ribbon, 2.5″ wide with wire
- hello paper cut out (cut with the
Cricut oncardstock paper ) - large paper tag (can also be cut with the Cricut)
- other embellishments like wooden beads, twine
hot glue gun

How to make the Hello Craft Sign with Cricut
I shared the tutorial for making this hello sign here on Facebook live- you can find all the step-by-step directions here. All of the can be found in the video so you can follow along!
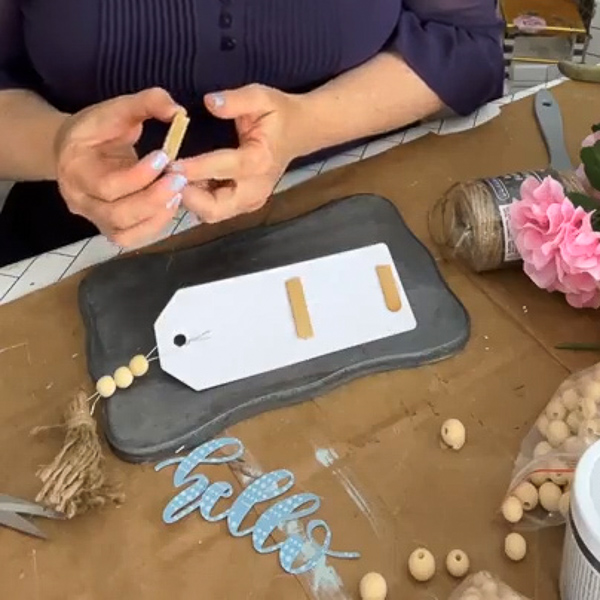
Start by prepping the wooden plaque with paint or a natural stain if you like the wood grain to show.

Prepare the paper tag by adding a beaded tassle to the end if you like. Tape the paper tag on to the wood surface slightly to the right and down from the center point. I used double sided tape to hold it in place.

Cutting with Cricut
Find the “hello” you want to cut using Cricut’s Design Space which is full of free templates. Size the hello to fit on to the paper tag and use a pretty cardstock paper for cutting.
After cutting the “hello” word in decorative cardstock paper with your Cricut, remove from cutting mat and glue on to the paper tag.


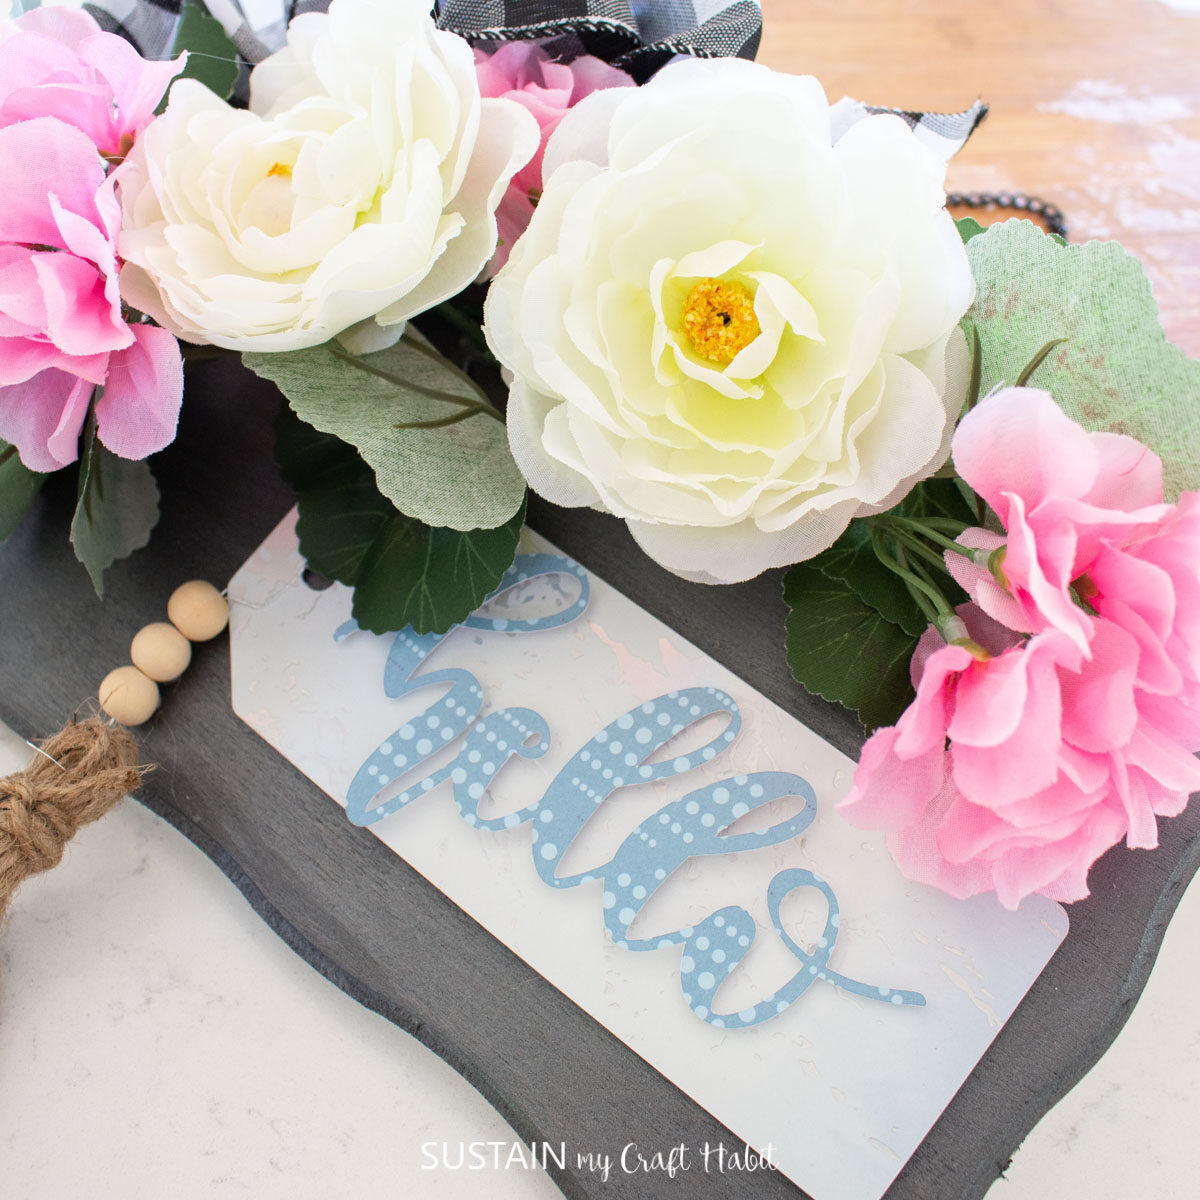
Lastly, glue the faux florals to the upper left side of the sign. Add as many or as few floral and greens as you like until you are happy with the finished project!

And there it is, your hello craft sign is complete! How did yours turn out? Make sure to show it off to us! Tag us on Facebook or Instagram– we can’t wait to see it!
Get updates on the latest posts and more from Sustain My Craft Habit straight to your inbox by joining our weekly newsletter. We promise to send you only the good stuff!
Like it? Pin it to save for later?