How to Make a Clothespin Angel (with Free Template)
As the holiday season approaches, it’s the perfect time to get creative and add some thoughtful decorations to your home. And what better way to do that than by creating your very own angel out of clothespins? Not only is this project fun and easy, but we’ll also provide you with a free template so you can craft multiple angels in no time.
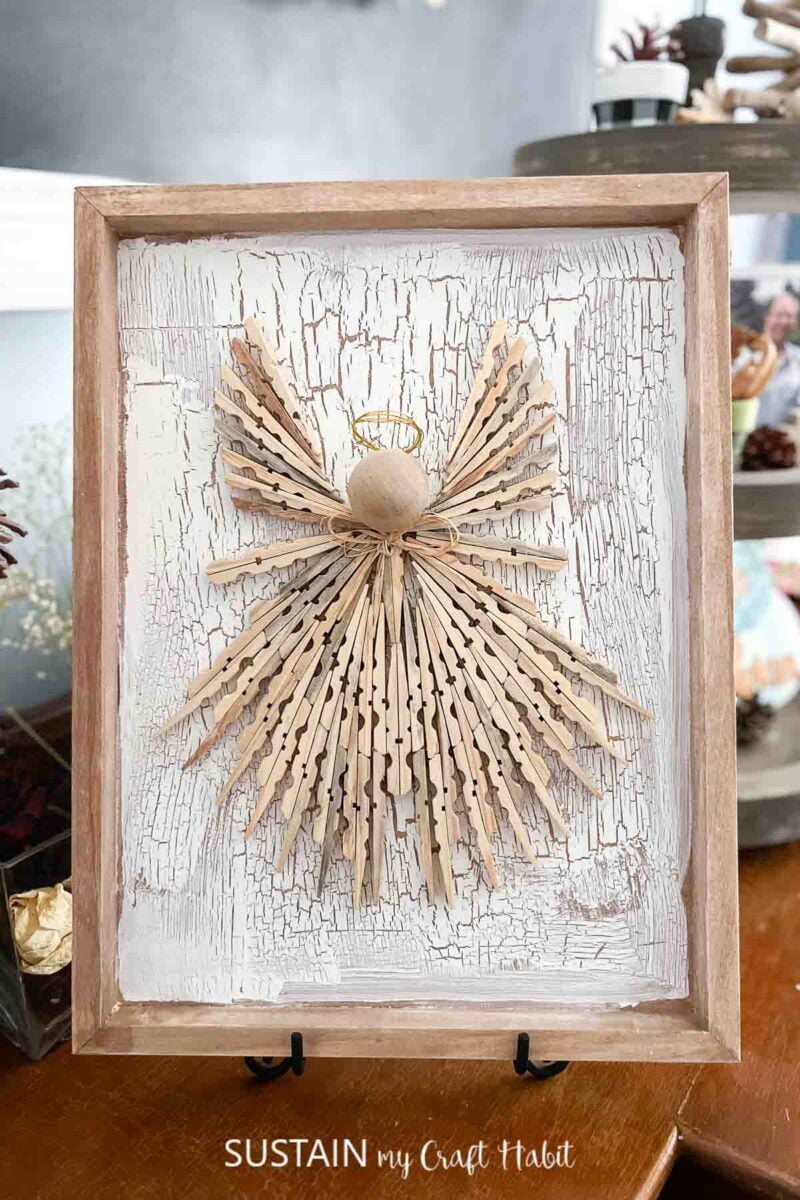
Why I Love This Clothespin Angel Craft Idea
Whether you’re looking for a gift giving idea for someone special or just want to add some beautiful decor to your home, this tutorial has got you covered. Get ready to unleash your creativity and make some beautiful clothespin angels that will surely bring joy and warmth to your home this holiday season.

Can I Paint My Clothespins?
Yes, you can definitely paint your clothespins in different colors! Painting clothespins is a fun and creative way to add a personal touch to this angel. You can experiment with different types of paints, such as acrylic paint, spray paint, fingernail polish, and even food coloring. Additionally, you can create your own wood stain with craft paint. Just remember some of these may need a top coat to prevent the color from running if it gets wet.
How to Make Clothespin Angels (with our FREE Template)
Supplies
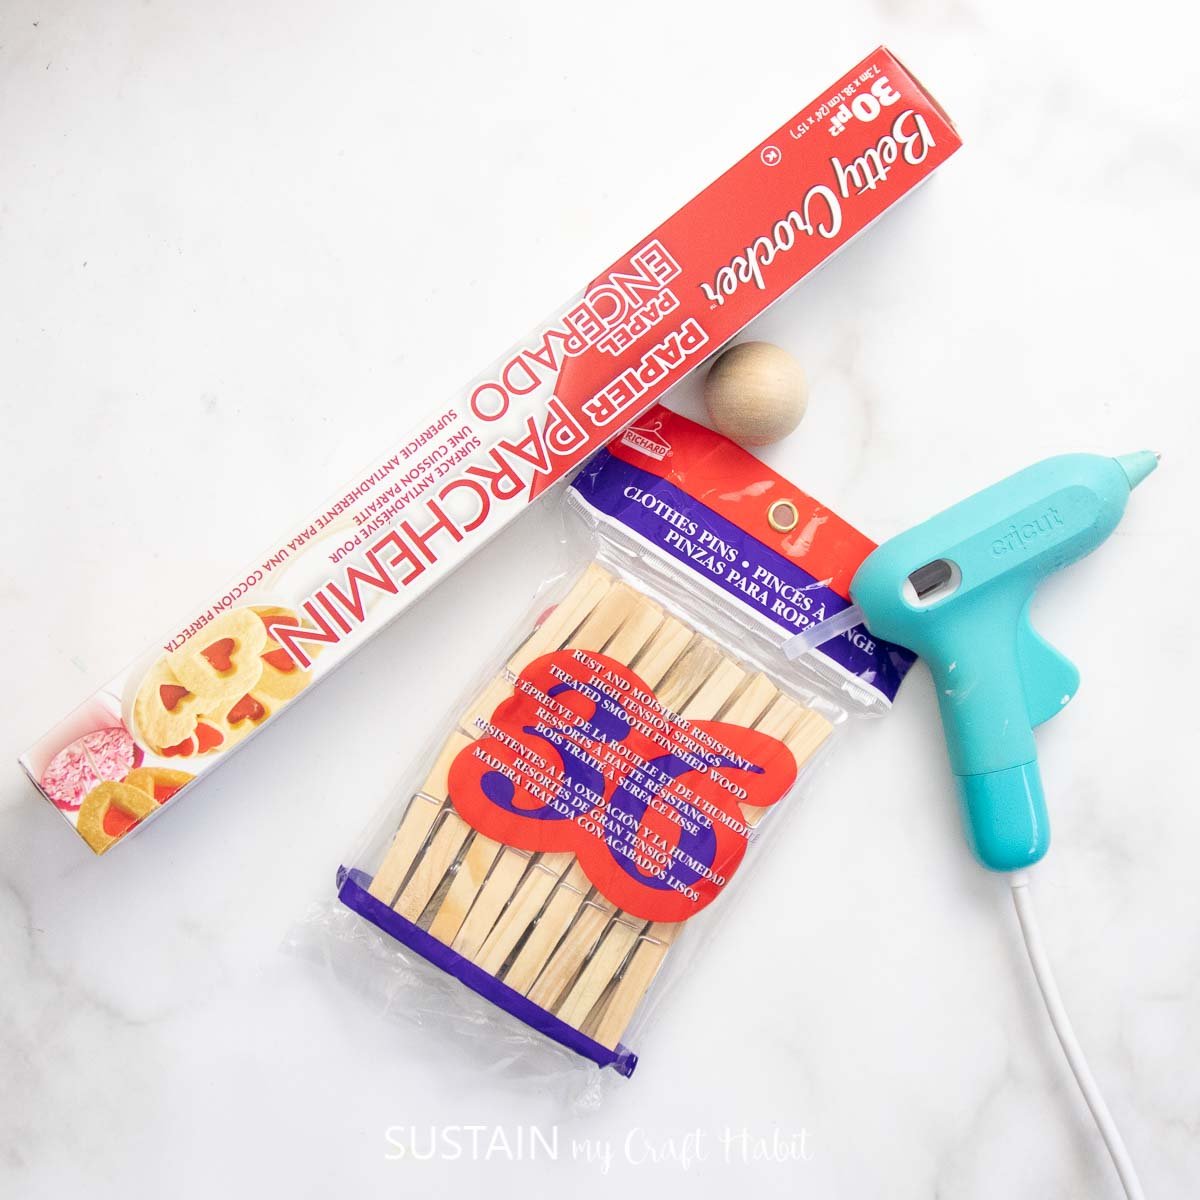
- 36 wooden clothespins, 2.9″ long
- 1 flat back wooden bead
Hot glue gun with clear glue sticks- Parchment paper (optional)
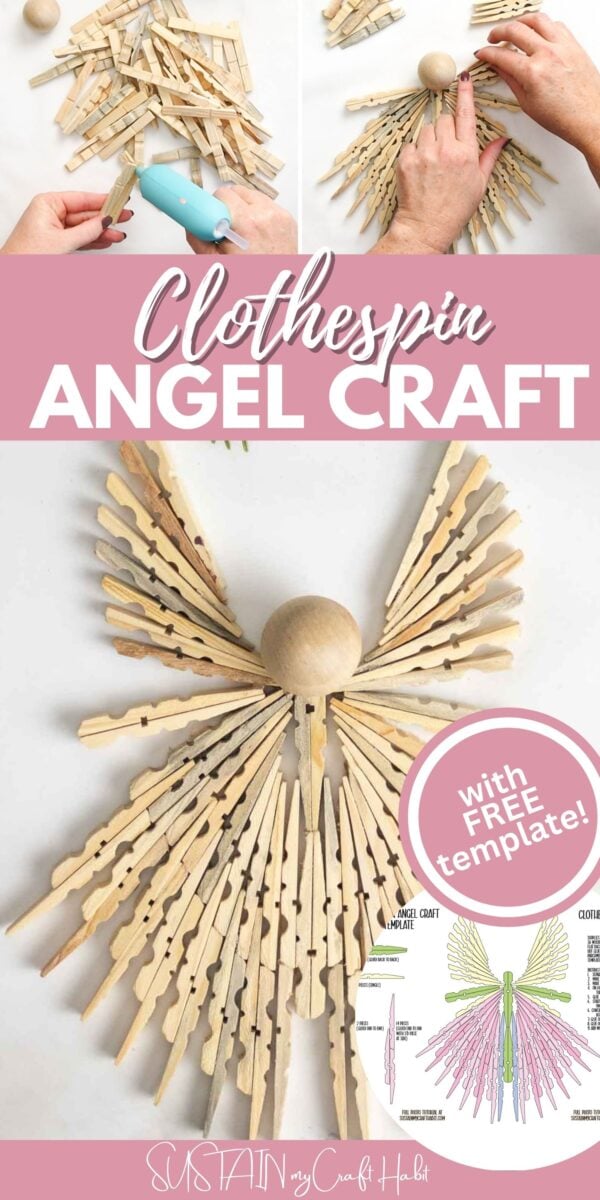
- Clothespin Angel Template (fill in this form to get the template via email)
Instructions
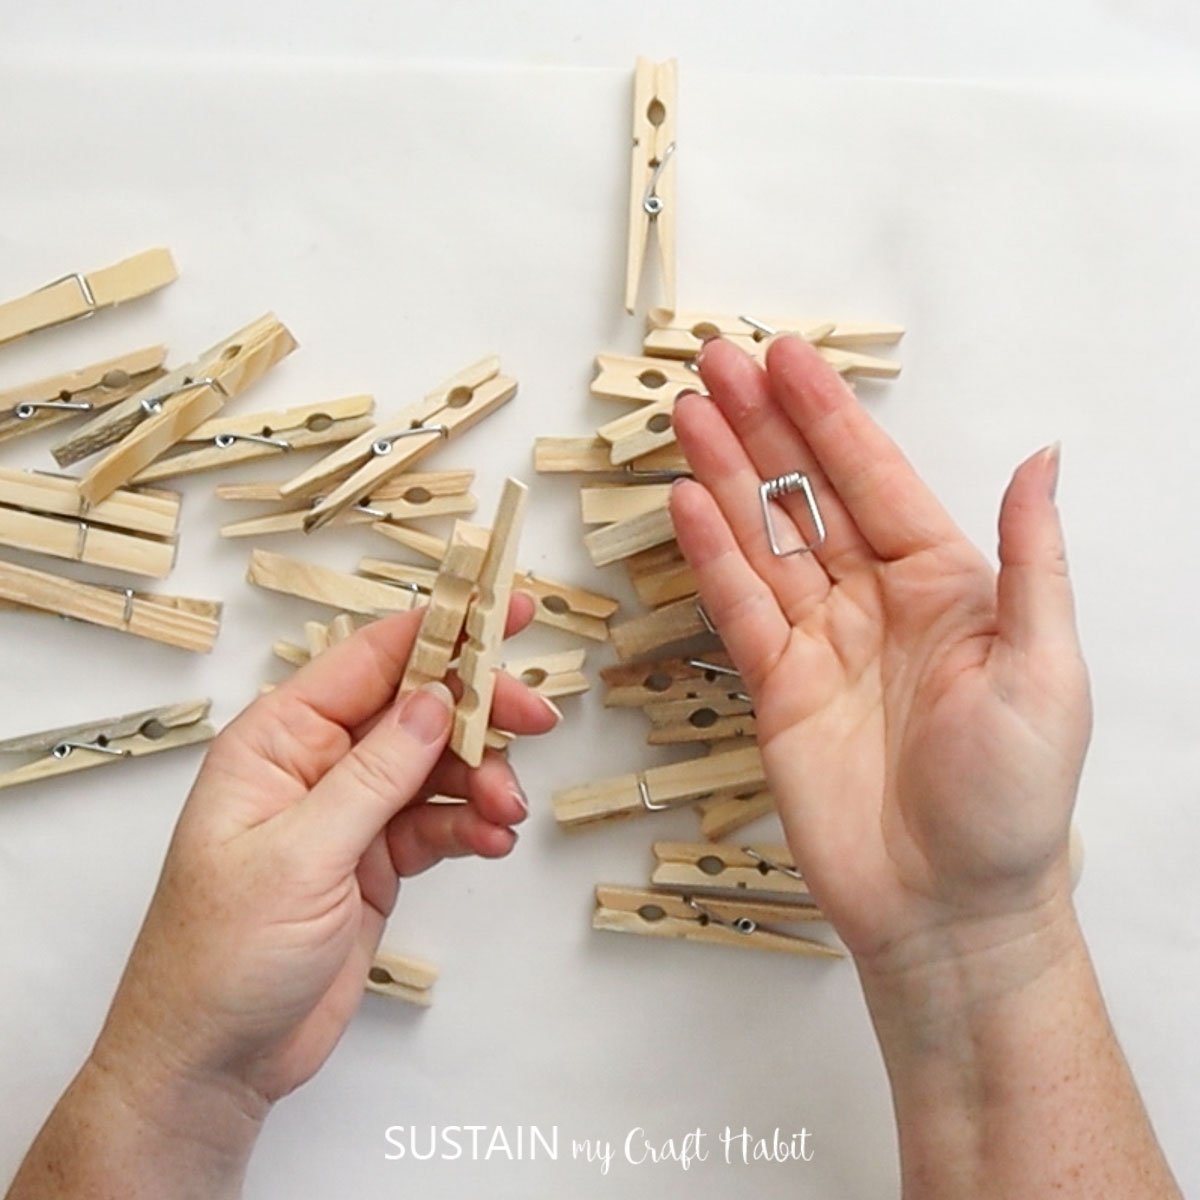
Start by separating the clothespin pieces from the springs.
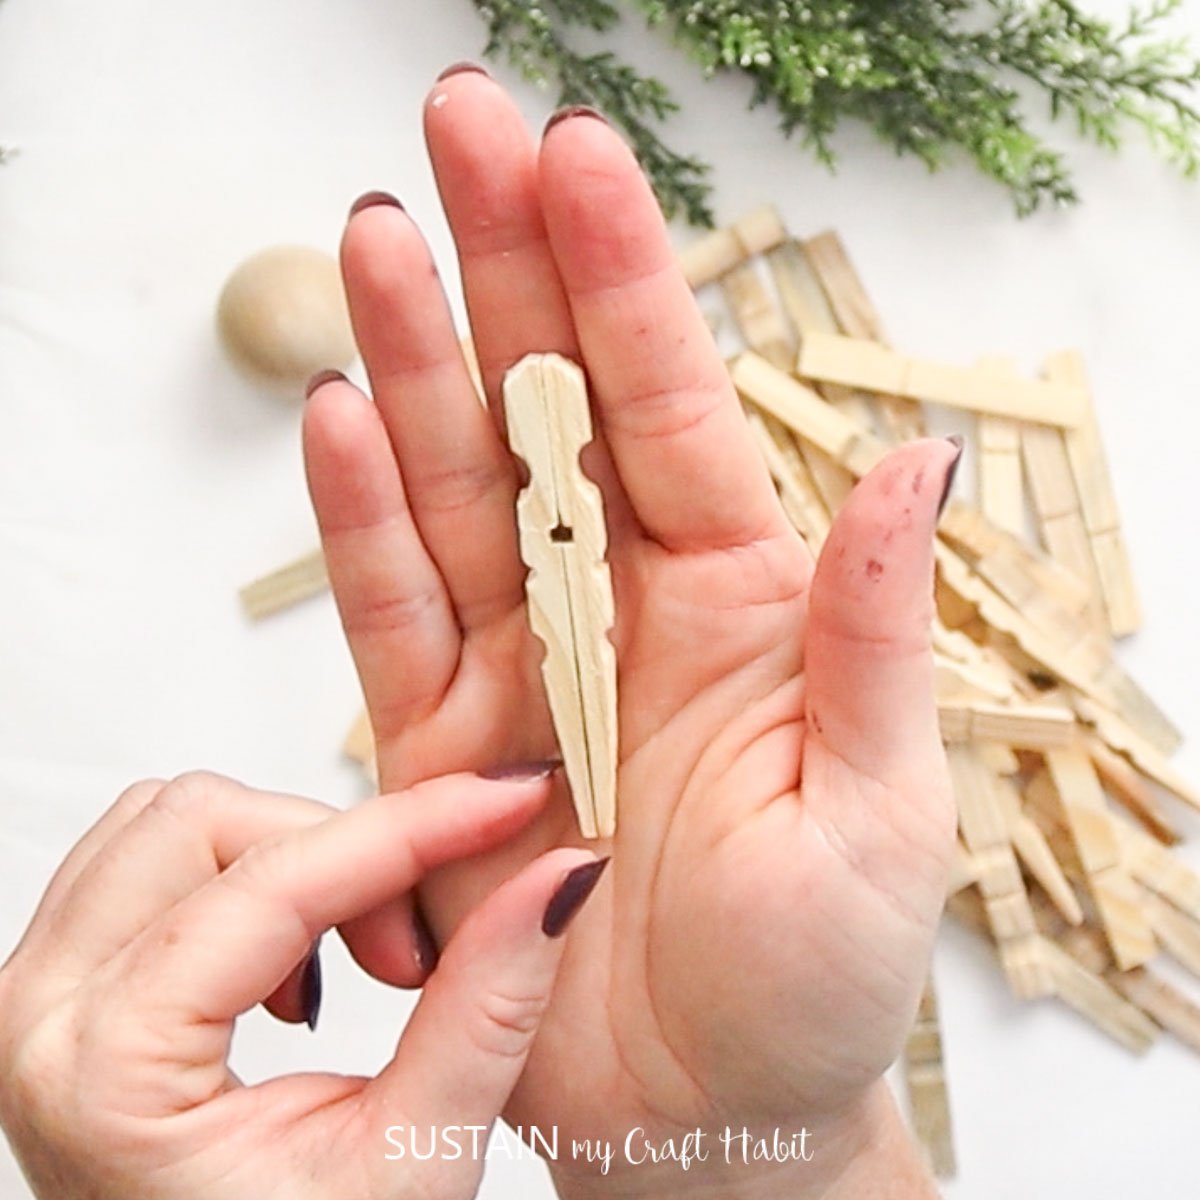
Next, assemble 4 back-to-back pieces as shown below.
Next, assemble 16 end-to-end pieces as shown.
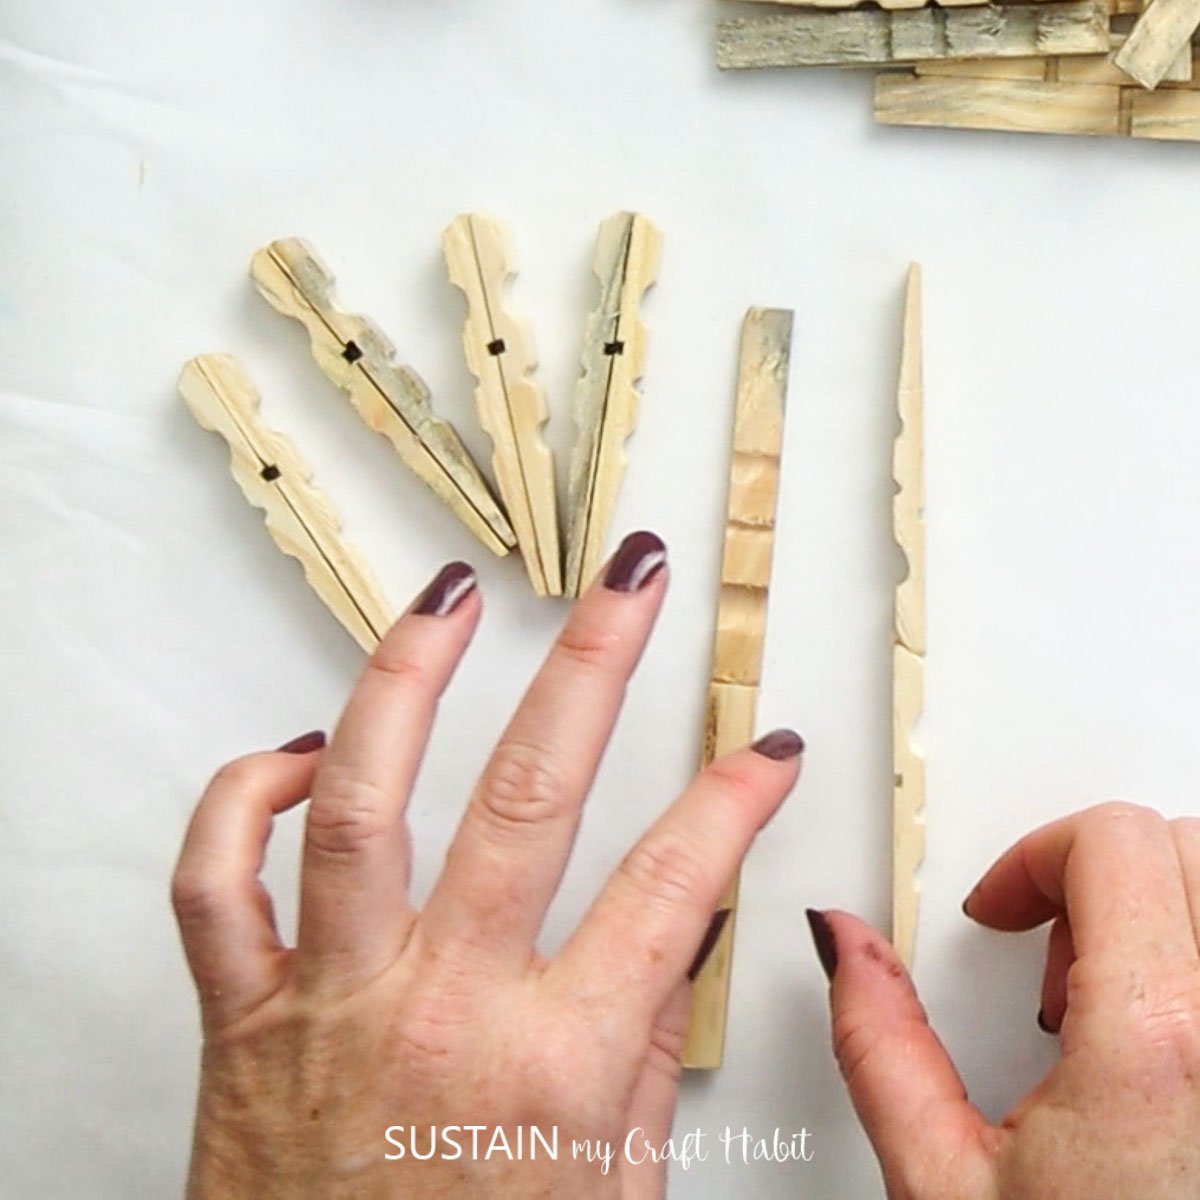
On 14 of the “blue”end to end” pieces, add a third piece to make the shapes below.
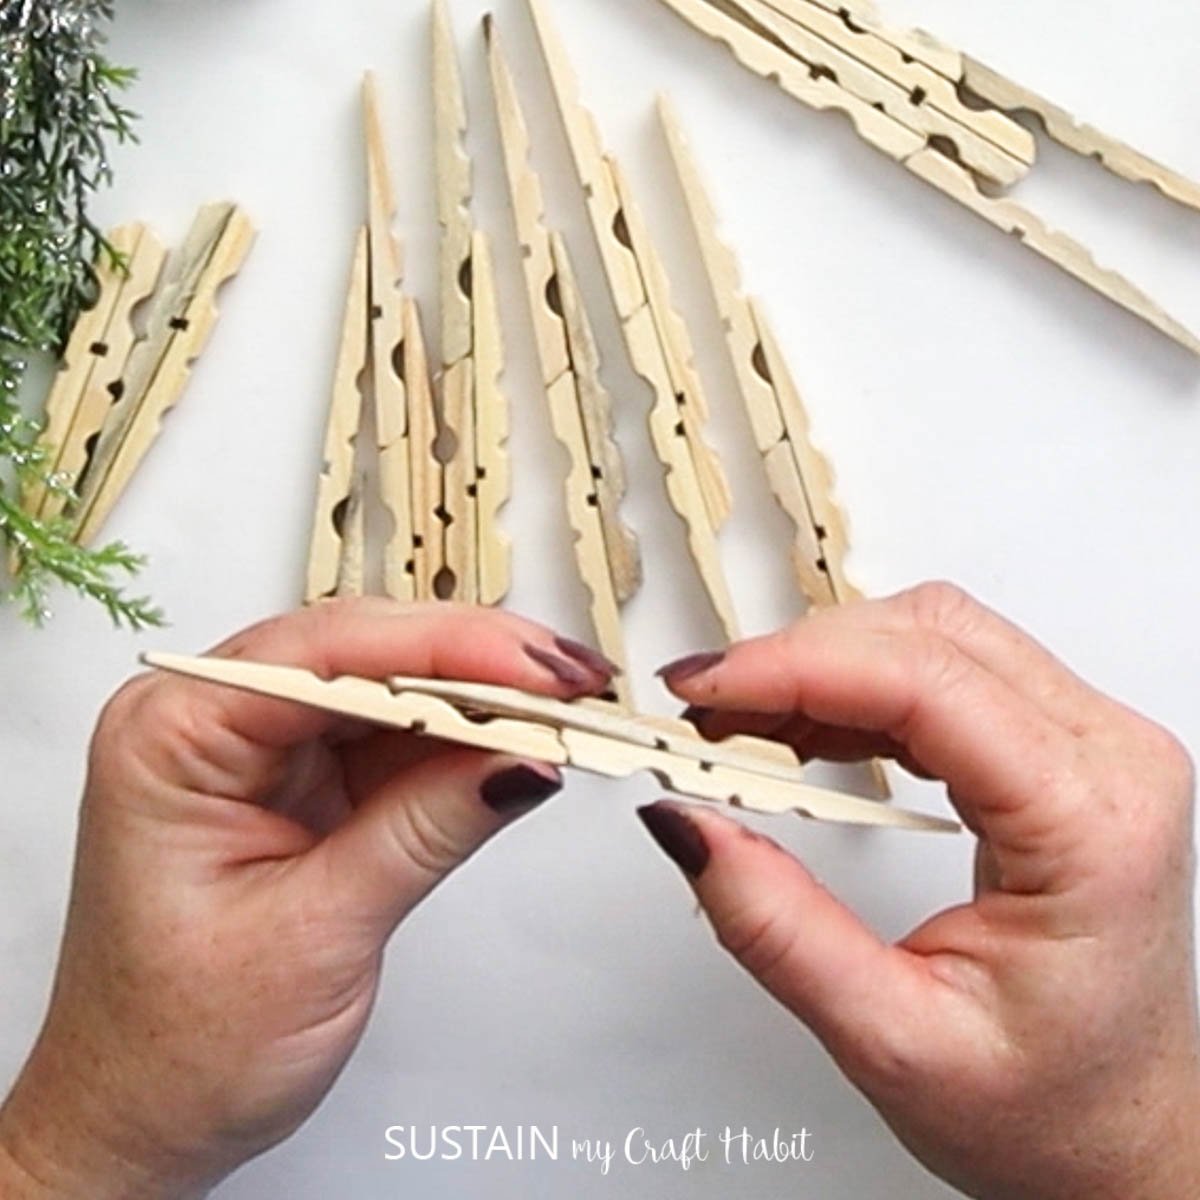
Glue two “back to back” pieces together from “end-to-end” as shown to create the angel’s body segment.

Now that the pieces are preppe,d, you can begin to assemble the angel. Start building the skirt by gluing end to end shapes on one side of body piece as shown.
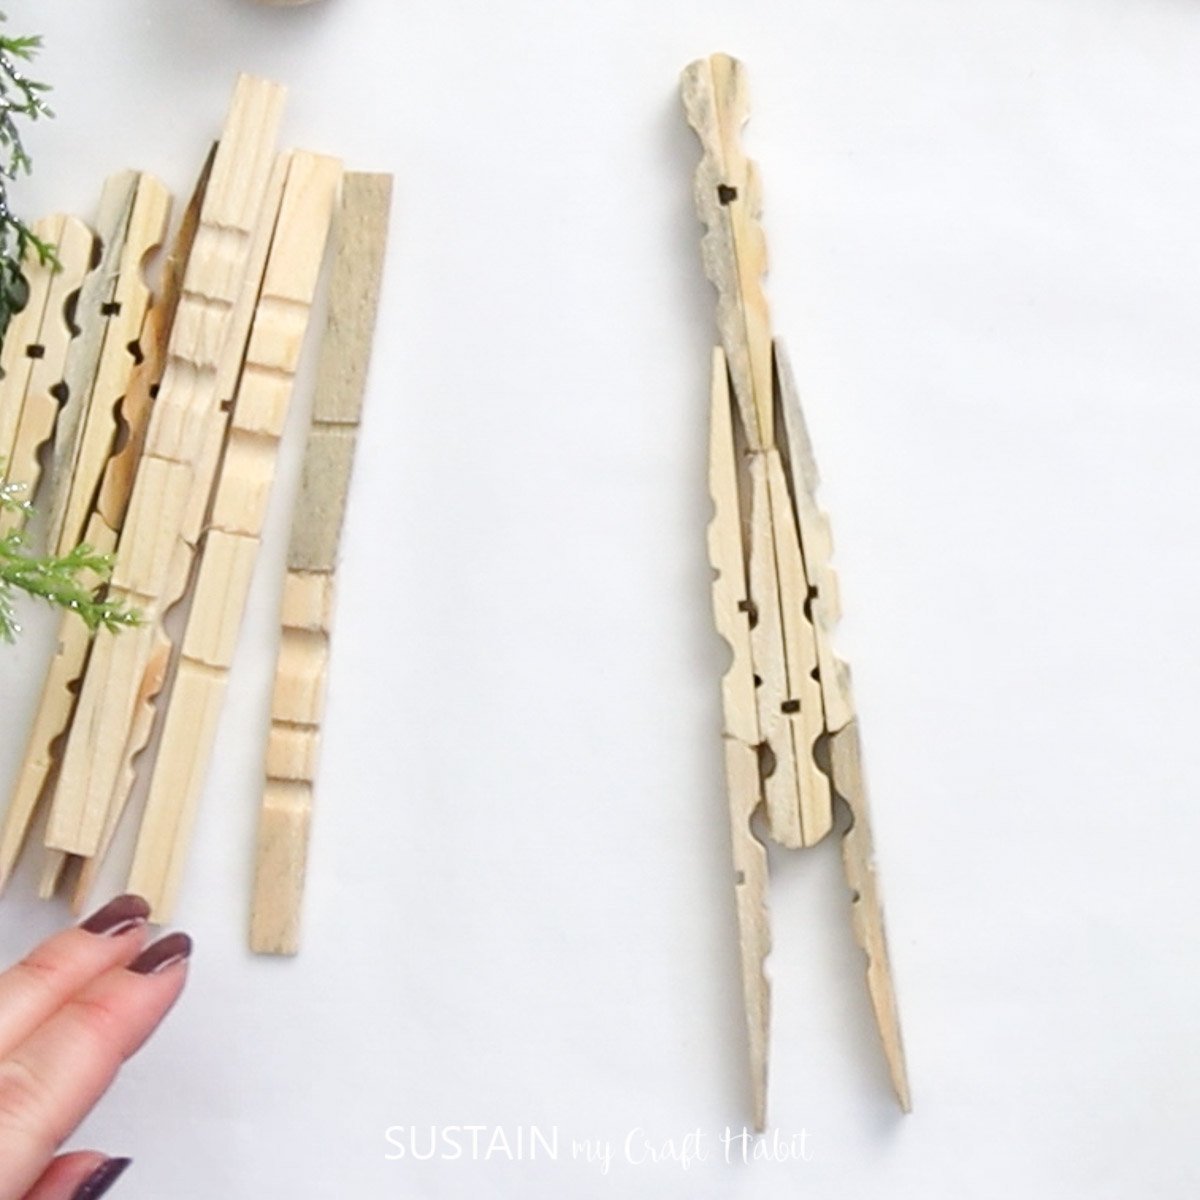
Continue adding the prepared shapes to create an entire skirt according to the template.
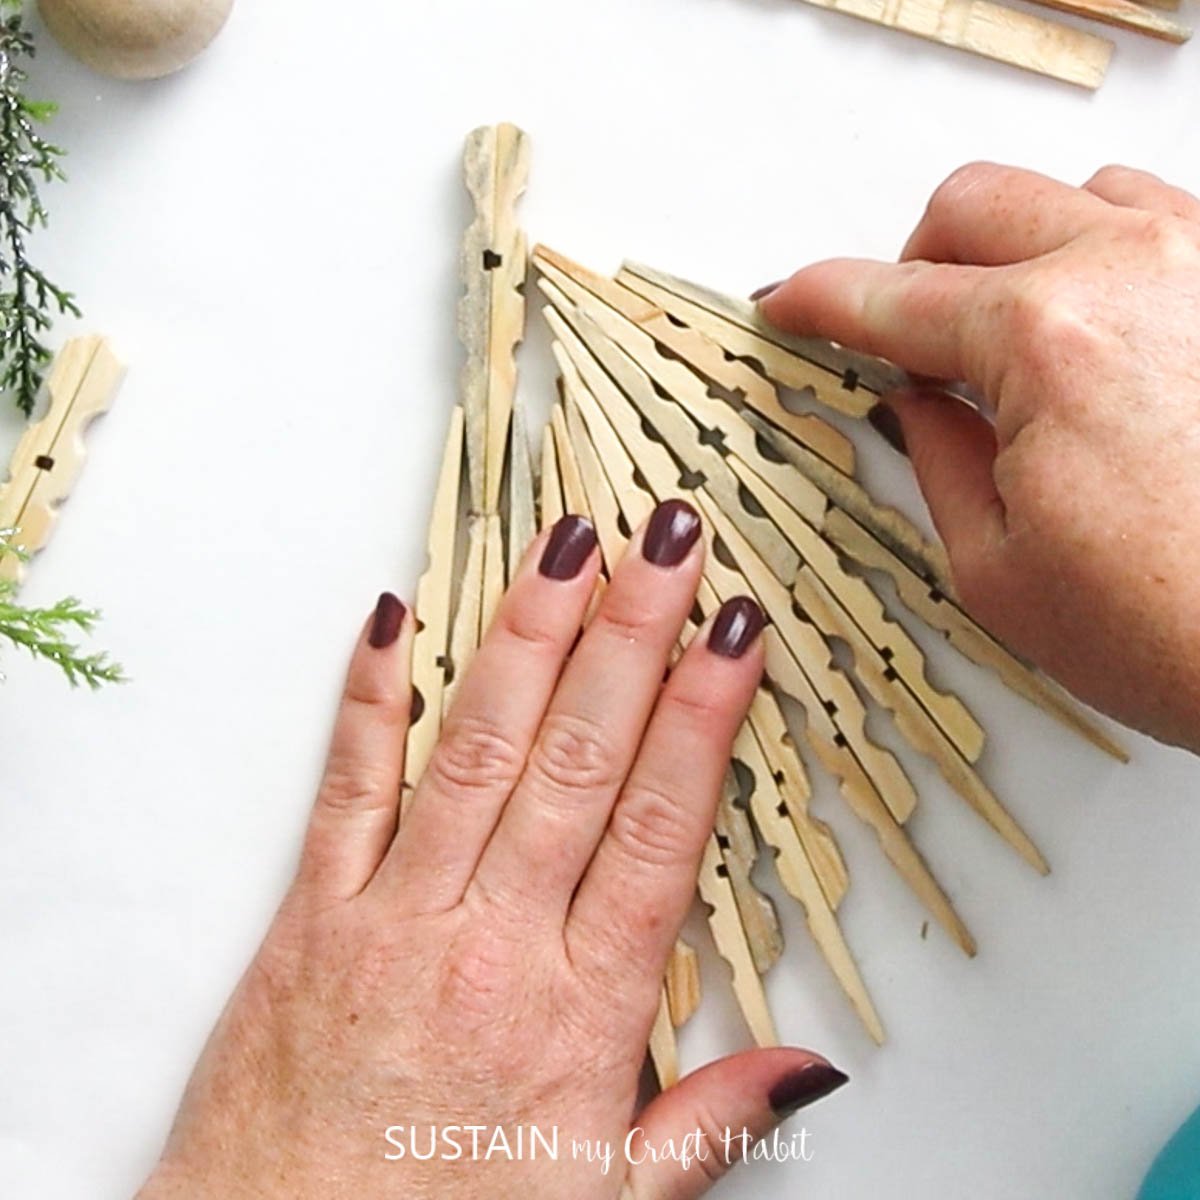
Next, glue on the “back to back” arm pieces.

And then glue on the wing pieces.
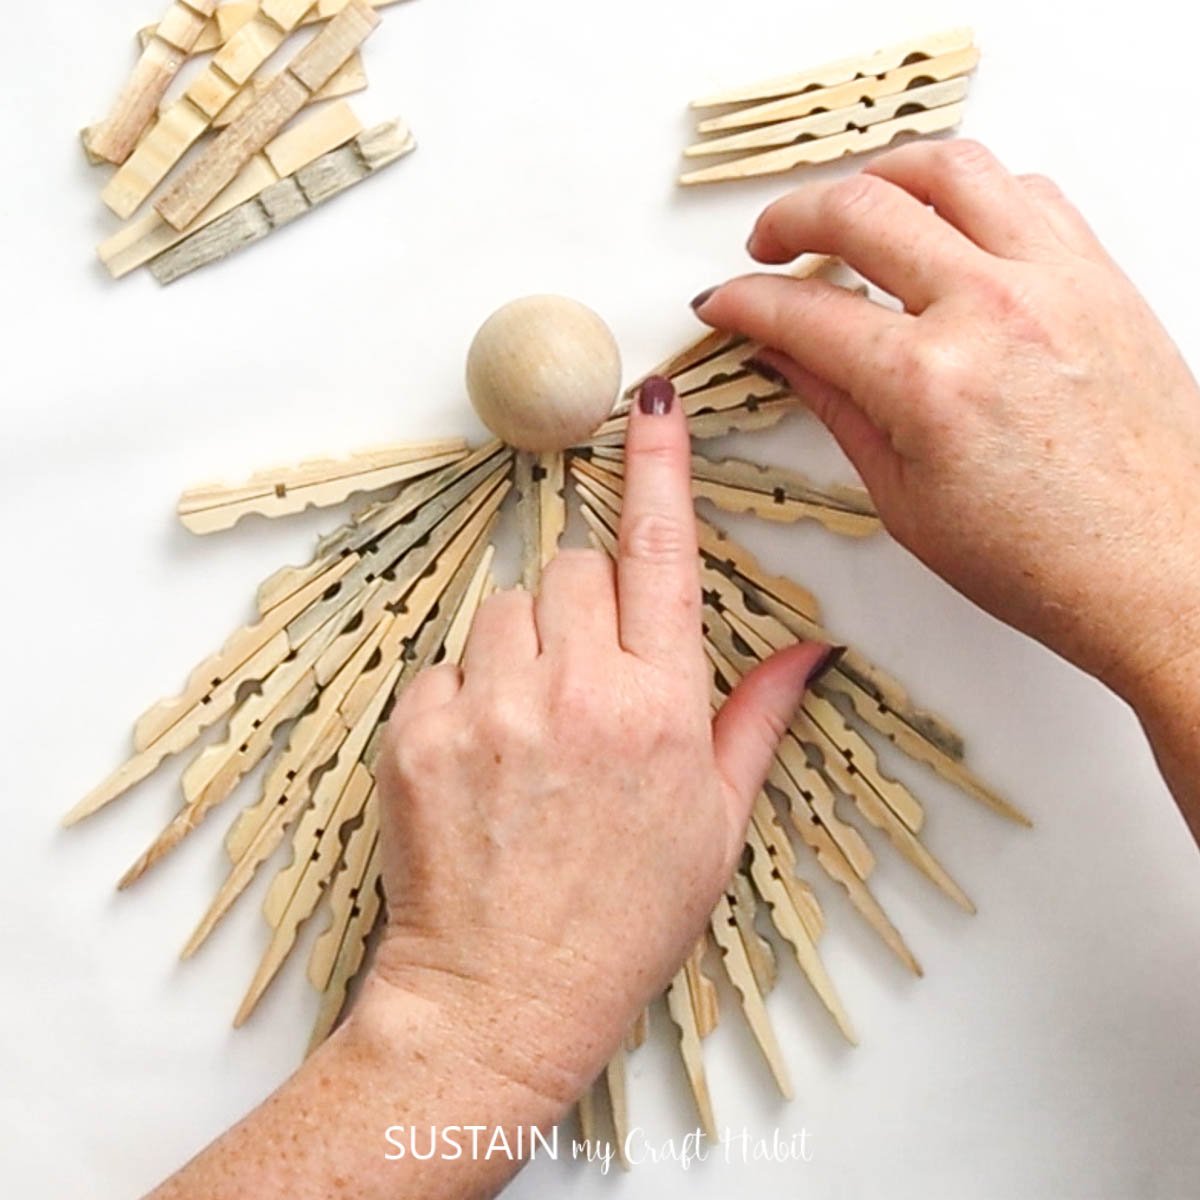
Last but not least, add wood bead to the top of the angel body for the head.

Now that the angel clothespin is fully assembled, you can use it as is, turn it into an ornament or wall hanging or a piece of art like I have here. You can follow along to the Facebook Live video to see how I mounted it to an inexpensive wood surface.
This Clothespin Angel Is Sure To Bring Joy
We hope this tutorial has inspired you to get crafty and make your own clothespin angel craft this holiday season. Not only is it a fun and easy project, but it also adds a personal touch to your holiday decor. So gather your materials, download our free template, and let your creativity shine as you create these adorable little angels.
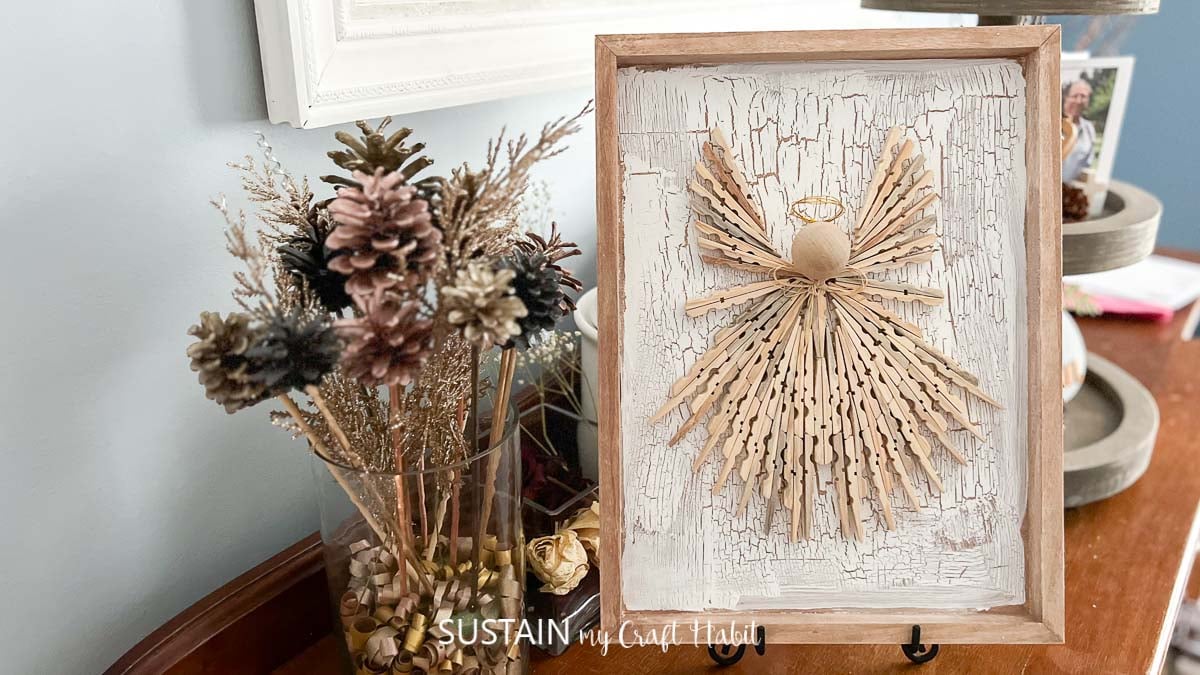
Whether for yourself or as gifts for loved ones, these clothespin angels are sure to bring joy and warmth to any home.

How to Make a Clothespin Angel (free template included)
Materials
- 36 wooden clothespins
- 1 flat back wooden bead
- Hot glue gun
- Parchment paper Optional
- Clothespin Angel Template free download
Instructions
- Separate the clothespin pieces from the springs.
- Make 4 back-to-back pieces.
- Make 16 end-to-end pieces.
- On 14 of the blue pieces, add a third piece as shown in the in process pictures.
- Glue two back to back shapes end-to-end to create body segment.
- Start building skirt by gluing back to back shapes on one side of body piece as shown.
- Continue adding shapes to create entire skirt according to the template.
- Glue on arm pieces.
- Glue on wing pieces.
- Add wood bead to top of angel body for the head.
Like it? Pin it for Later!




would love the temp[ate thanks
Would love to have the template.
The link for the template is not clickable. Where can you get the free template?
Would love to have the template. Have signed up twice and still have not received it
Hi Nancy. I’m sorry you’re having trouble. I just email it to you – please check your “spam” or “other” folders in case it went to the wrong place. -Jane
Hi could you please send me the angel template? Thank you.
Hi Angela. I will resend the template but can you please check that it didn’t end up in the spam folder of your email? Thank you!
The instructions were clear but I registered twice for the angel print out and never received it. I have the typed instructions but not the graph picture. Great project love it
Hi Jennifer. I will resend the template but can you please check that it didn’t end up in the spam folder of your email? Thank you!