DIY Dollar Tree Fall Gnomes Craft Idea
Fall is just around the corner, and it’s time to start thinking about decorating your home with all things cozy and festive. And what better way to add a touch of whimsy and charm to your fall decor than with some adorable gnomes? Even better, these little guys can be made using affordable materials from Dollar Tree – making this a budget-friendly and fun DIY project!

Why You Will Love This Dollar Tree Fall Gnomes Craft
Creating your own fall gnomes is not only a delightful way to embrace the season but also a therapeutic escape from the hustle and bustle of everyday life. Get ready to unleash your creativity, transforming simple materials into charming decorations that reflect your unique style.
Additionally, the affordability of Dollar Tree supplies means you can experiment freely, creating multiple gnomes in various colors and designs without breaking the bank. The satisfaction of crafting something with your hands and the joy of decorating your space with these cheerful companions will make this project a fulfilling experience.

Want to receive a ton of inspiration and money saving ideas for decorating, gift-giving and crafting? Join HERE!
Materials Needed
Disclosure: This post contains affiliate links for your shopping convenience. Should you choose to purchase through them, we will make a small commission at no extra cost to you. You can read our full disclosure policy here.
- Tray
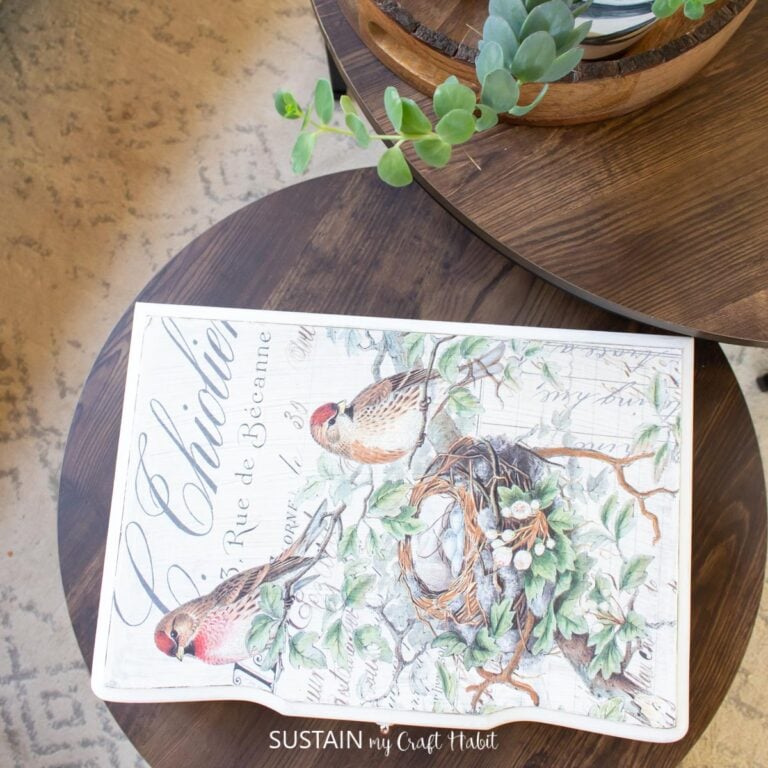
- Decorative paper napkins
Chalky paint in white , orange, bluePaintbrushes - Decoupage or
Mod Podge - Wood bead
- Wood cut outs: ghost, pumpkin, witch hat (we got ours from Dollar Tree)
Mini heat press and parchment paperHot glue gu n

How To Make Dollar Tree Fall Gnomes Craft
I shared the tutorial for how to make this fall gnome craft on a Facebook live which you can catch here or if you prefer the photo tutorial, continue reading below!
Start by cutting your napkin to fit into the tray.

Apply a coat of Mod Podge onto the tray and let dry tacky.

Place the napkin on top of the tray and gently press down with your fingers.
Place a piece of parchment paper over top of the napkin and take your heated iron and gently rub back and forth.

Next, paint your Halloween shapes in the colors of your choice.

Once dry, glue the ghost onto half of the pumpkin (this will form the beard of the gnome)
Attach the hat to the top of the gnome’s head.

Lastly, position a wooden bead just below the hat and at the center of the gnome’s face.

Repeat with another gnome and glue both onto the silver tray.
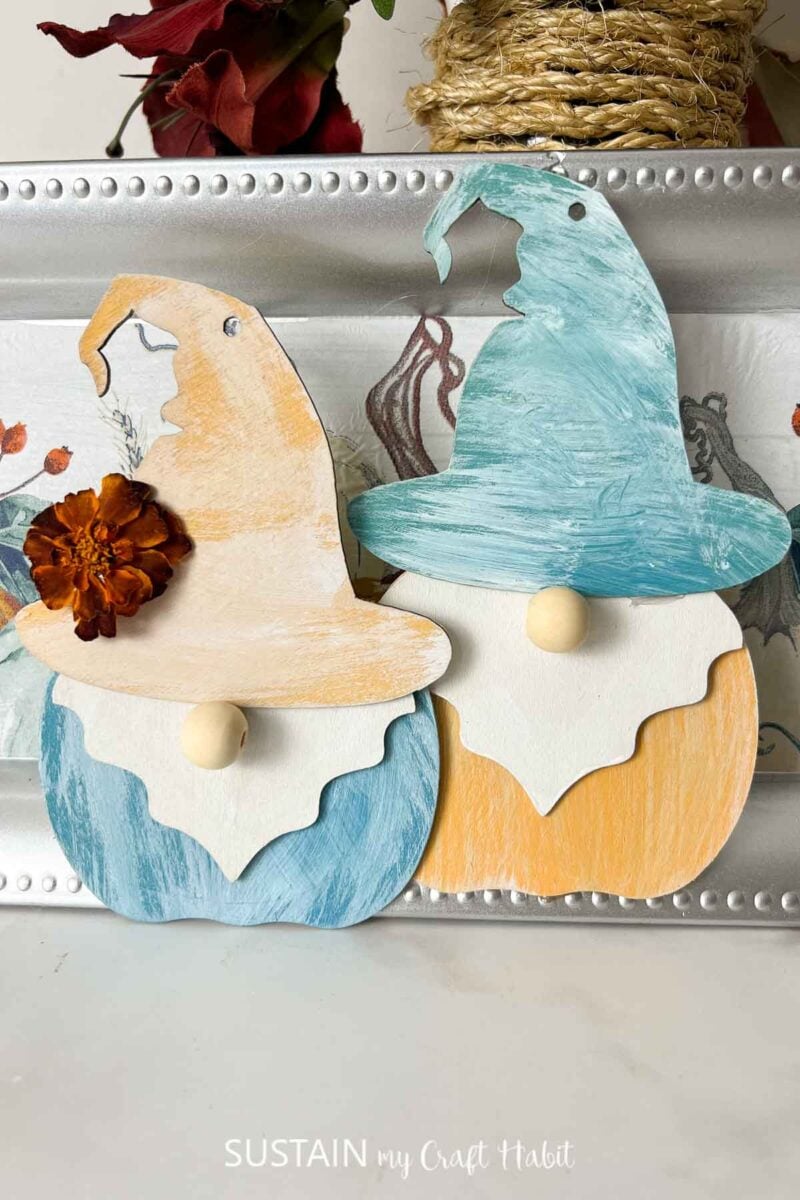
A Whimsical Creation
Using wooden cutouts for Halloween to make these gnome shapes is the part that I love most about this craft! Makes me wonder what other unique shapes can we make?
More Gnome Crafts
- Fall Gnome Decor using Pressed Leaves
- No Sew Gnome Decor
- DIY Fall Wreath
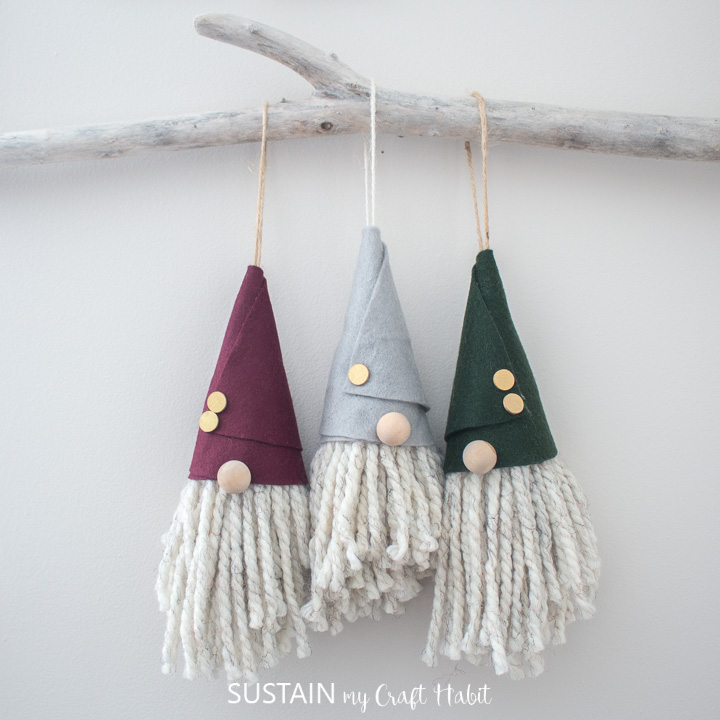
- Easy Gnome Ornaments
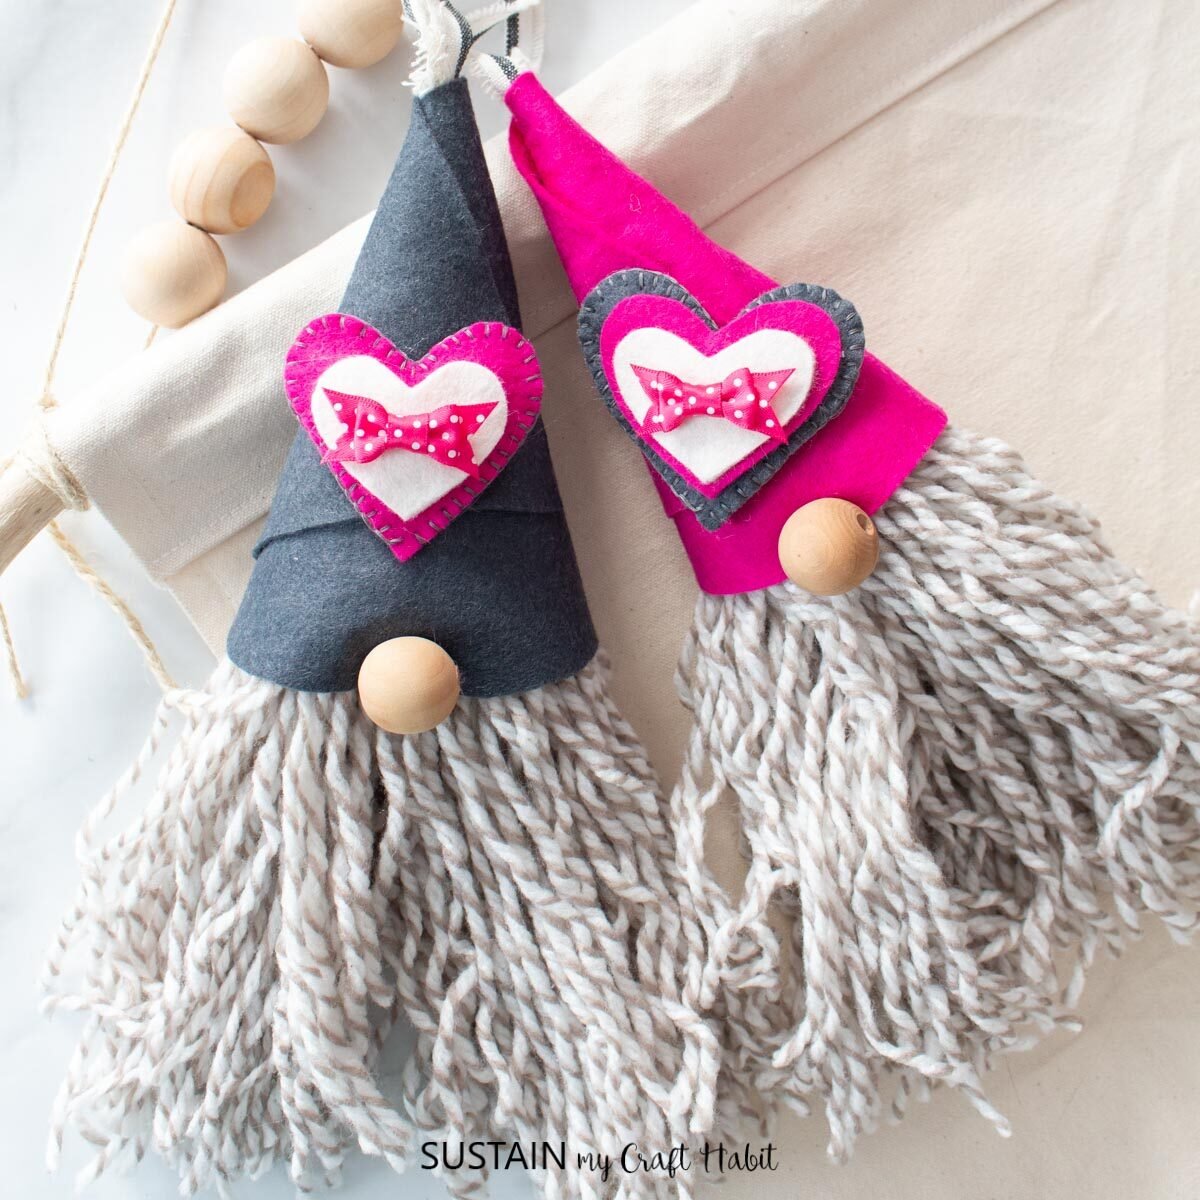
- Sweetheart Gnomes

Stay in the know on our latest crafts, special offers and freebies by joining our mailing list.
Like it? Pin it for later!


DIY Dollar Tree Fall Gnomes Craft Idea
Materials
- Tray
- Decorative paper napkins
- Chalky paint in white, orange, blue
- Paintbrushes
- Decoupage or Mod Podge
- Wood beads
- Wood cut outs ghost, pumpkin, witch hat
- Mini heat press and parchment paper
- Hot glue
Instructions
- Start by cutting your napkin to fit into the tray.
- Apply a coat of Mod Podge onto the tray and let dry tacky.
- Place the napkin on top of the tray and gently press down with your fingers.
- Place a piece of parchment paper over top of the napkin and take your heated iron and gently rub back and forth.
- Next, paint your Halloween shapes in the colors of your choice.
- Once dry, glue the ghost onto half of the pumpkin (this will form the beard of the gnome)
- Attach the hat to the top of the gnome’s head.
- Lastly, position a wooden bead just below the hat and at the center of the gnome’s face.
- Repeat with another gnome and glue both onto the silver tray.

