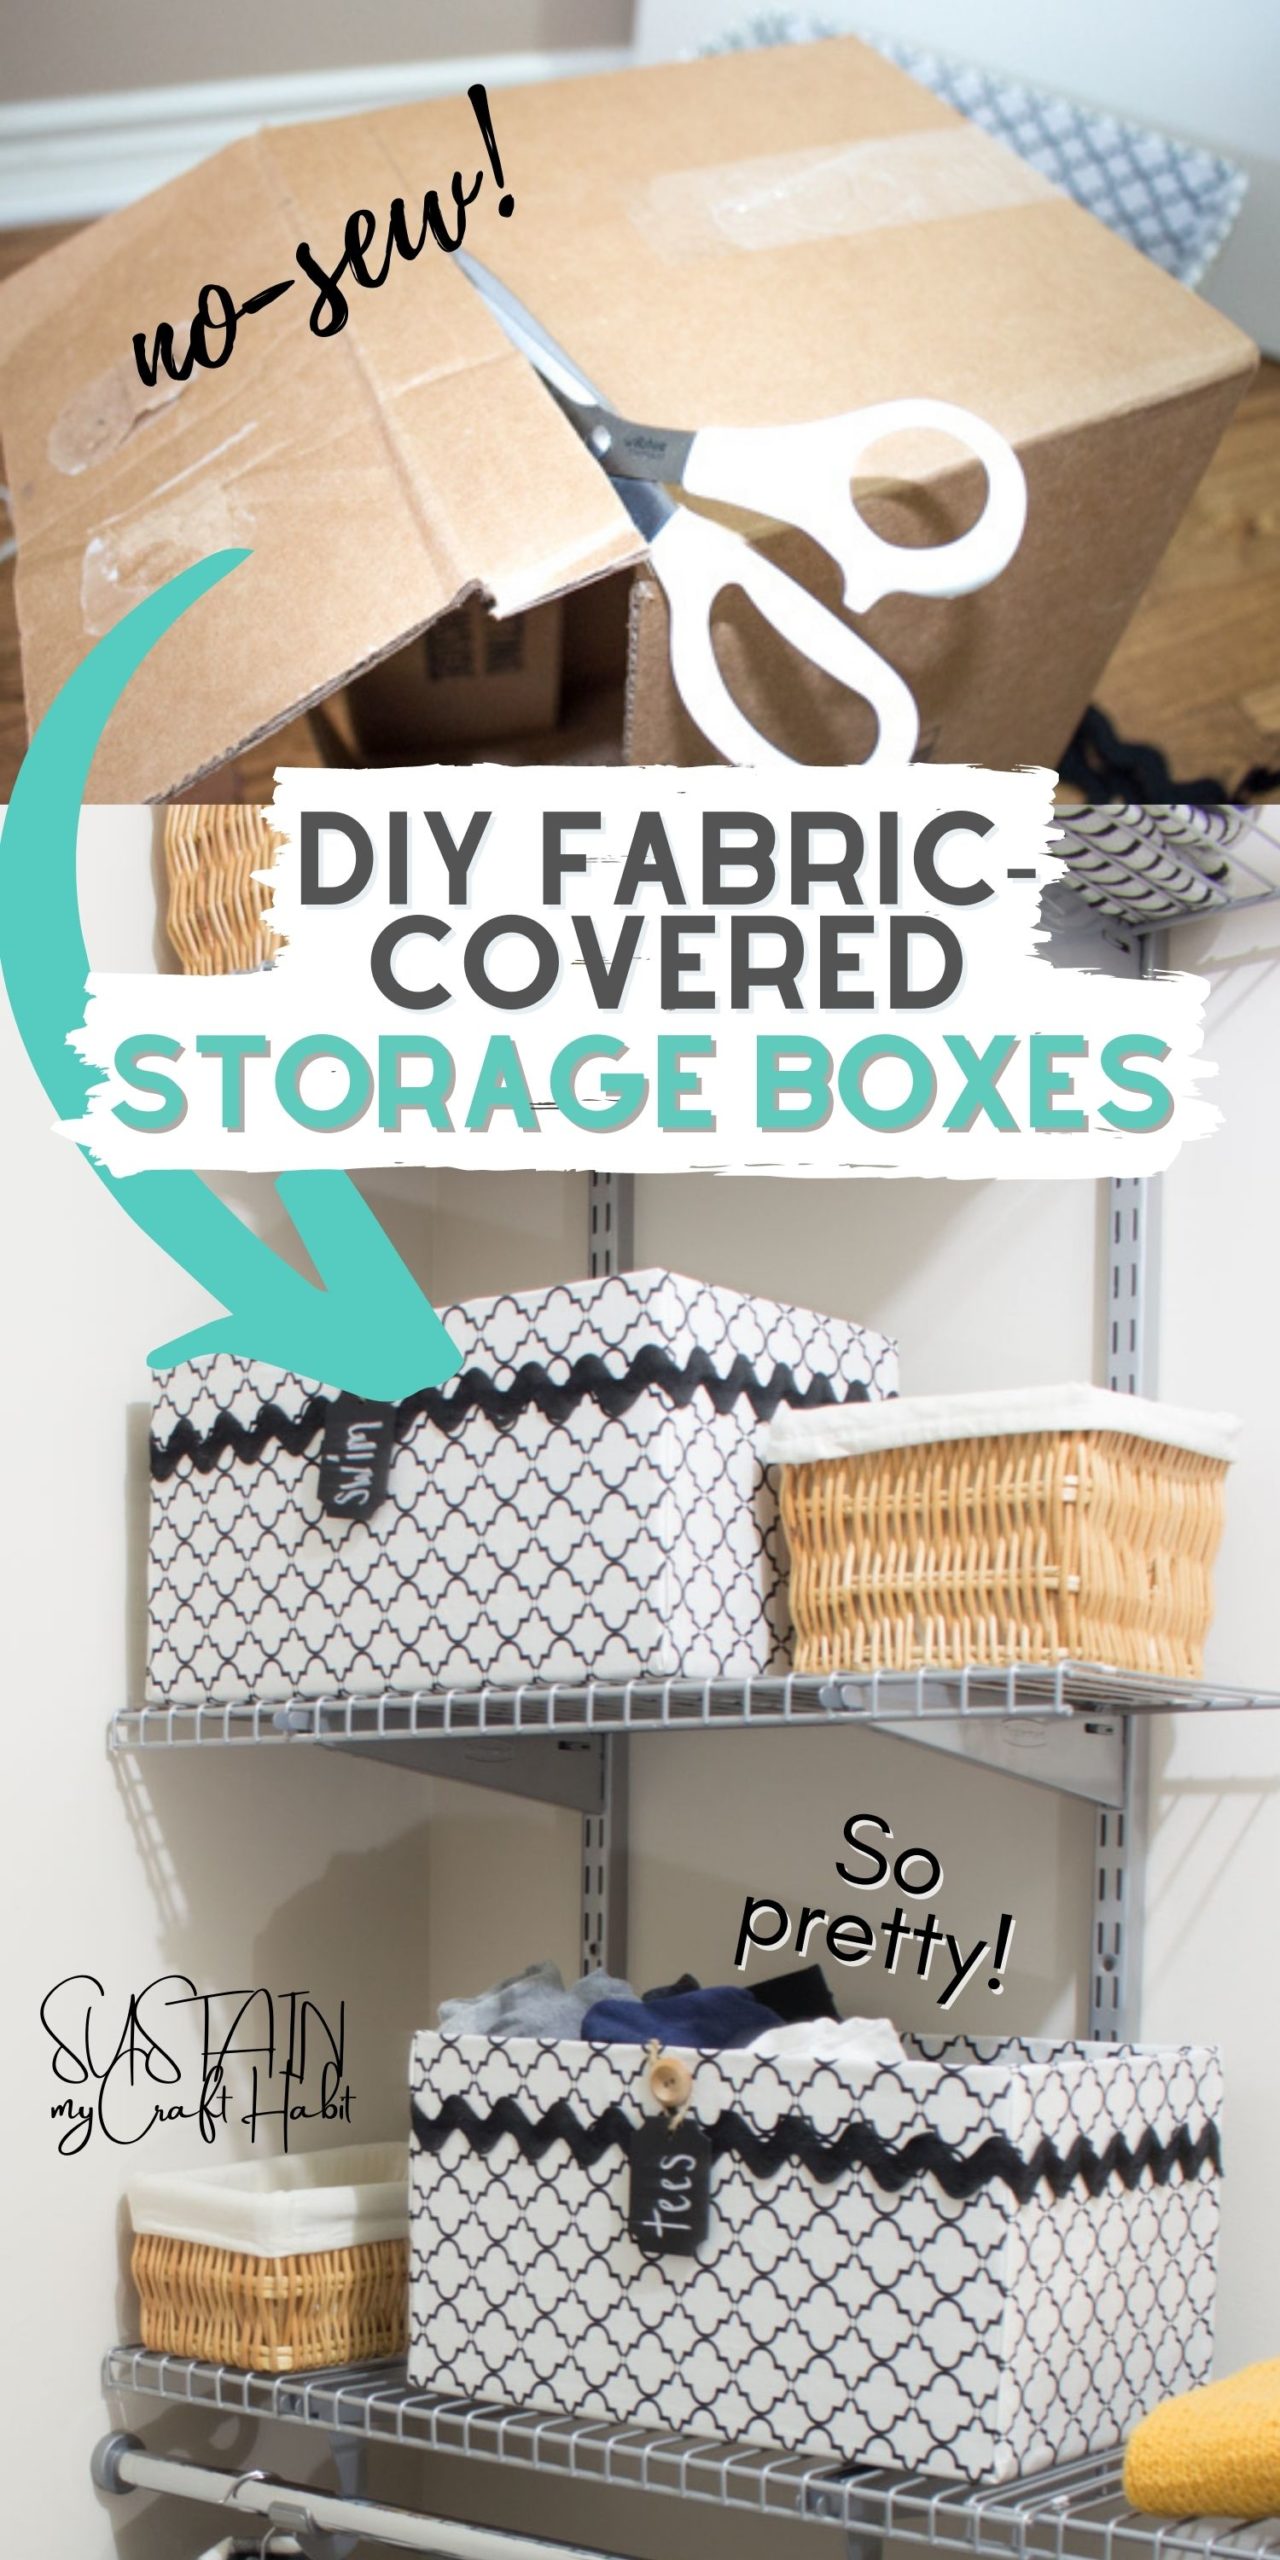
Easy Fabric Covered DIY Storage Box (from Cardboard)
I’m sure I’m not the only one, but I can never seem to have enough storage! Whether it’s in the craft room, bedroom closet or kitchen pantry, decorative storage boxes are a great way to organize all the items that we have in our homes. Best part? We don’t need to spend a fortune to have pretty storage containers. Let us show you how to make fabric DIY storage boxes to tidy up all those loose items!
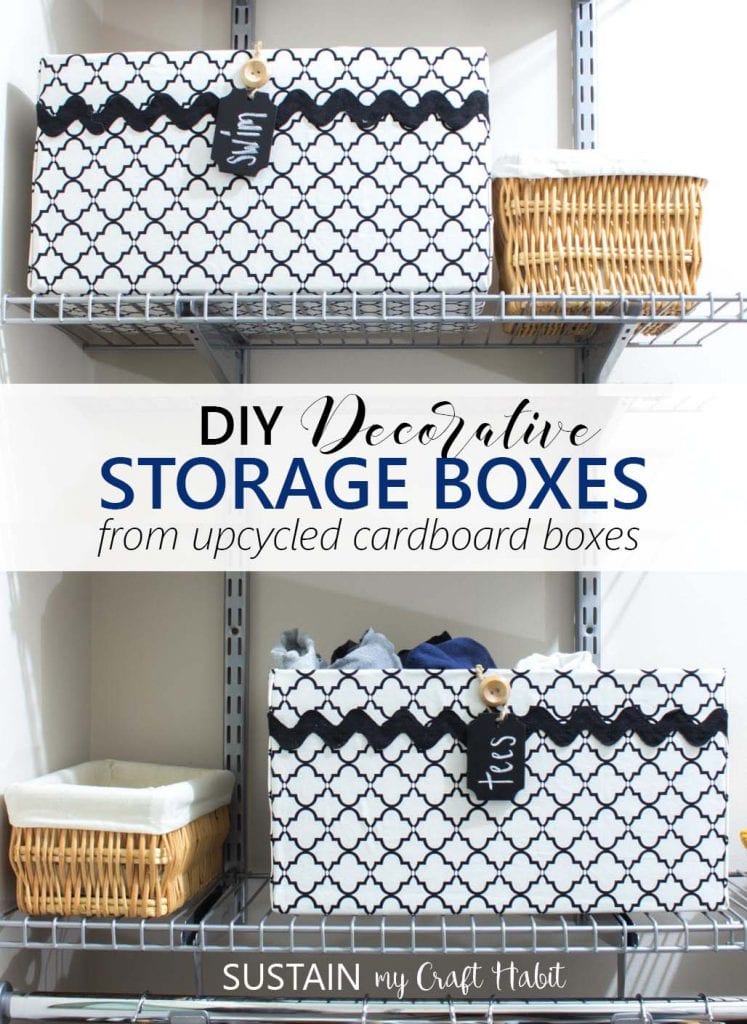
DIY Decorative Storage Boxes
I recently installed a Rubbermaid Configurations Custom Closet Kit in my bedroom and I am LOVING the extra space, tidiness and organization. You can take a look at the before and after pictures here and you’ll understand why I am so excited!
ORGANIZING PROJECTS: Get 7 days of free tips and resources for organizing any room in your home. Join HERE!
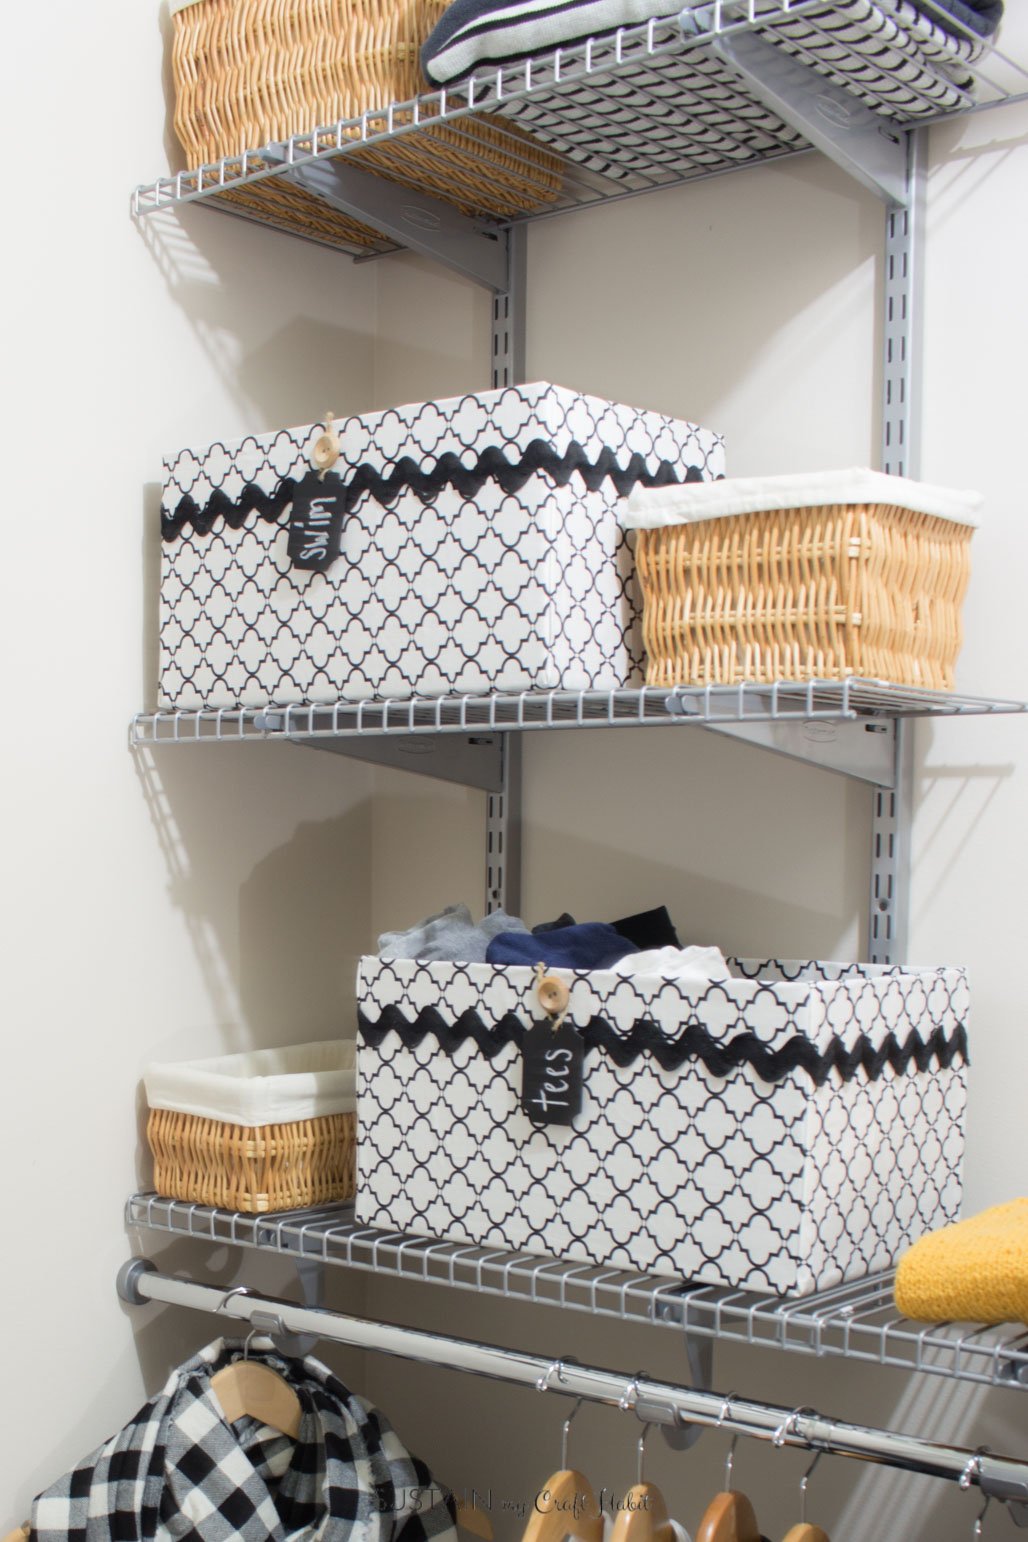
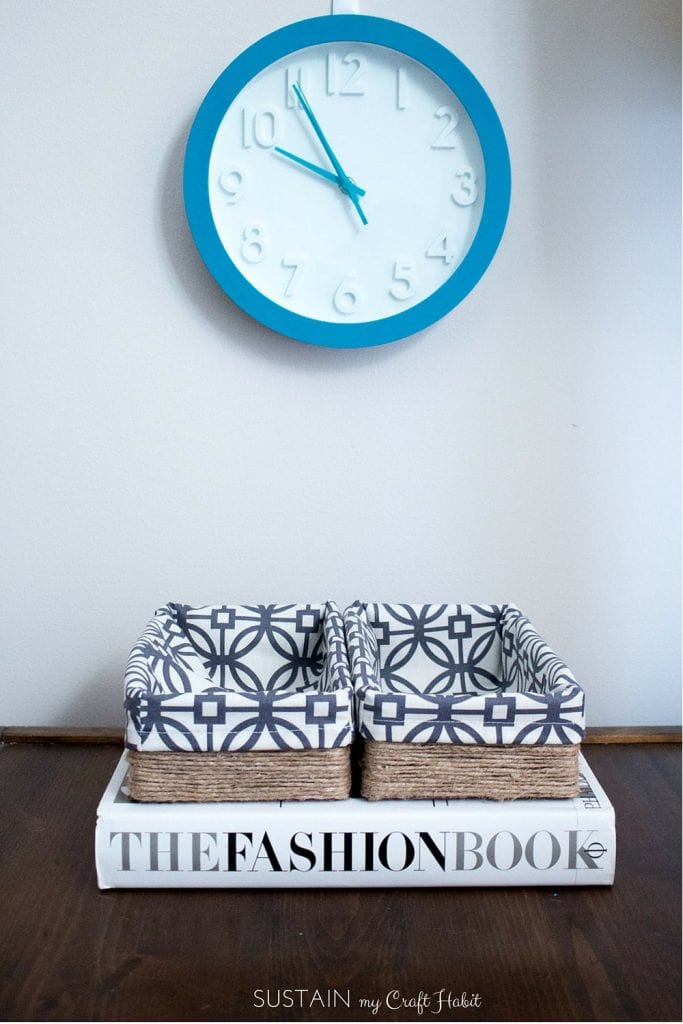
Although you can also buy additional Rubbermaid accessories (drawers, baskets, etc) to add on to the closet system, I decided to create my own beautiful storage boxes using cardboard and some fabric. These decorative storage boxes will hold our seasonal accessories such as t-shirts, tanks, scarves and mitts.
The boxes turned out so well that I’ll be making some to hold blankets in my living room and craft supplies in my studio. You could also use empty tissue boxes to make smaller bins to hold office supplies or to place on a shelving unit.
Craft Materials Needed:
Disclosure: This post contains affiliate links for your shopping convenience. Should you choose to purchase through them, we will make a small commission at no extra cost to you. You can read our full disclosure policy here.
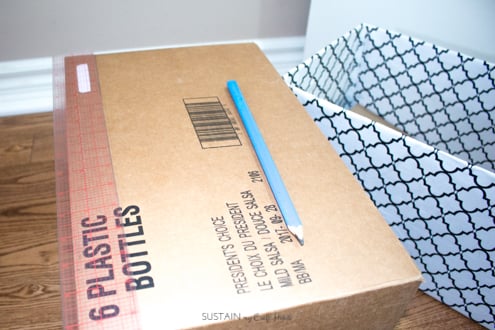
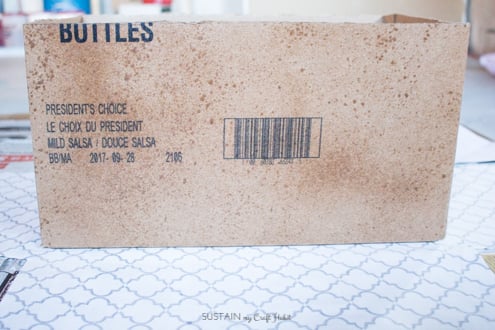
- Old cardboard boxes such as shipping or diaper boxes (mine measured 8 ½” high x 9” wide x 16” long)
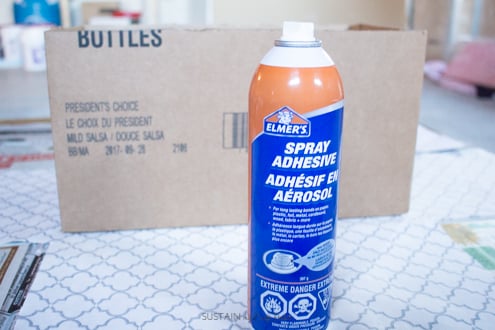
- Elmer’s Fabric Spray Adhesive
- Woven Fabric, lightweight cotton, printed or solid; 36” long x 60” wide
- Extra large black Ric Rac trim (optional)
- Chalkboard Labels (optional)
- Scissors (see our post on best sewing scissors)
- Measuring tape
- Newspaper (to protect working area)
How to Make a Fabric DIY Storage Box with Cardboard:
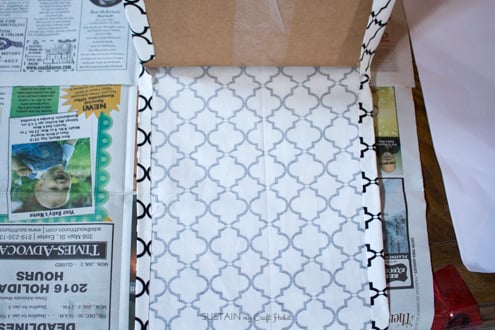
Tip: Ensure the fabric is big/wide enough to wrap around the outer box edges and fold into the inside. Lay fabric down on a protected flat surface with right side facing down. Position the empty box into the center of the fabric.
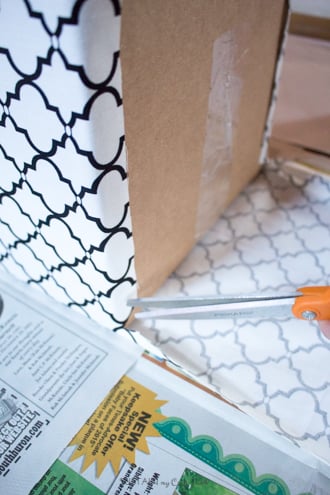
1. Cut the lid flaps and sides of the box to your desired size. Place it centered on the fabric. Using a pair of sharp scissors, cut out the corners of the fabric as shown. Leave ½” extra of fabric (i.e. a bit wider than the sides of the box you are trying to cover) on either side of the flaps (these will be folded in to make a nicer finished edge to the box).


Tip: Give the spray adhesive a shake before using.
2. Spray one side of the box. Fold the fabric up and press out any bubbles or air pockets.
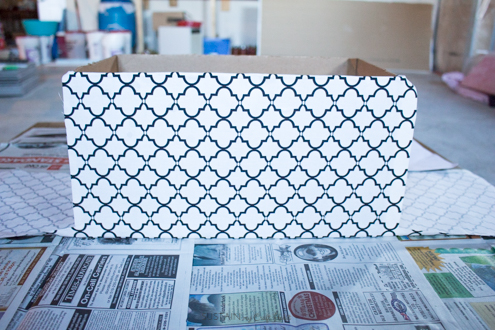
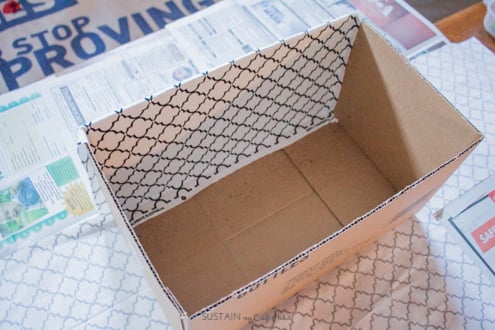
3. Spray the inside of the box and fold the fabric into the box. Press out the air bubbles. Repeat on the opposite side of box.
4. Clip the fabric corners at the bottom corners of the box. Wrap the cut edges around corners of box.
5. Fold lengthwise cut edges as shown. Spray outside of box. Fold fabric up and press out all air bubbles. Spray inside of box and fold fabric into box. Repeat on opposite side of the cardboard box.
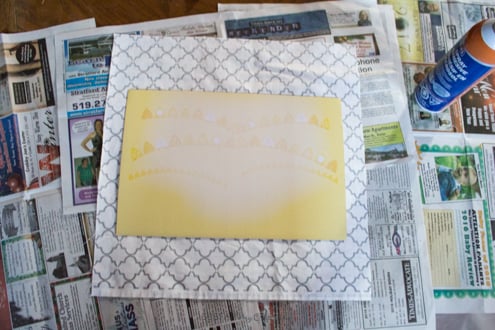
6. Measure and cut a piece of cardboard about ¼” to ½” smaller than the bottom of the box to finish the storage box. Spray and upholster with fabric and add it to the bottom of the box.
7. For decoration, you can add some ric rac to the top edge. Spray the underside of the ric rac and press onto box (or use a hot glue gun).

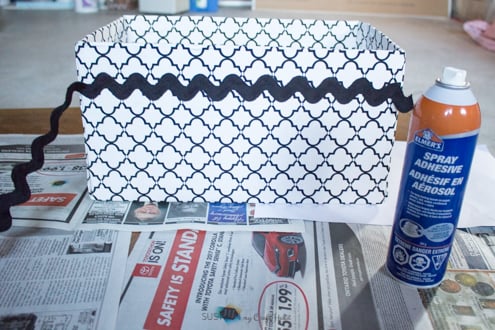
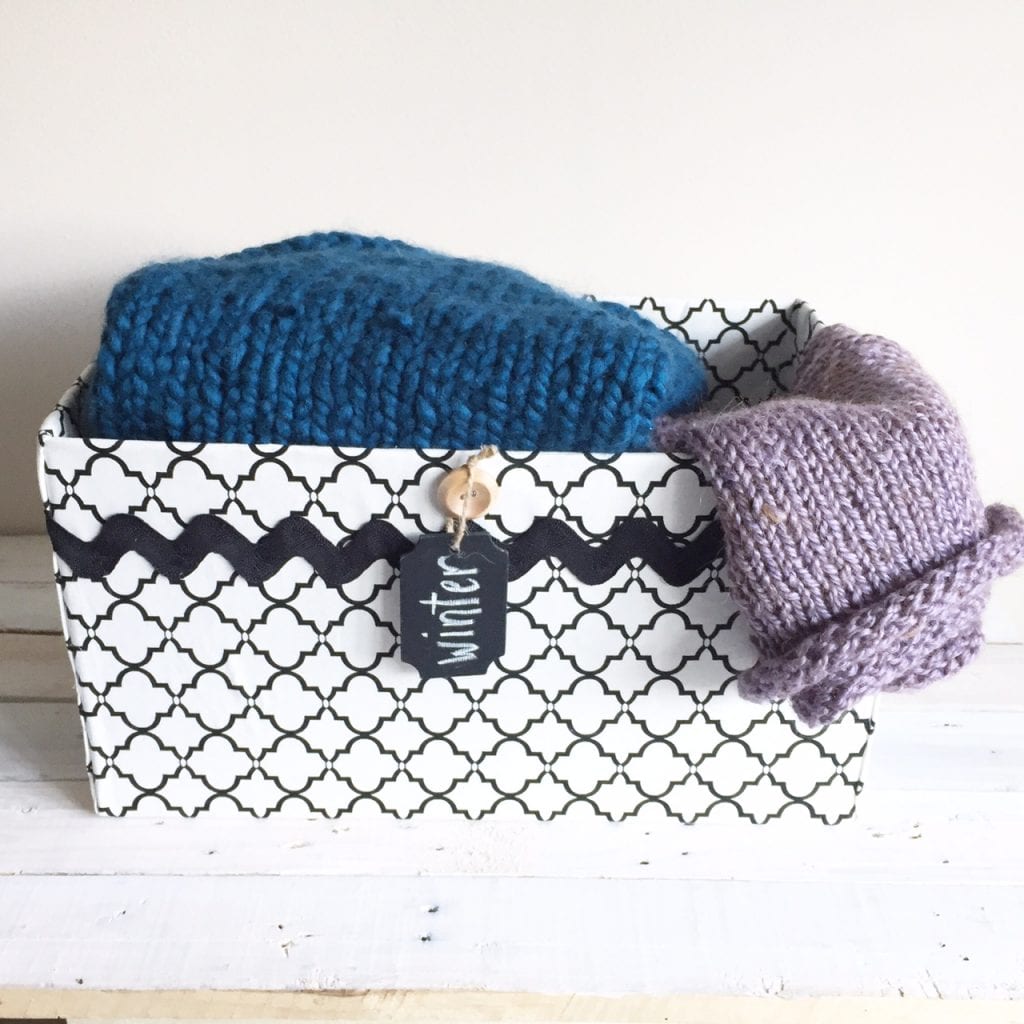
8. Adding a label to mark the contents of the of your new decorative storage boxes is an easy way to see what’s in them. I used a chalkboard tag and hung it onto a button that I hot-glued to the completed box.

I love how this project turned out. Since it’s no-sew it would also make a great project for teens along with these cool crafts.
Let’s stay in touch! Subscribe for our latest sewing patterns, tutorials and tips.
We hope you enjoyed this DIY project! Check out our collection of over 70 DIY projects you can complete in a weekend. And be sure to stop by this post to see how I organized these pretty storage boxes and configured my new bedroom closet.
Additional DIY Storage Box Ideas:
If you’re interested in additional beautiful DIY storage box ideas be sure to check out:
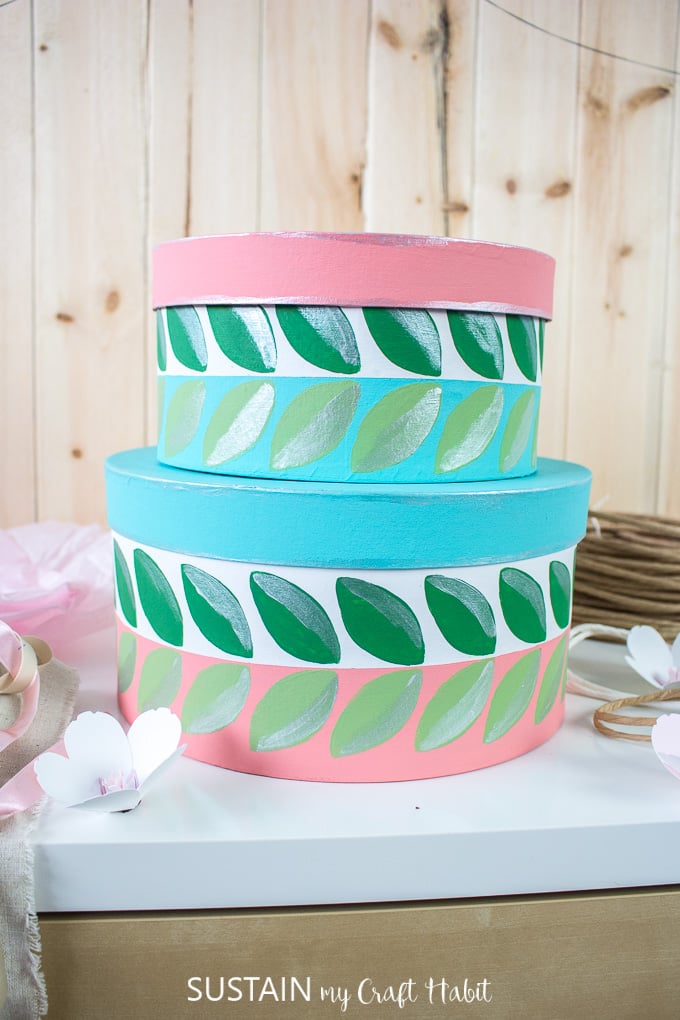
- modern retro painted hat boxes
- sewn canvas DIY storage bins for kids toys
- upcycled tissue box organizers
- stained wooden crates

What ways are you bringing organization into your life?
Like it? Pin it for later!
I have a lot of cardboard storage boxes that I would love to be able to use, but I just don’t like the look of them. That is a great idea to decorate them into cuter boxes. I didn’t think about adding fabric to the sides of the boxes. Thank you for the tutorial!
Our pleasure, Deb. Glad you found it useful. I’m always on the look out for dale priced coordinating fabrics that I could use for more of these storage boxes.