How to Make Fabric Storage Cubes
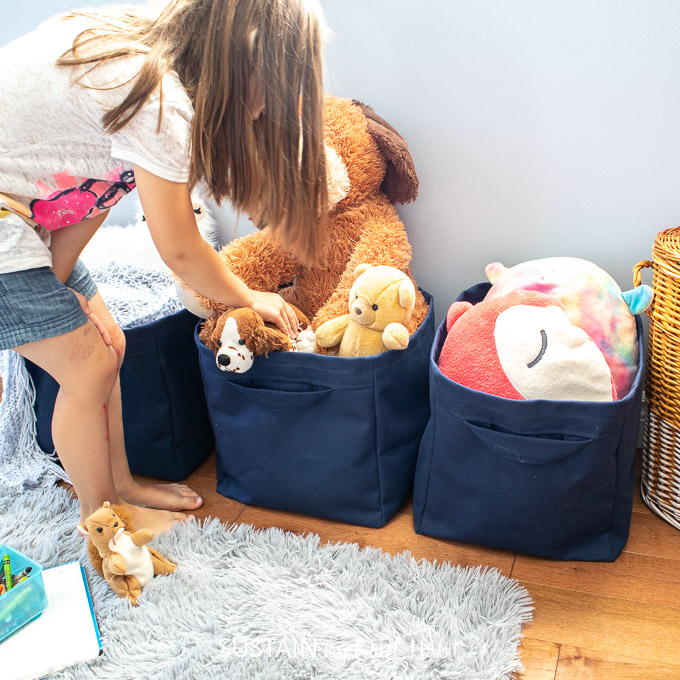
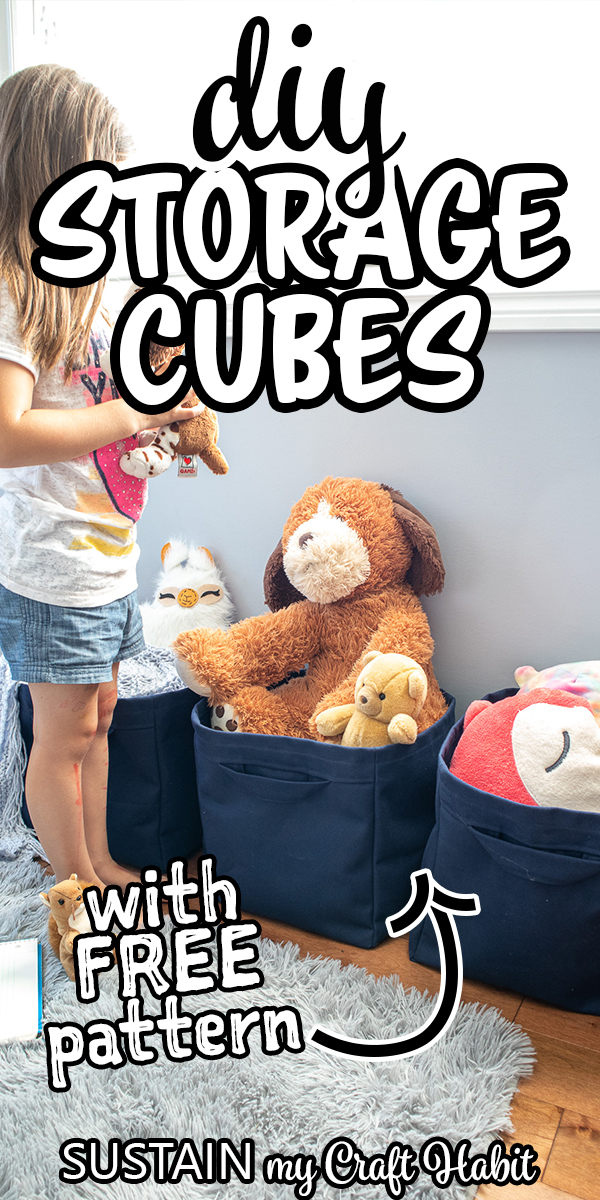
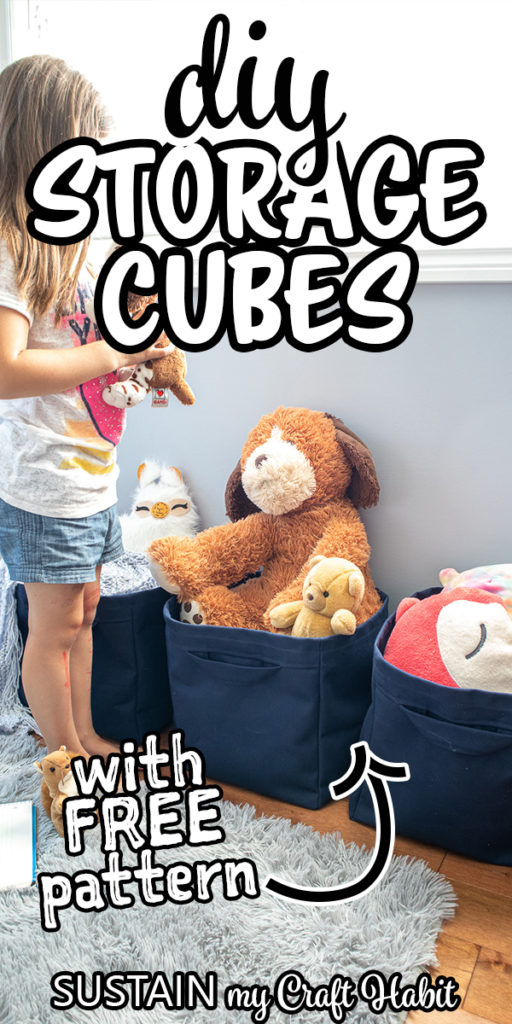
Are the kids toys and other belongings taking over every space in your home? These handy DIY storage cubes made with canvas fabric are a great way to hide all the clutter.
Disclosure: This post is sponsored by Canvas Etc. All opinions are our own. You can read our full disclosure here.
DIY Storage Cubes with Free Pattern
As you can spot in this post about my craft room/studio we have one of those huge IKEA cube storage units in my basement. For the longest time this unit was used in an effort to organize all the kid’s toys and belongings.

With four little ones at home it didn’t take long to fill them up. When we first bought the unit I also picked up four of the IKEA canvas storage cubes to go along with them. I find them to be so helpful because they’re a generous size to throw all the toys into and then slide them into the cube and clean up the clutter.
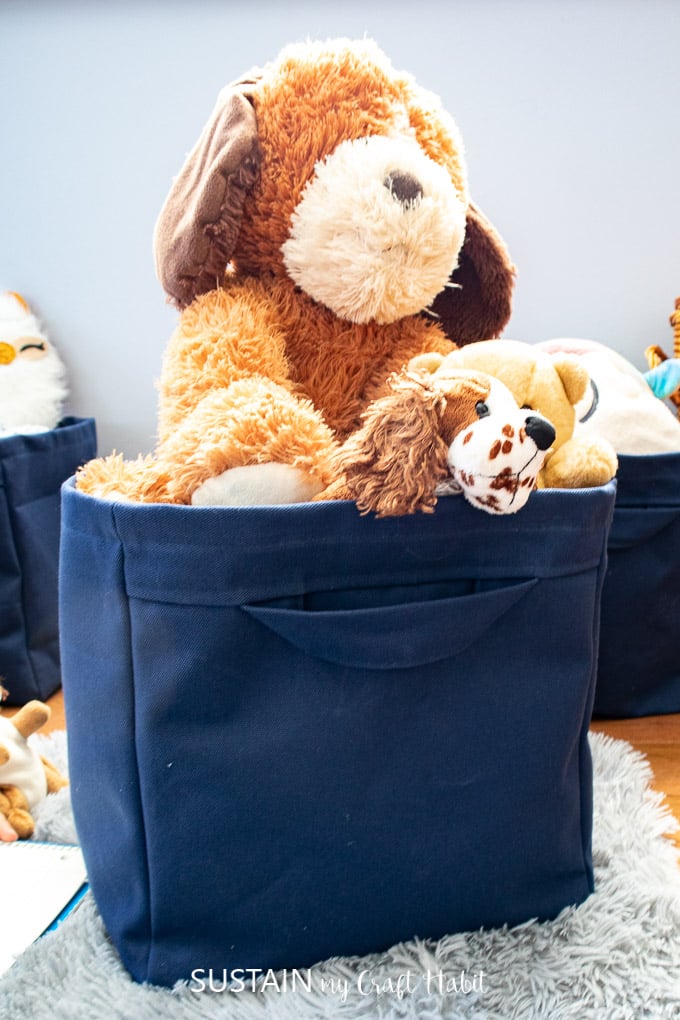
We don’t however have an IKEA close to us anymore and I wanted to add a few more canvas storage cubes for the unit. Instead we’ve DIY’ed them using 100% cotton canvas from Canvas Etc.
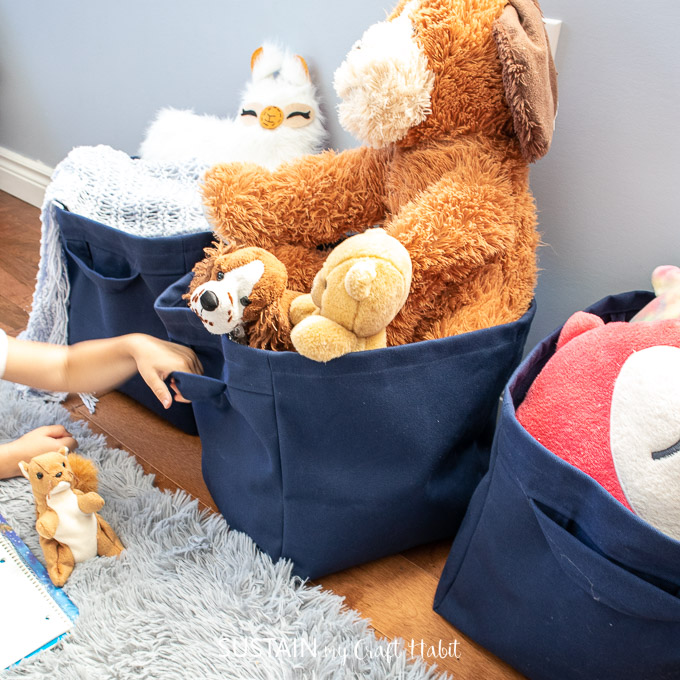
If this is your first time here you may also enjoy some of the other projects we’ve made with this versatile canvas. From a hanging toy organizer, hand-painted rug, storage ottoman, utility apron (which I’m wearing in the picture above) and more, canvas fabric is so useful for all sorts of DIY projects.
Let’s stay in touch! Subscribe for our latest sewing patterns, tutorials and tips.
Materials Needed:
Disclosure: This post contains affiliate links for your shopping convenience. Should you choose to purchase through them, we will make a small commission at no extra cost to you. You can read our full disclosure policy here.
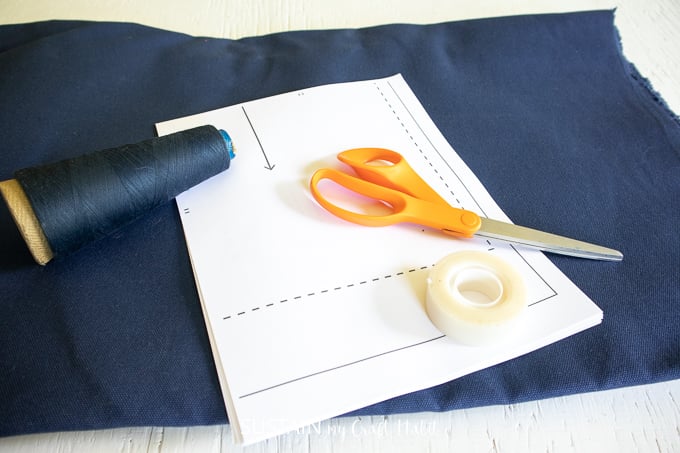
- 100% cotton canvas in a heavyweight (Number 8 Duck), Navy Blue; 1.5 yards (makes a set of 3 storage cube bins; each finished bin measures 12″ high x 12″wide x 12″long)
- Printable Storage Cube Pattern
- Sewing machine and matching thread
- Fabric scissors
How to make Fabric Storage Cubes:
Cutting Fabric
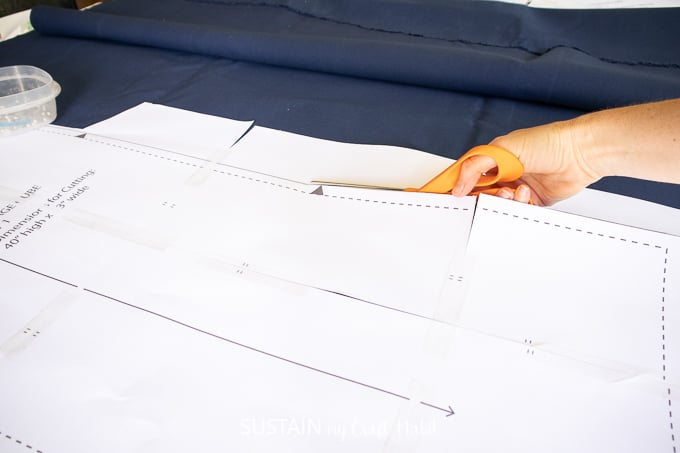
Print off the fabric storage cube pattern on 8.5×11 sheets of paper. Tape all the edges of the papers together to form a complete pattern.
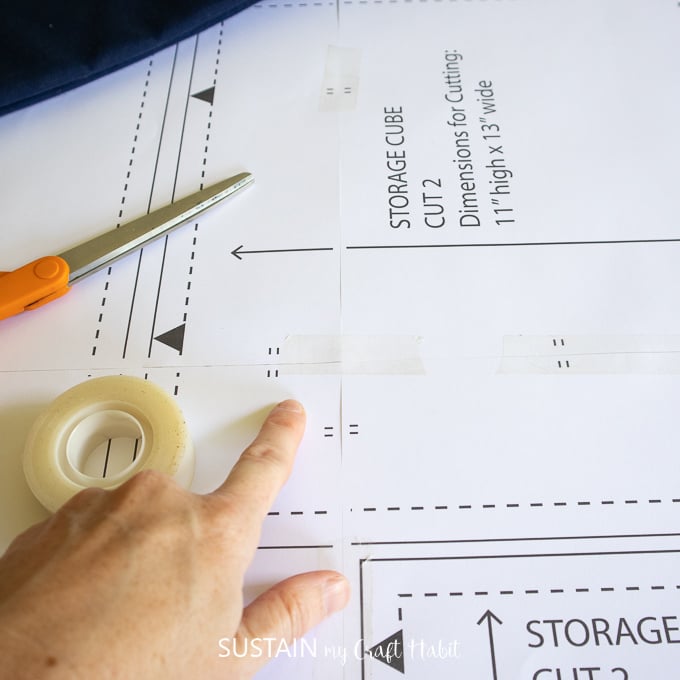
Lay fabric out on a flat and smooth surface (preferably not a carpet). Place the paper pattern on top of the fabric, aligning the grain lines and cut along the solid lines. Remember to clip all the notches as well.
Sewing
Fold the handle pieces in half lengthwise and press with an iron. Next, fold and press in the long outer edges by ½” as shown leaving the short ends unpressed.
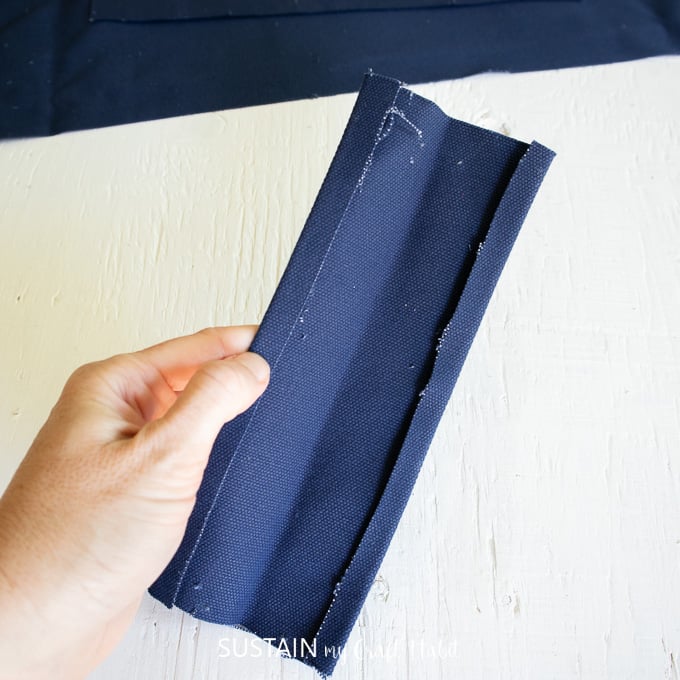
At the sewing machine, stitch the edges of the handles together.
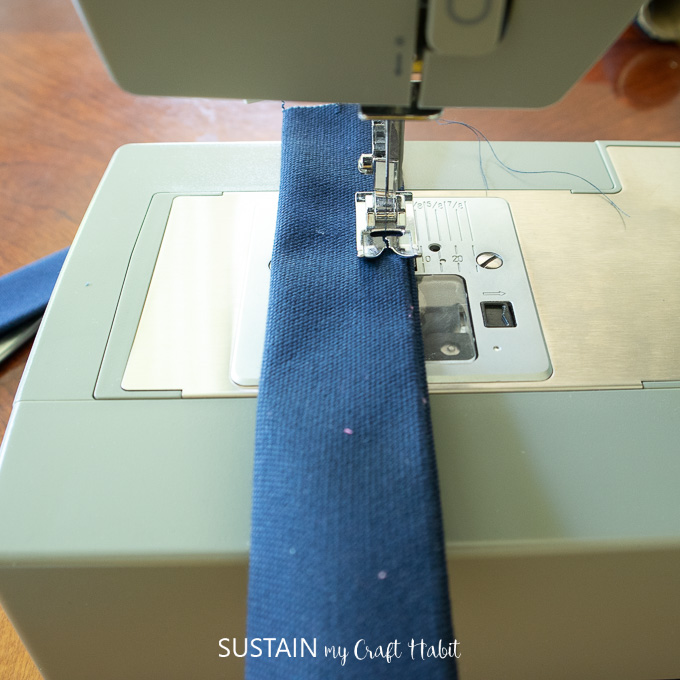
Position the ends of the fabric storage cube handle with the side piece aligning the notches. Baste stitch the handles in place.
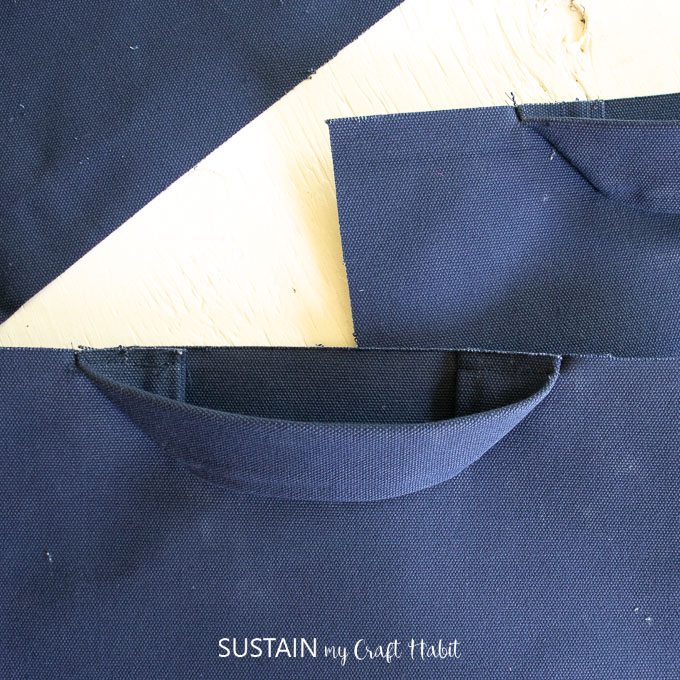
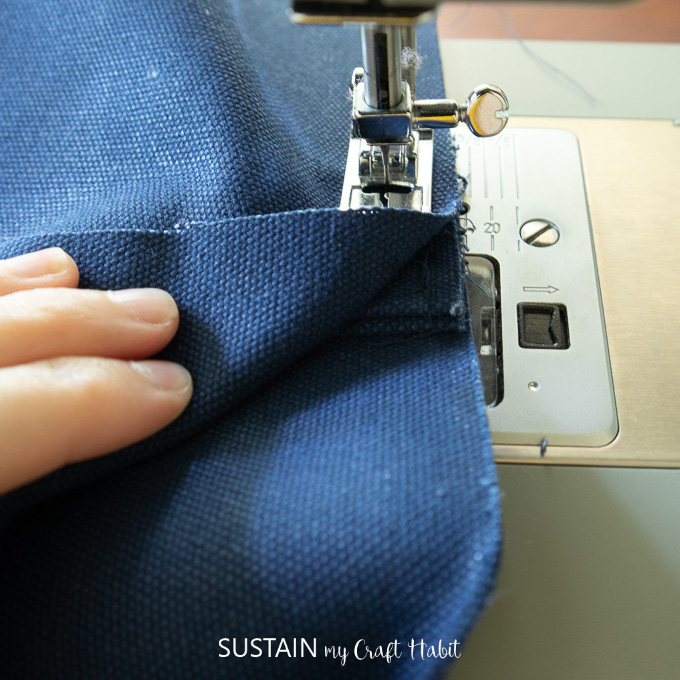
With right sides together, sew the upper side piece with the lower side pieces aligning notches and sandwiching the handle in between.
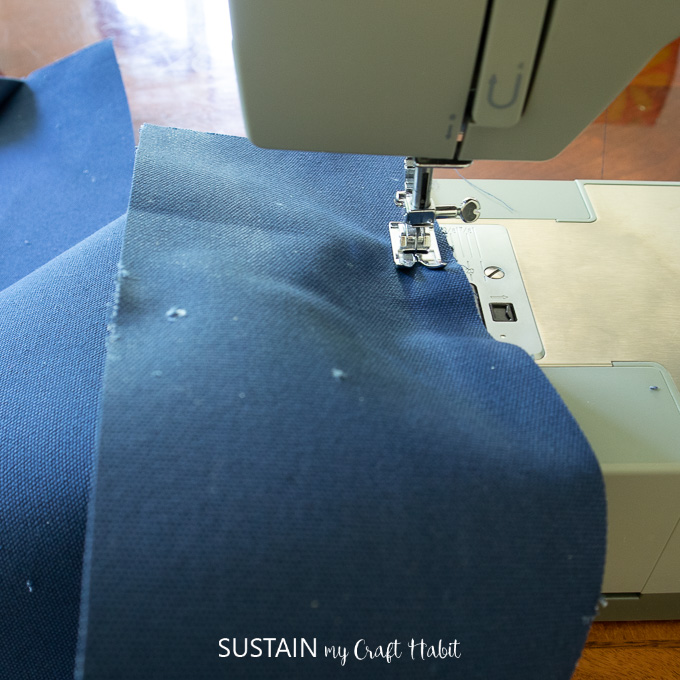
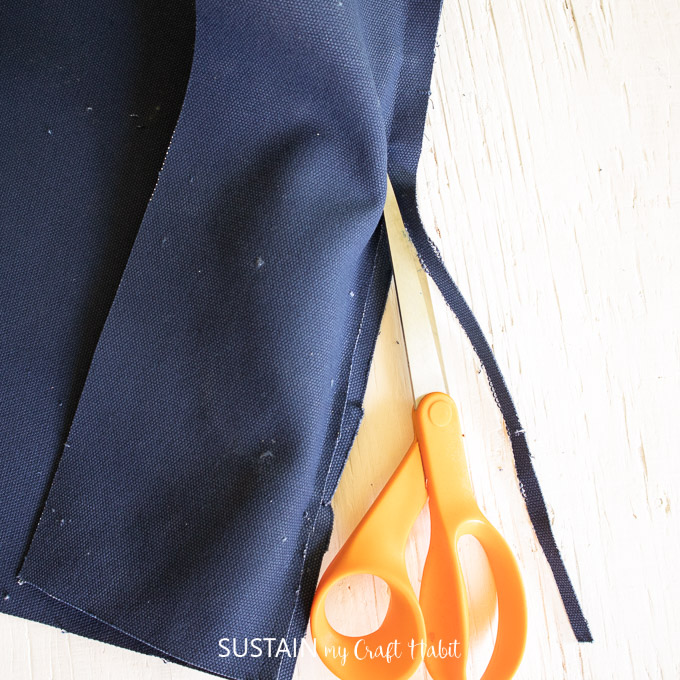
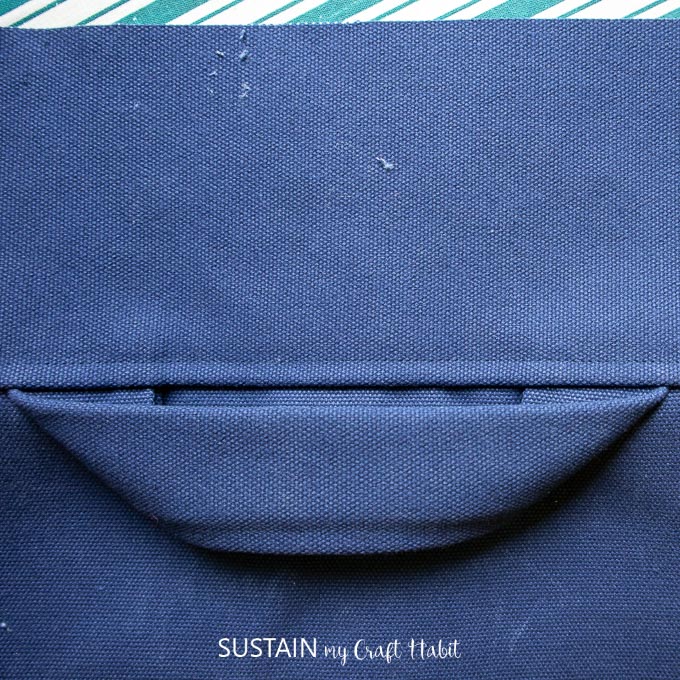
True one side of the seam allowance to reduce the thickness, then fold the seam allowance up and topstitch along the seam.
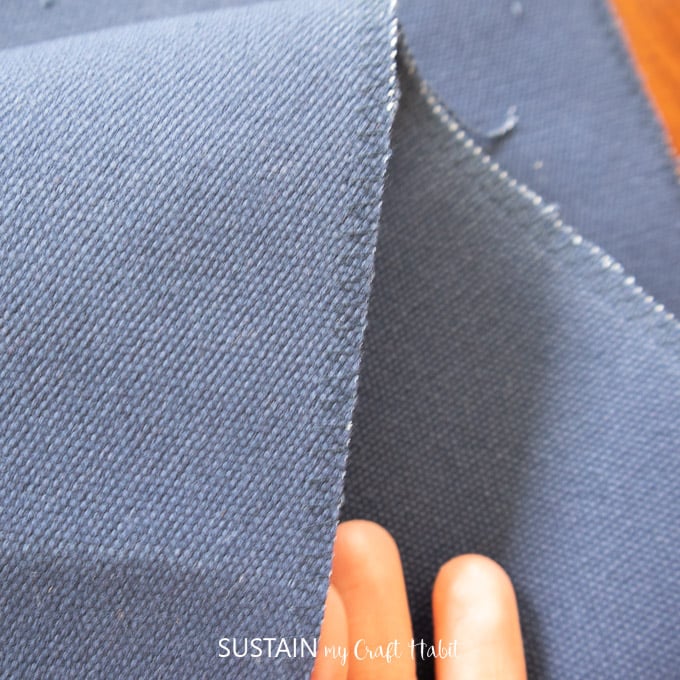
Zig zag or serge all of the remaining cut edges to prevent them from fraying.
With right sides together, position the bottom of the side pieces with the center of the long rectangular piece as shown.
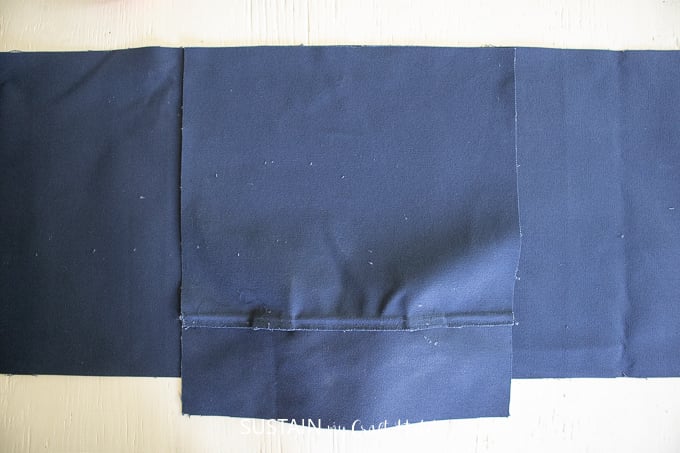
Sew the pieces together with a ½” seam allowance, starting ½” from the edge and ending ½” from the edge.
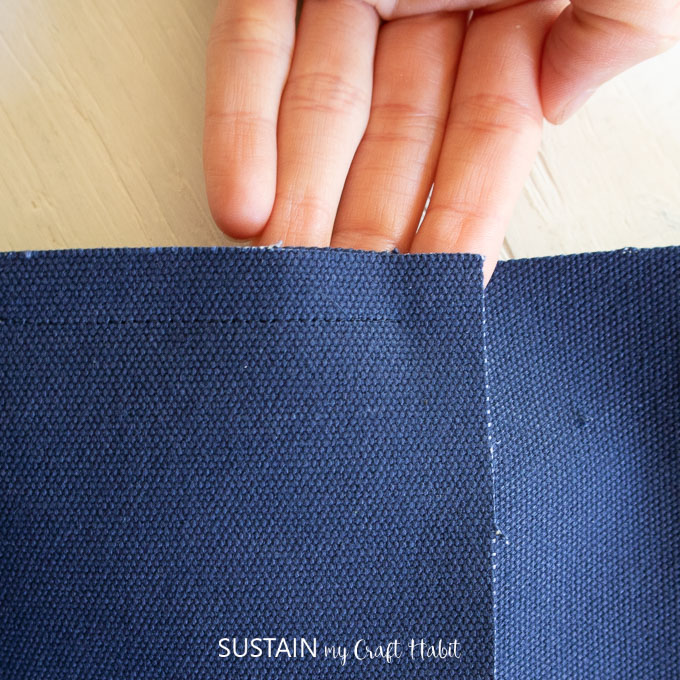
Form a corner by sewing the adjacent sides together and sewing with a ½” seam allowance. Repeat for remaining 3 corners until a cube is formed.
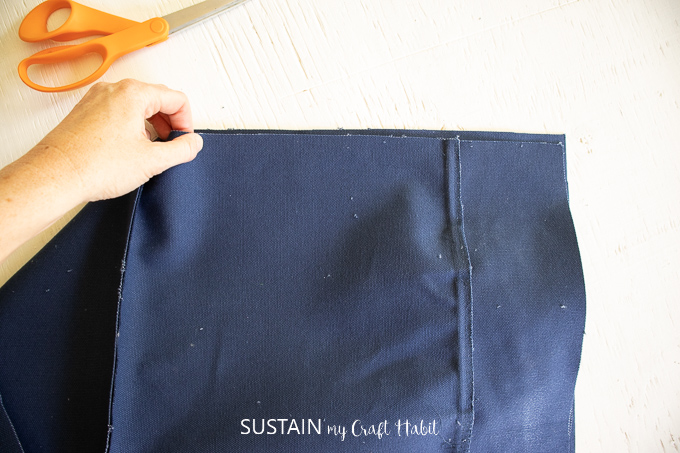
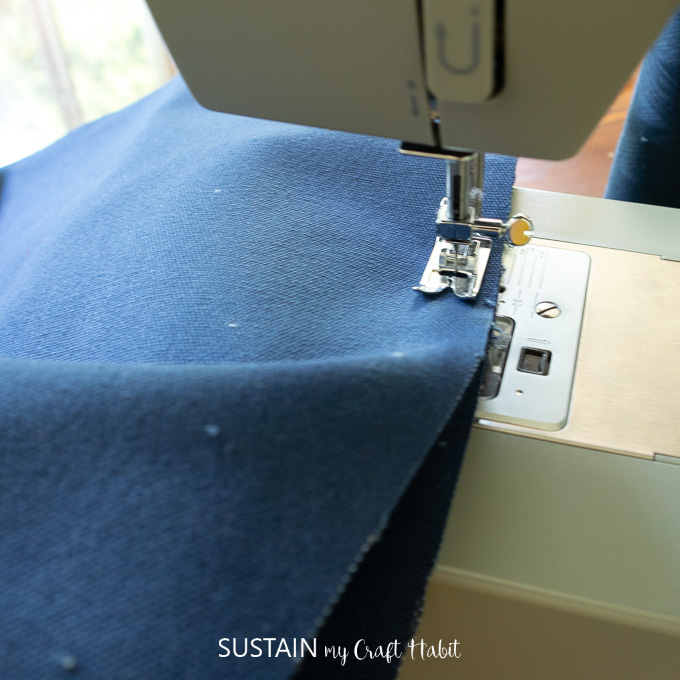
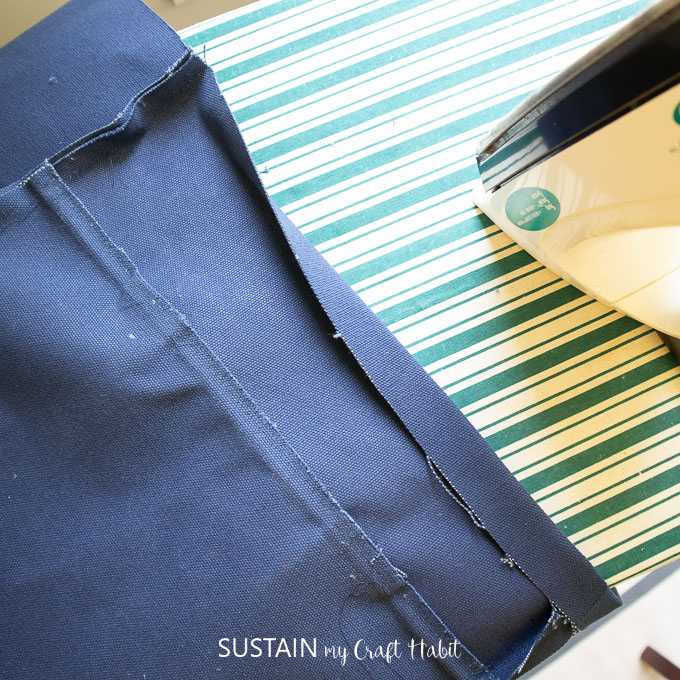
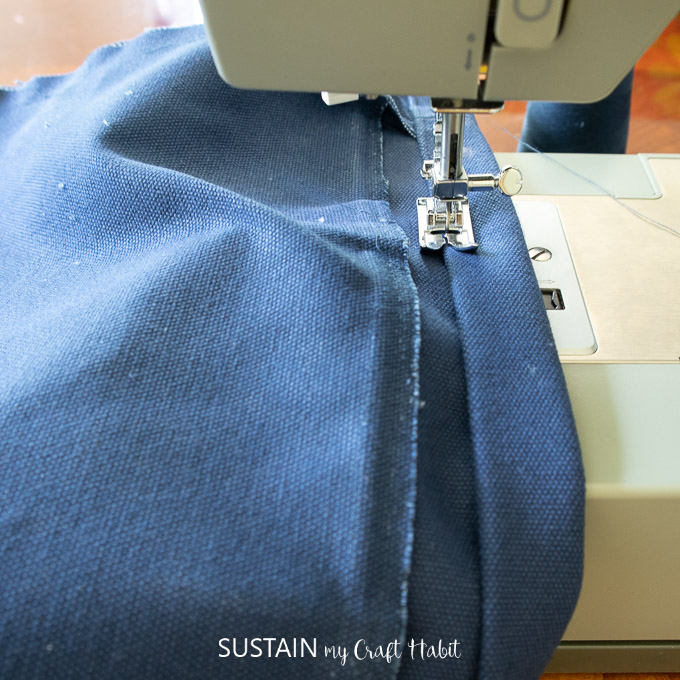
Fold over the top edge of the cube by 1” and press. Then fold over again and topstitch in place.
Did you know that CanvasEtc. offers their fabric remnants for free! Just pay a nominal shipping fee for a 5lb box of remnants for your DIY and crafting projects!
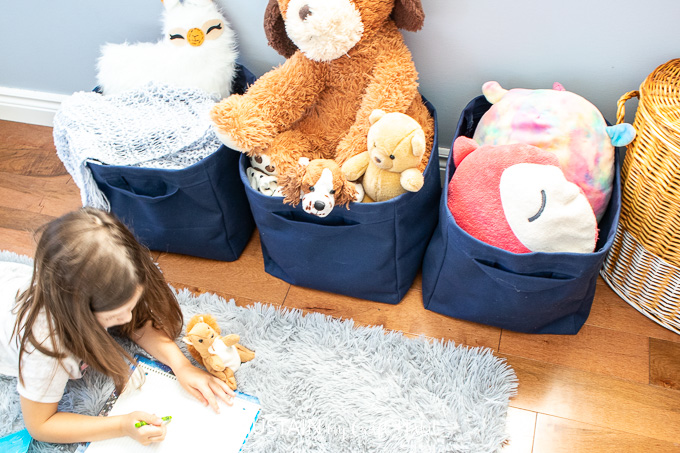
Turn the fabric storage cubes right side out and fill them with loose items, blankets or in our case, kid’s toys!
And if you have a not-so-good-looking cubby, check out these tips for how to repaint a cubby storage unit the easy way.
Get updates on the latest posts and more from Sustain My Craft Habit straight to your inbox by joining our weekly newsletter. We promise to send you only the good stuff.
Like it? Pin it for later!
DIY Storage Cubes with Free Pattern
Materials
- 1.5 yards 100% cotton canvas, heavyweight any color
- printable storage cube pattern
- fabric scissors
- sewing machine with matching thread
- iron and ironing board
Instructions
Cutting Fabric
- Lay fabric out on a flat and smooth surface and place the paper pattern on top of the fabric, aligning the grain lines and cut along the solid lines.
Sewing
- Fold the handle pieces in half lengthwise and press with an iron. Next, fold and press in the long outer edges by ½” as shown leaving the short ends unpressed. Stitch then edges together.
- Position the ends of the handle with the side piece aligning the notches. Baste stitch the handles in place and then sew the upper side piece with the lower side pieces aligning notches and sandwiching the handle in between.
- With right sides together, position the bottom of the side pieces with the center of the long rectangular piece. Sew the pieces together with a ½” seam allowance.
- Form a corner by sewing the adjacent sides together and sewing with a ½" seam allowance. Repeat for remaining 3 corners until a cube is formed.
- Fold over the top edge of the cube by 1” and press. Then fold over again and topstitch in place.




These look super sturdy and I know I always need more storage cubs, I’ll definitely be trying these.