Upcycling a Tissue Box into a DIY Decorative Storage Box
One Saturday morning, as I pulled out the last tissue from the box, I had an upcycling idea for that empty Kleenex box. I could definitely use some more organization in my life (who can’t, really?) and am always on the lookout for cheap DIY storage ideas for the home, especially those that help corral some clutter on my table and counter tops!
In my kitchen, I have one large basket that’s become a dumping ground for all things like keys, cords, chap sticks, coins, etc, etc, etc. It drives me crazy! It’s not only an eyesore but also an obstacle when I’m searching for something specific, such as a set of keys for the car as I’m running out the door. So this tissue box makeover was going to be my inexpensive DIY fix to this clutter problem.
ORGANIZING PROJECTS: Get 7 days of free tips and resources for organizing any room in your home. Join HERE!
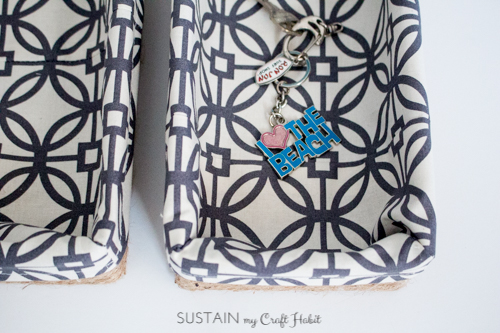
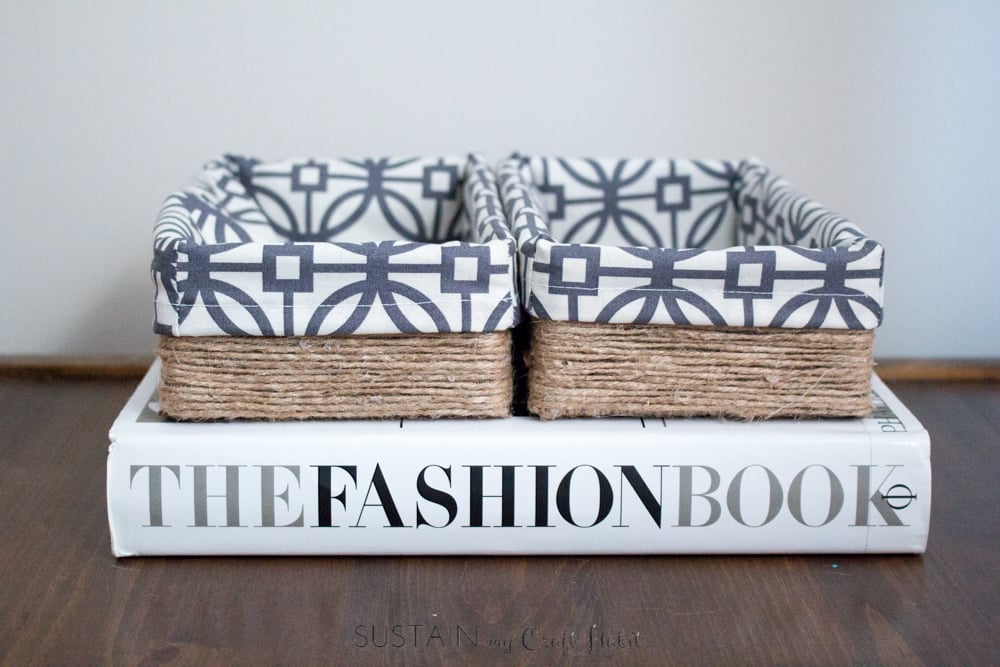
The nice thing about this DIY storage idea is that it’s not only limited to a small tissue box…any size of box could be upcycled (a shoe box, diaper box, etc). You can see how I upcycled some larger cardboard boxes into cheap and stylish closet organization bins here.
Materials Needed for your DIY Decorative Storage Box:
- Tissue Box (or any empty sized box)
- Jute twine* (if you decide to use a larger box to make your storage basket, I strongly recommend using a thicker sized twine or rope* to save yourself some time)
- Hot glue gun and glue sticks
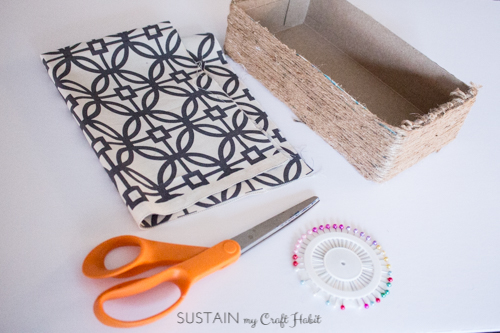
- Fabric, approximately 18” long x 13” wide for a standard tissue box (use a lightweight woven fabric such as broadcloth or linen. This simple Sea Anchors print* would make such a beautiful nautical design)
- Sewing machine with matching thread (to make the basket liner)
- Scissors
- Straight pins
How to upcycle an empty tissue box into a cheap yet expensive-looking storage basket
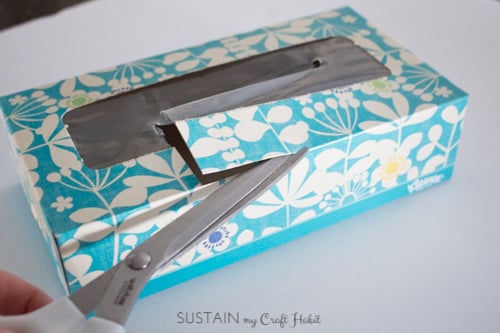
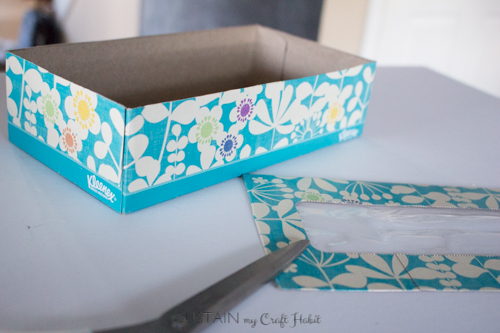
1. Prepare your empty tissue box for the transformation: using a sharp knife or scissors, cut off and recycle the top of the box.
2. Heat your glue gun. With the twine and glue gun in hand begin to conceal the bottom of the tissue box. Starting on one cut edge and working your way to the other cut edge apply a thin row of hot glue. Work quickly and press the twine in place. Continue this step until the entire bottom is covered. Tip: Place the rows of twine as close as possible to each other for best coverage and try to keep each row straight.
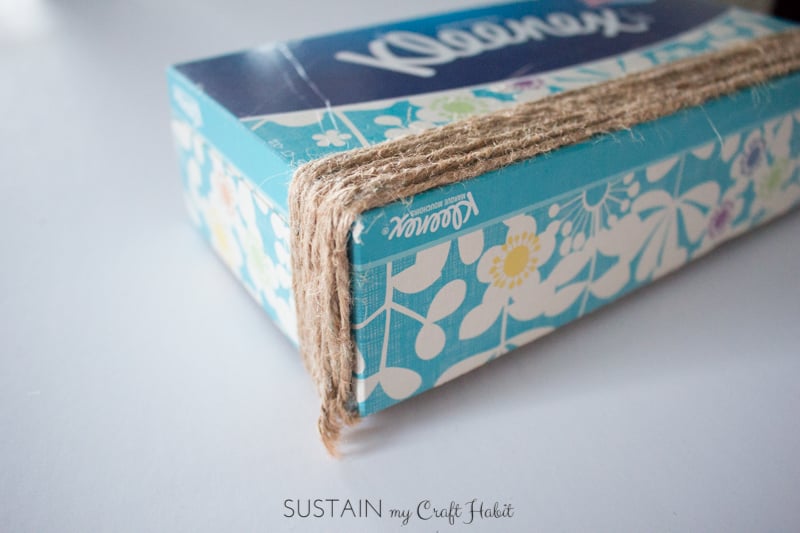
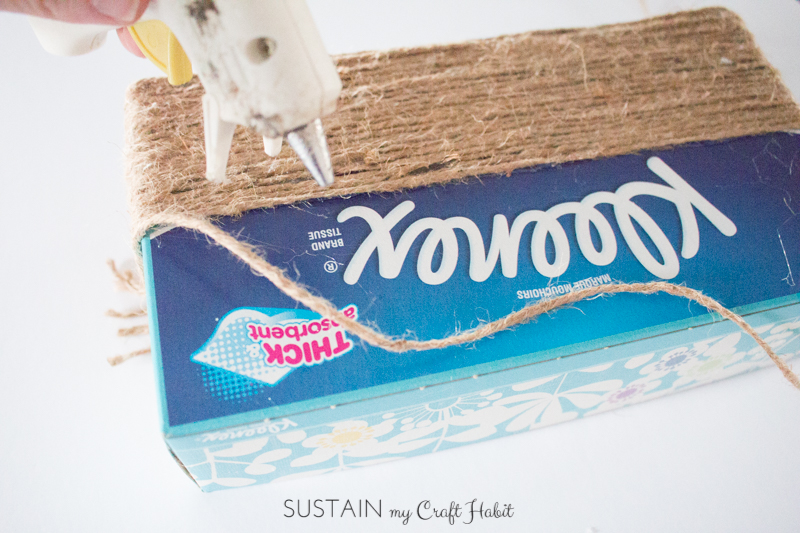
3. Once the bottom of the tissue box is covered, you can move onto wrapping the sides. Start at one of the bottom corners and work your way upward with one long and continuous piece of twine. Follow the same tip as in step 2: keep the rows of twine close and straight. If you find any gaps, you can fill them with additional strands of twine. Don’t worry, no one will notice!
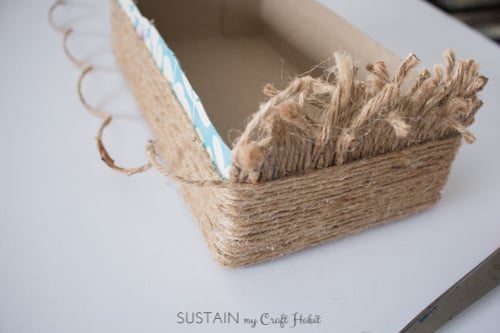
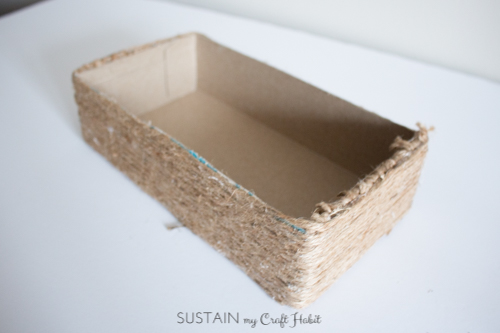
4. When you reach the end and the box is fully covered, cut the twine and securely glue the end in place. The box is now ready for the liner!
5. To create the liner, there are a couple of options:
A. For tissue boxes sized 2 ¼” H x 8 ⅞” L x 4 ¾” W use this template we made for you. It will be so easy! Note – the fabric piece needed for this sized box is 18” long x 13” wide.
B. For boxes of any other size: Start by placing your fabric on your work surface right side up. Position your empty box in the middle of the fabric. Center the box so that an even amount of fabric extends on all sides.
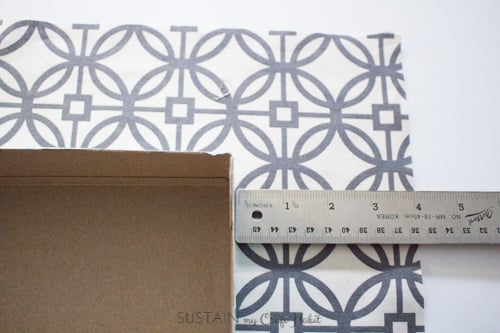
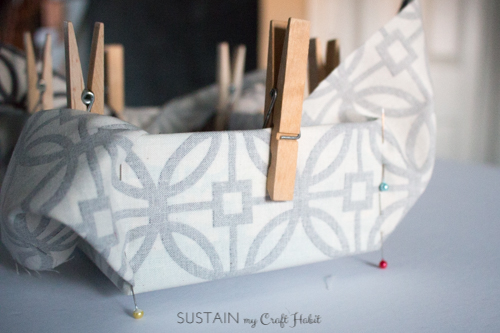
6. Fold up the fabric on all four sides and clamp in place. You want to make sure you have enough fabric that will fold over the top to conceal the cut box edges. This amount will vary depending on the size of your basket. Allow an additional 1” seam allowance for finishing the top edge.
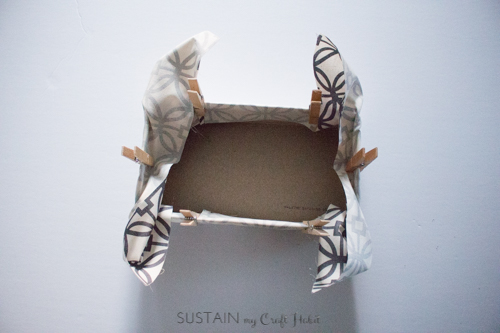
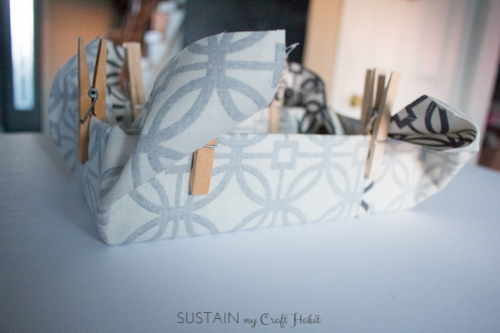
7. Using straight pins, begin to pin the fabric corners flush with the box. This will be your stitching guide. Repeat on all four corners. Remove pinned liner from box. Using a lockstitch machine, sew a single stitch along the pinned lines at all four corners.
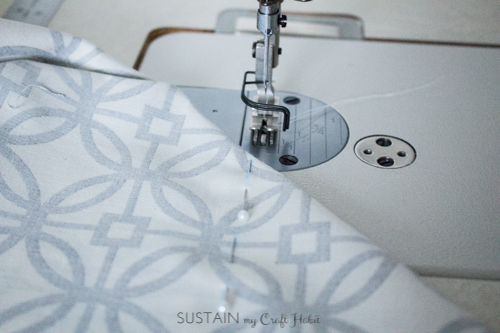
8. Check the fit of the liner before proceeding. If the liner fits well, trim off the excess seam allowance at the corners. You’re almost done!
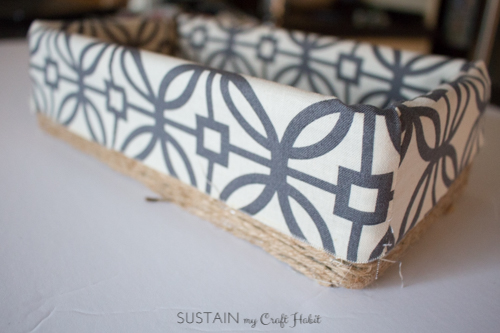
9. The last step is to finish the top edge of the liner. Double turn the edge and press with iron before single stitching in place. Put the new liner into your finished basket and fold over the liner edges.
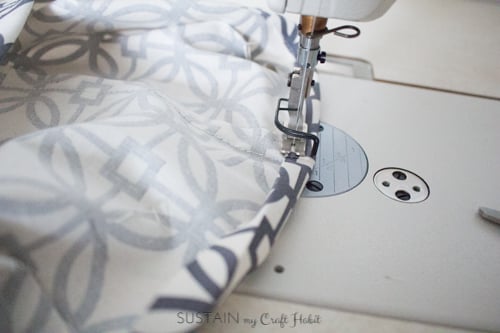
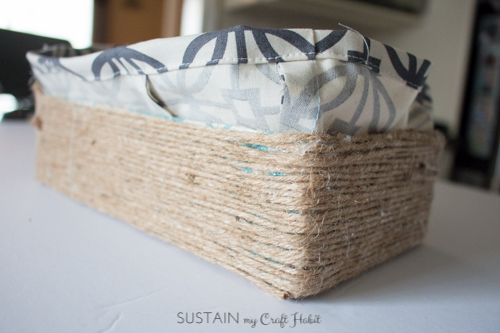
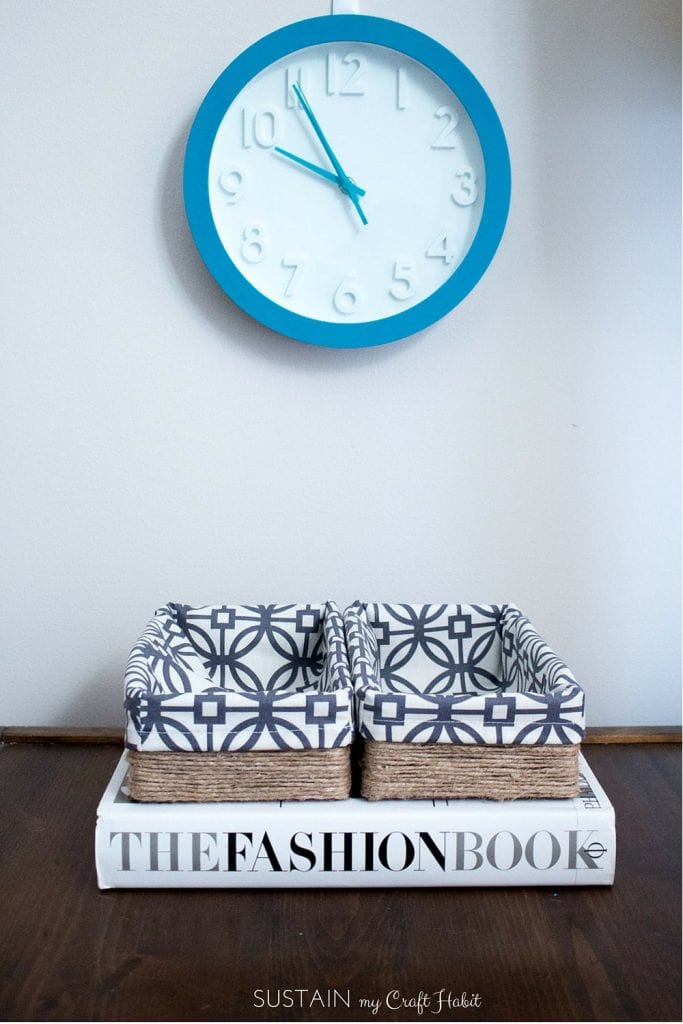
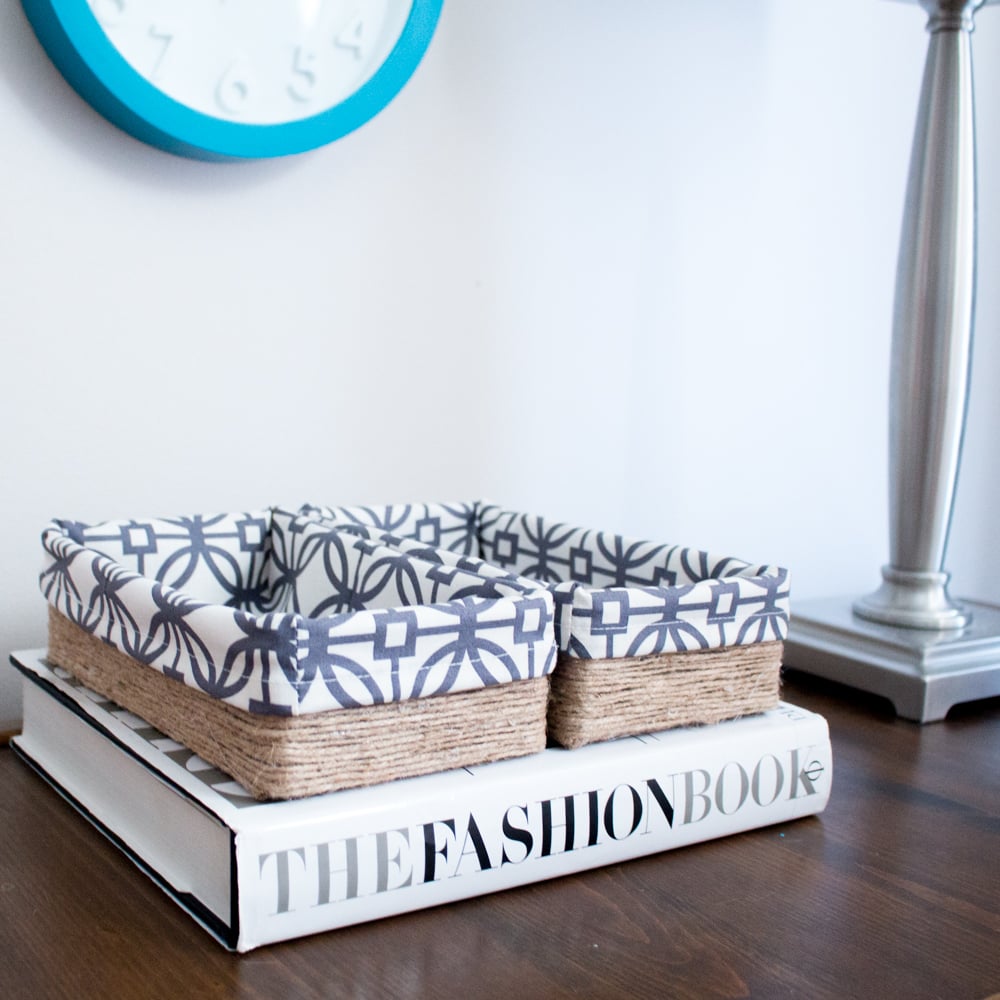
Voila! My new clutter-busting DIY home organization idea is done!
I’m loving these decorative storage boxes. They not only look great but they’re so useful and cheap to make! Would you be able to tell these were upcycled tissue boxes?
If you like this idea, be sure to join our mailing list to get more simple DIY ideas for the home. SUBSCRIBERS RECEIVE A COPY OF OUR E-BOOK “DIY RUSTIC DECOR: 7 SIMPLE WAYS TO INFUSE NATURE INTO YOUR HOME” PLUS OTHER GOODIES. SUBSCRIBE HERE.
What clever DIY storage ideas have you come up with to bring more organization in your life? Check out these other DIY storage ideas, crochet basket pattern using t-shirt yarn, Upcycled cardboard storage box and resin poured wooden memento box.





I absolutely love these! Can’t wait to make them.
Thank you so much Sandy! They really are so useful – we’re already itching to make more to hold all the little nick-knacks. We’d love to see a picture if you make them – feel free to email us if you have a chance. Have a great day.
Ha! This is clever! I’ve searched all over the internet to find a classy DIY. So glad I stumbled upon your page.
tooooo cute…love them
Thank you so much Michelle!
This is just too easy to make! I love it!
It is super easy, you’ll never want to throw away another tissue box:)
Just what I was looking for.
Thank you for your time 🙂
very cute fabric pattern btw !!
Thanks, Adriana! It was fun to watch the transformation from kleenex box to storage basket! And that fabric was one of my favorite finds, was happy to have plenty leftover for other crafts.