DIY Nautical Table Lamp Makeover
Ready for an ugly duckling to be transformed into a golden white swan? This lamp makeover has been one of our favourites, upcycling a dated piece into a beautiful nautical showstopper! Learn how easy it is to paint a lamp base without spray paint.
We have this thing for lamps…
Bear with us, as this may sound a little strange: both Jane and I collect old table lamps. We we pick them up at flea markets, garage sales or are given them as hand me downs.
We can’t resist! There is so much potential in each and every lamp that we get excited at the chance to makeover, upcycle and refresh one whenever we can. And really, can you ever have too much lighting?
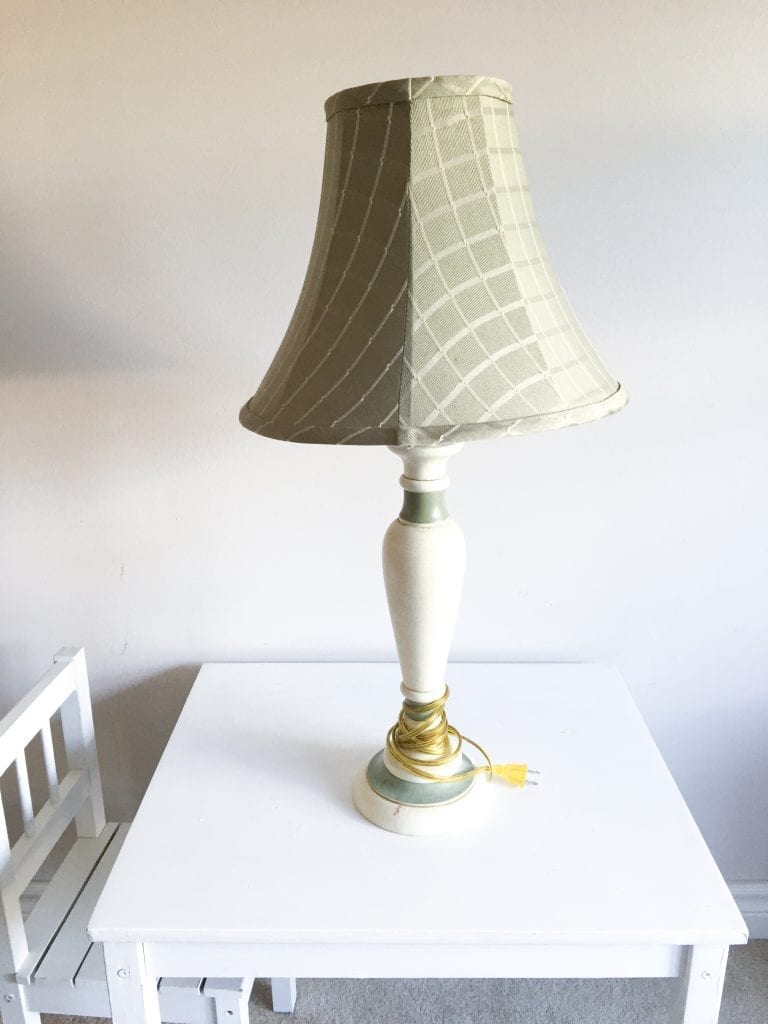 The “before”.
DIY Lamp Makeover with Metallic Paint
“Thank you to DecoArt for sponsoring this post. All opinions expressed are our own. Also, this post contains affiliate links which means if you buy any products through these links – at no additional cost to you – we make a small commission. You can read our full disclosure here.”
We were pretty excited to work with DecoArt Americana Decor® Metallics™ for this table lamp upcycling project. These acrylic paints are specially designed to create a durable and reflective metallic finish. They’re great for craft projects, to use as an accent on furniture makeovers and can even be used to paint walls if you’re feeling bold and dramatic. There are 14 beautiful and rich metallic colours to choose from.
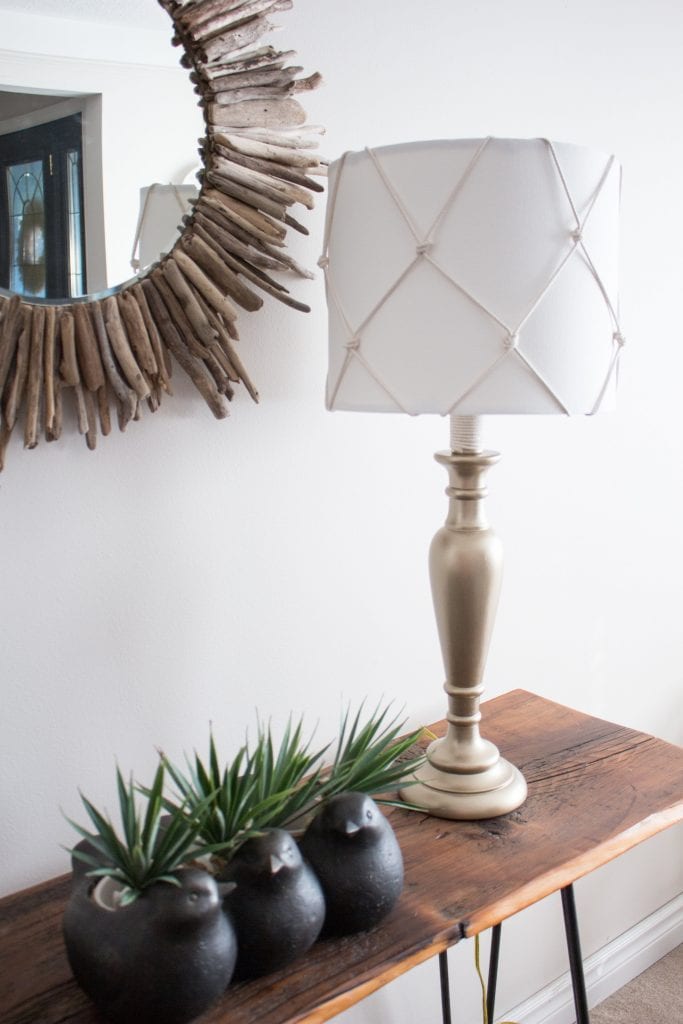
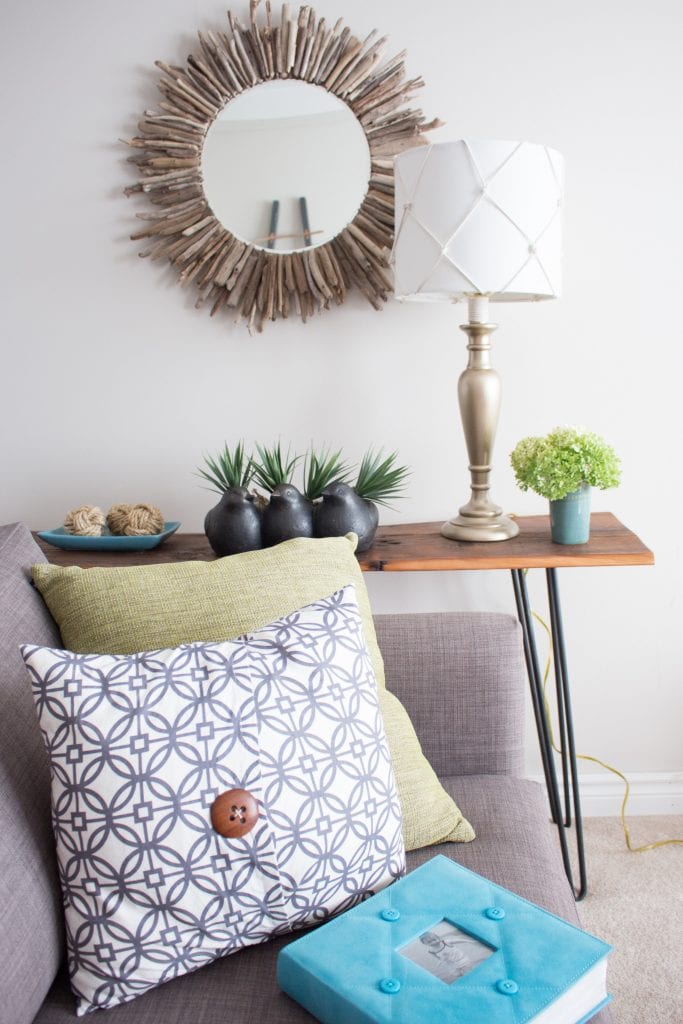
We selected a lamp with an interestingly shaped base as we planned to replace the lampshade with a more modern barrel style. And, of course we needed to give it a little nautical touch to go with our growing coastal decor collection!
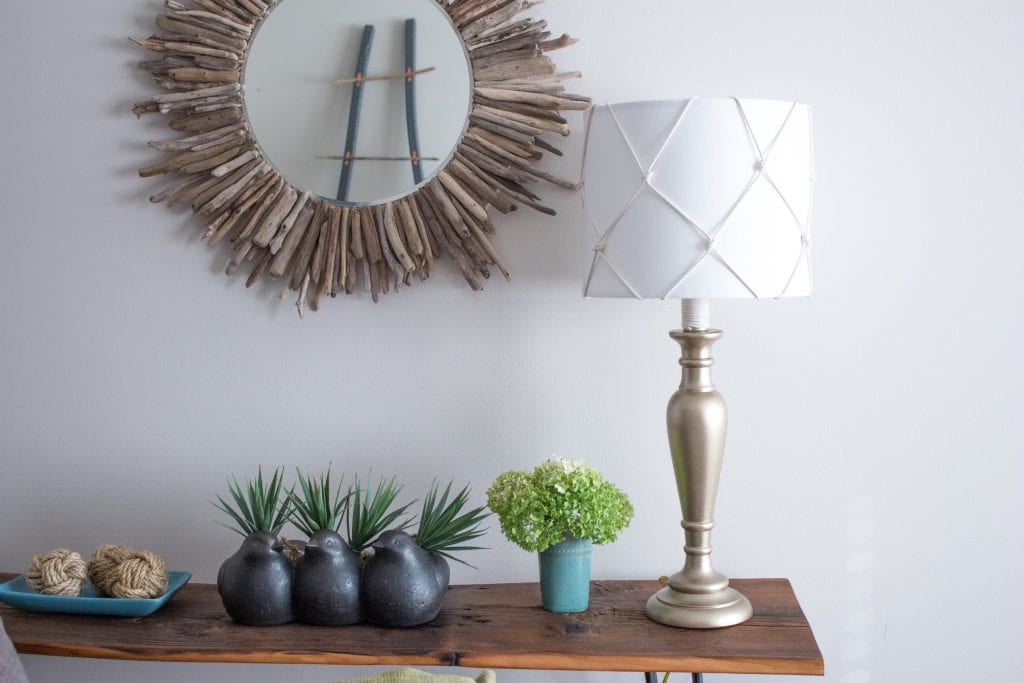
You can find the tutorial for some of the other DIY projects pictured here:
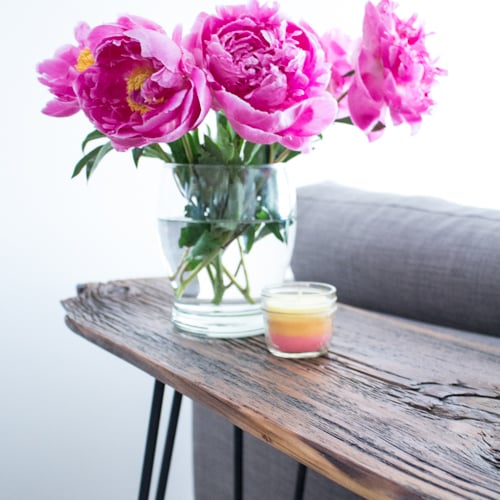
DIY Barn Board Console Table
Blanket Ladder with Driftwood
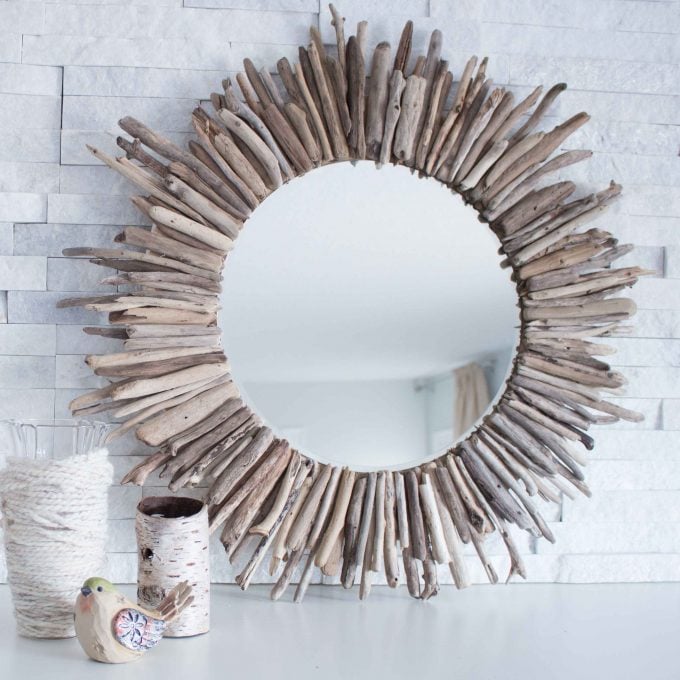
DIY Driftwood Mirror
Materials Needed for this Lamp Makeover
- Old table lamp
- Americana Decor® Metallics™ in Champagne Gold
- Paintbrush
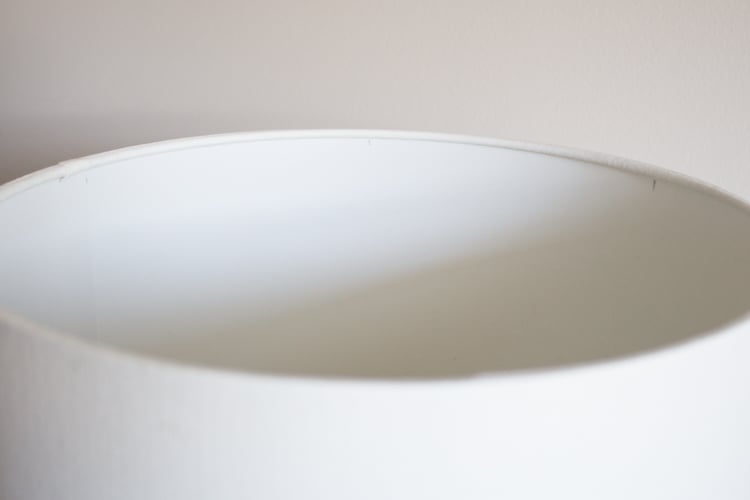
- Drum style lampshade such as this one (Amazon affiliate link) in white; 10” high x 10” diameter (top and bottom)
- Measuring tape
- Pencil
- Scissors
- Braided cotton rope, ⅛” thickness (Amazon affiliate link) ~20 feet (x6 strands at 40” long each)
- Hot glue gun and clear craft glue sticks
How to Paint a Lamp Base
- To give the base of your table lamp an updated look with beautiful metallic paint, start by cleaning the surface with a damp cloth to remove all dirt.
2. Give the jar of DecoArt metallic paint a good shake before using. Apply a thin and even coat of paint to the base of your lamp. Leave it to dry fully.
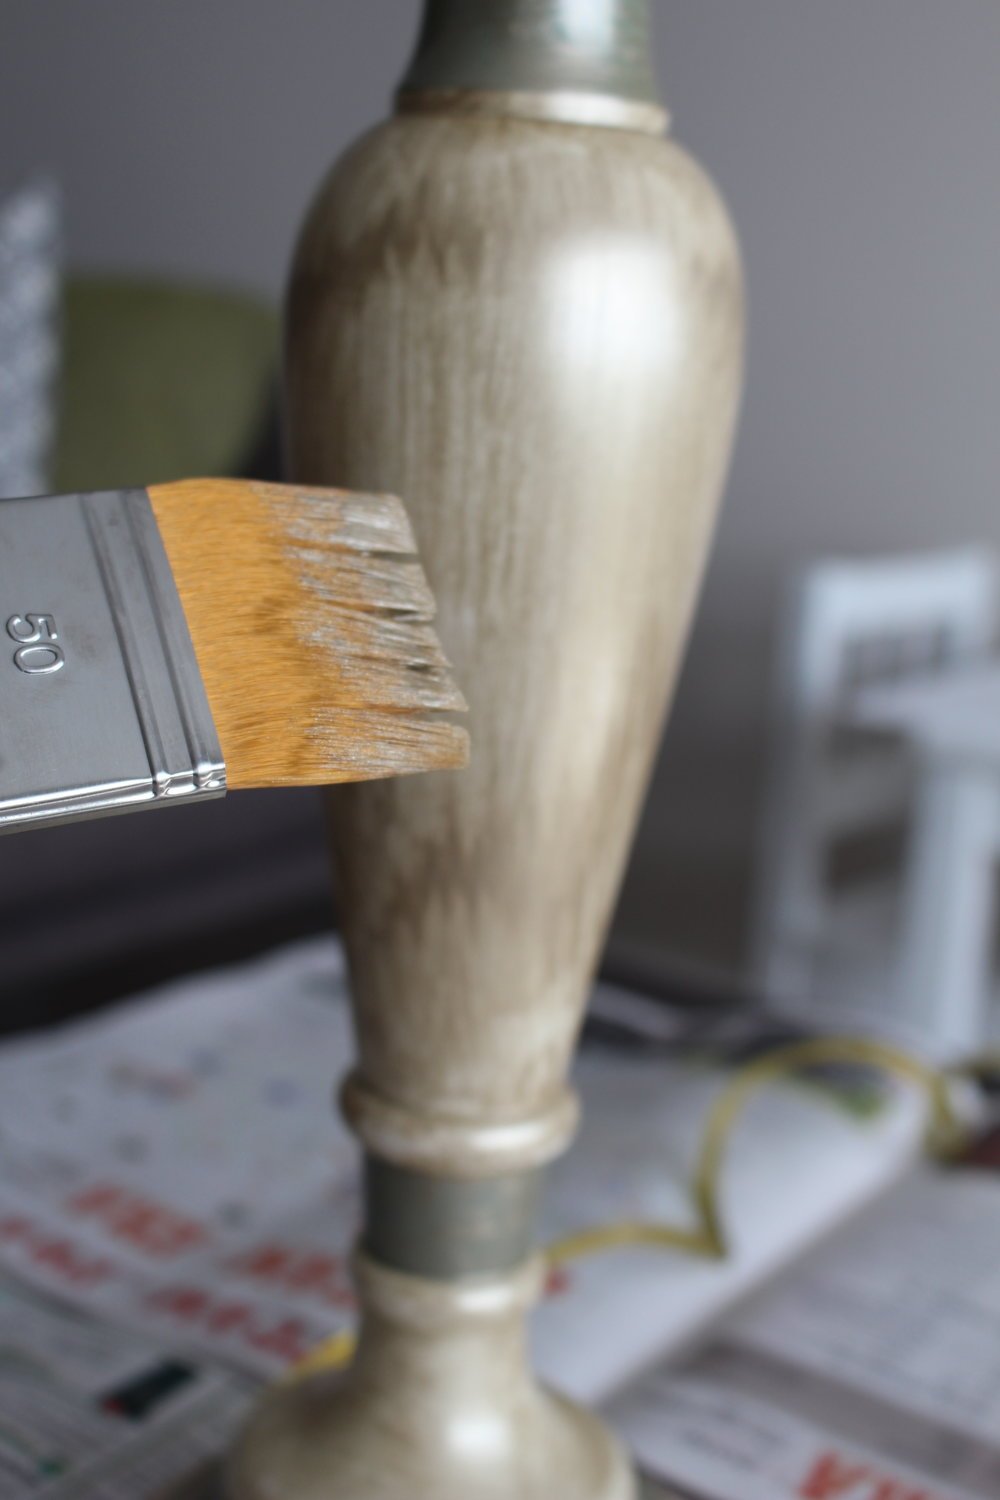
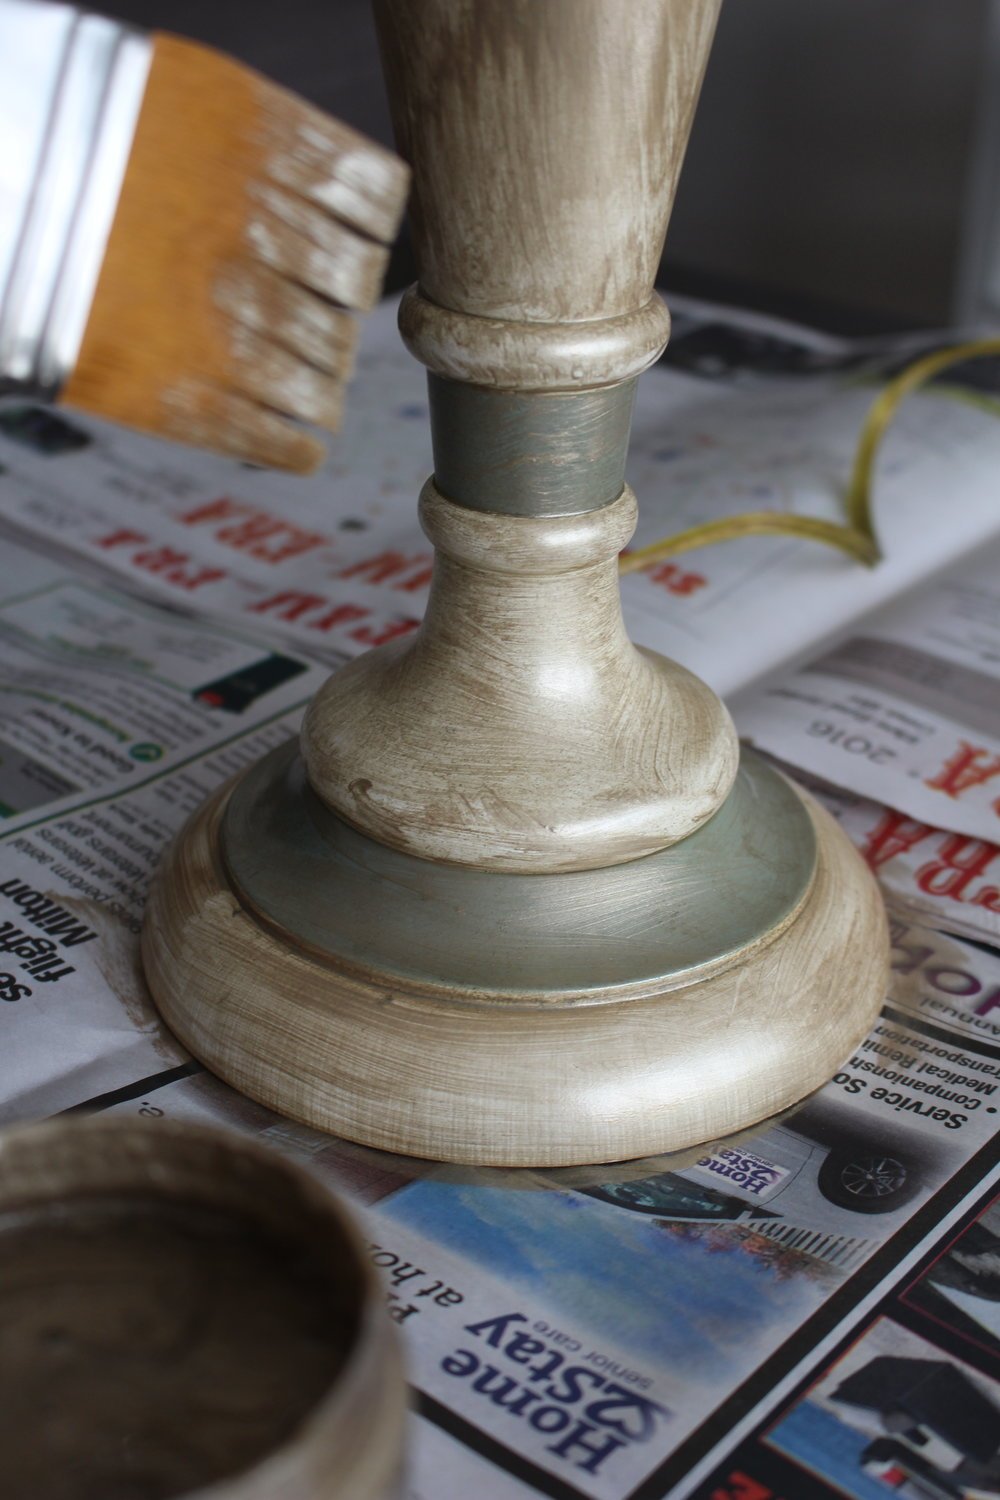
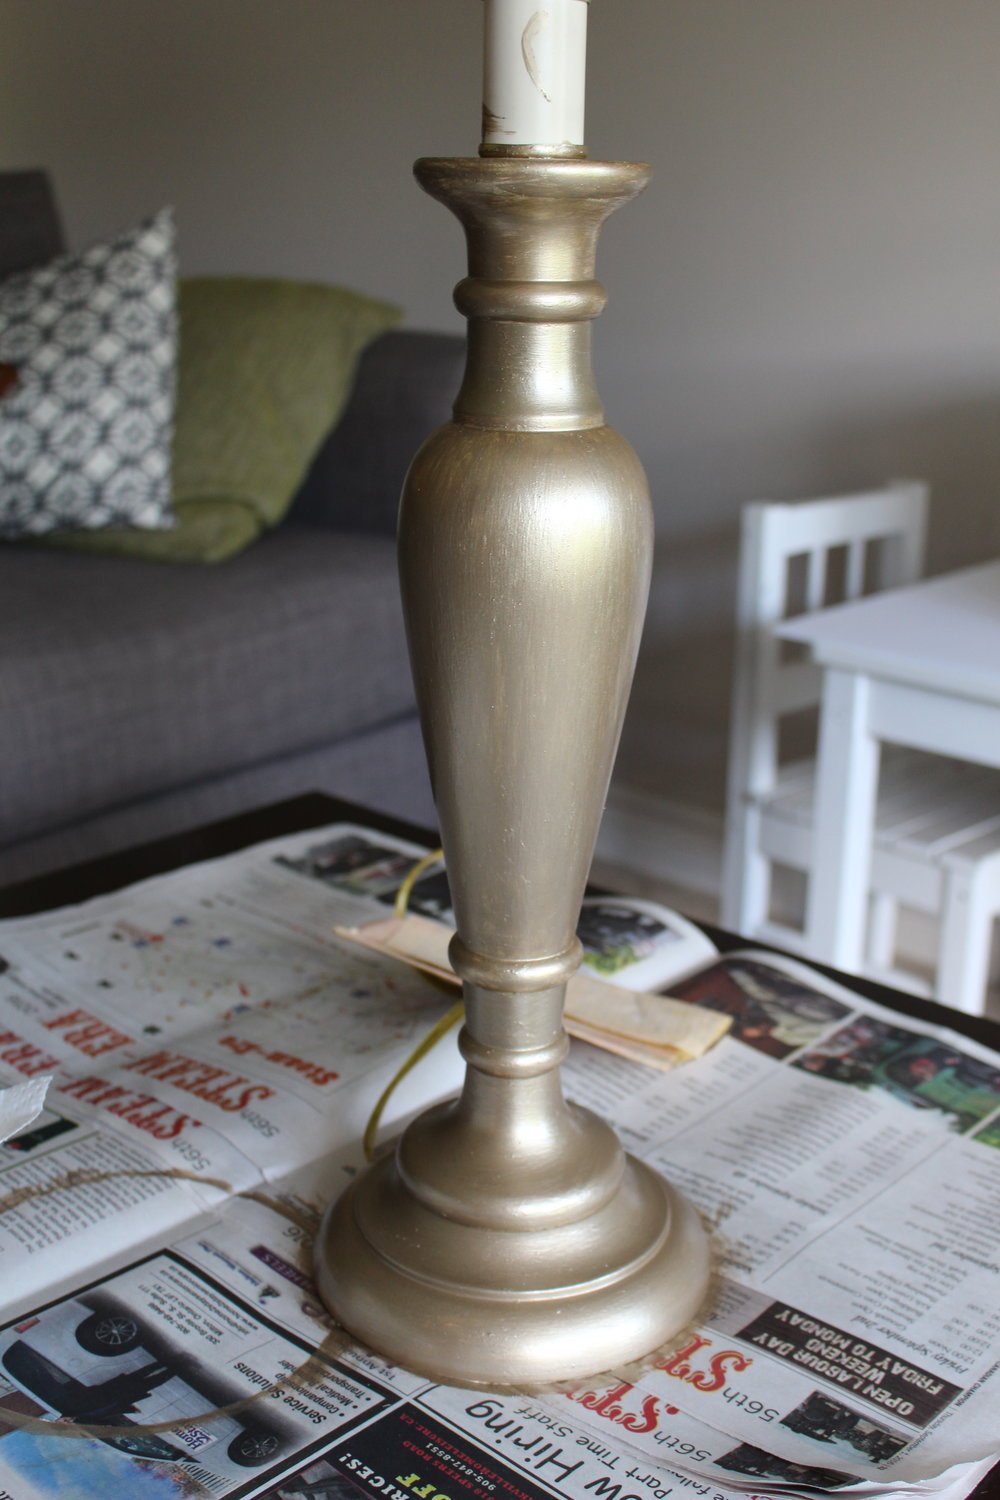
3. Apply another of paint and repeat these steps until you are happy with the coverage. Brush strokes will appear in the first few coats but as more coats are added, the brush strokes fade away.
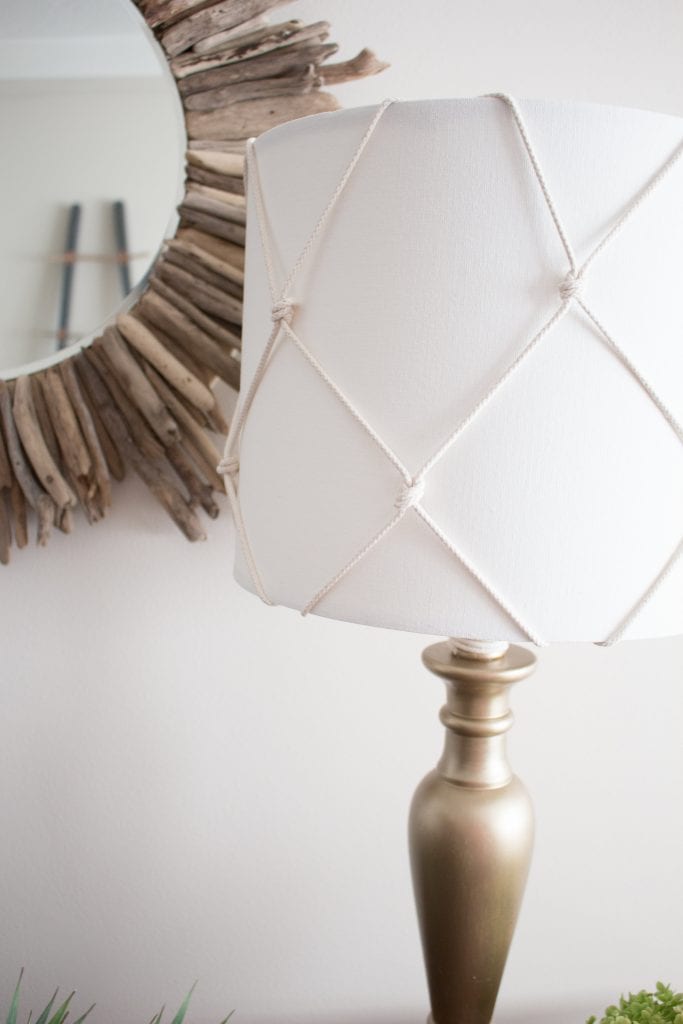
Make a New Nautical-Inspired Lampshade
The next step will be to give your new lampshade a nautical vibe with the addition of a fishnet pattern.
1. Determine lengths of rope to be cut: Some math is required here:
Calculate the rope lengths you’ll need to create the fishnet pattern:
Rope lengths = 4 x lampshade height
Rope lengths = 4 x 10” (the height of our lampshade)
Rope lengths = 40”
We chose to have 6 vertical strands on our lamp but you can have more or less if you like.
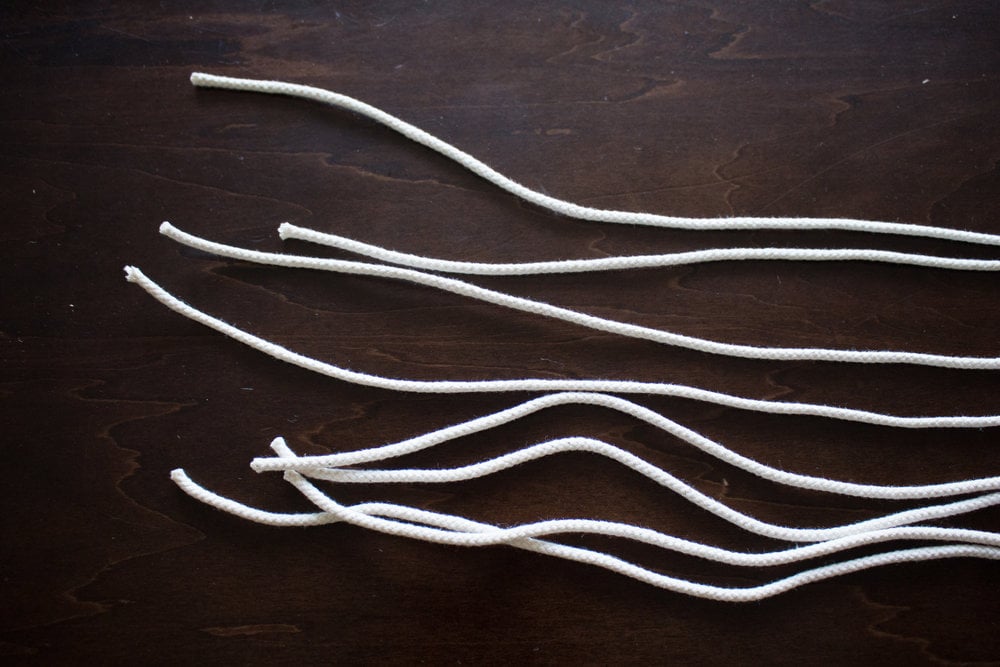
Cut 6 strands at 40” long.
Calculate the circumference of the lampshade to determine the length of rope needed for finishing purposes:
Lampshade circumference = Lampshade diameter (i.e. width) x 3.14
Lampshade circumference = 12” x 3.14 (our lampshade circumference)
Lampshade circumference = 38”
Cut 2 more strands of rope to 40” long (rounding up).
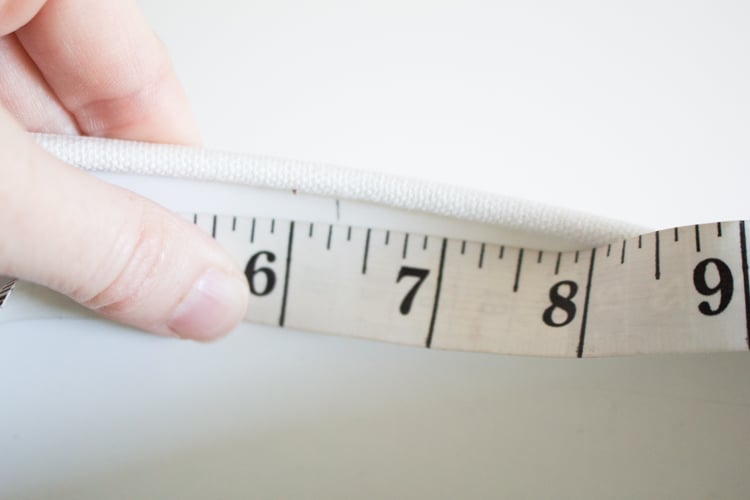
2. Mark the rope placement: Using a pencil and measuring tape, mark the positions where each strand of rope will be attached to the inner ring of the TOP edge of the lampshade.
Rope Spacing = circumference / # of vertical rope strands
Rope Spacing = 38” / 6
Rope Spacing = 6.3”
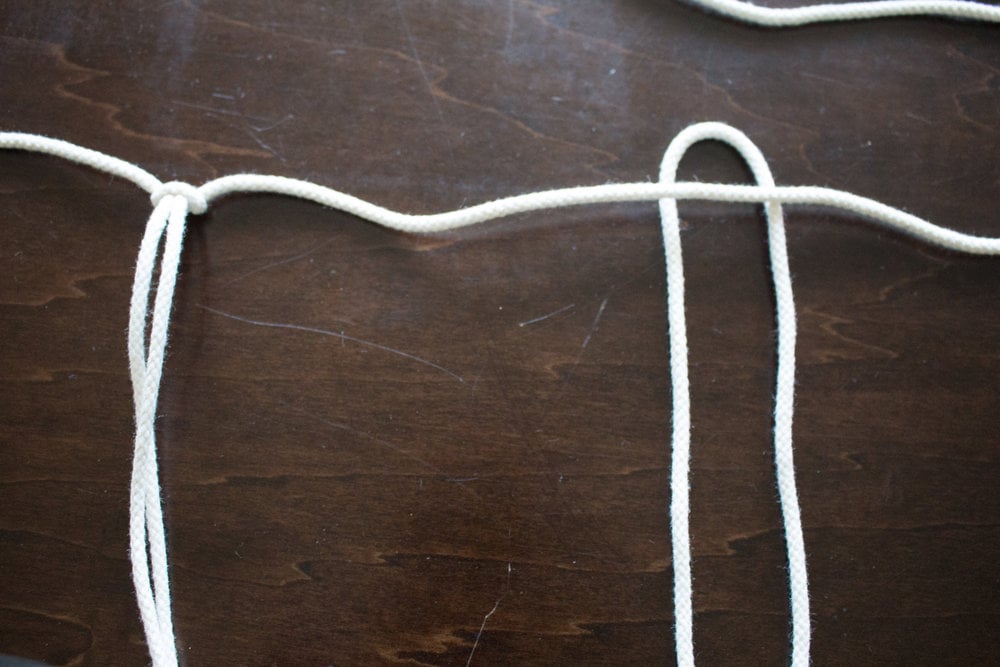
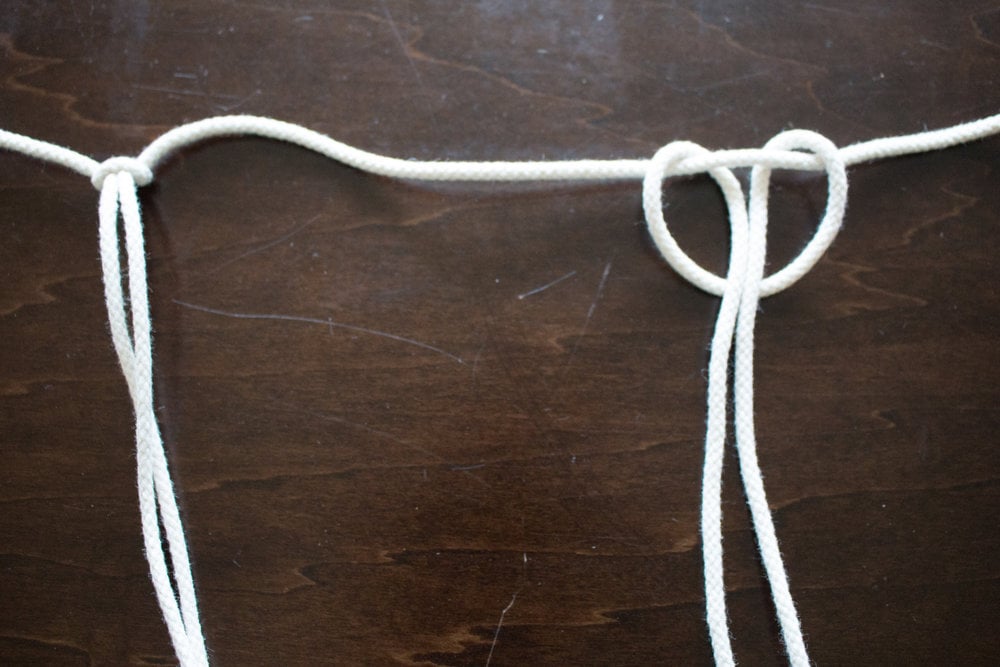
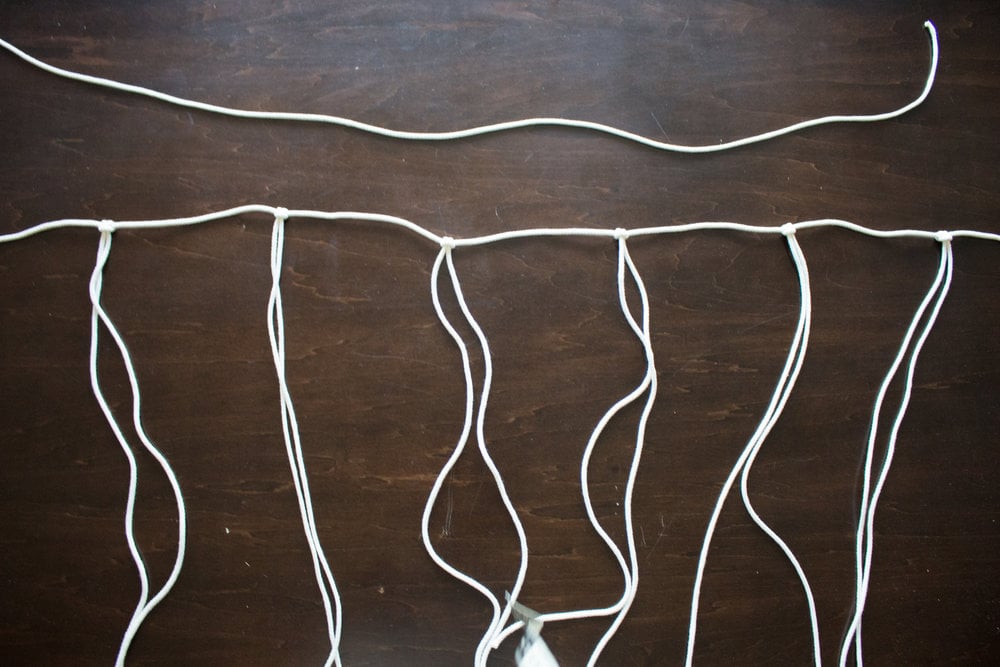
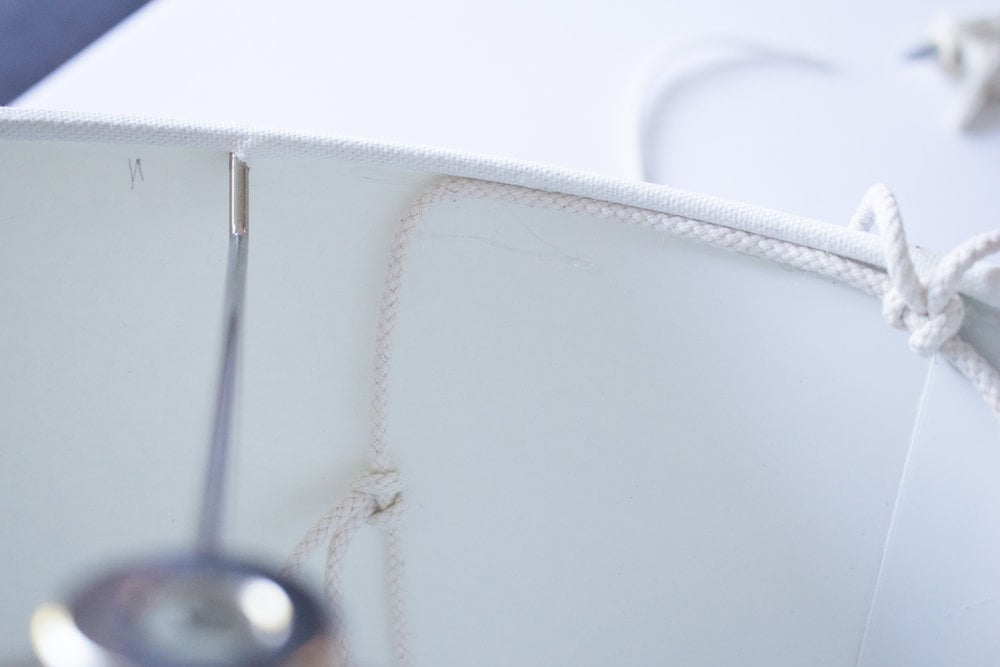
3. Assemble the rope strands: Lay one strand of cut rope horizontally on your surface.
Fold the other 6 strands of cut rope in half and attach to horizontal strand by looping as shown.
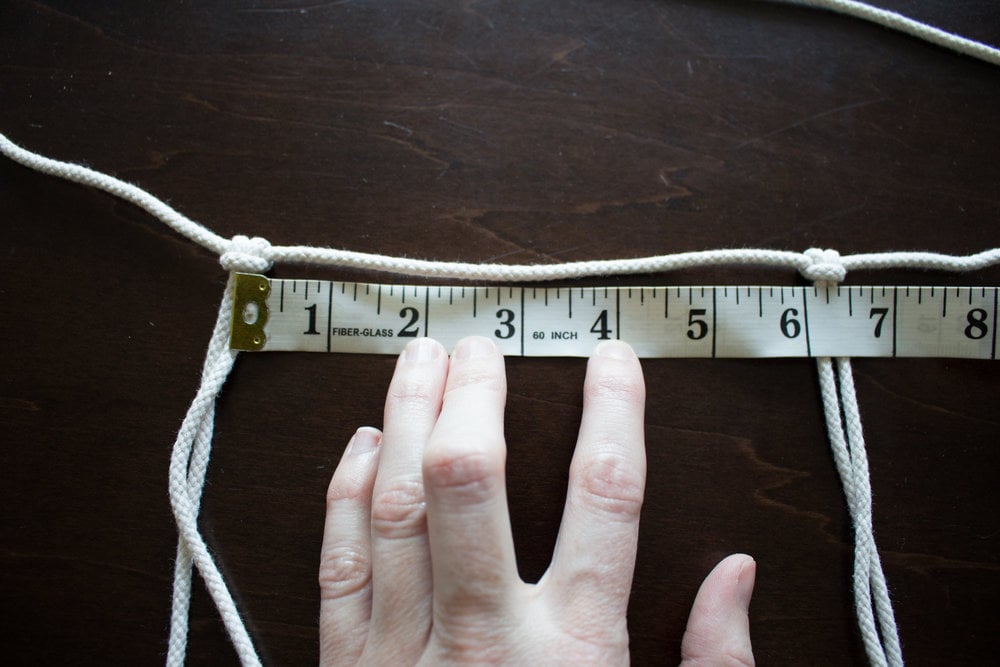
Space them evenly apart so they measure 6.3” from center point to center point.
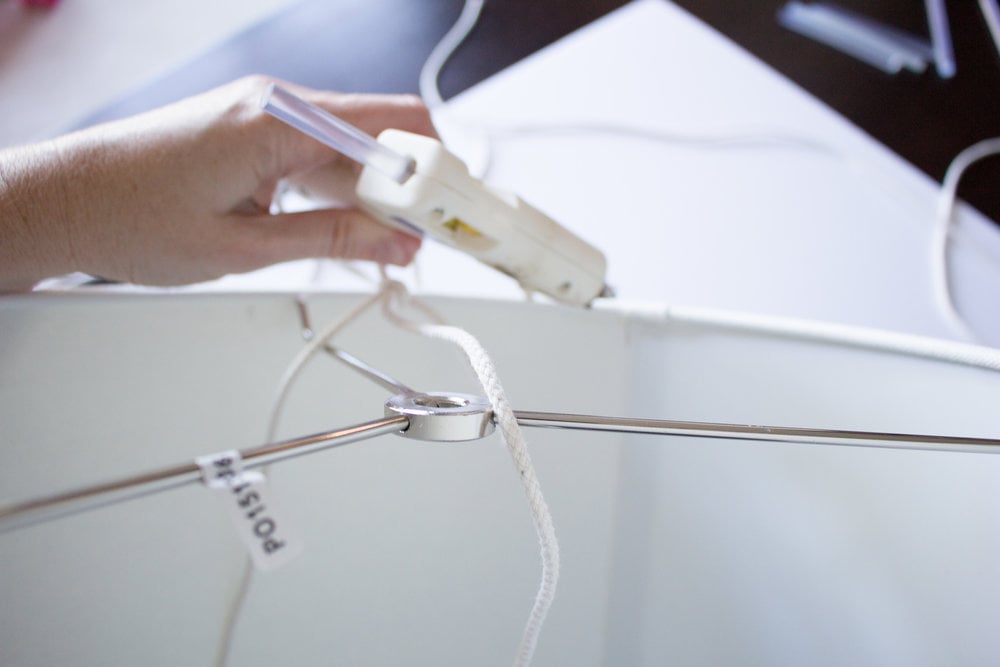
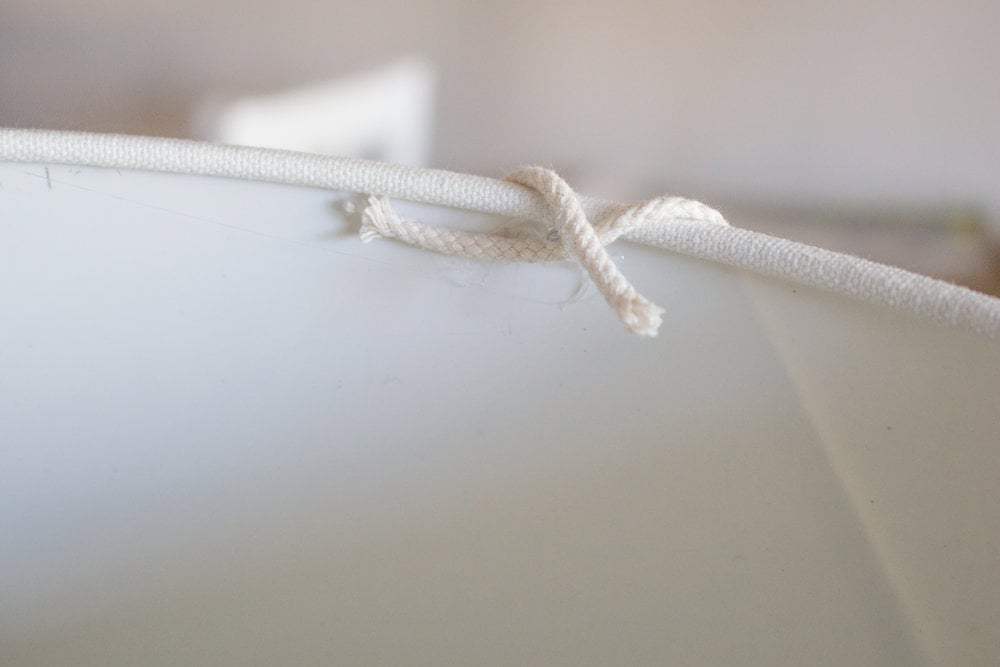
4. Attach rope to top rim of lampshade: Using a hot glue gun, apply a small dab of glue to one of the pencil markings from step 2 and glue the center of the looped strand in place.
Continue to work your way around the lampshade and use the pencil markings as a guide to position the looped strands.
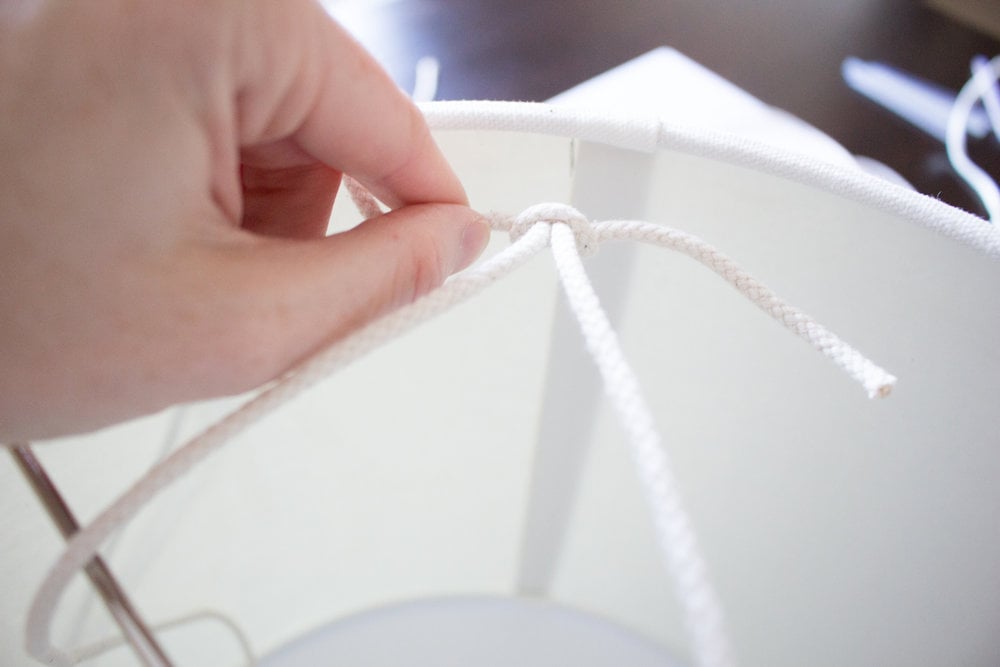
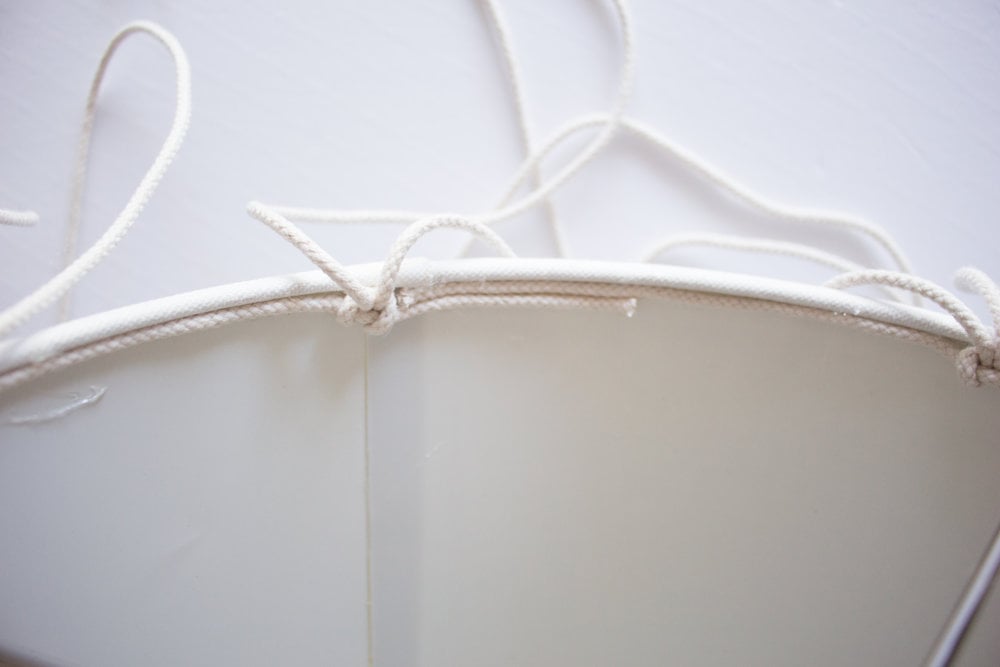
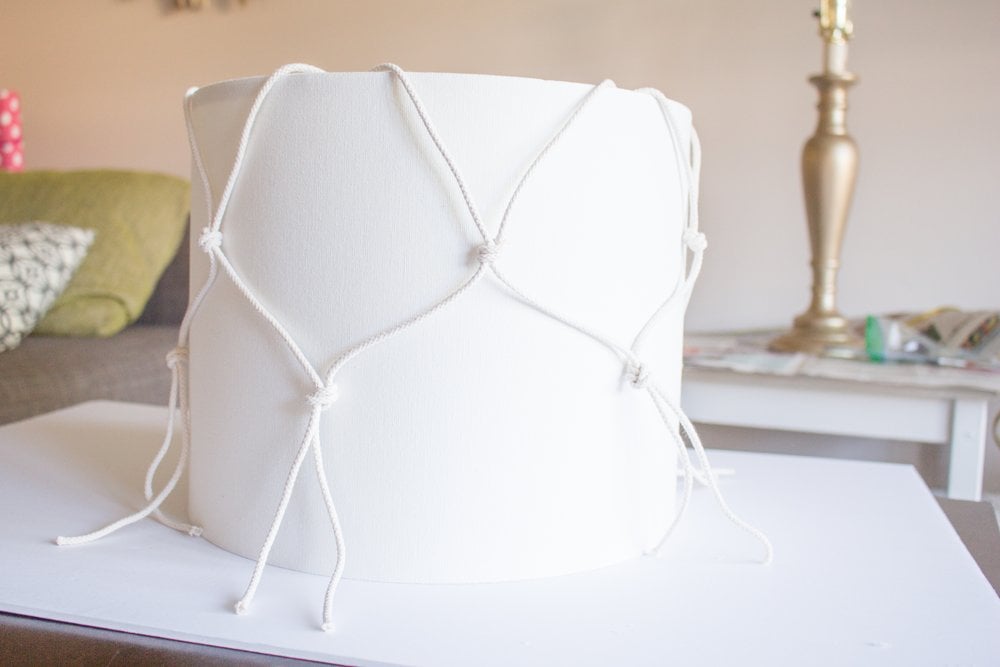
Begin to create fishnet pattern by knotting together two rope strands at a time. Continue all the way around making sure the knots are the same distance from the top.
Repeat with another layer of knots.
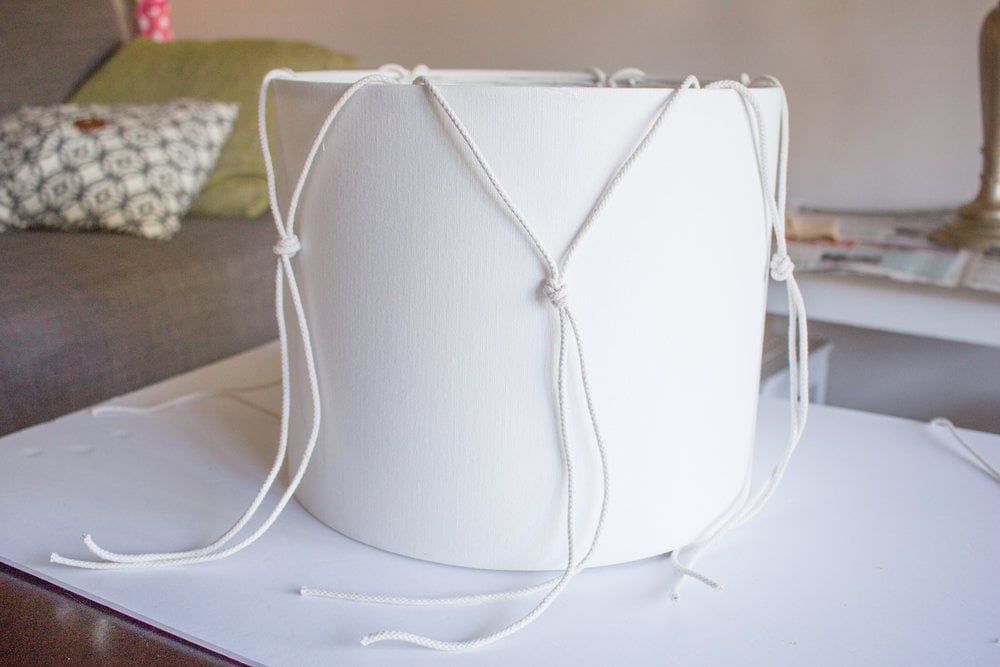
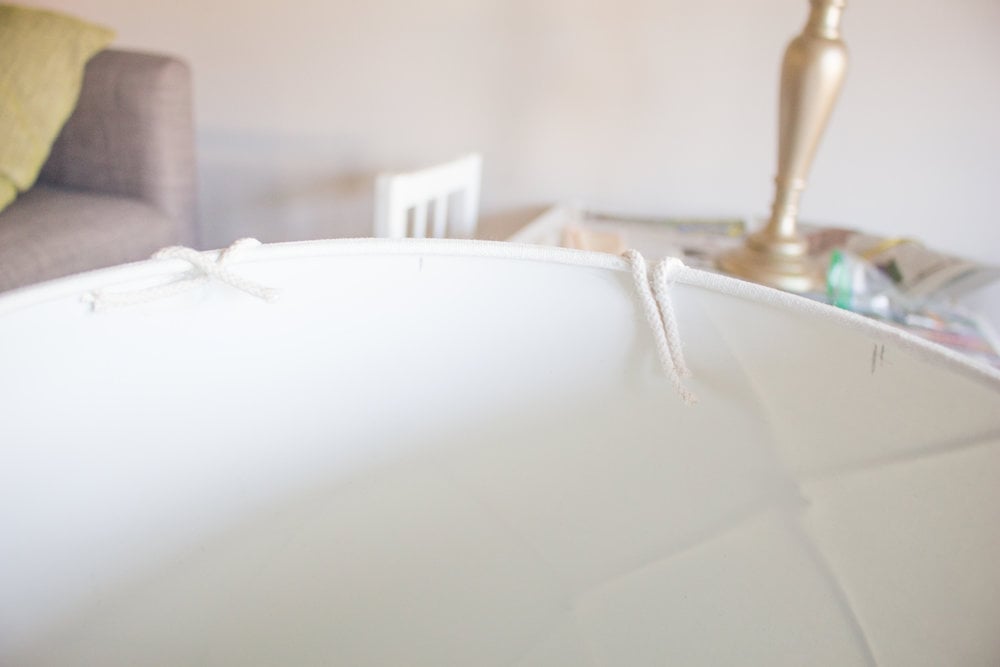
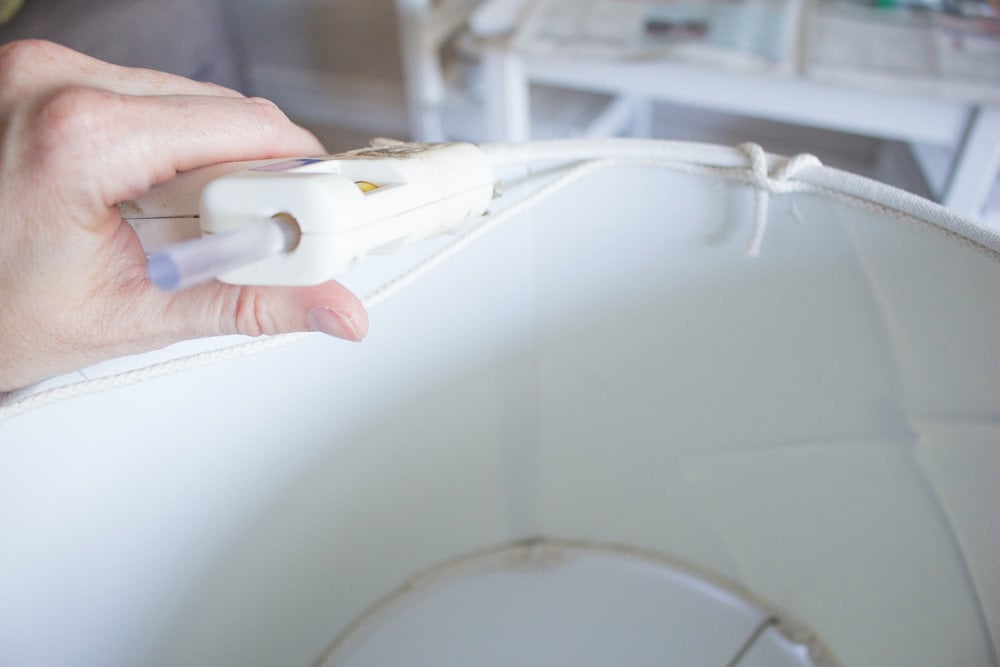
Finish by securing the rope ends to underside of lampshade with glue and covering with remaining 40” long strand.

Fasten the new nautical lampshade onto your newly painted metallic lamp base and enjoy your table lamp makeover!
This lamp has since migrated to the beach-themed bedroom of our Graystone Beach cottage. Stop on by and take a tour!
Like it? Pin it for later!
What things have you held on to in hopes to makeover one day?
A portion of this project originally appeared on the DecoArt website.

Hi there. Your project amazes me. From old lamps, you turn them into beautiful new lamps its just so awesome. Thanks for sharing!
Thank you so much for your kind comment Katty! Have a great day. -Jane