After seeing so many tables with hairpin legs in the stores recently, I starting thinking that I wanted to try making one myself. They look simple enough… get a piece of wood and attach the legs to it. That’s all, right? Well in truth, although it was fairly simple to make, my DIY console table ended up with quite a few steps to put it all together. But in the end, I’m so happy with how my new new piece of furniture turned out!
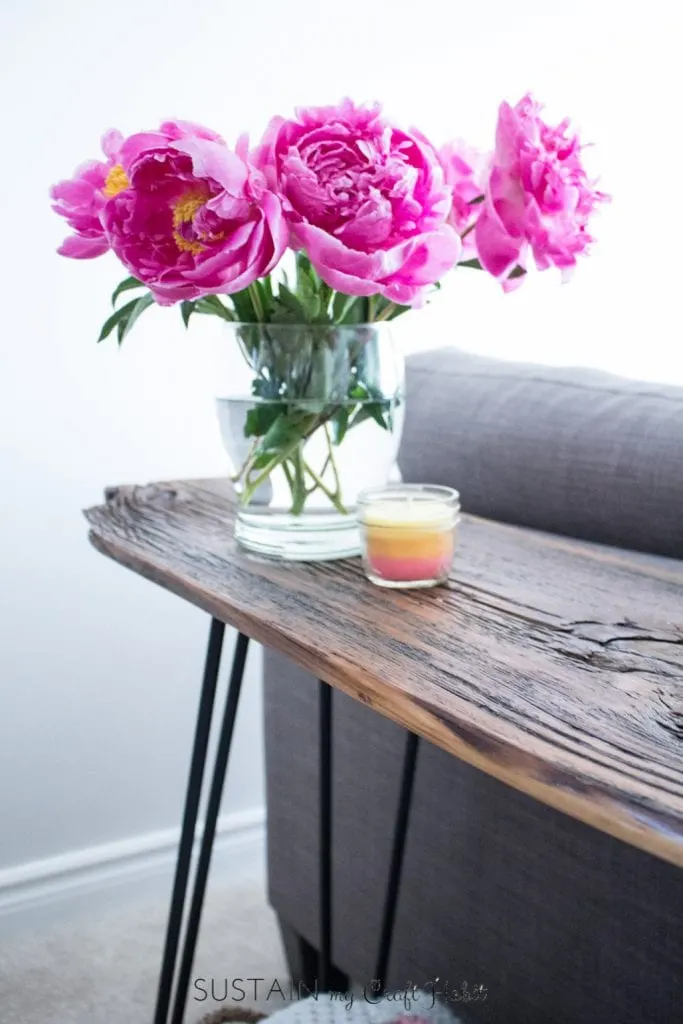
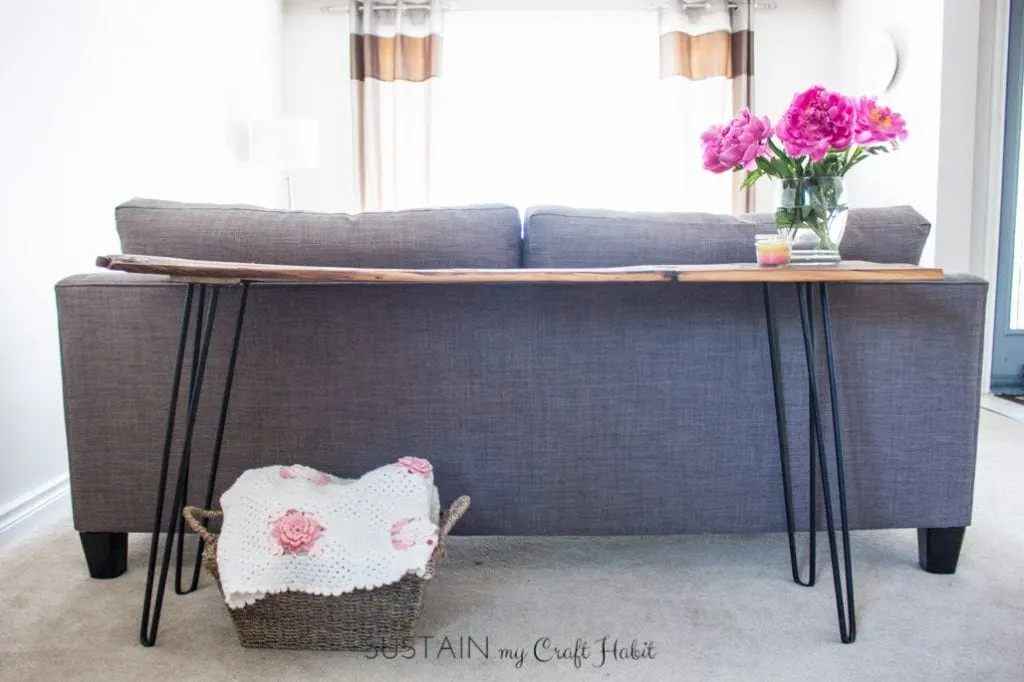
DIY Console Table with Hairpin Legs
I began to search for a source of these table legs and came across Hairpin Legs Canada. They have a beautiful, simple collection. Their products were clearly labelled as “coffee table”, “bench”, etc. making it super easy to find exactly what I needed. I chose a set of four two-rod, raw steel table legs to make my DIY console table to place behind my living room couch. Although I was tempted by all the other table leg options, I stuck with my original plan to make the console table. I think a DIY bench is definitely now on the to-do list since this particular project turned out so well!
Once I settled on the hairpin leg design, the next step was to find the “right” piece of wood for this project. We recently had to cut down a diseased ash tree at our parent’s cottage that would have worked had we been able to find someone to cut the wood down into planks. Who knew it would be so hard to find someone with a band saw?
Lucky for me, while doing some local antique shopping my husband came across a gorgeous large piece of barn wood for sale. The barn wood board was perfectly imperfect! It was definitely more rough than I was expecting, with a long split on one side and not as flat as it needed to be BUT it had loads of potential. He purchased this piece of barn board for $65. My fingers were crossed that my planned DIY console table project would actually turn out!
Although we normally take on upcycling projects such as this repainted console table and modern buffet furniture makeover, we do also have some experience building from scratch such as our outdoor DIY wooden planter and outdoor shower enclosure.
Materials Needed to make a Hairpin Leg Console Table:
Disclosure: This post continues affiliate links for your shopping convenience. You can find our full disclosure policy here.
- X4 Raw Steel Hairpin Legs, 28” leg length and ½” thickness (similar to these available on Amazon)
- Rust-proof spray paint, black matte (Amazon affiliate link)
- X1 barn wood board sized 5’ long x approx. 12” wide (finished size)
- Palm and/or belt sanders
- Sanding block with 220 grit sandpaper
- Oil-based Polyurethane sealer (Amazon affiliate link)
- Good quality paint brush; tack cloths
- Appropriate sized screws (not included with hairpin legs) and drill with bits
How to Make a DIY Console Table:
Step 1: Prepare the Hairpin Legs
To begin our upcycling project, I needed to prepare the hairpin legs for use. As recommended by Hairpin Legs Canada, it’s best to treat the legs with either a wax coating or rust proof clear coat or paint to prevent rusting. I chose a solid black rust-proof spray paint for my console table legs. With my working surface area protected with newspaper, I applied a few even coats of the spray paint (following the manufacturers instructions) and set the legs aside until I was ready to use them.
I wish I had done this much sooner after I brought them home because unfortunately, they had already started to rust. If I had to do it again, I would have purchased the finished legs instead of raw steel legs. but at least I now know for next time.
We’ve used this same spray paint to refinish an old retro styled school chair as well as using it to upcycle some outdoor porch decor. Check out that post for some really inspiring and surprising uses for spray paint!
Step 2: Prepare the Barn Wood Table Top
Getting the piece of barn board ready was the fun part!
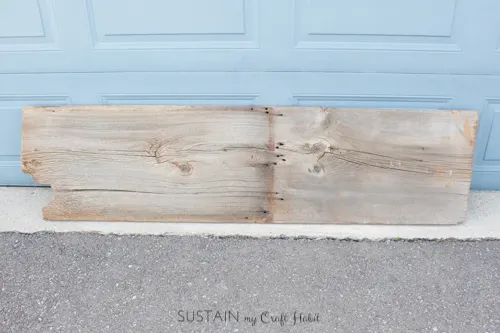
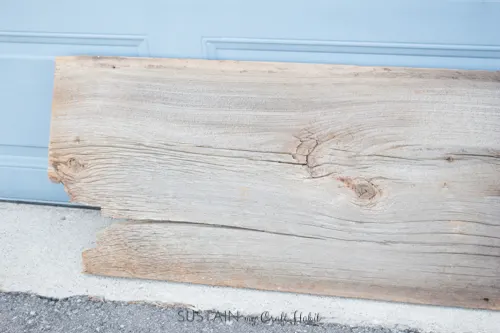
The purchased wood measured 6’ long by 18” wide and as you can see the wood was split on one end. Fortunately, a console table is typically 12” wide so that extra width needed to come off anyway.
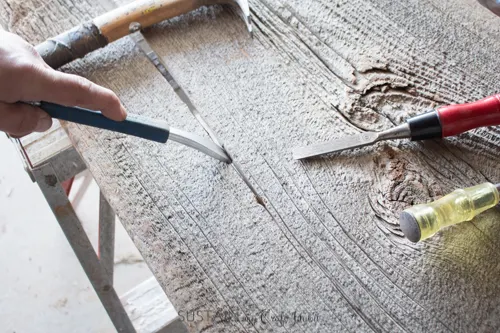
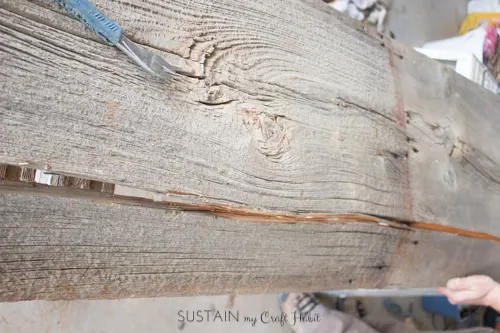
To keep the barn board looking as rustic as possible, we continued to split the wood down the entire length of the barn board. I used a crowbar and hammer to gently continue the split down to the other end. I loved the look of the uneven edge so decided to keep that as the exposed side.
Next, we cut the board down to 5’ long using a table saw.
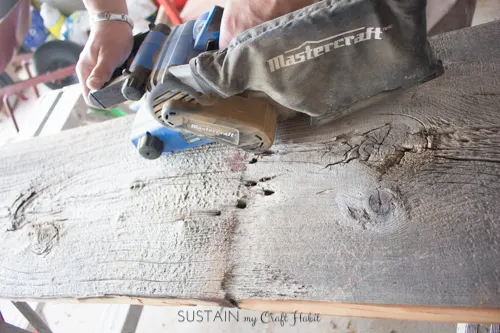
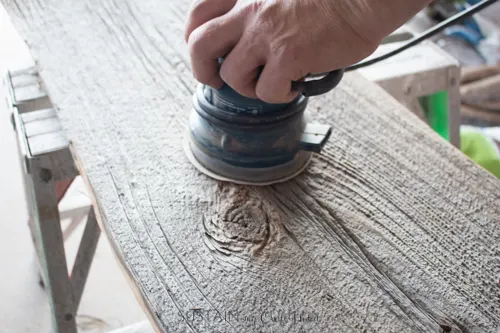
All sides and edges of the barn wood needed to be smoothed out using belt and palm sanders. We removed all dust using a tack cloth before moving on to staining.
The next step was to apply the polyurethane stain and sealer. We chose an oil-based polyurethane because of the richness in colour over time and for how long it lasts as compared to a water-based sealer. If you’d prefer to make your own, check out our DIY coffee wood stain and beeswax polish.
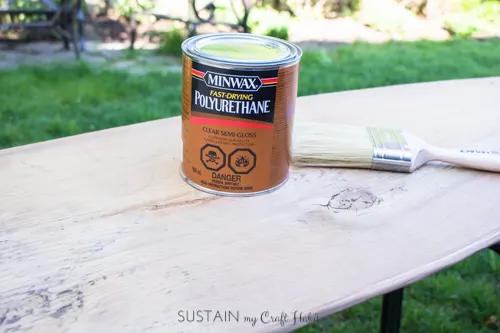
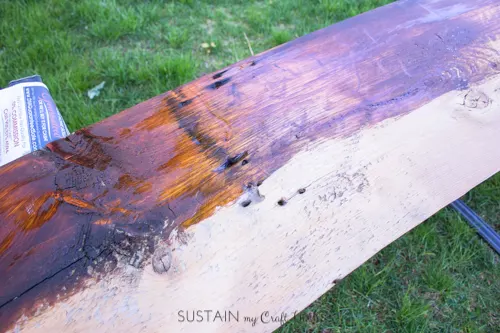
It required three coats of the polyurethane stain and sealer on all sides and edges of the barn board. This took time as we needed to leave the sealer to dry and do a light hand-sanding between coats. We used a tack cloth to wipe away excess dust after each sanding before applying the next coat of polyurethane. Follow the manufacturer’s instructions to know how long to leave the wood before further handling.
Step 3: Assemble the DIY Console Table
To assemble the narrow table, we positioned the hairpin legs 6” in from the edges and 1.5′ from the ends. We marked the positions, drilled a small pilot hole, added a bit of wood glue and screwed the hairpin legs directly into the barn board. We used 1 ½” long screws. It’s important to make sure the screws aren’t too long and poke through the table top!
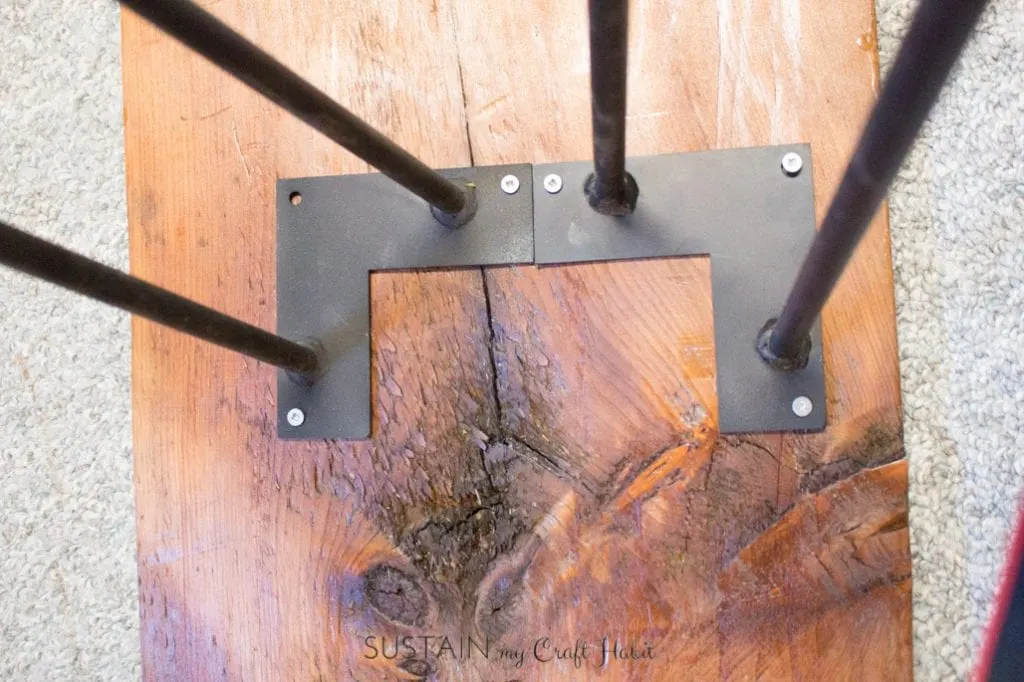
As a side note, if your barn board is not perfectly flat or level, you may need to play with the positioning of the legs by using shims to add height where needed.
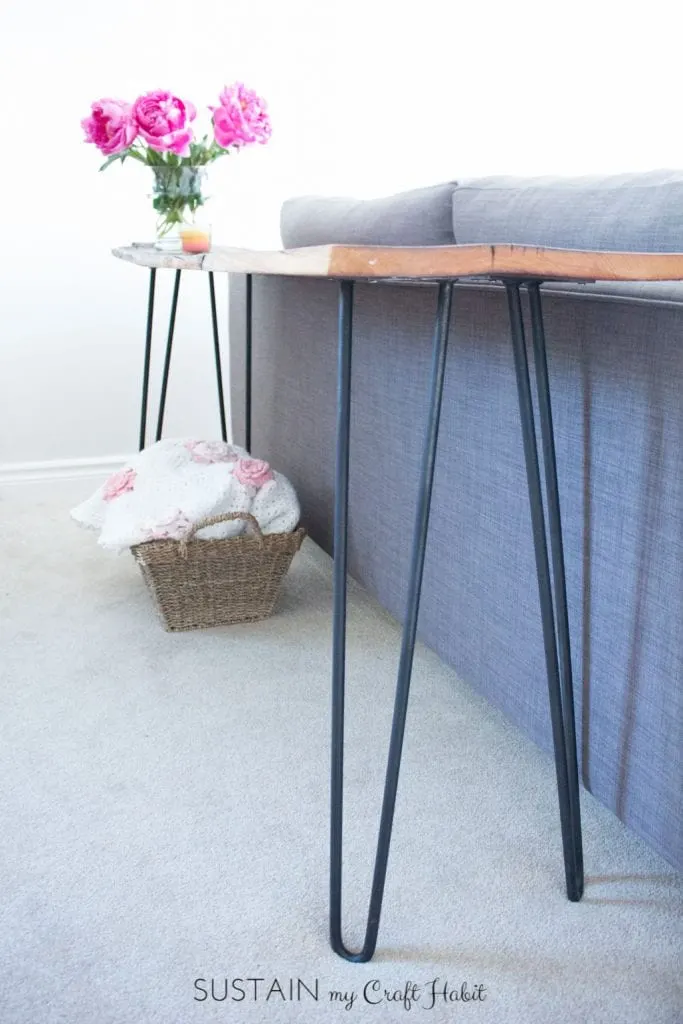
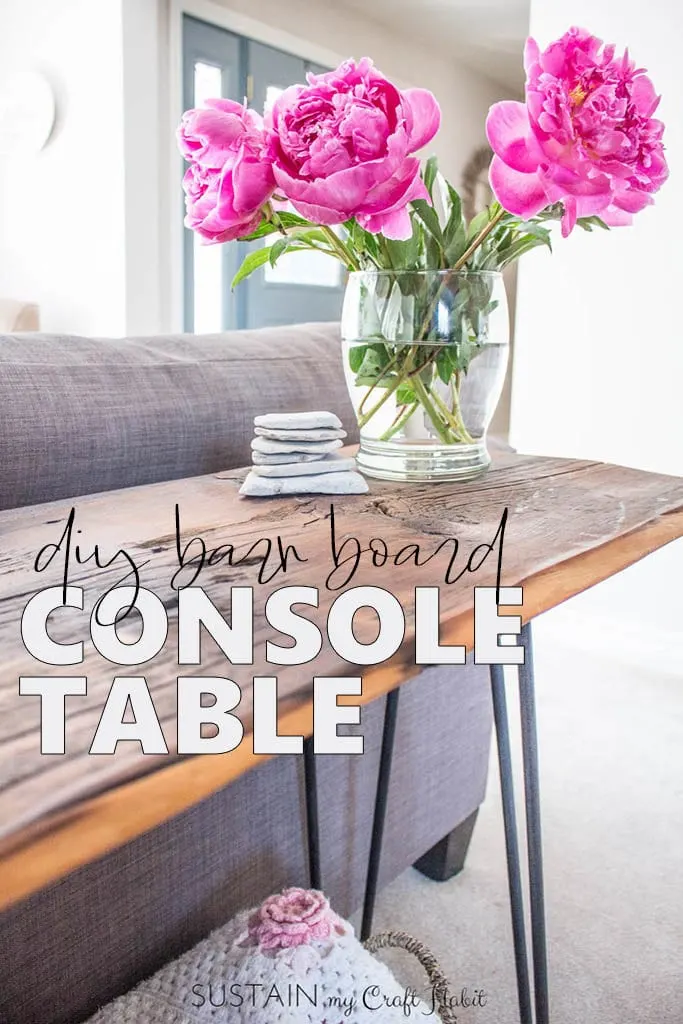
I am very happy with this one-of-a-kind, rustic reclaimed barn wood and hairpin leg console table for my living room. It cost a fraction of the price it would have cost at the store. I call that a DIY success!
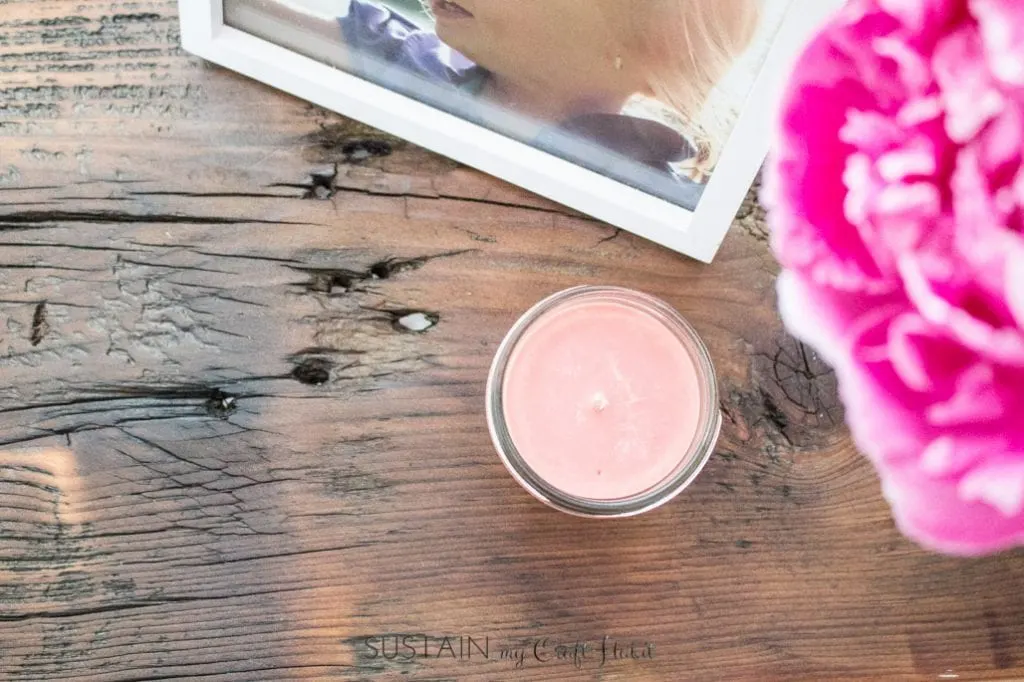
It’s perfect for displaying my photos, flowers and seasonal items such as our cement and driftwood sailboat.
Are there any DIY projects that you’ve been wanting to try?
Like it? Pin it for Later!

Jamie - Ironmongery Experts
Monday 25th of March 2019
Great blog! Your work is so original and I love it. I can't wait to see what you do next! Take care, Jamie.
Jessica
Friday 8th of March 2019
Love this! I'm currently working on a coffee table, but still need to make a decision on the legs
Jane and Sonja
Saturday 9th of March 2019
Thank you Jessica! We still love how the hairpin legs look on this piece - they're pretty minimal so really let the barn board shine :) Take care, Jane
Summer
Wednesday 10th of August 2016
OK, this is absolutely brilliant! Great job!
Jane and Sonja
Wednesday 10th of August 2016
Thank you so much Summer! You totally just made our day. :)
Charlotte Howes
Saturday 16th of July 2016
Sonja, I love this table. The colour of the finished wood and the imperfect perfection! Beautiful job.
Jane and Sonja
Thursday 21st of July 2016
Thank you so much Charlotte! You are so sweet. I quite love how it turned out too :) . Will definitely be on the look-out for more barn boards this summer.