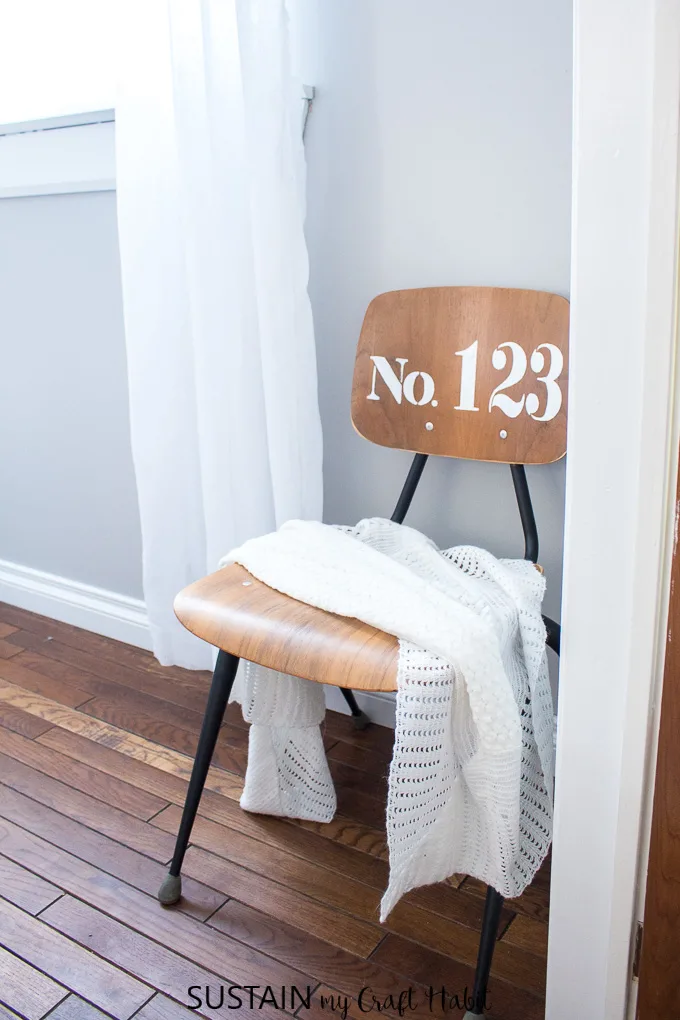
We are all in back-to-school mode at this time of year, gathering school supplies and syncing the family time tables. And as such, we thought it would be the perfect time to makeover this retro school chair Jane’s father-in-law found (curbside, I believe). Read on for our full tutorial on how to refinish a wood chair.
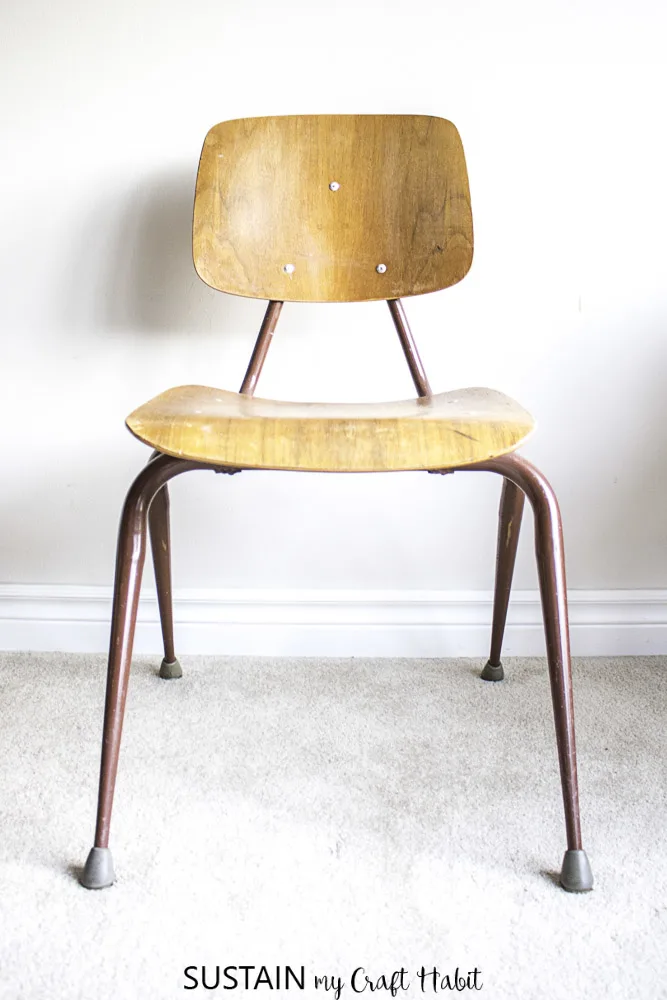
It’s definitely a blast from the past! Do you remember sitting in one of these chairs when you were back in school? Now a days, the school chairs are made from plastic so these retro wood chairs are really from a different time and world. Bring in some old with the new, and we’ll show you how to refinish a wood chair, but more specifically, a retro school chair into a contemporary farmhouse style.

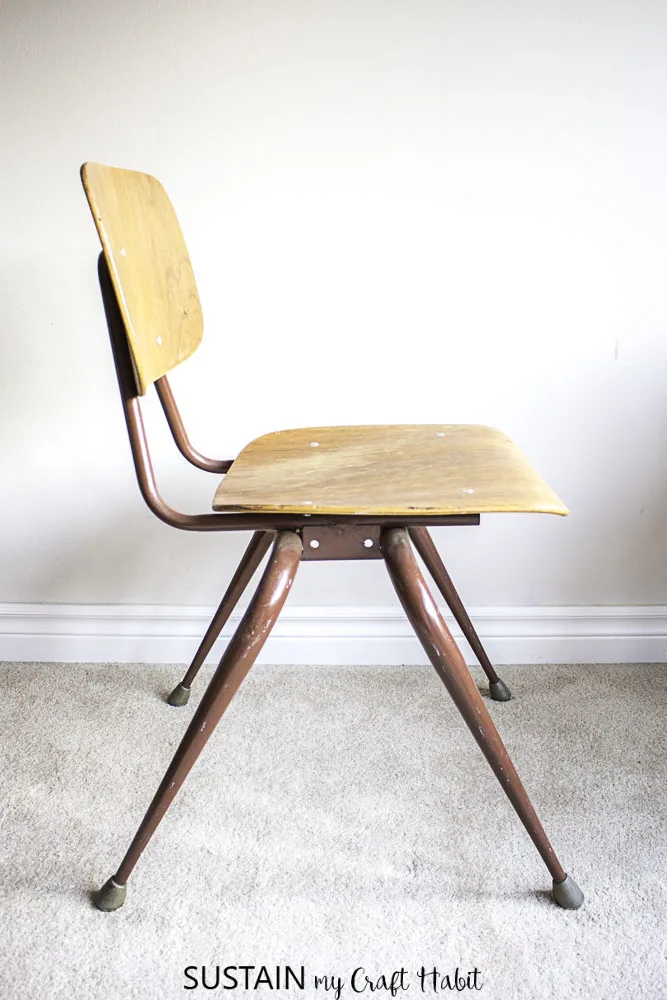
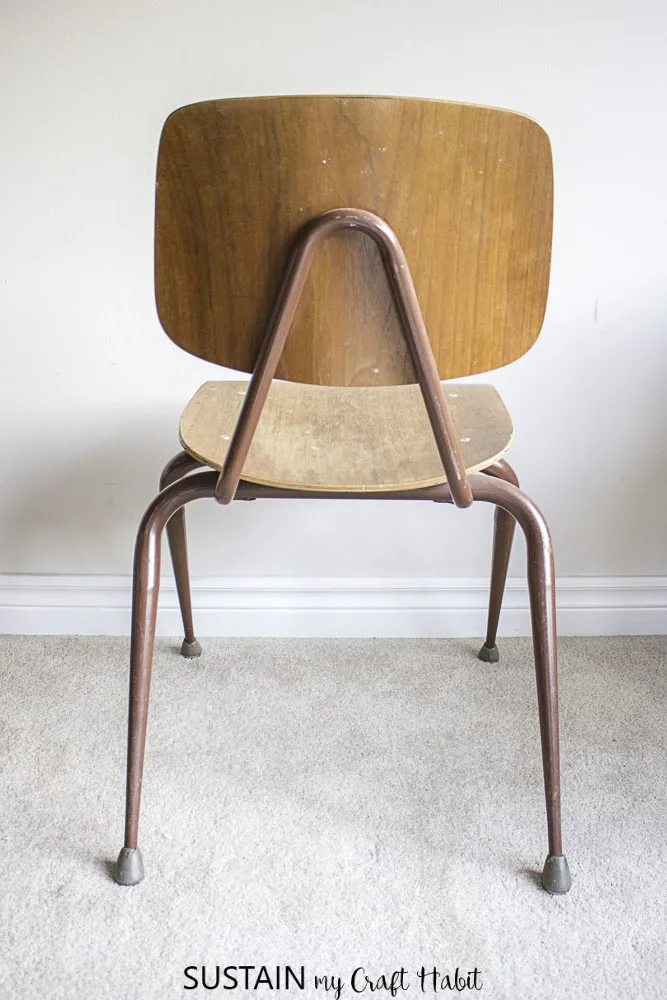
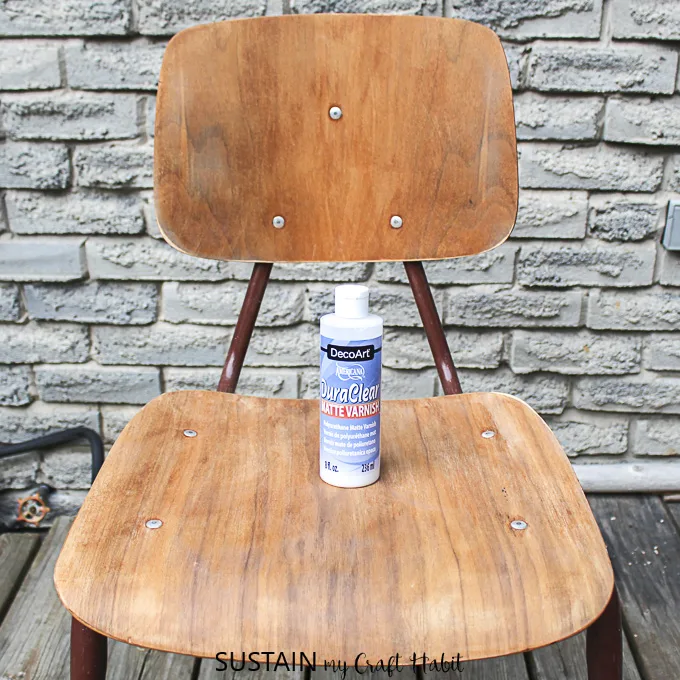
I’ve been using it as an accent chair in my spare guest bedroom but have always planned to refinish it. As you can see the wood is not in the best of shape and a throw pillow and blanket can only hide the imperfections so well! The wood stain is scratched and discolored and the brown metal frame is outdated (to say the least, it’s not in the best of shape). Wonder how many students actually sat in the chair over the years?
- The Before
Supplies Needed to Refinish an Outdated Accent Chair:
“Disclosure: We have not received any compensation for this post. However, we have (and continue to) receive products from DecoArt. This post also contains affiliate links (indicated with *) for your shopping convenience. You find our full disclosure here.”
- Student Chair
- Americana Duraclear Matte Varnish*
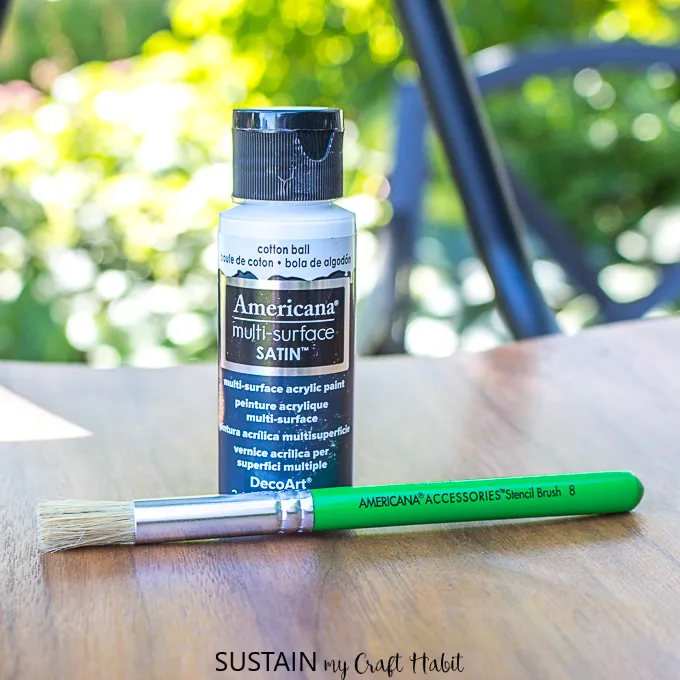
- Americana Multi-Surface Acrylic Paint, Cotton Ball*
- Americana Decor Stencil, Classic Numbers*
- Multi Purpose Spray Paint, black matte*
- Stencil Brush*
- 4” wide Foam Brush
- Palm Sander with 180 grit sandpaper
- Sandpaper, 180 grit
- Cloth, newspaper, painter’s tape
Instructions for How to Refinish A Wood Chair (retro school chair):
Refinishing the Wood:
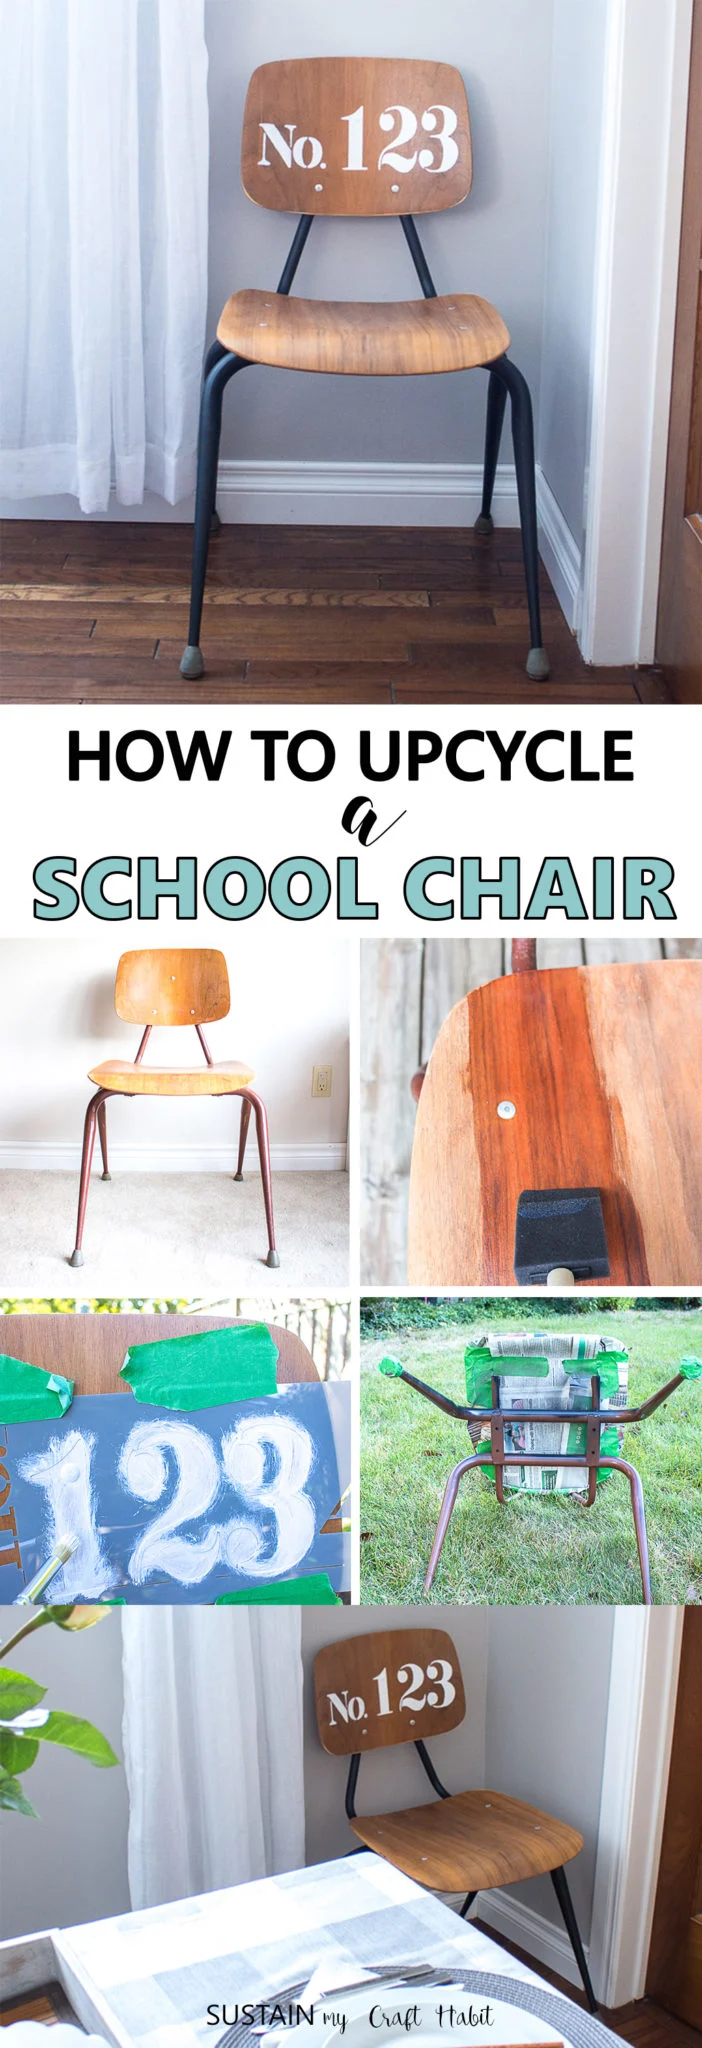
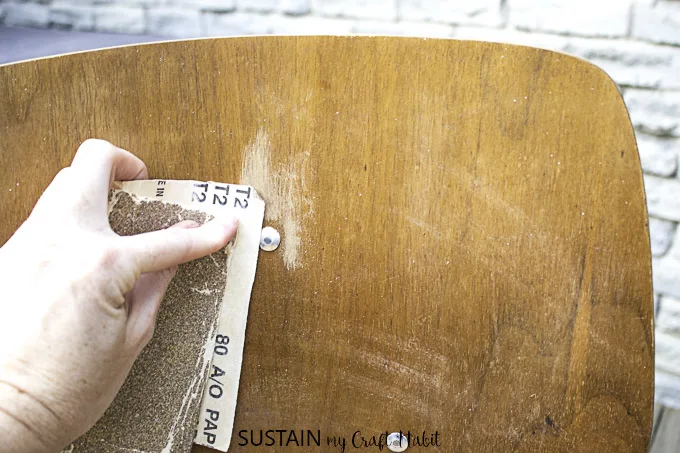
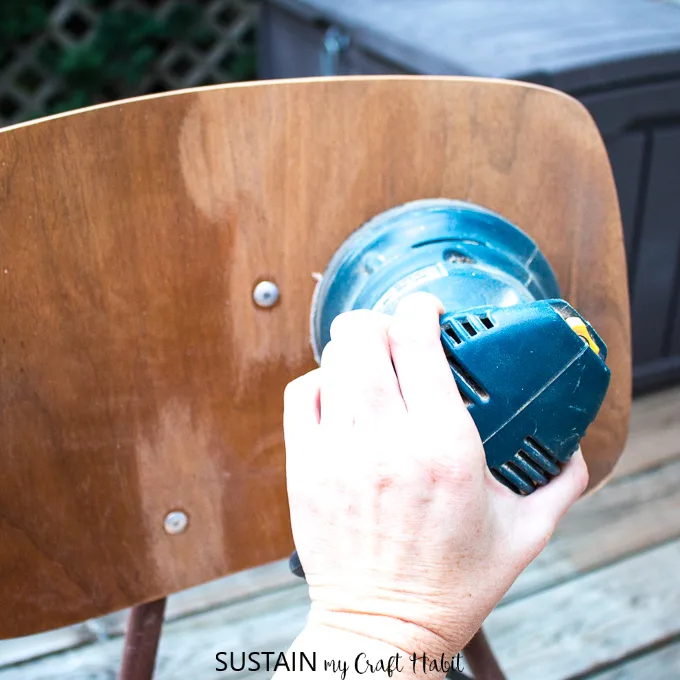
Using a piece of sandpaper, begin sanding away the previous coat of varnish around the metal rivets and back metal frame. Try to always sand in the direction of the wood grain.
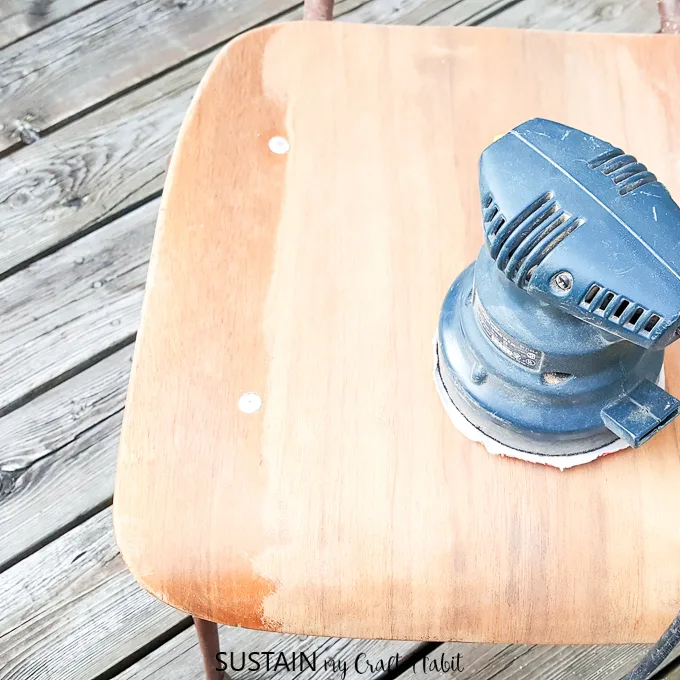
Continue to sand the rest of the wood seat and back rest using a palm sander. This will make the sanding so much quicker and even throughout. Tip: Take extra care when sanding to avoid holding the palm sander in any one spot for too long. Also, take care when sanding the edges of the seat to avoid stripping away the wood grain.
Once all of the previous varnish has been removed, use a clean cloth to wipe away all the dust and clean the chair with some soap and water. Leave it to dry before moving on to the next step.
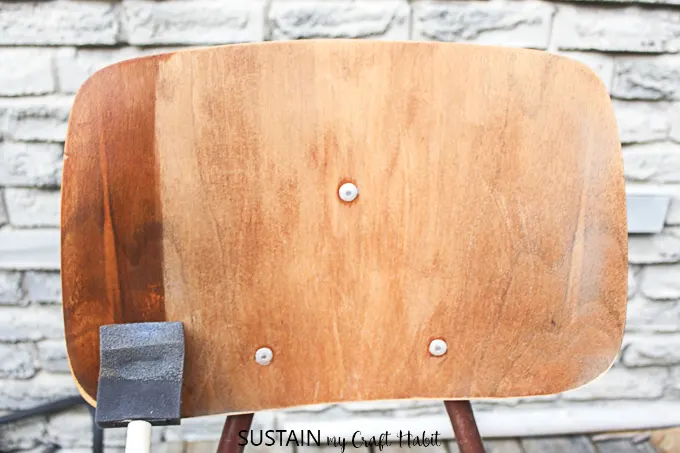
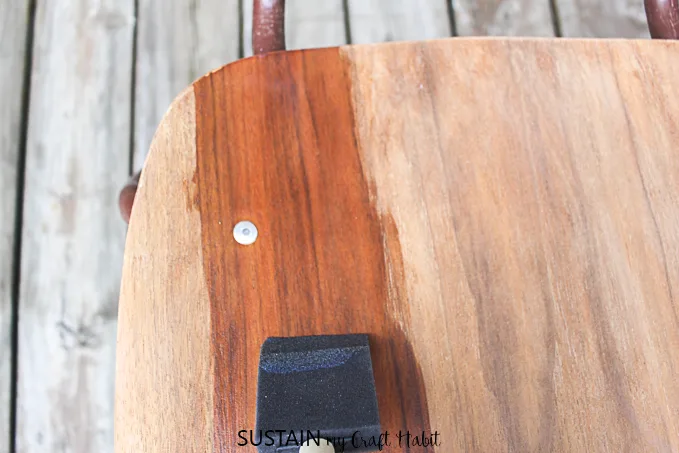
Protect the wood by applying a varnish. We used Duraclear Matte Varnish because it enhances the color and grain of the wood while providing a protective finish and we love the matte finish (no shine!). We’ve also recently used it on a reupholstered accent chair for our Graystone Beach Cottage makeover.
With a large foam brush, apply the varnish in long even strokes in the direction of the wood grain. Leave it to dry fully before applying a second coat. For this particular project, I applied 3 coats of varnish in total.
Stenciling the Chair:
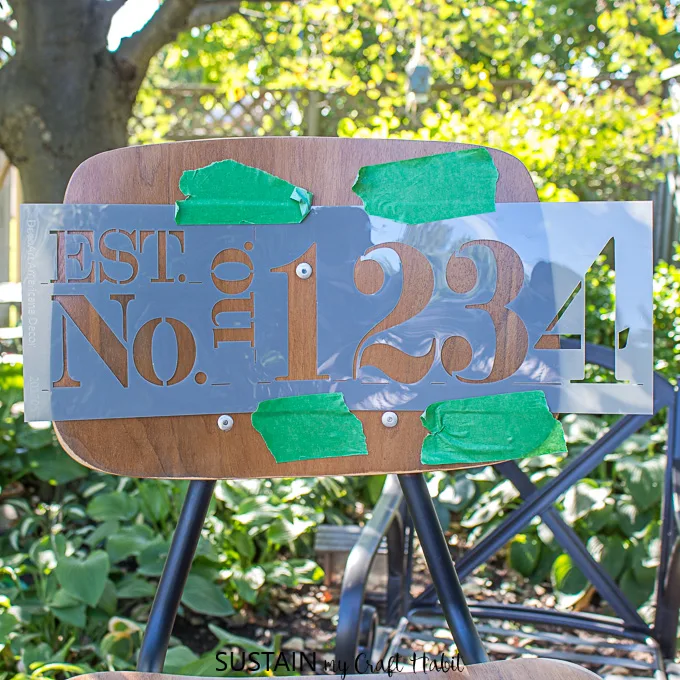
Choose a stencil of your liking but be aware of the placement and size restrictions because of the metal rivets. We love this stencil by decoart, kind of fitting for a student chair, don’t you think? Did you catch our fish scale stenciled nightstand makeover?
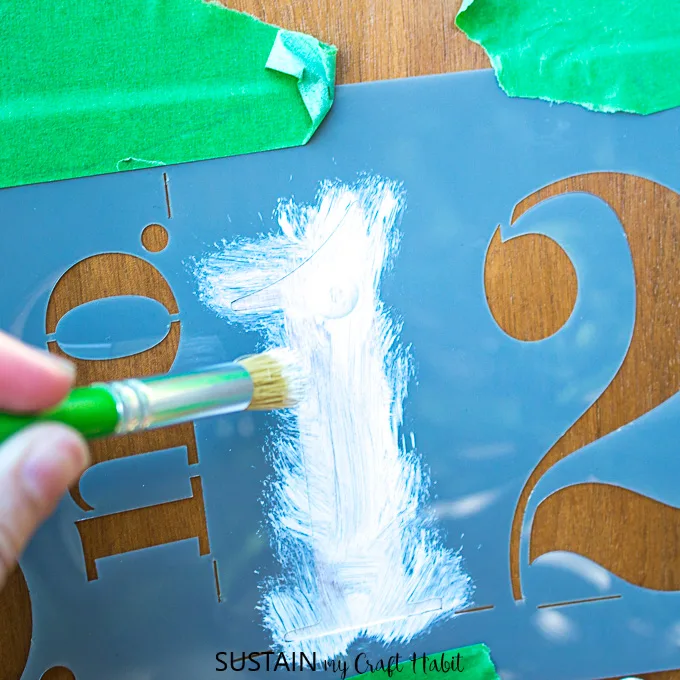
Place the stencil to the chair and apply some tape to hold in place. Dab your stencil brush into the paint for a little bit of paint. Avoid using too much paint when stenciling, less is always more (when it comes to stenciling)! Blot excess paint off your paint brush before applying to avoid paint seeping under the edges. Leave the coat of paint to dry and repeat as necessary until you’re happy with the coverage. For this piece, I applied 4 coats of stencil paint because of the light paint color onto the dark wood stain. You can check out DecoArt for helpful tips on stenciling.
Remove the tape carefully and peel away the stencil slowly. For any spots where the paint seeped past the edges, you can dip a small cotton swab in water and wipe away the excess paint.
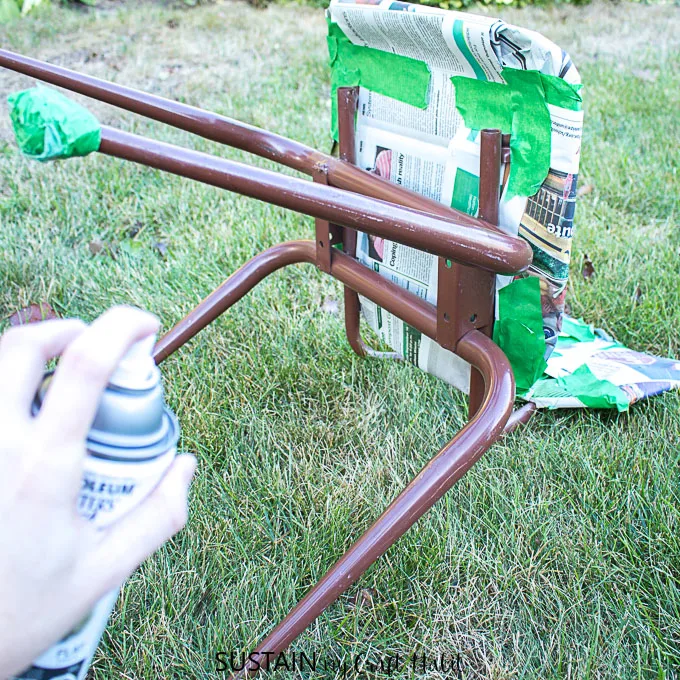
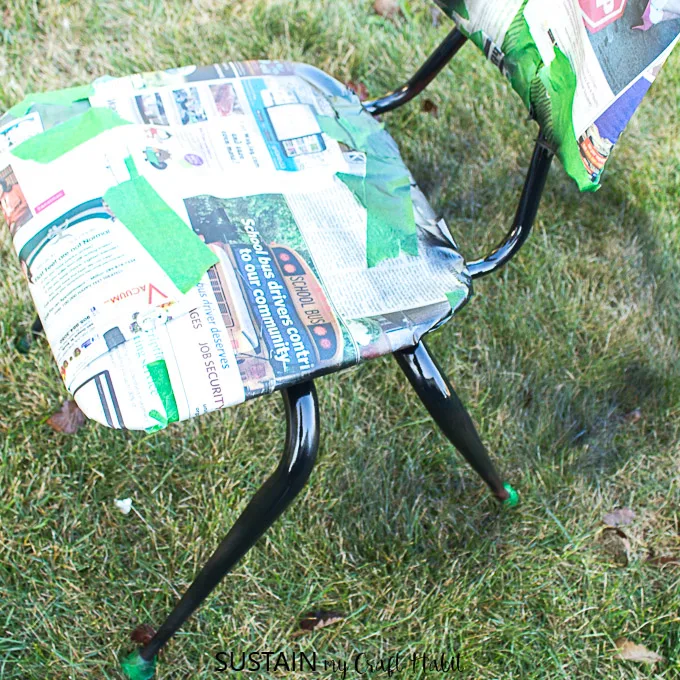
Lastly, the metal legs and frame needed to be refinished for a modern refresh. Cover the finished wood seat with newspaper and painter’s tape and clean the metal legs with clean soapy water. With the piece in a well ventilated area and metal legs dry, begin to spray paint the metal. Follow the instructions on the spray paint for proper coverage and applicaiton.
We are loving the look of the new chair! It’s the perfect combination of contemporary with a vintage feel. The next time you come across a retro school chair, consider giving it some TLC and bring in a little history to your space. We also recently reupholstered the seat of this farmhouse style chair.

What retro pieces do you have in your home?
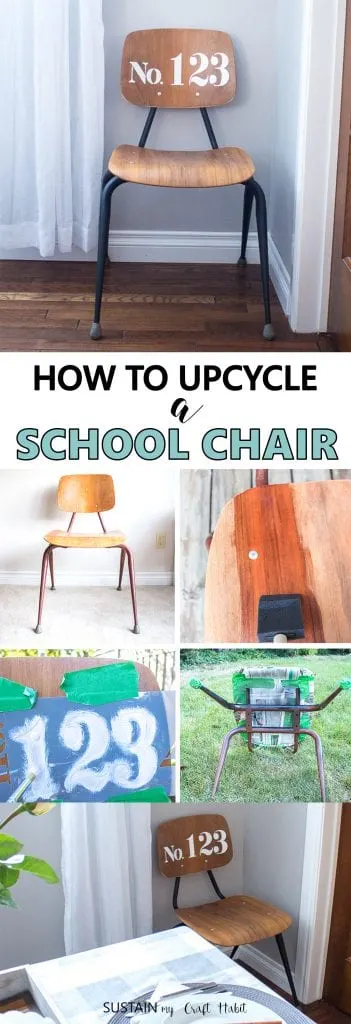
Like it? Pin it for Later!


Charlotte
Wednesday 18th of October 2017
The black legs really set the whole chair off now...love it! Great find.
admin_craft
Sunday 22nd of October 2017
Agree, painting the legs black really made a big difference.
Lisa J Wood
Saturday 23rd of September 2017
So cute! Well done!!!
Jane and Sonja
Saturday 23rd of September 2017
Thank you so much Lisa! I really like that Sonja simply accentuated it's original style. Thanks for stopping by :) -Jane