For Jane and I, this project started off as being just another regular DIY. We had assembled all the supplies to begin reupholstering a thrifted chair seat when, by some good fortune, our friends (who are also by chance skilled upholsterers) happened to stop by! We were quite happy to watch them work as we learned how to reupholster a chair seat from the masters. And if you pay attention, you’ll notice several sets of hands in the picture working on the same chair seat:)
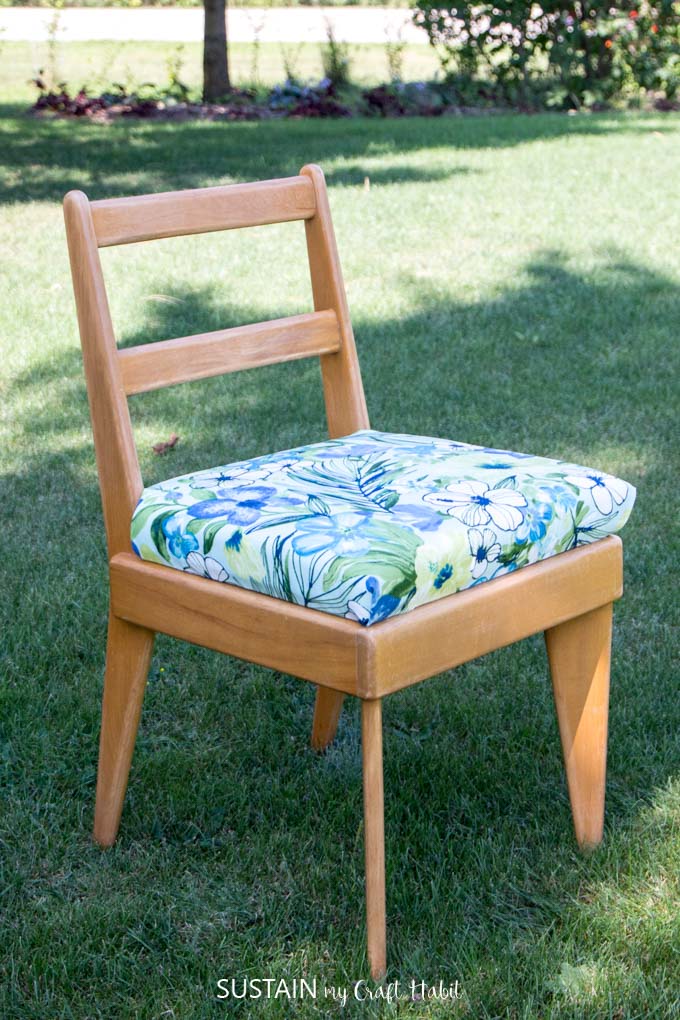

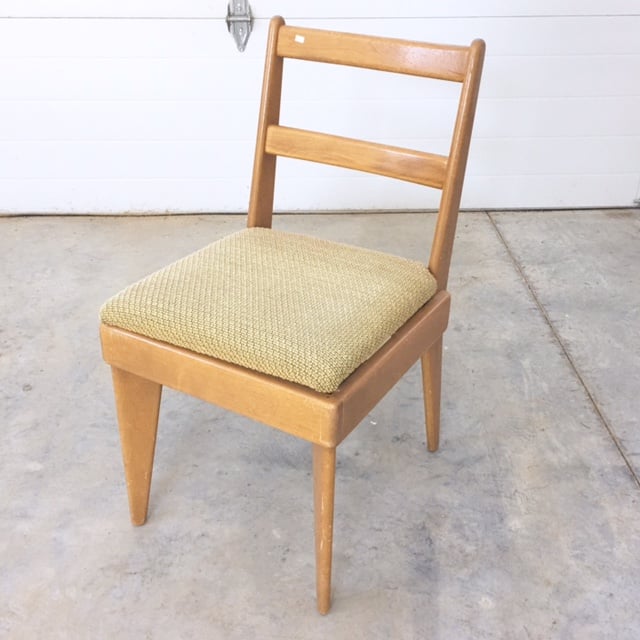
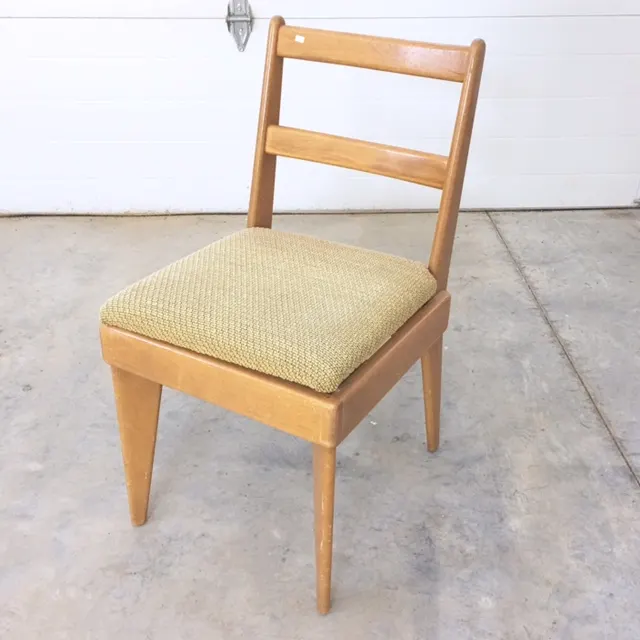
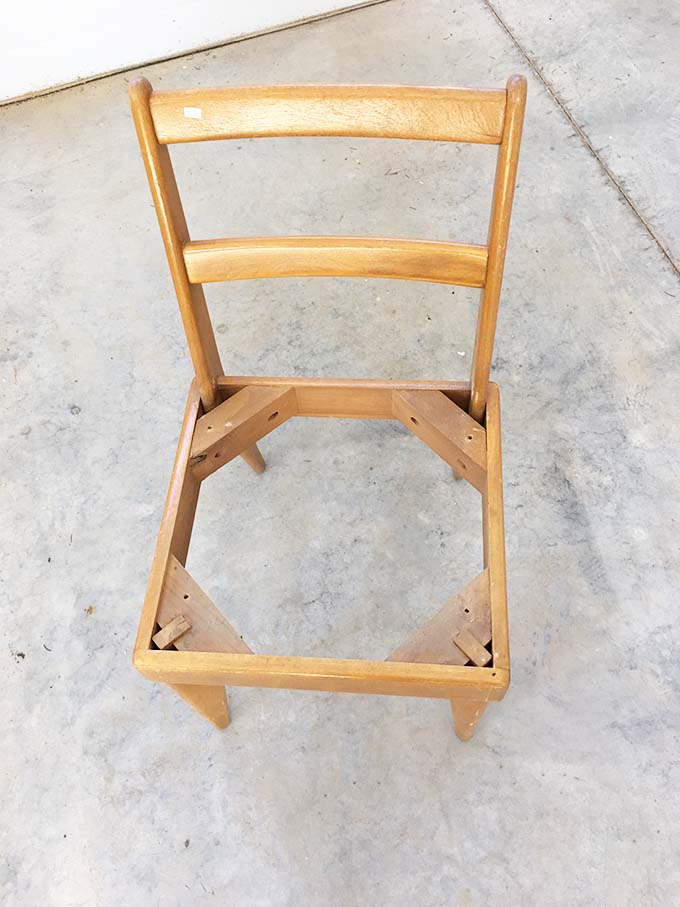
When considering reupholstering a chair seat, look for chairs that have solid wood frames in good condition but cushioned seats that are in need of updated fabric and padding. The style of this chair is from the 50s, with it’s simple lines and low profile, we loved the overall mid-century retro feel of the chair. The chair had it’s original seat cover and padding which was well worn and in need of an update. But the frame was solid wood and well worth the $4 Jane paid for it at a thrift shop!
Supplies Needed to Reupholster a Chair Seat:
“Some of the links in this post are advertisements (and will be indicated with *) for your shopping convenience. You can find our full disclosure here. ”
- Wood Chair with a padded seat
- A pretty fabric *, tightly woven with stain and water resistant coating
- High Density Foam, cut to size
- Staple Gun (heavy duty hand*, electric* or pneumatic*) with ⅜” staples (we used a hand staple gun)
- Hammer, screwdriver and appropriate screws if needed
- Scissors, measuring tape
- 4 sets of hands (completely optional but way more fun:))
Instructions on How to Reupholster a Chair Seat:
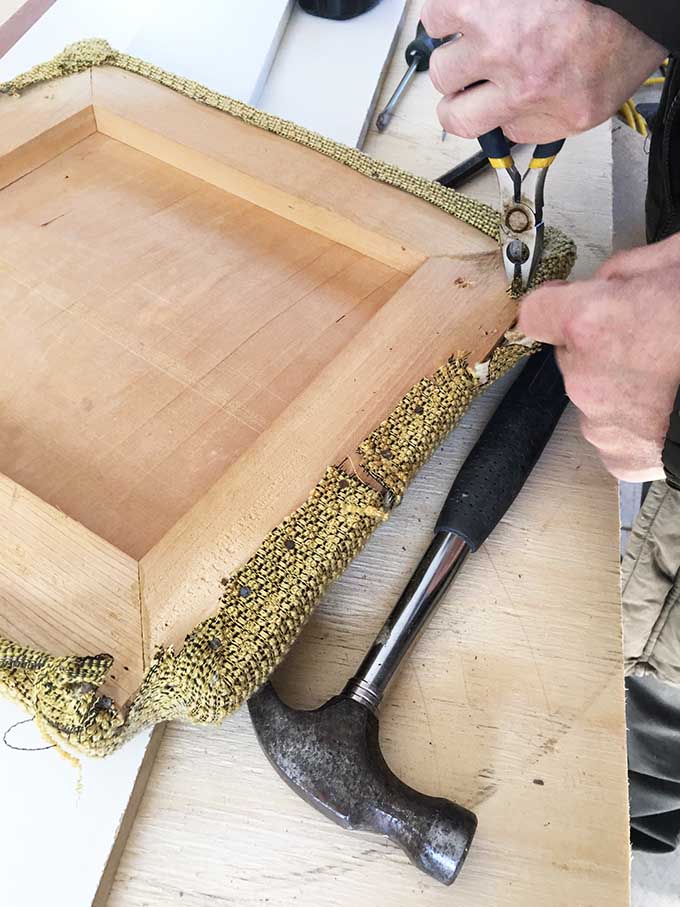
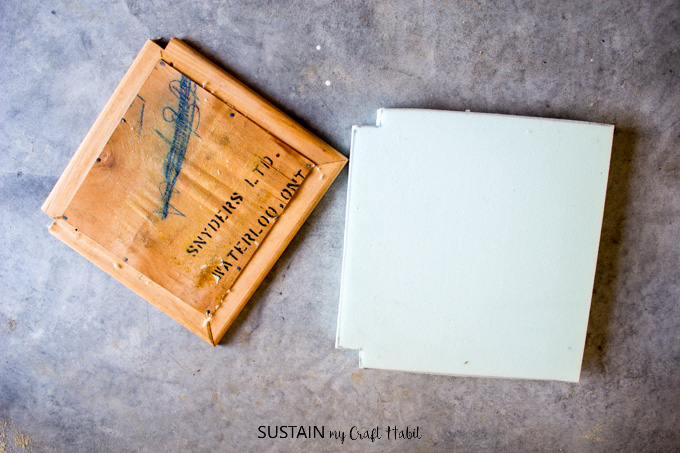
Step 1: Preparing the Chair
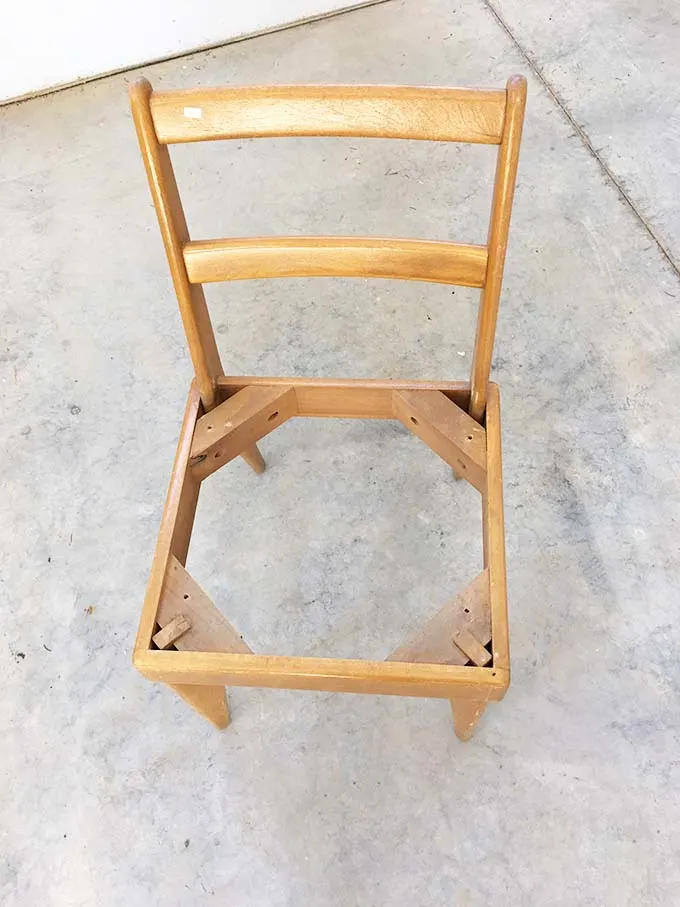
Remove the previous upholstery (fabric and foam) carefully. Remove any screws/hardware and set aside for safe keeping to avoid losing. Pull out any old staples or nails.

Wipe the chair down thoroughly with warm, soapy water to remove the grime and oils. Make sure that the piece is completely dry before moving on to the next steps.
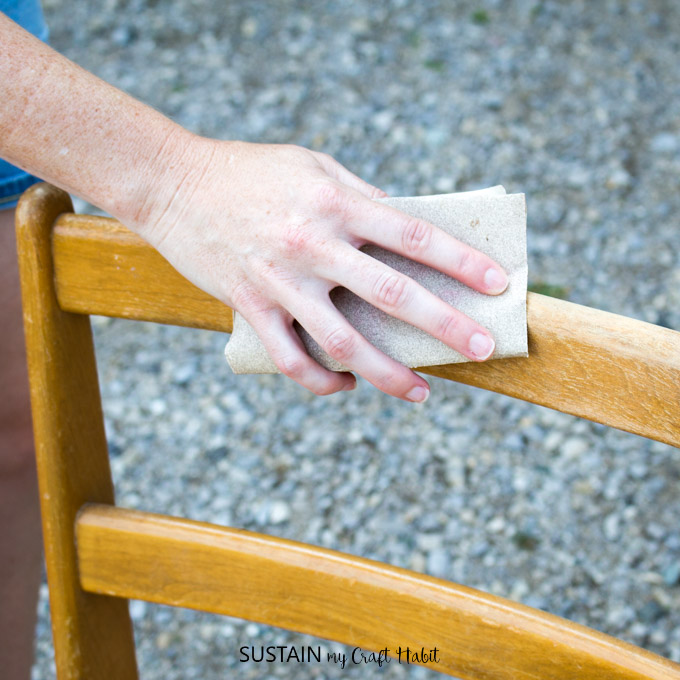
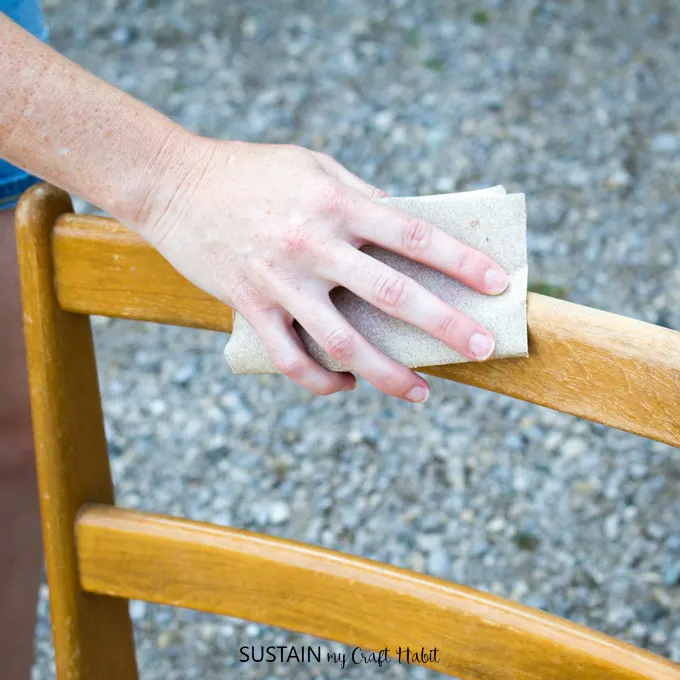
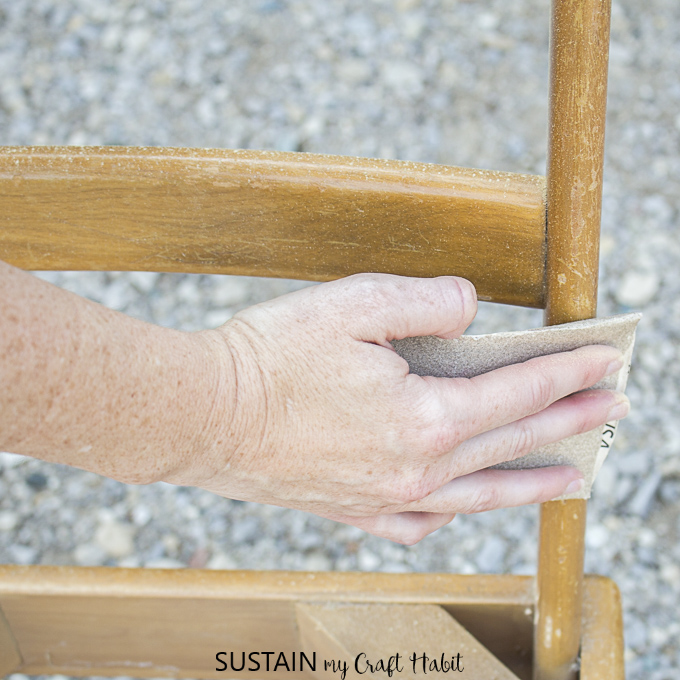
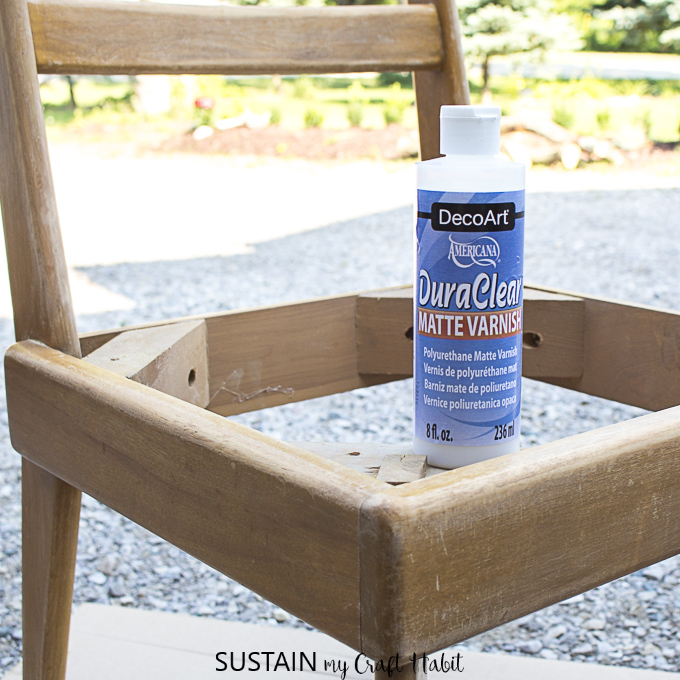
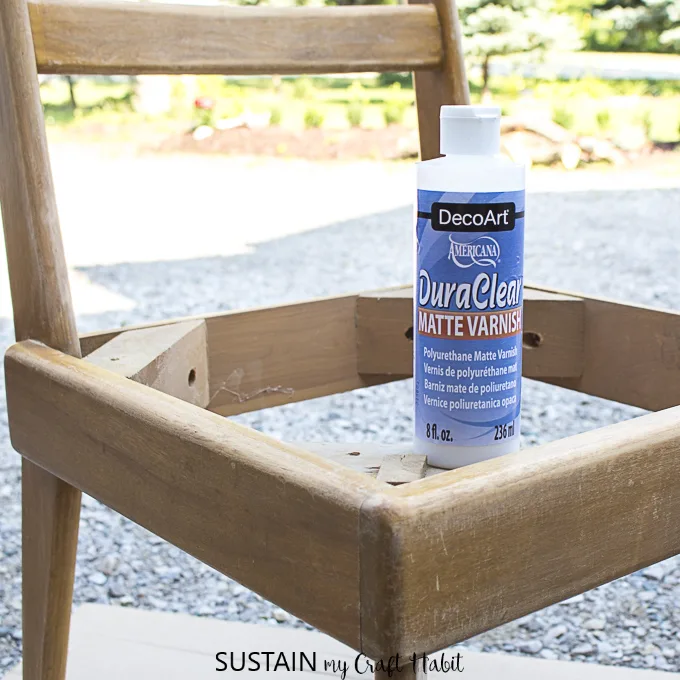
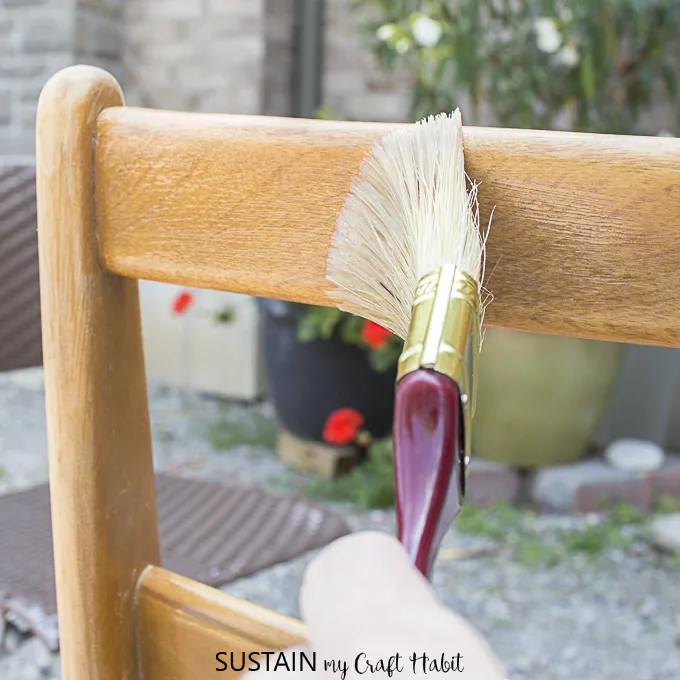
If you’re going to paint the wood, choose a durable wood paint. For tips on painting wood furniture, check out our post on how to paint a dresser without sanding and our other post on how to repaint a console table to prevent yellowing. In our case, we chose to leave the natural wood finish since it fit in with the style of our room. The wood on the chair was in great condition overall, it just needed a light sanding and coat of durable varnish.


Step 2: Gathering the Supplies
When shopping for fabric, stick to upholstery grade fabrics which are more durable and are often stain resistant. Fabric prices vary considerably, but you could get lucky and find something relatively inexpensive at end of the season or clearance section. We spent $15 for our yard of fabric and used less than half for the chair.
As for the foam and batting, check with your fabric store if they sell it and if not, check locally for upholstery services that can sell you just the materials needed for your own DIY. When you find the supplier, you’ll need to bring the uncovered seat with you so they can match to the size needed.

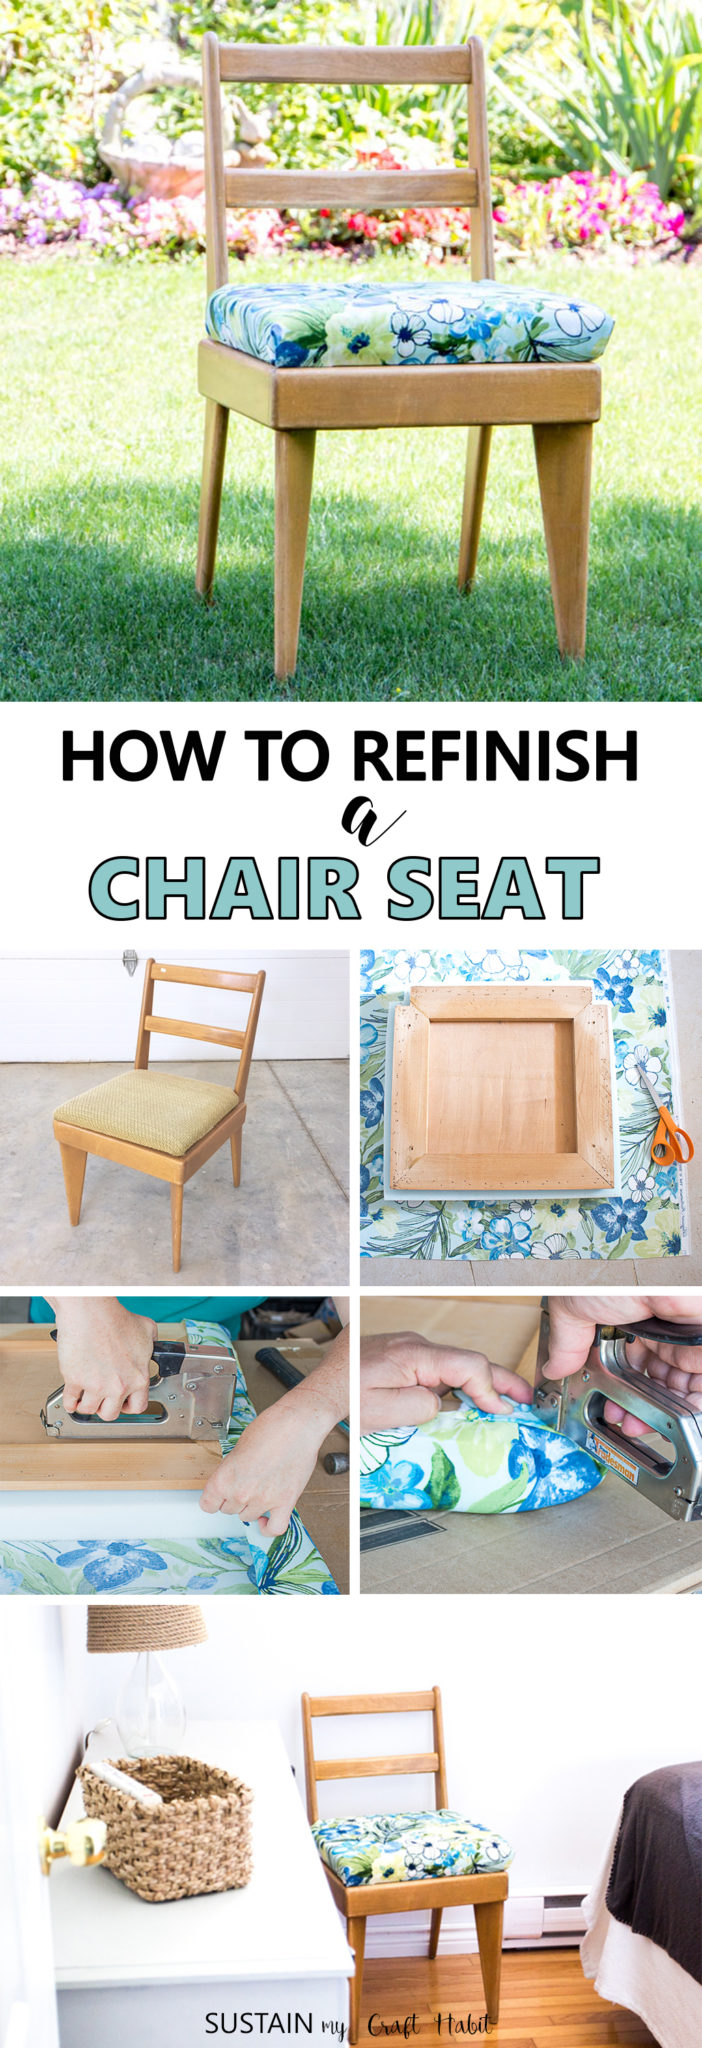
Step 3: Reupholstering the Chair Seat
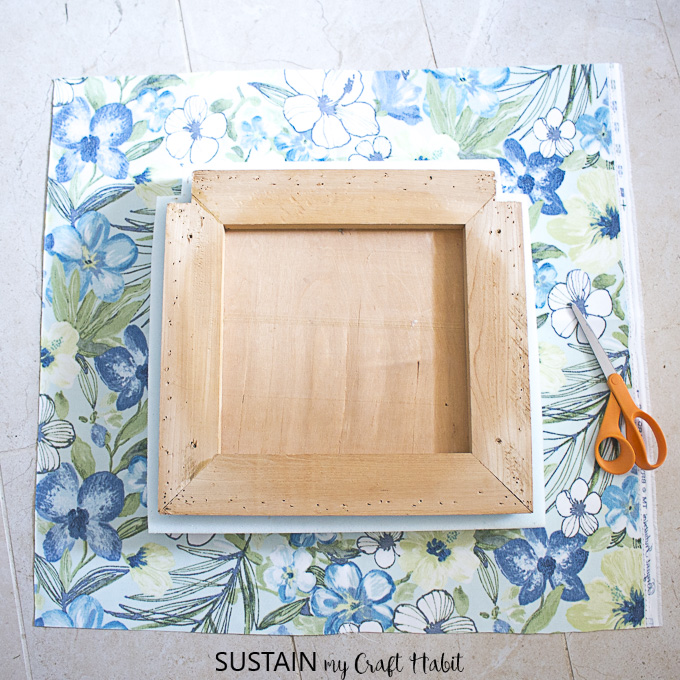
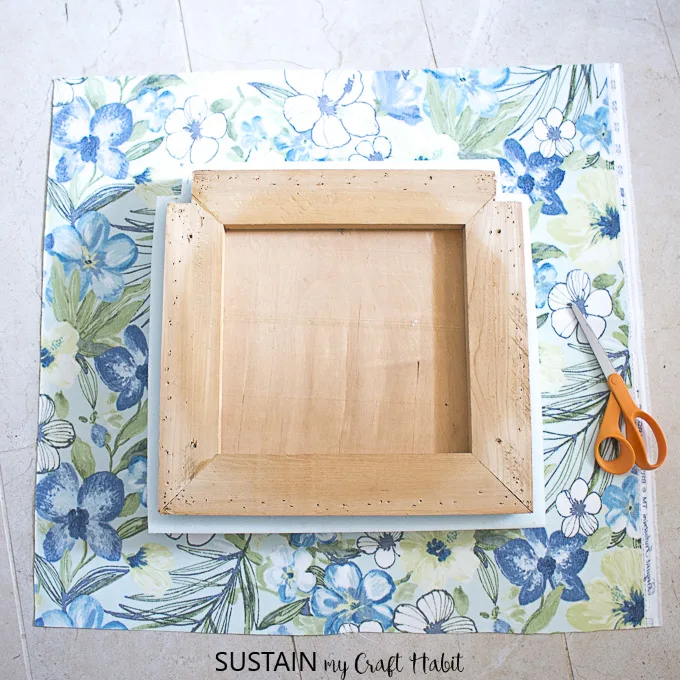
Lay the fabric onto a flat surface with the right side facing down. Tip: if your fabric has a pattern (like ours), make sure the direction of the pattern is correct. Place the seat with the high density foam on top, leaving about 4” extra all around. Keep the center of the seat parallel with the finished edge of the fabric (selvedge). Cut the fabric to the needed size.
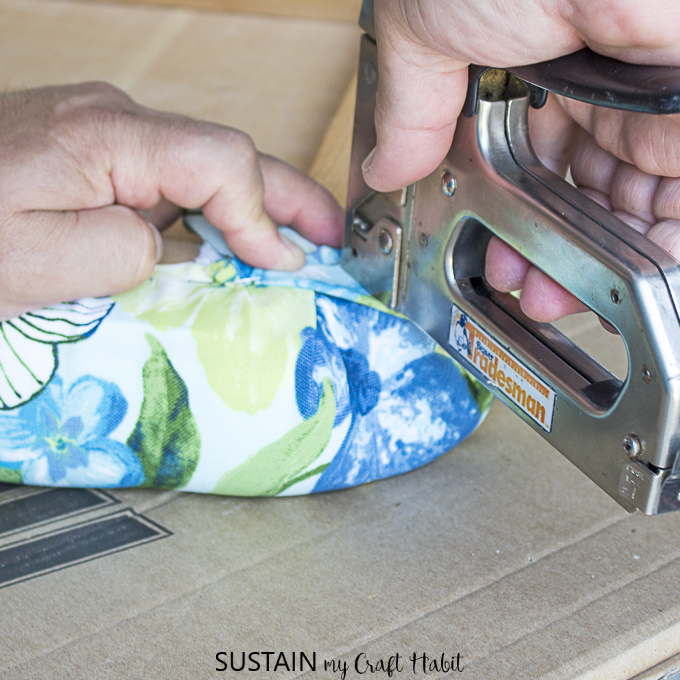
On a clean work surface, place the fabric right side down with the padded seat face down on top in the center. Take the center of the fabric along one side and fold it up and around the seat. Secure in place with a staple. Continue along one side until you are about 2” from the corner.

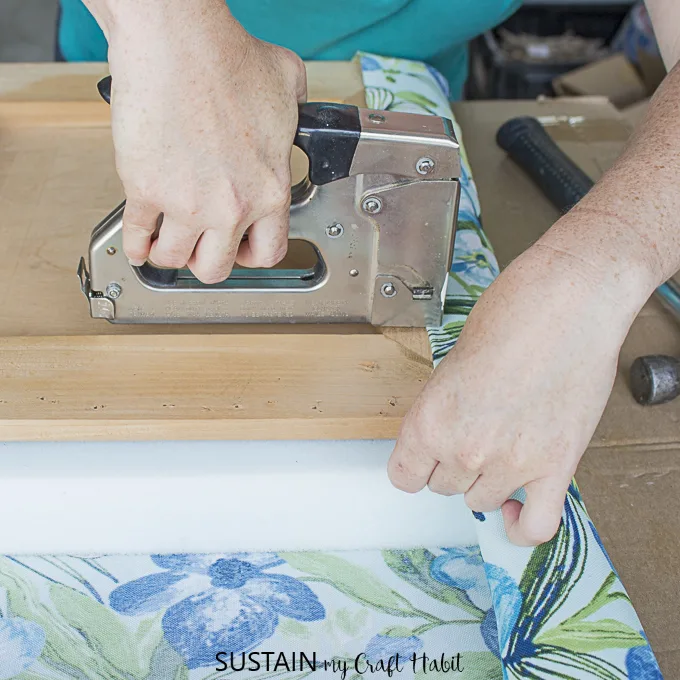
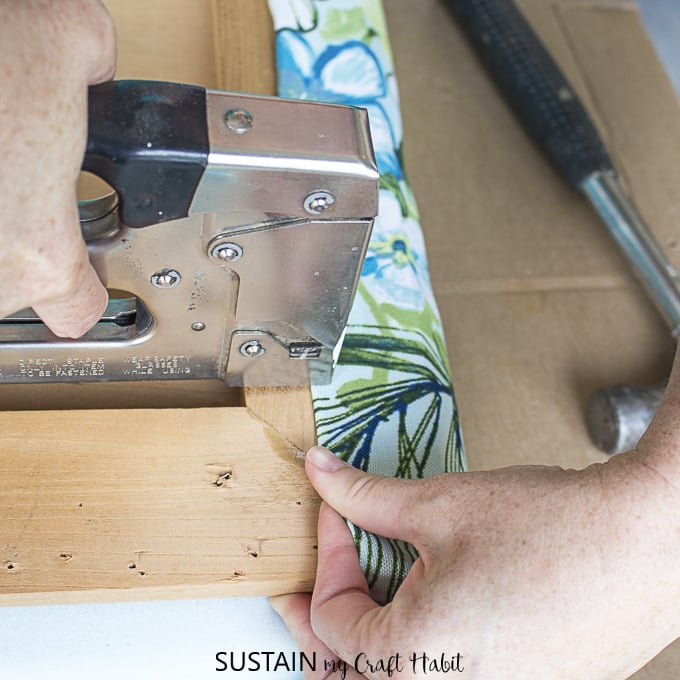
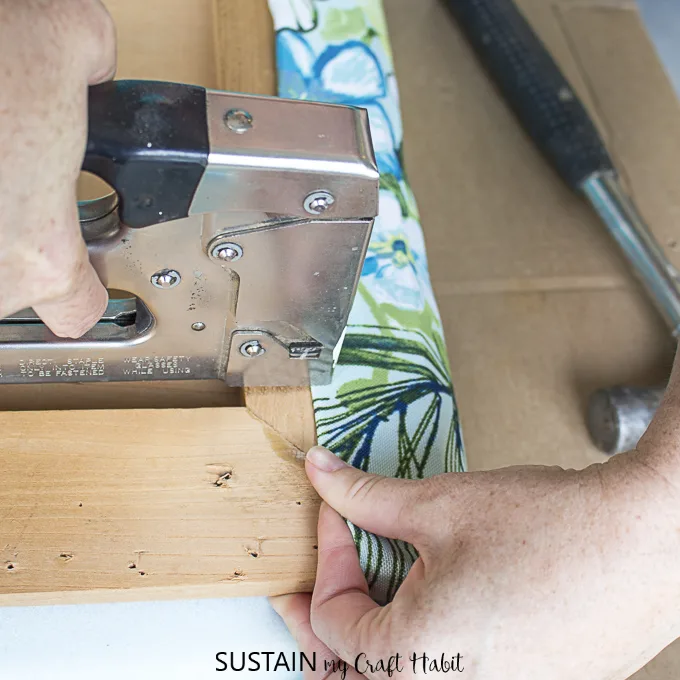
Take the opposite side and pull snugly to staple in place. Another set of hands if you have them is helpful here! Continue along this side until you get about 2” from the corners. Hammer staples in place if not fully secure.
Repeat this with the other two sides.
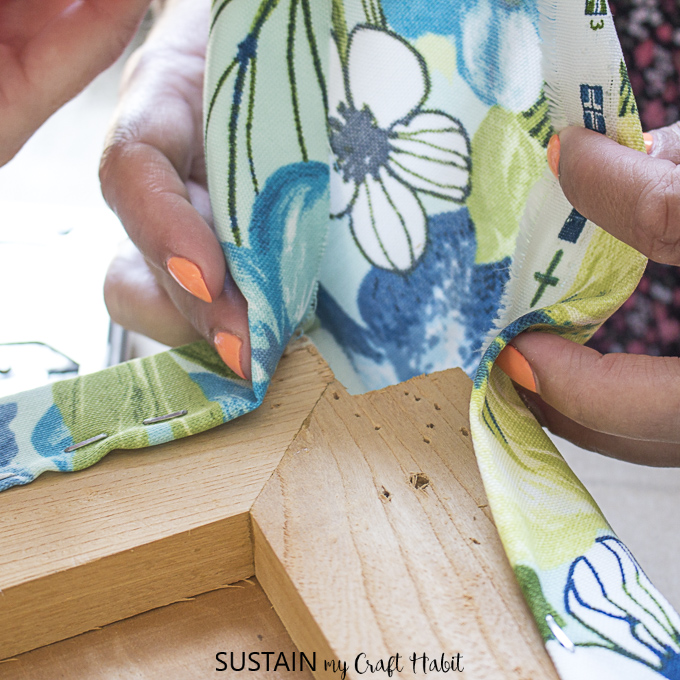
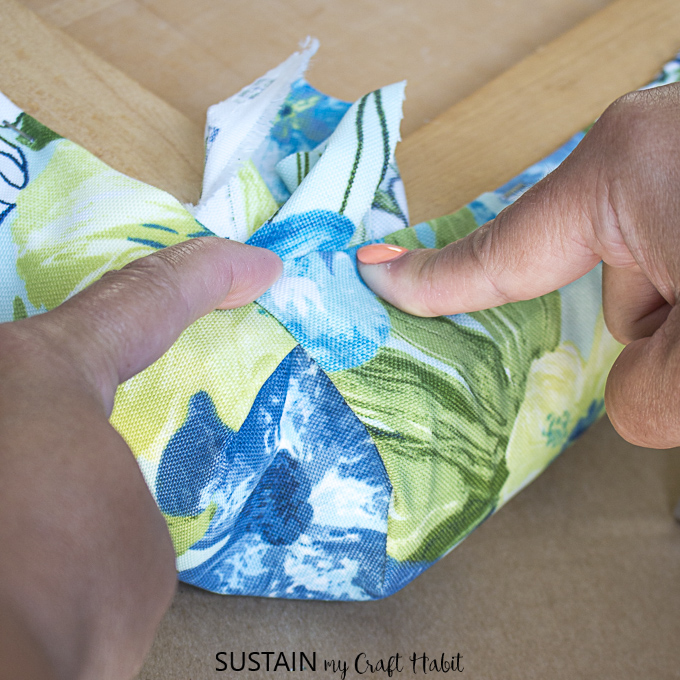
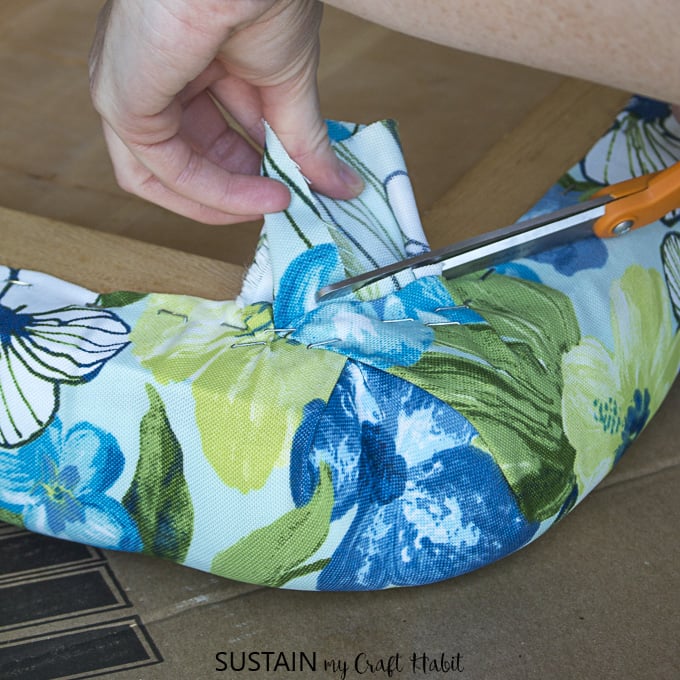
When you get to the corner, neatly pull the fabric and adjust the pleats on both sides of the corner so they look the same. Cut excess fabric at the corner and secure in place with several staples. Repeat on all four corners. Notice the 3 different sets of hands in the pictures??


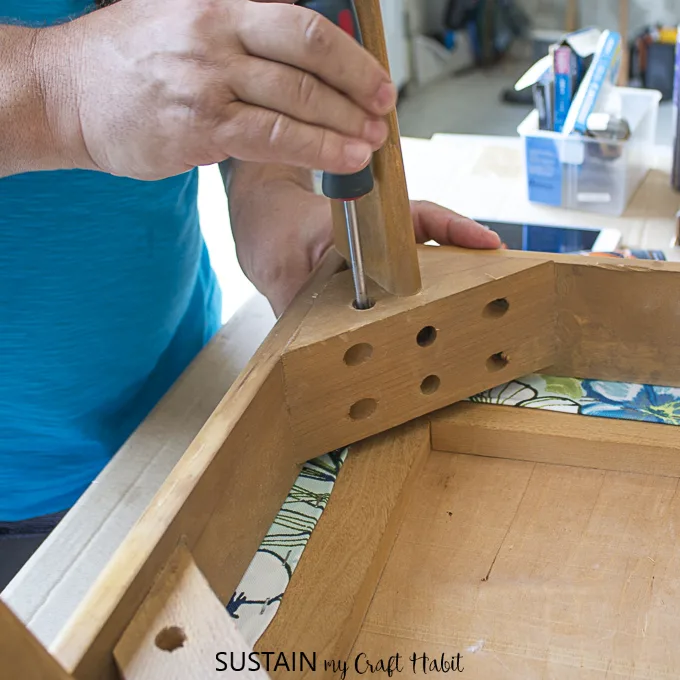
Step 4: Reassembling the Chair
Place the re-upholstered seat onto the chair. Turn the seat and chair upside down on the work surface and secure the seat in place with screws.

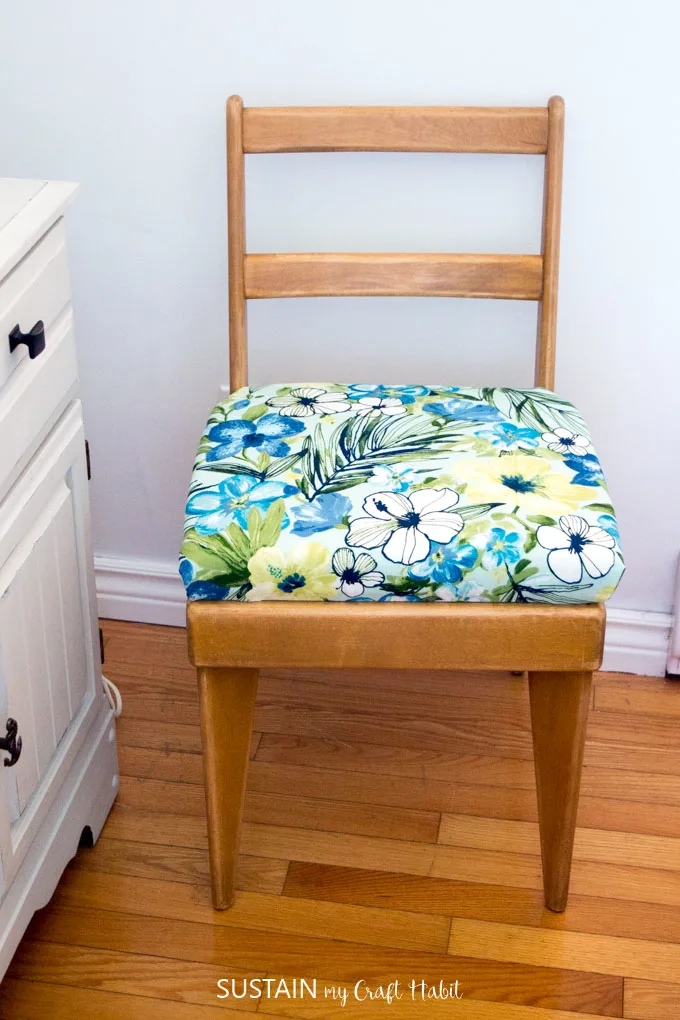
And just in the nick of time, in walks the supervisor (aka our dad and the 5th set of hands in this DIY) to inspect our work. He takes a seat and gives us the nod of approval. Way to go team, we done well!
We’re using this an accent chair in the beachy-themed lakeside bedroom at our family cottage. The chair fits in perfectly with the coastal teals, grays and sunny yellow color scheme. So far, we’ve:
- transformed an 80’s wood headboard,
- built a wall shelf out of found driftwood, and
- re-finished a bedside table with a fish scale stencil.
For your weekly Craft Habit Fix and other freebies, be sure to sign up to our mailing list.

Do you have any other tips on how to reupholster a chair seat? You can also check out these reupholstered before and after stools from our other thrift store find.
Pin it for later!

David johnny
Monday 7th of January 2019
This is great. Its very helpful article. This is very easy and simple way to decorate chairs.