A Simple Rustic DIY Shelf with Driftwood
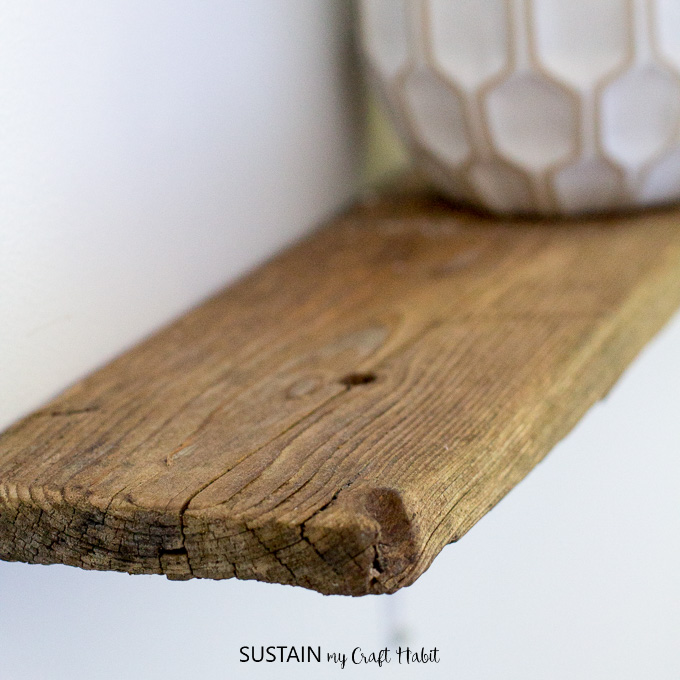
You probably can’t even imagine how excited we were when we found this large piece of driftwood on the beach one day. We had so many ideas for different ways to use it that we almost couldn’t make up our minds! But in the end, we stuck to one of our original ideas and made this simple rustic DIY shelf as part of our Graystone Beach cottage Lakeside bedroom makeover.
The second bedroom of the 2-bedroom cottage bungalow makeover is in full swing. So far, we’ve re-painted the dated wood headboard and created a fun painted driftwood LAKE sign to hang on the wall. You can find the full design plan for the room here as well as the before video below.
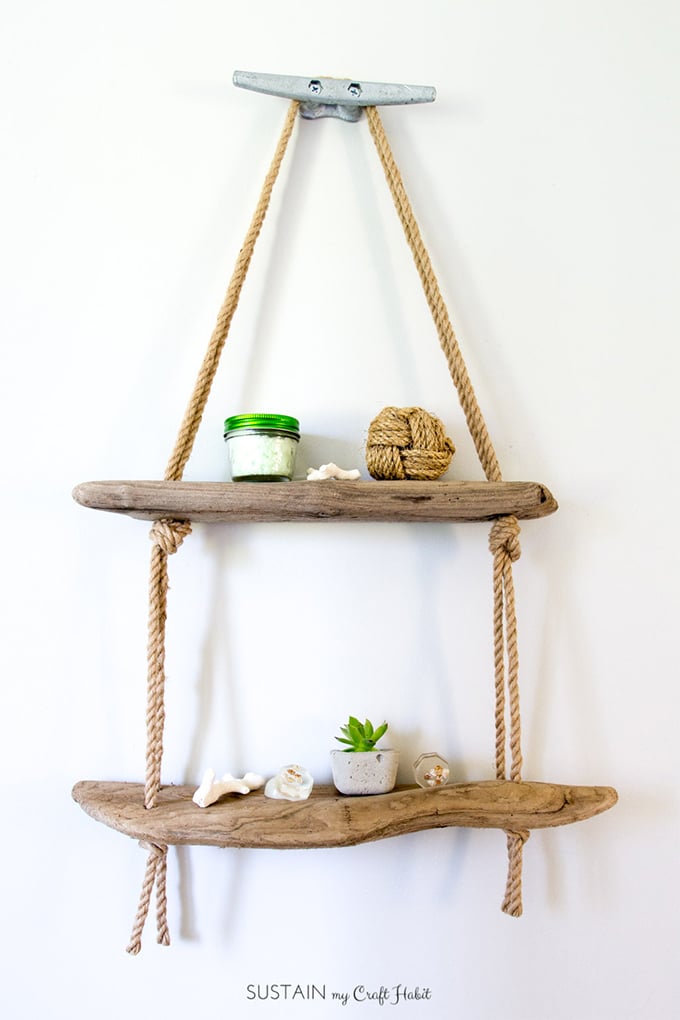
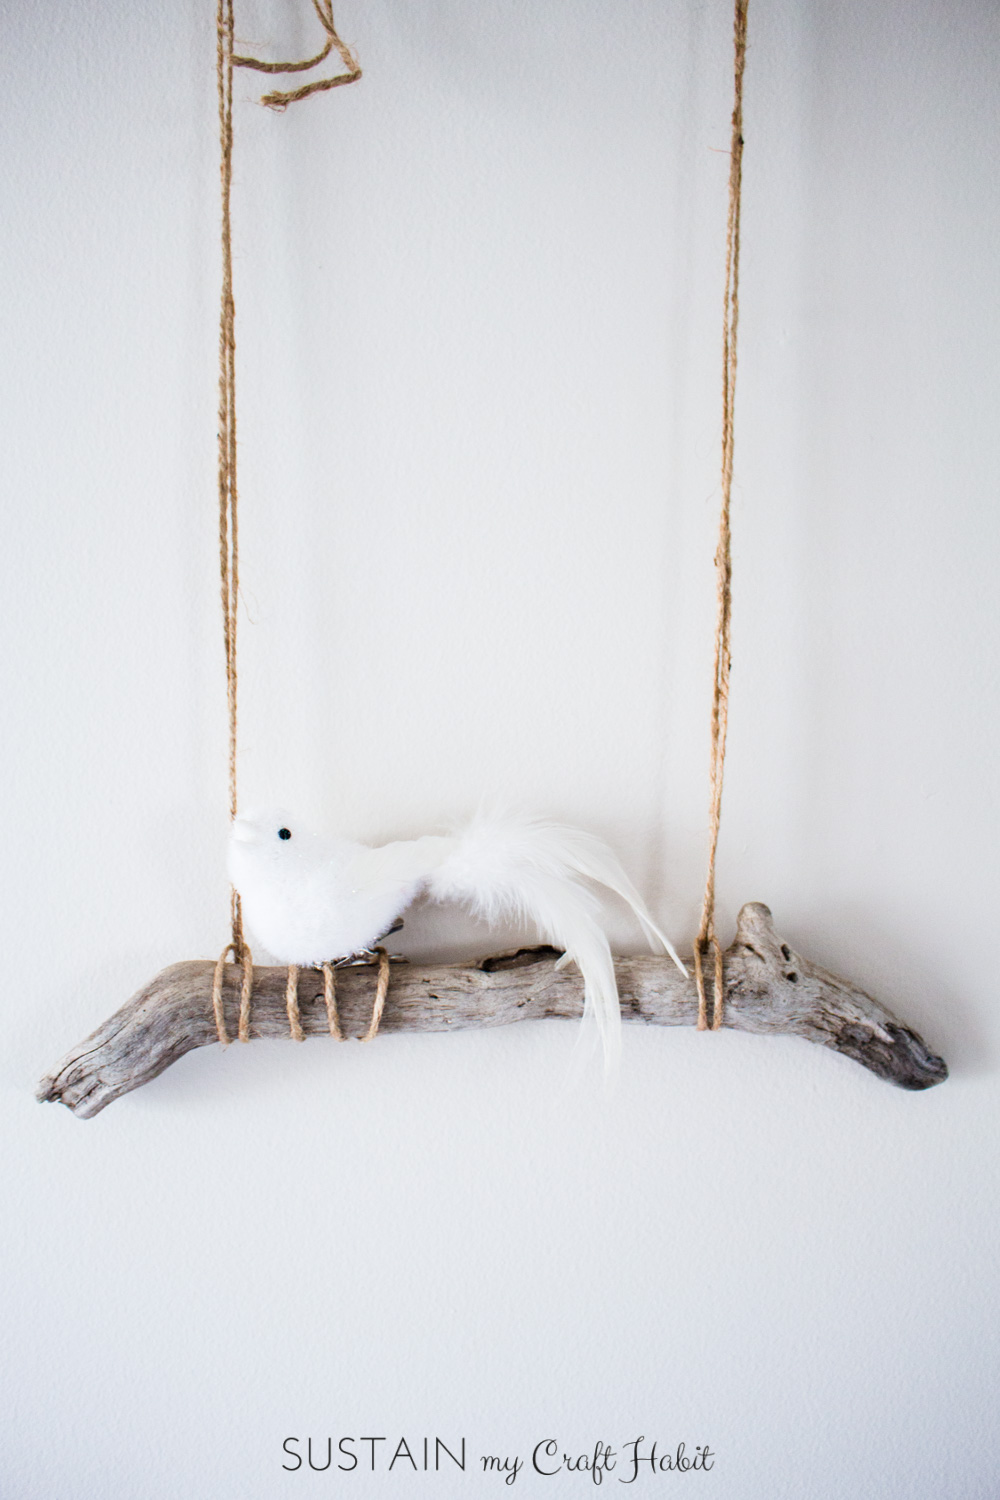
We also made this hanging driftwood shelves for the cottage bathroom makeover. Did we mention we LOVE driftwood?
Supplies Needed to make your own DIY shelf
“*This post contains affiliate links for your shopping convenience. Should you choose to buy items through these links we make a small commission at no expense to you. Thank you!”
- Large Driftwood Plank or Piece of Barn Board
- Beeswax furniture polish (we used Natural Wax by Country Chic Paint for this DIY or you can also make your own natural furniture polish)
- Sandpaper, gloves
- Cloth / Rag
- Shelving brackets*
- Measuring tape, pencil, level
- Drill, screwdriver, screws, appropriate sized drill bit, wall anchors
How to Make Driftwood Shelves
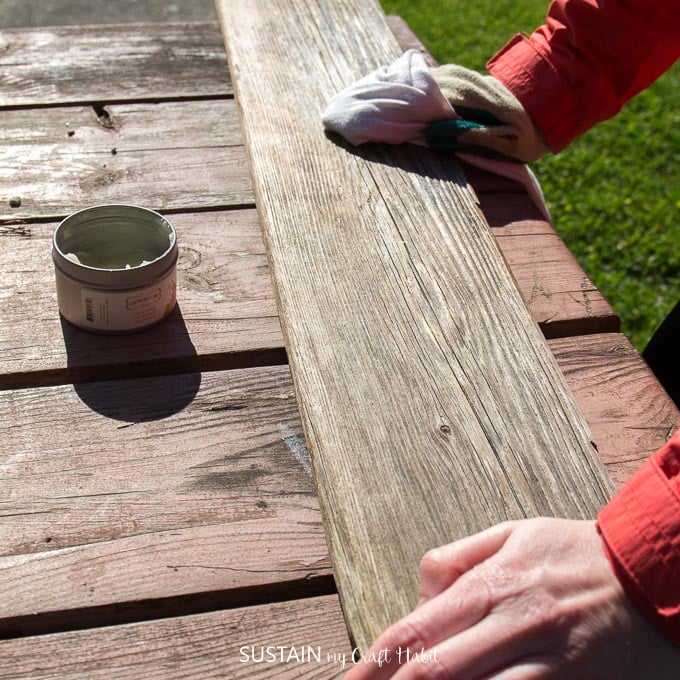
Preparing the wood:
- Clean the wood you plan to use for your driftwood shelves and ensure it is fully dry before continuing to next step.
- Using a piece of sandpaper and gloves (to avoid splinters), sand the piece of wood to reduce the roughness.
- Wipe away the sawdust before sealing the driftwood.
- With a clean rag, apply a small bit of beeswax polish and work in small sections rubbing the wax sealer on both sides of the wood.

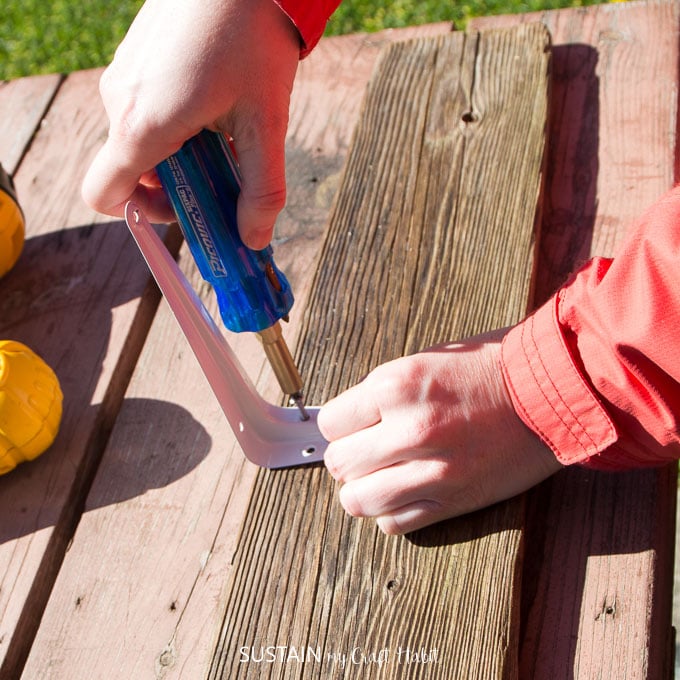
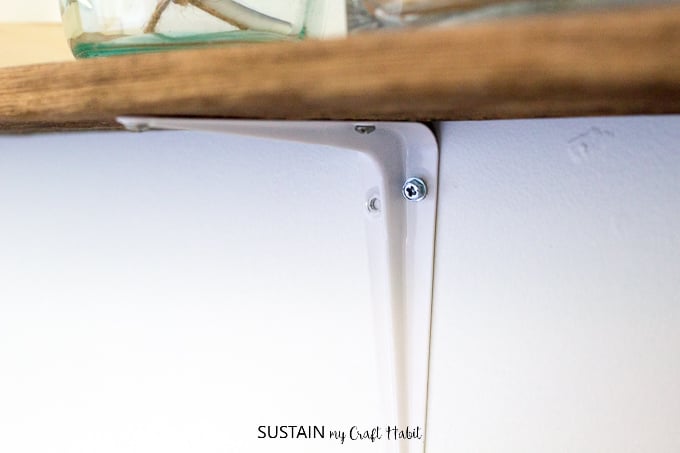
Assembling the shelf brackets:

5. Position the brackets on the underside of the shelf and evenly space from sides. Make sure to align the back of the bracket with the back side of the shelf. Mark the placement with a pencil.
6. Pre-drill the holes. Avoid drilling through the entire thickness of the wood.
7. Screw the bracket to the underside of the drift wood shelf.
Securing the rustic DIY shelf to the wall:
8. Mark the placement of the shelf at the desired height. Place a level on the wall to ensure markings on aligned and level.
9. Mark the placement with a pencil directly on the wall on both ends. Pre-drill and add wall anchors so shelf with hold extra weight. Screw shelf to wall.
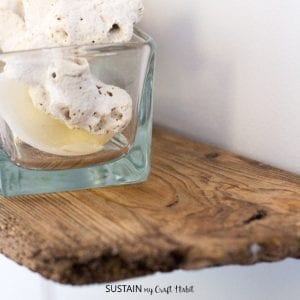
Styling your New Driftwood Shelves
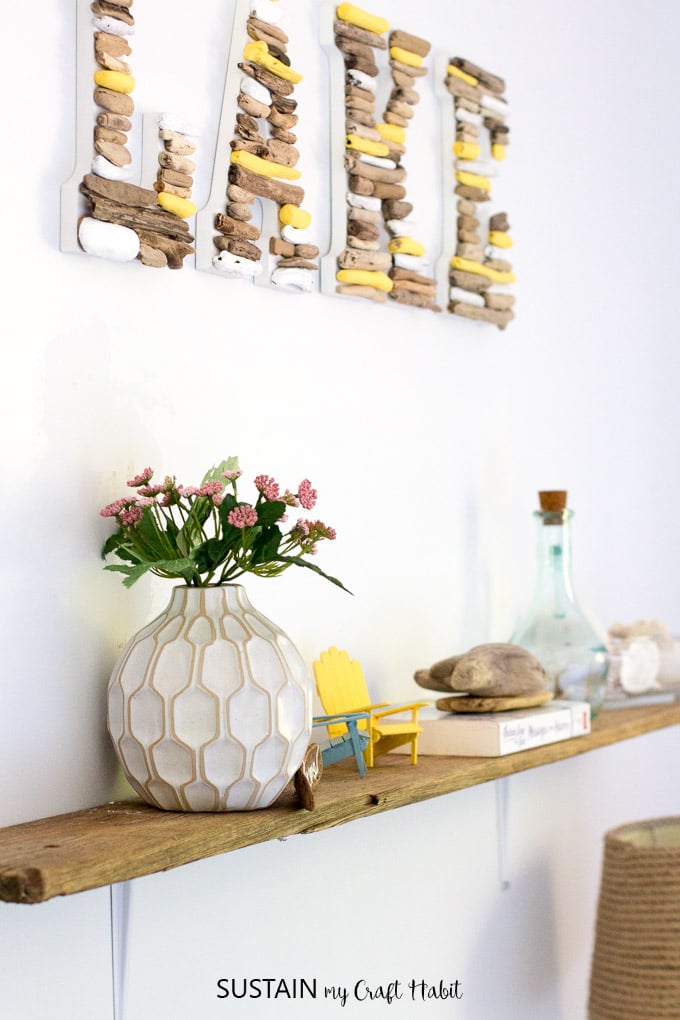
Even though we made it for less than $5, this DIY rustic driftwood shelf is an art piece all on it’s own.
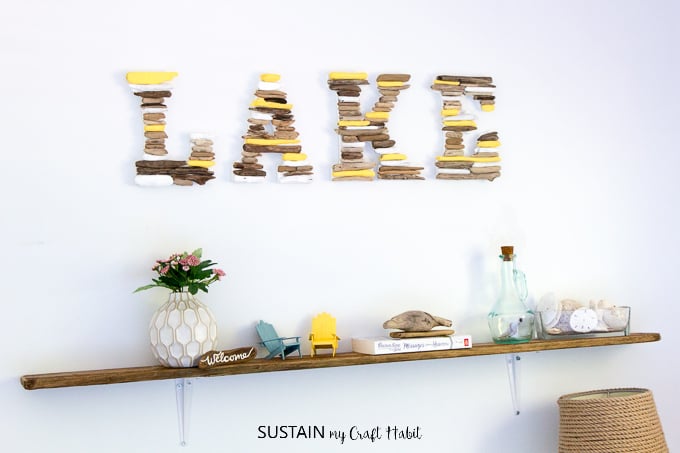
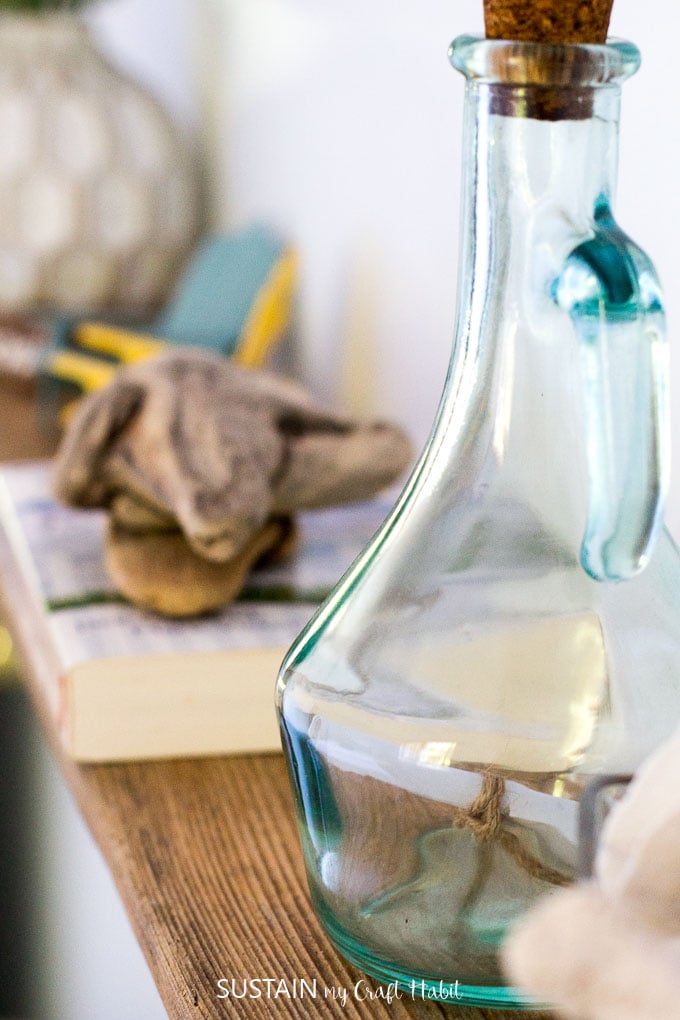
However, we love that it has practical purpose as well. After all, where else would we display all our beachy nick-nacks such as our mini Adirondack chairs? Style your new shelf with other beachy finds such as interesting pieces of driftwood, a glass bowl filled with seashells, a great
Really, what respectable coastal cottage doesn’t have a message-in-a-bottle to display?
If you’ve missed the pre-reno tour of our little cottage, check it out here:

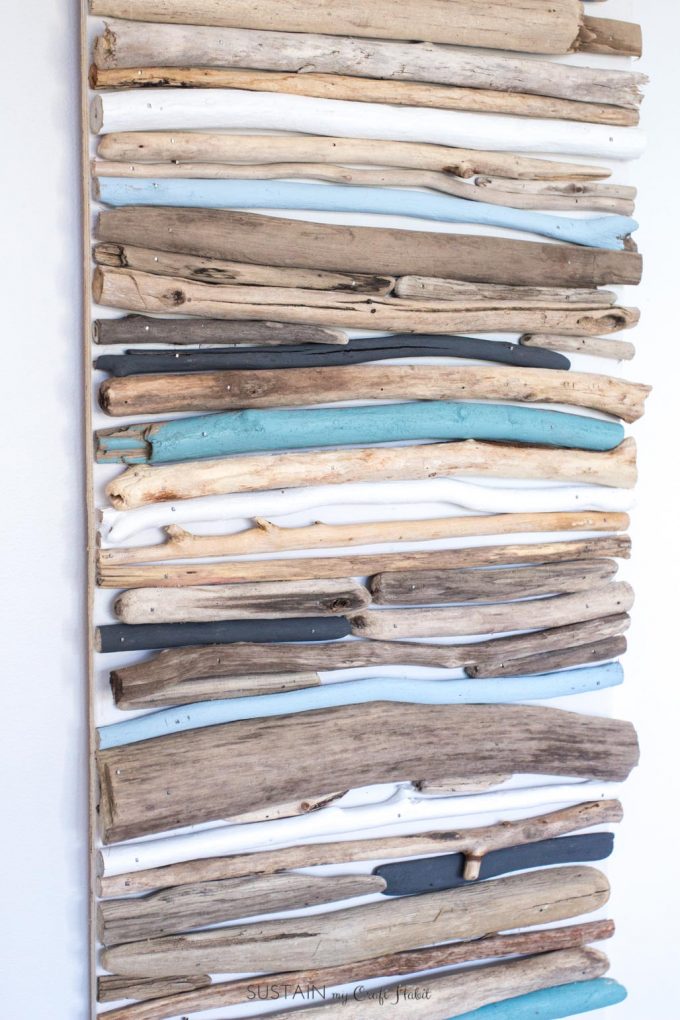
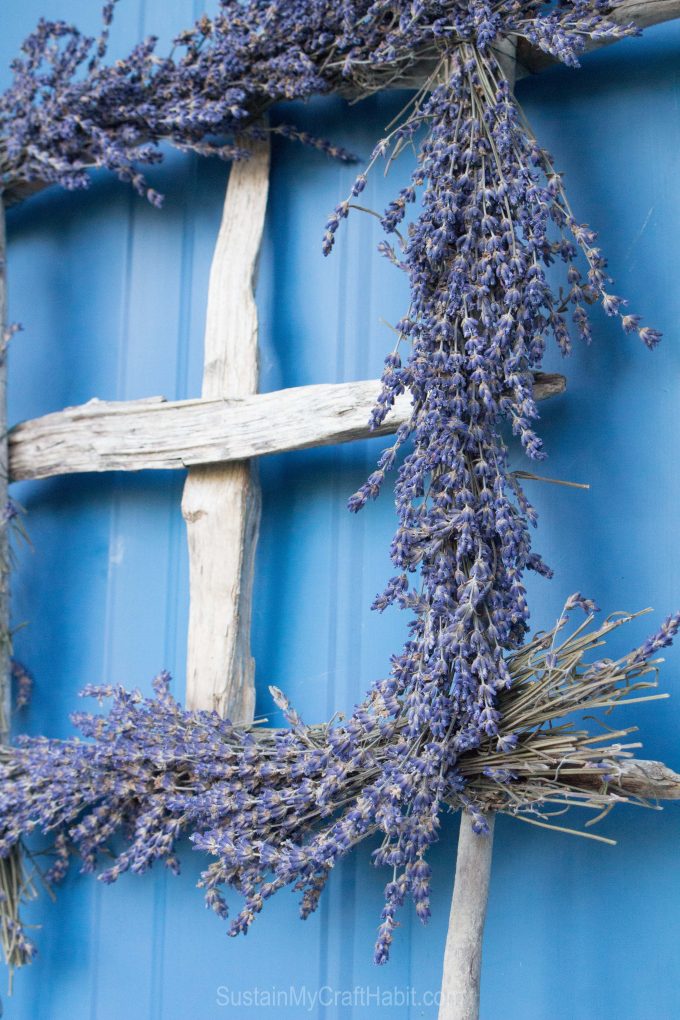
And if you’re like us and you can’t get enough drift wood projects, check out these other driftwood craft ideas:
How to Make Rustic DIY Driftwood Shelves
Equipment
- Sandpaper, gloves
- Cloth / Rag, measuring tape, pencil, level
- Drill, screwdriver, screws, appropriate sized drill bit, wall anchors
Materials
- Large Driftwood Plank or Piece of Barn Board
- Beeswax furniture polish
- Shelving brackets
Instructions
- Prepare the wood by cleaning, sanding and then applying a coat of beeswax furniture polish.
- Assemble the shelf brackets by positioning them evently on the underside of the shelf, aligning the back of the bracket with the back side of the shelf. Mark the placement with a pencil.
- Pre-drill the holes and screw the bracket to the underside of the drift wood shelf.
- To securing the DIY shelf to the wall, mark it’s placement at the desired height. Place a level on the wall to ensure markings are aligned and level.
- Pre-drill holes and add then add wall anchors so the shelf with hold extra weight. Screw shelf to wall.

What a great shelf! I love it! Thanks for sharing at #HomeMattersParty
Thank you so much Emily!
Love your drift wood shelf to bits!! Such a great find and so creative!!!
Thank you so much for sharing your fabulous project with us over at Waste Not Wednesday!
Thank you Sam!
What a wonderful shelf….i love the rustic look of it. Thanks for sharing this with us at the Waste Not Wednesday link Party. Looking forward to seeing you back this week.
Thank you so much Denise! It’s such a useful piece.