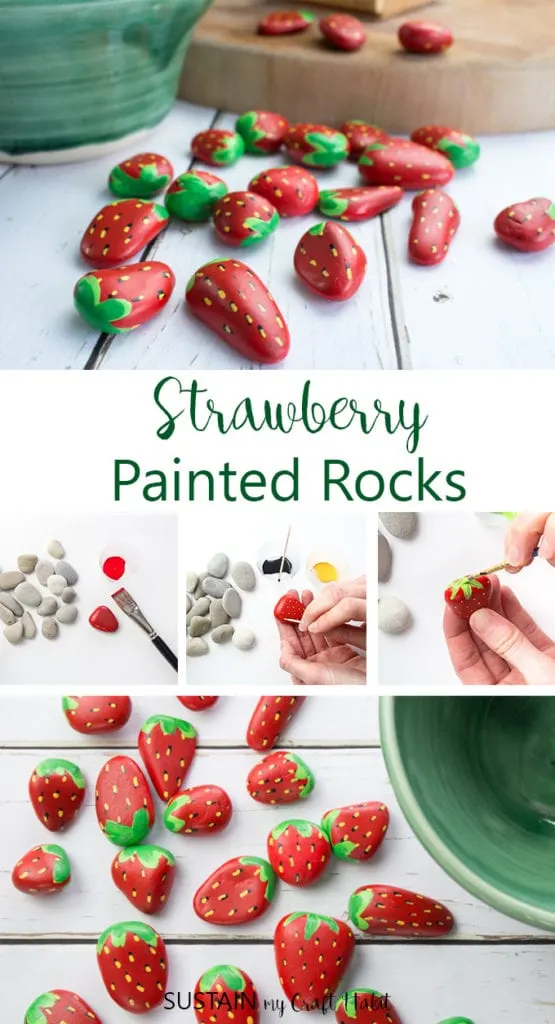
We’re certain you’ll enjoy making these easy-peasy strawberry painted rocks just as much as we did.
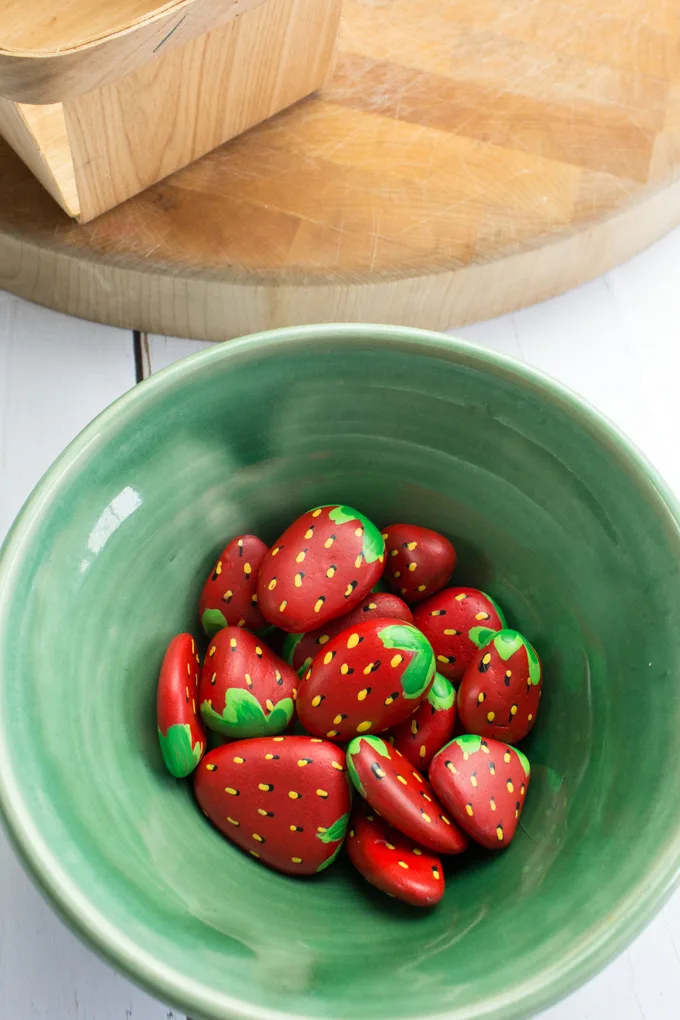
Sweet although-not-edible Strawberry Painted Rocks
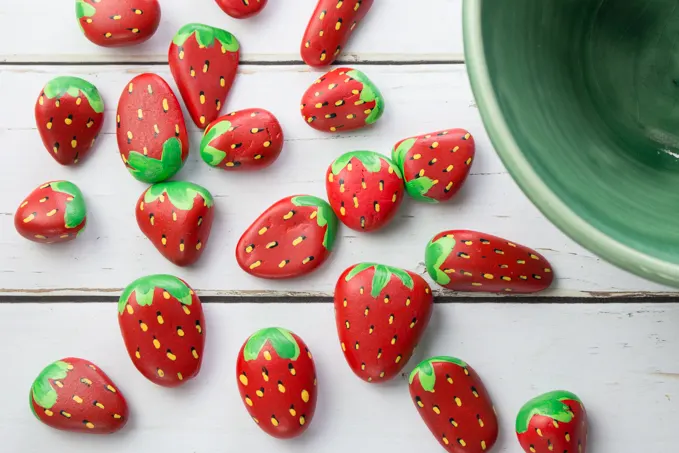
After recently visiting a local farm, I was reminded that strawberry season is almost upon us. So what better time than the present to share these strawberry painted rocks we originally shared for Crafts by Amanda.
When we do rock painting projects, we tend to use the larger rocks so it was a nice change to use smaller stones to make these sweet rock painted strawberries. Large or small, there is plenty of inspiration around us. If you’re stumped for new rock painting ideas, check out these posts:
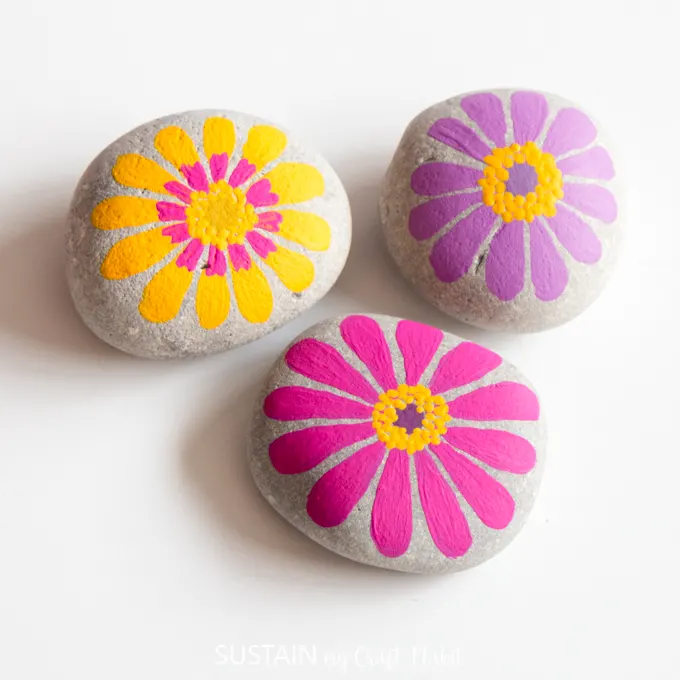
- colorful zinnia inspired painted rocks
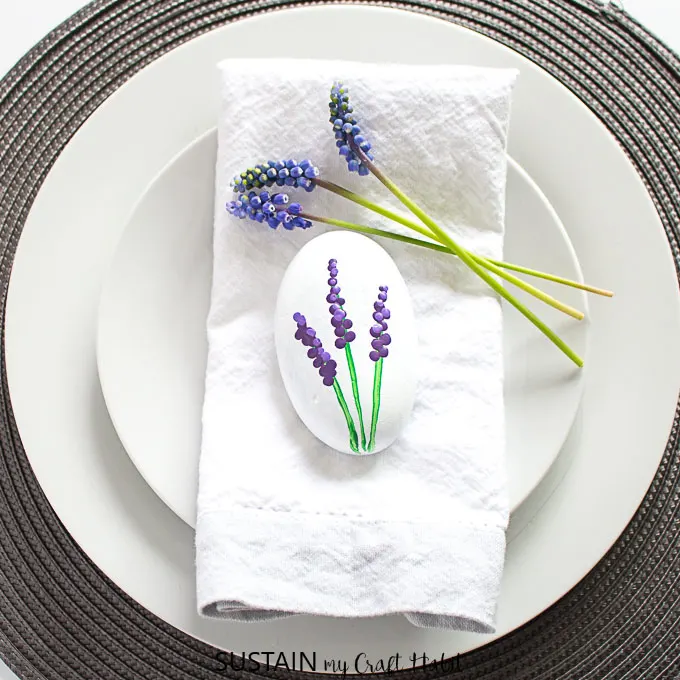
- grape hyacinth painted rocks
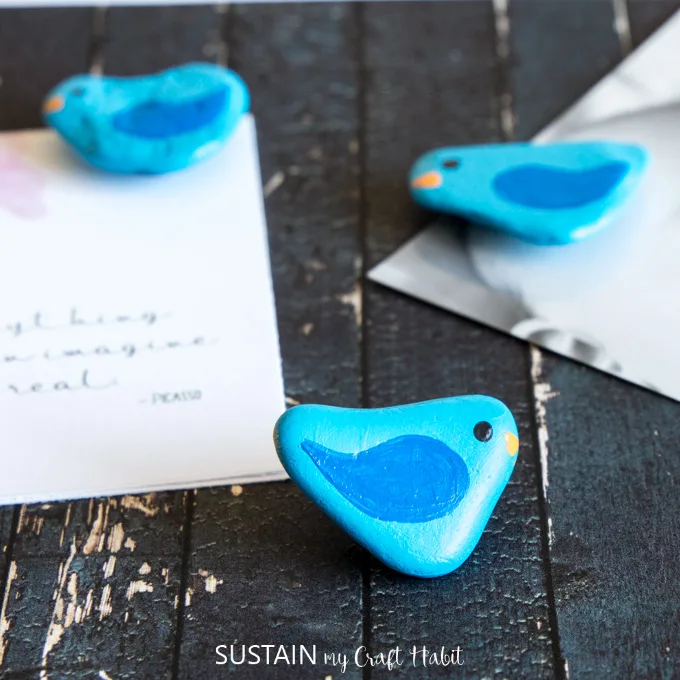
- painted bird rocks turned magnets
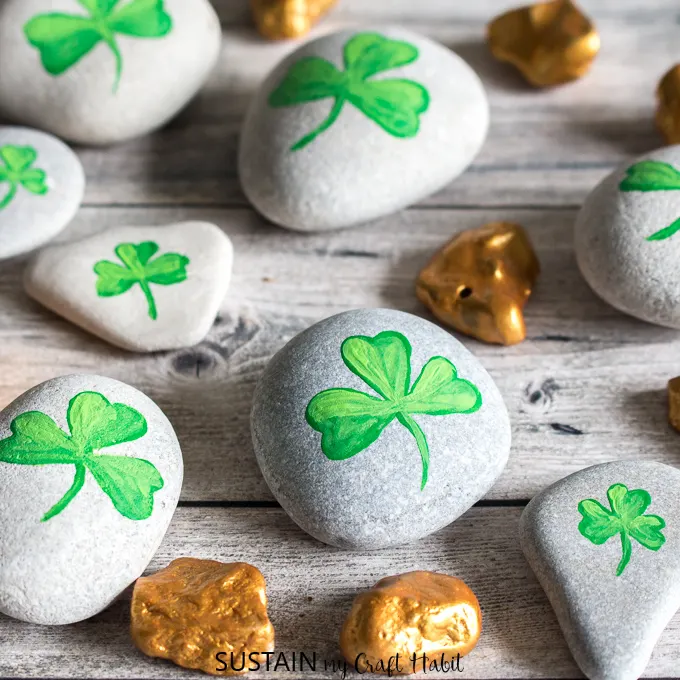
- painted shamrocks and gold nuggets
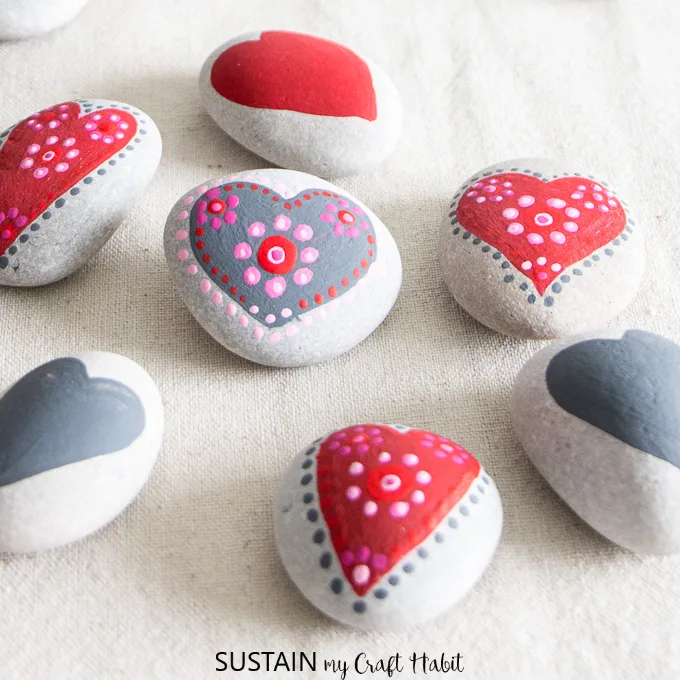
- painted mandala hearts on rocks
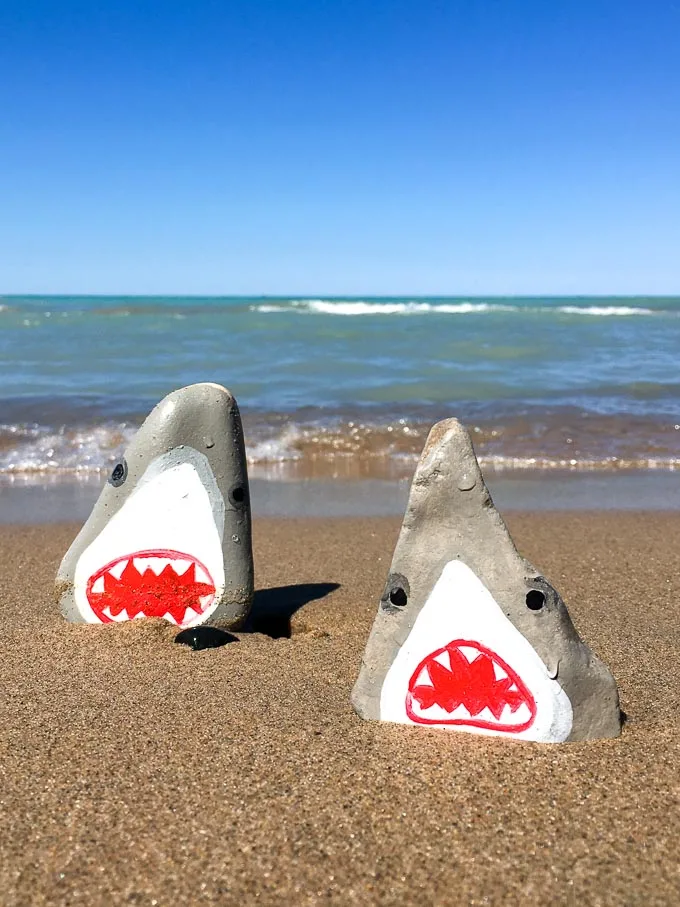
- shark painted rocks
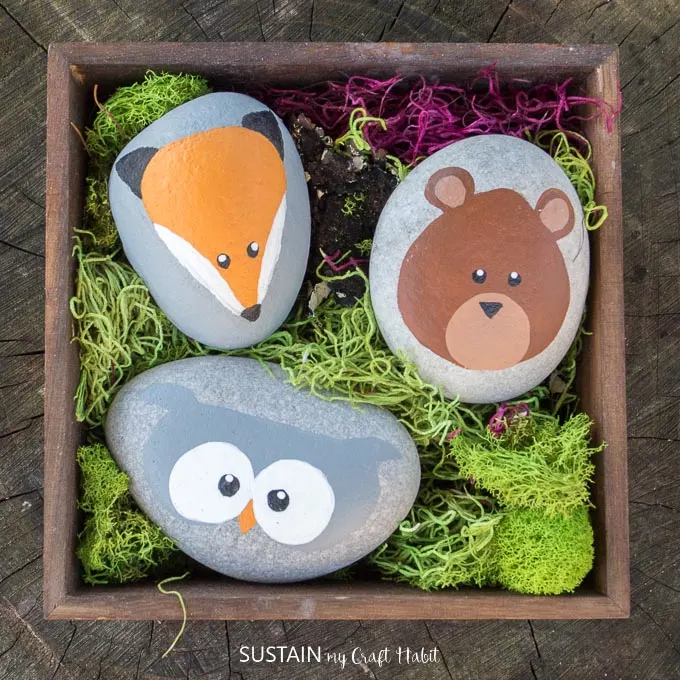
- woodland animal painted rocks
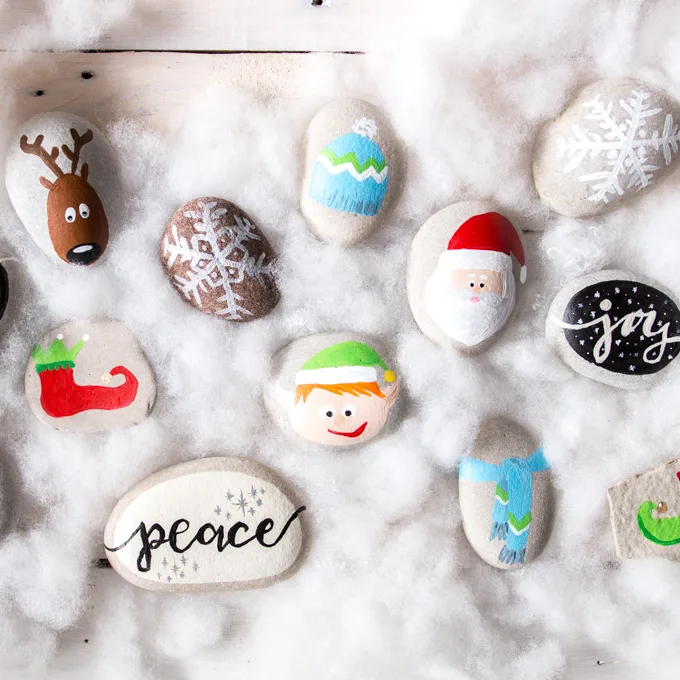
- Christmas rock painting ideas
And for other creative uses with rocks that don’t involve painting, you can try these fun and unexpected ideas:
- framed rock art
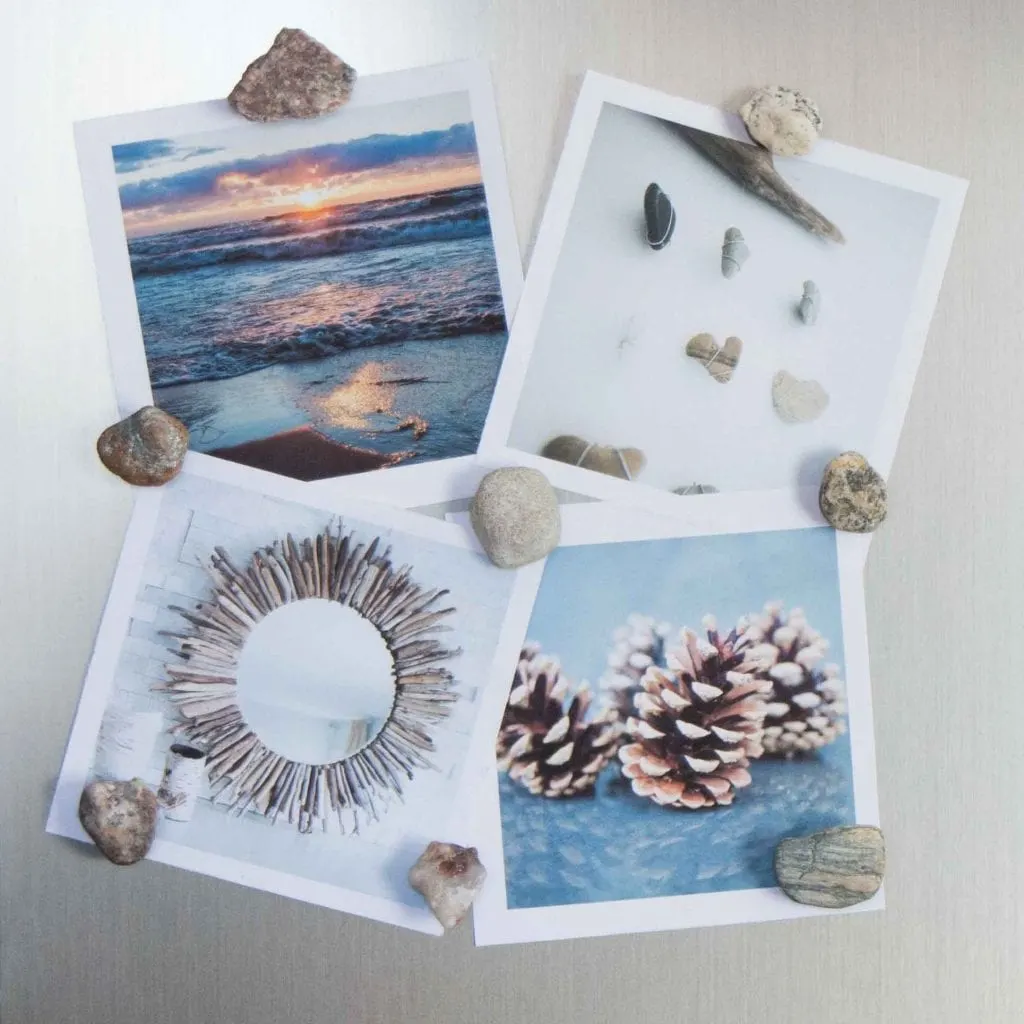
- rock and fossil fridge magnets
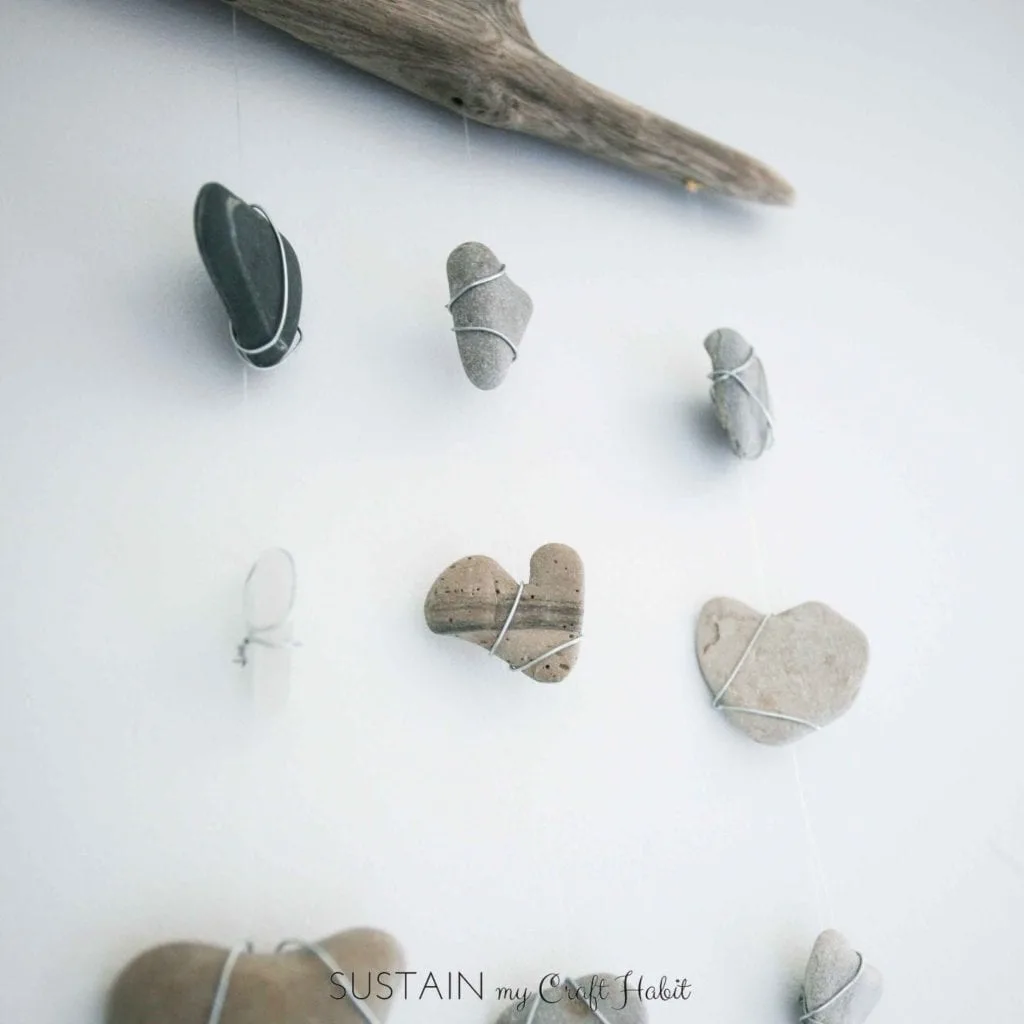
- heart rocks and sea glass mobile
- stamped rocks
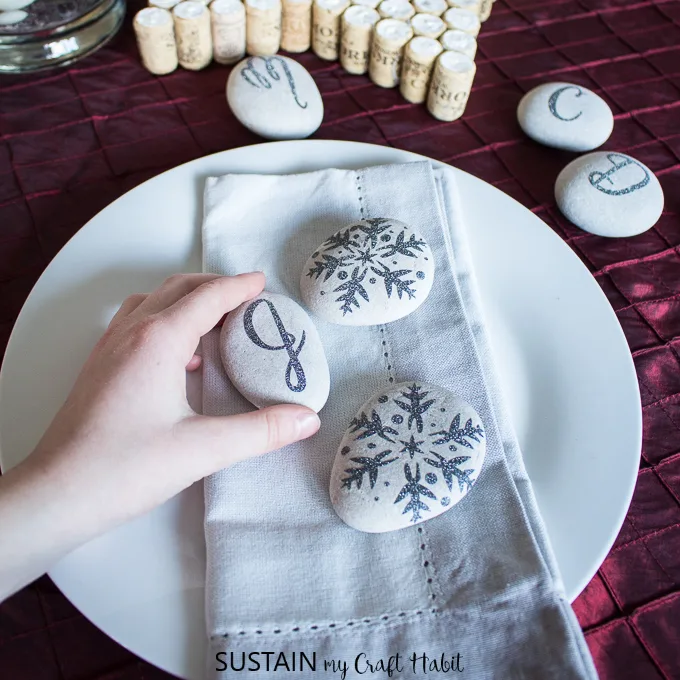
- monogrammed rocks with glitter vinyl
But back to the strawberry painted rocks. Here’s the how-to and supplies needed to make your own set of sweet strawberry rock decor.
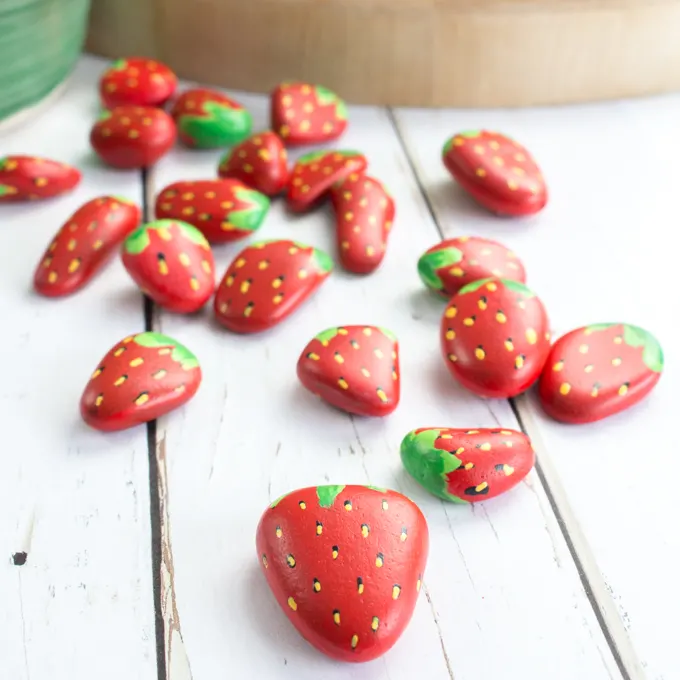
Materials Needed for rock painting strawberries:
This post also may contain affiliate links for your shopping convenience. Should you chose to purchase through these links we make a small commission at no extra cost to you. You can read our full disclosure here.
- Stones, triangular shaped, size can range from ½” to 1 ¼” (strawberries come in all different shapes and sizes after all!)
- Decoart Americana Multi Surface Satin Acrylic Paint in Lipstick, Black Tie, School Bus, Apple Green and Turf Green
- Paint brushes, one flat tip and one fine tip
- Toothpicks
How to Make Strawberry Painted Rocks:
Paint the entire surface of the stone in red.
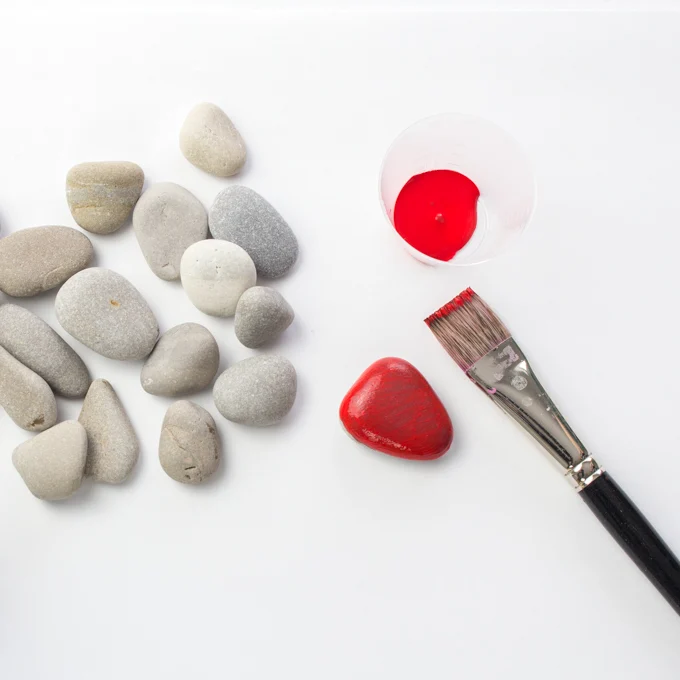
Using the tip of a toothpick, dip it in black paint and apply small dashes all over the painted red stones.
Repeat with yellow paint next, covering a portion of the black dashes with yellow dashes as shown.
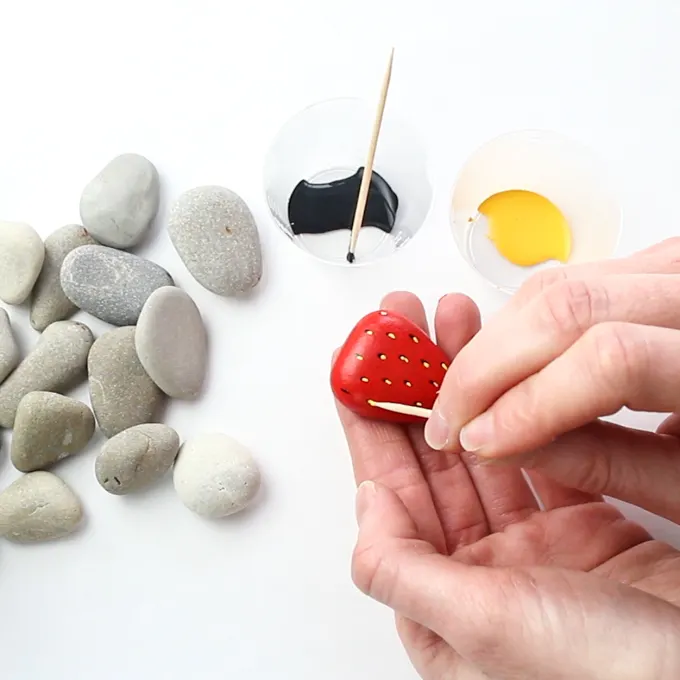
And lastly, add some foliage using two different shades of green to the tops of each of the painted rocks.
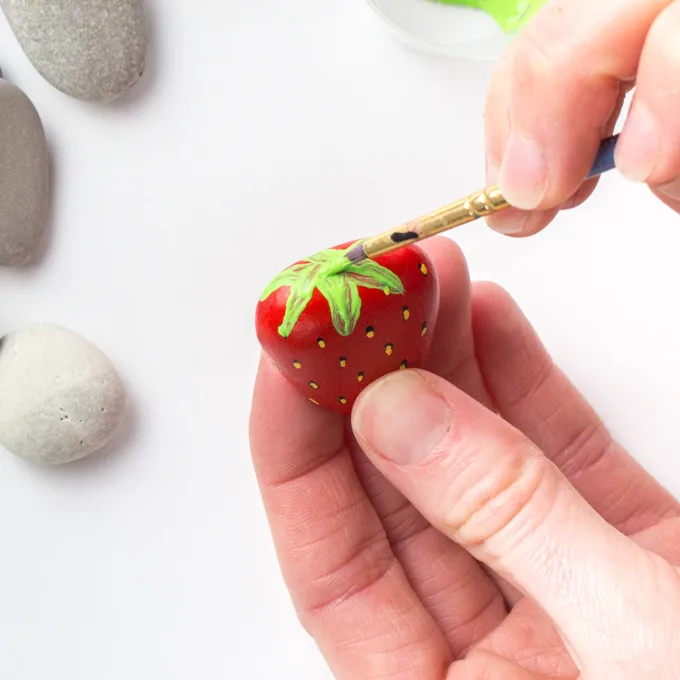
For the full how to instructions and photo tutorial, head over to , refer to the original post at Crafts by Amanda. She has loads of other rock painting inspo as well, such as these rock bees and father’s day hero stones.
But if you’re more interested in the strawberries than the rocks, than you should try these delicious recipes:

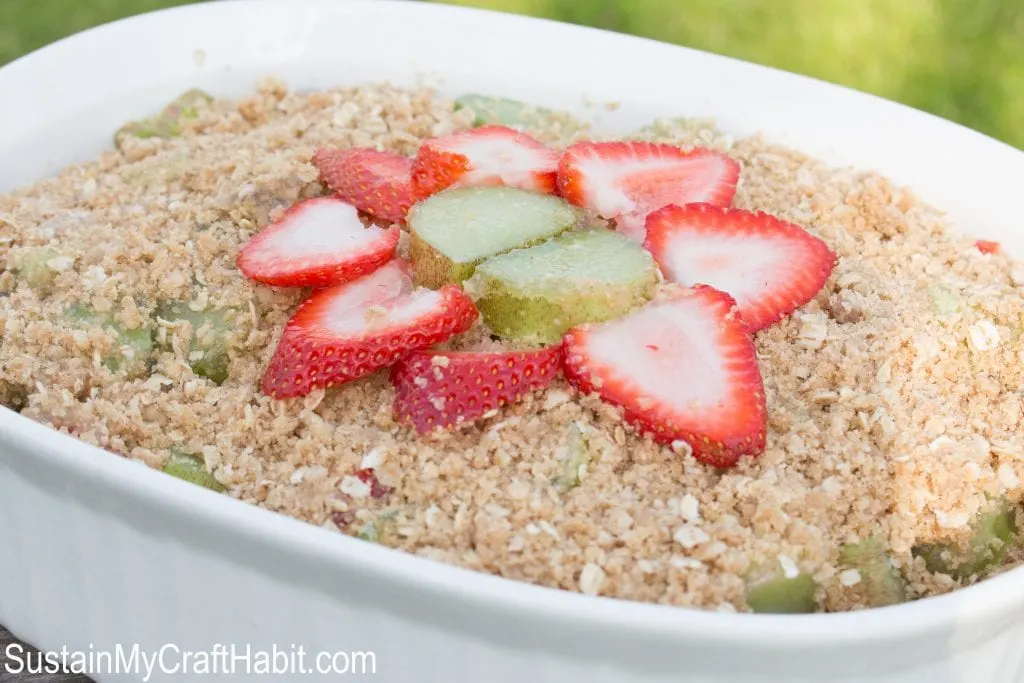
Strawberry Rhubarb Crunch 
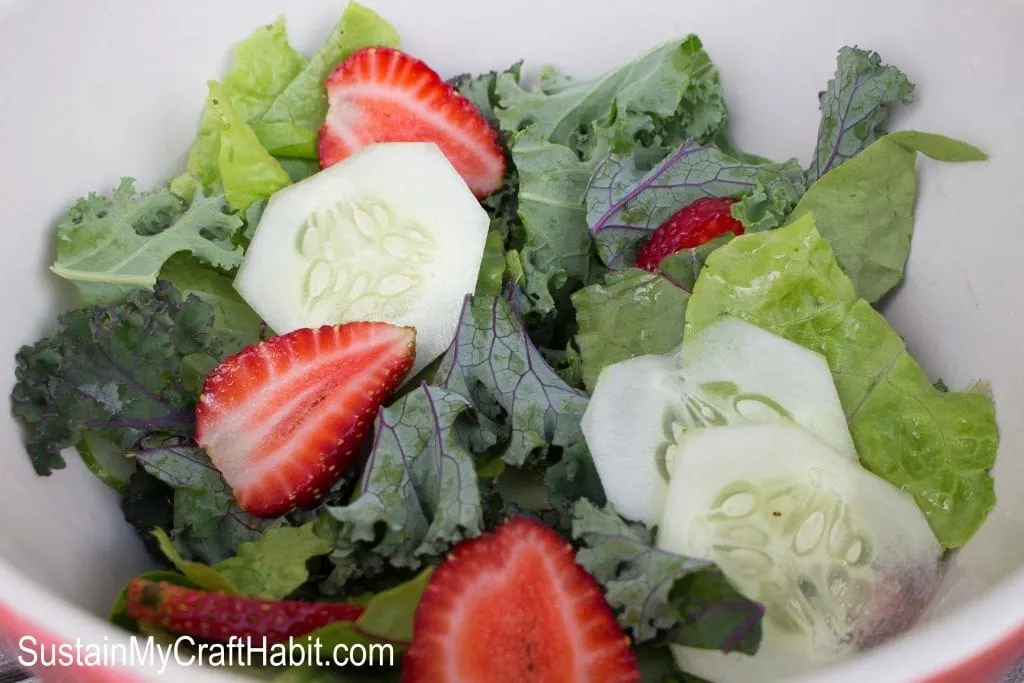
No-Fuss Summer Strawberry Salad
Like it? Pin it for Later!
