Dust Off Those Craft Supplies: DIY Stamped Rock Decor
Do you have a stash of craft supplies that haven’t seen the light of day in a while? Well, I have a few: an large plastic container filled with cross-stitch patterns and threads, a wooden painting easel folded up collecting dust in the corner and craft paints that have long dried out, and a cardboard box filled with card-making and scrap-booking supplies to name a few.
I have many hobbies. I used to crochet blankets, cross-stitch gifts for friends and make cards for every special occasion (it didn’t help that my best friend was a Stampin’ Up representative, a.k.a. “irresistible craft supply pusher”).
But since the kids came along these pastimes have fallen to the wayside. other priorities (i.e. this constant need to feed them!) and lack of space, time and often motivation contribute to keeping these supplies in the storage boxes.
This blog actually provides that bit of motivation and extra reason to keep creating and flexing the artistic muscle in my brain. It gives us a reason to dust off that box of stamping supplies and actually use them!
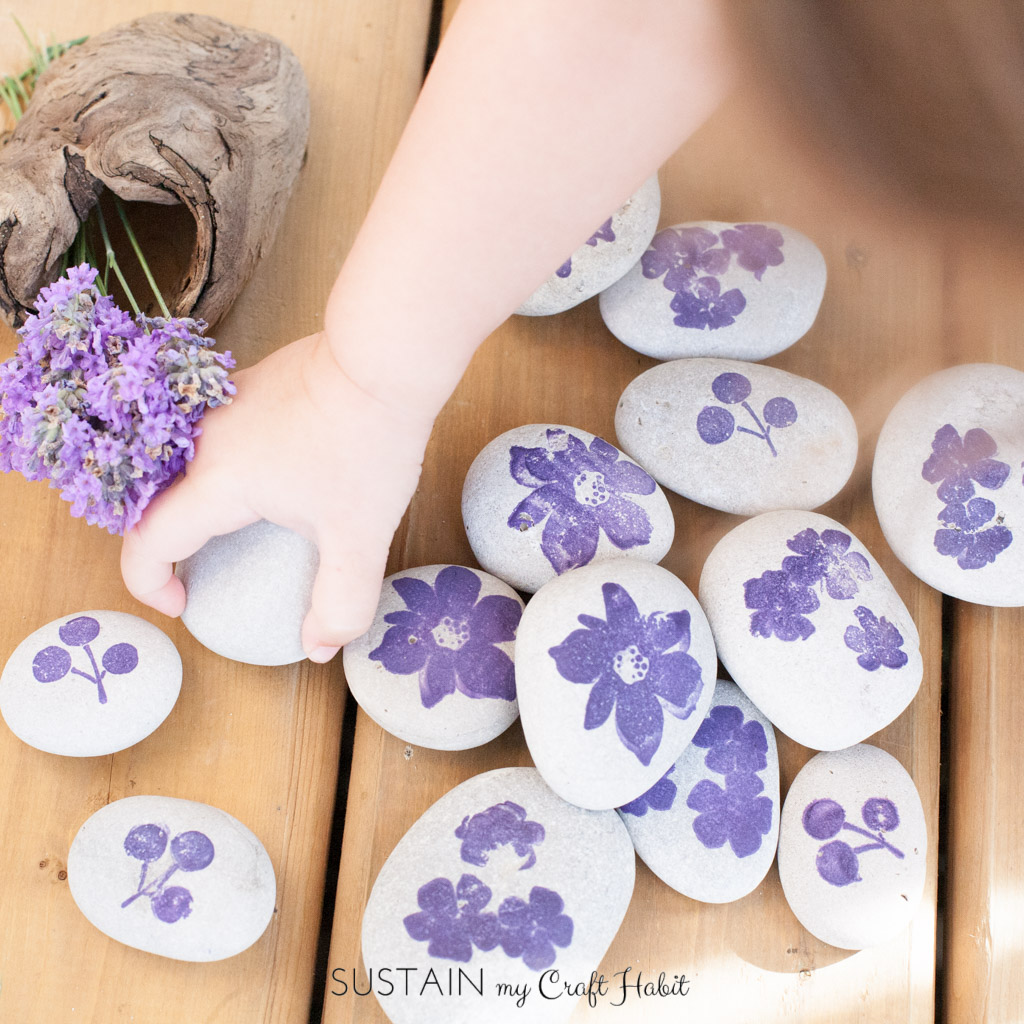
Beach combing is one of our favourite hobbies and one we can do with the kids!
Whenever we get a chance, we love collecting rocks and we hold onto them until the next DIY rock project idea strikes us. And as crazy as it may sound, we do sort them into groupings by colour, texture, size and so on. For these decorative stamped rocks, smooth, light coloured, medium sized rocks work the best.
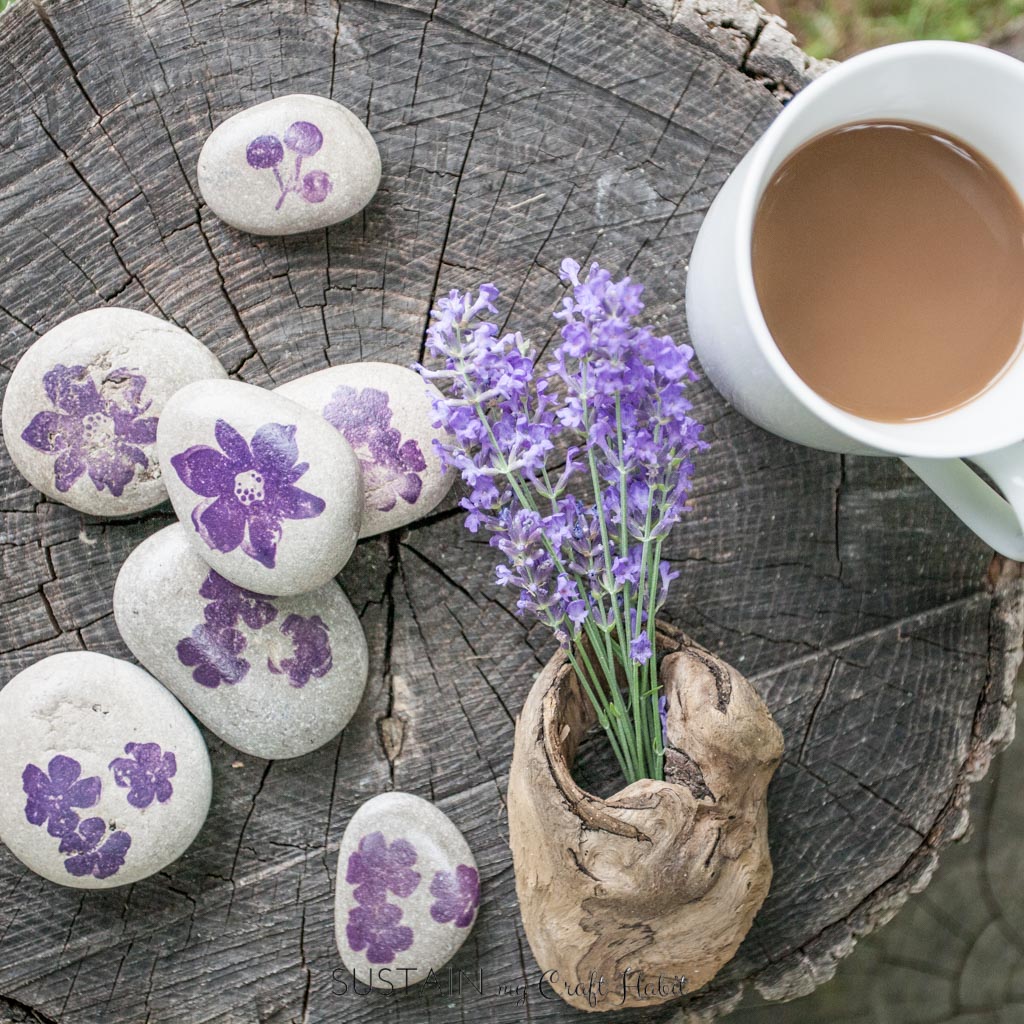
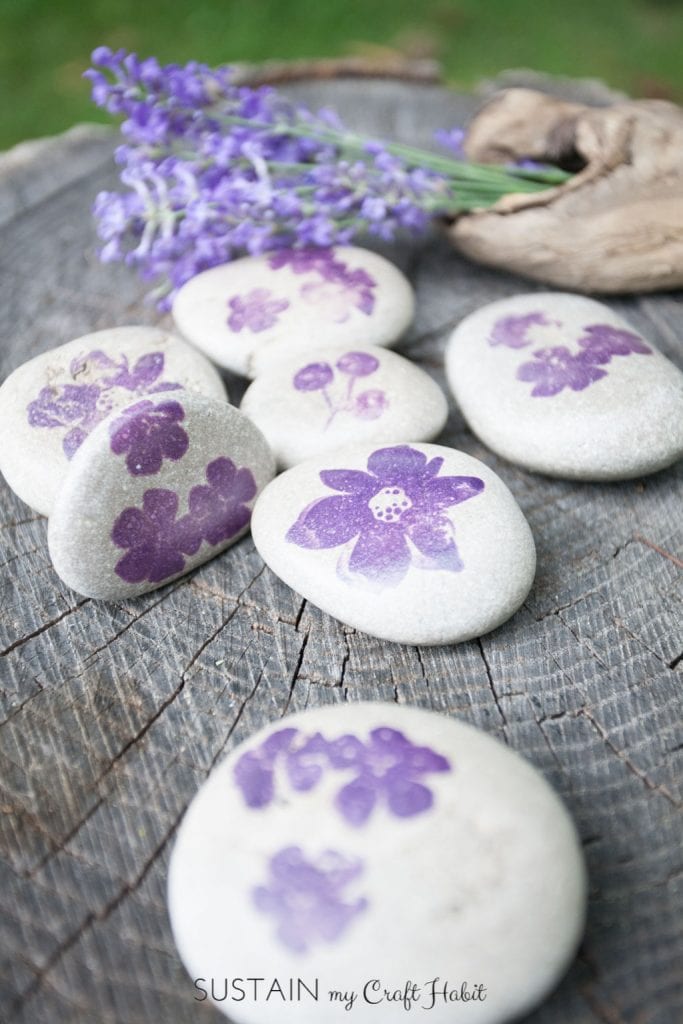
This DIY takes very little time to make and in the end, you have a collection of unique and personalized decorative rocks that look great on their own, or as an added detail to your home and garden.

We’ll be the first to admit it, we are a bit addicted to using rocks in our DIY projects. Over the past year, we’ve created a DIY Wall Art using beach stones, DIY Mobile using heart shaped rocks and sea glass and a DIY inscribed beach stone center piece. Once you start, you can’t stop. So give it a try and start collecting those beautiful and unique rocks for your next DIY.
Materials Needed to make your own DIY Rubber Stamped Rocks:
- Rocks (smooth, medium sized, light coloured)
- Stamp Set (we love this pretty floral stamp set on Amazon [affiliate link])
- Stamp Pad (color of your choice)
- Spray Lacquer
1. Before you begin, wash and dry the rocks.
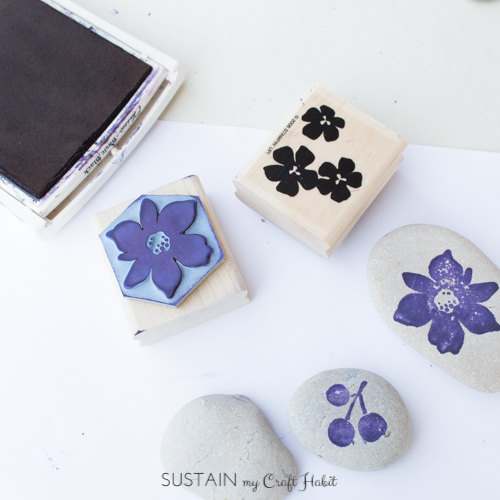
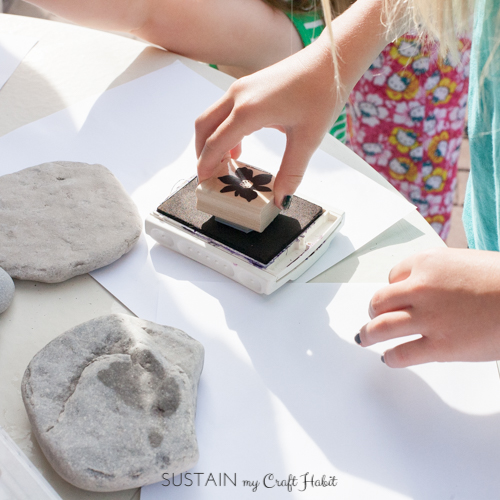
2. Press the stamp onto the ink pad and ensure the stamp is evenly coated with ink.
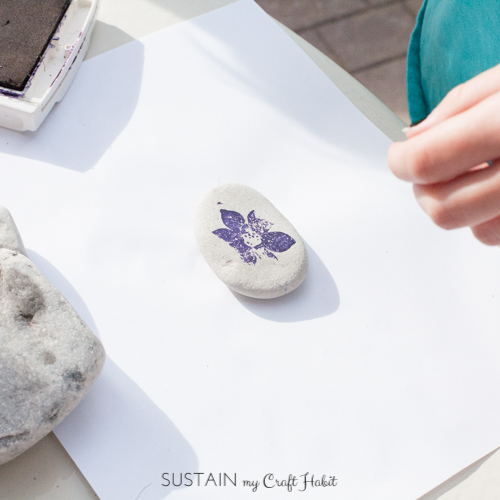
3. Firmly press the stamp onto one side of the rock. Since the rock surface is uneven, carefully adjust the stamp at each end to ensure the full design is applied to the rock. We were happy to use an old stamp set and ink pad from our scrapbooking days (going back 10-15 years, yikes!).
4. Allow ink to dry.

5. Protect your work surface and apply a thin even coat of spray lacquer to one side of the rocks. All enough time to dry and apply another coat to the reverse side of the rocks. This last step is important: we missed sealing a few of the rocks and the stamp ink faded substantially in the sun in just a couple of days!
These rocks are really simple and versatile little decorative gems. You could use them in so many ways:
- grouped together in a centerpiece on their own;
- in the bottom of a vase of fresh flowers;
- as adorable paper weights
- pretty decor inside your potted plants;
- or scattered throughout the garden!
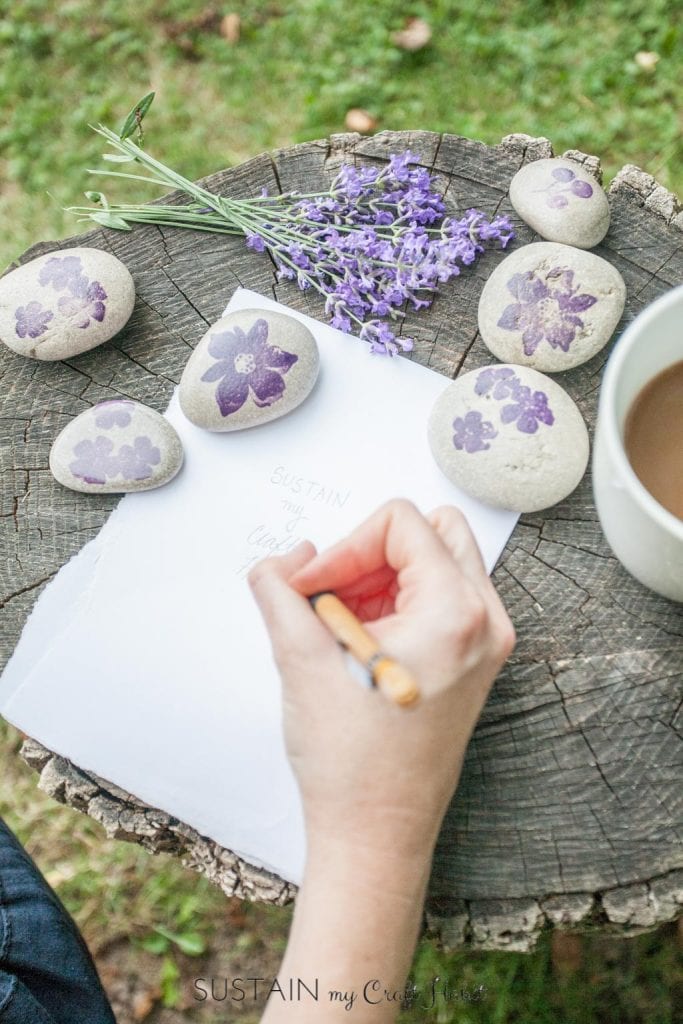
We enjoyed using them as little paper weights in our rustic backyard coffee nook we created last year with tree stumps.
Do you have any craft supplies collecting dust?