
There are so many good reasons to grow your own food! From saving money at the grocery store, to knowing exactly where your food comes from, a small garden can yield lots of benefits. Best of all, you don’t need a large backyard to get started. Learn how to make your own diy raised garden bed with just a few supplies and this easy diy tutorial.


Growing up, our parents always maintained a vegetable garden in our backyard or in the later years, at the family cottage. I can only speak for myself when I say, I never truly appreciated the fresh, organic vegetables that we enjoyed from those gardens. Wonder if my sister would say the same?

Having our own vegetable garden is a tradition we want to pass on to our children. It’s not only because of the increasing prices of produce at the grocery stores (and I’m not even talking about the organic stuff). But simply, there are some really cool life lessons in growing your own veggies.

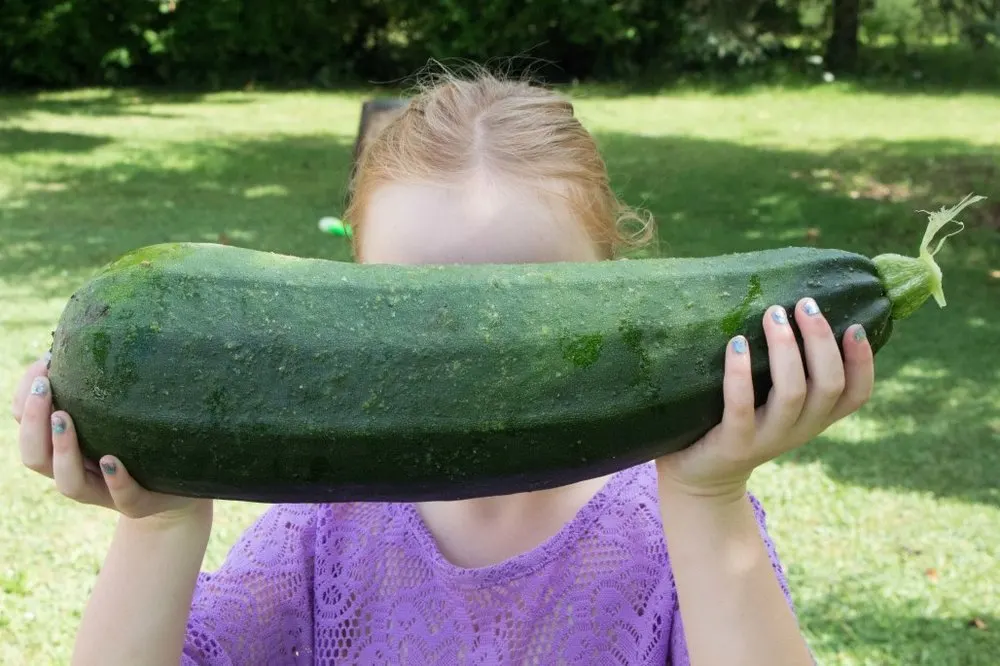
You can see how my daughter showing off the zucchini from grandma’s garden that was almost as big as her head! We use these monsters to bake our favourite and easy zucchini bread recipe.
Finding Garden Space
One small problem is that we don’t have a lot of time or space to devote to a large garden in my backyard in the suburbs. The best solution for us was to build a raised garden bed. We were able to custom make the garden to fit our needs and an additional perk was that we didn’t need to dig into the ground (which, in our region, is back breaking work to say the least!).
Benefits of a raised bed garden:
- Ideal for small plots of veggies and flowers
- Great way to make use of a small space, making them ideal for smaller yards
- Can build directly over cement blocks or concrete patios
- Digging into the ground is not needed
- Keeps roots away from contaminated soil
- Fewer weeds preventing garden soil from getting over run
- Better drainage than with in-ground garden beds
- Prevents roots from getting water logged in wetter climates
- Barrier for pests such as slugs and snails
- Soil warms up more quickly in Spring extending the growing season a bit
- Easy access to the vegetables as they grow (less bending over needed)
Cons against making a wooden raised bed:
- Limited space for gardening so smaller crop
- Easy to over plant causing soil to be over run with roots
- Soil dries out more quickly than in ground soil
- Requires materials and tools to build
- Need to buy soil to fill up garden bed (in-ground soil is free)
- Lack of mineral content in bagged soil
- Use of peat moss in bagged soil
- Swapping out the soil every few years is recommended
The depth of the garden bed can vary, but garden experts advise 6” depth is the minimum since plants need at least 6”-12” rooting zone.
Materials Needed to Make Your own Raised Garden Box (sized 8’ long x 4’ wide):
Disclosure: This post contains affiliate links for your shopping convenience. Should you choose to purchase through them, we will make a small commission at no extra cost to you. You can read our full disclosure policy here.
- Mini Lumber Ties (x9 at 8’ long each), pressure-treated lumber
- Miter Saw*
- Hammer
- Screws
- x4 10” Nail Spikes and x8 5″ Nail Spikes
- Drill with appropriate sized drill bit
- Measuring tape
- Level
- Pitchfork
- Soil / Compost / Manure
- Garden blanket* (optional)
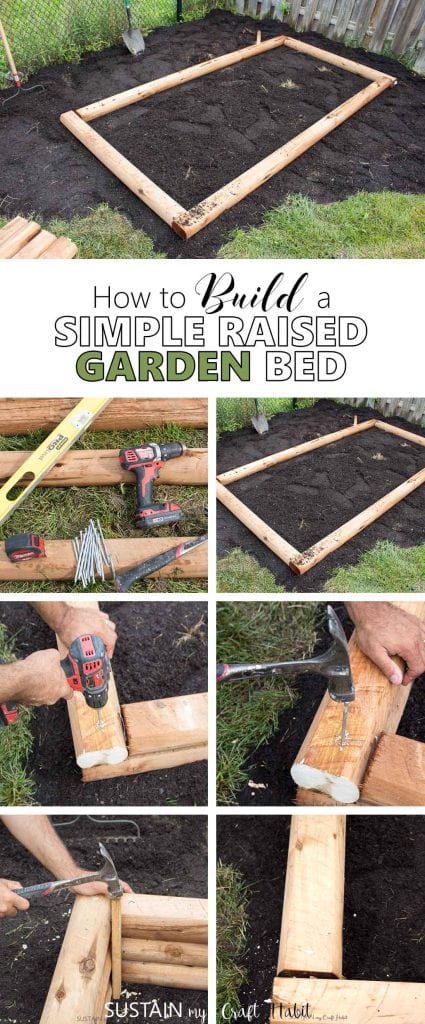
How to build a Simple DIY Raised Garden Bed:
Step 1: Decide on the Location
Location, location, location…
Vegetable gardens grow best in a sunny location so vegetables are getting at least 6 hours of direct sunlight per day. Also, consider ease of working the garden from all sides.
Step 2: Prepping your Location
Measure and mark the perimeter for the garden bed using a spray paint (if building over top of grass) or some other form of marking (if building over top of a patio). If building over top of grass, than break up and loosen the soil using a garden fork so that the soil is not so compacted. Consider placing down a layer of landscape fabric to suppress grass growth in the garden.
Step 3: Preparing your Materials
Keep six of the mini ties at 8’ long and cut the remaining three mini ties in half so you have six at 4’ long each. If you use untreated wood consider lining the inside with landscape fabric to slow wood rotting from moisture.
Step 4: Assembling the DIY Garden Bed
Start by positioning one 8’ long mini tie lengthwise. Position one 4′ long cut mini tie at a 90 degree angle from the end of the longer mini tie. Continue with placing the second 8′ long and 4′ long tie to form an evenly shaped rectangle. Stagger the placement as shown in the photo. Check and measure to ensure that the first round of ties are level and squared at all corners.

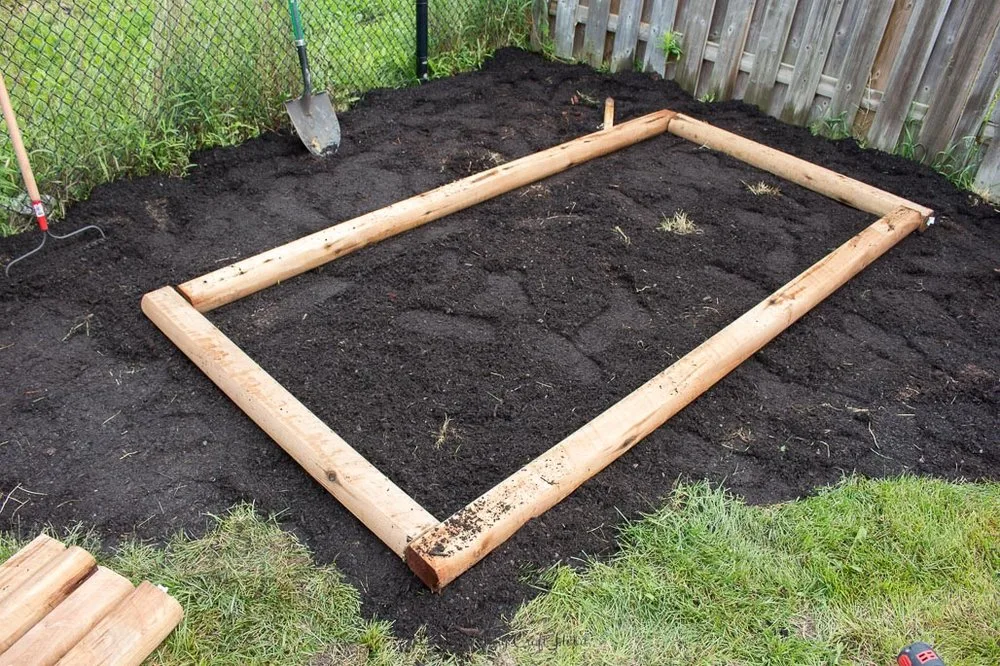
For the next step, add a second row of mini ties, overlapping the ends as shown. Using a large sized drill bit, drill pilot holes through both ties close to overlapping ends. Hammer long 10” spikes into all 4 corners to secure to ground.


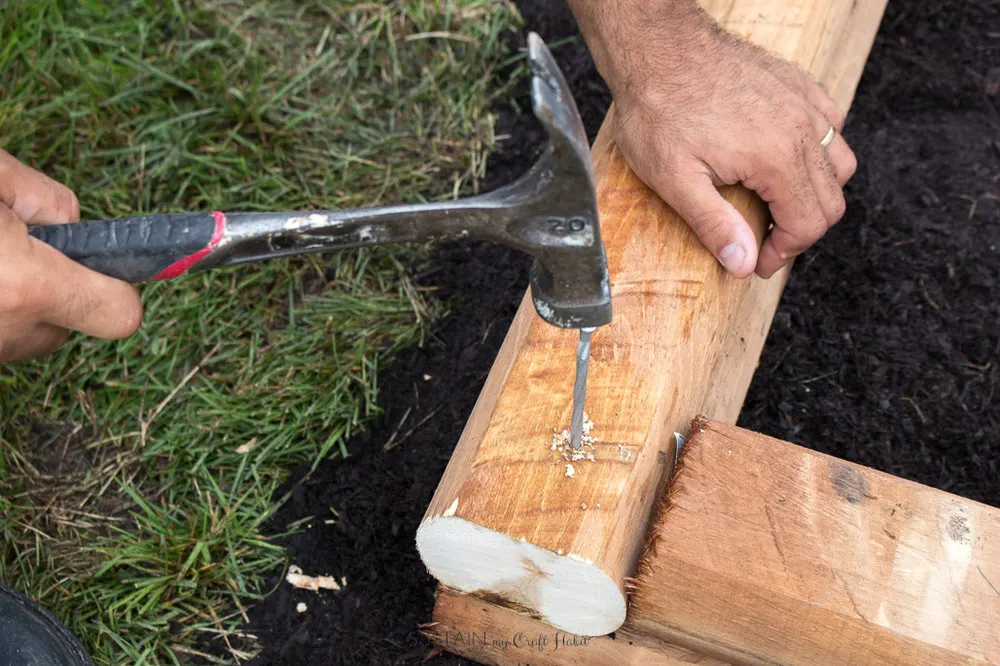
Add another round of mini ties and stagger the railway ties as was done in the 2nd round. Pre-drill holes at all 4 corners and hammer shorter spikes through the pre-drilled holes to secure ties together. For additional security, you can add a wooden spike at all the inner four corners as shown below.


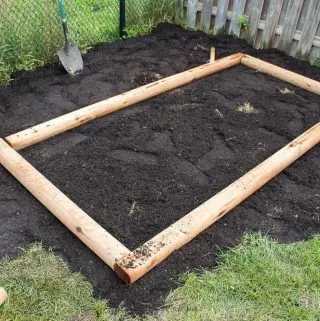
Step 5: Filling the new Garden Box
Fill the first layer inside the garden bed with some dried leaves and grass clippings. Next, add some good soil: a mix of topsoil, compost, and other organic matter, such as manure will give your plants a nutrient-rich environment. Your raised garden bed is now ready for planting!
Step 6: Planting the Garden
If you’re a beginner gardener and not quite sure where to start we have a whole gardening series for you! With garden bed plans, supplies you’ll need and getting it all prepared, this series makes it easy to get started!
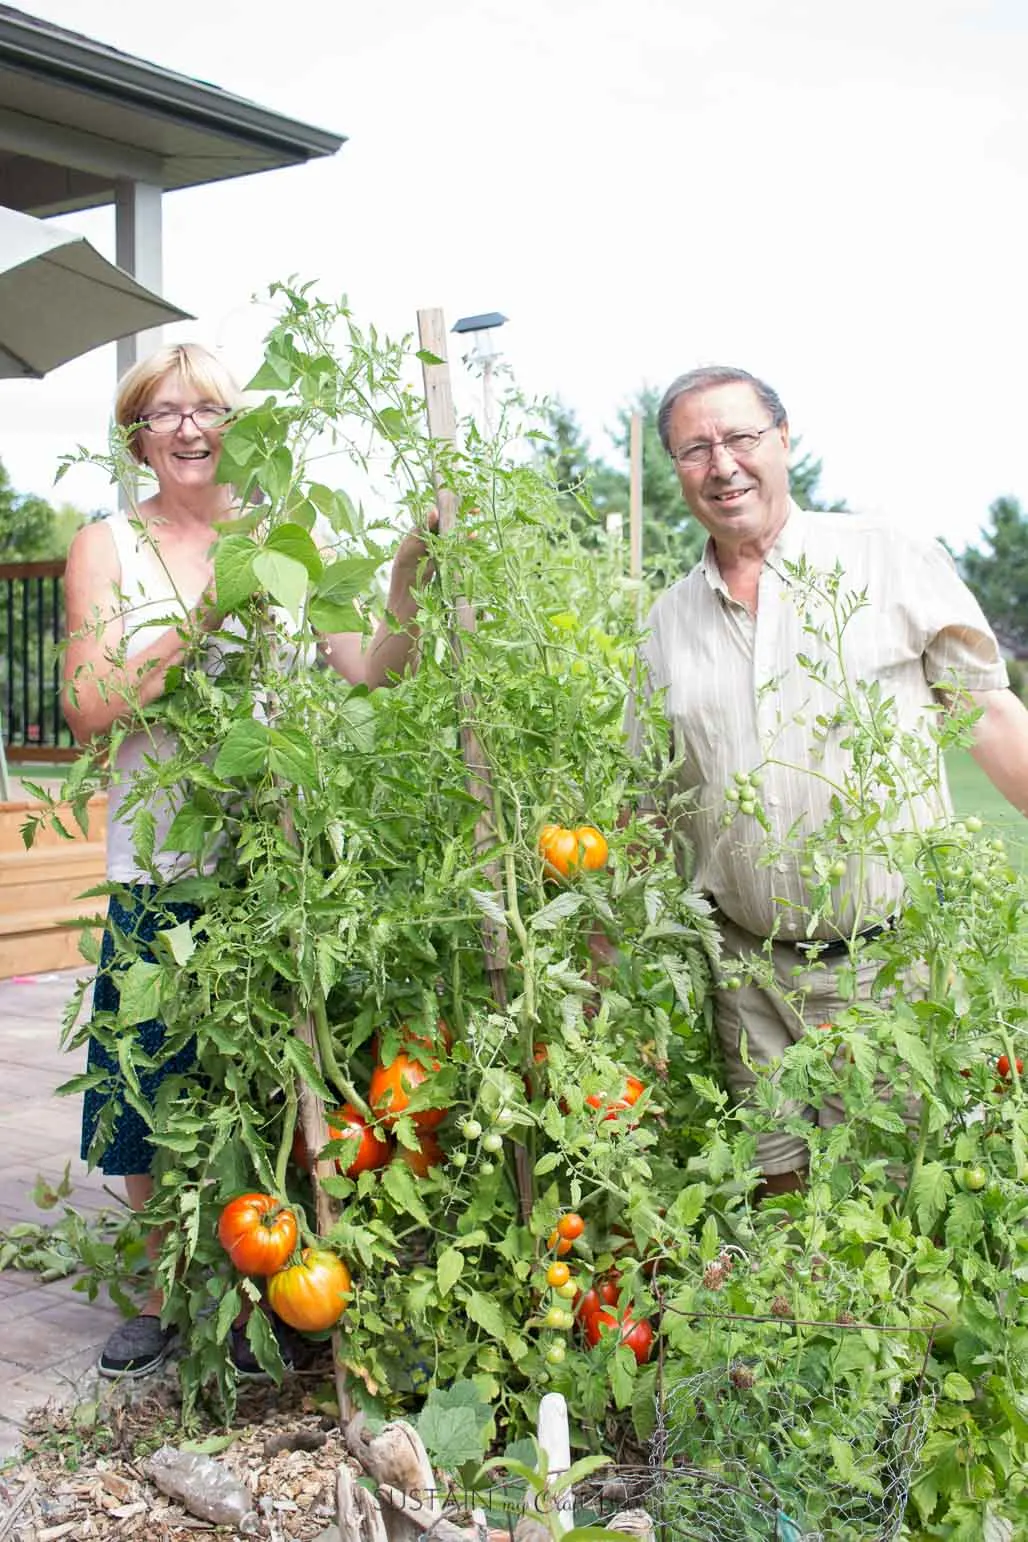
We used our easy raised garden bed successfully for four years before moving to a new home. The rot-resistant wood help up great! I can’t believe I didn’t take any pictures of it all filled with veggie plants- it held many tomatoes, cucumbers, peppers and herbs over the years!
We hope you enjoyed this DIY project idea and be sure to check out 70 more easy DIY projects to make in a weekend.
What will you plant in your garden bed this year? Happy Gardening!

How to Build a Simple Raised Garden Bed (DIY Garden Box)
Materials
Instructions
- Decide on the location. Vegetable gardens grow best in a sunny location so vegetables are getting at least 6 hours of direct sunlight per day.
- Prepare the location by measure and marking the perimeter for the garden bed using a spray paint.
- Cut your lumber ties to size. Prepare the remaining materials to have on hand.
- Assemble the DIY garden bed by positioning one 8’ long mini tie lengthwise. Position one 4′ long cut mini tie at a 90 degree angle from the end of the longer mini tie. Repeat with the others to form an evenly shaped rectangle, staggering the placement of the lumber.
- Continue adding and securing addition rows.
- Fill the new garden box with leaves, topsoil, compost and other organic matter.
- Plan the garden bed and plant your flowers or veggies.