Easy Shark Rock Painting DIY Tutorial
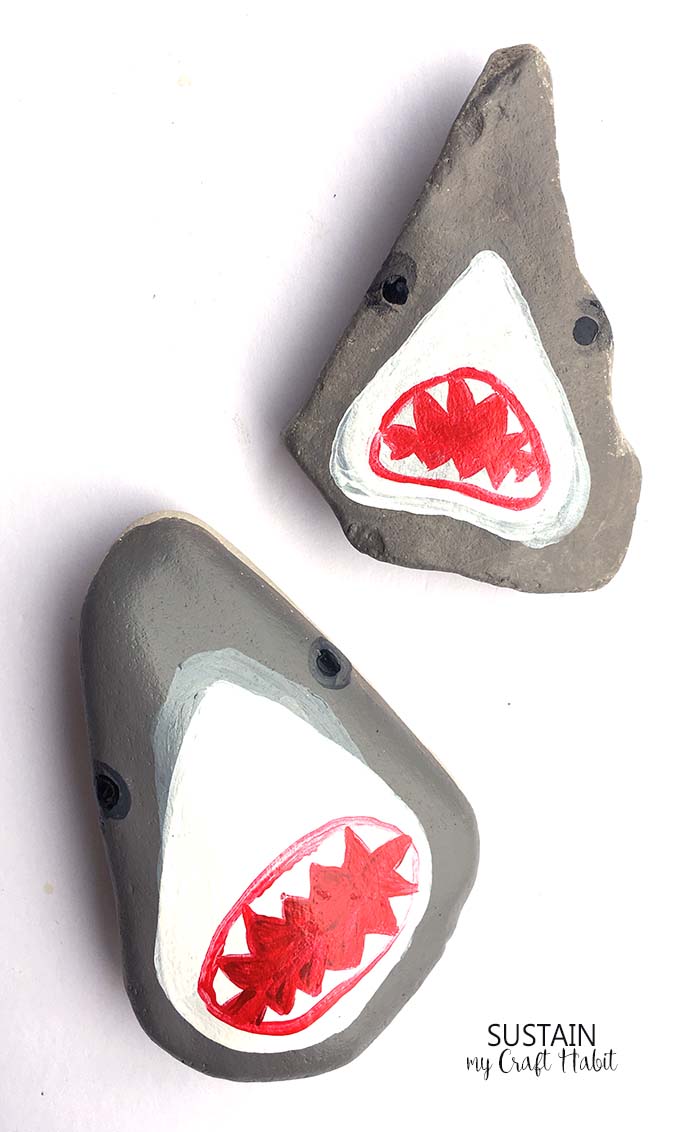
Hop on the rock painting trend and have some toothy fun with these shark painted rocks. Follow this simple step-by-step tutorial for easy shark rock painting including our suggestions for what paint to use on rocks.
From mandalas, flowers, fruits to animals and more, painted rocks are the latest craft craze.
Moreover, through thoughtful initiatives like The Kindness Rocks Project, people are leaving inspirational painted rock messages throughout their community. How fun would and meaningful would it be to find a little piece of art or an encouraging word in an unexpected place on your walk to work?
“Disclosure: We have not received any compensation for this post. However, we have (and continue to) receive products from DecoArt. This post also contains affiliate links (indicated with *) for your shopping convenience. You find our full disclosure here.”
We started painting rocks earlier this summer and were immediately hooked! If you are wondering what kind of paint to use on rocks be sure to select a paint which won’t wash off or be damaged by the elements. An acrylic paint that’s formulated for indoor and outdoor use would be ideal. On of our favourites is the DecoArt Americana® Multi-Surface Acrylics line for a number of reasons:
- it goes on smoothly and adheres really well to the rocks;
- it is permanent and colorfast so the rocks will look beautiful for a long time, even outdoors;
- there’s a great selection of modern colour tones and the colors blend together well. So with just a few colours, you can make all kinds of different animals;
- cleans up easily since it’s water-based and non-toxic;
- they’re also a great price for the high quality of the paint.
The only downside is that the paint dries a bit slowly, so you’ll have to wait a bit between coats.
These adorable woodland painted rocks animals were pretty much the ones that got us started!
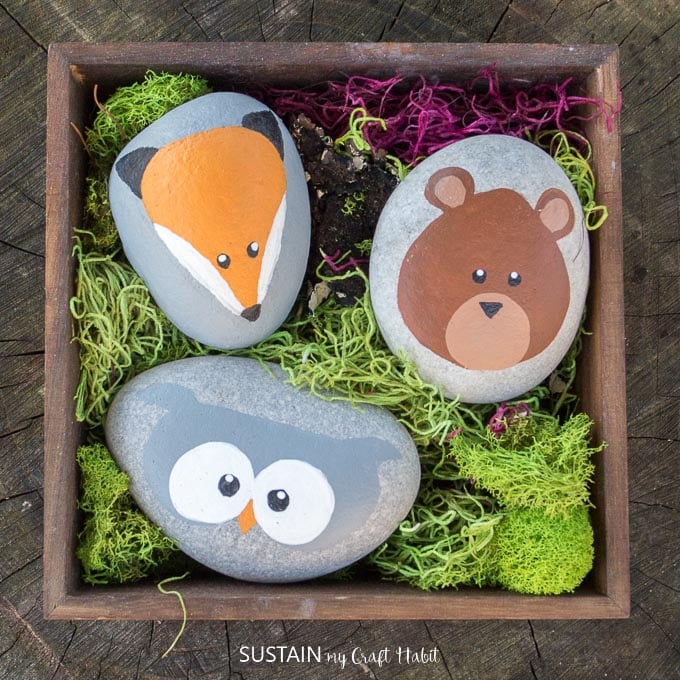
Since we’ve been spending so much time at the beach, we just had to create some sea-creatures versions! Here’s a little nibble with these fun shark painted rocks!
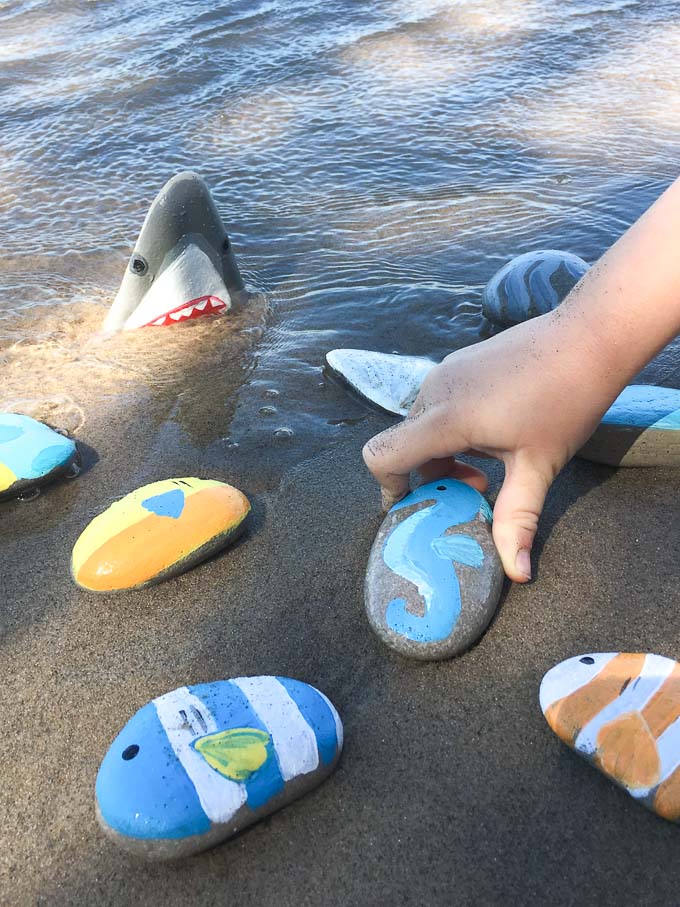
Easy Shark Painted Rocks
Supplies Needed for Shark Rock Painting:
- Medium sized, triangular shaped rock with a flat surface for painting (check out our guide on where to find rocks for painting)
- DecoArt Americana Multi-Surface Acrylics in Cotton Ball (white), Dolphin (gray), Black Tie (black) and Lipstick (red)
- Selection of small paint brushes
How to Make Shark Painted Rocks:
You can watch how to paint the rock shark step-by-step with our video tutorial. Be sure to subscribe to our YouTube channel for new nature-inspired craft and home decor videos each week! Or skip over if you prefer the photo tutorial version.

- Start with a clean, dry rock. Paint a triangle-shaped snout in white. Let dry then paint a second coat as needed.
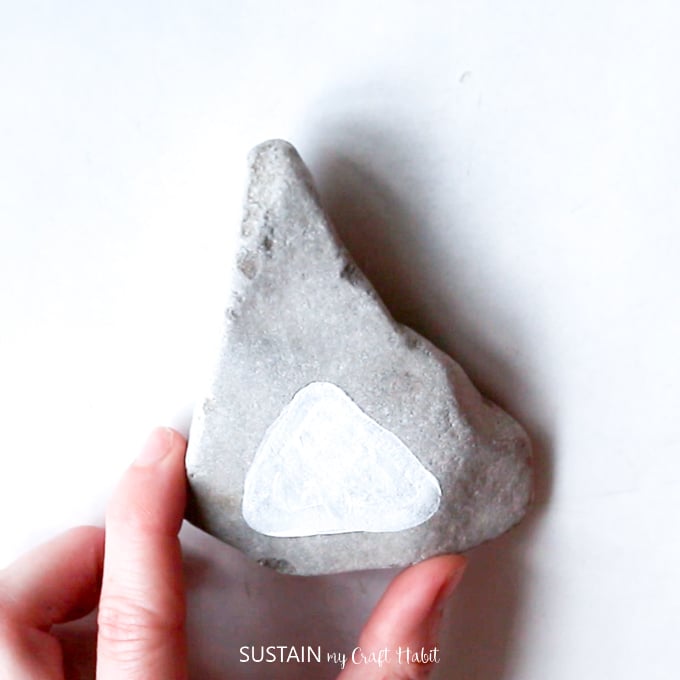
2. Outline the snout and fill the entire rock surface in a triangle shape using gray.
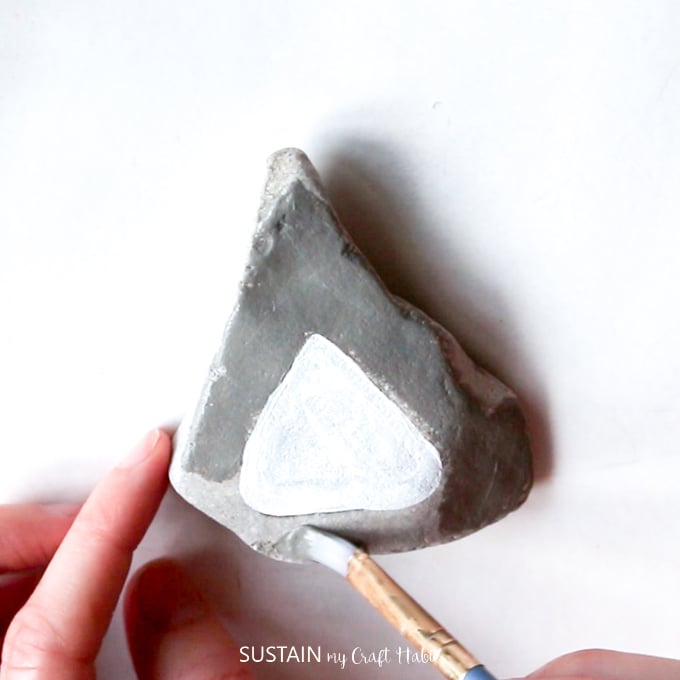
3. Outline the outer rim of the white snout with light gray (a bit of white mixed with gray).
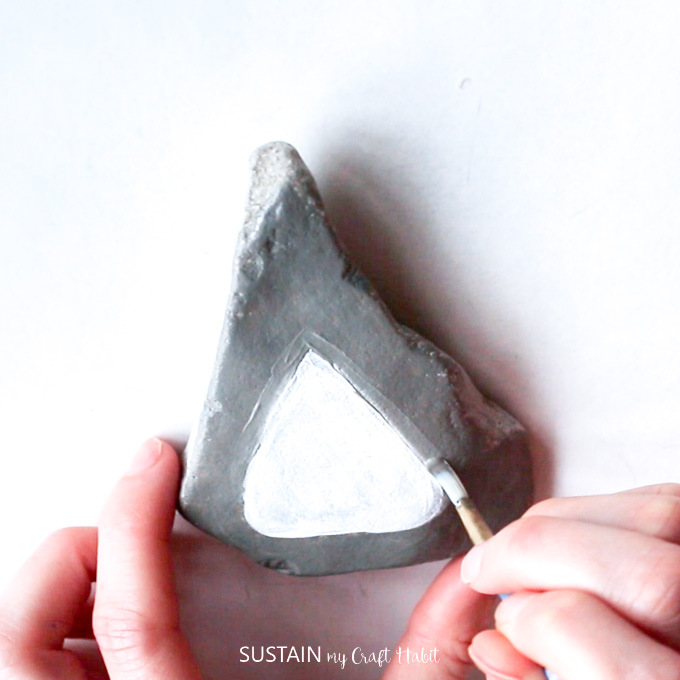
4. Paint two eyes at the sides of the head with black.
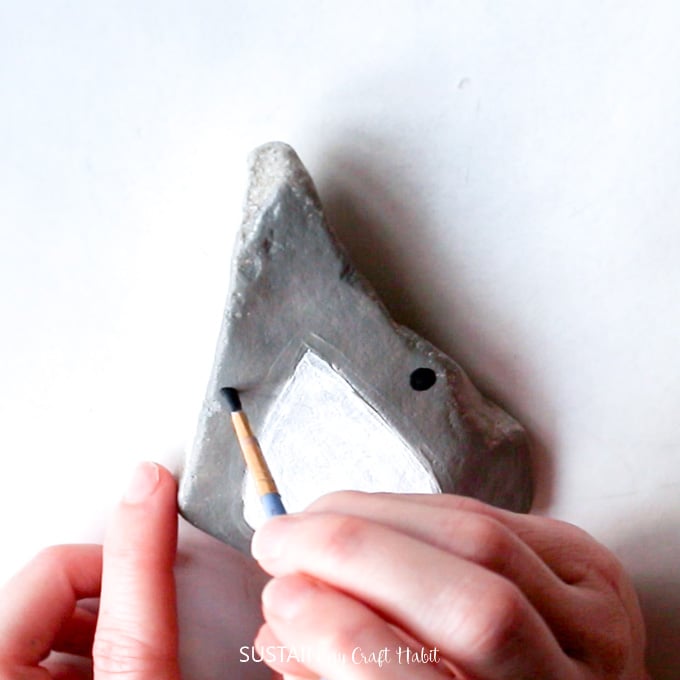
5. Mix a bit of white into a bit of black and create crescents around the outer sides of the eyes.
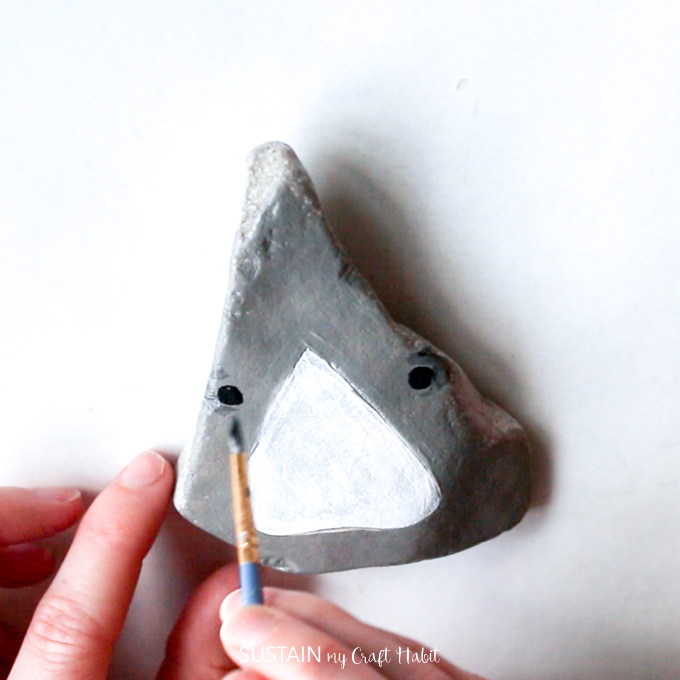
6. Paint an oblong mouth outline using red.
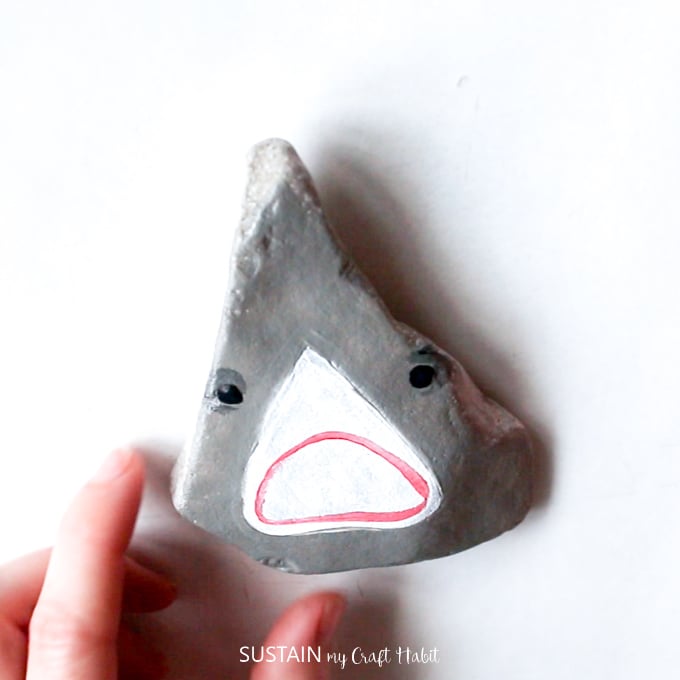
7. Mark out teeth using red and fill it in. Wait till it dries a bit and paint a second coat as needed.
8. If needed clean up the snout with some additional white paint.
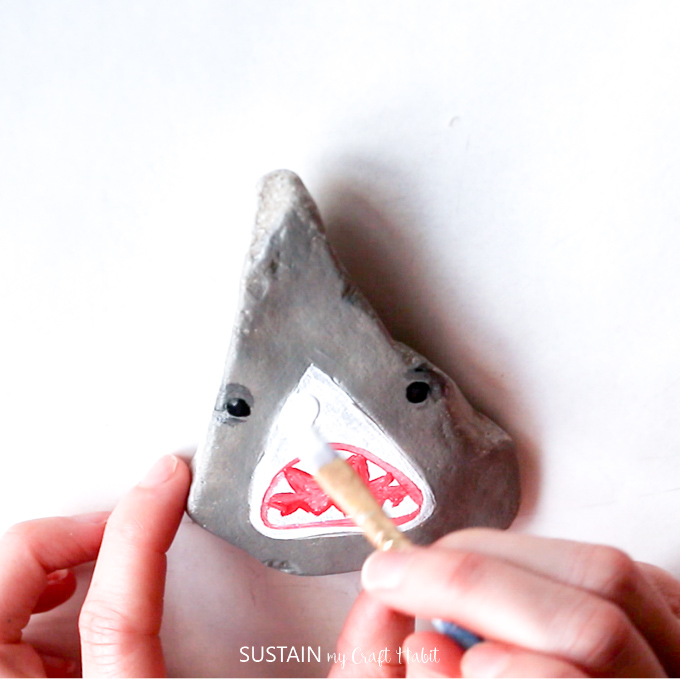
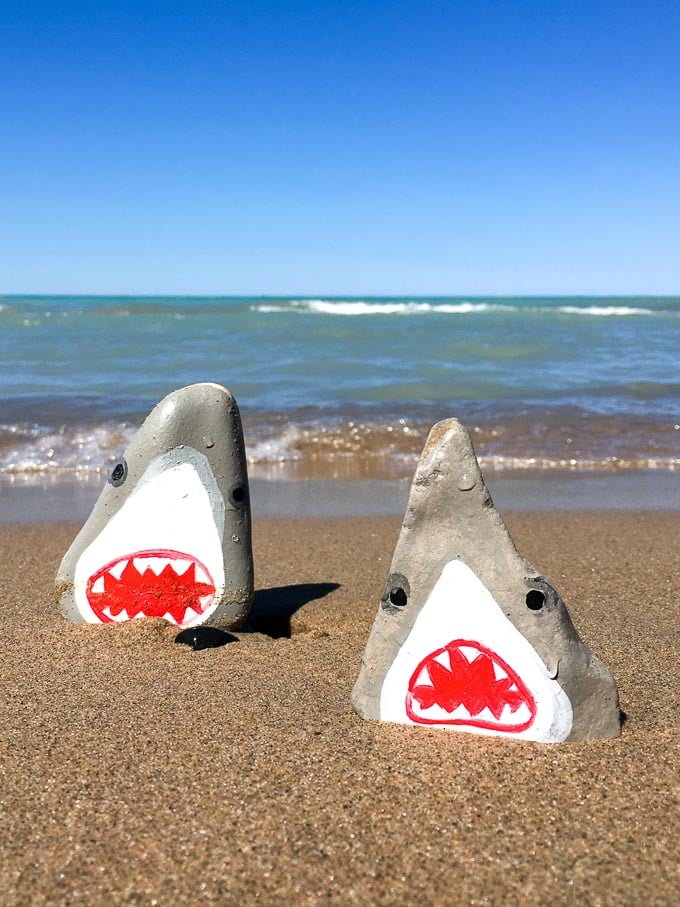
Let your painted rock sharks dry and play! Or hide them to surprise an unassuming by-passer! We bet that Jaws tune will be stuck in their head all day :D.
We hope you enjoyed this simple craft idea. We have over 60 easy rock painting projects for beginners in this post. For some winter-themed projects, check out over a dozen fun Christmas rock painting ideas of ours!
And if you enjoy crafting with stones, you may enjoy these other rockin’ craft and home decor ideas of ours:
Have you painted rocks lately?
Like it? Pin it for later!
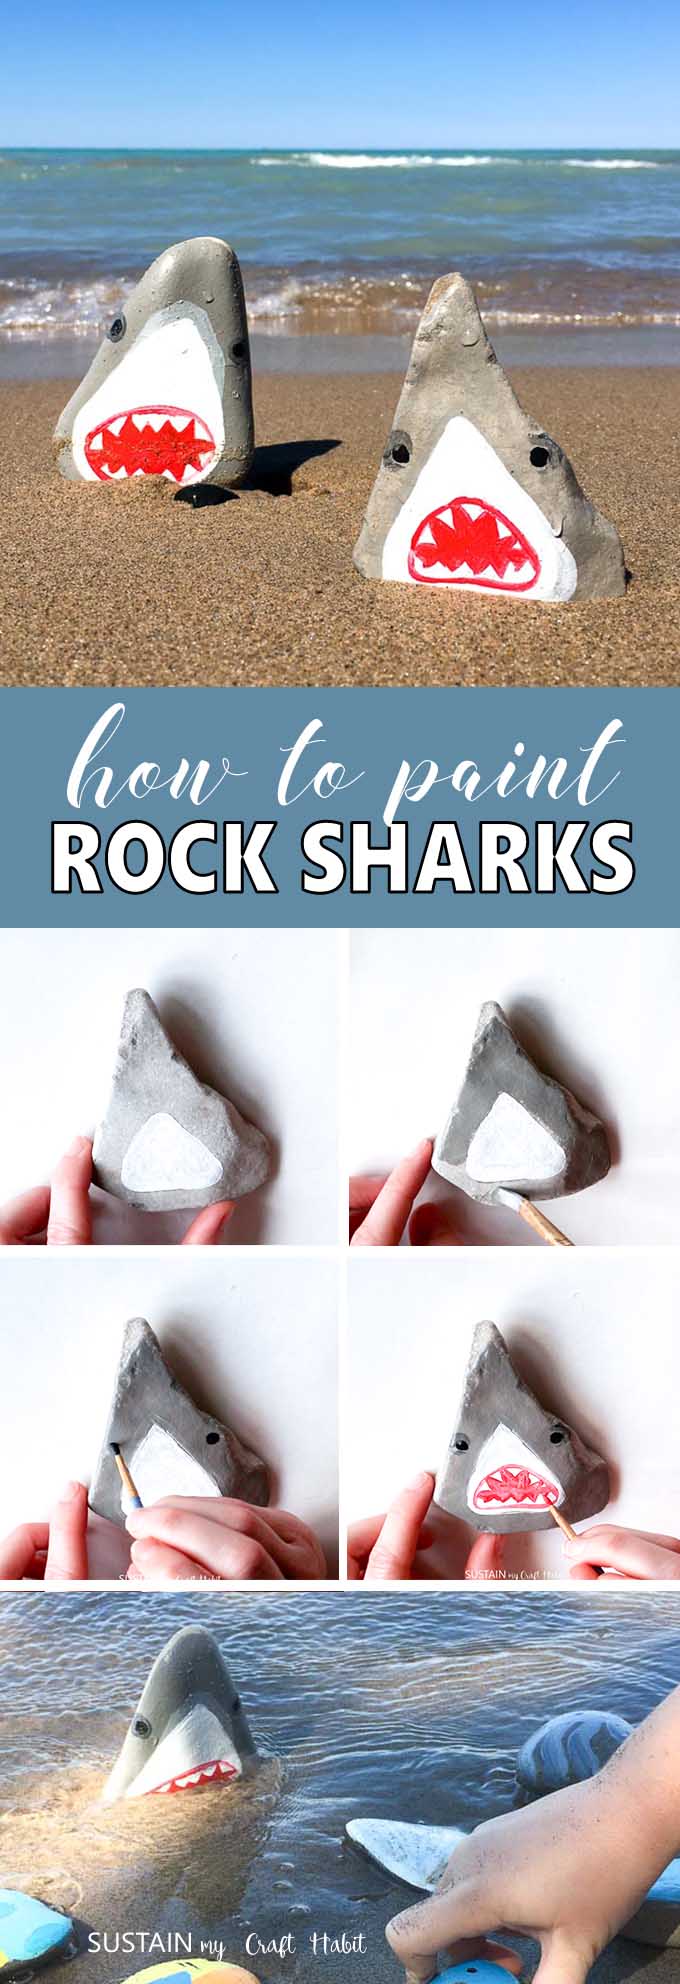
Easy Shark Rock Painting Tutorial
Materials
- Medium sized triangular shaped rock with a flat surface for painting
- DecoArt Americana Multi-Surface Acrylics in Cotton Ball white, Dolphin (gray), Black Tie (black) and Lipstick (red)
- Selection of small paint brushes
Instructions
- Start with a clean, dry rock. Paint a triangle-shaped snout in white. Let dry then paint a second coat as needed.
- Outline the snout and fill the entire rock surface in a triangle shape using gray.
- Outline the outer rim of the white snout with light gray.
- Paint two eyes at the sides of the head with black.
- Mix a bit of darker grey and paint crescents around the outer sides of the eyes.
- Paint an oblong mouth outline using red. Mark out teeth using red and fill it in. Wait till it dries a bit and paint a second coat as needed.
- If needed clean up the snout with some additional white paint.







Love the shark rocks
Thank you Helen! They’re so ferocious aren’t they 😀 . We’re so happy you visited.