
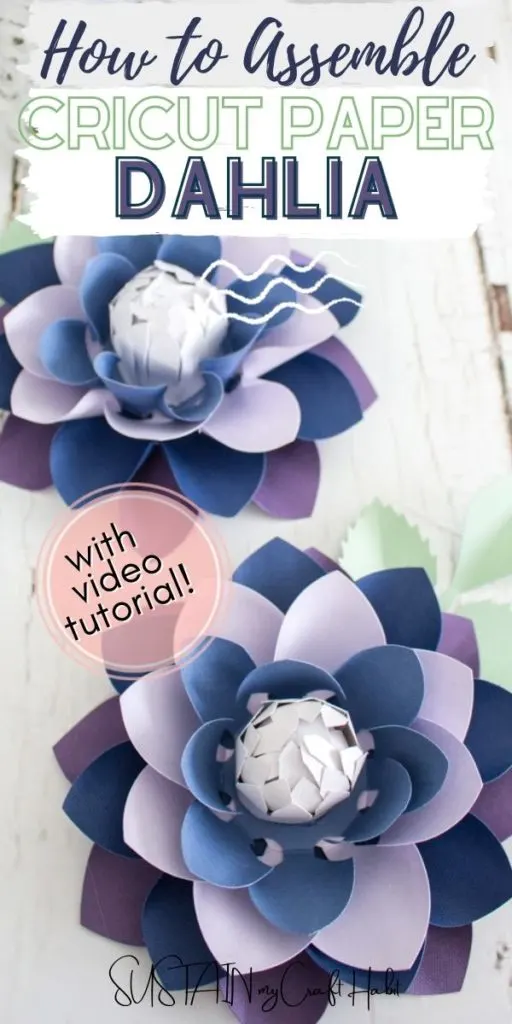
Do you love dahlias and wish their beautiful blooms could last in your home year round? For those of us without a green thumb, paper flowers are a great way to bring touches of nature indoors. Cricut Design Space has dozens of different paper flower patterns and in this post we’re demonstrating how to assemble their paper dahlias to use in your crafting projects.
Paper Flowers in Cricut Design Space
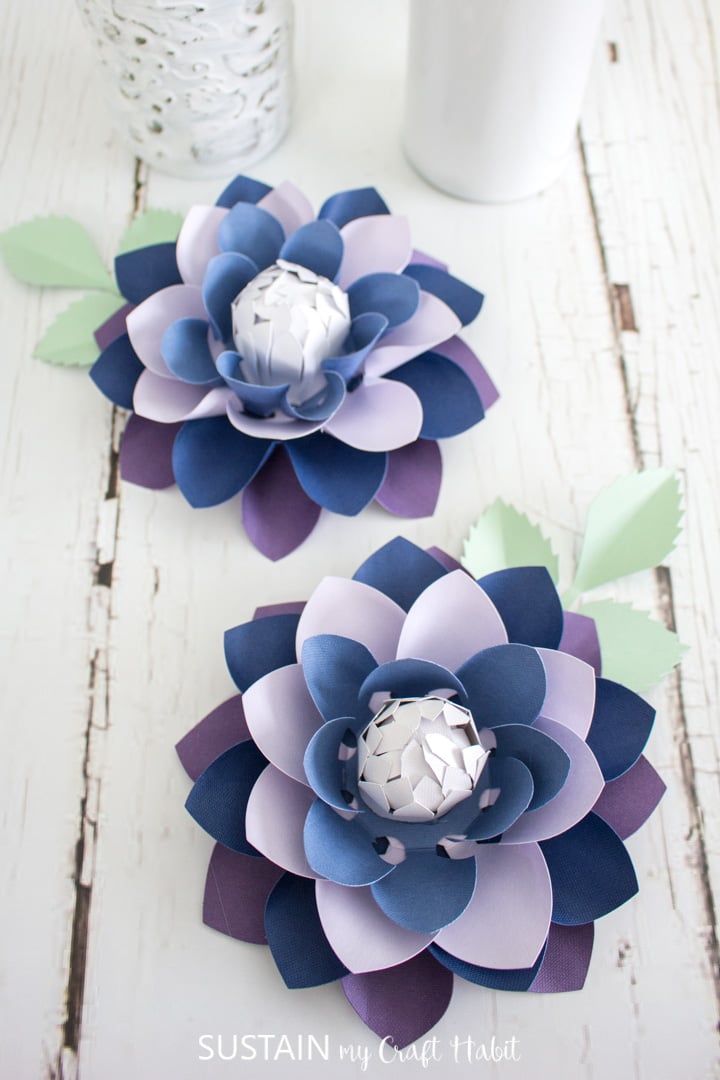
Paper flowers are great for using in all sorts of crafting. From framed Mother’s Day gifts to flower filled shadow boxes these little pieces of art are as fun to make as they are beautiful.
There are dozens of pretty paper flower design in Cricut’s Design Space but they don’t always have full assembly instructions. Our tutorial below will show you how to assemble the Dahlia Flower #M10045375 pattern. (Note: Cricut Access Membership is required for this template) .

You can find the tutorial for assembling the paper daffodils here and soon we’ll have the tutorials for paper magnolias, rolled paper roses and anemones. Be sure to subscribe to our email list if you’re interested in those as well.


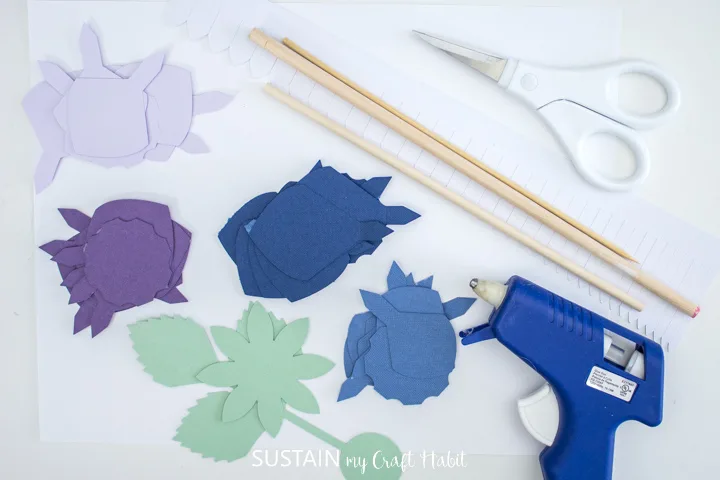
Materials Needed to Make the Paper Dahlias
Disclosure: This post contains affiliate links for your shopping convenience. Should you choose to purchase through them, we will make a small commission at no extra cost to you. You can read our full disclosure policy here.
- Cricut Design Space Project File #M134784E2 (Note: Cricut Access Membership is required for this template)
- Cricut Maker or Cricut Explore cutting machine
- Cardstock paper in colors of your choice (we used some from this Blue Tones Sampler Pack and others from Michaels)
- Wooden dowel or skewers
- Hot glue gun with clear glue sticks
- Scissors

How to Assemble Paper Dahlias
Cut out the pieces from the project file on cardstock papers in colors of your choice.
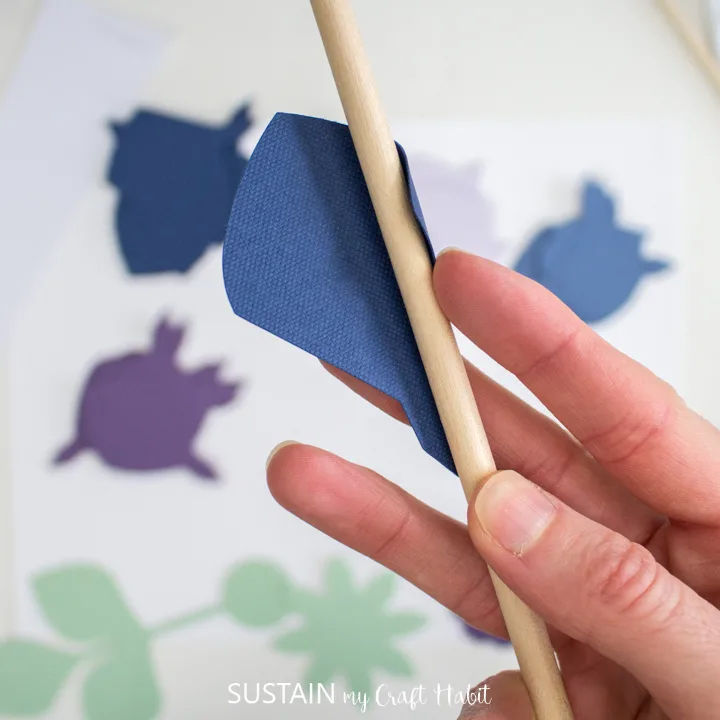
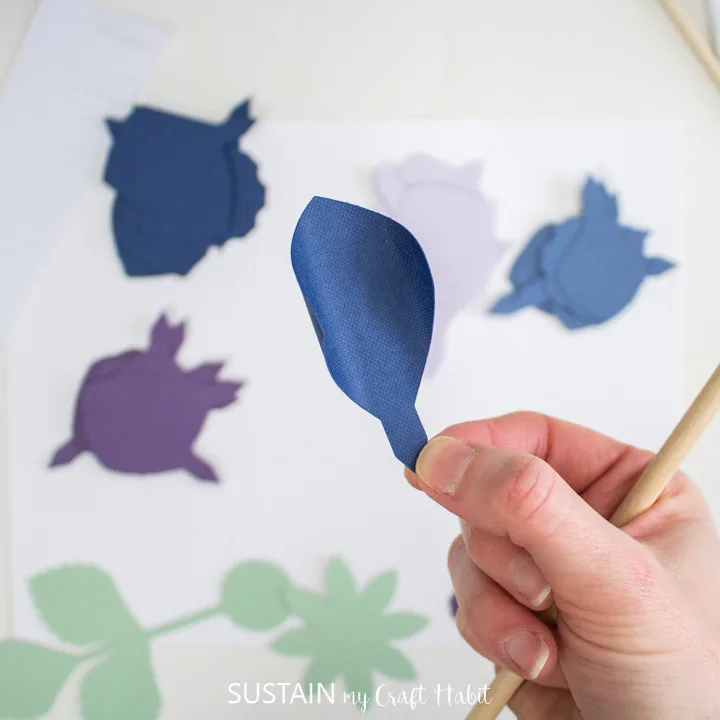
Working one petal at a time, curl the sides of the petals inward using a wooden skewer. Fold the tab along the score lines on each petal.


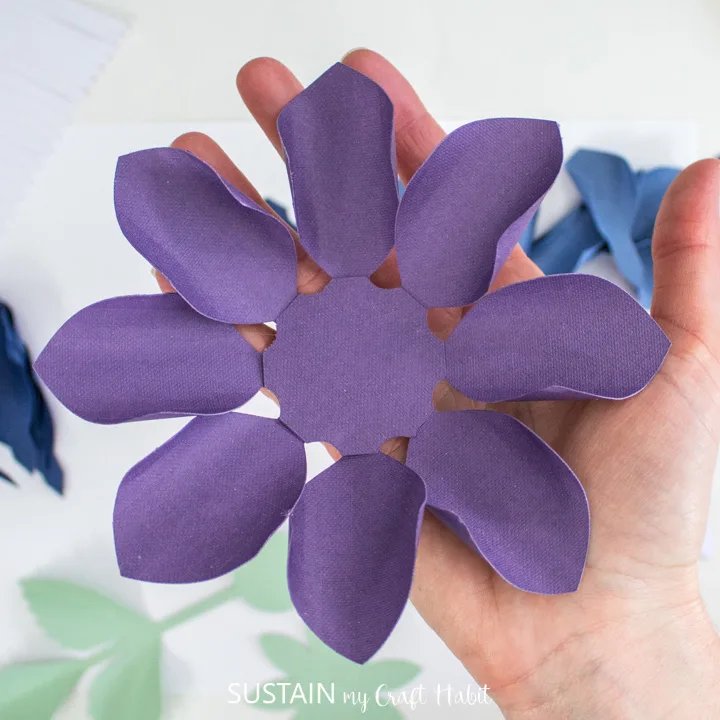
Organize the pieces by color.
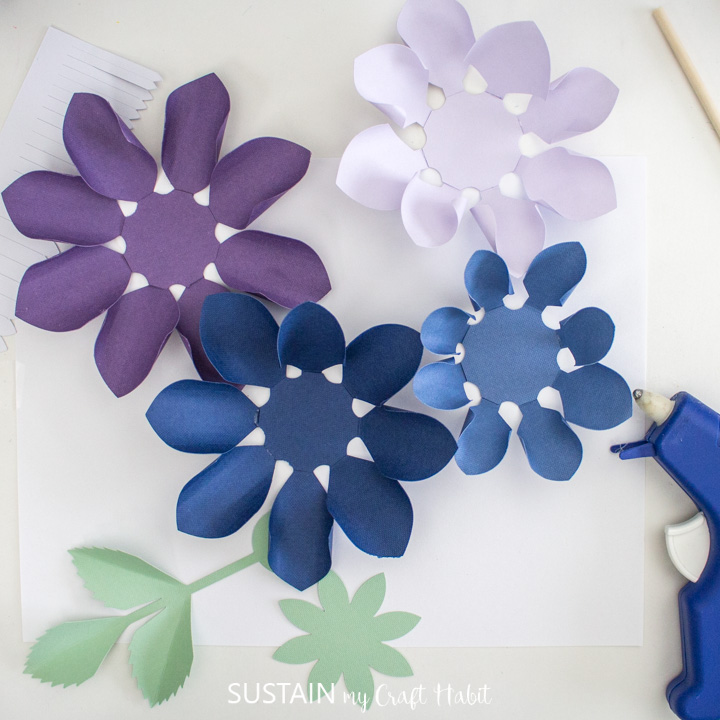

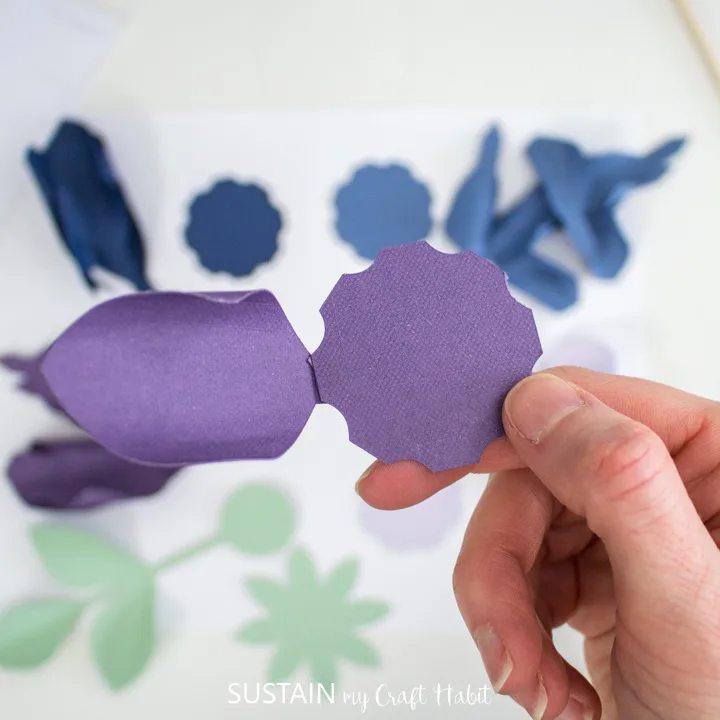
Add hot glue to the top of the tab and press it behind the rounded disc piece. Continue with all the other petals until the center disc is complete.


Repeat this with the other colors and pieces.
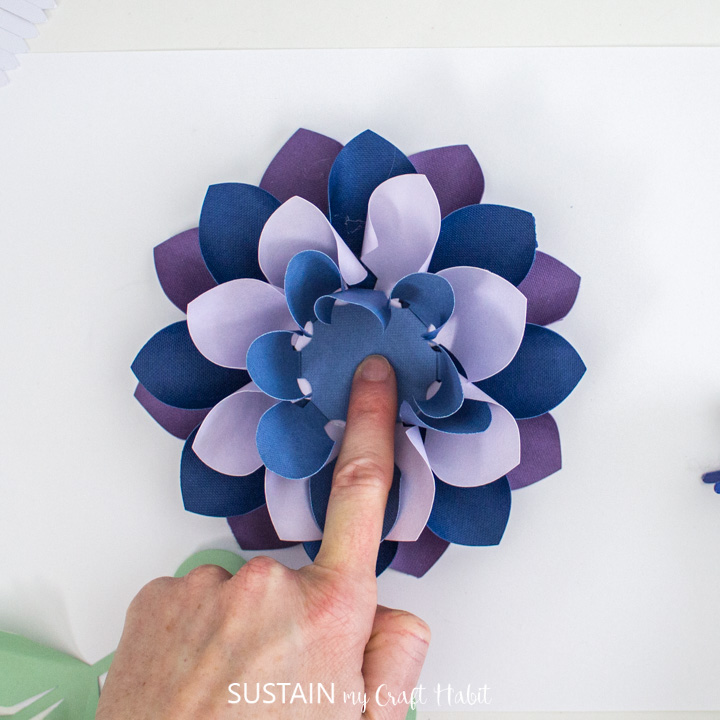
Stack the prepared pieces with smallest on the top and largest on the bottom.
Glue them together in the center disc rotating the petals for each layer.

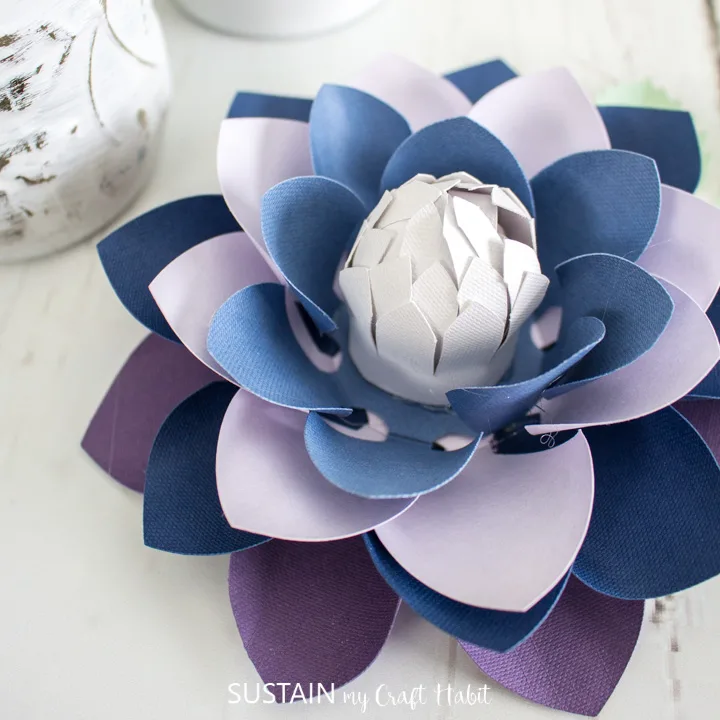
Next, prepare the center pistil piece.
Use the paper scraper to curl the fringed edges outward, thinning and softening the paper gently as you handle the piece.

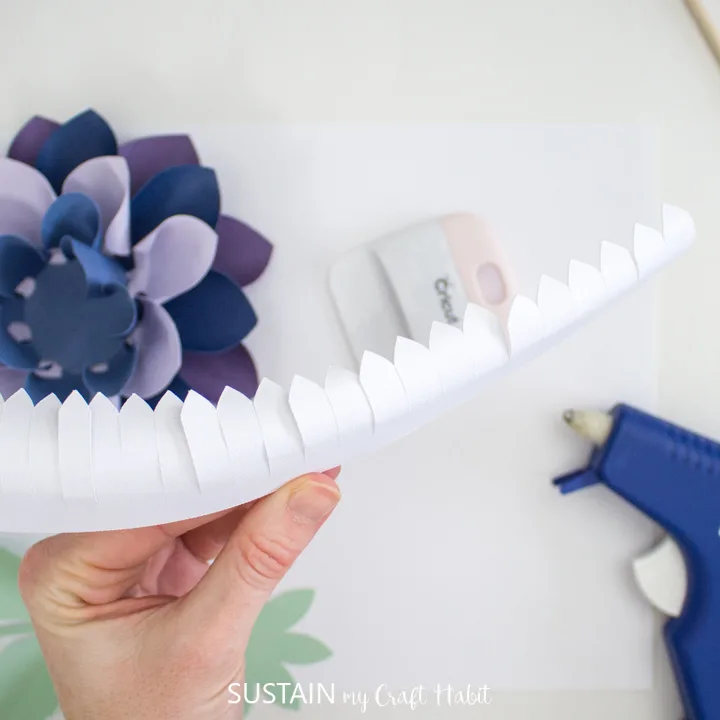
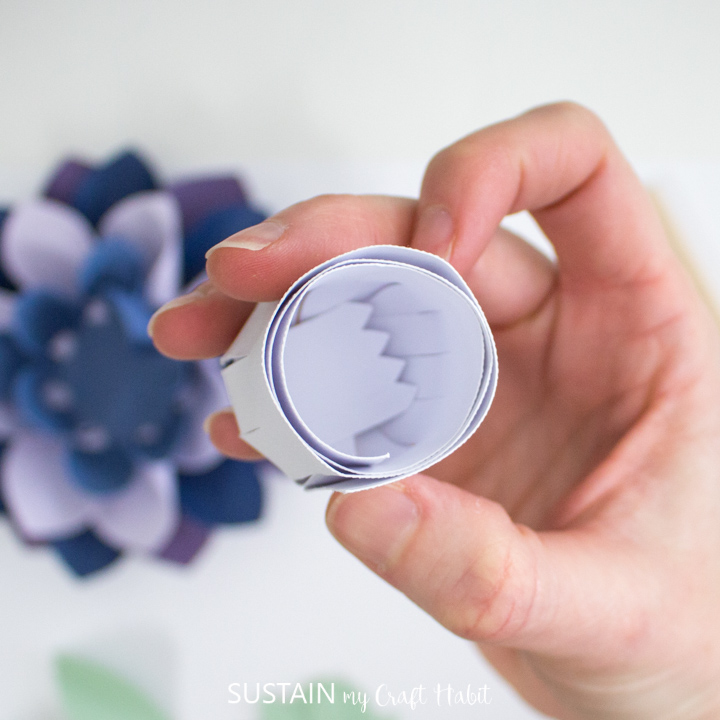
Starting with the longer fringed end, begin rolling it tightly around a wooden skewer keeping the smooth edge aligned. Remove the skewer.


Release the tightly rolled center creating a loosely wrapped circle.

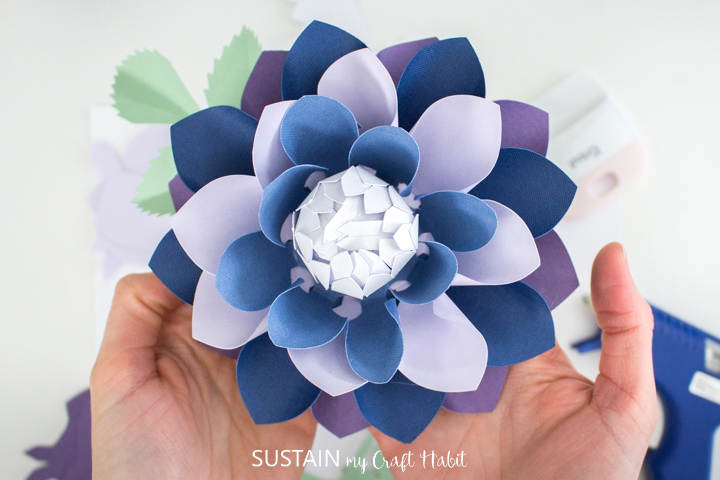
Add glue to the bottom and press it in to the center of the prepared dahlia.


Crease the leaf pattern along the score lines and glue them to the bottom of the dahlia.

Like it? Pin it for later!


How to Assemble Paper Dahlias
Materials
- Wooden dowel or skewers
- Hot glue gun with clear glue sticks
Instructions
- Working one petal at a time, curl the sides of the petals inward using a wooden skewer. Fold the tab along the score lines on each petal.
- Organize the pieces by color.
- Add hot glue to the top of the tab and press it behind the rounded disc piece. Continue with all the other petals until the center disc is complete.
- Repeat this with the other colors and pieces.
- Stack the prepared pieces with smallest on the top and largest on the bottom.
- Glue them together in the center disc rotating the petals for each layer.
- Next, prepare the center pistil piece.
- Use the paper scraper to curl the fringed edges outward, thinning and softening the paper gently as you handle the piece.
- Starting with the longer fringed end, begin rolling it tightly around a wooden skewer keeping the smooth edge aligned. Remove the skewer.
- Release the tightly rolled center creating a loosely wrapped circle.
- Add glue to the bottom and press it in to the center of the prepared dahlia.
- Crease the leaf pattern along the score lines and glue them to the bottom of the dahlia.