Pressed Petals and Rock Vase Art
![]()
Our crafting habit is definitely catching on with the kids. That became crystal clear last summer when we were sitting on the beach and my six-year-old son handed me a flat, odd-shaped rock and said, “Mama, this looks like a vase.” I had a moment of pride—until he followed it up with, “or maybe it looks like poop.” Either way, it sparked an idea. These little “vase-like” rocks were perfect for a pressed flower project we’d been thinking about.
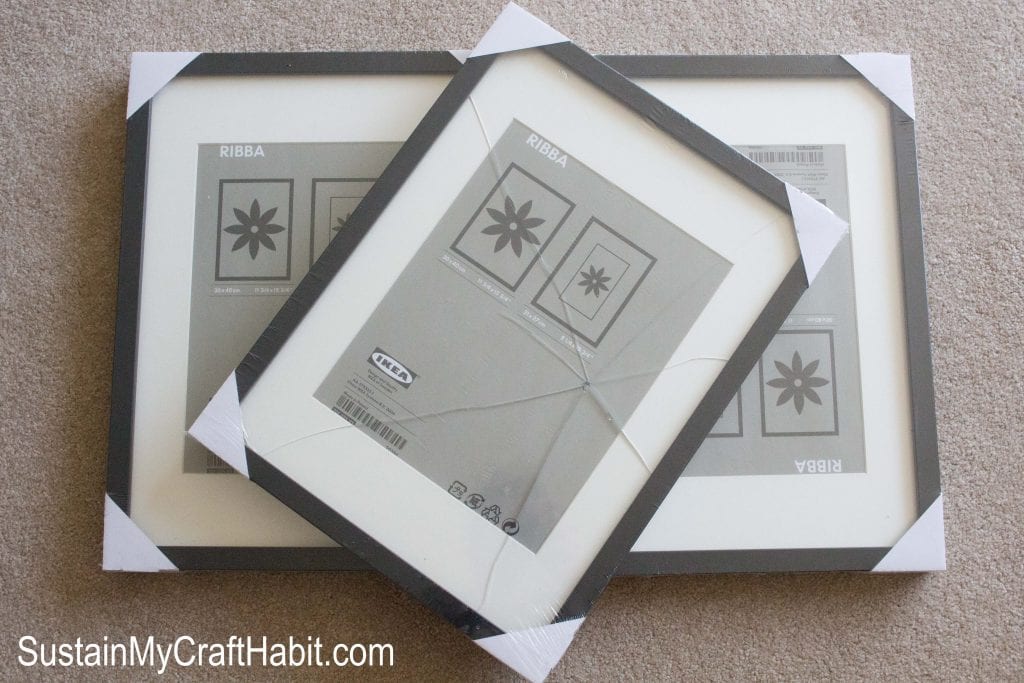
Around the same time, we were putting together our Friday Five post on Inspiring Pressed Flower Crafts, and my husband had picked up a bunch of old frames at a garage sale—$2 each. One ended up with a mysteriously broken glass panel. The kids claim innocence. My husband swears it wasn’t cracked when he bought it. So naturally, we turned it into a shadow box-style frame for a new DIY.
So, all these things came together to inspire our new art project. To make your own, this is what you’ll need:
- x1 sheet of 8 ½” x 11” white cardstock paper
- x3 small sized flat-on-one-side rocks
- Fine tip black marker
- Pressed flower petals (we used rose petals- see below)
- Parchment paper
- Glue gun or other glue strong enough to hold the rocks on the paper
- Craft glue to hold pressed flower on the paper
- Mod Podge
- Picture frame without the glass or a shadow box
Before you start assembling, the petals need to be dry. The best way is to press the flowers between parchment paper in a dry place under a stack of books. This slow drying process can take one to two weeks. If you’re short on time, here’s an easy way: microwave them. Place the flower petals between two pieces of parchment, microwave for 30-second bursts, and keep an eye on them—they dry fast.
You can also speed things up using silica gel, which helps preserve color and shape. Once fully dried, store your dry roses or dry rose petals in an airtight container to keep them in great condition for future crafts.
Before you start assembling, the petals need to be dry. The best way is to press the flowers between parchment paper in a dry place under a stack of books. This slow drying process can take one to two weeks. If you’re short on time, here’s an easy way: microwave them. Place the flower petals between two pieces of parchment, microwave for 30-second bursts, and keep an eye on them—they dry fast.
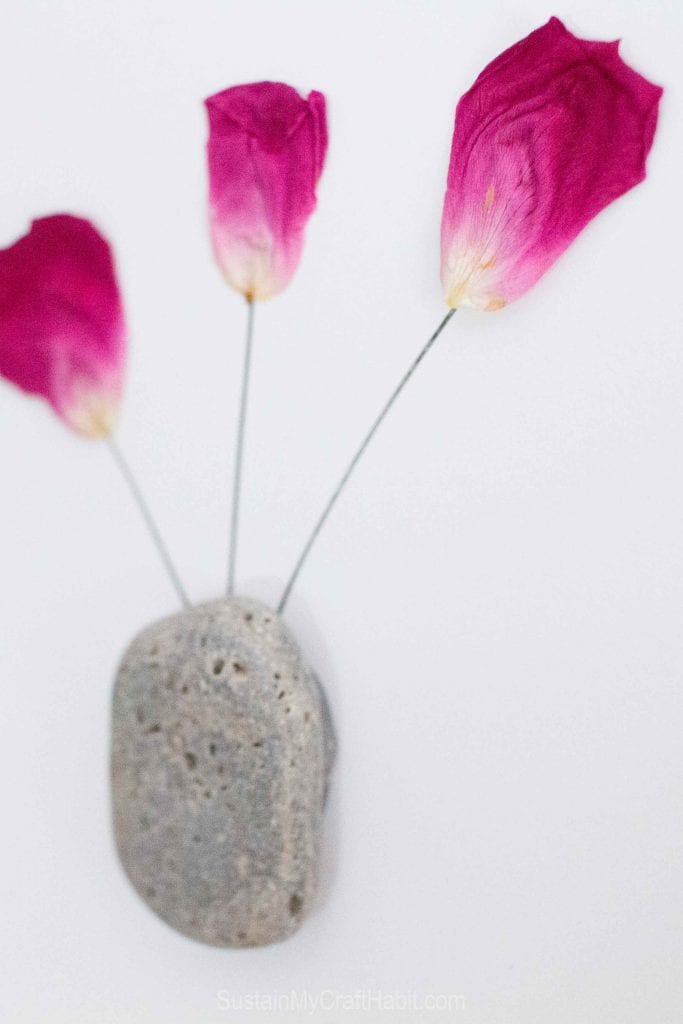
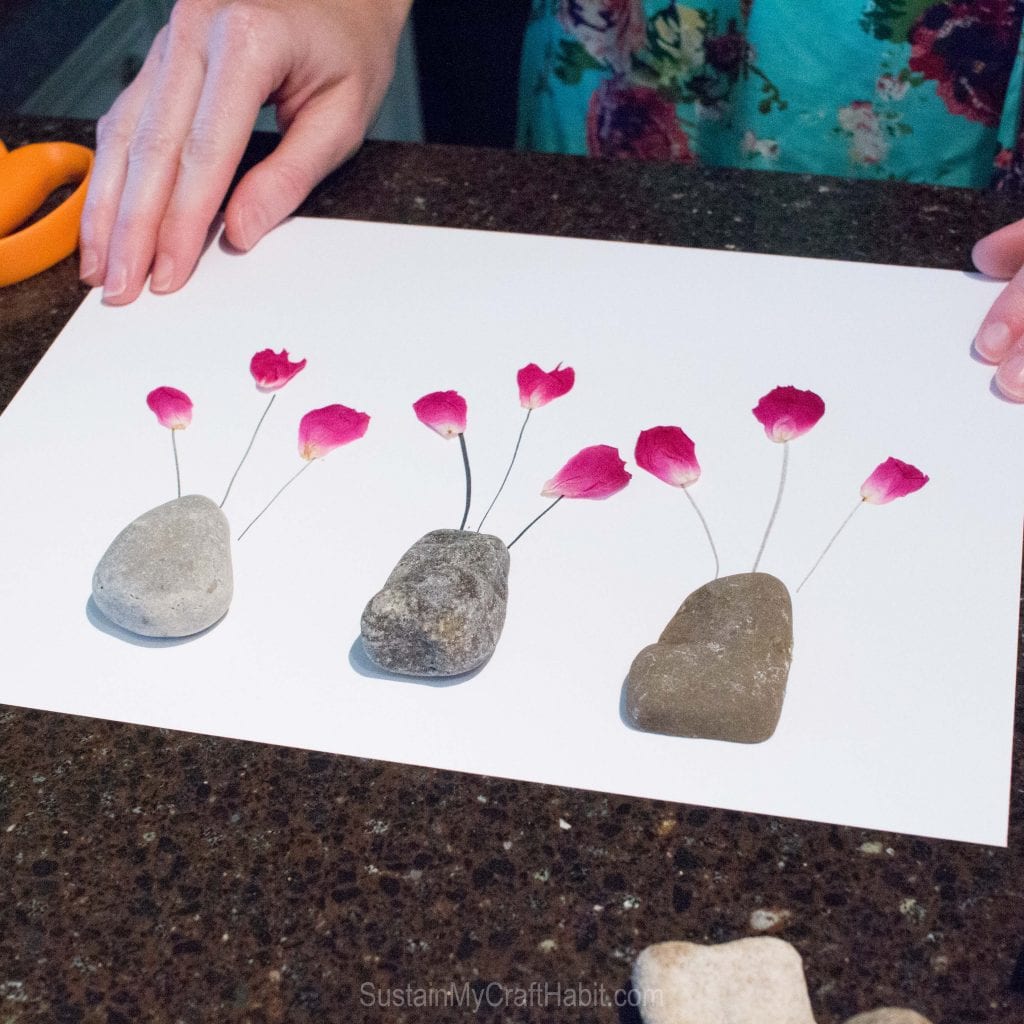
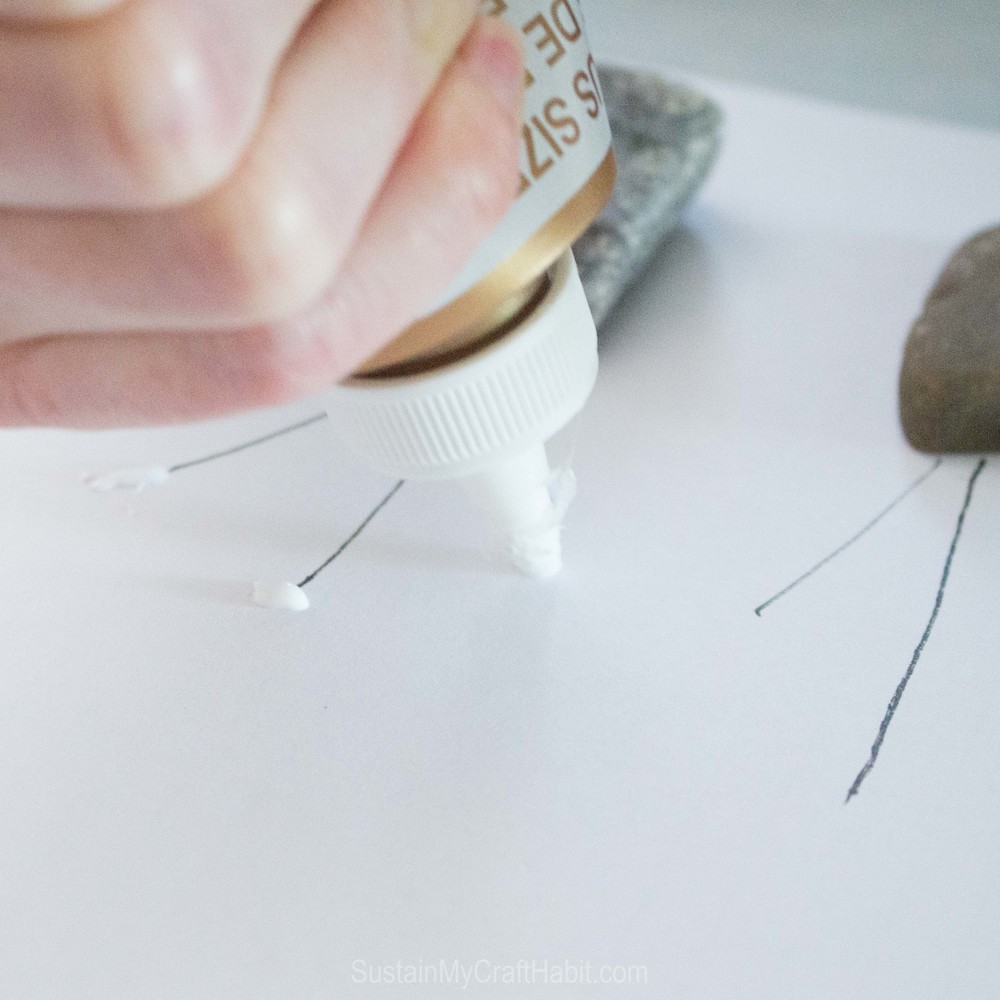
Once you have your dried flowers, you are ready to start assembling. Position the rock “vases” onto your card stock evenly-spaced along the bottom and place the flower petals as you would like them. Arrange the pressed flower petals above the stems—three per rock looked great for ours, but there are so many different ways you can style it.
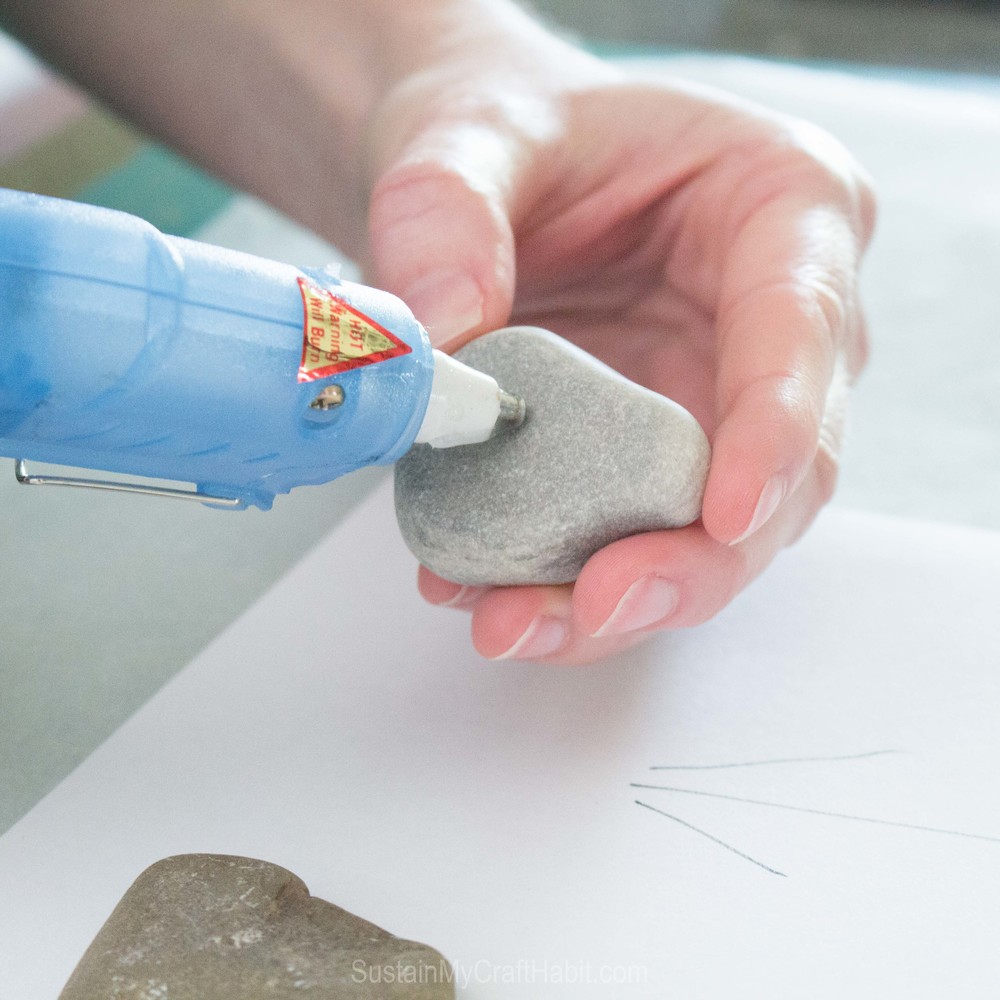
When you’re happy with the layout, glue down the rocks first using the glue gun. Then, using craft glue, stick the flower petals to the tops of each stem. Press gently so you don’t crack or overflatten them.

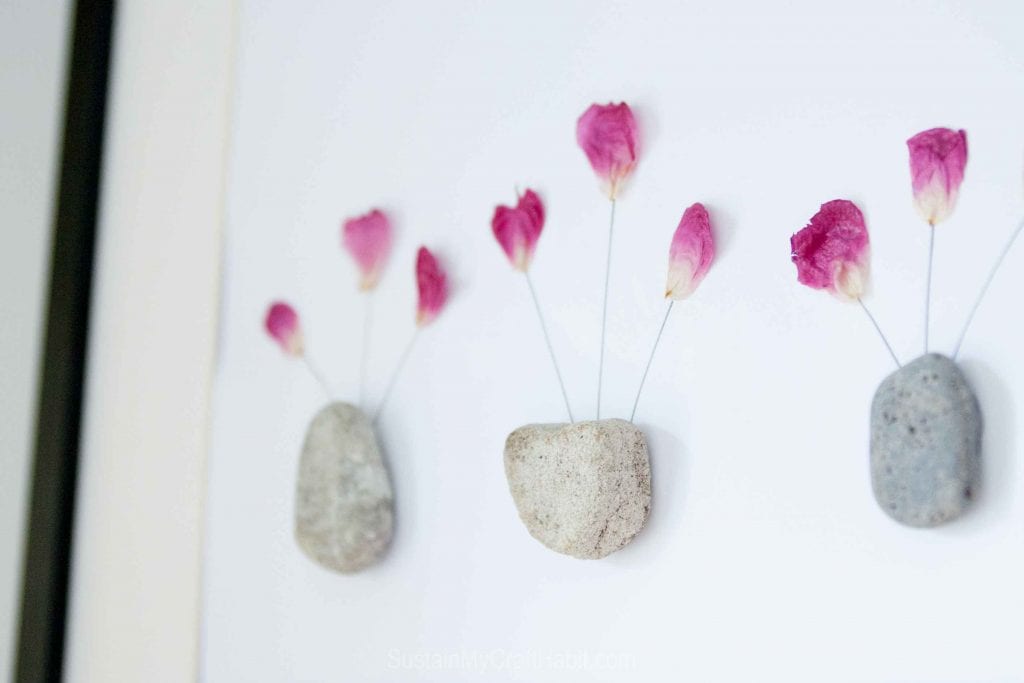
Add the craft glue to the back side of the petal and stick to the top of each stem. Apply a little pressure but be careful not to over press the flowers. Once the glue had dried we applied a thin coat of Mod Podge to the pressed flower petals with a fine paint brush. This gave the petals a subtle shine but also helped to preserve the structure and colour of the petals. Avoid getting Mod Podge on the paper as it will wrinkle the paper when it dries.

Pop the artwork into your chosen frame—broken glass optional—and hang it somewhere special.
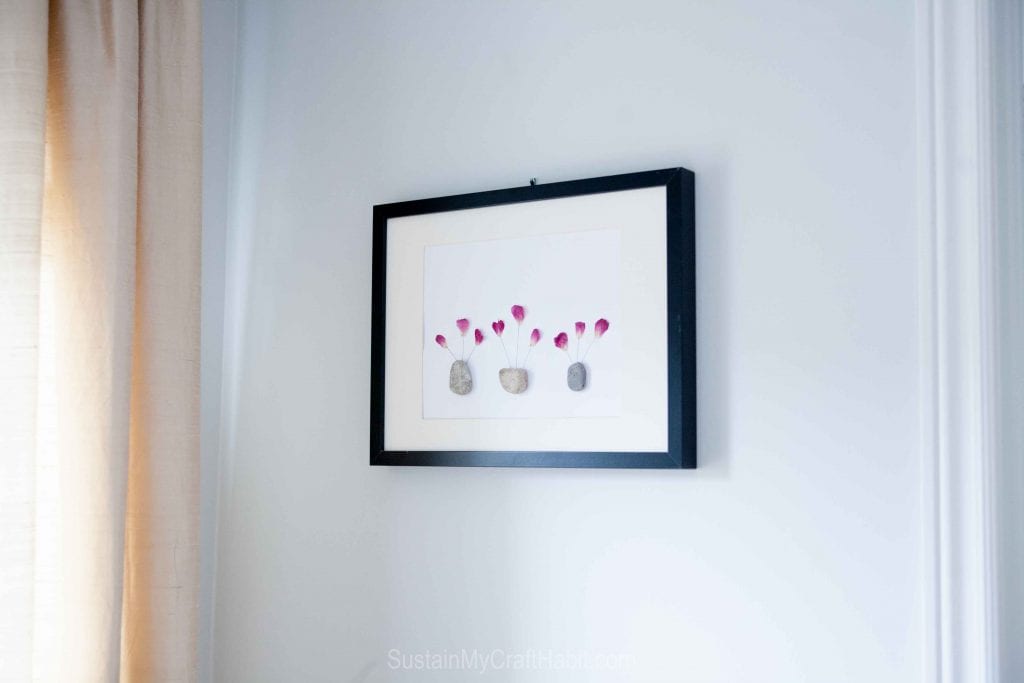
Using pressed flower petals—especially from fresh flowers you’ve already enjoyed—is a creative way to give them a second life. Whether you’re crafting with your kids, decorating your home, or just trying something new, turning simple materials into something beautiful is always a good idea.
Do you have any tips for pressing flowers?


Spontaneously breaking objects, we have those in my house too. 😉
Love the project though!
With young kids around, no object is safe;) Thanks for stopping by!
That is beautiful!! I love when you can use something for something else…even if it magically breaks!! 🙂 Thank you for sharing with us at the #HomeMattersParty
Absolutely! This craft kind of magically all came together. Thanks for stopping by!
This is great! And how fun that your son sparked the idea! Thanks for partying with us at Snickerdoodle.
It’s amazing the ways in which we are inspired! And actually, he’s been full of some really creative ideas…perhaps he’ll be our future Sustain My Craft Habit blogger!