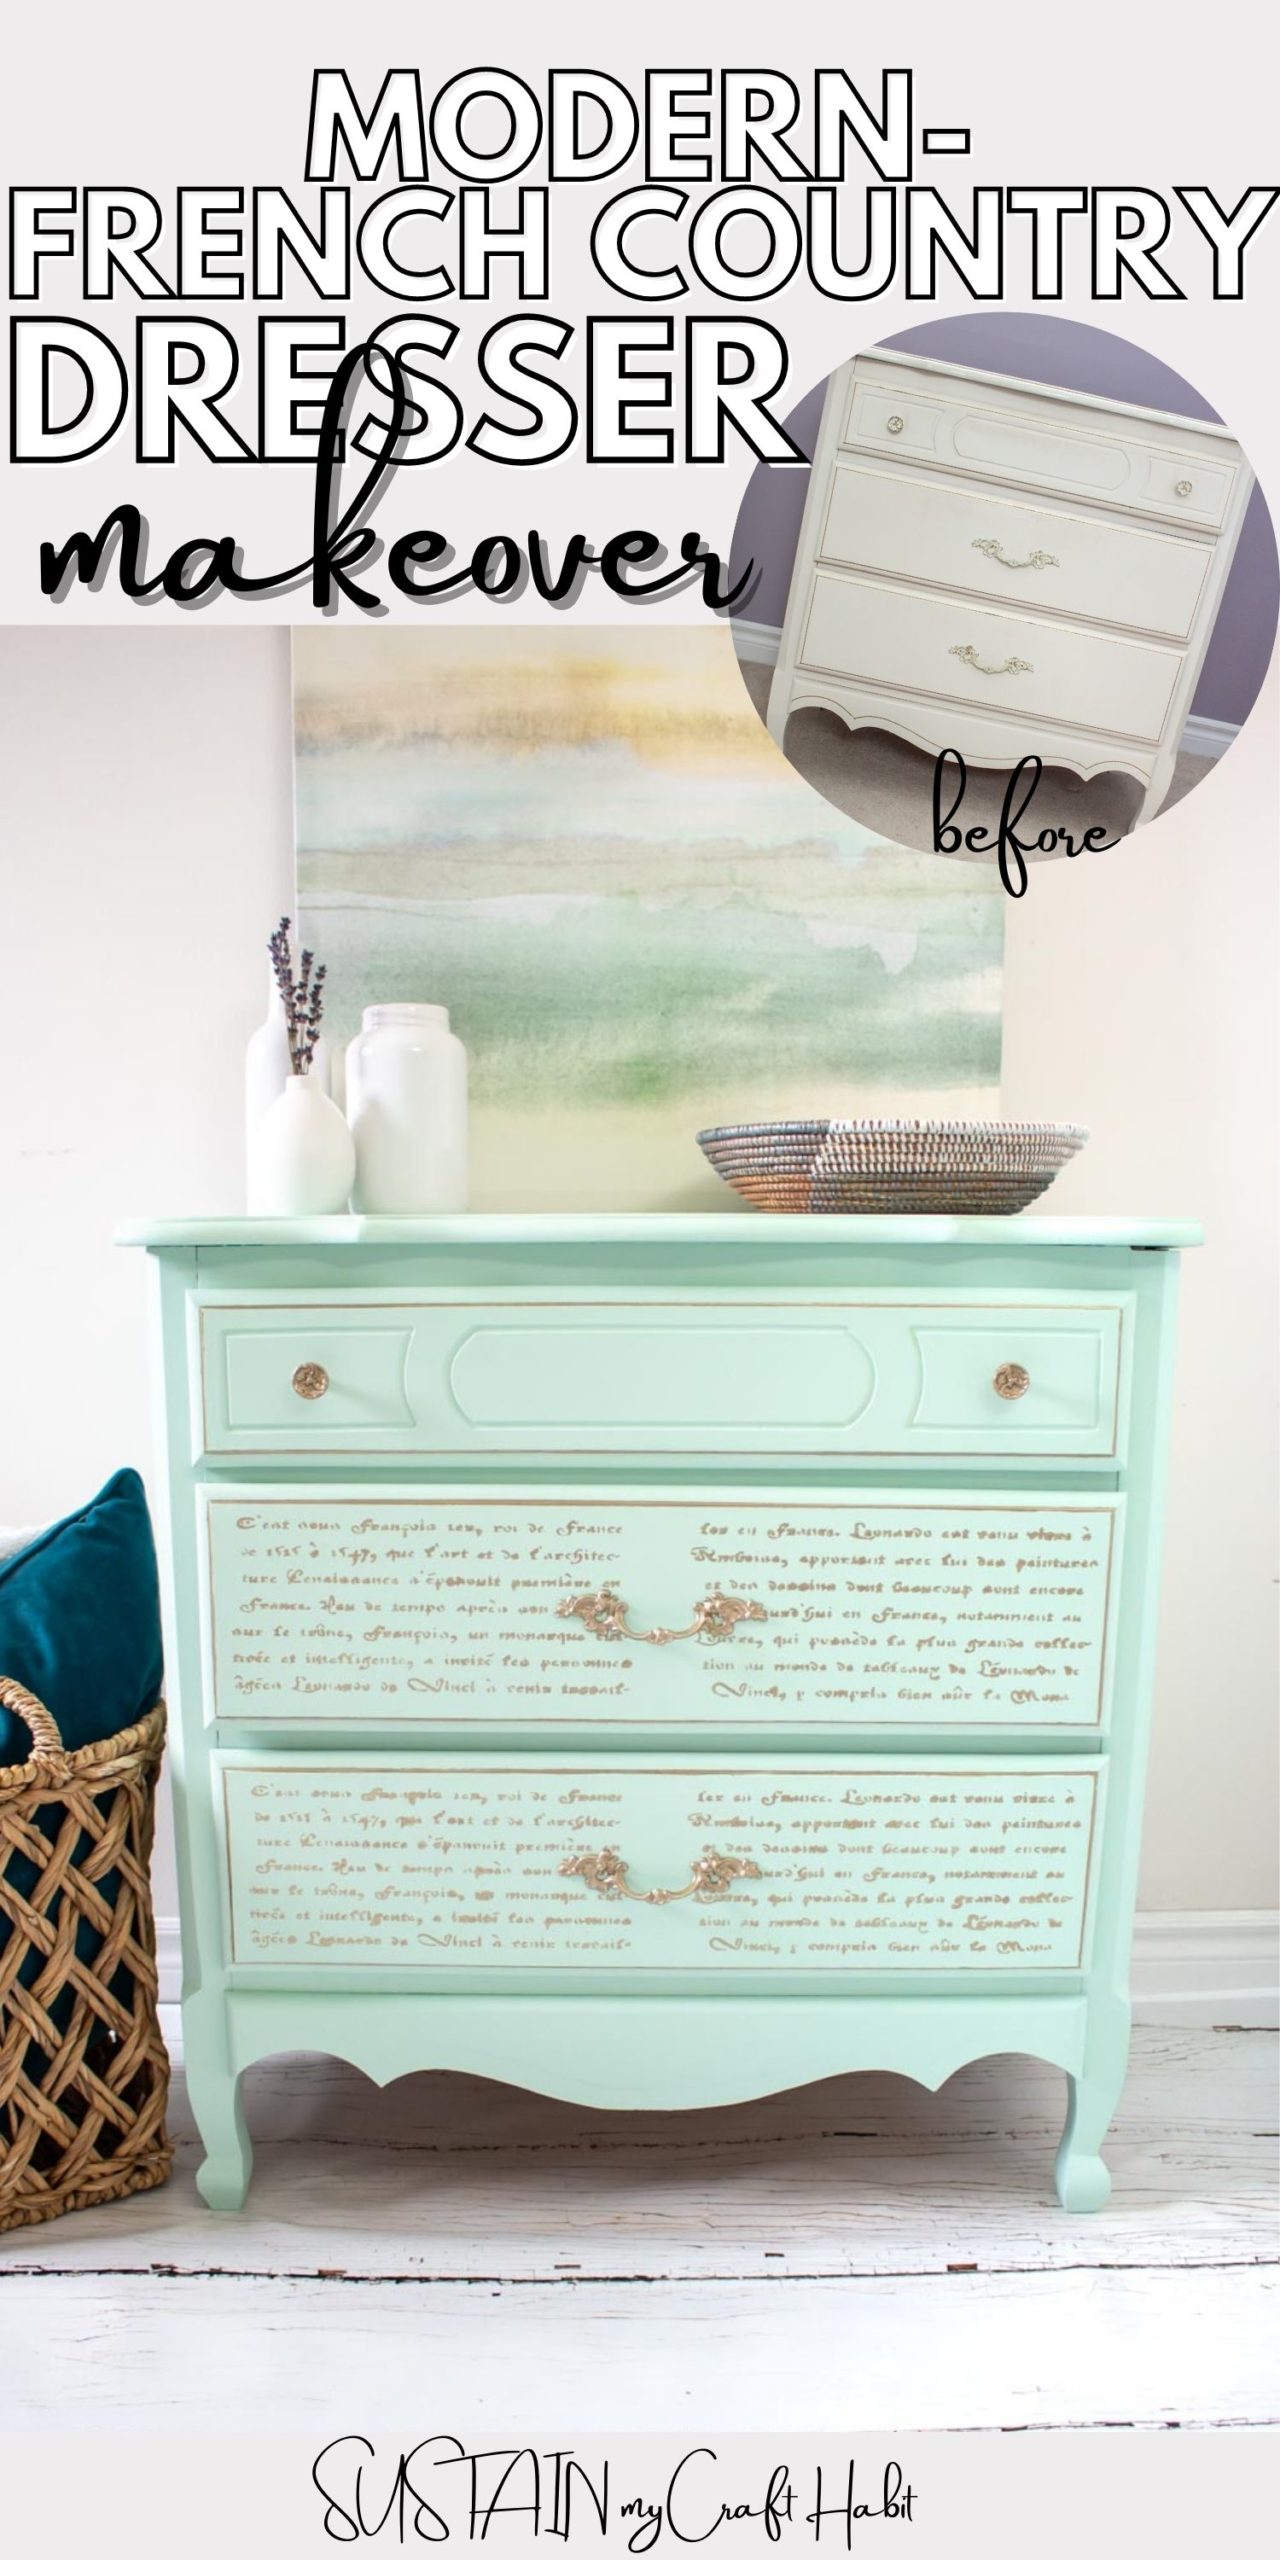
Modern French Country Painted Dresser in 4 Easy Steps!

Hi creative friends! Today, we’re sharing the step by step tutorial for transforming a dated, old dresser into a modern-french country masterpiece! Plus many more painted dresser ideas to get you inspired to give your old furniture pieces a complete makeover.
Before we jump right in to the DIY, today’s post is part of a monthly Creative Craft Hop, hosted by Sara at Birdz of a Feather.
It’s a special summertime craft collaboration with some of our favorite blogging friends. From Christmas in July ideas to planter ideas and more, be sure to check out all of these creative crafts:
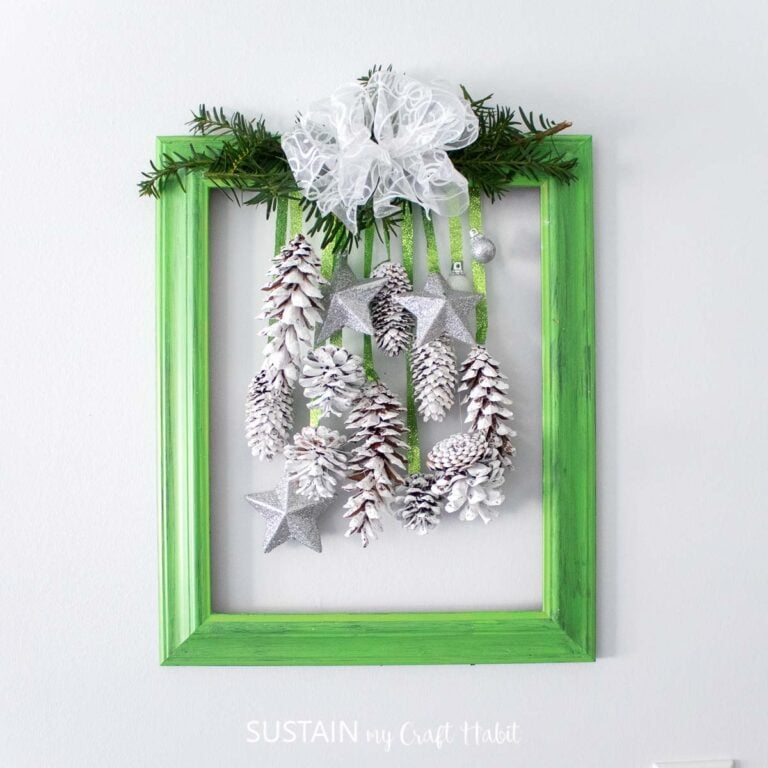
DIY Christmas Picture Frame
Christmas in July Bird Ornament Cones
Pretty Posy Serving Bowl
DIY Glittery Holiday Floral Stem
DIY Christmas Vintage Cutting Boards
DIY Painted Patio Pouf
French Country Painted Dresser DIY
Cement Planter Molds
If you are new to Sustain My Craft Habit, welcome! We’re a pair of crafty sisters who love to DIY, upcycle and generally make things. Be sure to subscribe to our craft room to stay up to date on the latest crafts and DIY ideas, freebies and more!
DIY Painted Dresser Makeover
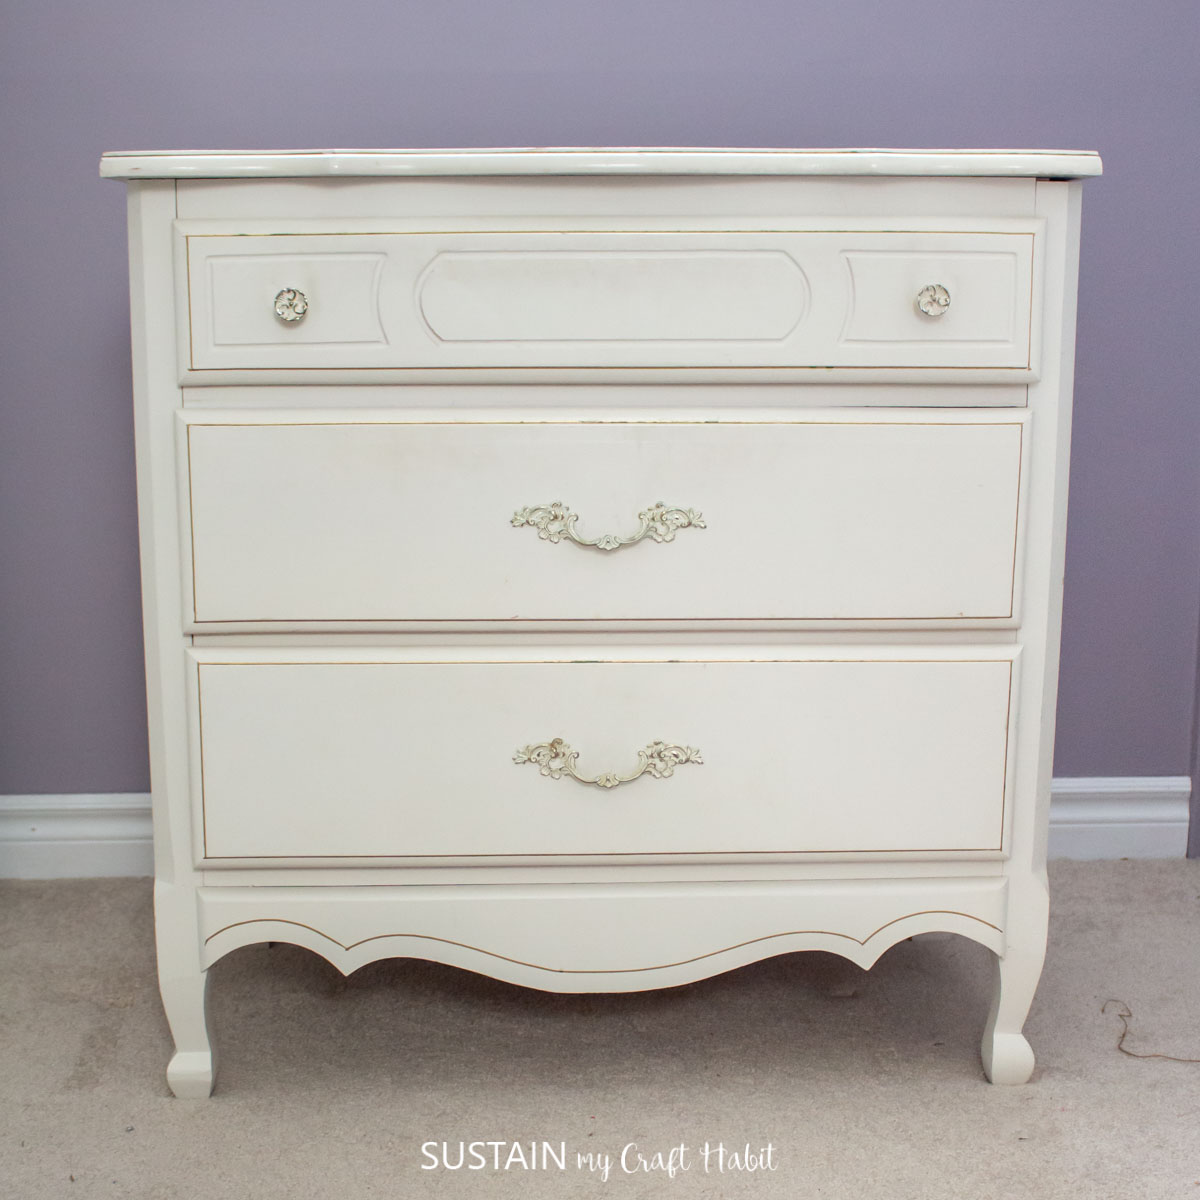
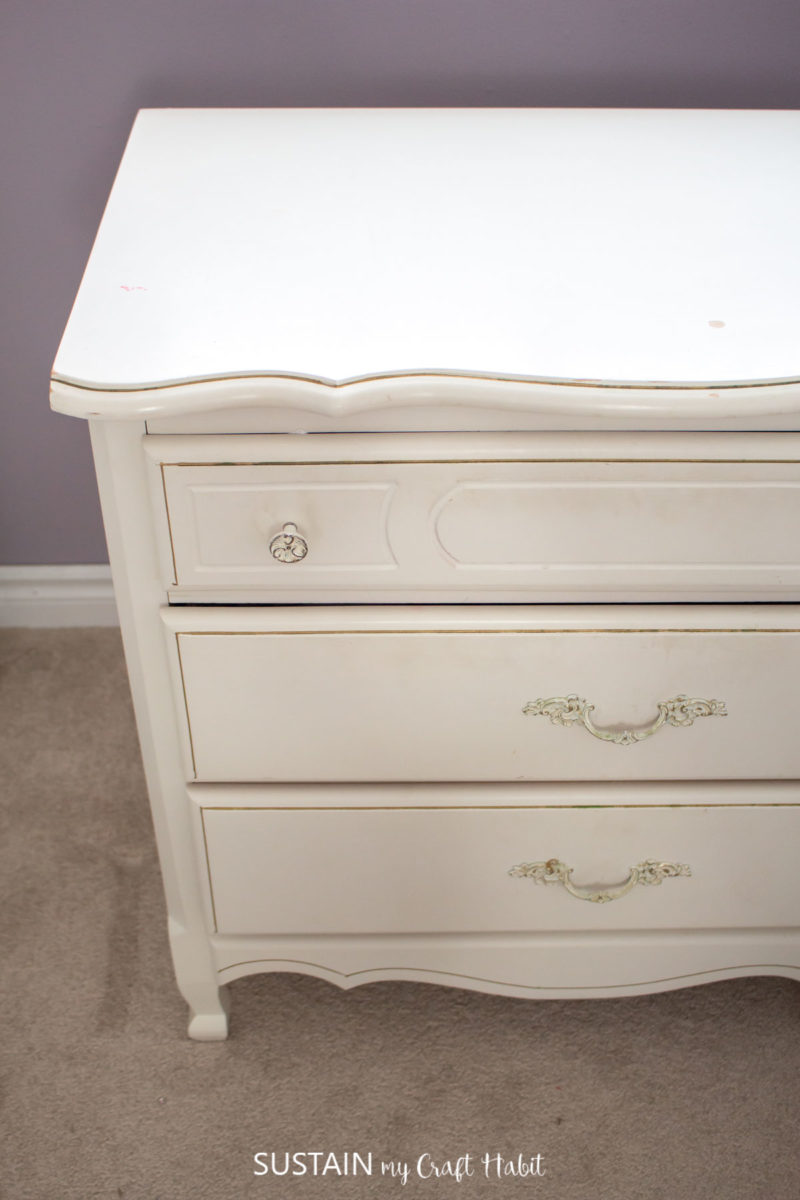
This old French country dresser was handed down to us from my in-laws years ago and has stayed in our spare bedroom ever since. As you can see, it was still in pretty good condition with just a few chips here and there but otherwise, a fairly boring and plain piece of furniture.
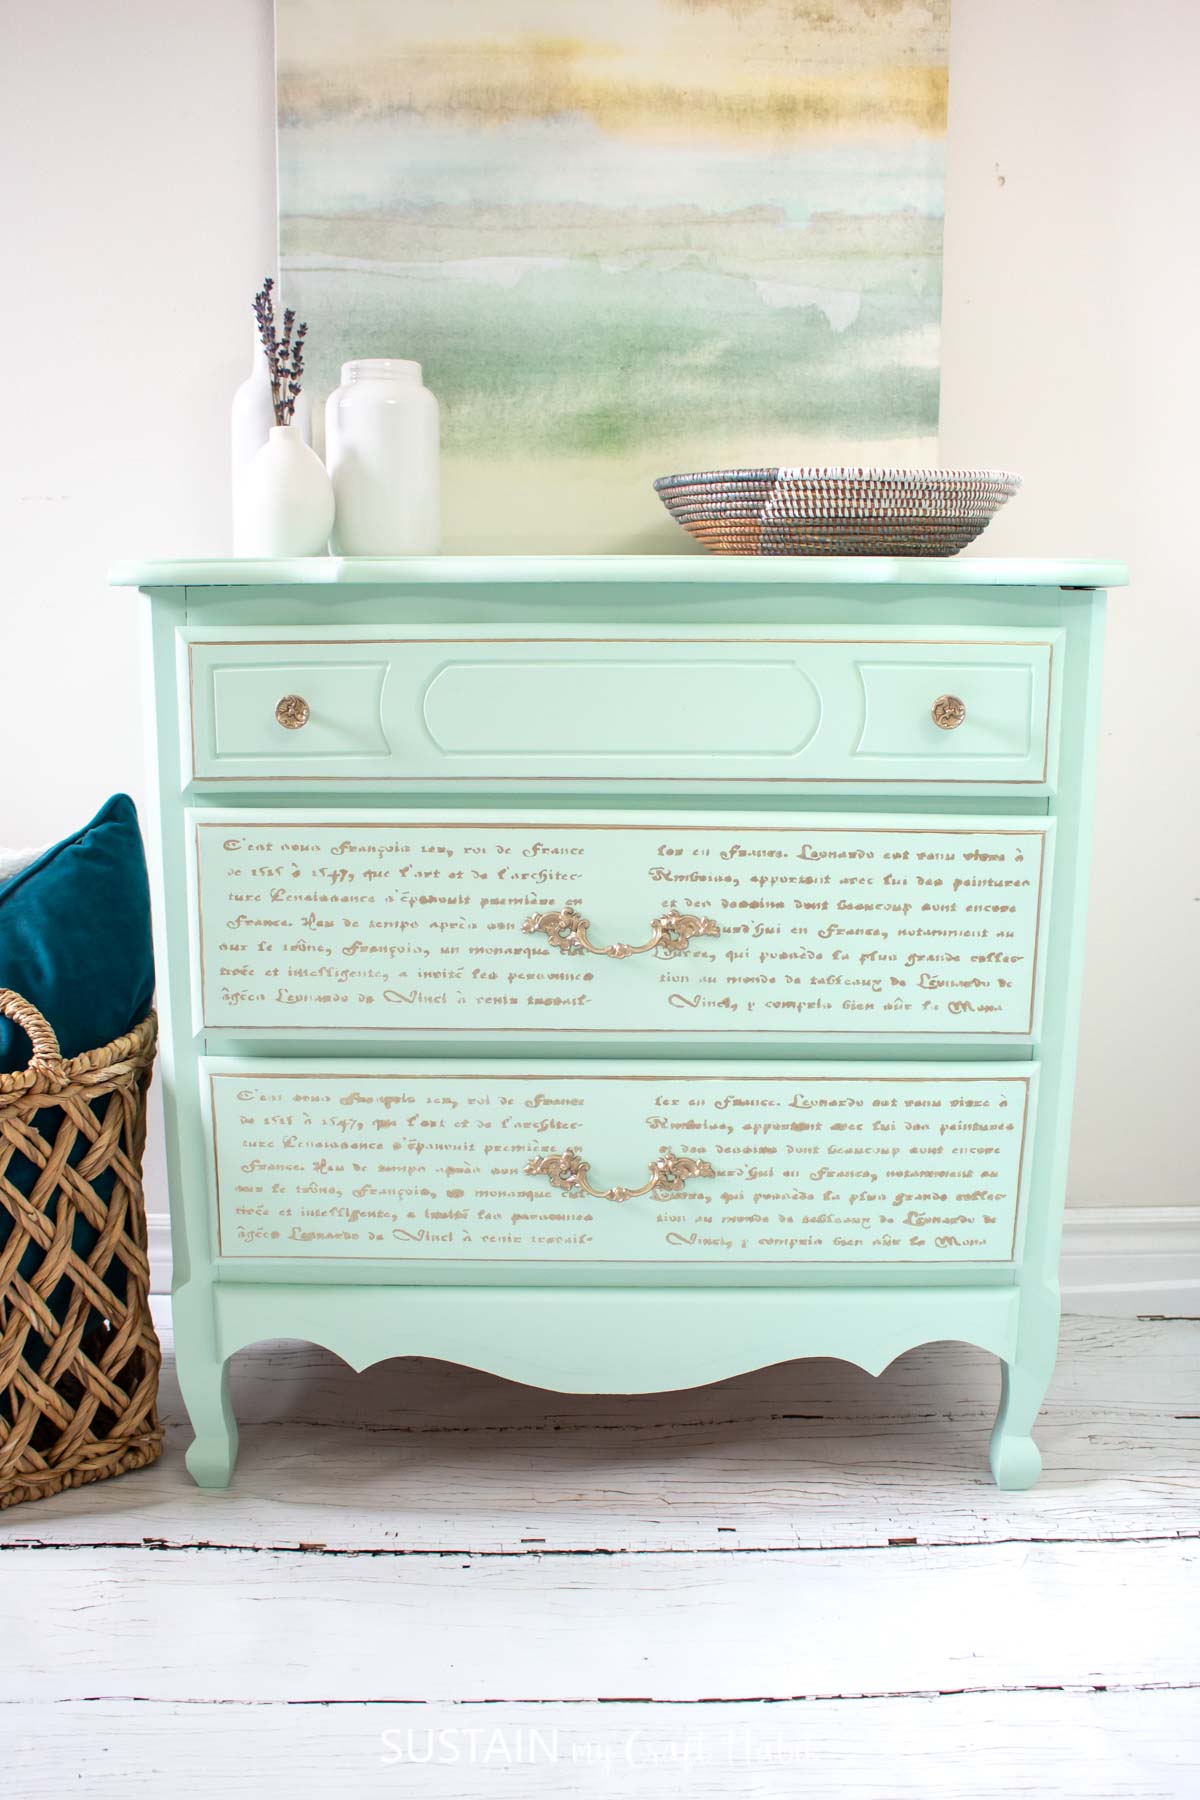
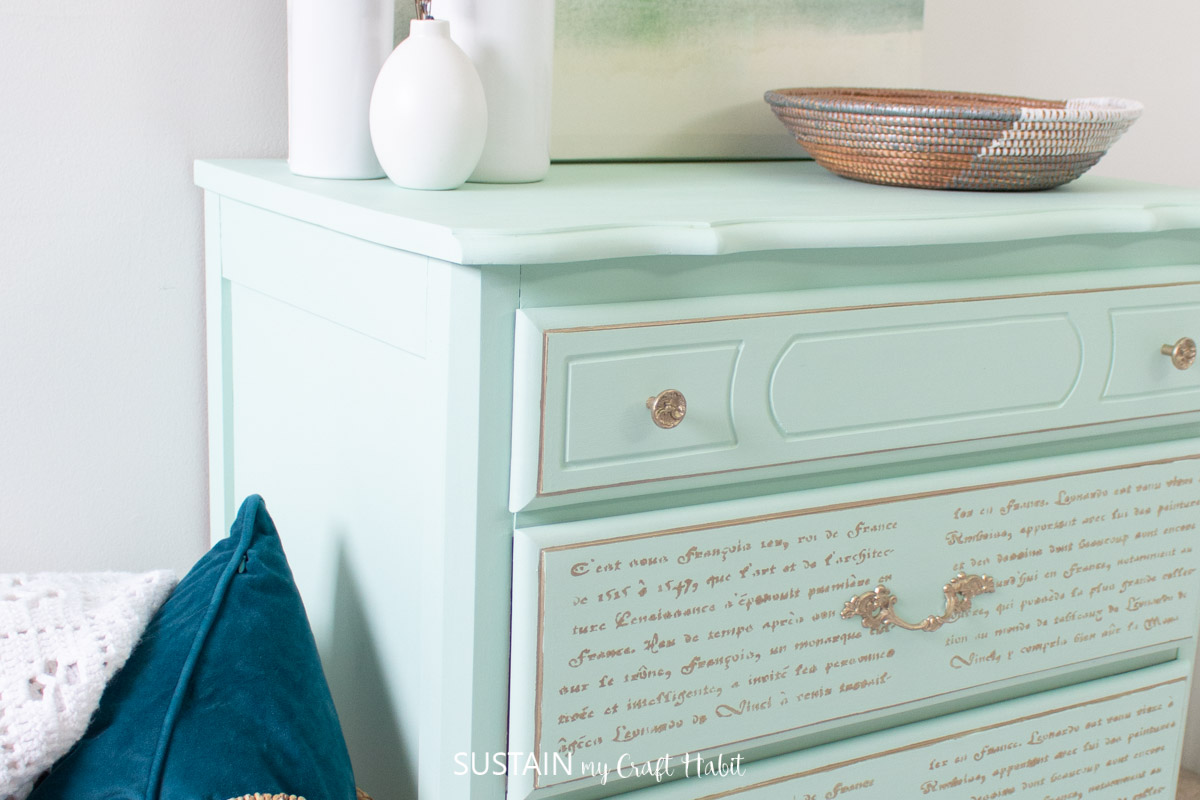
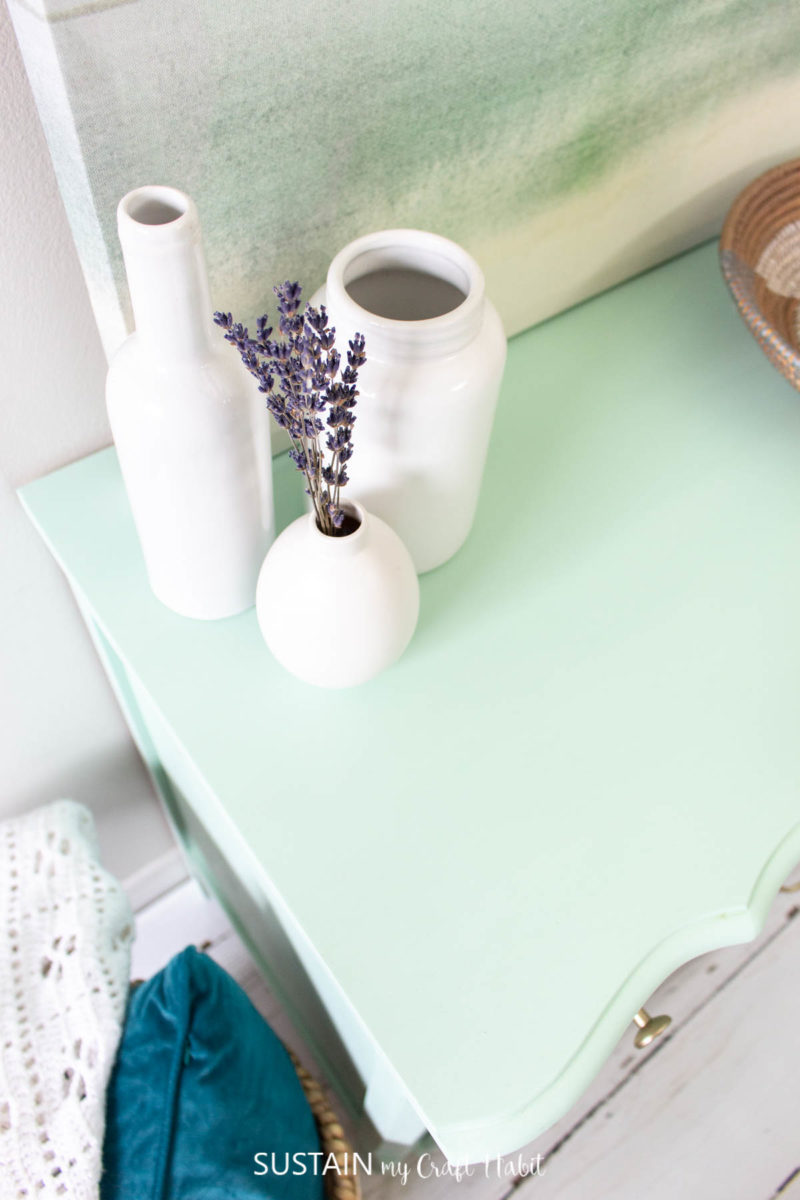
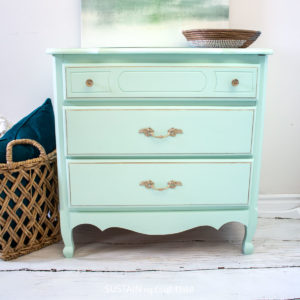
Using chalky paint in a pretty pale mint green for the base, and then a metallic gold paint for the details, the finished piece looks completely different. Although not originally planned, I added the French script stencil to the drawer fronts which really adds an extra special touch.
Materials Needed to Paint the Dresser:
Disclosure: This post continues affiliate links for your shopping convenience. You can find our full disclosure policy here.
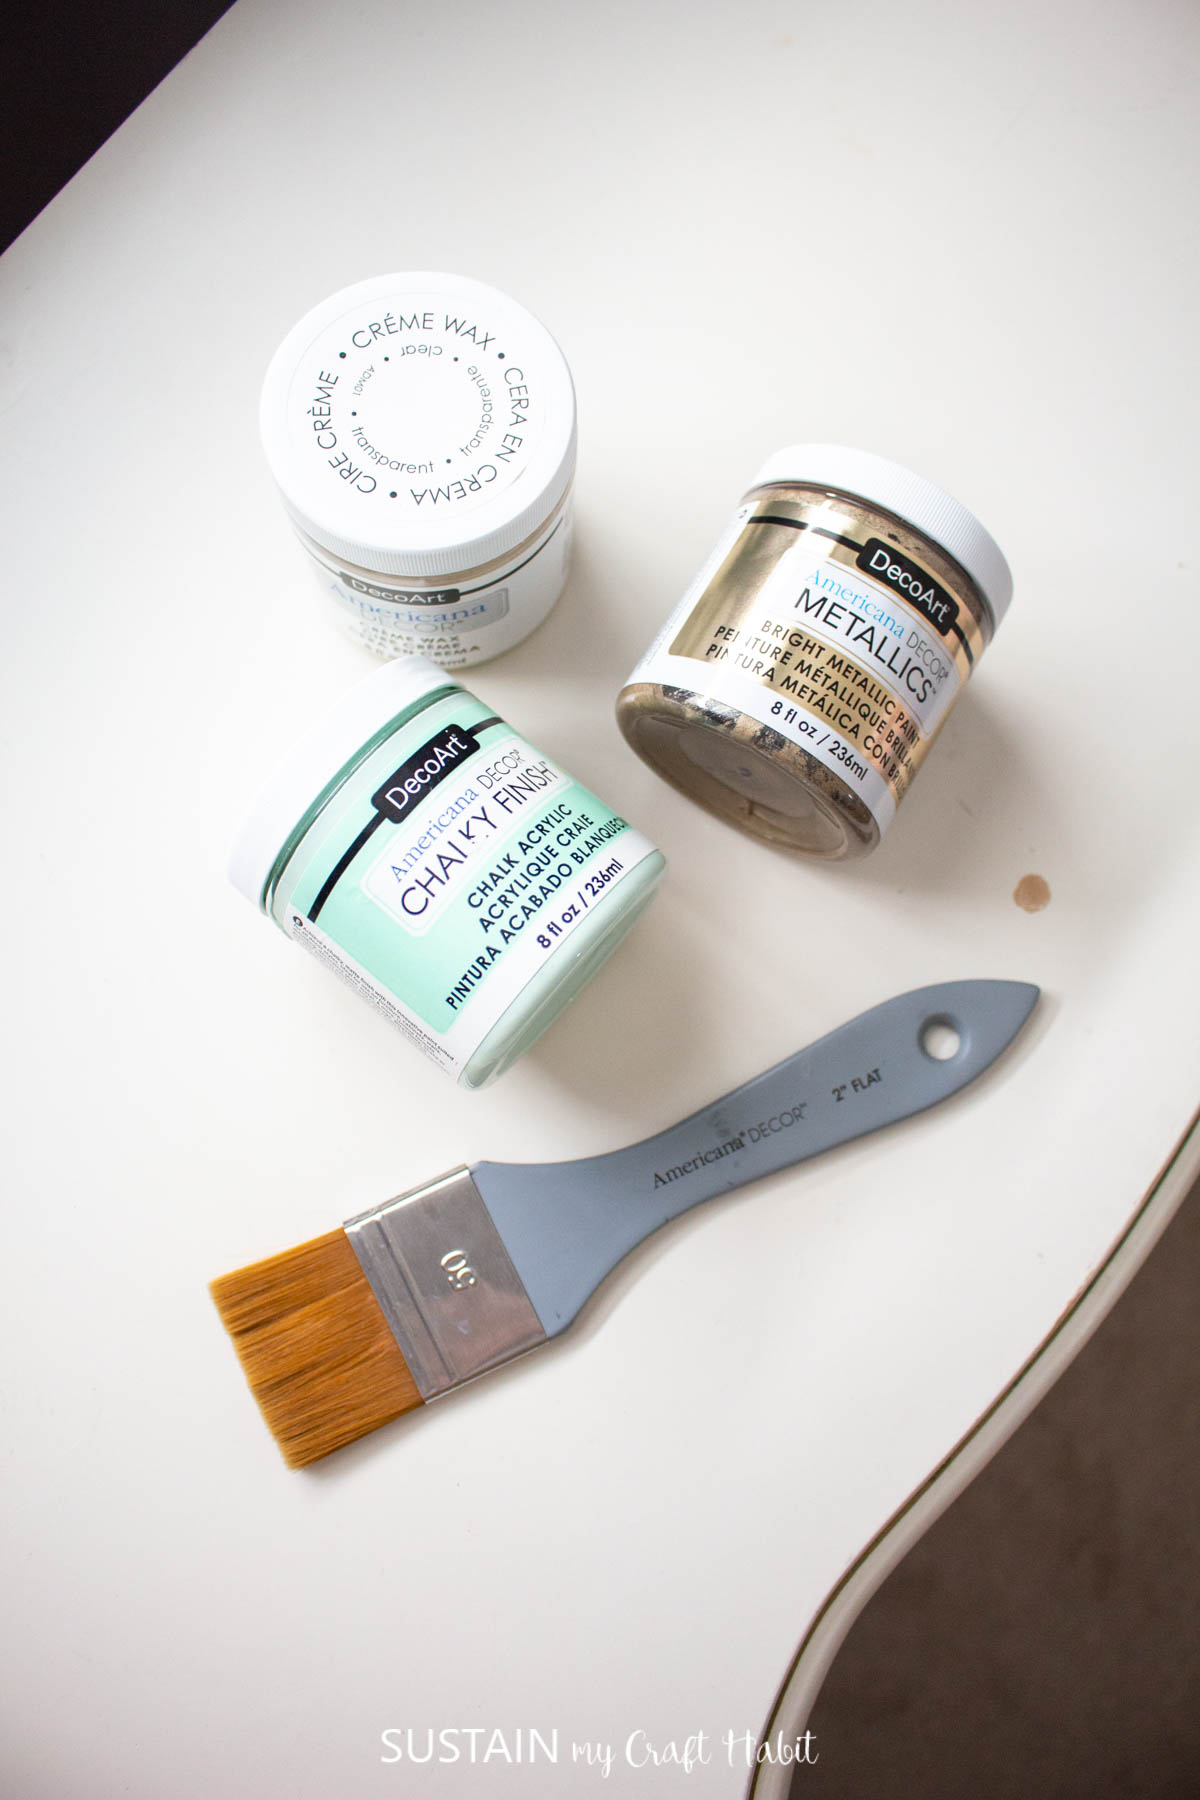
- Chalky Finish in Refreshing
- Americana Decor Metallics in Champagne Gold
- Americana Old French Script stencil
- Paint brush, ½” to 1” wide angled
- Paint brush, 2” flat
- Lint free rag
Modern French Country Furniture Makeover
Step 1: Prepaing the dresser for painting
Prepare dresser for paint by wiping the surfaces to remove dust and any built up grease.
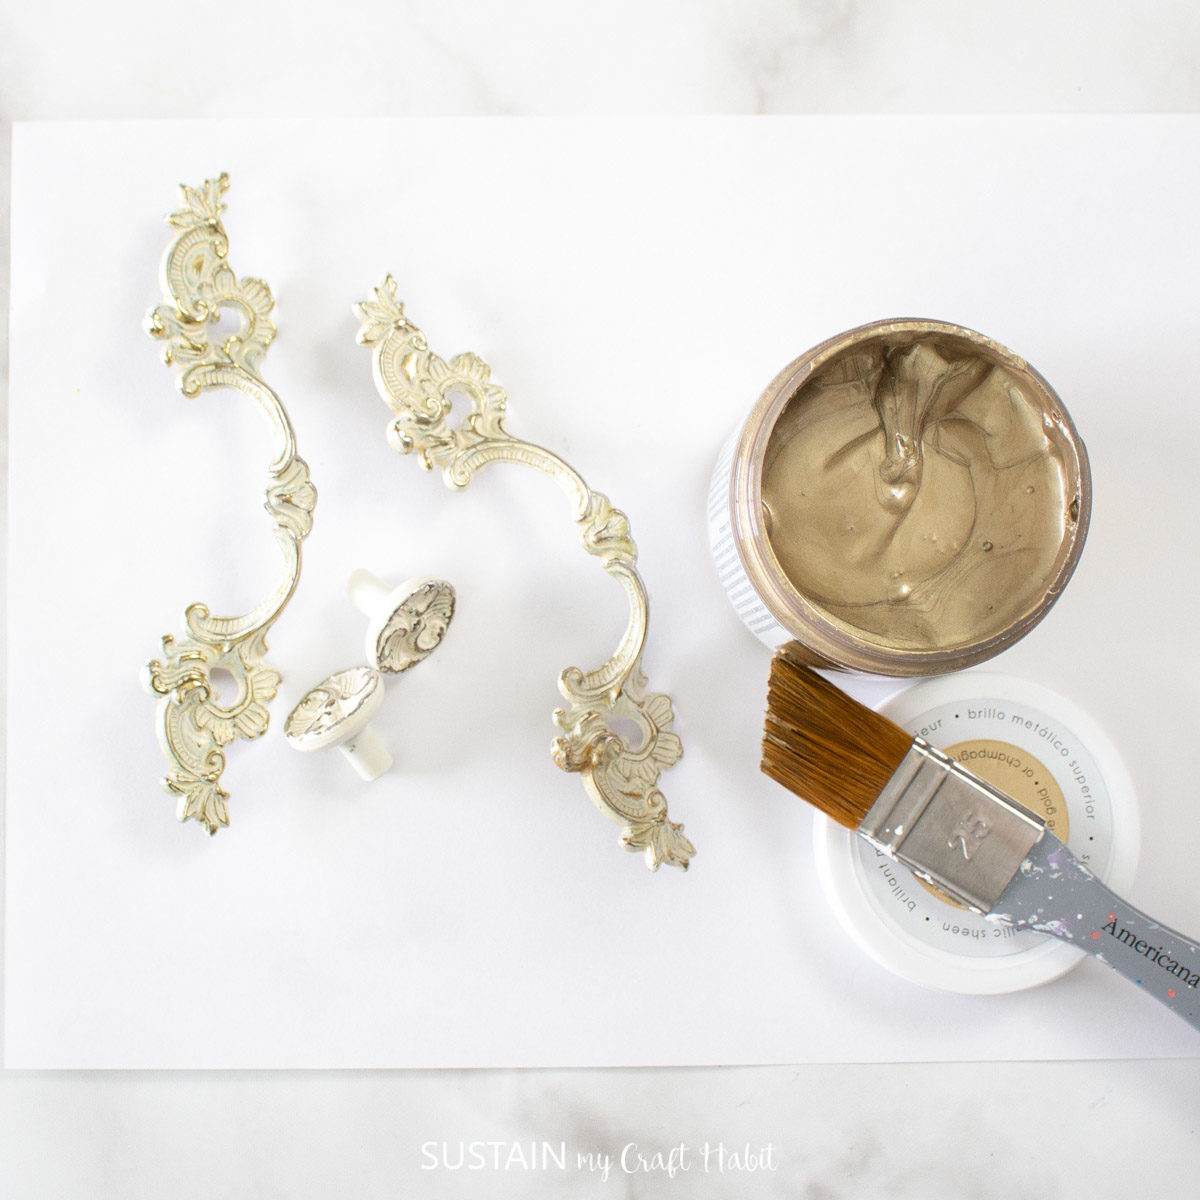
Remove the hardware and on a protected surface, paint the hardware in Champagne Gold and set aside to dry. Use a fine tip paint brush if needed for ornate shaped hardware like ours.

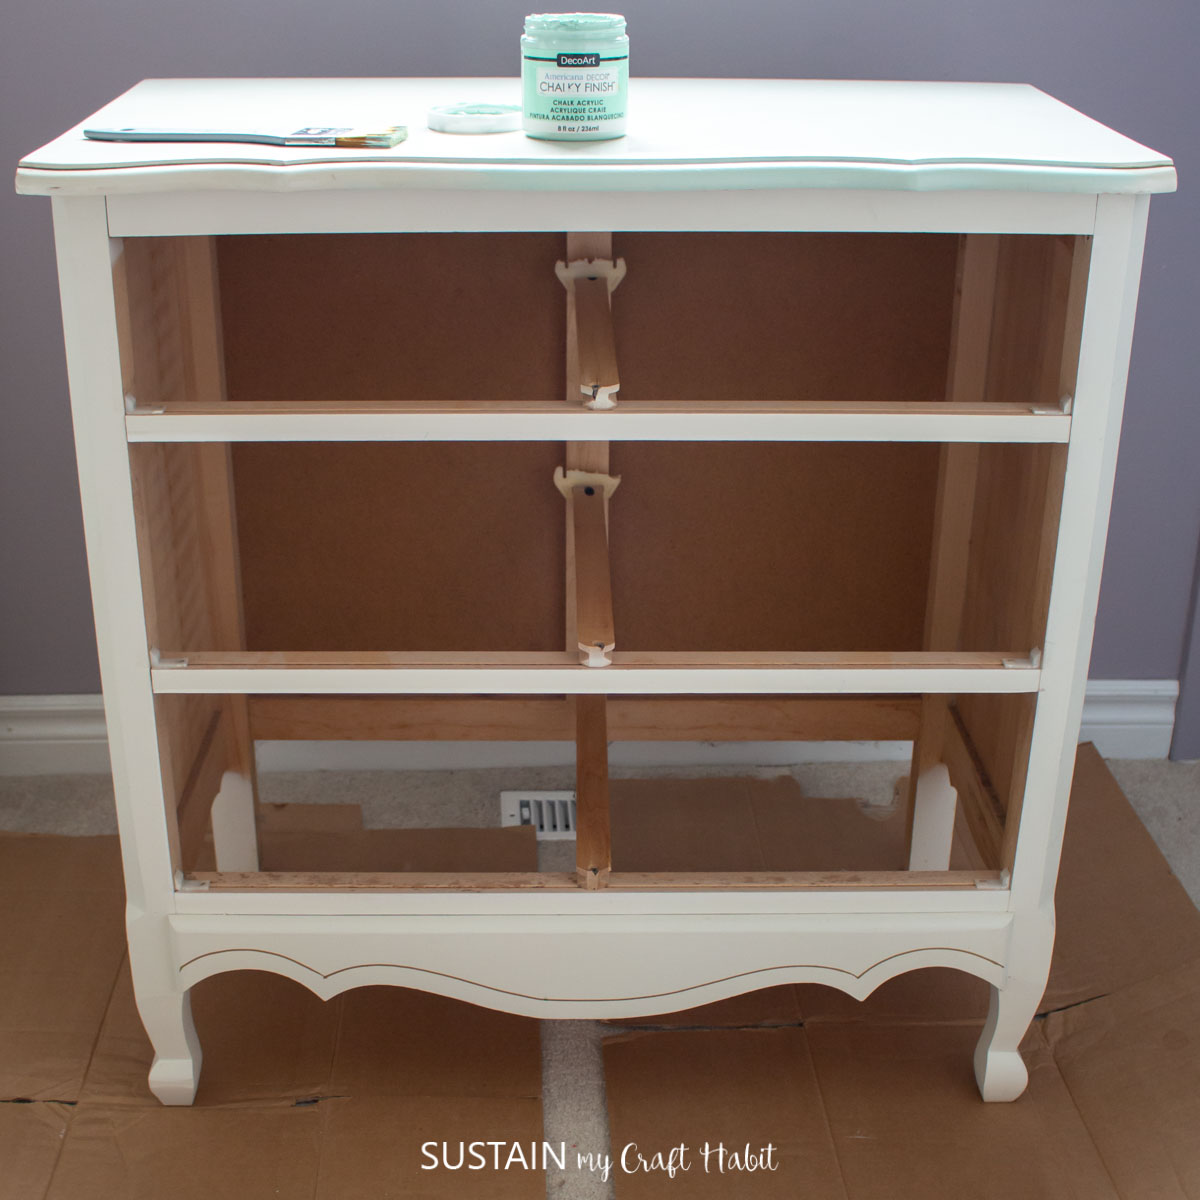
Step 2: Painting the Base of the Dresser
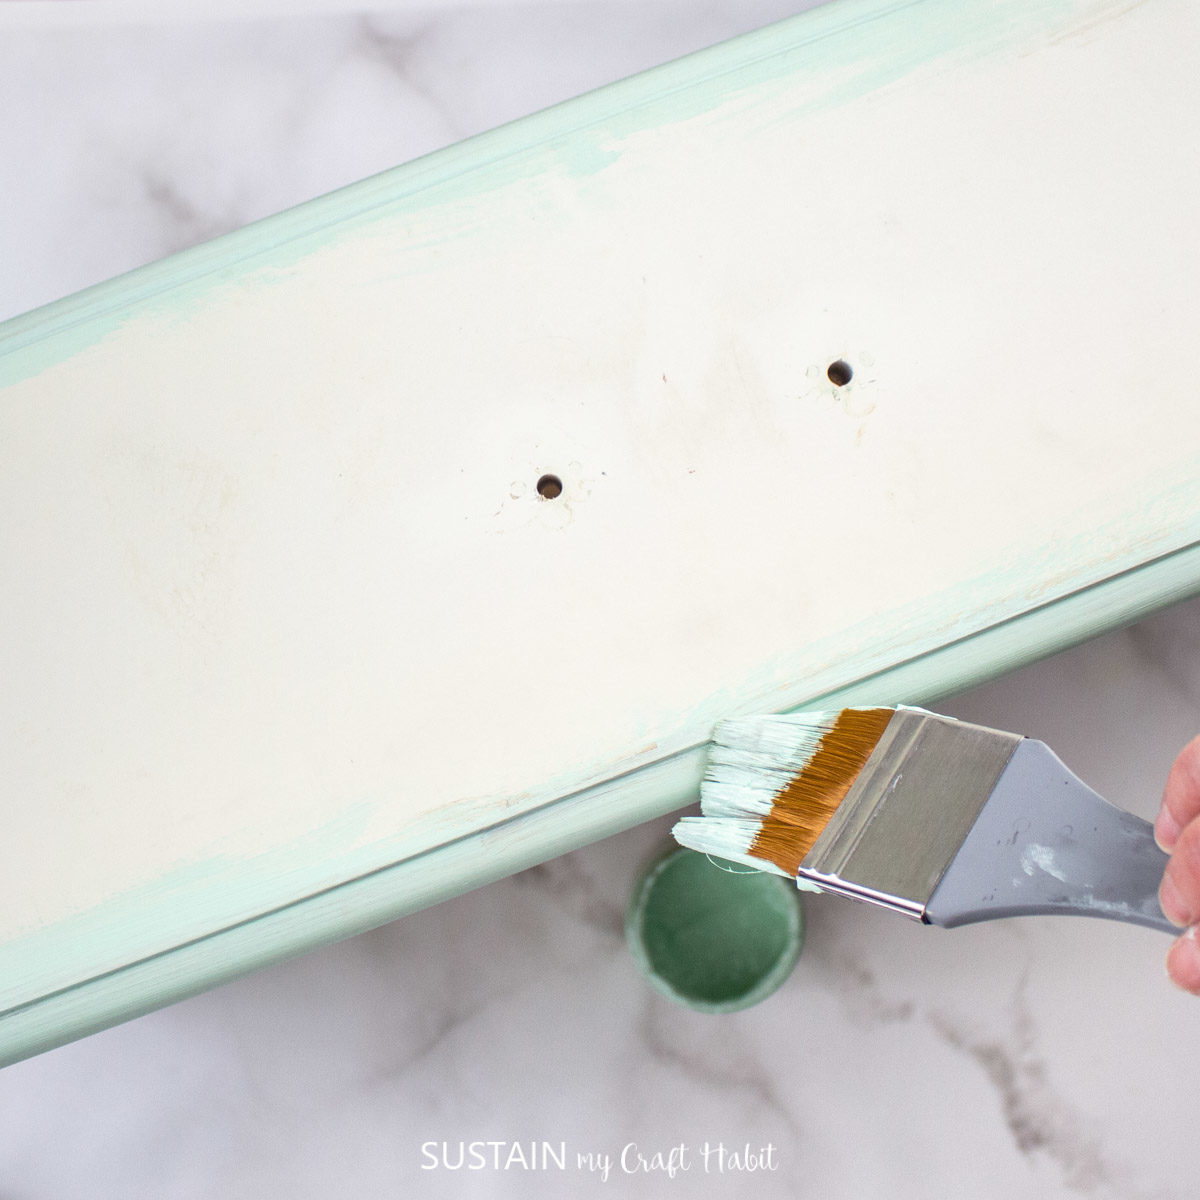
Remove drawers from the dresser and begin painting the base of the dresser in Chalky Finish Refreshing using a flat 2″ paintbrush.
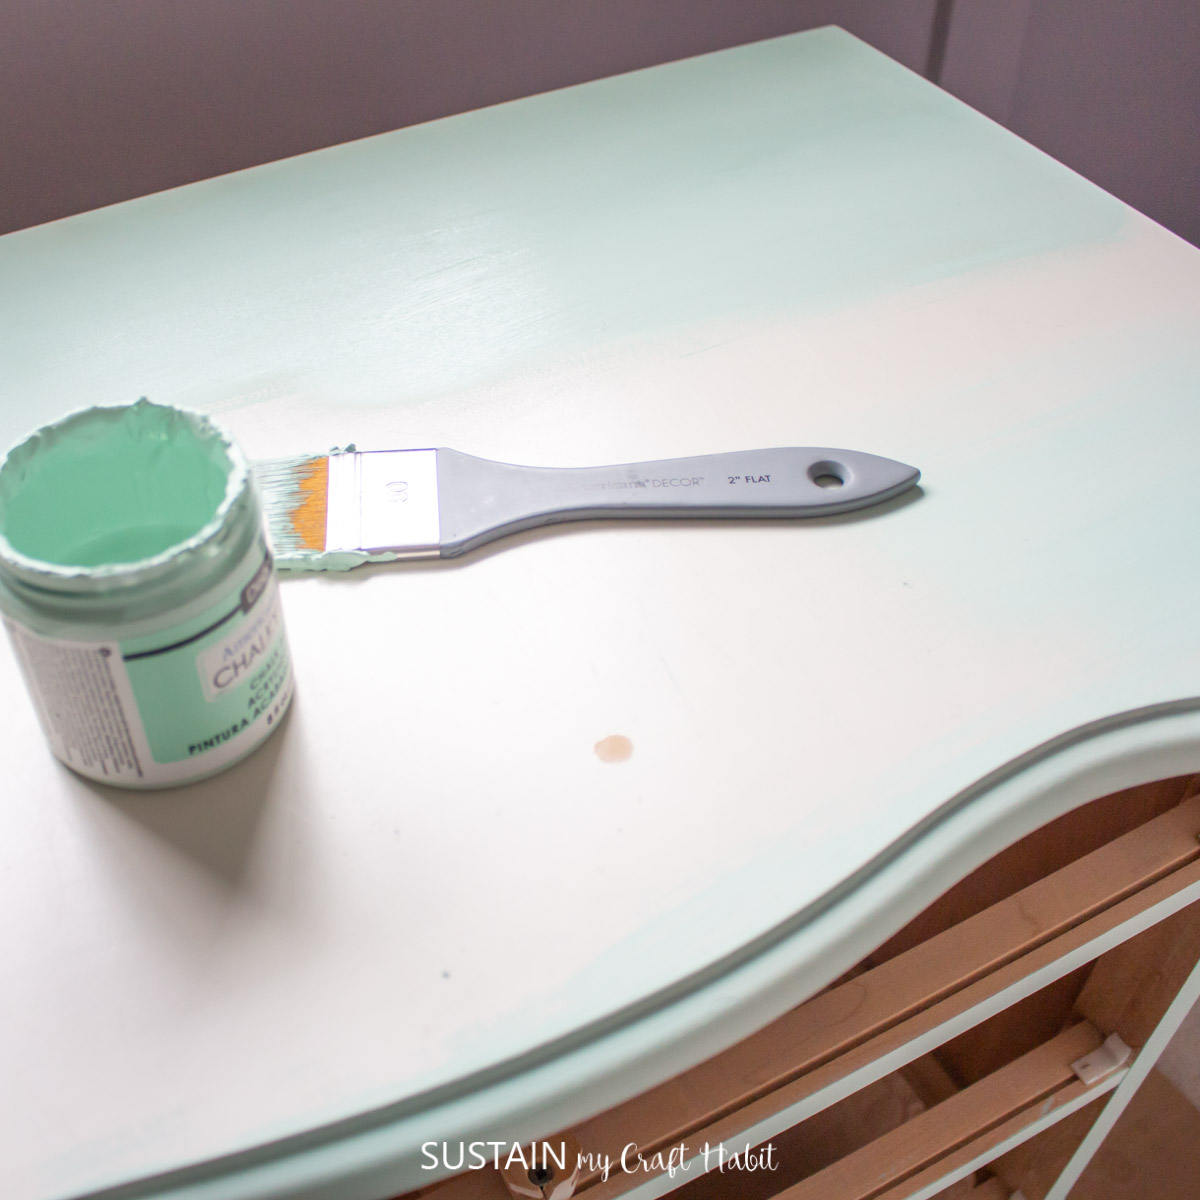
Keep the brush strokes long and even as you apply the first coat of paint. Let the paint dry fully before applying a second coat of paint. If you find the chalky paint is a bit thick, you can always add some water to thin out the paint and help it glide on to the piece as you paint.
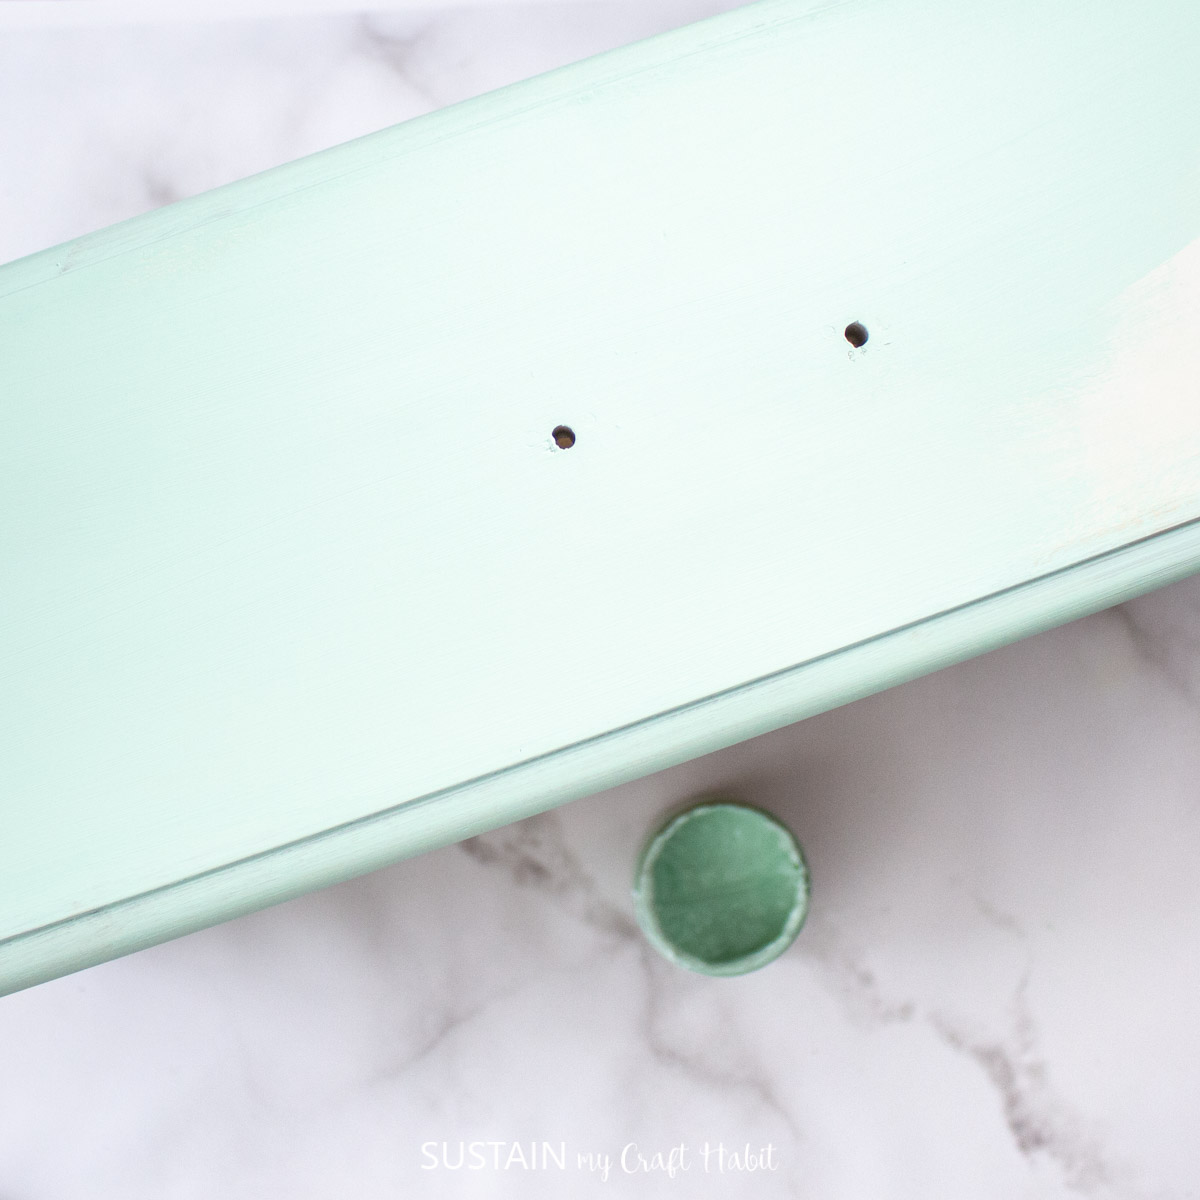
Next, apply paint to each of the drawer fronts.
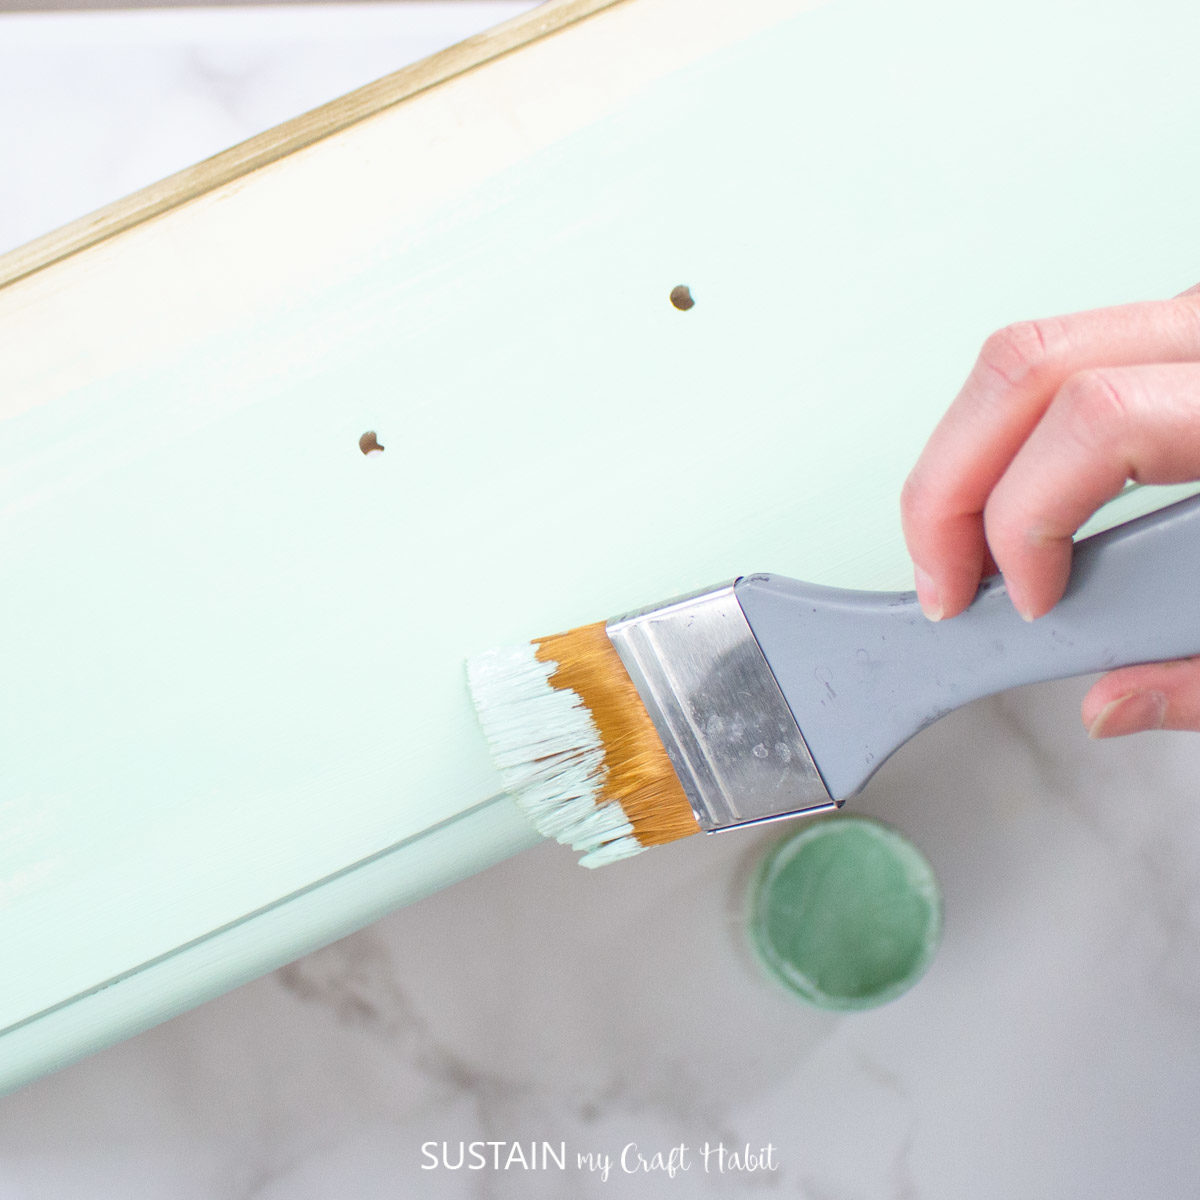
Apply a second coat of paint for additional coverage, watering down the paint a little to keep strokes smooth.
Step 3: Adding the Metallic Gold Accent
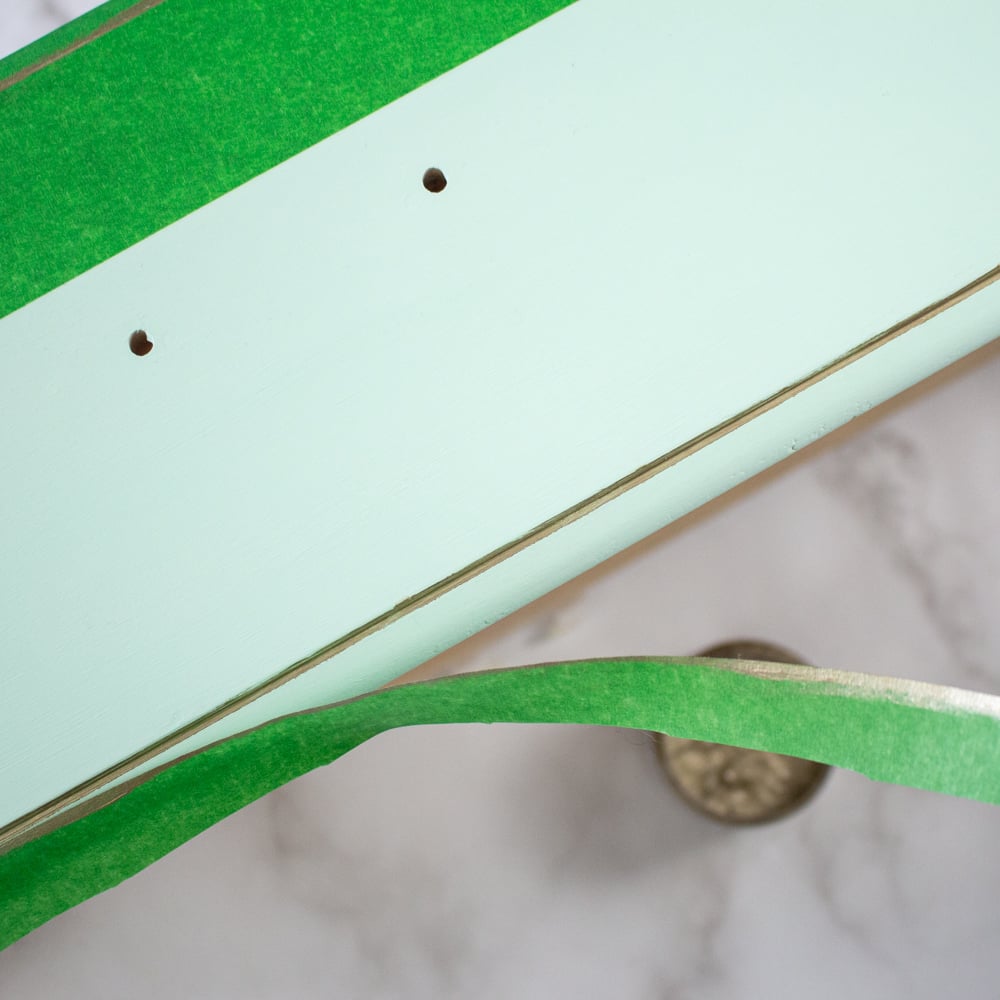
Using painter’s tape, run a long piece of tape along the full length of the drawer above and below the grooves, keeping a 1/4″ spacing between the tape. With a 1/2″ paint brush, apply Champagne Gold Metallic paint to the space between the painter’s tape.
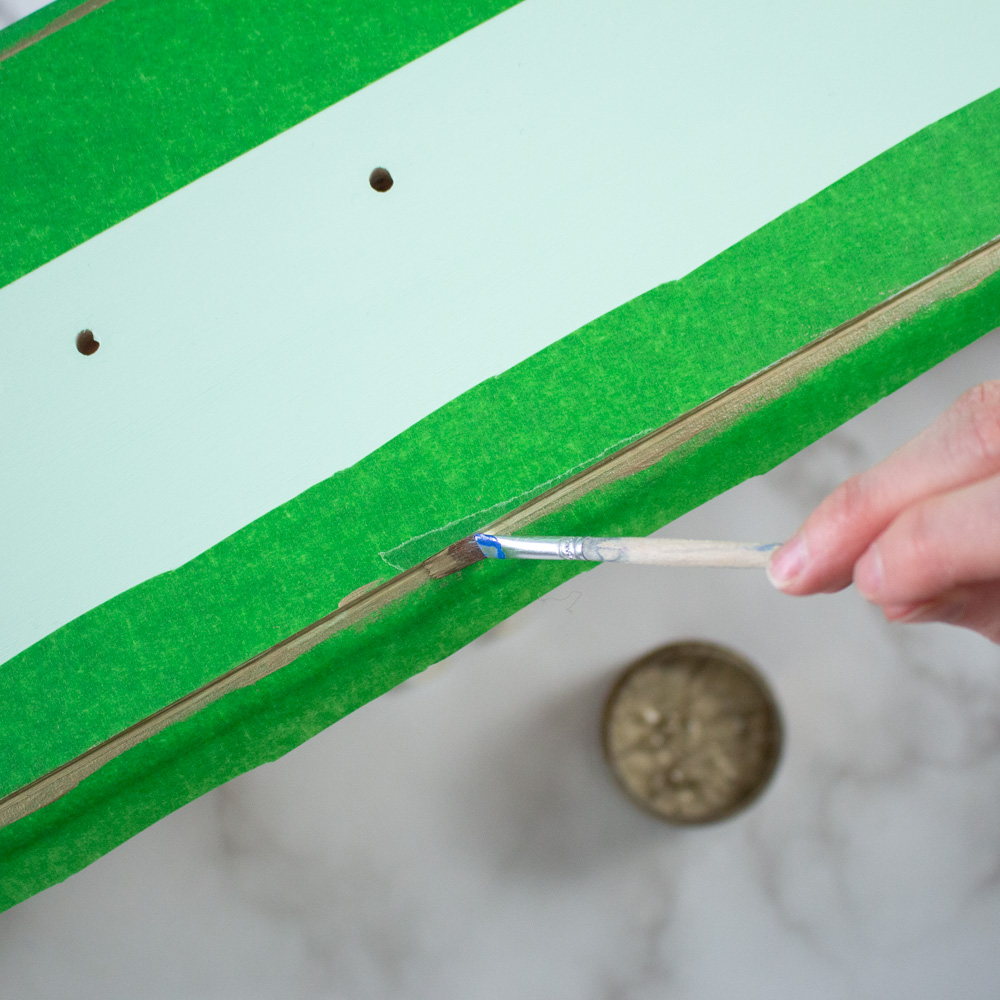
Peel off the painter’s tape exposing just the gold paint along the grooves. Touch up any areas that are not smooth or are uneven with a fine tip paintbrush if desired.
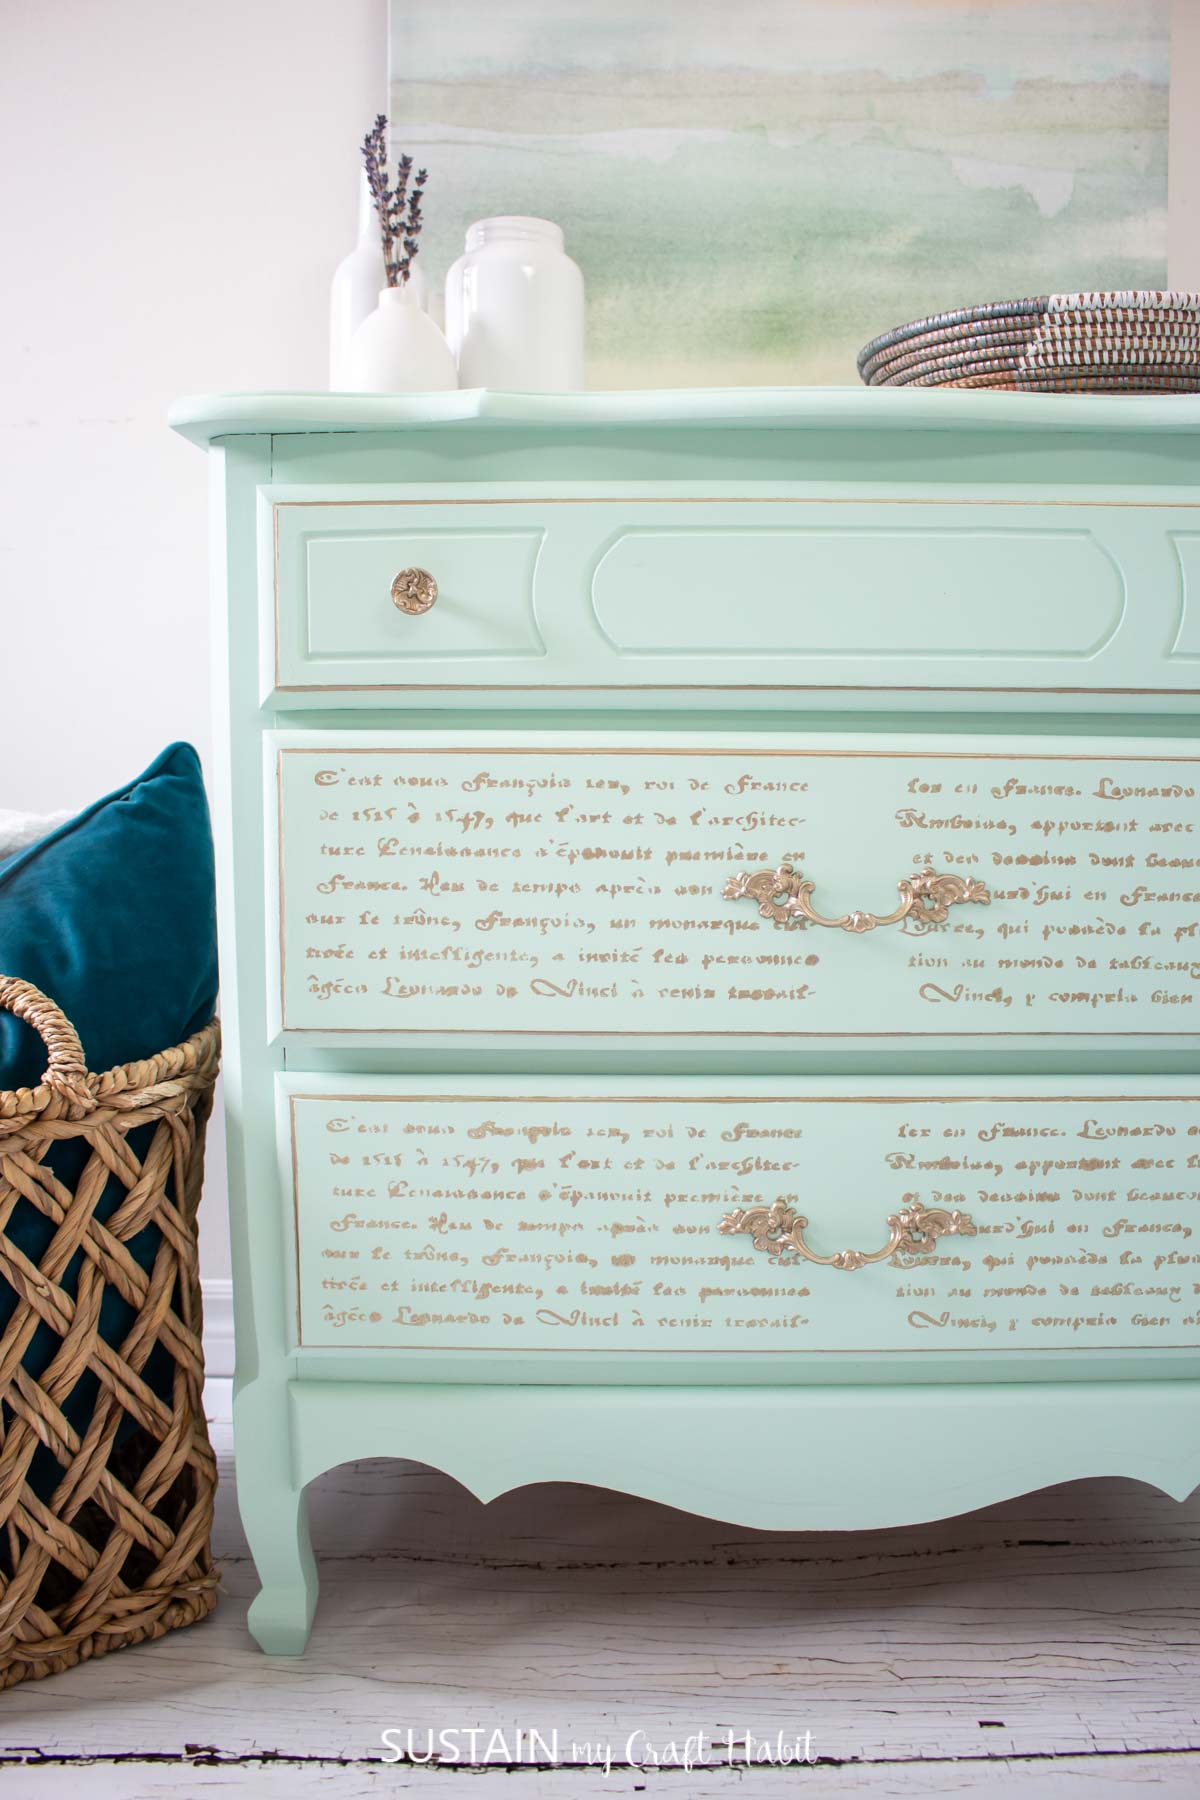
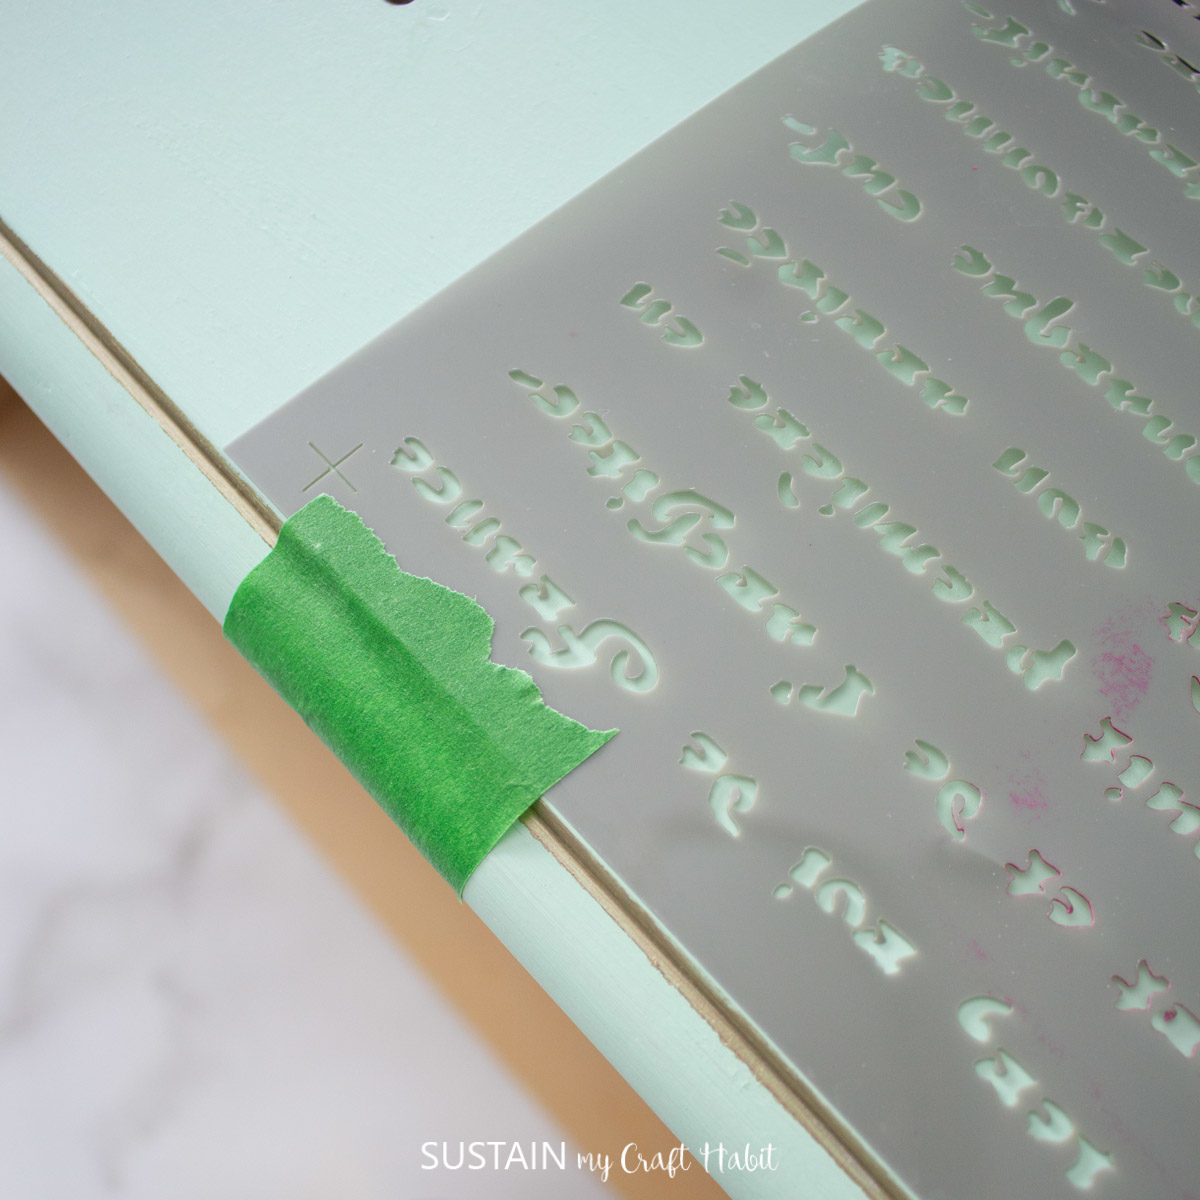
Position the stencil on top of the drawer and tape it in place. Using a pouncer, dip it in to the Metallic Champagne Gold paint and gently dab over top of the stencil to transfer the pattern.
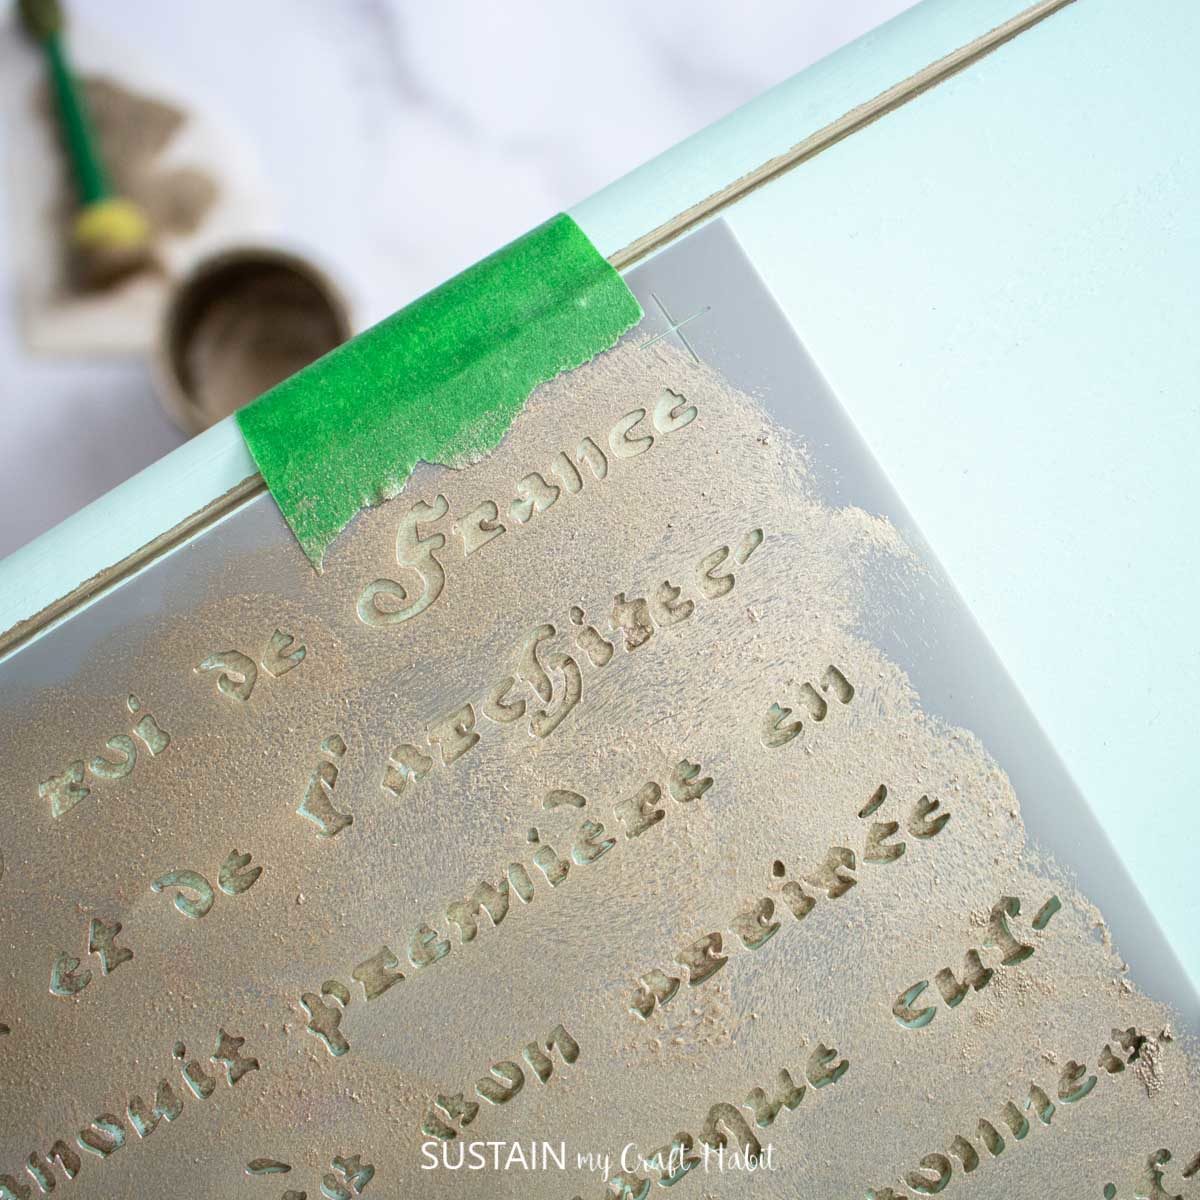
Carefully remove the stencil and position the bottom half of the stencil on top of the right side of the drawer front. Apply the pattern in Champagne Gold in the same manner and then let the paint dry fully.

Step 4: Sealing the Dresser
Apply a coat of clear wax to all painted surfaces to protect and seal the Chalky Finish paint and brush off the excess clear wax with a clean rag. Leave it to dry fully.
Screw the hardware back on to the drawer fronts and place the drawers back into the dresser.
Style and enjoy! Have you ever attempted a furnitire makeover or have pieces you’d want to paint over? Let us know in the comments below!
This project originally appeared in DecoArt’s project gallery.
More Painted Dresser Ideas and Other Furniture Makeovers
We love painting furniture! If you’d like to see future furniture upcycling ideas, be sure to subscribe to stay in touch! And here are some additional ideas to explore:
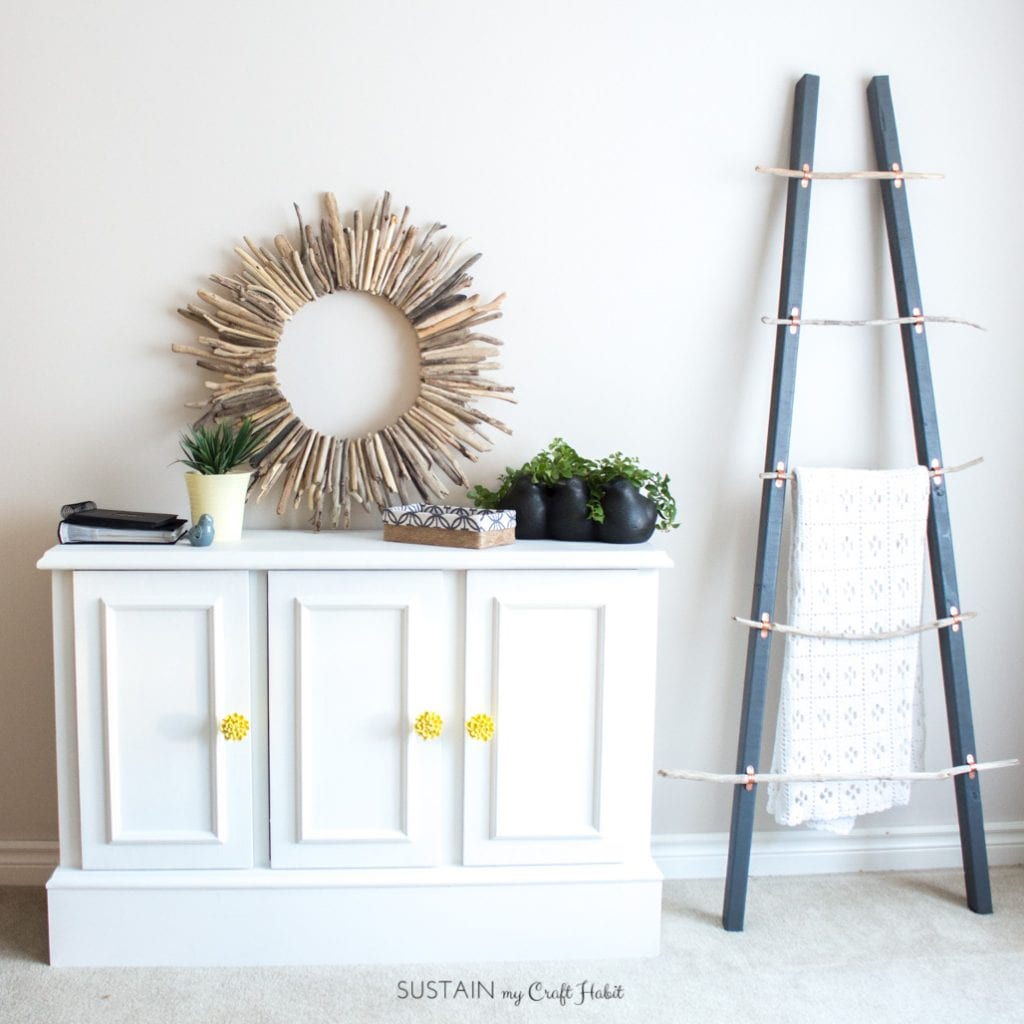
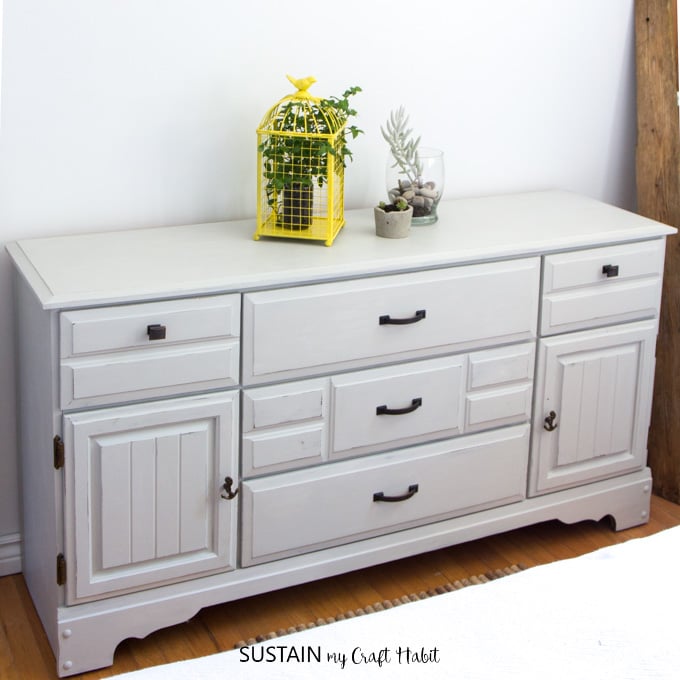
- Modern buffet furniture makeover
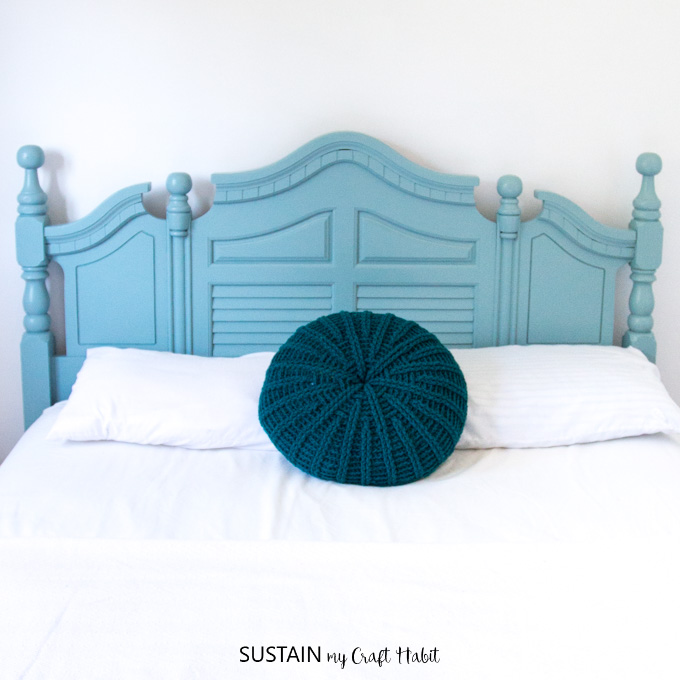
- Beachy painted headboard
- Painting a dresser without sanding
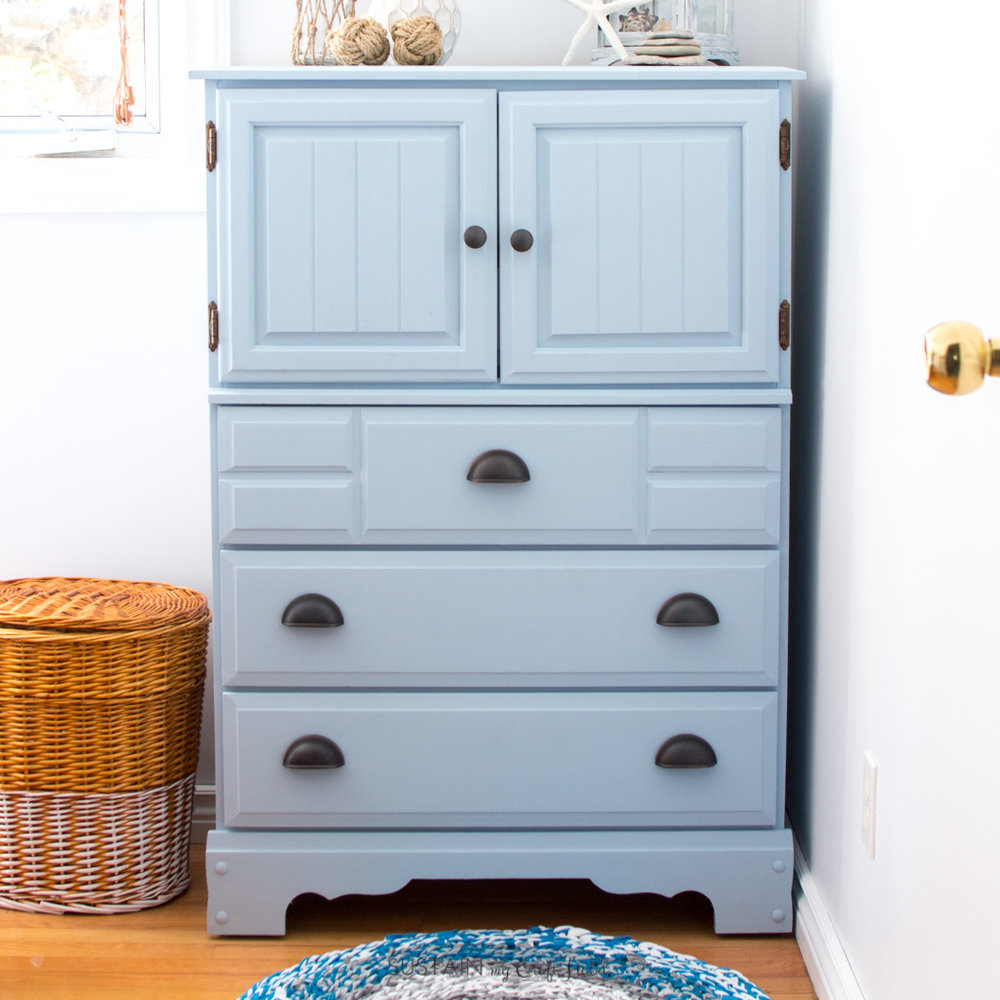
- Painted wood dresser
- Refinished table
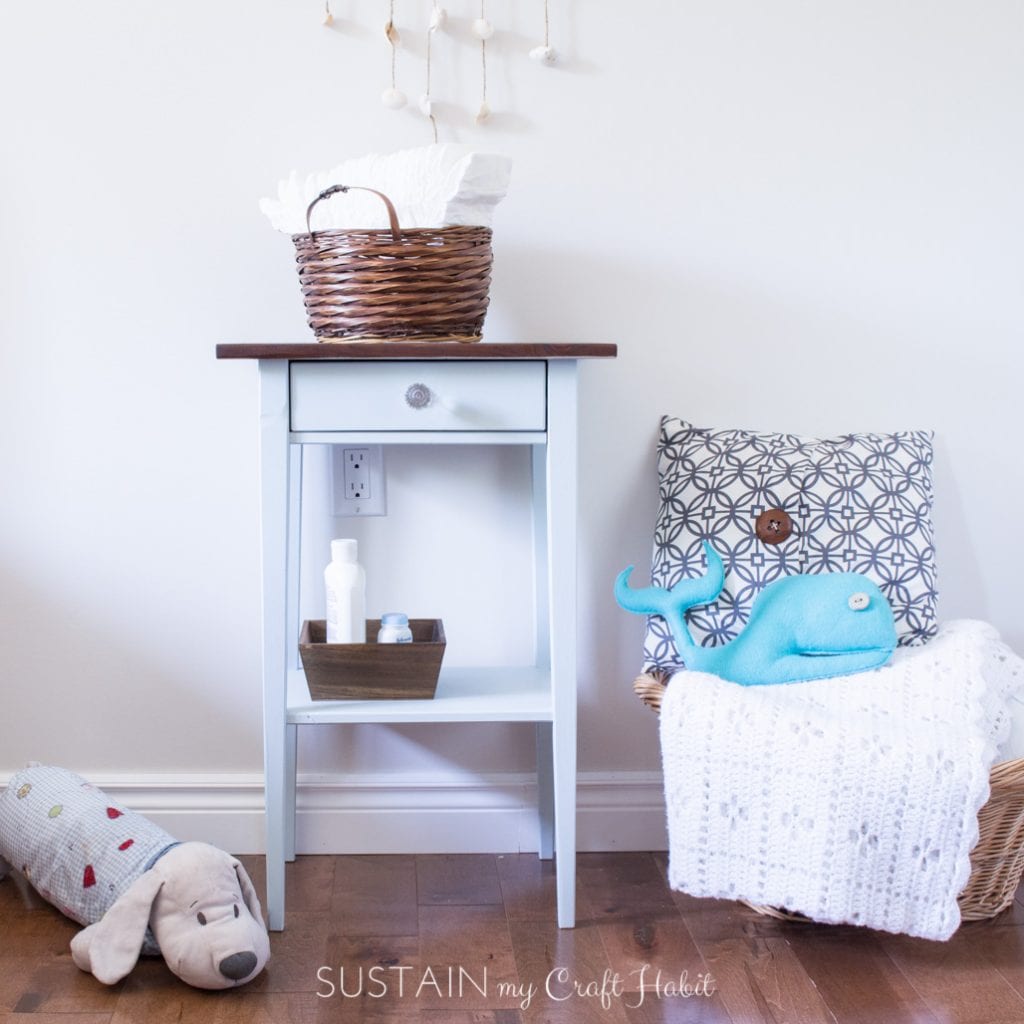
- Nightstand makeover

Buffet Makeover 
Beachy Painted Headboard 
Dresser Makeover Painted Wood Dresser Refinished Table Nightstand Makeover

Like it? Pin it for later!
Modern French Country Furniture Makeover
Materials
- Chalky Finish in Refreshing
- Americana Decor Metallics in Champagne Gold
- Americana Decor Creme Wax in Clear
- Paint brush ½” to 1” wide angled
- Paint brush 2” flat
- Lint free rag
Instructions
- Prepare dresser for paint by wiping the surfaces to remove dust and any built up grease.
- Remove the hardware and on a protected surface, paint the hardware in Champagne Gold and set aside to dry.
- Remove drawers from the dresser and begin painting the base of the dresser in Chalky Finish Refreshing using a flat 2″ paintbrush.
- Next, apply paint to each of the drawer fronts.
- Apply a coat of clear wax to all painted surfaces to protect and seal the Chalky Finish paint and brush off the excess clear wax with a clean rag.
- Screw the hardware back on to the drawer fronts and place the drawers back into the dresser.
- Style and enjoy.


My childhood bedroom set was French Provincial so similar to this! Now I wish I still had it and kept it for our guest room too because this transformation looks amazing. The French script is so apropos and green is my favourite colour. Well done and a pretty transformation!
What a beautiful transformation! I adore the addition of the French script stencil too, bravo! Pinned to my ‘Just add Paint’ board. Happy to be hopping with you today.:)
So pretty! I love the soft aqua green with the gold accents. Chalk paint on furniture is magical stuff, I love how easy it is to work with. Your transformed dresser is gorgeous!
Love how this turned out. You are so inspiring.
What a fabulous transformation! I love the stenciled script. It takes the dresser’s appearance to a whole new chic level! Great idea to add it!
Great makeover on this dresser, ladies. It should now be a focal point in your bedroom. I’m an avid furniture painter and stenciled, so I really appreciate the work that went into the updated look. Congratulations on a job well done.