
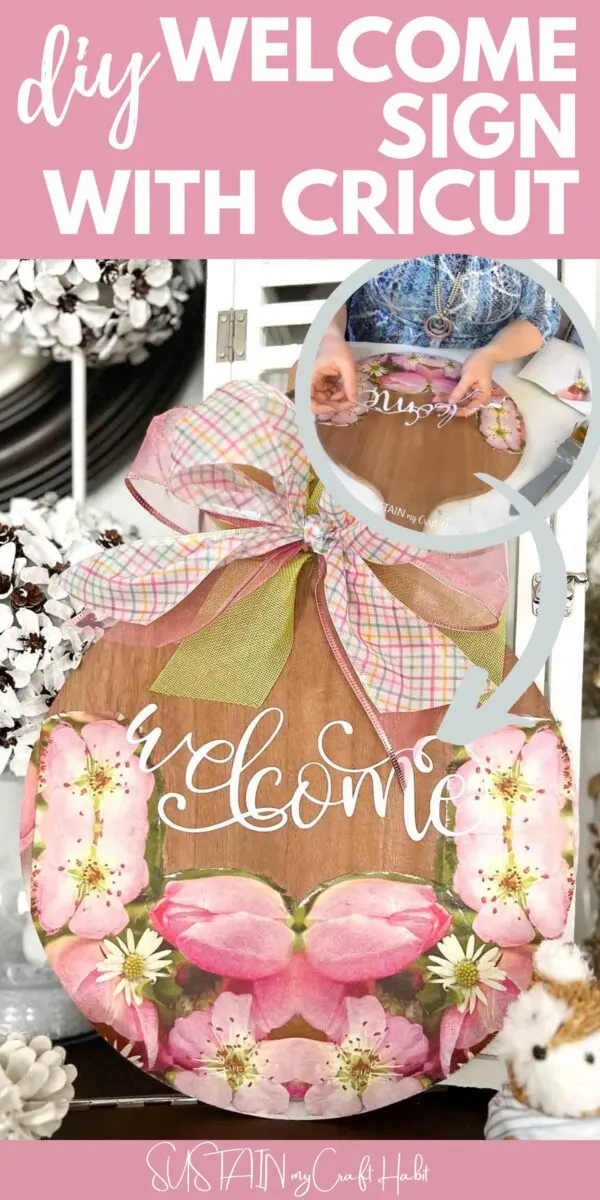
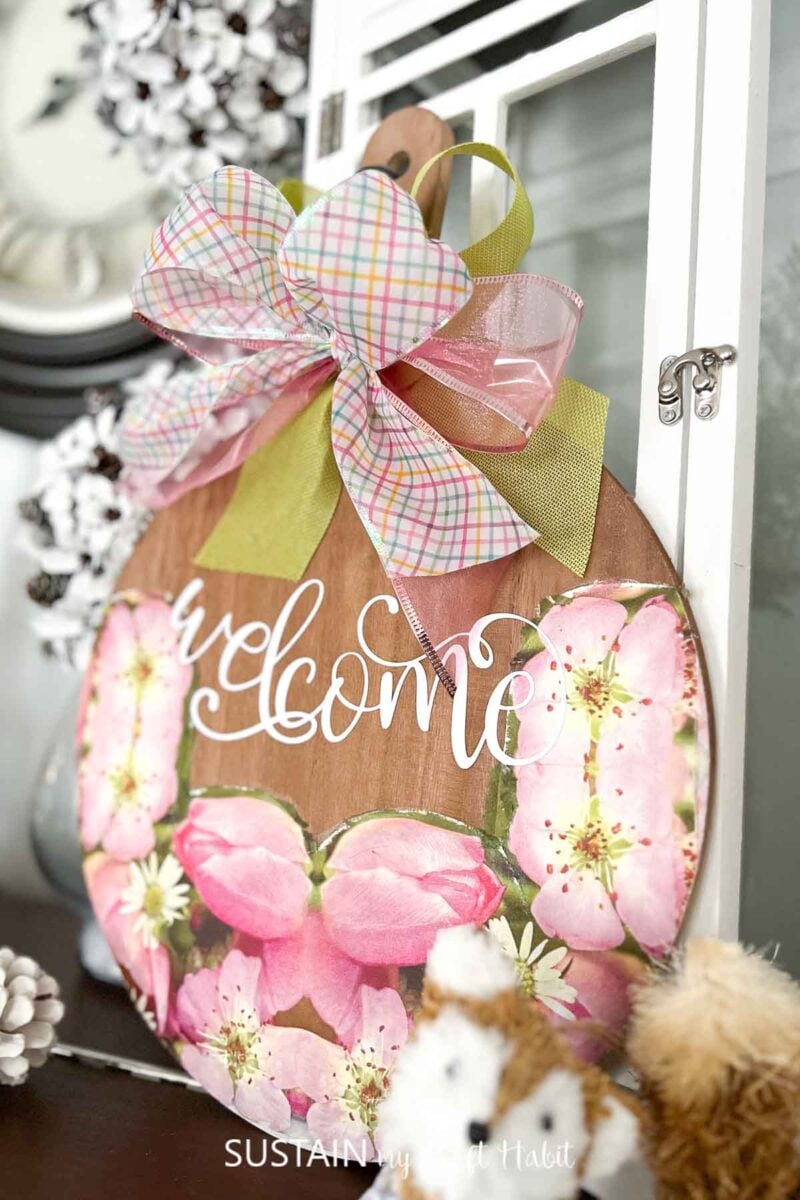
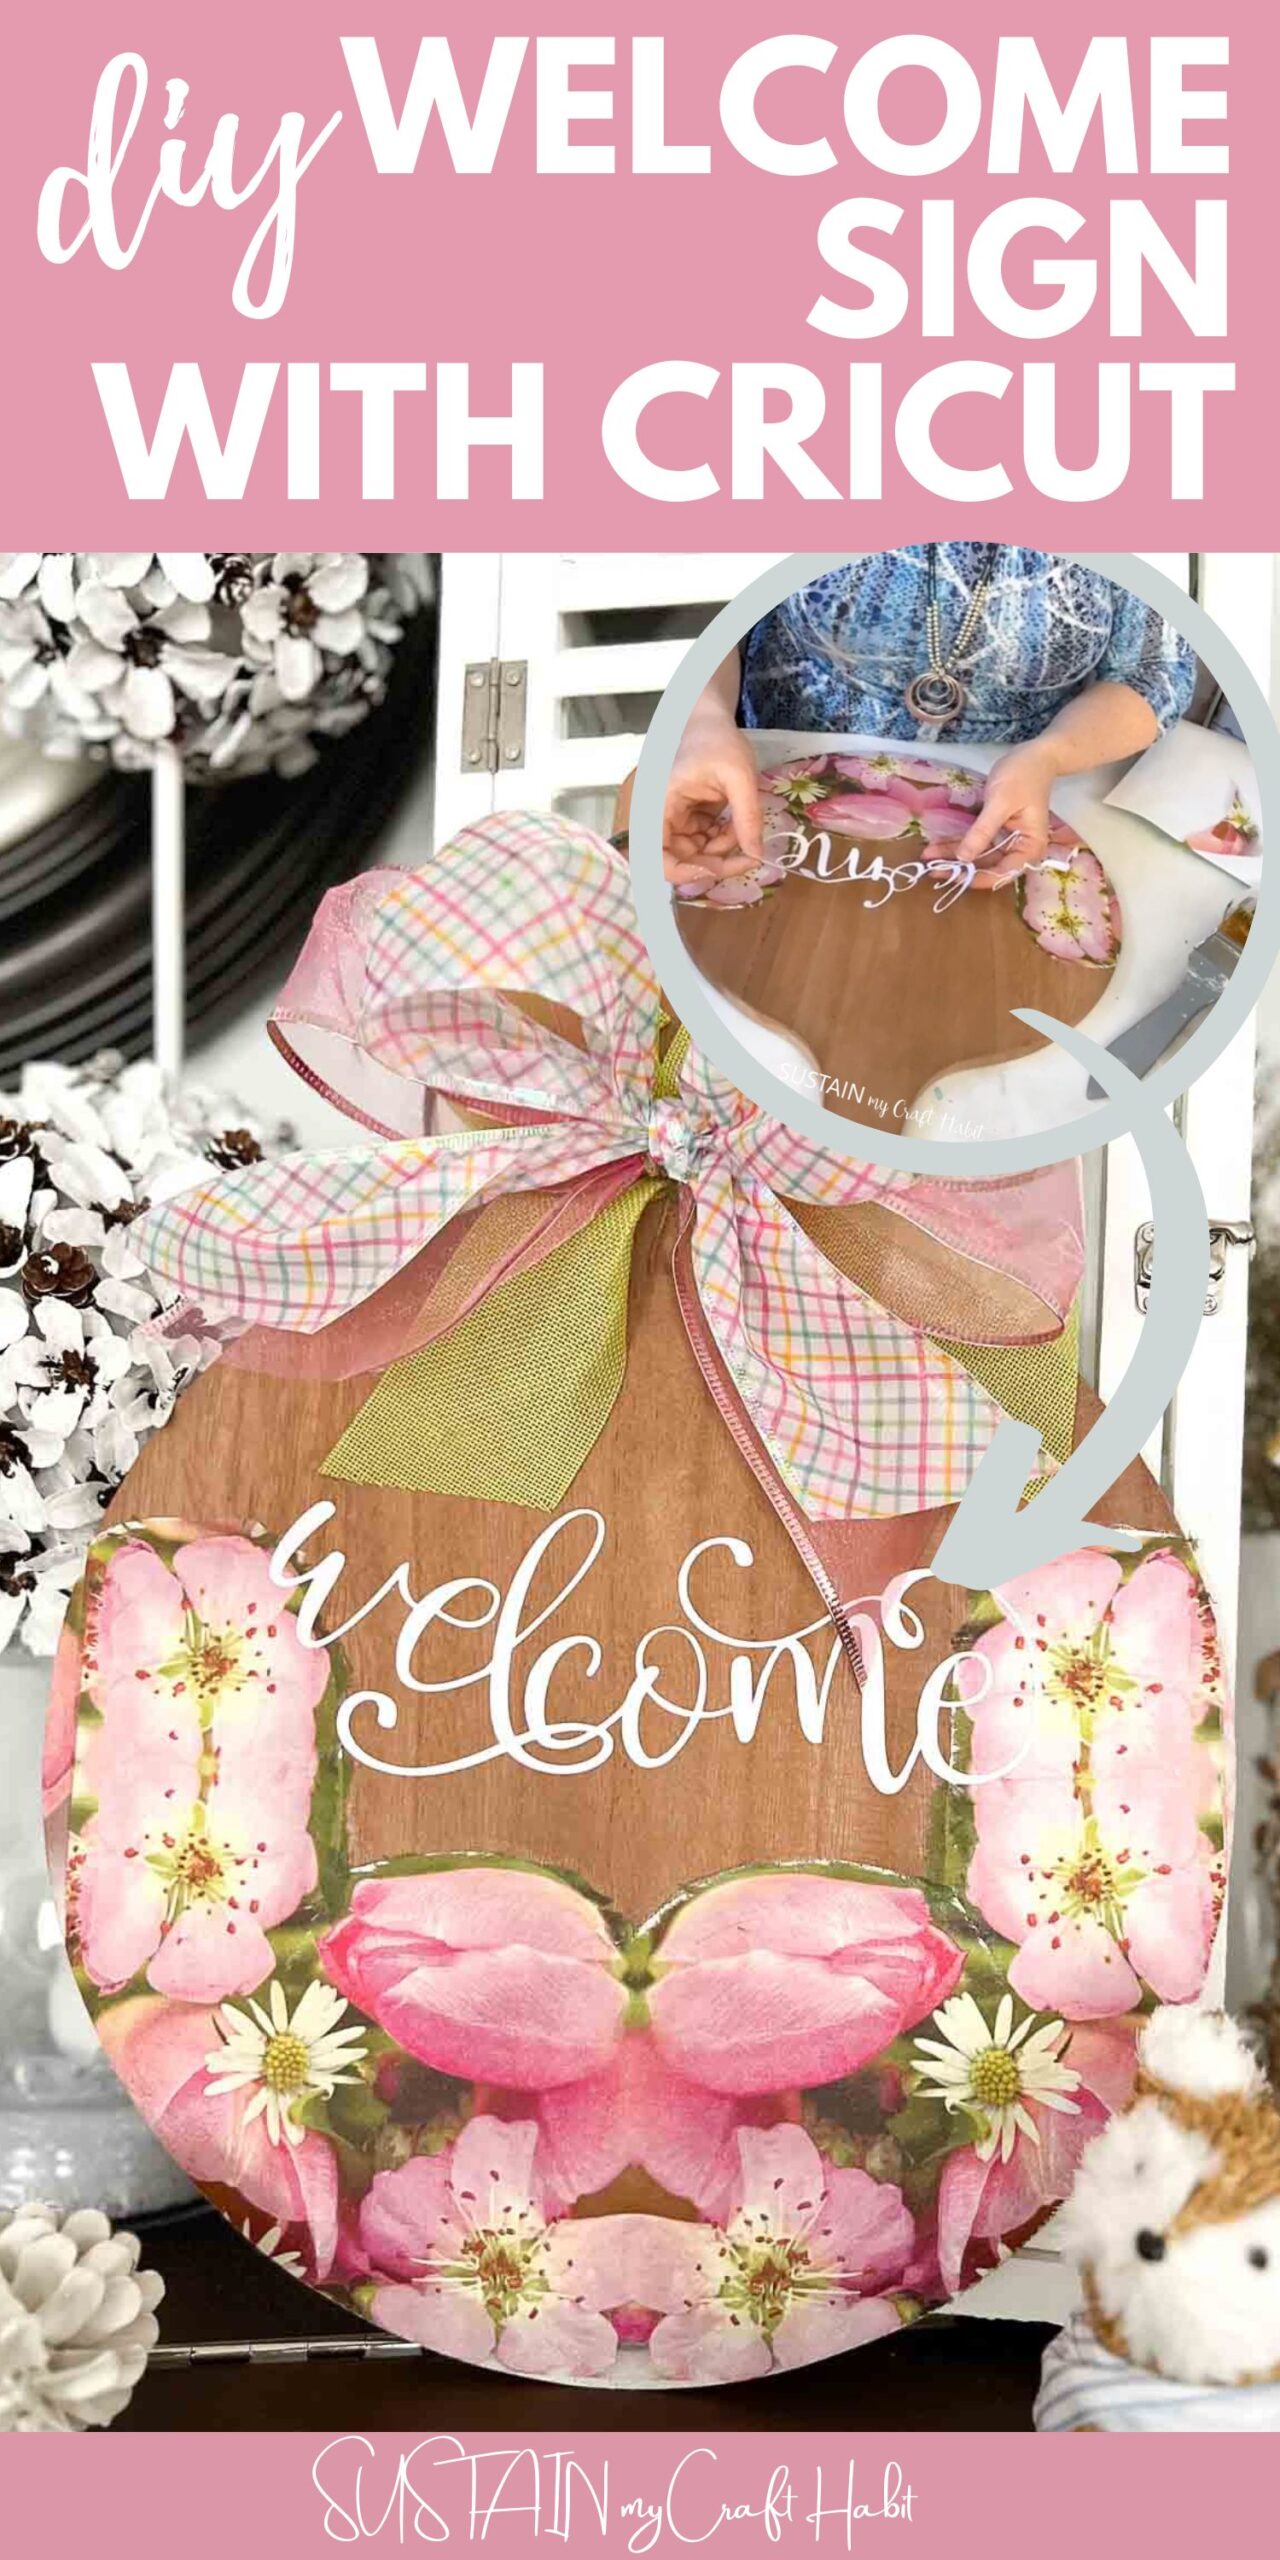
If you’re thinking about making a lovely welcome sign for your home or someone elses, we’ll show you how we made this one with a wood cutting board, floral paper napkins, Mod Podge and vinyl.

Cricut Crafts: Welcome Sign with Paper Napkins
We love decoupage crafts, especially when they are made using our Cricut cutting machine. There are so many beautiful home decor pieces you can make. The best thing about this project is you can use any style of paper napkins that you want.
Make it a seasonal welcome sign using napkins with fall or holiday flowers, or choose napkins with a design that is suitable for everyday use. Crafting with a wood cutting board instead of a plain wood sign really takes this craft to the next level. And plain wooden cutting boards are easy to find at any local dollar store.

Get updates on the latest posts and more from Sustain My Craft Habit straight to your inbox by joining our weekly newsletter. We promise to send you only the good stuff!
Materials Needed
Disclosure: This post contains affiliate links for your shopping convenience. Should you choose to purchase through them, we will make a small commission at no extra cost to you. You can read our full disclosure policy here.
- Wooden cutting board (or check out your local thrift store and dollar store to keep this craft budget friendly)
- Cricut Maker
- White permanent vinyl
- Cricut weeder
- Decorative paper napkins
- Paint brushes
- Brown paint
- White chalky paint
- Decoupage or Mod Podge
- Ribbon
- Mini heat press


How to Make a Pretty Welcome Sign Craft with Cricut
I shared the tutorial for how to make this pretty welcome sign on a Facebook live which you can catch here or if you prefer the photo tutorial, continue reading below.
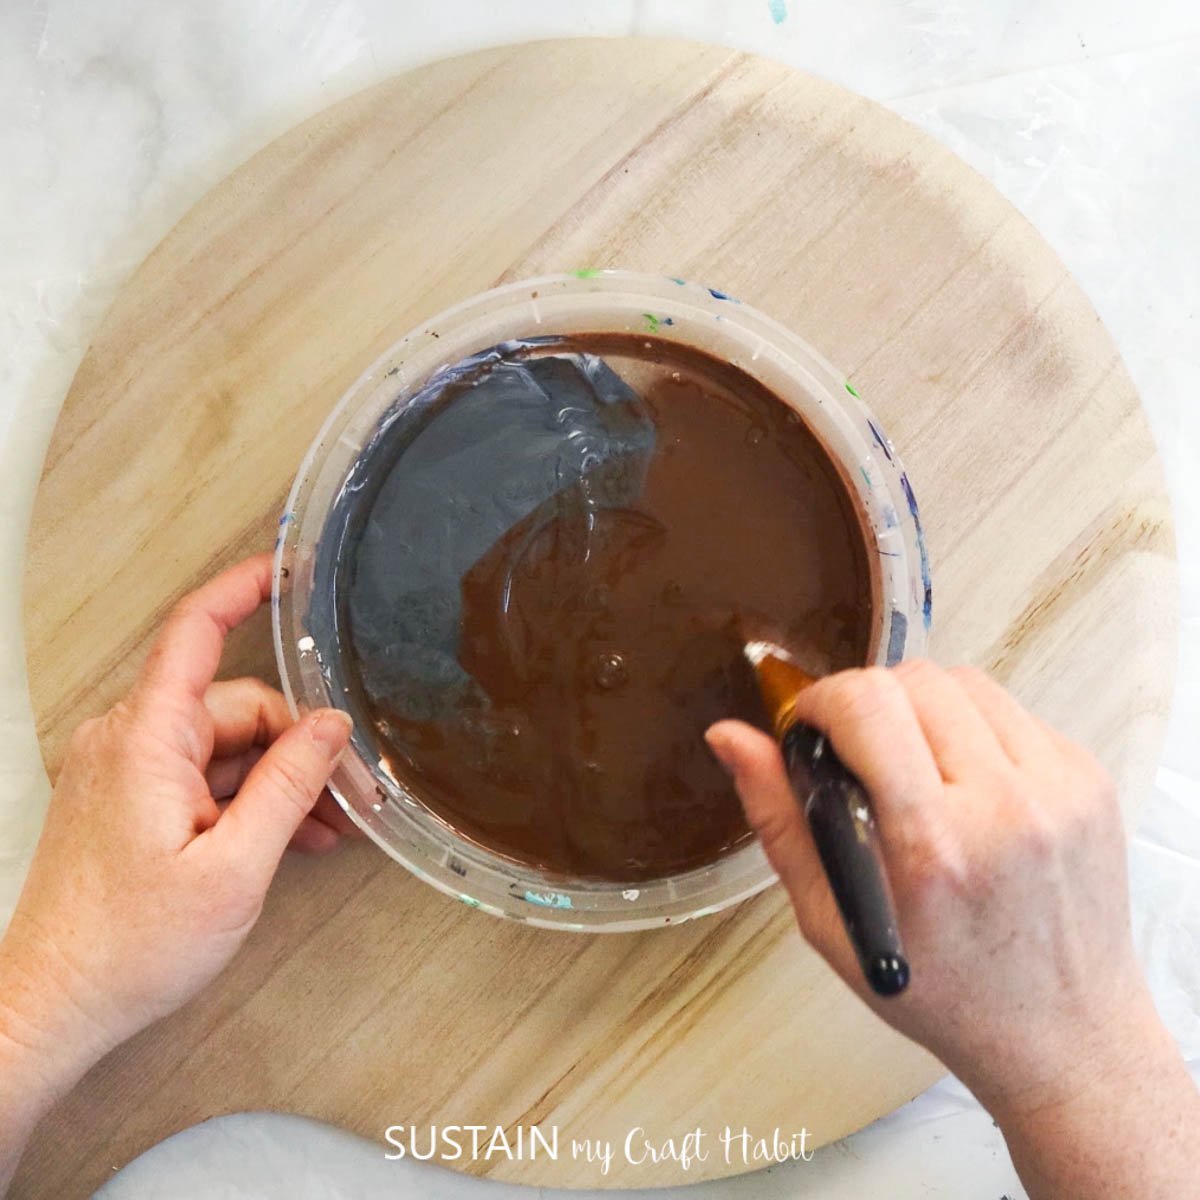
Start by mixing equal parts water and brown paint to create a “stain”. Paint the wood cutting board with the stain and let dry.


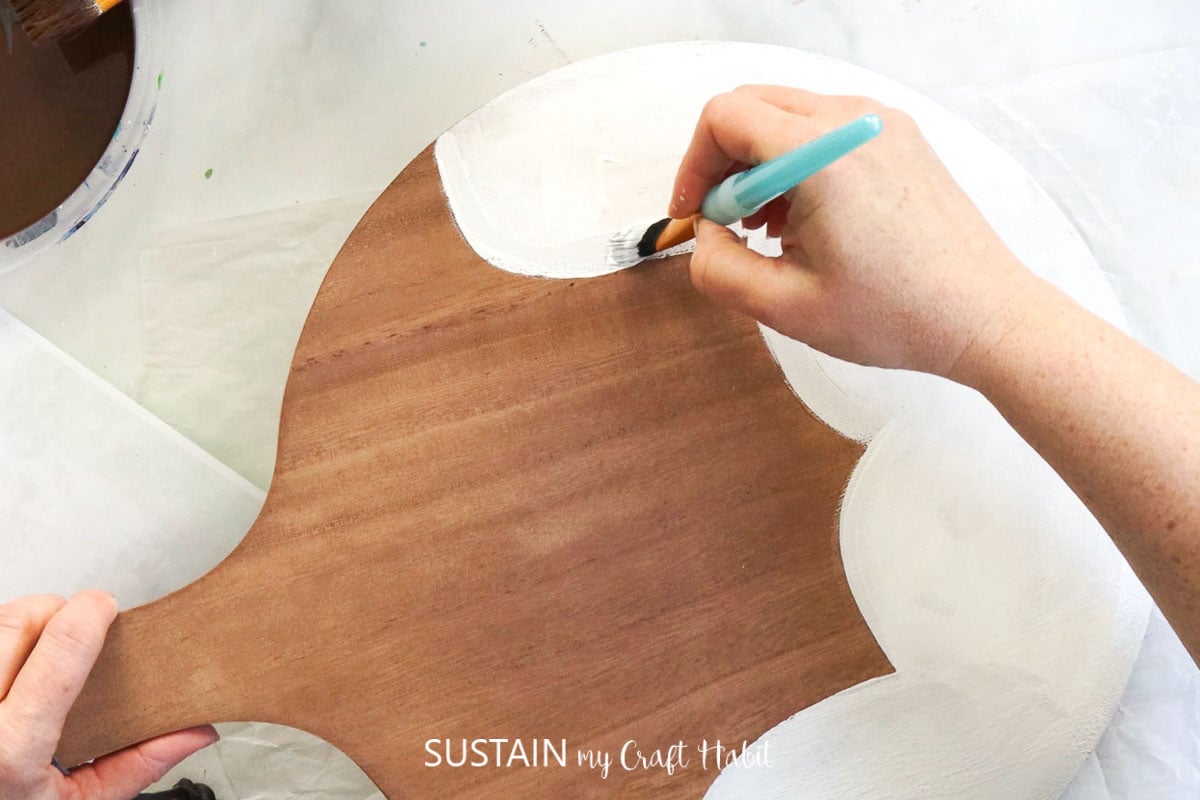
Paint the sections where your napkin will go with a white chalky paint.

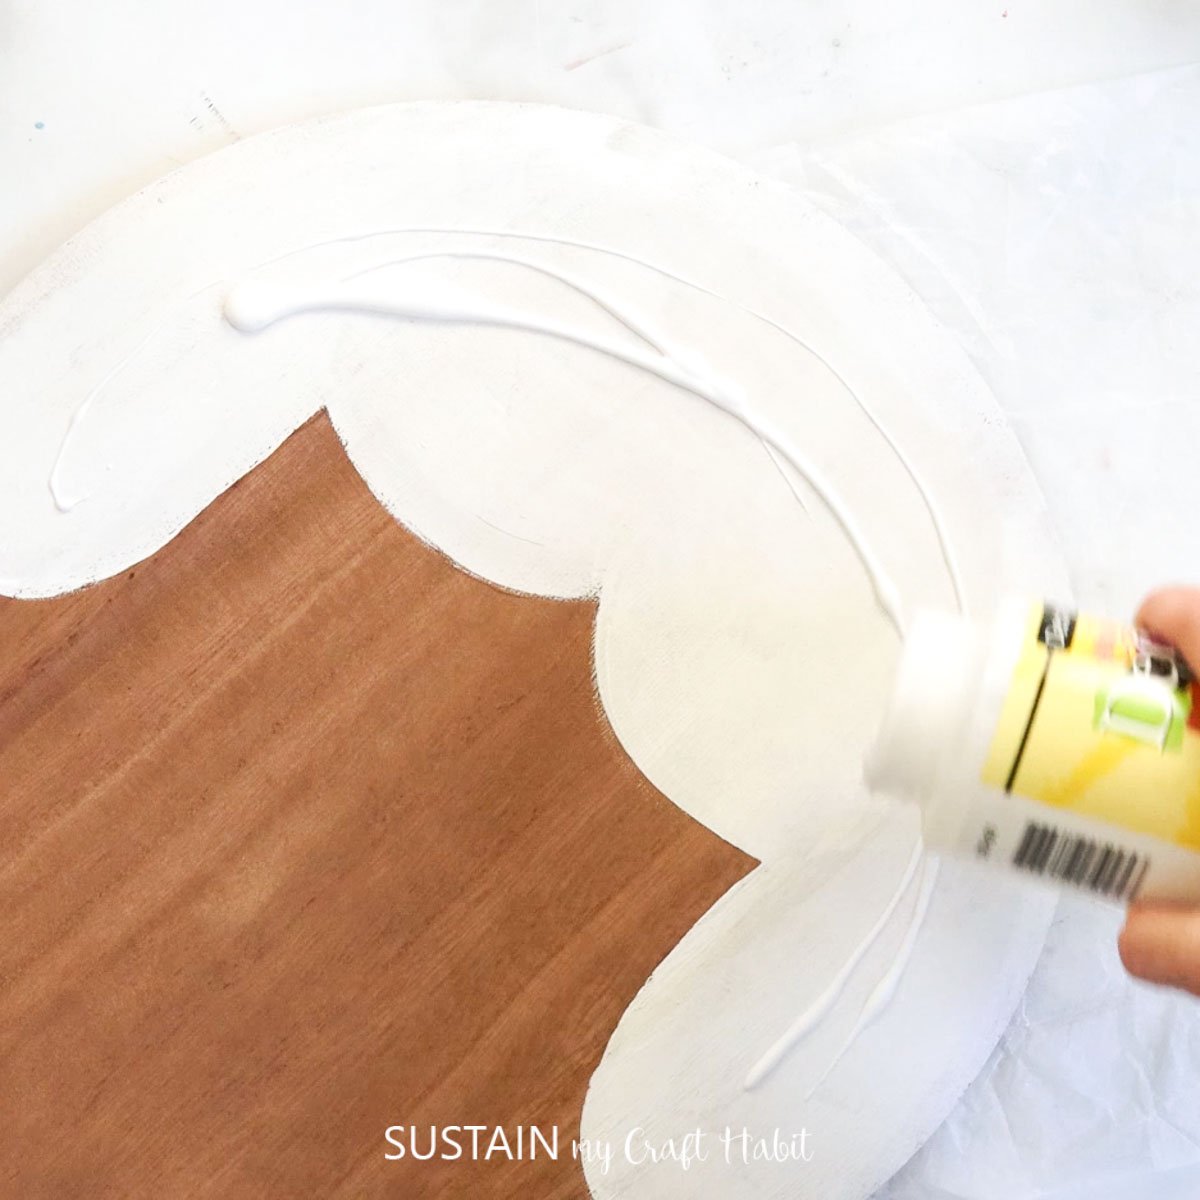
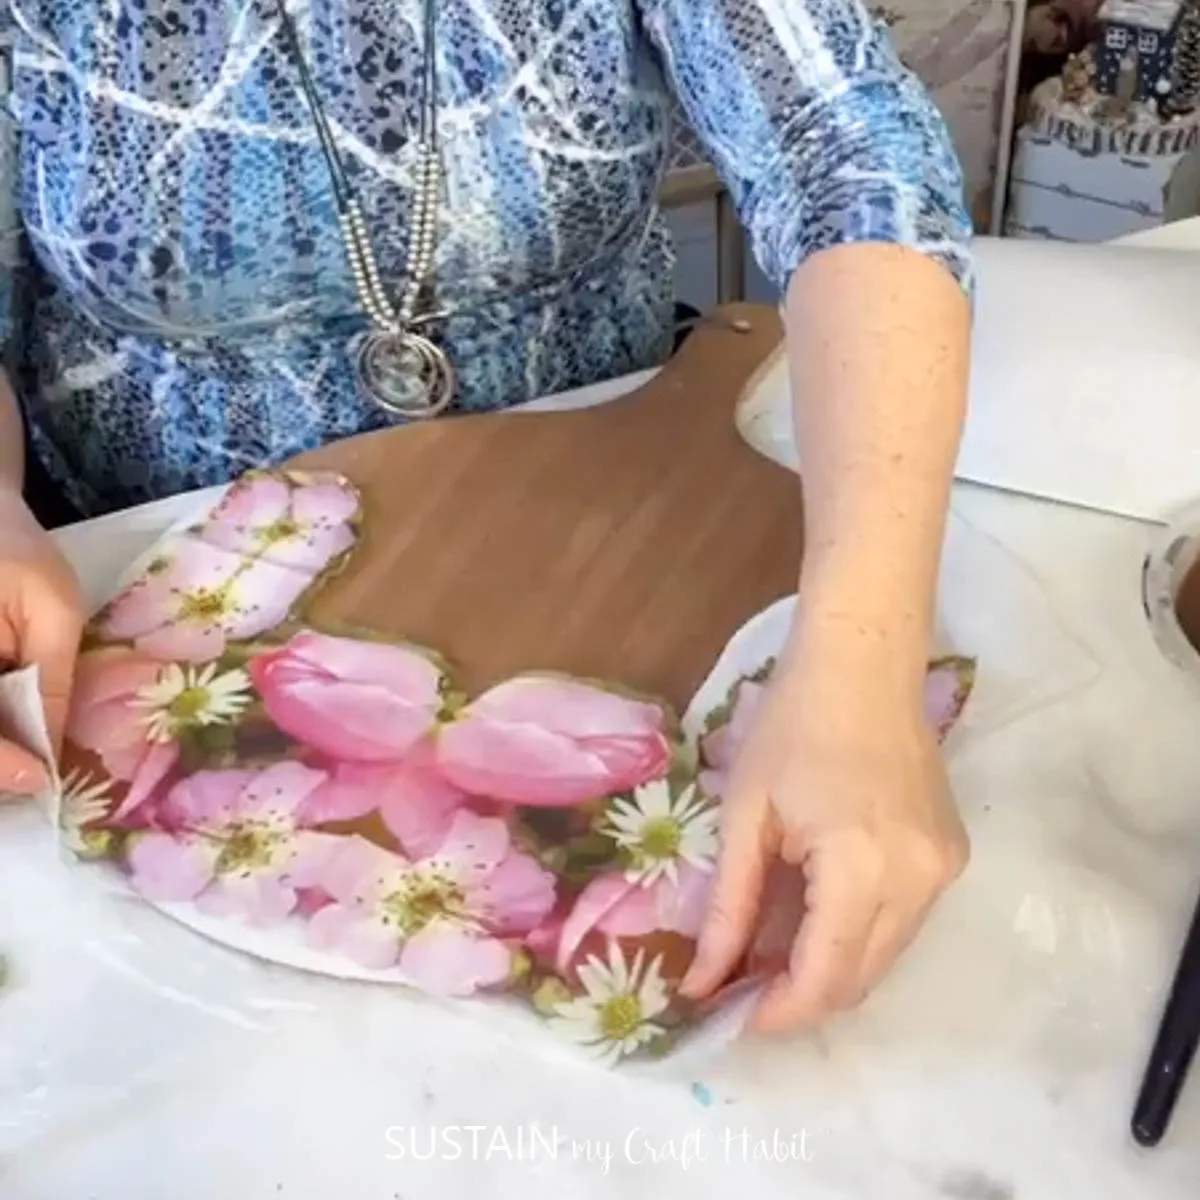
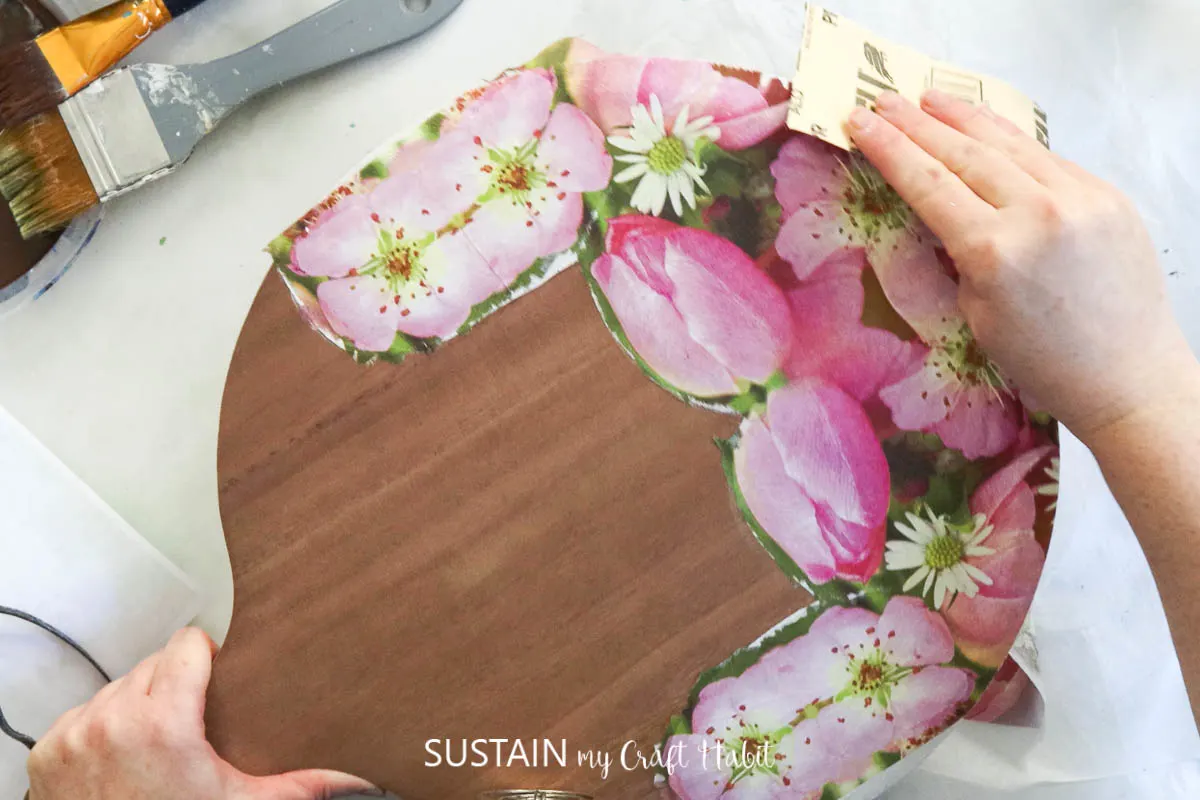
Trim a napkin to fit the lower portion of the cutting board. Apply a thin layer of Decoupage or Mod Podge and press napkin in place.


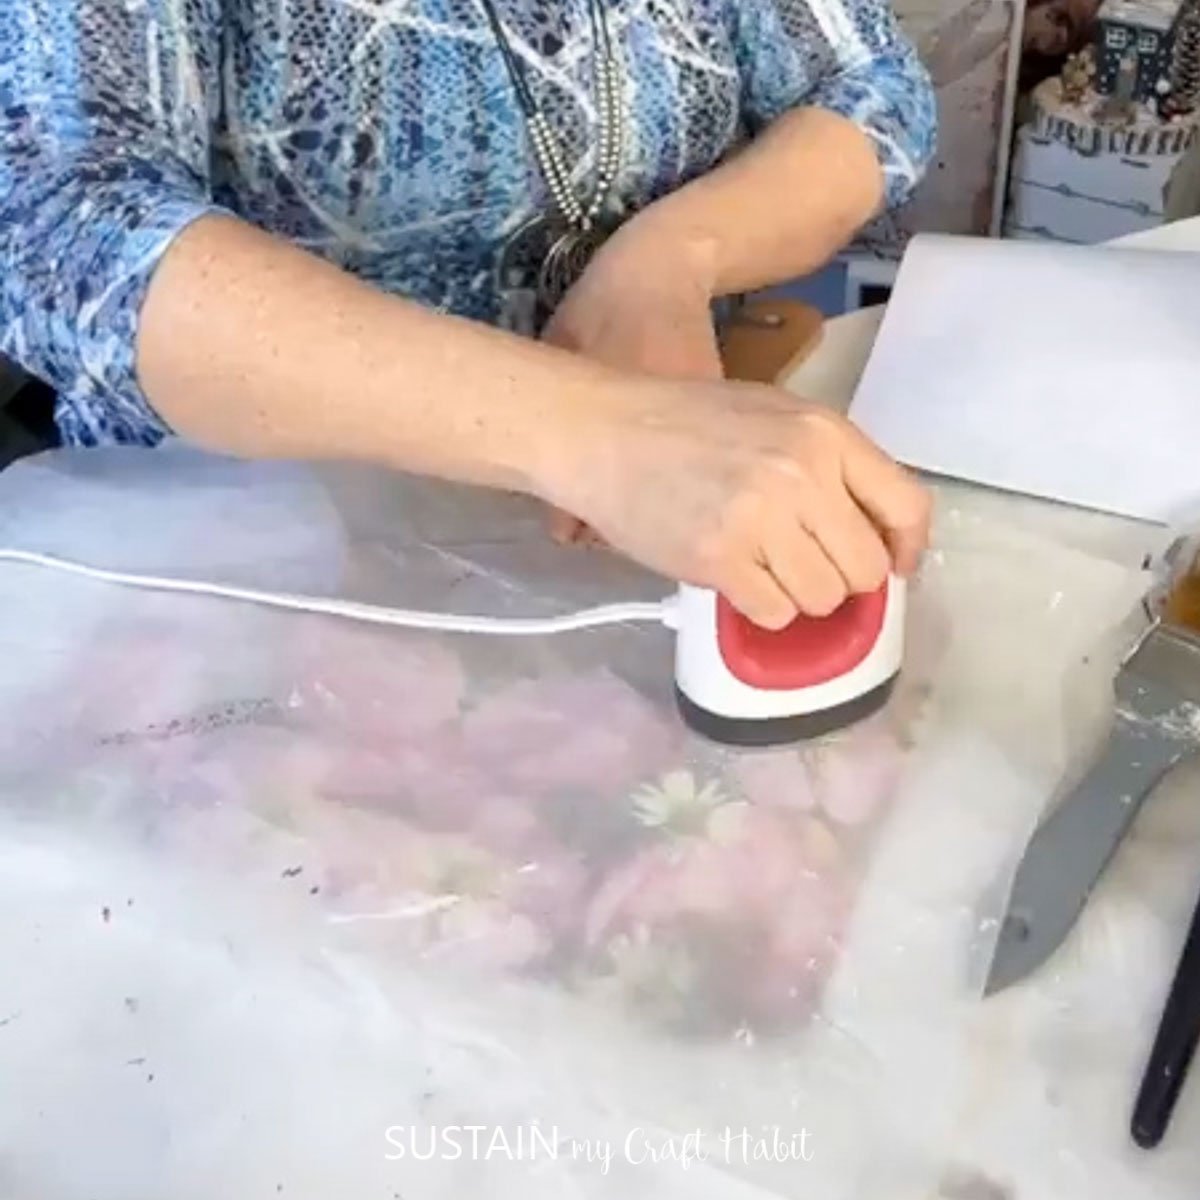
You can also place a piece of parchment paper over the glued napkin and take your heated iron and gently rub back and forth.


Use sand paper to remove any excess napkins from the edges.

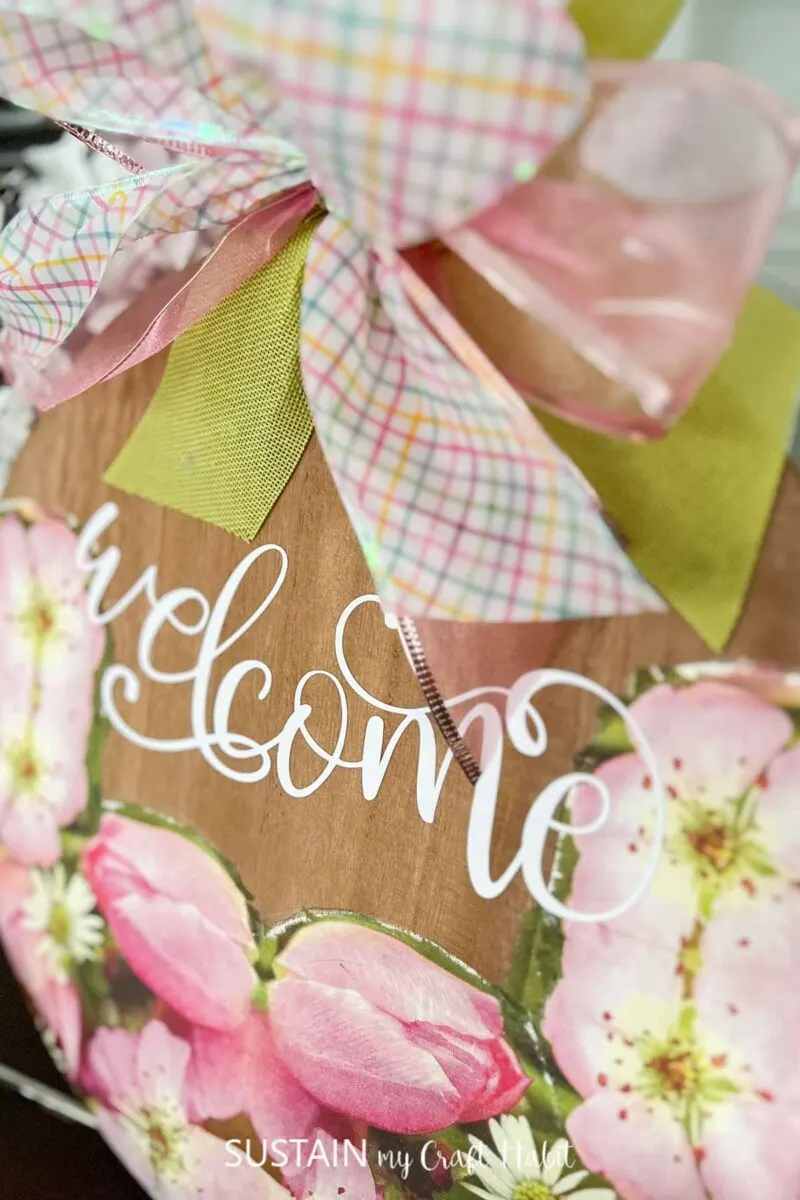
Find the Find the “welcome” you want to cut using Cricut’s Design Space which is full of free templates. Using your Cricut machine, cut out the phrase in the color of your choice.

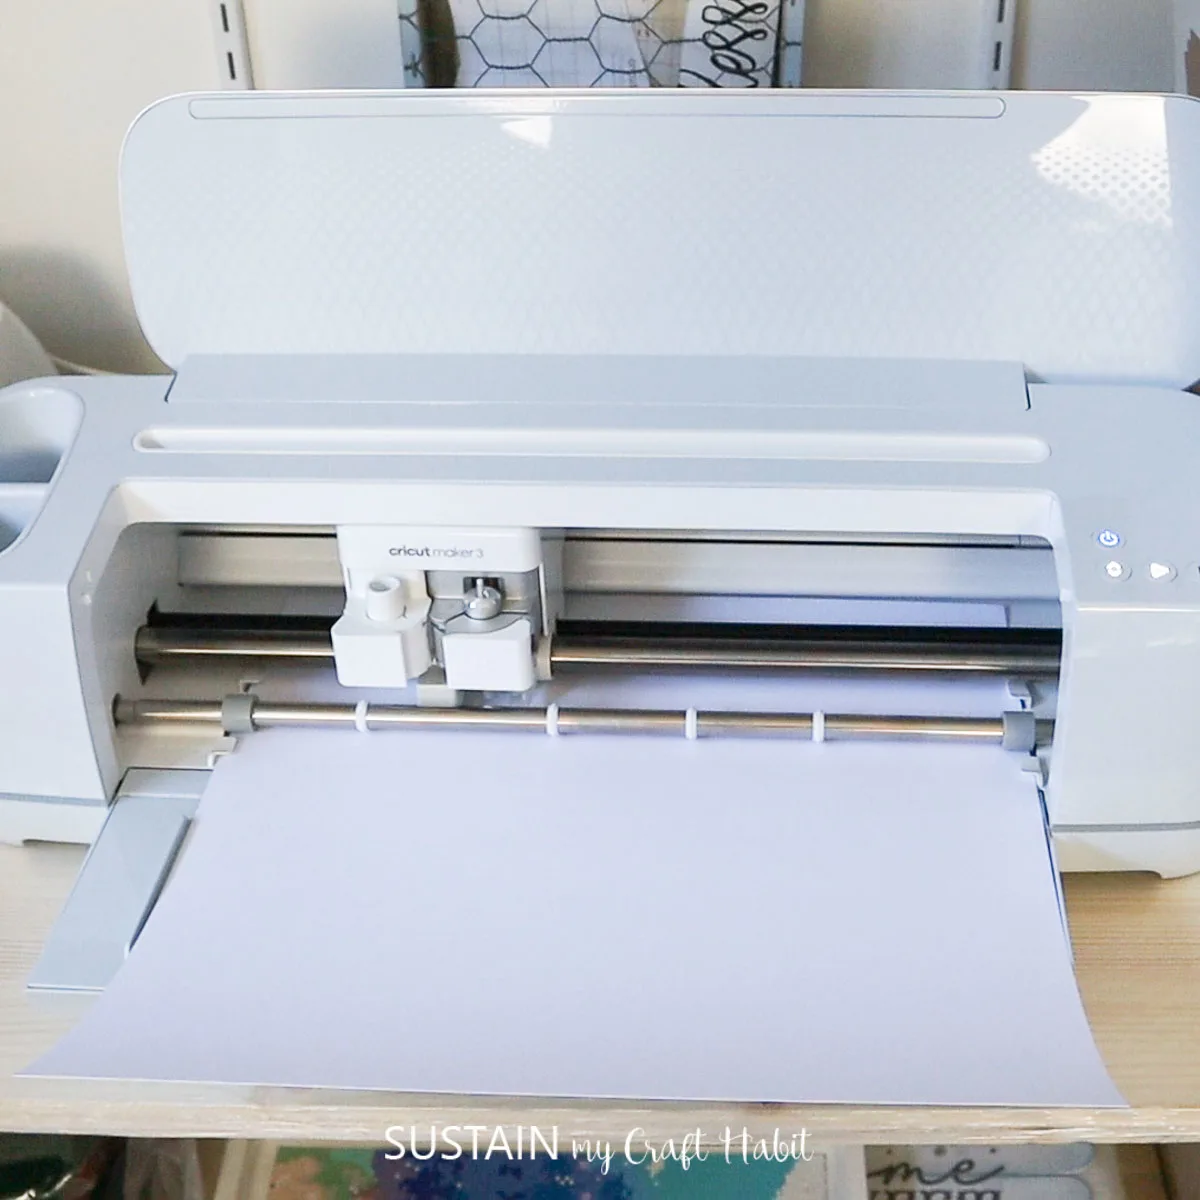
Peel away the excess vinyl using a weeder, leaving just the phrase.

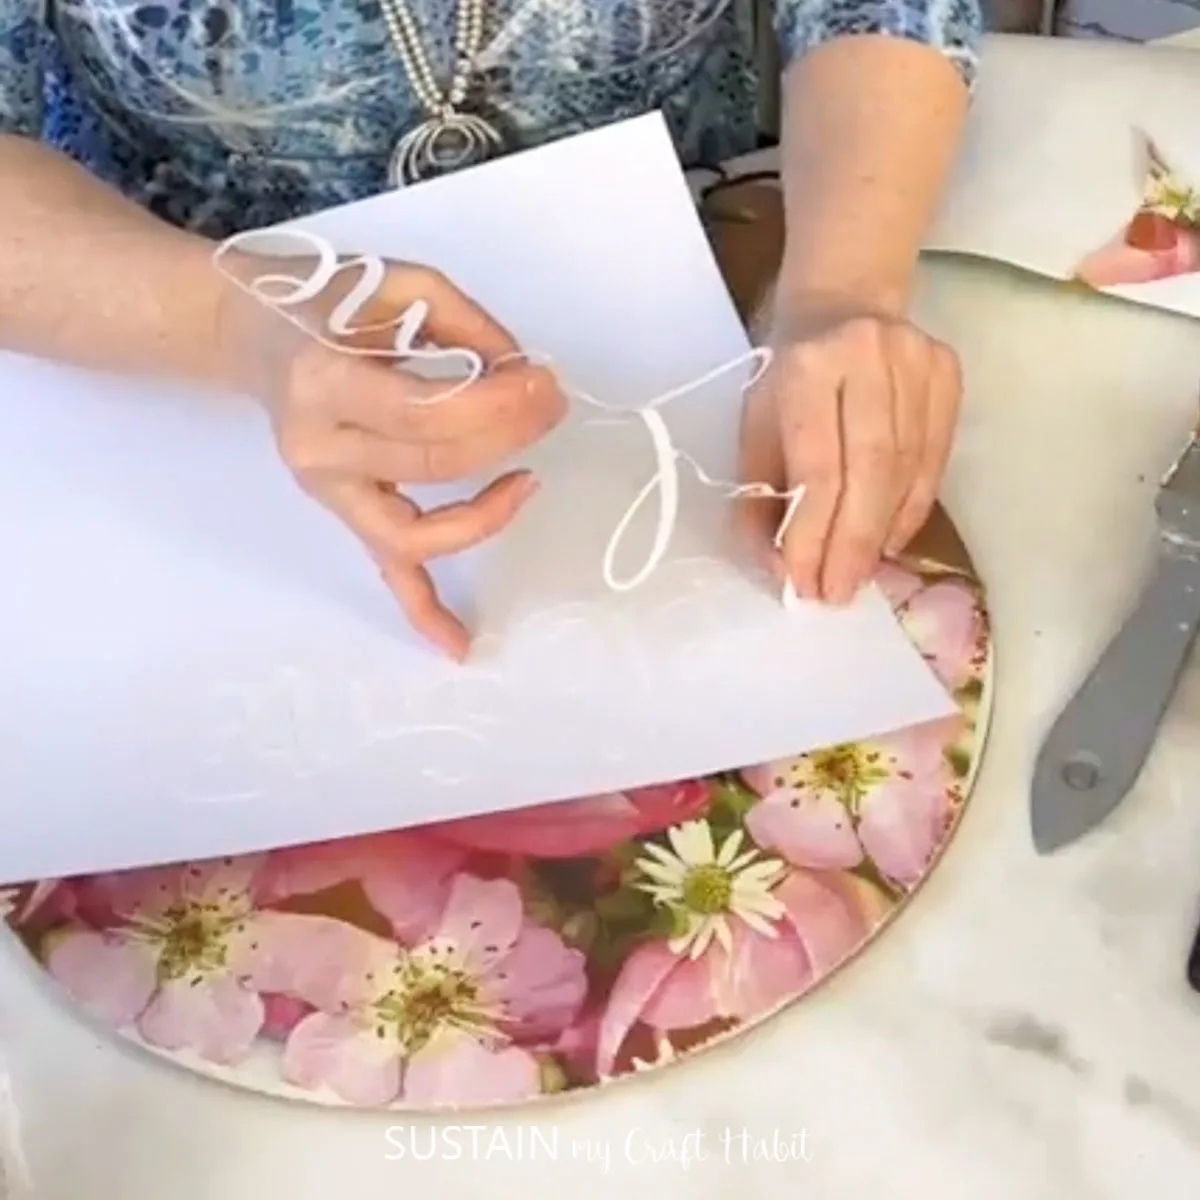
Add transfer tape over top of the phrase and position onto your cutting board. Carefully peel away the transfer sheet leaving behind only the phrase.
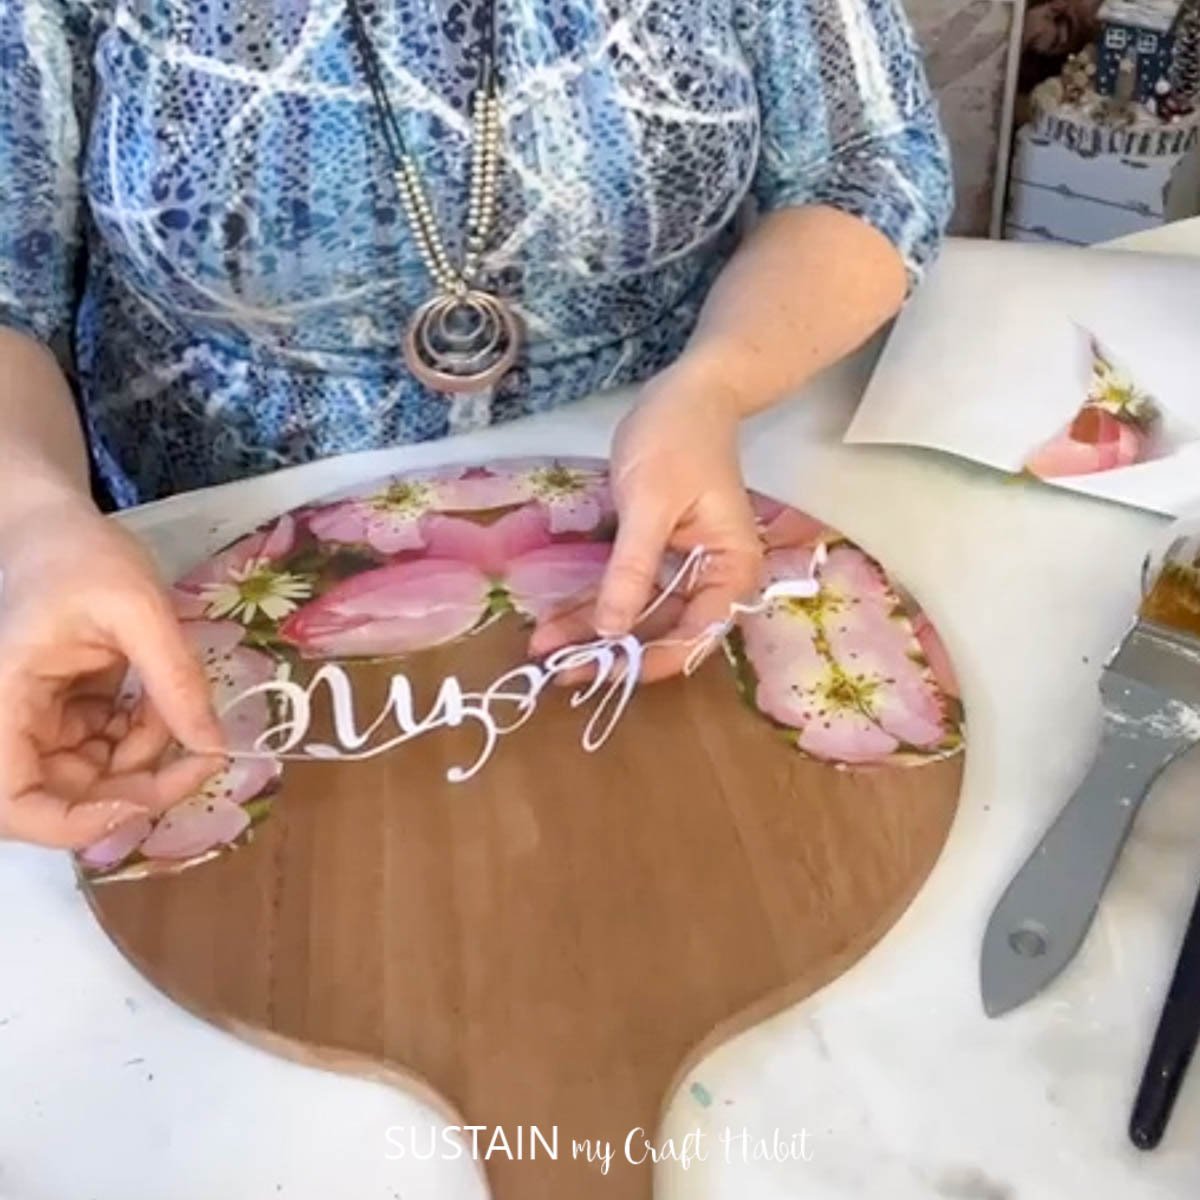

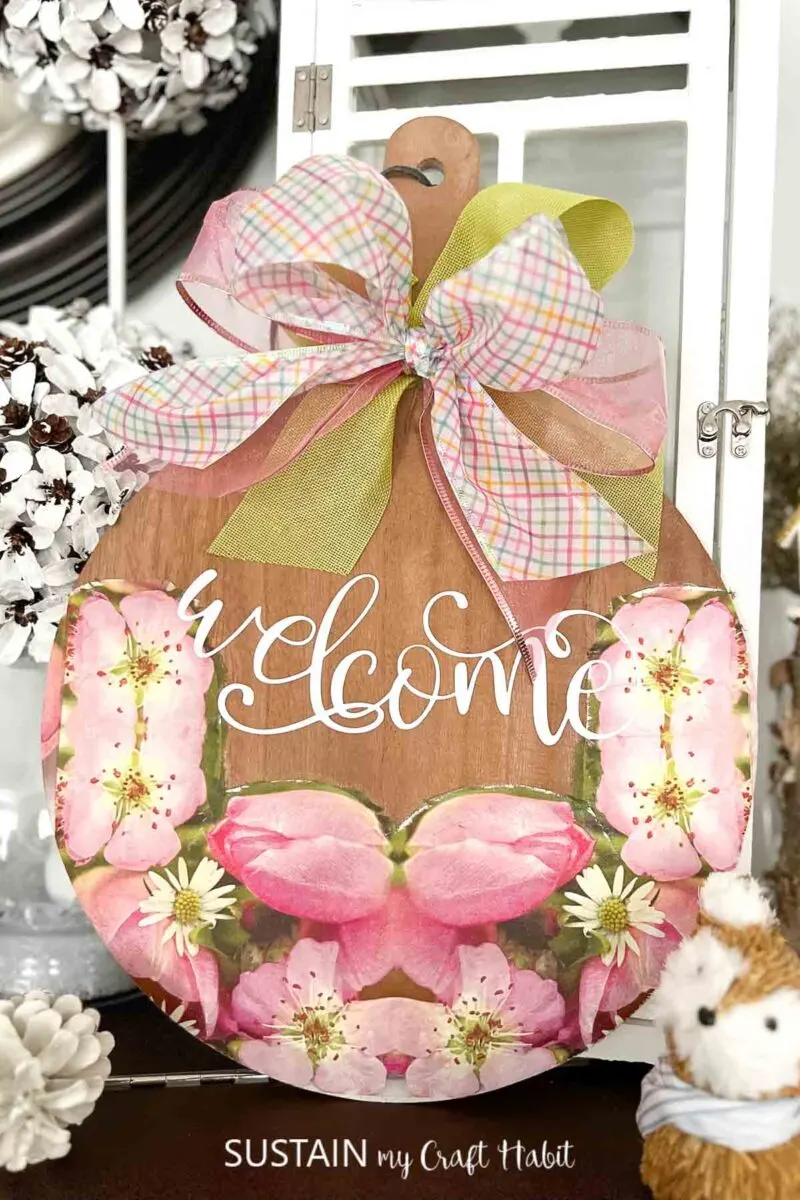
Finish off the sign with a pretty bow at the top of the cutting board.
See how easy that was? Now you have a beautiful welcome sign that you can gift, or use to decorate your own home.

Why not make more than one so you can gift one and keep one? How would you decorate your welcome sign? Let us know in the comments below if you make your own.
More Signs to Make with Cricut
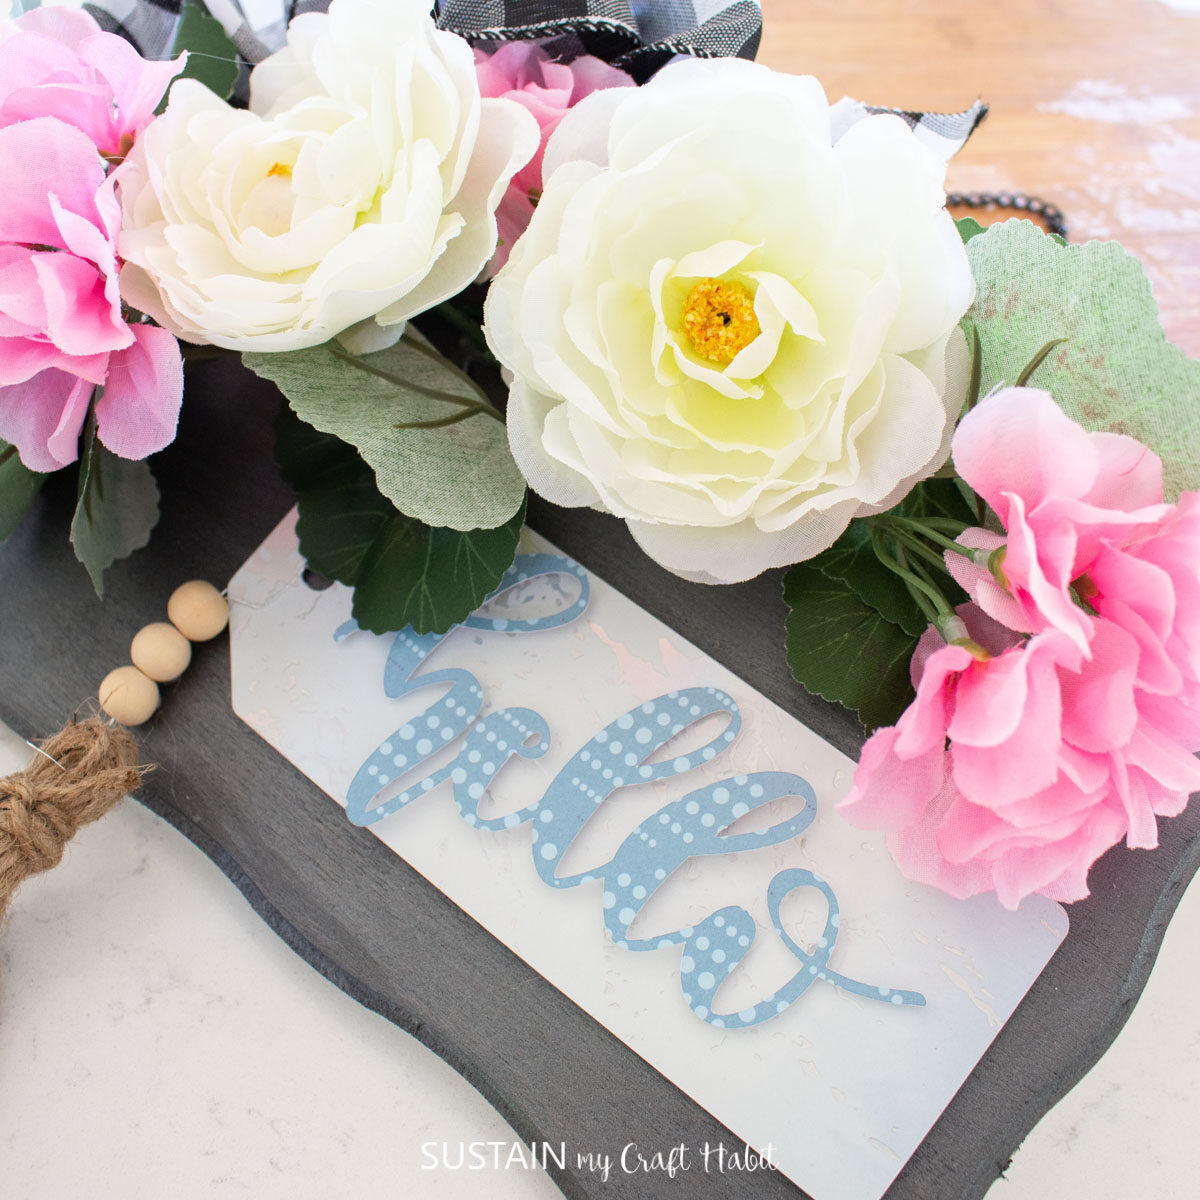
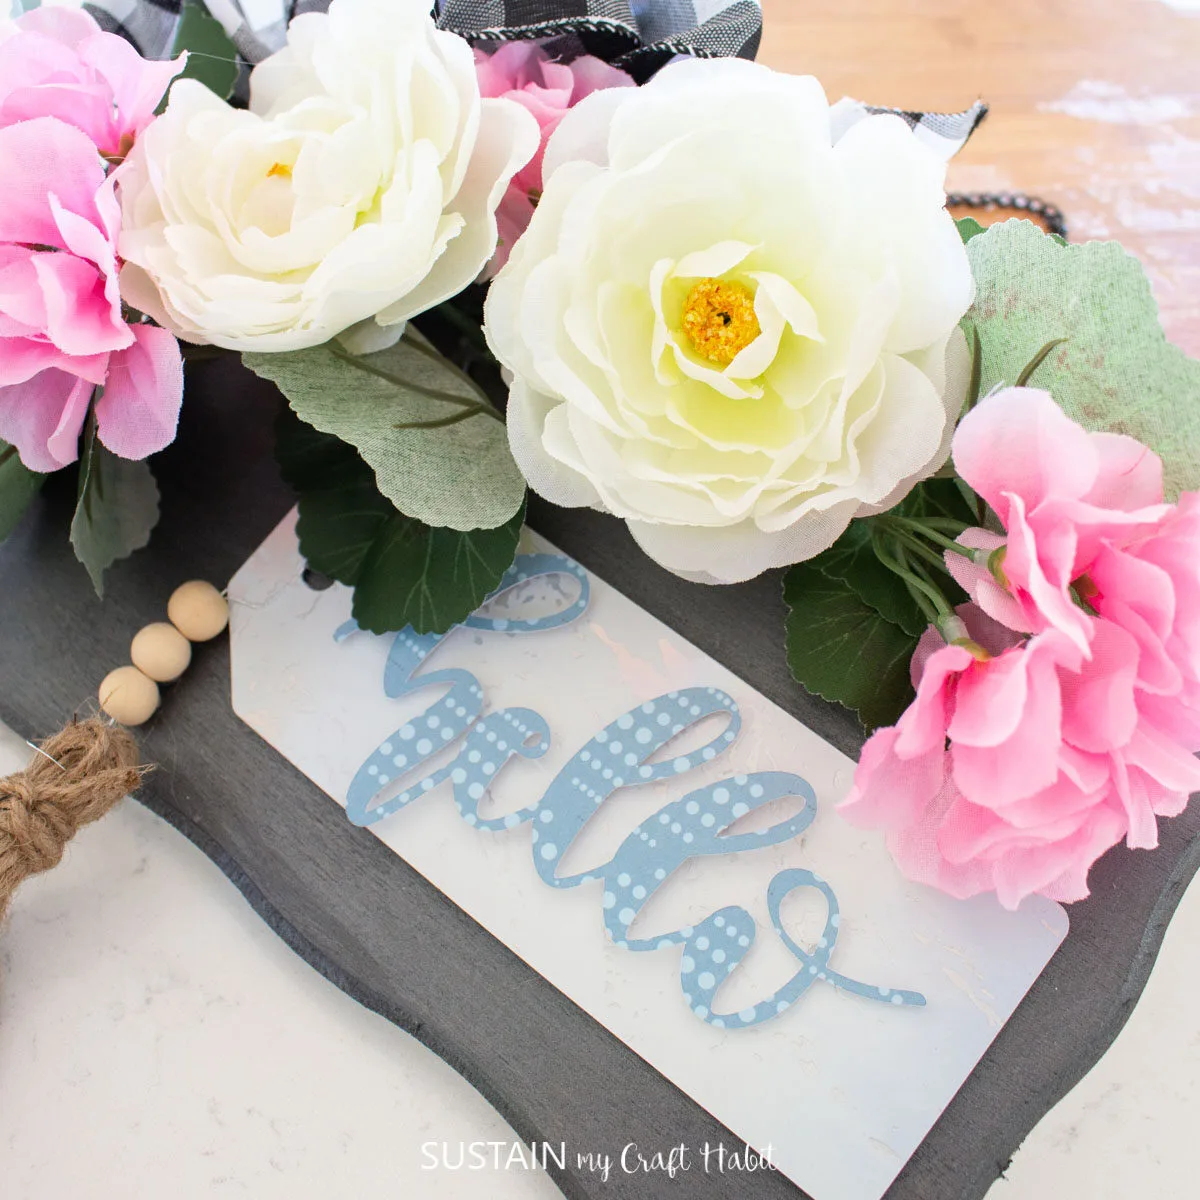
- Crafting a Hello Sign
- Spring Thrift Store Crafts
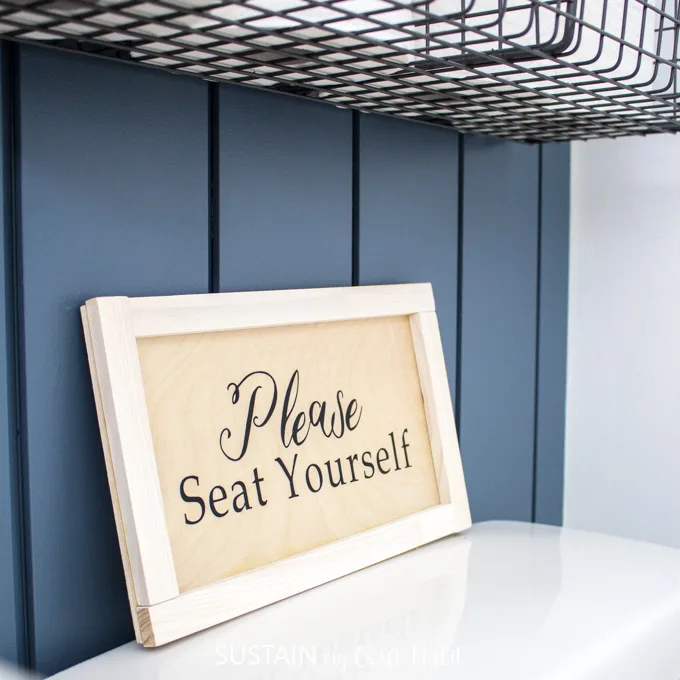
- DIY Bathroom Sign
- Hot Cocoa Bar Sign
- Farmhouse Inspired Wood Signs


Want to receive a ton of inspiration and money saving ideas for decorating, gift-giving and crafting? Join HERE! Thank you so much for stopping by to visit. Happy crafting, friends!
Like it? Pin it for later!


Pretty Welcome Sign Craft with Cricut
Materials
- Wooden cutting board
- Cricut Maker
- White permanent vinyl
- Cricut weeder
- Decorative paper napkins
- Paint brushes
- Brown paint
- White chalky paint
- Decoupage or Mod Podge
- Ribbon
- Mini heat press
Instructions
- Mix equal parts water and brown paint to create a “stain”. Paint the wood cutting board with the stain and let dry.
- Paint the sections where your napkin will go with a white chalky paint.
- Trim a napkin to fit the lower portion of the cutting board. Apply a thin layer of Decoupage or Mod Podge and press napkin in place.
- Use sand paper to remove any excess napkins from the edges.
- Using your Cricut machine, cut out the welcome phrase in the color of your choice.
- Peel away the excess vinyl using a weeder, leaving just the phrase.
- Add transfer tape over top of the phrase and position onto your cutting board. Carefully peel away the transfer sheet leaving behind only the phrase.