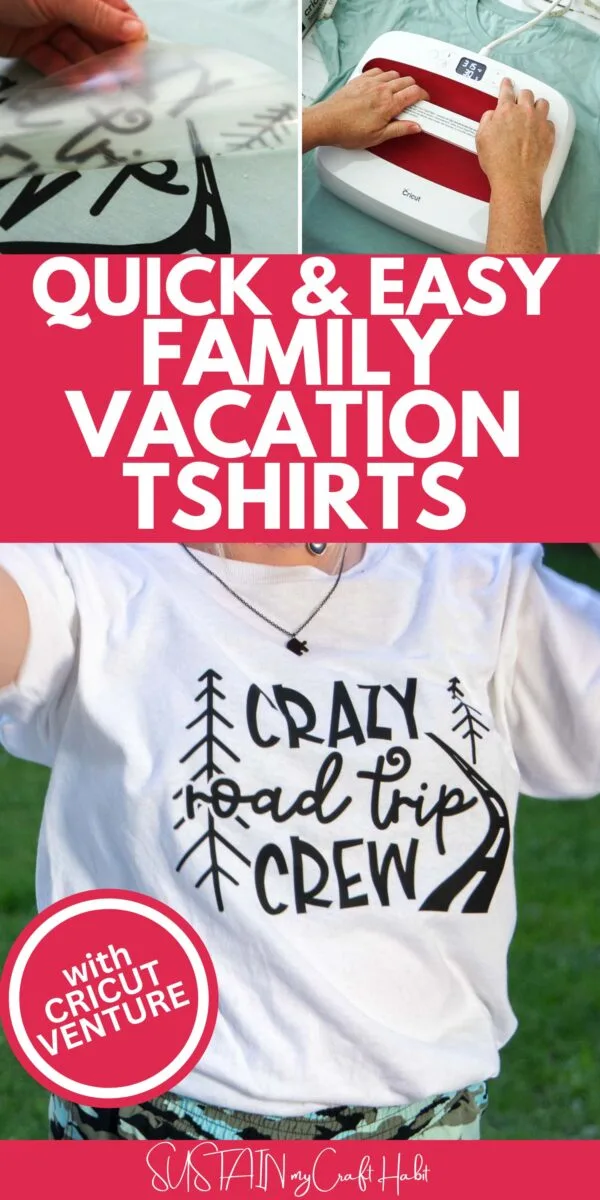
Are you planning a fun-filled family vacation and looking for a unique way to create lasting memories? Look no further than DIY family vacation t-shirts with the amazing Cricut Venture!
These personalized shirts will not only make your family stand out in a crowd but also serve as a special keepsake of your unforgettable trip. With the versatility of the Cricut Venture, you can let your creativity run wild and design shirts that perfectly reflect your family’s personality and interests.


Why You Will Love Making DIY Family Vacation Tshirts with Cricut
Creating these DIY family vacation t-shirts with Cricut is a cost-effective option compared to purchasing ready-made souvenir shirts. Not only do you have the freedom to design exactly what you want, but you also save money in the process. You can customize each shirt according to the size and preferences of each family member without breaking the bank.
Whether you’re heading to a sunny beach destination, exploring a majestic national park, or embarking on a Disney adventure, the possibilities for your t-shirt designs are endless. You can opt for classic themes like palm trees, waves, and seashells for a beach getaway, or go for a more whimsical approach with characters from your favorite movies or cartoon shows.
Can I Put These Designs On Something Other Than Tshirts?
Yes, you can put designs on something other than t-shirts. While t-shirts are a popular choice for custom designs, there is a vast array of other items that you can personalize with your own unique creations. Consider the versatility of hoodies, sweatshirts, tank tops, tote bags, hats, mugs, phone cases, and even home decor items like pillows and blankets. The possibilities are endless when it comes to expressing your creativity and making memories of your trip on a wide range of products to use while on vacation and in the years to come.
Get access to our resource library filled with SVG cut files and other Cricut craft ideas!
How To Make DIY Family Vacation Tshirts with Cricut
Materials Needed
Disclosure: This post contains affiliate links for your shopping convenience. Should you choose to purchase through them, we will make a small commission at no extra cost to you. You can read our full disclosure policy here.
- Crazy Road Trip Crew SVG (we have this design available in our Etsy shop)
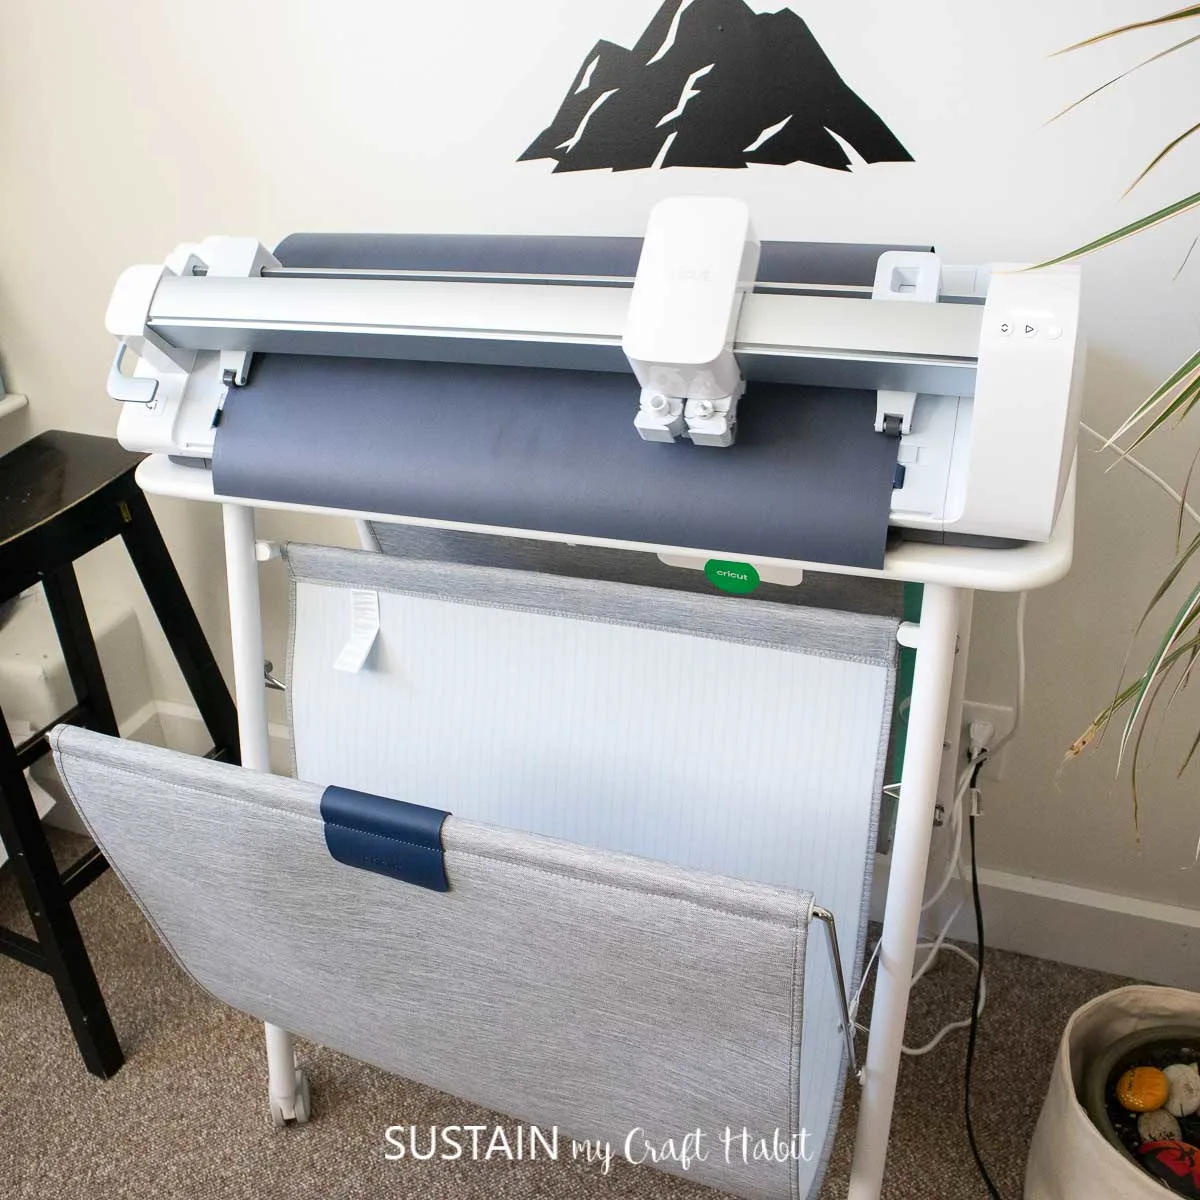
- Cricut Venture or other cutting machine
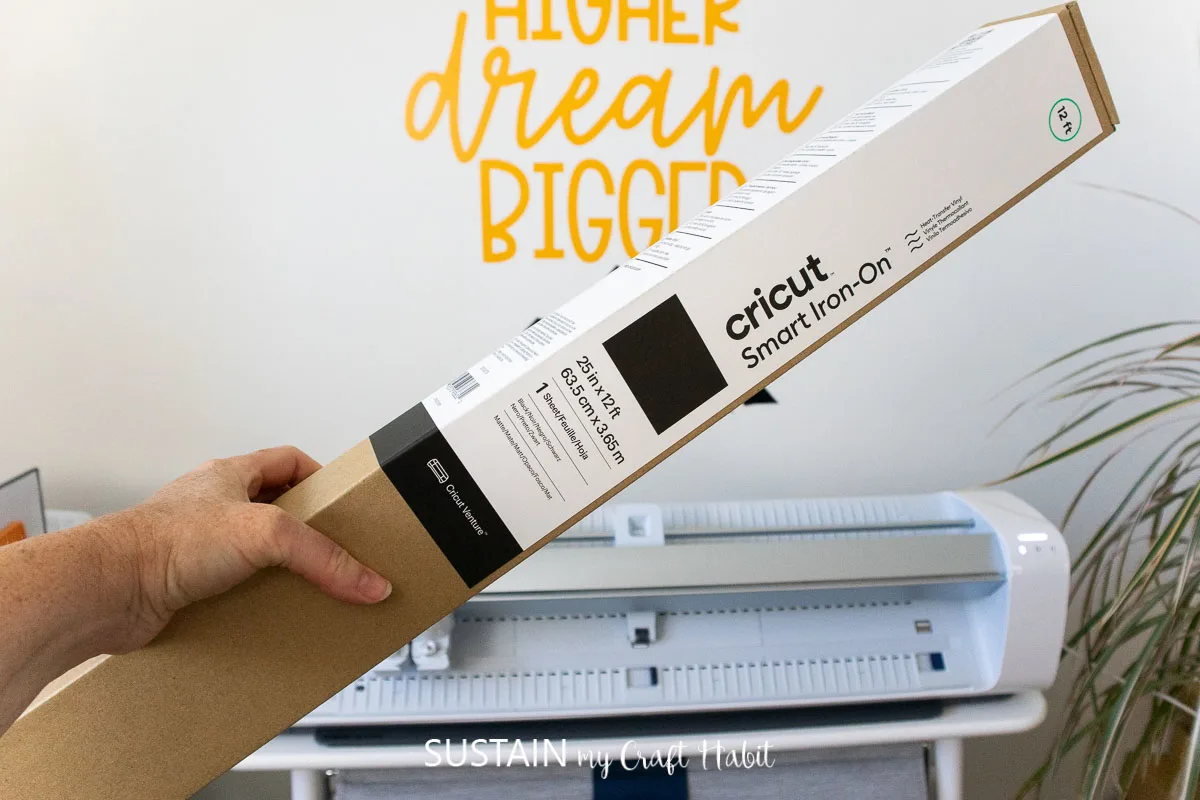
- Smart Iron On Vinyl, Black
- Weeding Tool
- Scissors
- EasyPress 2
- EasyPress Mat or Towel
- Blank cotton or cotton/poly t-shirt

How to Make Family Vacation Tshirts with Cricut Venture
Pre-work:
Prewash cotton tee before applying iron on vinyl.
Preparing the Image:
Open Cricut Design Space. Click on the “+” sign to start a new project, opening up a blank canvas.
Click on the Upload button from the toolbar to insert the Crazy Road Trip Crew SVG file onto the canvas.
Adjust the size to 10” wide or adjust by highlighting the image and clicking on the size box in the top toolbar to fit your tshirt. Make as many or as few iron on designs as you like. We made seven in total with this batch.


Cutting the Iron-On Vinyl:
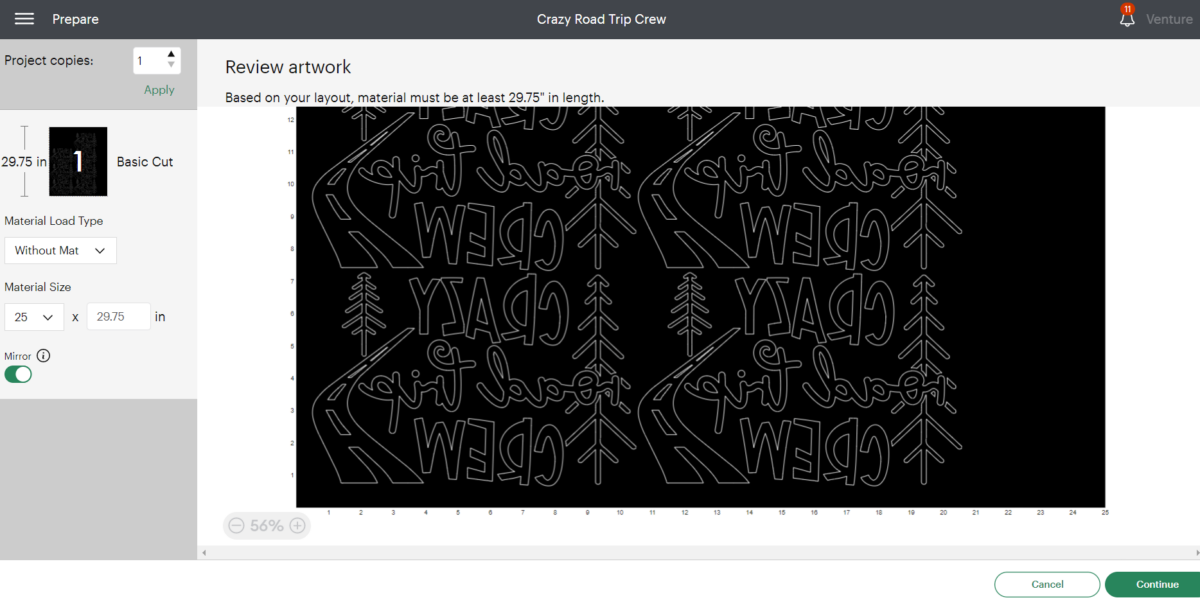
Select “Make It” in the upper right corner to proceed with cutting.
Click the “Mirror” toggle button to on. This is necessary for ALL iron on vinyl cuts.
Choose “without mat” to cut the Smart Iron-On Vinyl and press continue.

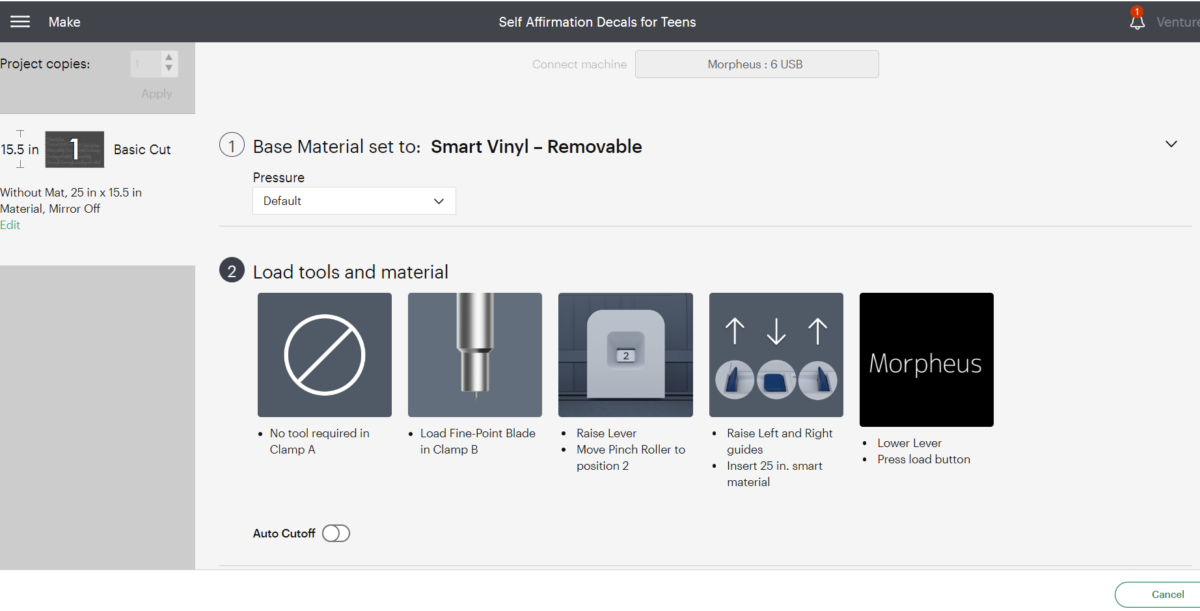
Choose Smart Iron-On Vinyl from the list of options in the drop-down menu.

Place the Smart Iron-On vinyl directly into the Cricut Venture with the SHINY SIDE DOWN.
Following the instructions prompted on the screen, cut out the vinyl.

Preparing the Cut Image:
Remove the Smart Iron-On Vinyl from the machine and cut around the image.
Using a weeding tool, peel away the excess vinyl leaving only the road trip design.


Applying the Image with the Cricut EasyPress 2:
Position the mat or a towel on a flat surface.
Set the temperature and time on the machine following the chart for the type of vinyl and material being used or use this EasyPress Interactive Quick Reference Guide.
For a 100% Cotton t-shirt and Smart Iron-On Vinyl, set the EasyPress 2 to 315F.


Preheat the fabric (the cut circle shape) for 5 seconds. This will prep the fabric for the vinyl, removing all excess moisture as well as help to remove any creases and wrinkles from the fabric.


Place the cut image on the fabric with the shiny side up.

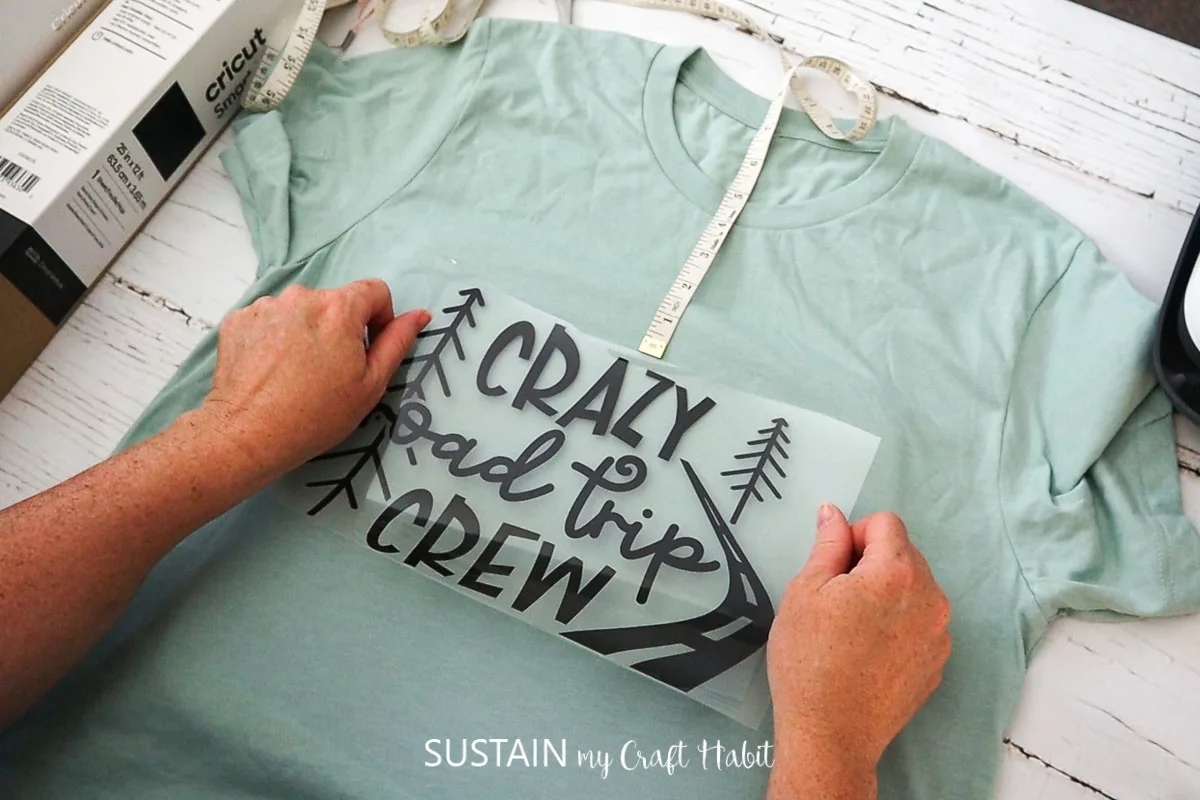
Press the image onto the fabric for 30 seconds with medium pressure. If the entire image doesn’t fit under the EasyPress, then move the EasyPress over and heat press the image a second time.


Peel the plastic part of the vinyl off carefully once it cools and discard.
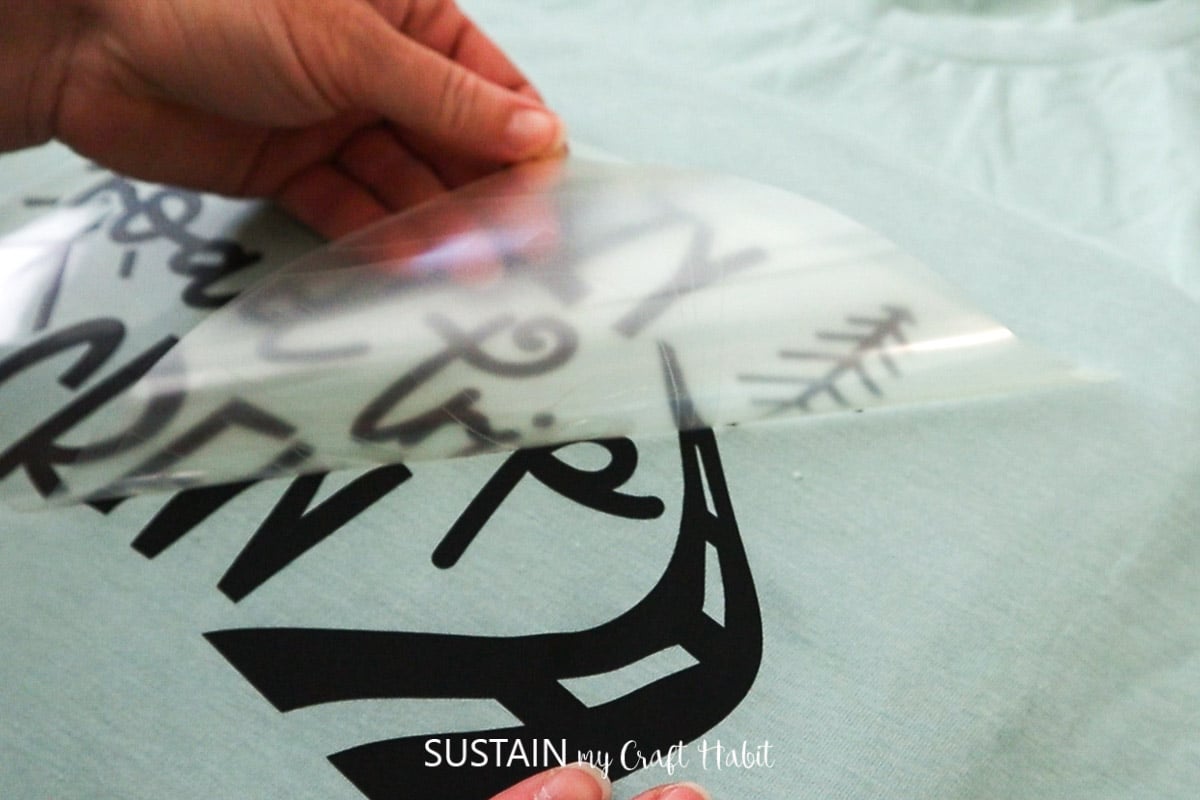

Make sure you do not place an iron or the EasyPress directly over the vinyl without the protective plastic cover.


Now that the tees ready to go, it’s time to plan the next road trip with my crazy crew!


Create Lasting Memories
Making DIY family vacation t-shirts with Cricut is a delightful and rewarding experience. It allows you to express your creativity, bond as a family, stand out in a crowd, create lasting memories, and save you money.
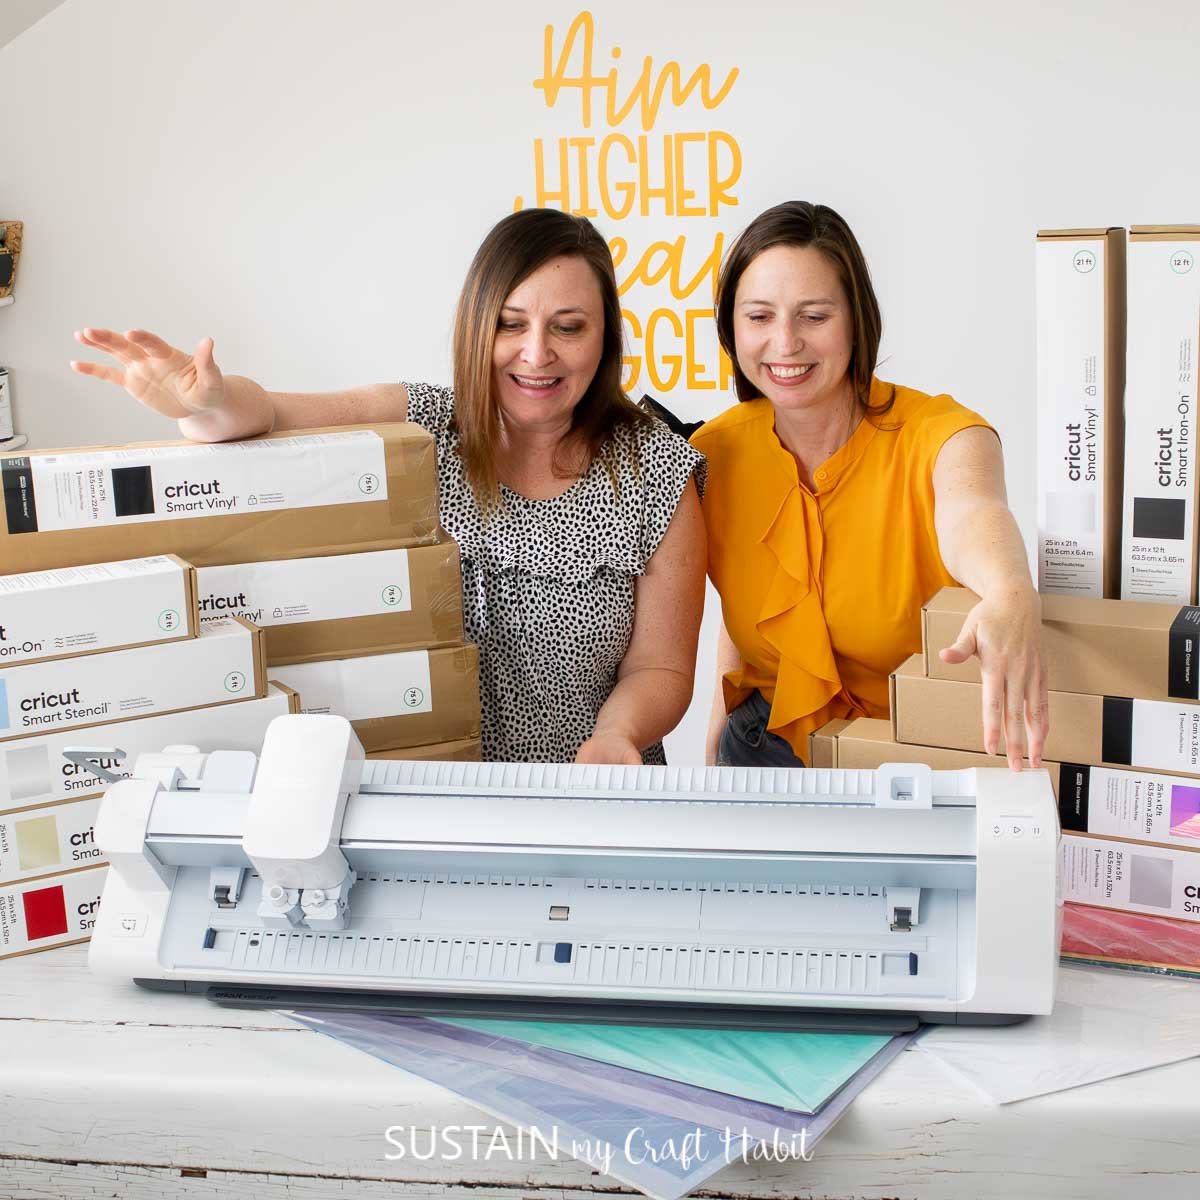
So grab your Cricut Venture and get ready to embark on an exciting journey of designing and crafting personalized shirts that will make your family vacation truly unforgettable.
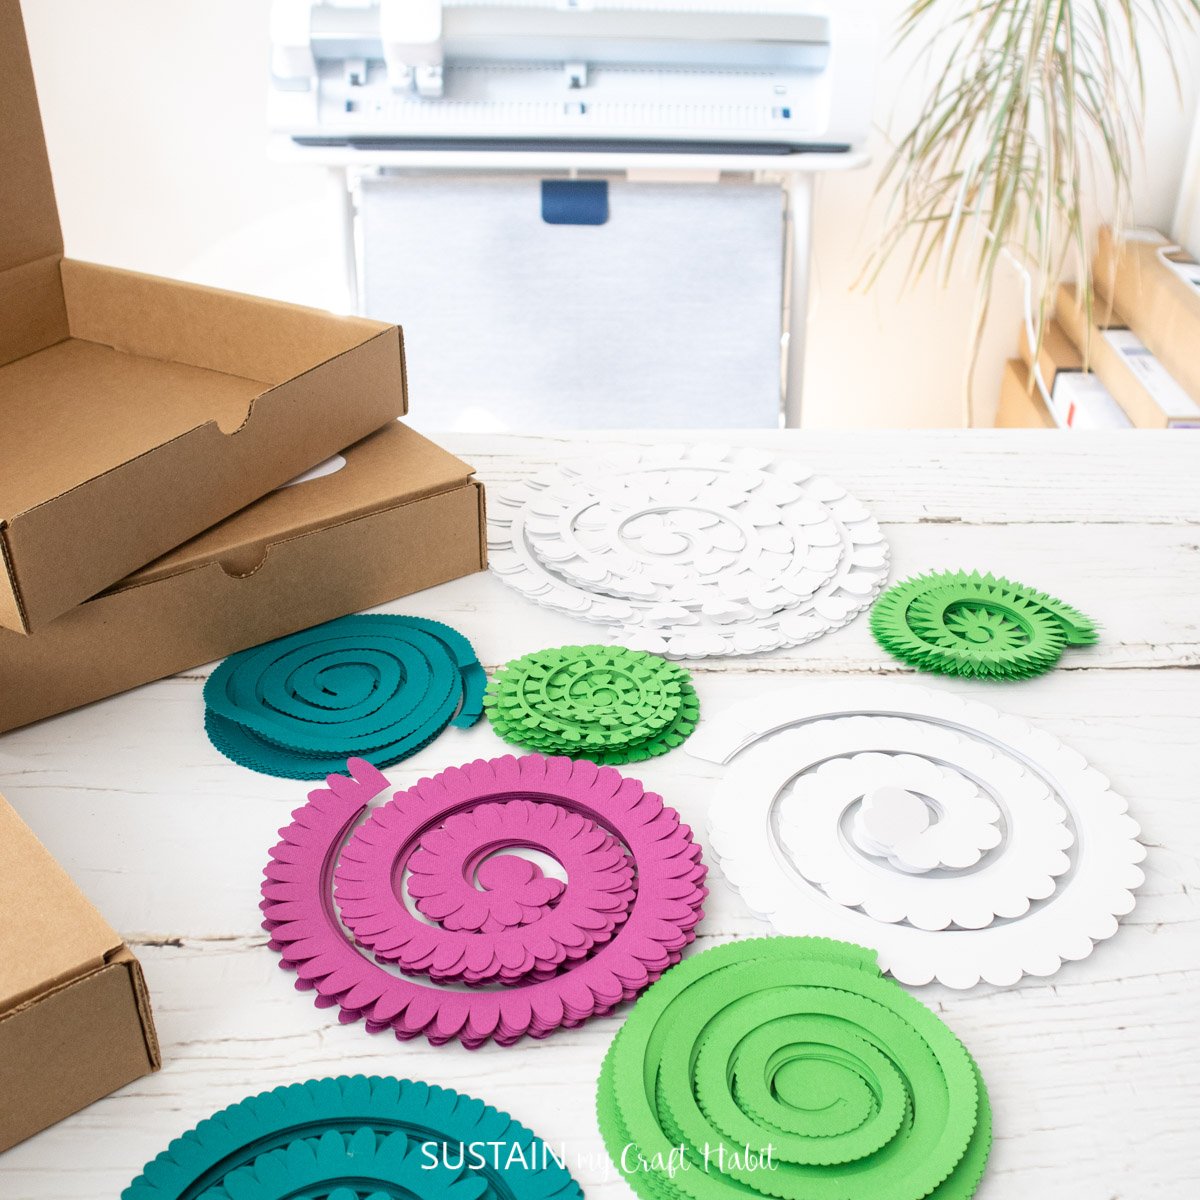
More Cricut Venture Crafts


Stay in the know on our latest crafts, special offers and freebies by joining our mailing list.
Like it? Pin it for later!


DIY Family Vacation Tshirts with Cricut Venture
Materials
- Crazy Road Trip Crew SVG
- Cricut Venture or other cutting machine
- Smart Iron On Vinyl Black
- Weeding Tool
- Scissors
- EasyPress 2
- EasyPress Mat or Towel
- Tshirt
Instructions
Pre-work:
- Prewash cotton tee before applying iron on vinyl.
Preparing the Image:
- Open Cricut Design Space. Click on the “+” sign to start a new project, opening up a blank canvas.
- Click on the Upload button from the toolbar to insert the Crazy Road Trip Crew SVG file onto the canvas.
- Adjust the size to10” wide or adjust by highlighting the image and clicking on the size box in the top toolbar to fit your tshirt.
Cutting the Iron-On Vinyl:
- Select “Make It” in the upper right corner to proceed with cutting.
- Click the “Mirror” toggle button to on.
- Choose “without mat” to cut the Smart Iron-On Vinyl and press continue.
- Choose Smart Iron-On Vinyl from the list of options in the drop down menu.
- Place the Smart Iron-On vinyl directly into the Cricut Venture with the SHINY SIDE DOWN.
- Following the instructions prompted on the screen, cut out the vinyl.
Preparing the Cut Image:
- Remove the Smart Iron-On Vinyl from the machine and cut around the image.
- Using a weeding tool, peel away the excess vinyl leaving only the road trip design.
Applying the Image with the Cricut EasyPress 2:
- Position the mat or a towel on a flat surface.
- Set the temperature and time on the machine following the chart for the type of vinyl and material being used.
- Preheat the fabric (the cut circle shape) for 5 seconds.
- Place the cut image on the fabric with the shiny side up.
- Press the image onto the fabric for 30 seconds with medium pressure.
- Peel the plastic part of the vinyl off carefully once it cools and discard.
- Wear and enjoy!