DIY Birthday Cake Topper with Cricut
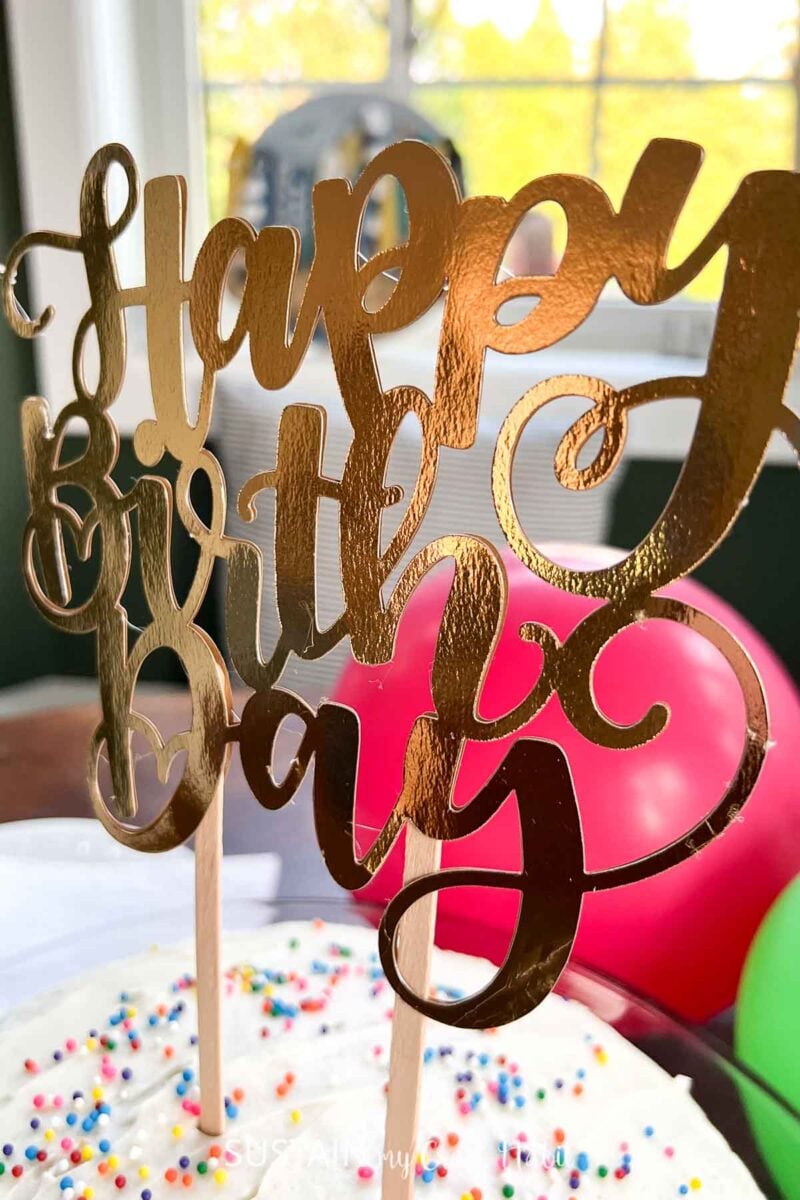
Looking to add a personal touch to your next birthday celebration? Look no further than making your own DIY birthday cake toppers with cricut! With just a few simple steps, you can create stunning and customized cake toppers that will surely impress the person of the hour. Whether you’re a seasoned Cricut user or just starting out, this craft is perfect for anyone looking to showcase their creativity.
From elegant designs to fun and whimsical creations, the possibilities are endless. Get ready to elevate your cake game and make a statement at your next birthday party.

Why You Will Love DIY Birthday Cake Topper with Cricut
With Cricut, you have the freedom to create completely personalized cake toppers. From names and initials to special messages and intricate designs, you can customize every detail to match the birthday theme or the recipient’s personality. With Cricut’s precision cutting technology, you can achieve professional-looking results that rival store-bought cake toppers. Your creations will have clean lines, sharp edges, and intricate details, impressing both yourself and your guests.

Can I Use Something Other Than Cardstock For My Topper?
If you’re looking for alternatives to cardstock for making a Cricut cake topper, there are several materials you can consider.
- Acrylic sheets are a popular choice for creating cake toppers that have a more modern and sleek look.
- You can also look into using basswood or balsa wood.
Remember to test your chosen material with your Cricut machine to ensure compatibility and optimize settings for cutting. Additionally, consider the food safety aspect by using a food-safe sealant or coating if necessary and ensure that the material is clean and free from any contaminants that could come into contact with the cake.
Want to receive a ton of inspiration and money-saving ideas for decorating, gift-giving, and crafting? Join HERE!
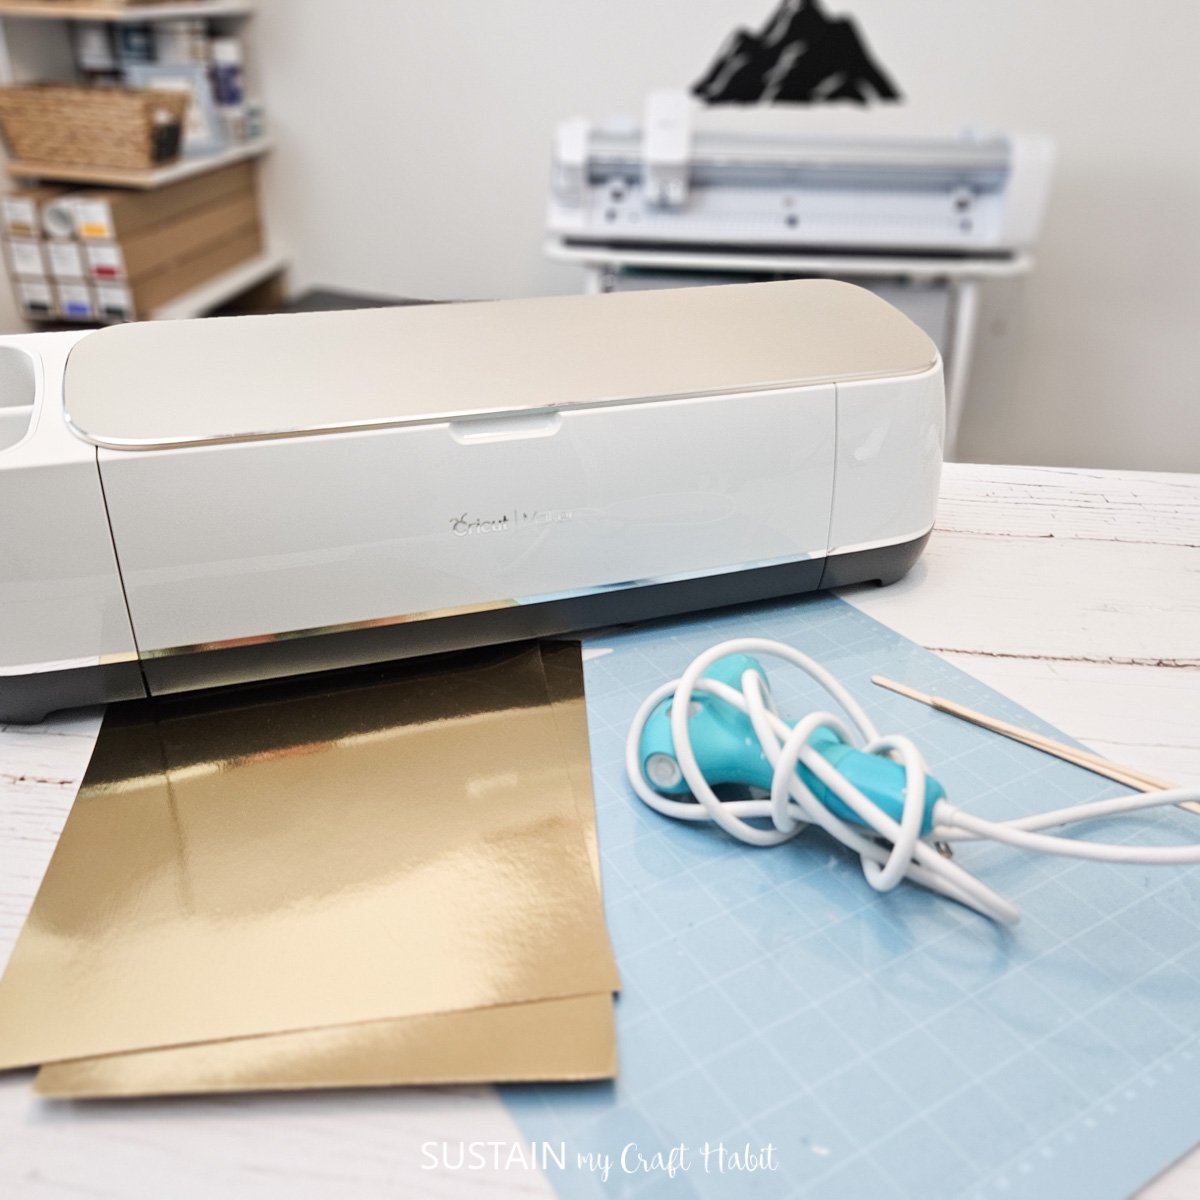
Materials Needed
Disclosure: This post contains affiliate links for your shopping convenience. Should you choose to purchase through them, we will make a small commission at no extra cost to you. You can read our full disclosure policy here.
- Happy Birthday template in Design Space #M4C1A020F
Cricut Maker (or other Cricut cutting machine) with Fine Point BladeCricut Light Grip Mat - Foil Paper in gold (or any color of your choosing)
Hot glue gun with clear hot glue sticks- Wood craft sticks
How to Make a Birthday Cake Topper with Cricut
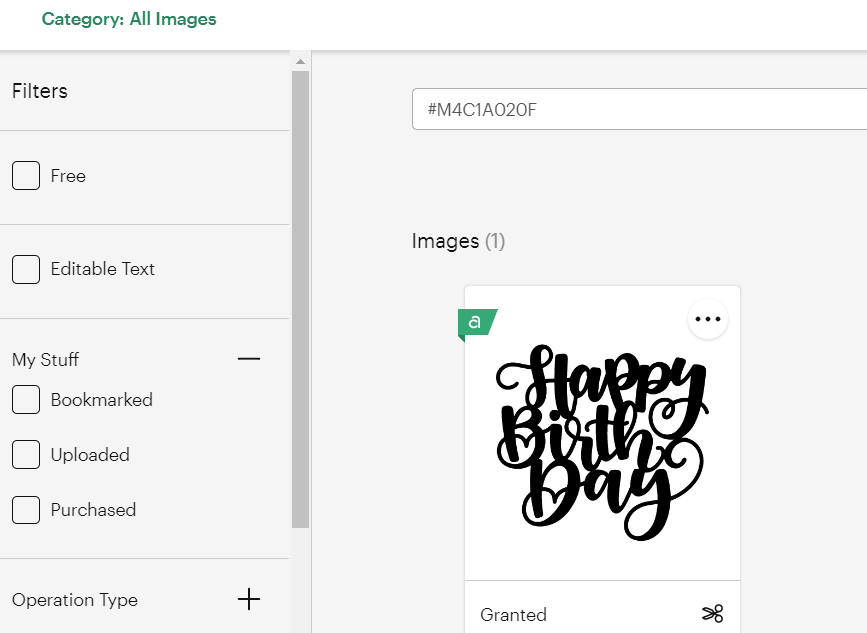
Uploading the Pattern
Open Cricut Design Space and click on the “+” sign to start a new project, opening up a blank canvas.
Click on the Images button from the toolbar and search “happy birthday” image (#M4C1A020F) and then click on the image to insert the pattern on the canvas.
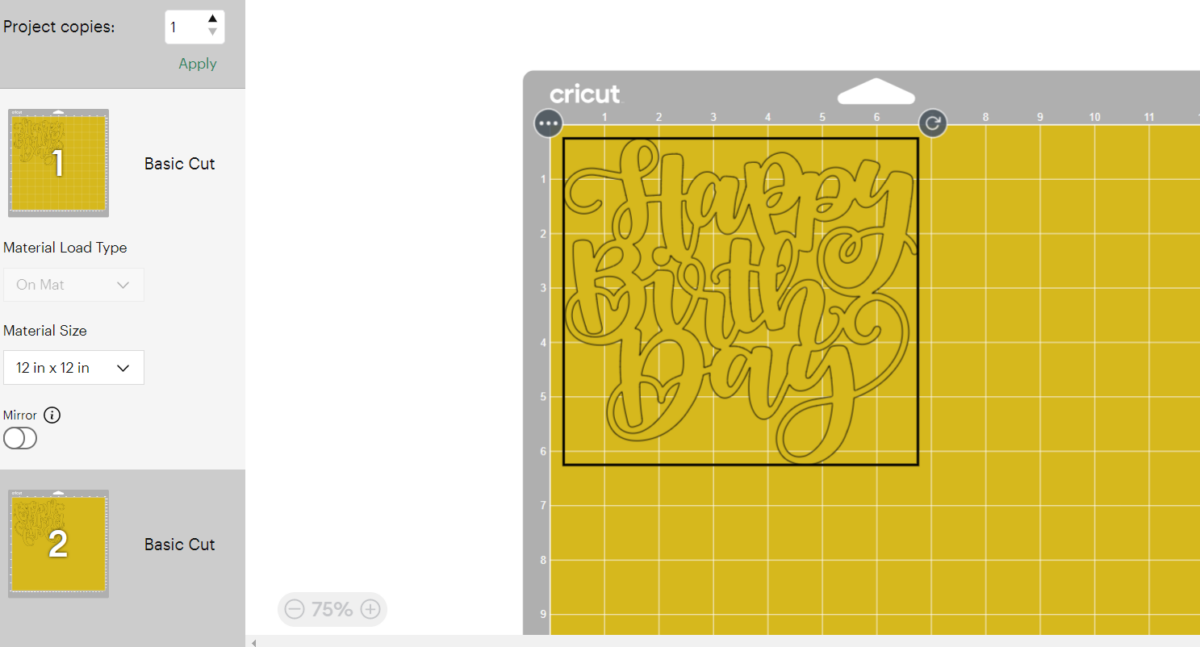
Resize the phrase to 6” high or whatever size you want the cake topper to be.
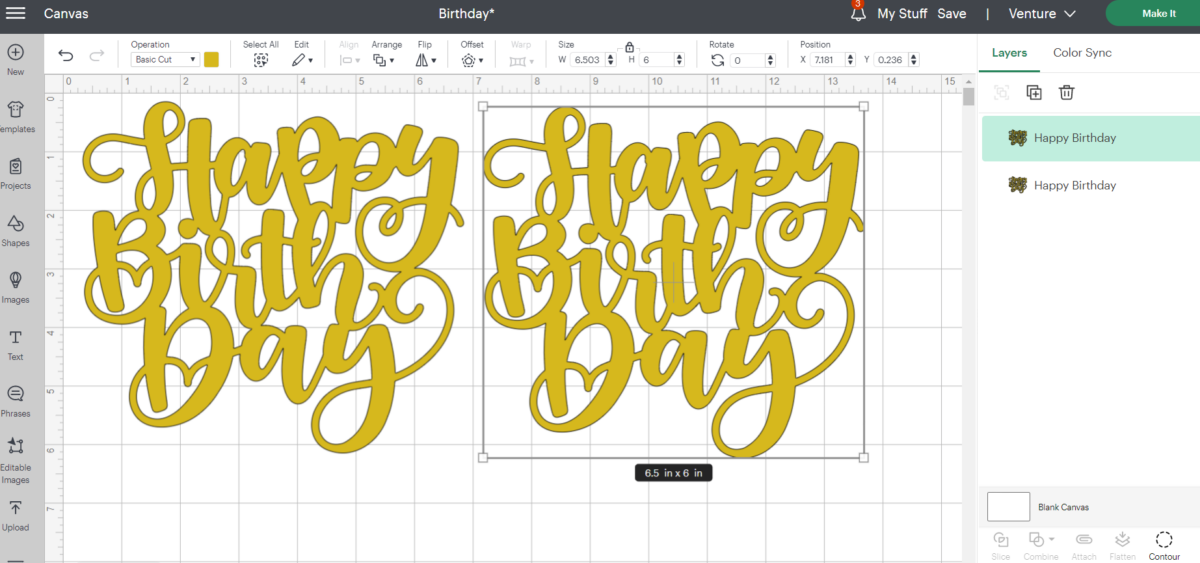
Duplicate the image so two are showing on the canvas.
Cutting
With the machine set to Cricut Maker, select “Make It” in Design Space.
Set material type to Foil Paper.
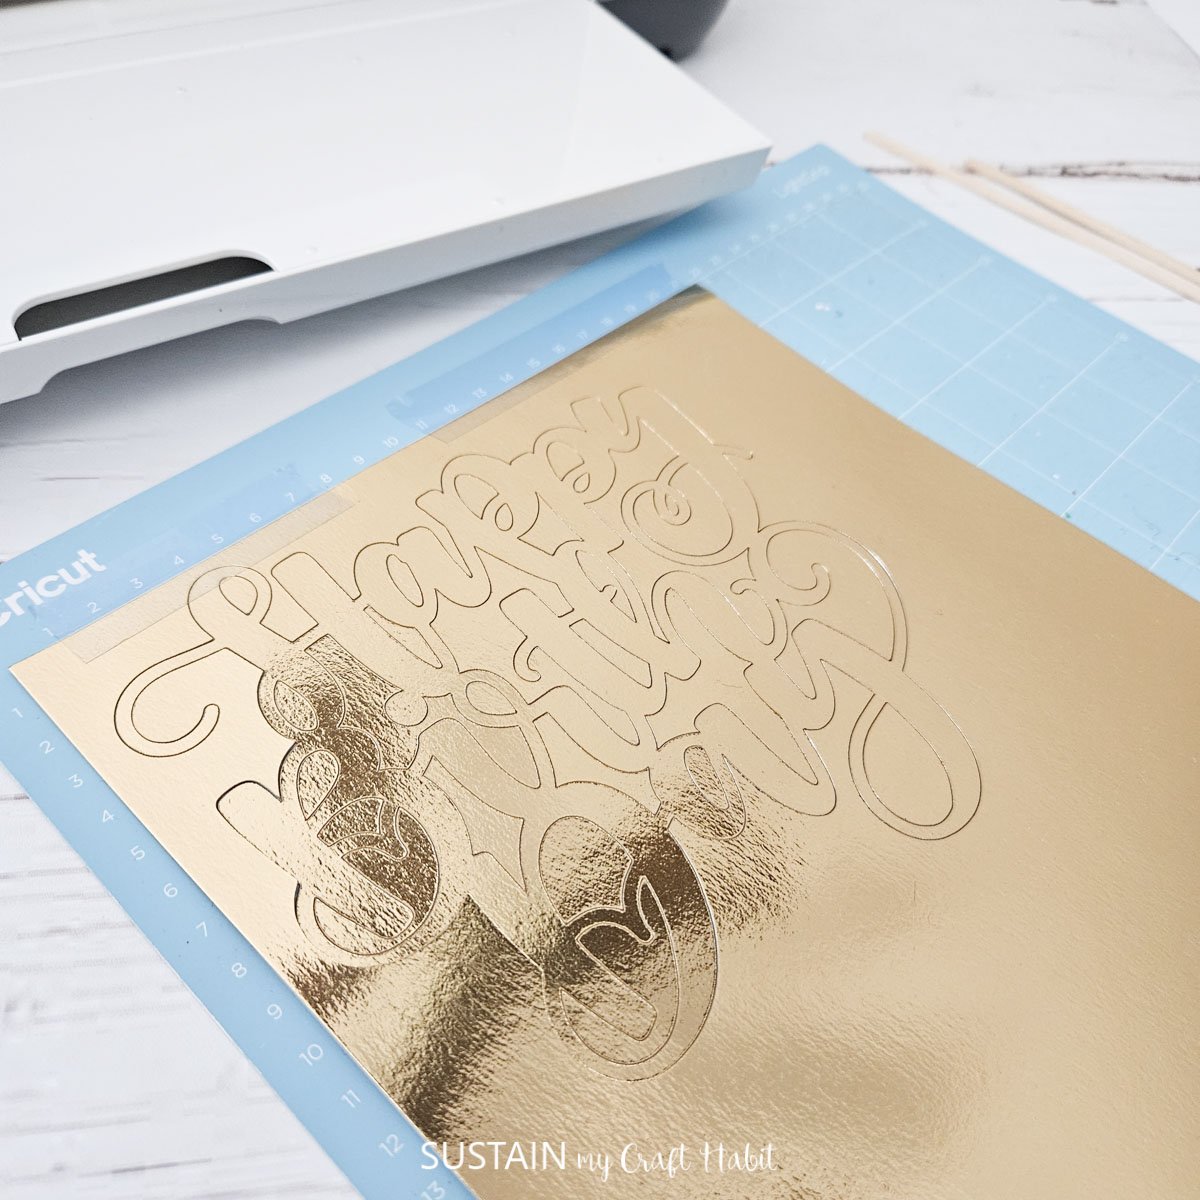
Place the gold paper onto the light grip mat.
Follow prompts for loading paper into Cricut Maker and cutting. When the first cut is complete, unload the mat from the machine.

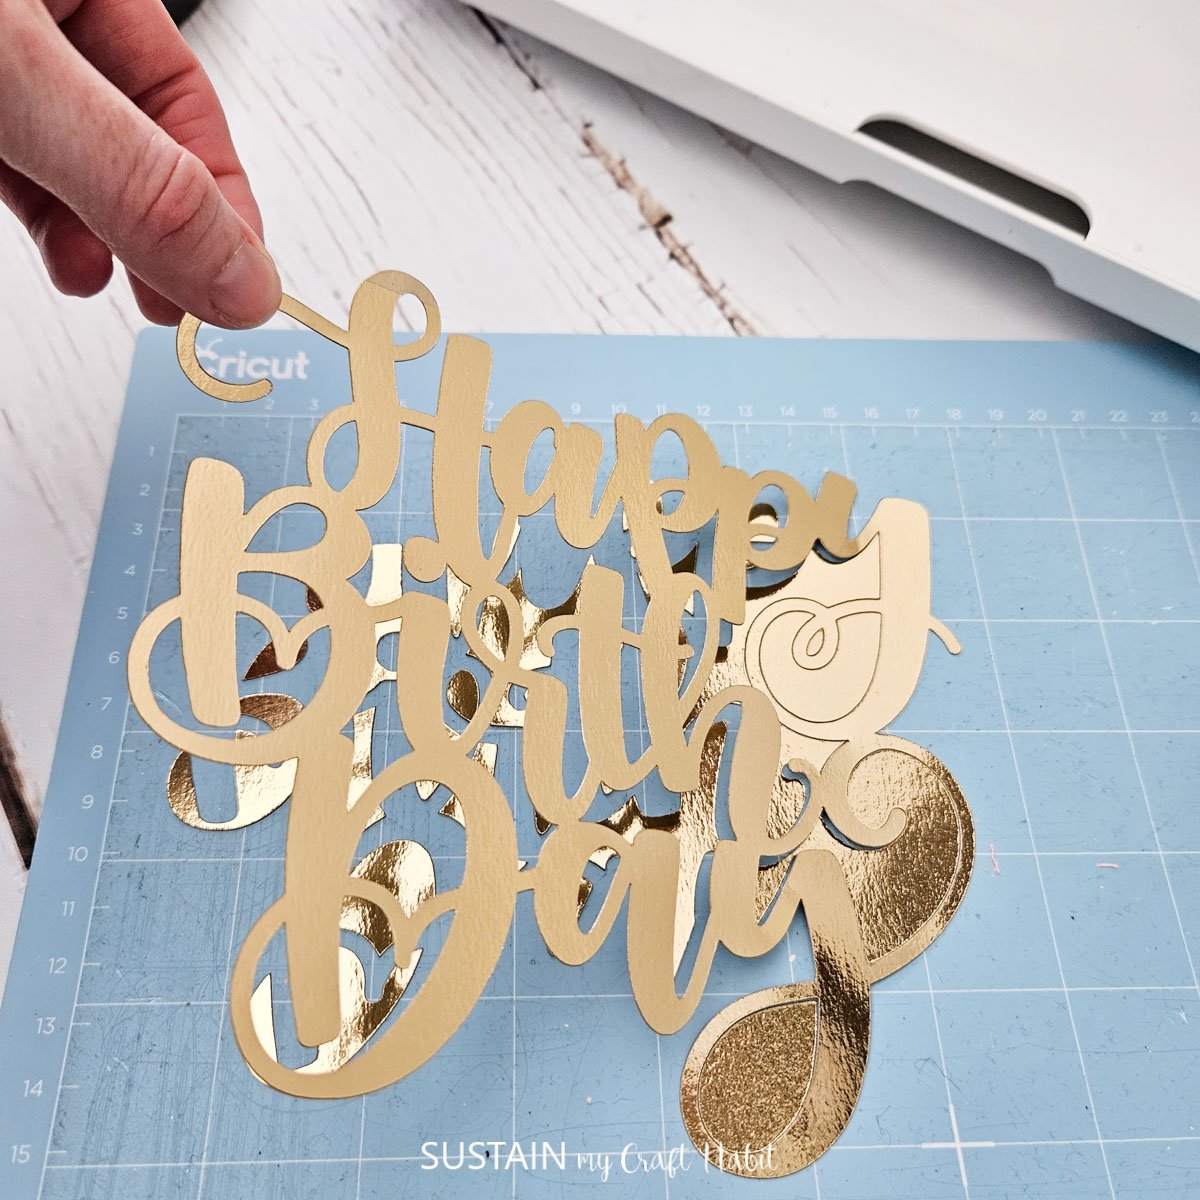
Remove the cut pieces from the cutting mat.
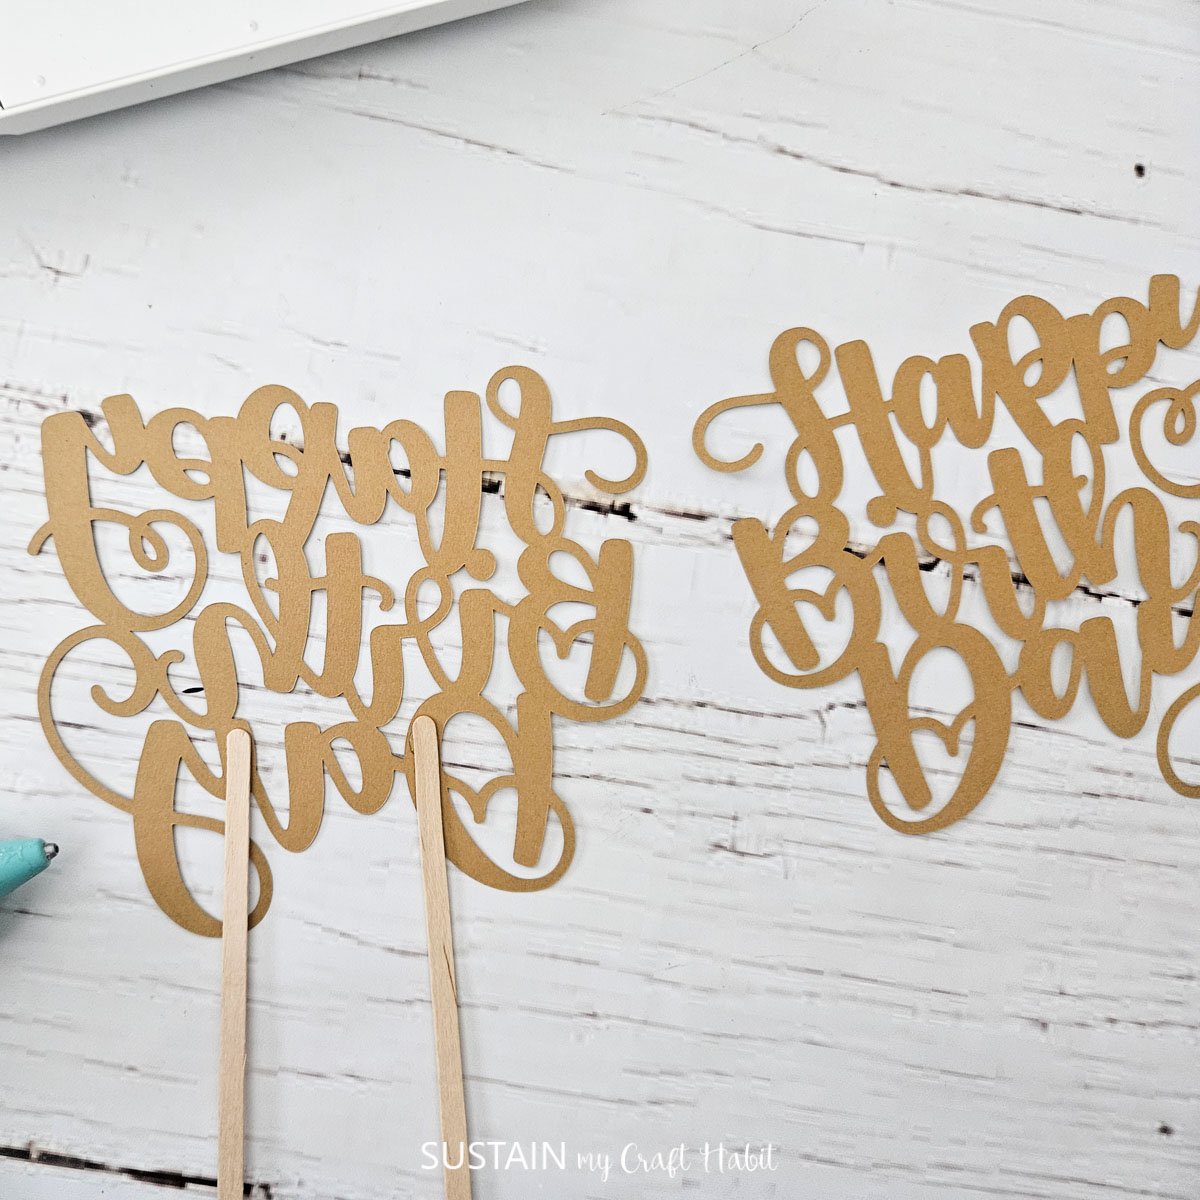
Turn on the mirror toggle button to flip the happy birthday phrase. And repeat cutting instructions to finish the second happy birthday cut-out.

Assembling the Cake Topper
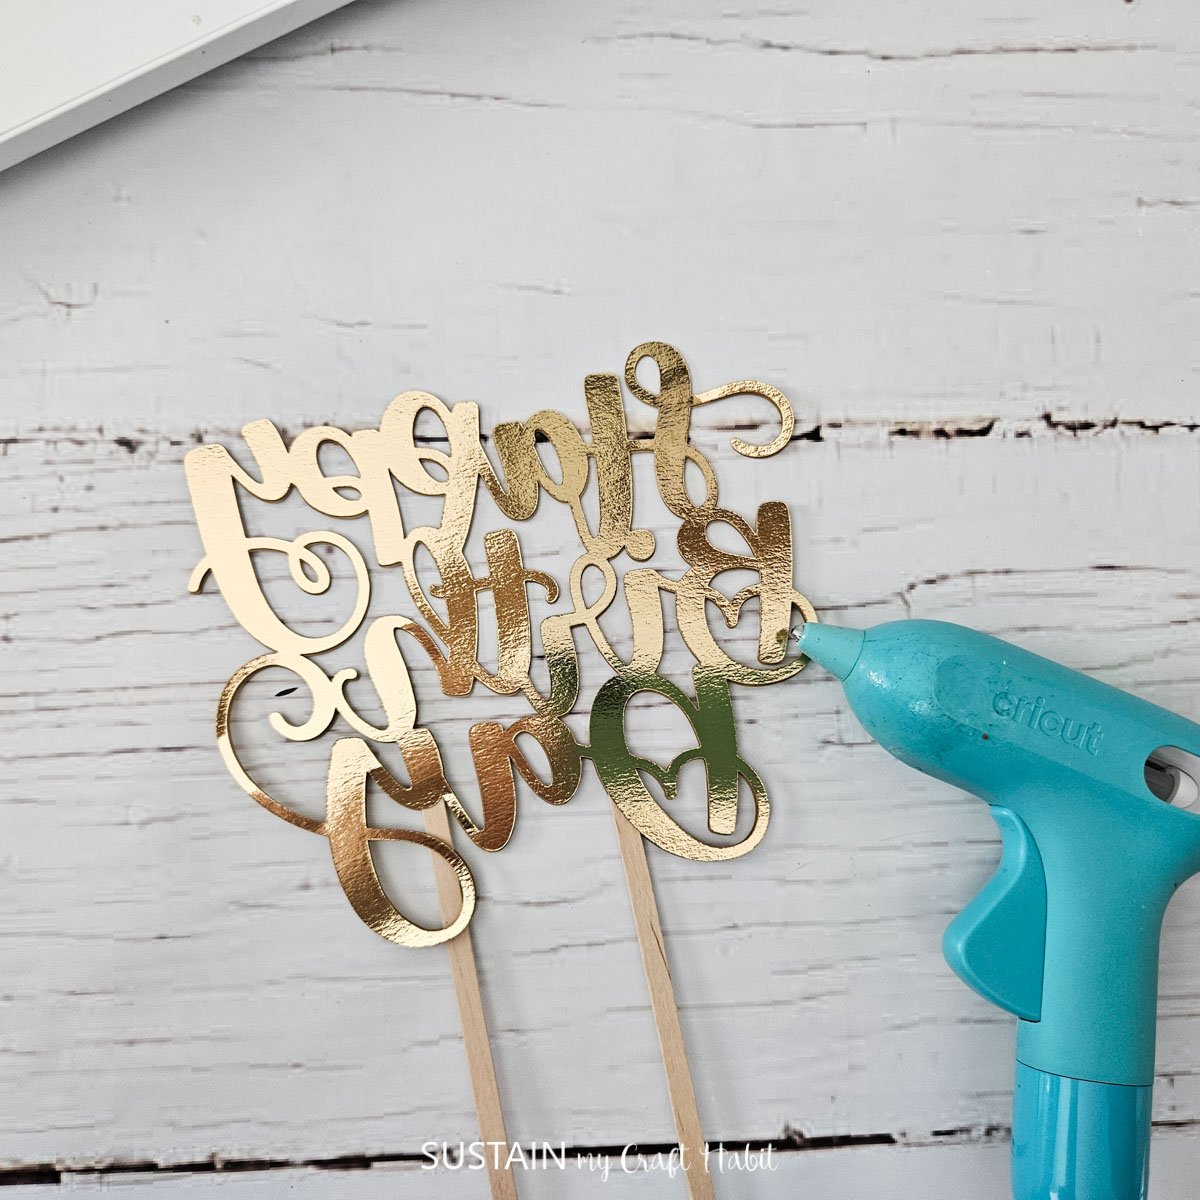
Place both cut pieces down on a flat surface with the gold side facing down.

Using a hot glue gun, attach the craft sticks to the bottom of one of the cut-outs as shown.
Glue to the wrong sides of the cut-outs together being careful to align them perfectly. Best to work small sections at a time since hot glue cools quickly. You can also use regular craft glue to join the two back sides together.

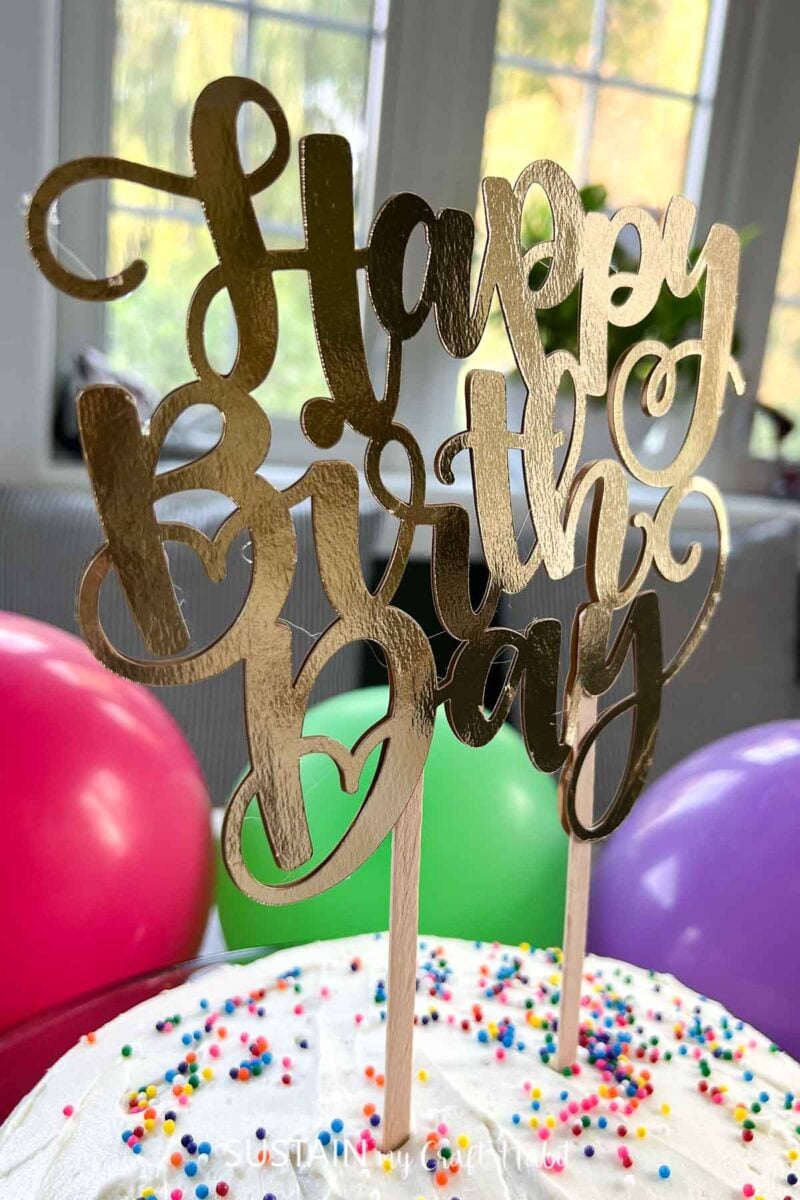
Insert ends of craft sticks into cake to complete the look.
Craft Tip:
To remove access glue strands from the hot glue gun, apply heat from a heat gun or hair dryer.
Get Ready To Wow Your Guests!
So, why settle for generic store-bought cake toppers when you have the opportunity to unleash your creativity and make unique DIY birthday cake toppers with Cricut? Get ready to wow your guests and create unforgettable memories with this fun and rewarding craft.
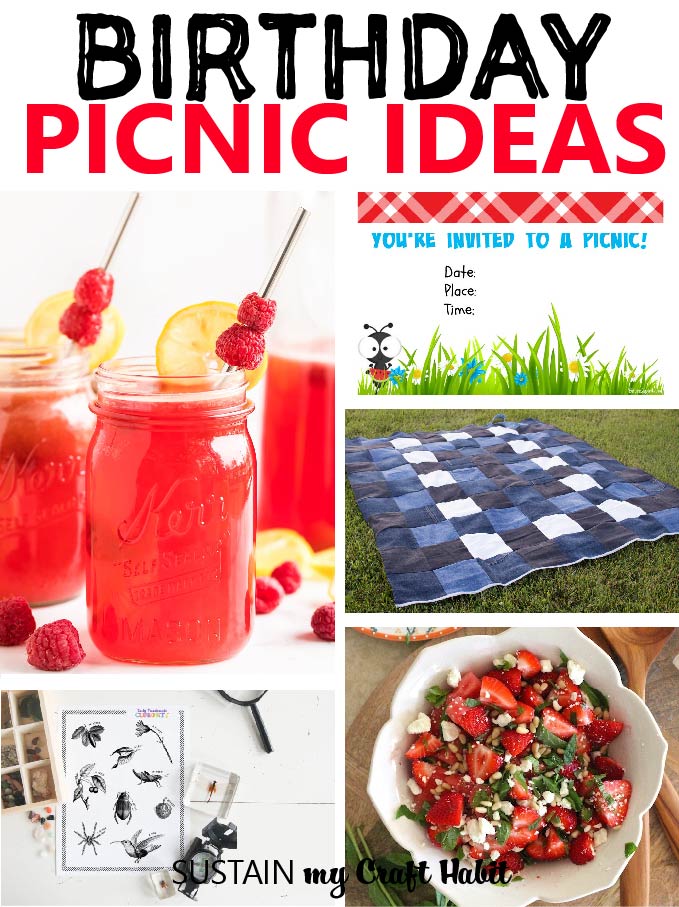
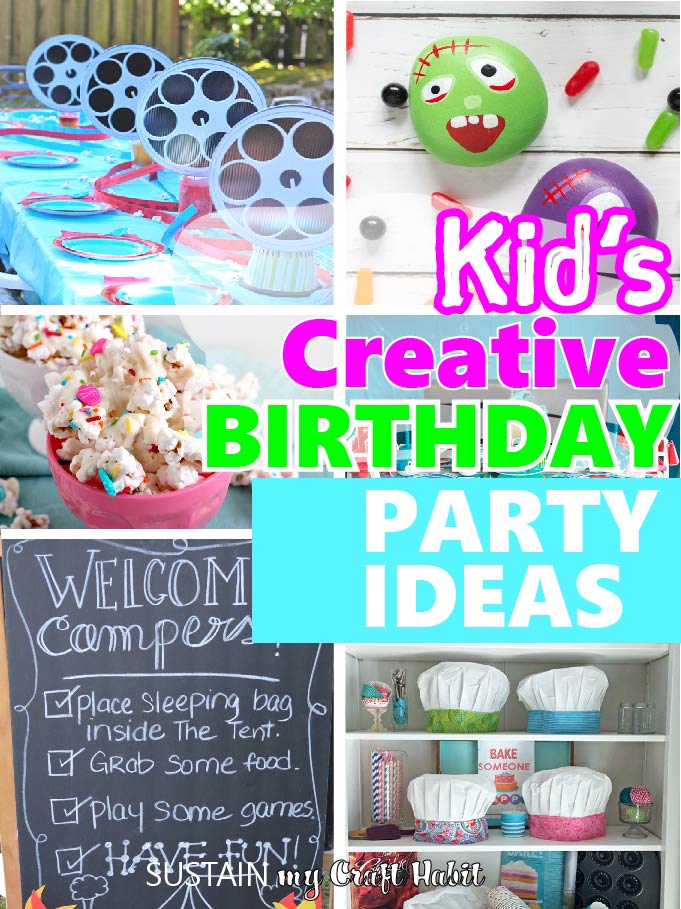
More Birthday Ideas

Get updates on the latest posts and more from Sustain My Craft Habit straight to your inbox by joining our weekly newsletter. We promise to send you only the good stuff!
Like it? Pin it for later!


DIY Birthday Cake Topper with Cricut
Materials
- Happy Birthday template in Design Space
- Cricut Maker or other Cricut cutting machine with Fine Point Blade
- Cricut Light Grip Mat
- Foil Paper in gold or any color of your choosing
- Hot glue gun with clear hot glue sticks
- Wood craft sticks
Instructions
Uploading the Pattern
- Open Cricut Design Space.
- Click on the “+” sign to start a new project, opening up a blank canvas.
- Click on the Images button from the toolbar.
- Search “happy birthday” image (#xx) and then click on the image to insert the pattern on the canvas.
- Resize the phrase to 6” high or whatever size you want the cake topper to be.
- Duplicate the image so two are showing on the canvas.
Cutting
- With the machine set to Cricut Maker, select “Make It” in Design Space.
- Set material type to Foil Paper.
- Place the gold paper onto the light grip mat.
- Follow prompts for loading paper into Cricut Maker and cutting. When the first cut is complete, unload the mat from the machine.
- Remove the cut pieces from the cutting mat.
- Turn on the mirror toggle button to flip the happy birthday phrase. And repeat cutting instructions to finish the second happy birthday cut-out.
Assembling the Cake Topper
- Place both cut pieces down on a flat surface with the gold side facing down.
- Using a hot glue gun, attach the craft sticks to the bottom of one of the cut-outs.
- Glue to the wrong sides of the cut-outs together being careful to align them perfectly.
- Insert ends of craft sticks into cake to complete the look.