Personalized DIY Outdoor Game with Cricut Joy
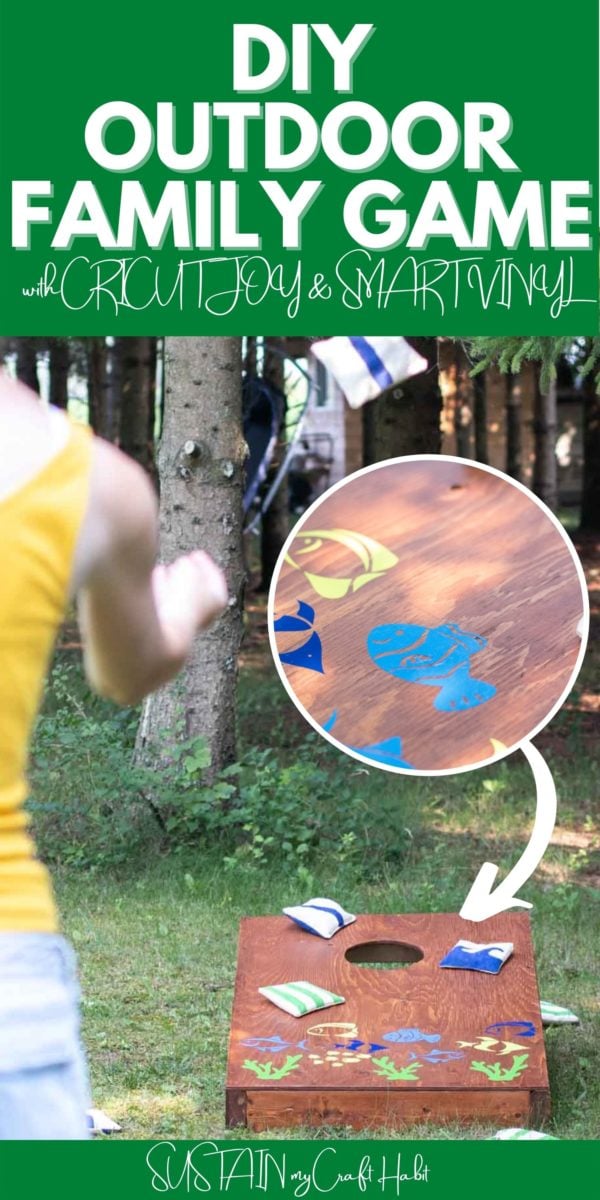
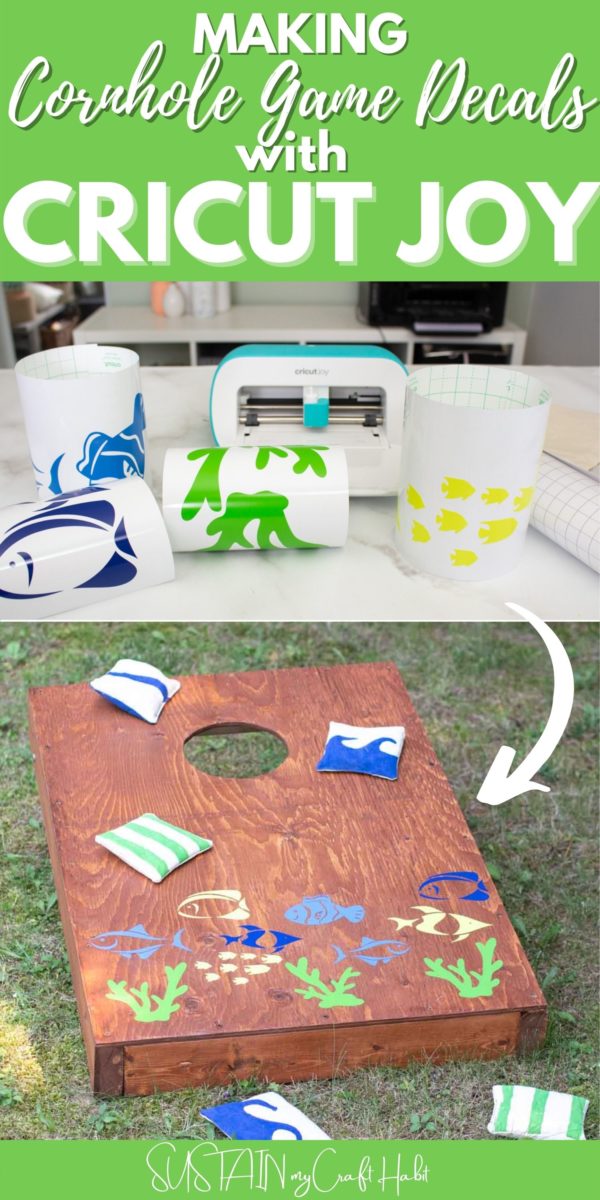
If you’re looking for a DIY outdoor game that the whole family can play this summer, then we’ve got you covered! This cornhole game idea made using scrap wood and embellished with Cricut Joy and Smart Vinyl .
Bring on the Family Fun!
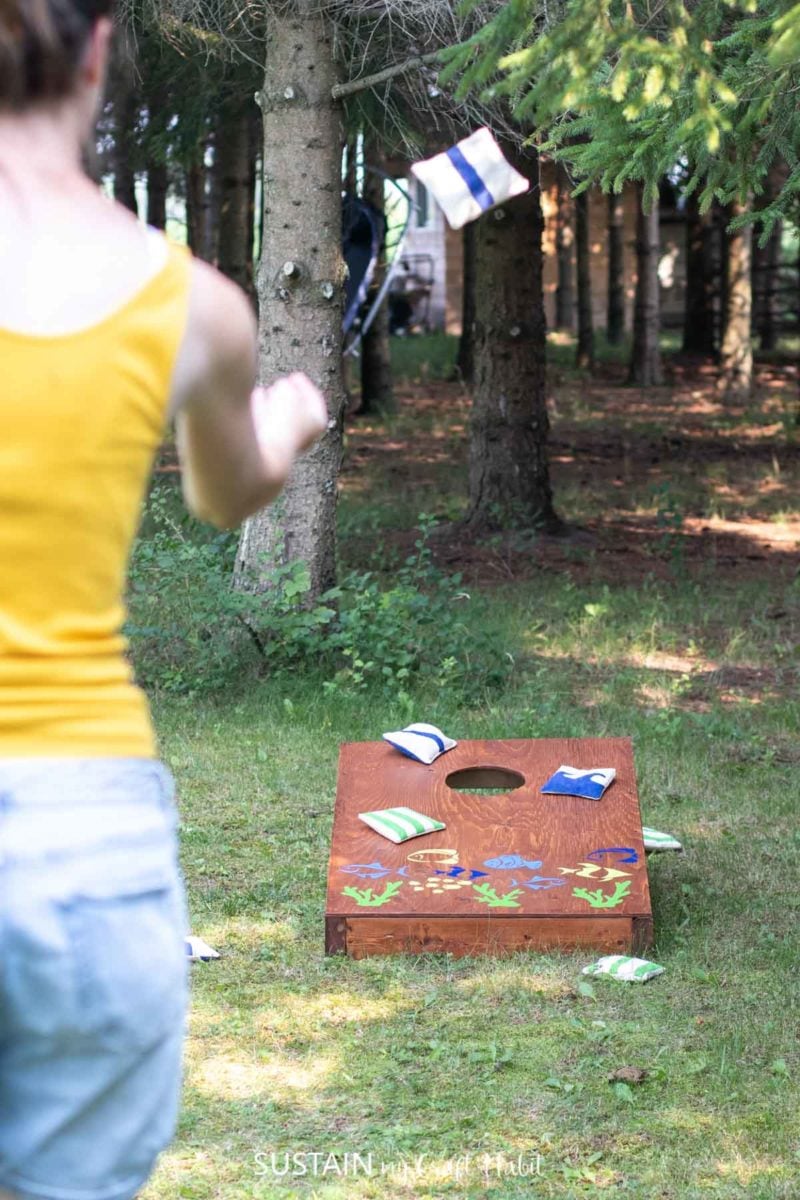
As a way of keeping our kids busy and OFF the devices this summer, we made ourselves a DIY cornhole game to play in the backyard.
And as a way of enticing them even further, we personalized the boards with colorful fishies (from Cricut’s Design Space image library) using our
The possibilities are endless when it comes to using Cricut Joy to help make games and activities for the whole family!
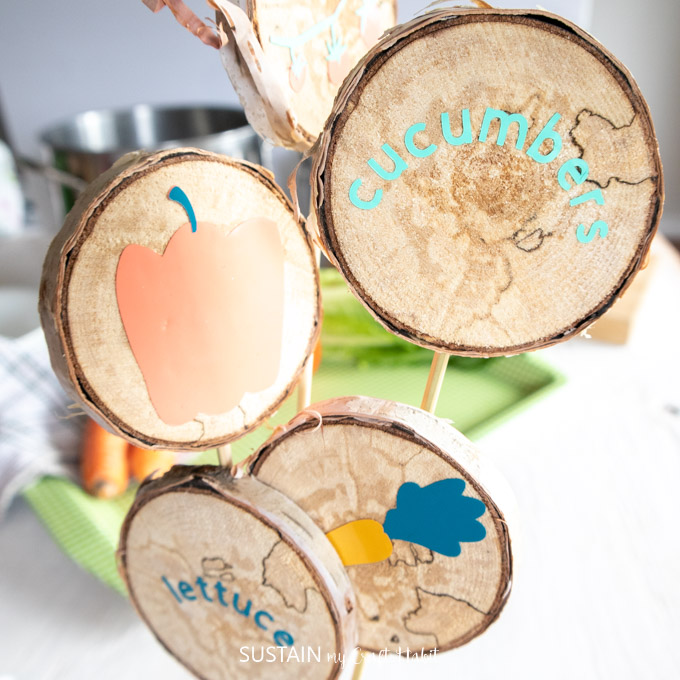
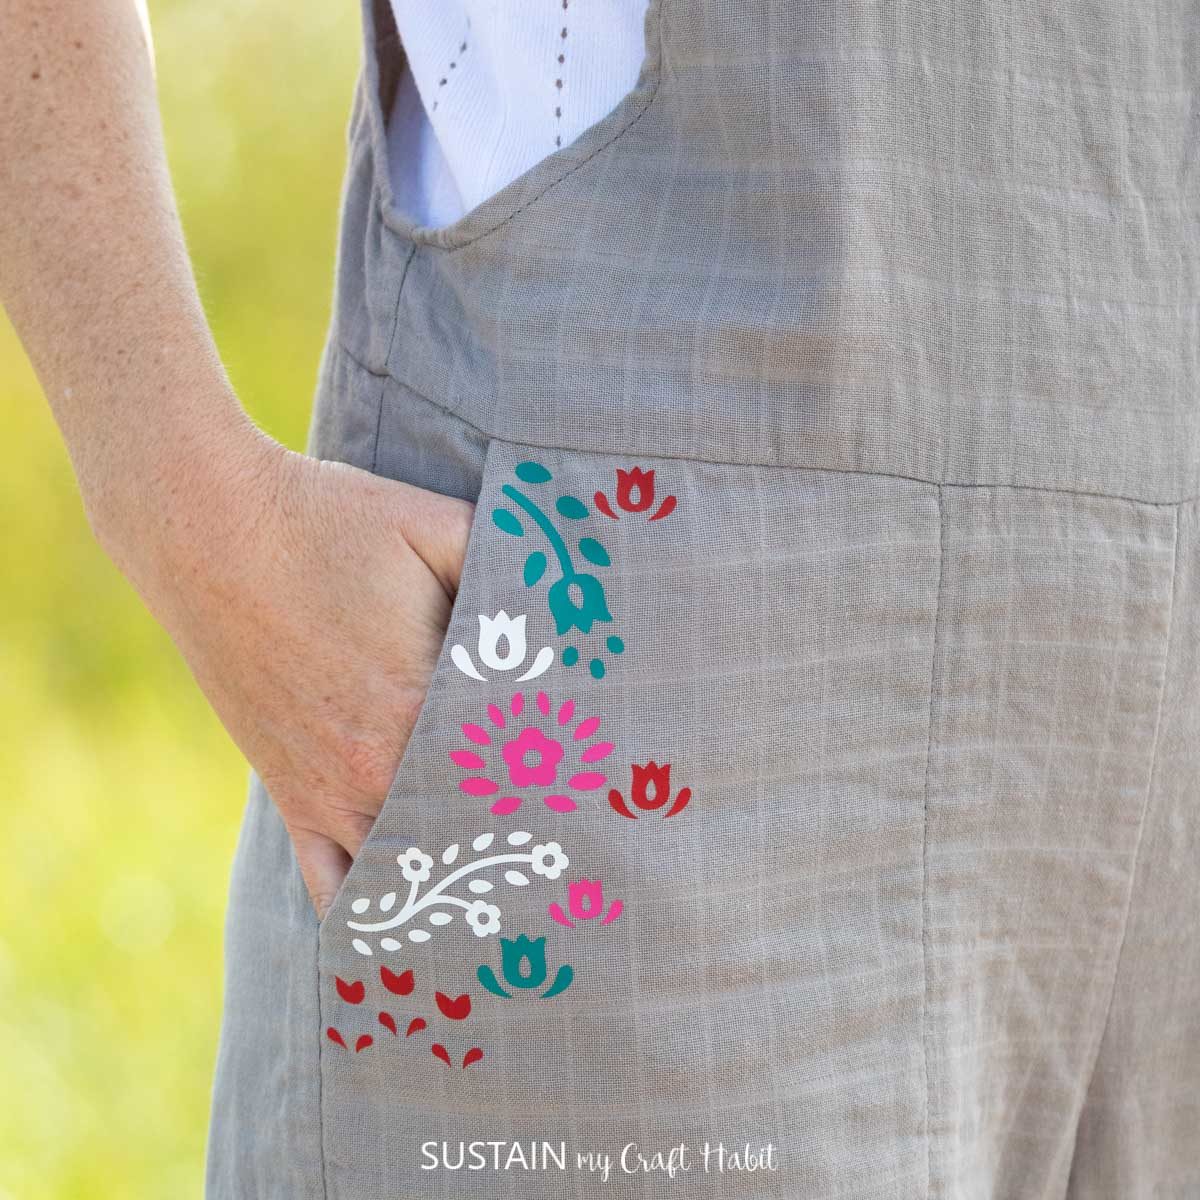
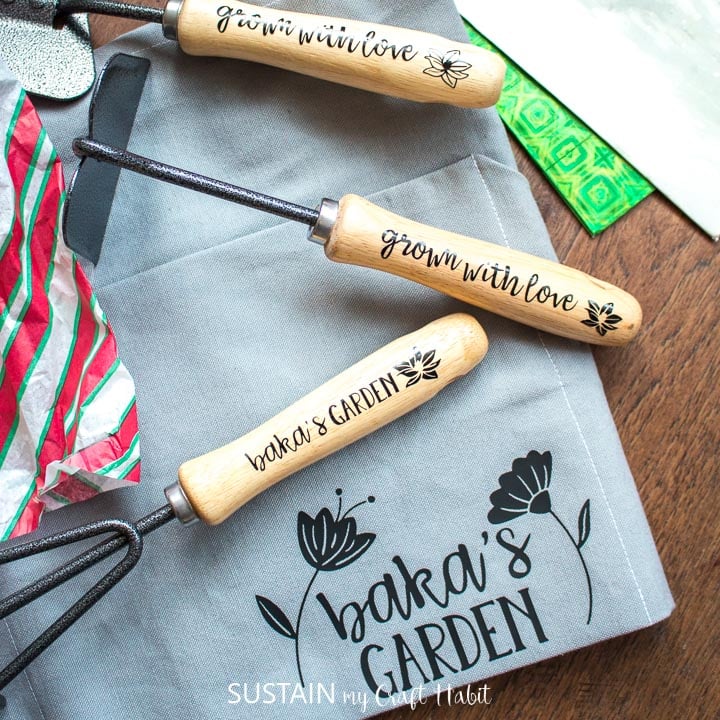
Cricut Joy makes it easy to add fun decals to any surface. Just take these personalized gardening tools and my cotton jumpsuit as just a few examples! By using Smart Materials, it’s even quicker and easier than ever before to create just about anything at any time.
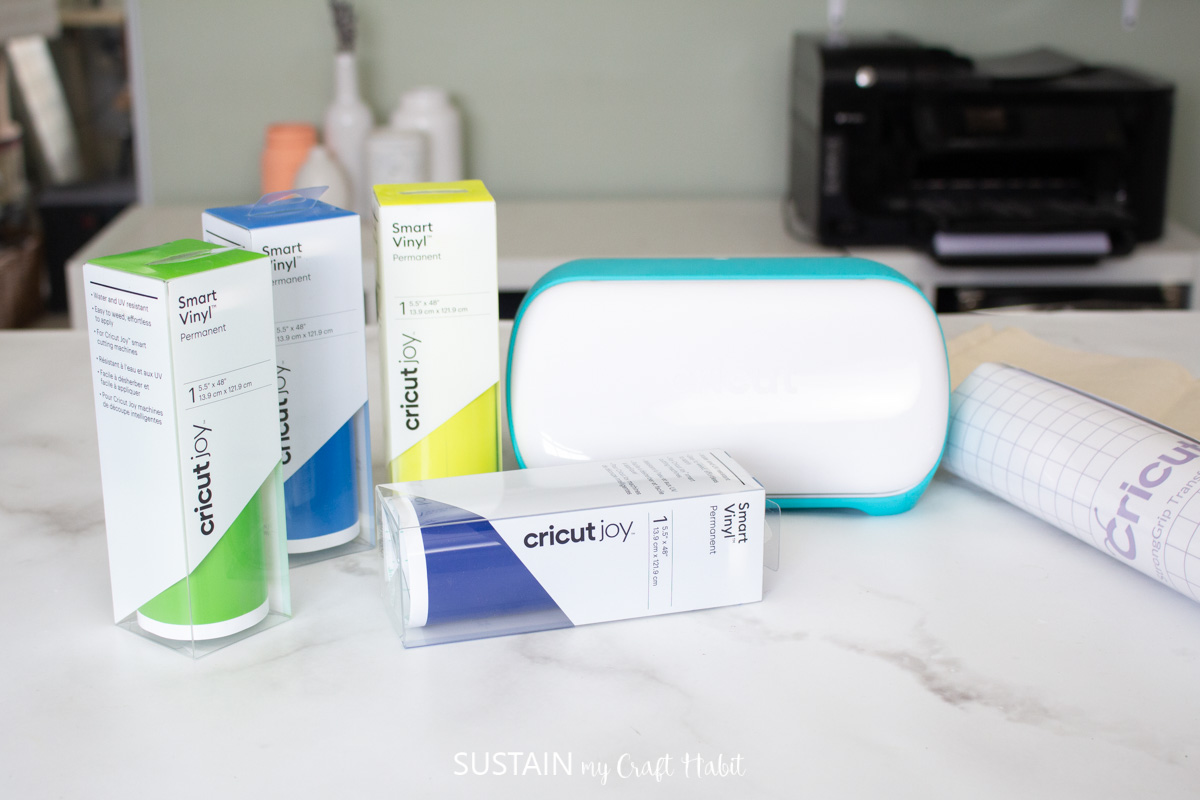
Materials Needed:
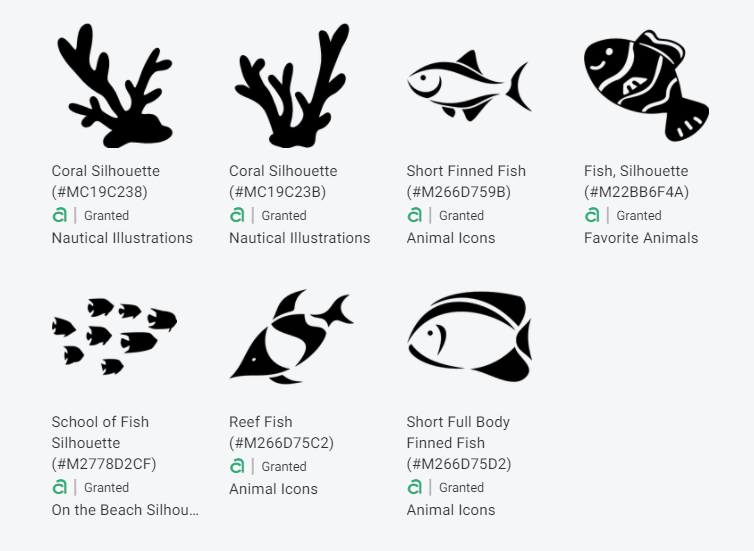
- Cricut Design Space #MC19C238, #MC19C23B, #M266D759B, #M22BB6F4A, #M2778D2CF, #M266D75C2, #M266D75D2
- Corn Hole Game (buy one or make your own cornhole game board with this tutorial)
Cricut Joy with Fine Point BladeSmart Vinyl , Permanent inWeeder (optional)Cricut Scissors Transfer Tape
Personalizing your DIY Outdoor Game:
Preparing the Image:
Open Cricut Design Space and click on the “+” sign to start a new project, opening up a blank canvas.
Click on the Images button from the toolbar and search the floral images #MC19C238, #MC19C23B, #M266D759B, #M22BB6F4A, #M2778D2CF, #M266D75C2, #M266D75D2 and then click on the images to insert them on the canvas.
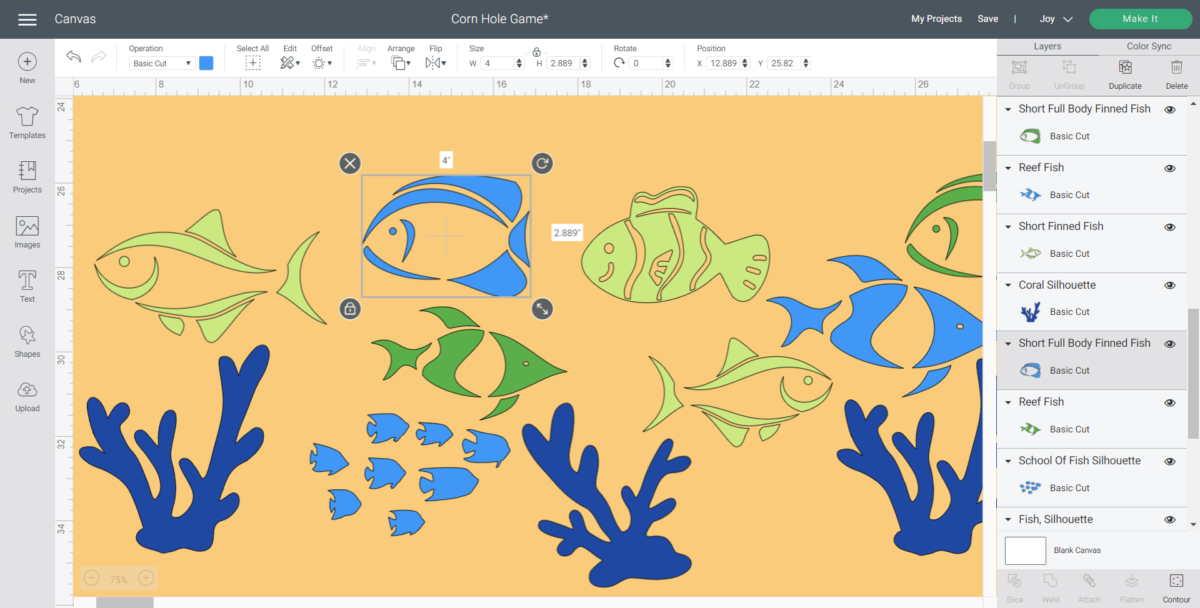
Adjust the sizes of the fish and coral images by highlighting each and clicking on the size box in the top toolbar or click on the image where the two arrows appear and drag the mouse to make them smaller. I increased mine to between 3.5” to 4.5” wide.
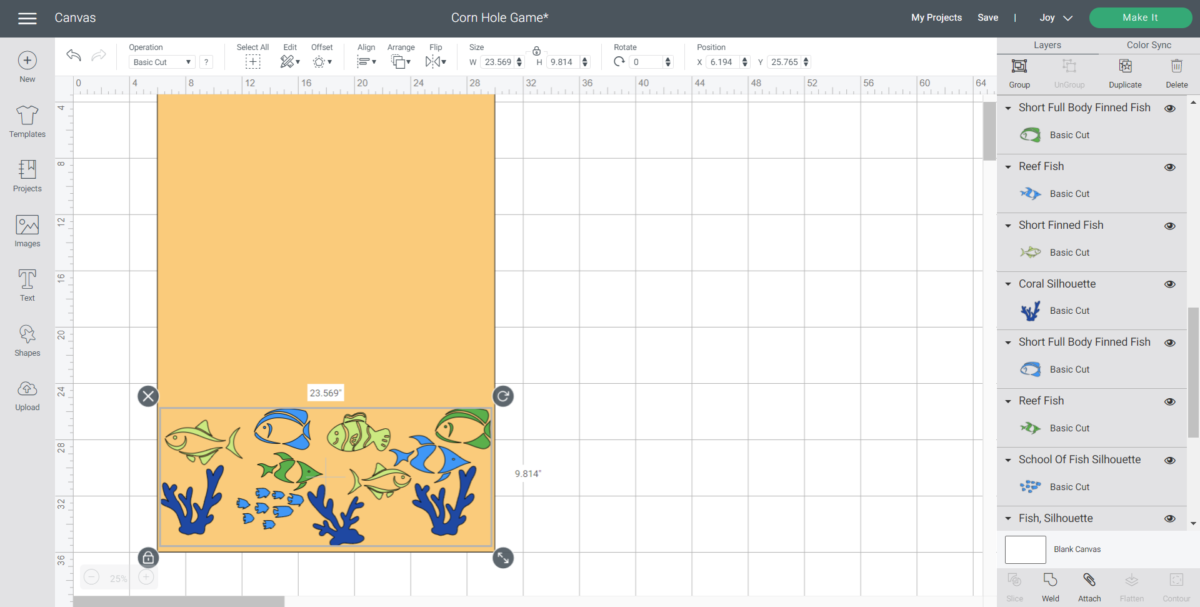
To see what the placement will look like on the game board, draw a rectangular shape the same size as the corn hole game, which in my case is 24” wide x 36” high.
Next, place the fish and coral images on top of the rectangle to help determine size, scale and placement.
Once happy with the layout, change the colors of the images to match the Smart Vinyl colors.
Lastly, duplicate the design to cut two (to have for both boards if desired) and change the colors so each corn hole board is a bit different.
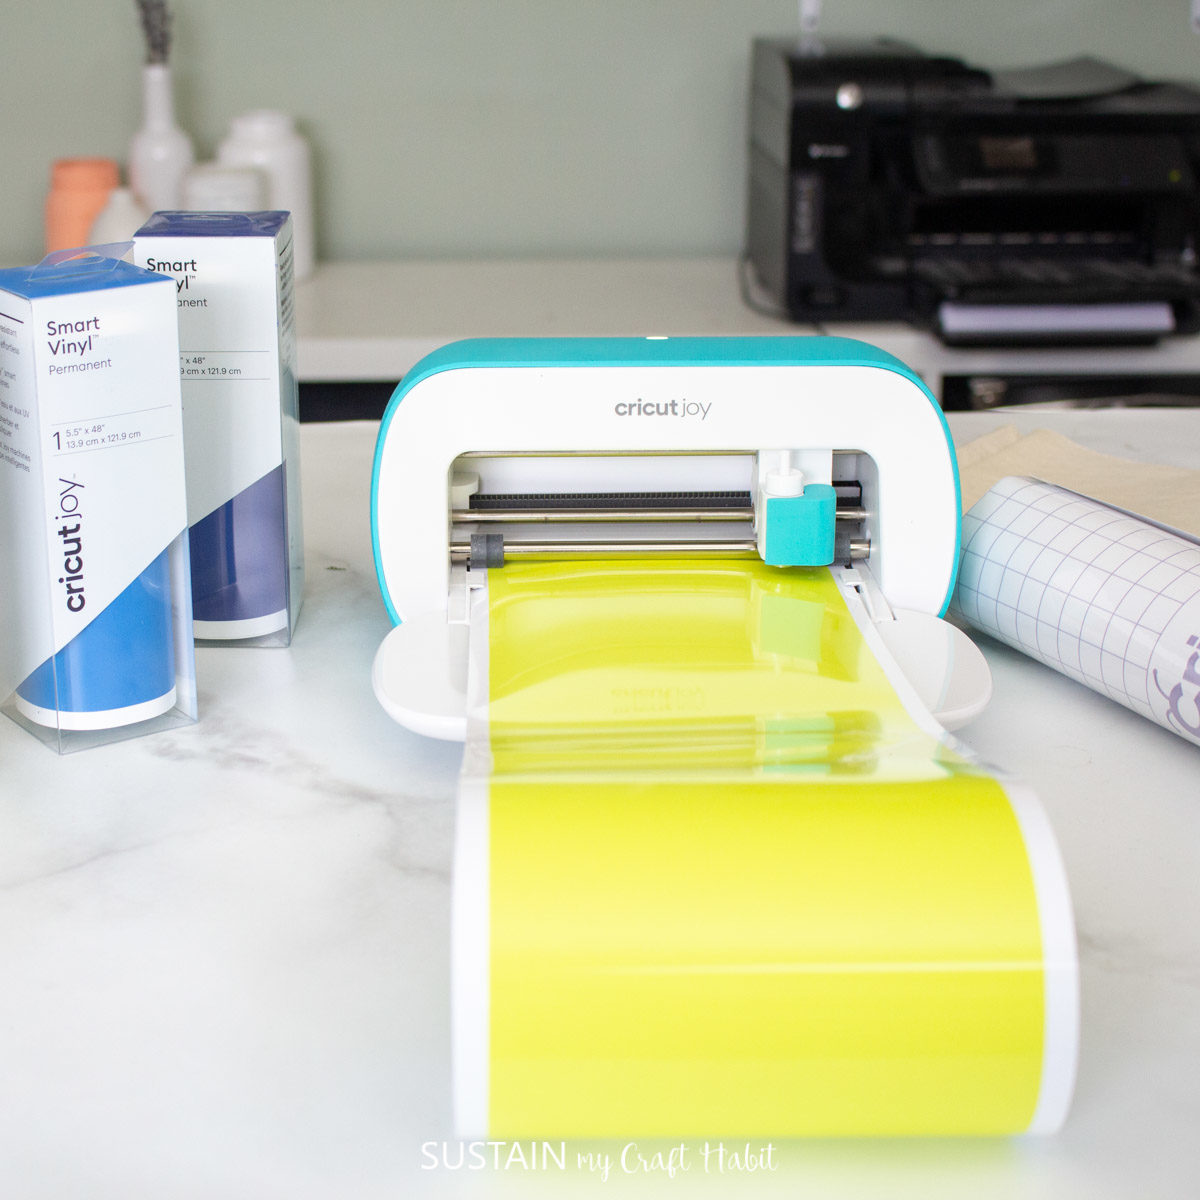
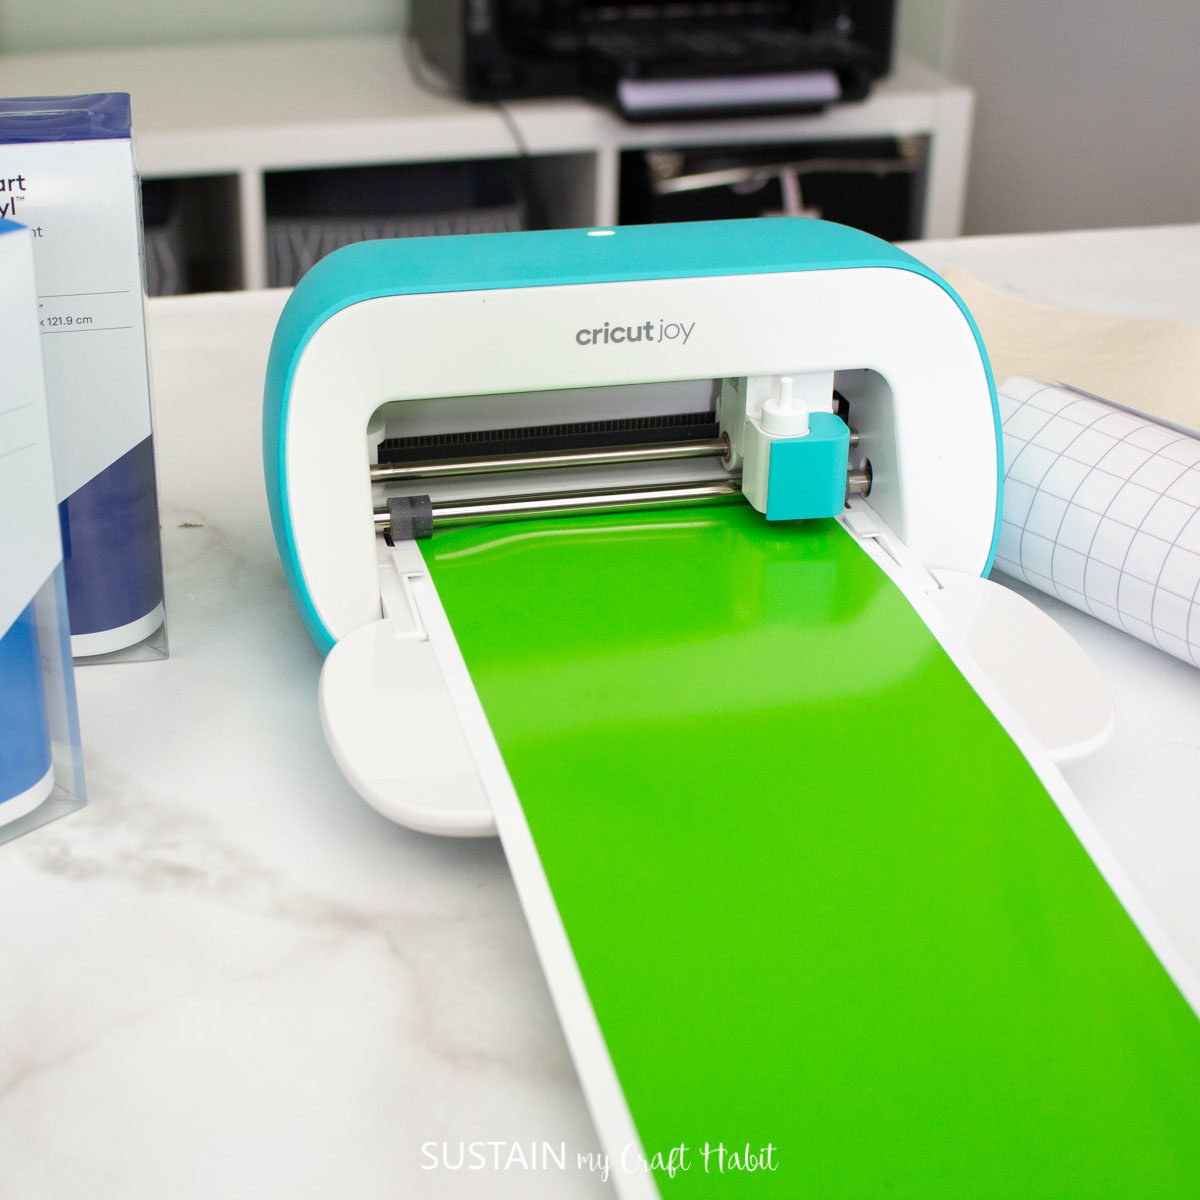
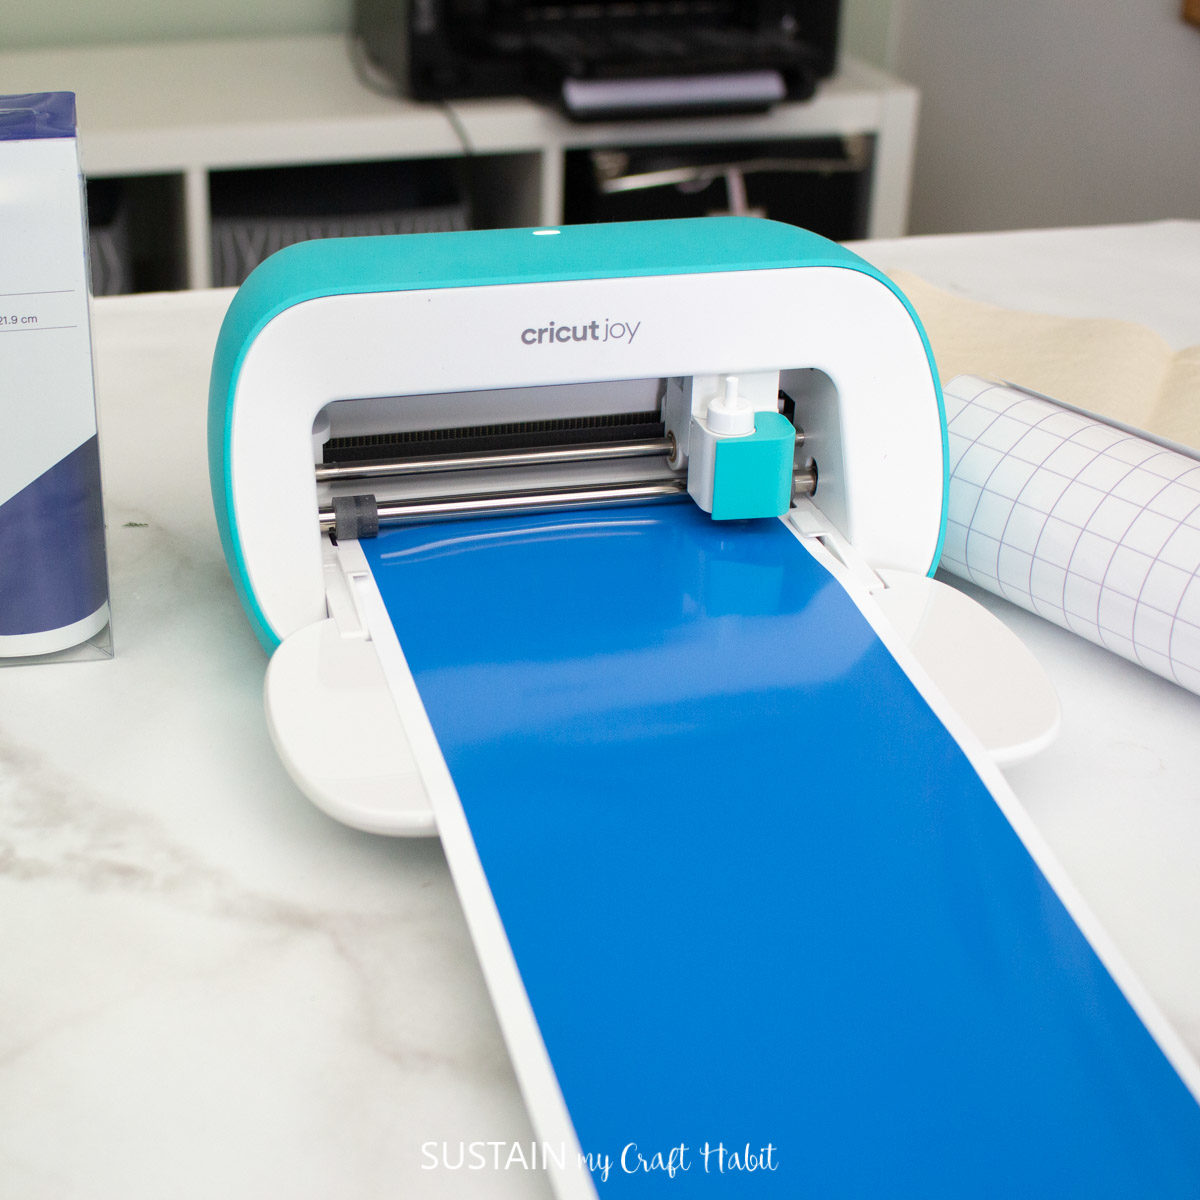
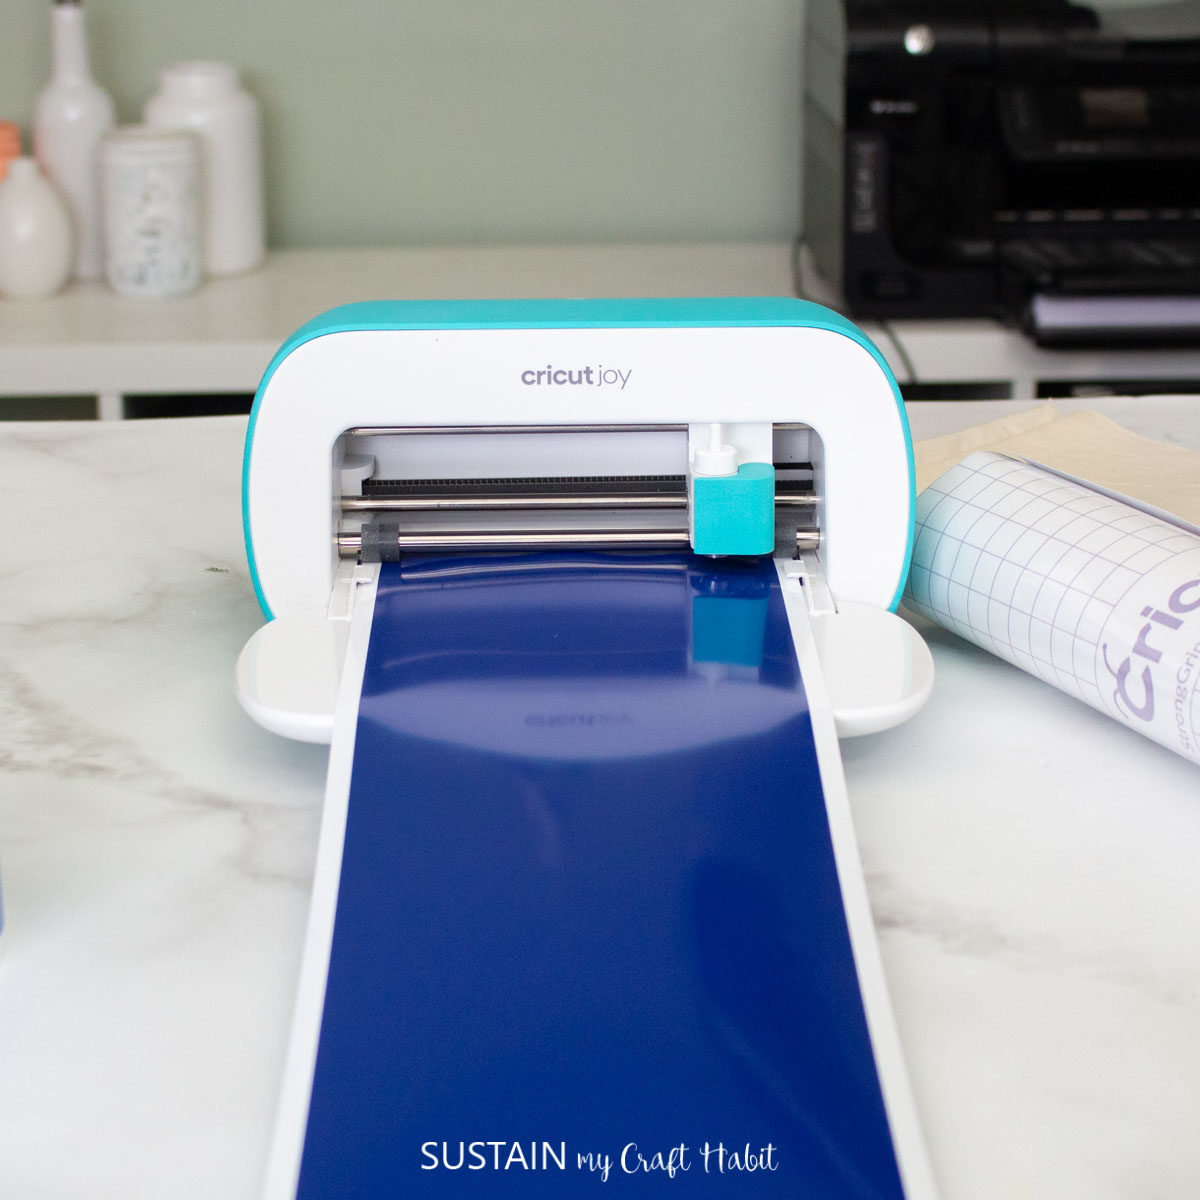
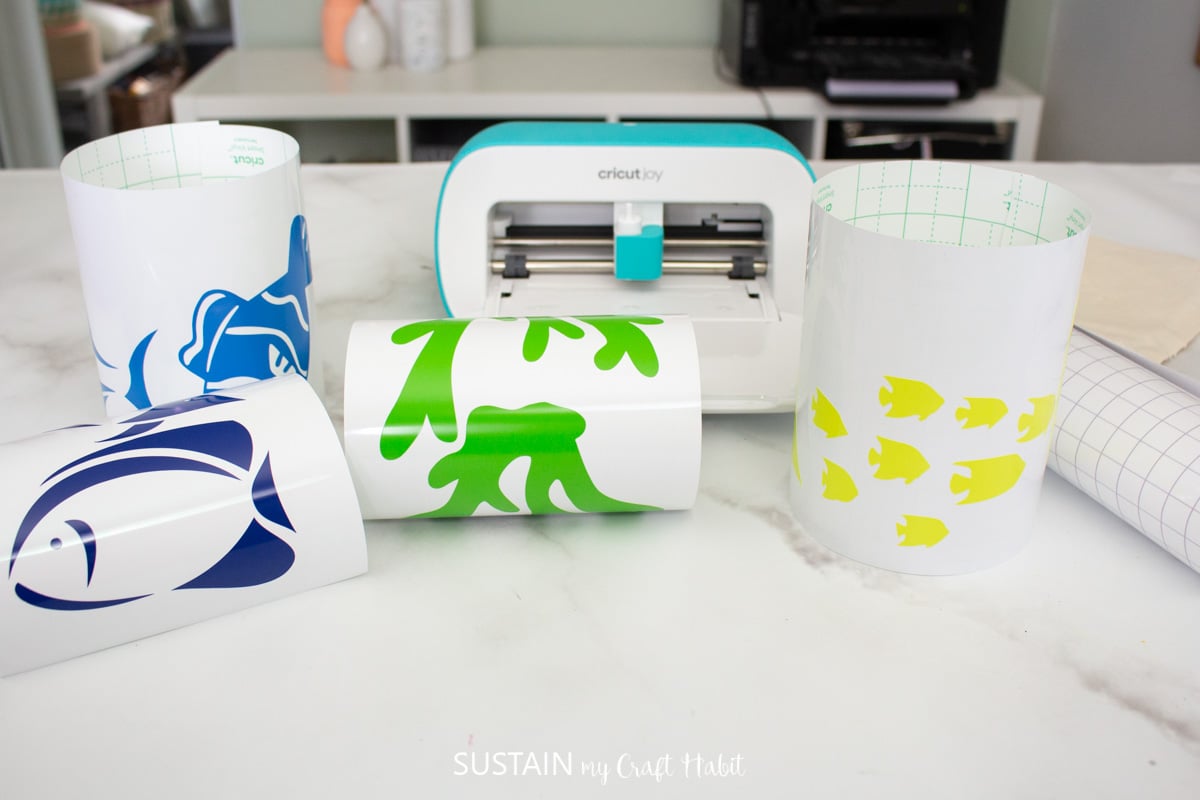
Cutting the Smart Vinyl:
Select “Make It” in the upper right corner to proceed with cutting and choose “Without Mat”.
Following the instructions prompted on the screen, load the Smart Vinyl into the Cricut Joy and cut out the pieces. Continue until all the pieces are cut.
Preparing the Cut Image:
Cut around the images and using a weeding tool, peel away the excess vinyl leaving only the fish and coral images.

I even had my 6 year old neice help me weed the vinyl for these little fishies! That too, kept her busy and occupied… and off the devices! Talk about a win-win 🙂
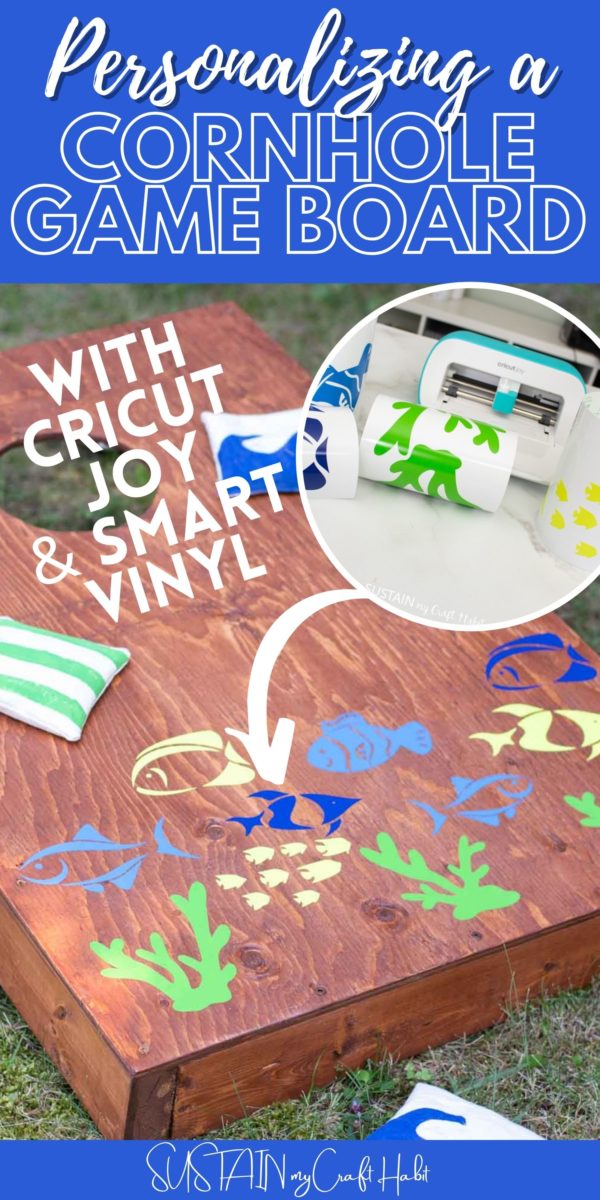
Applying the Images to the Cornhole Board:
Now for the fun part: applying the Smart vinyl cutouts on to the cornhole board game.
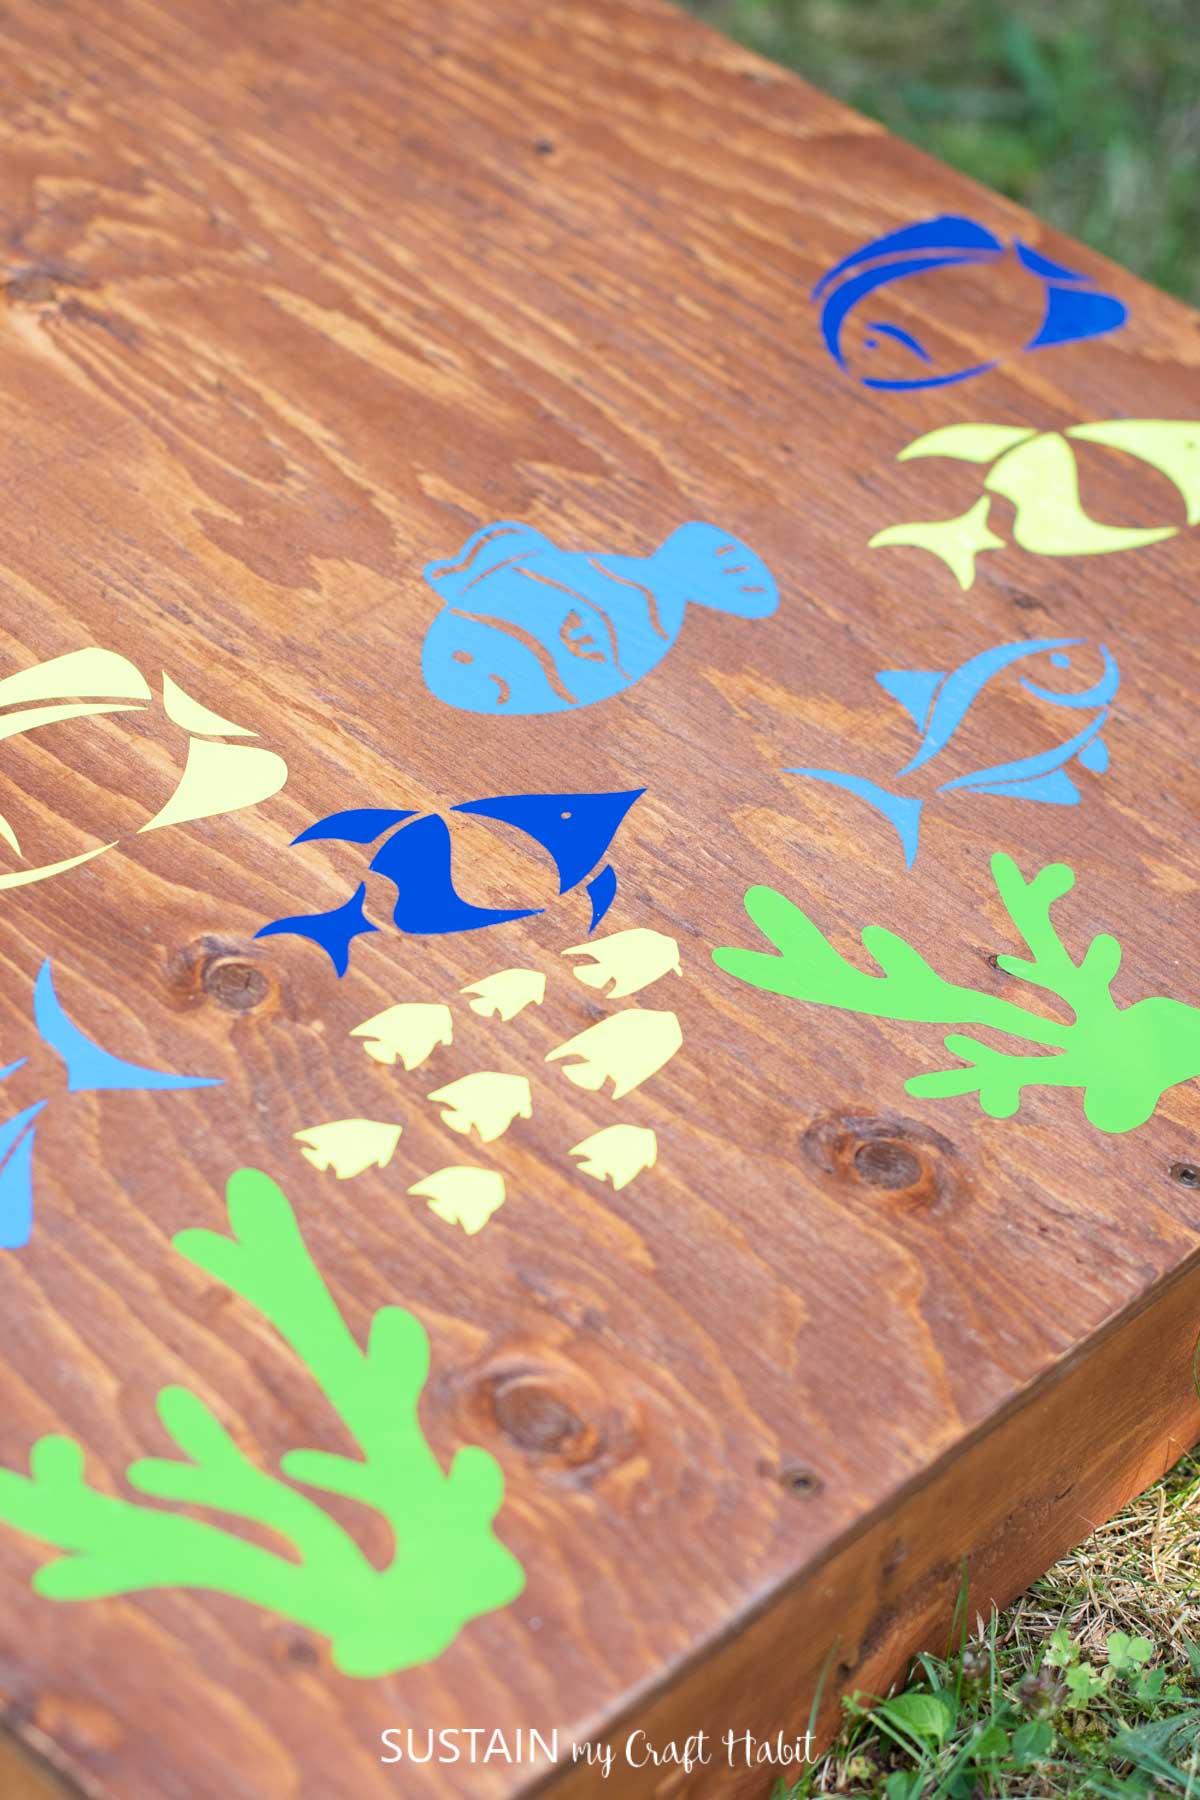
For the one piece coral cutouts, transfer sheets are not needed. Simply peel off the coral from the backing and press it directly on to the board.
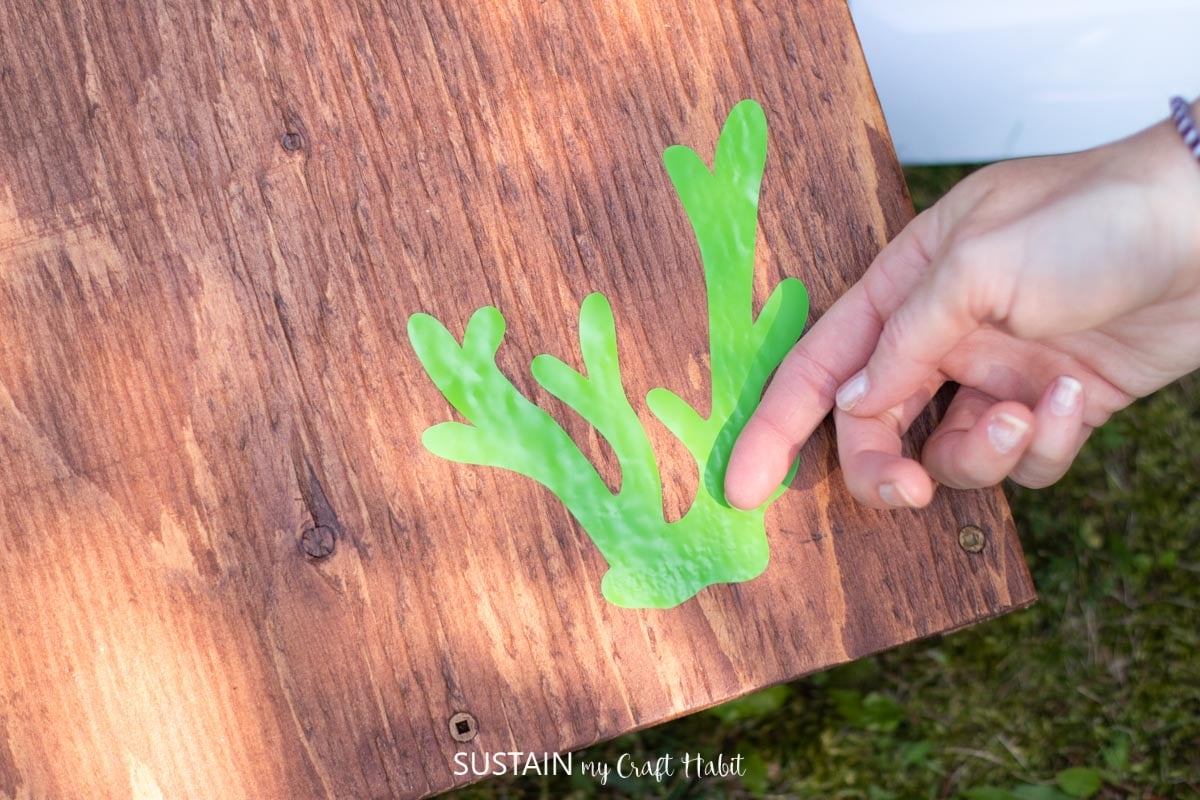
Place all the coral pieces across the bottom of the cornhole game board.

For the remaining fish images, place a piece of transfer sheet overtop of the design and press it down firmly. Use your nail (or a
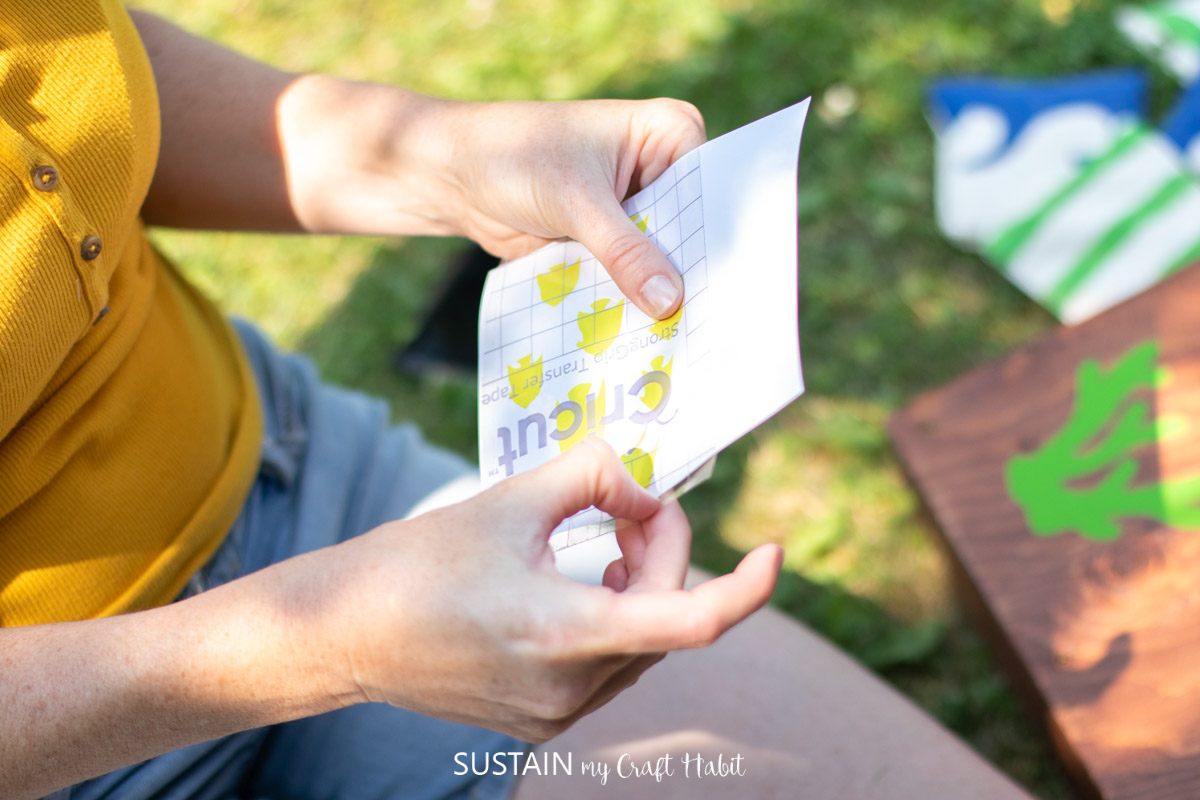
Peel away the Smart Vinyl backing and place the fish and coral images with the transfer sheet on to the board and press it firmly down again.
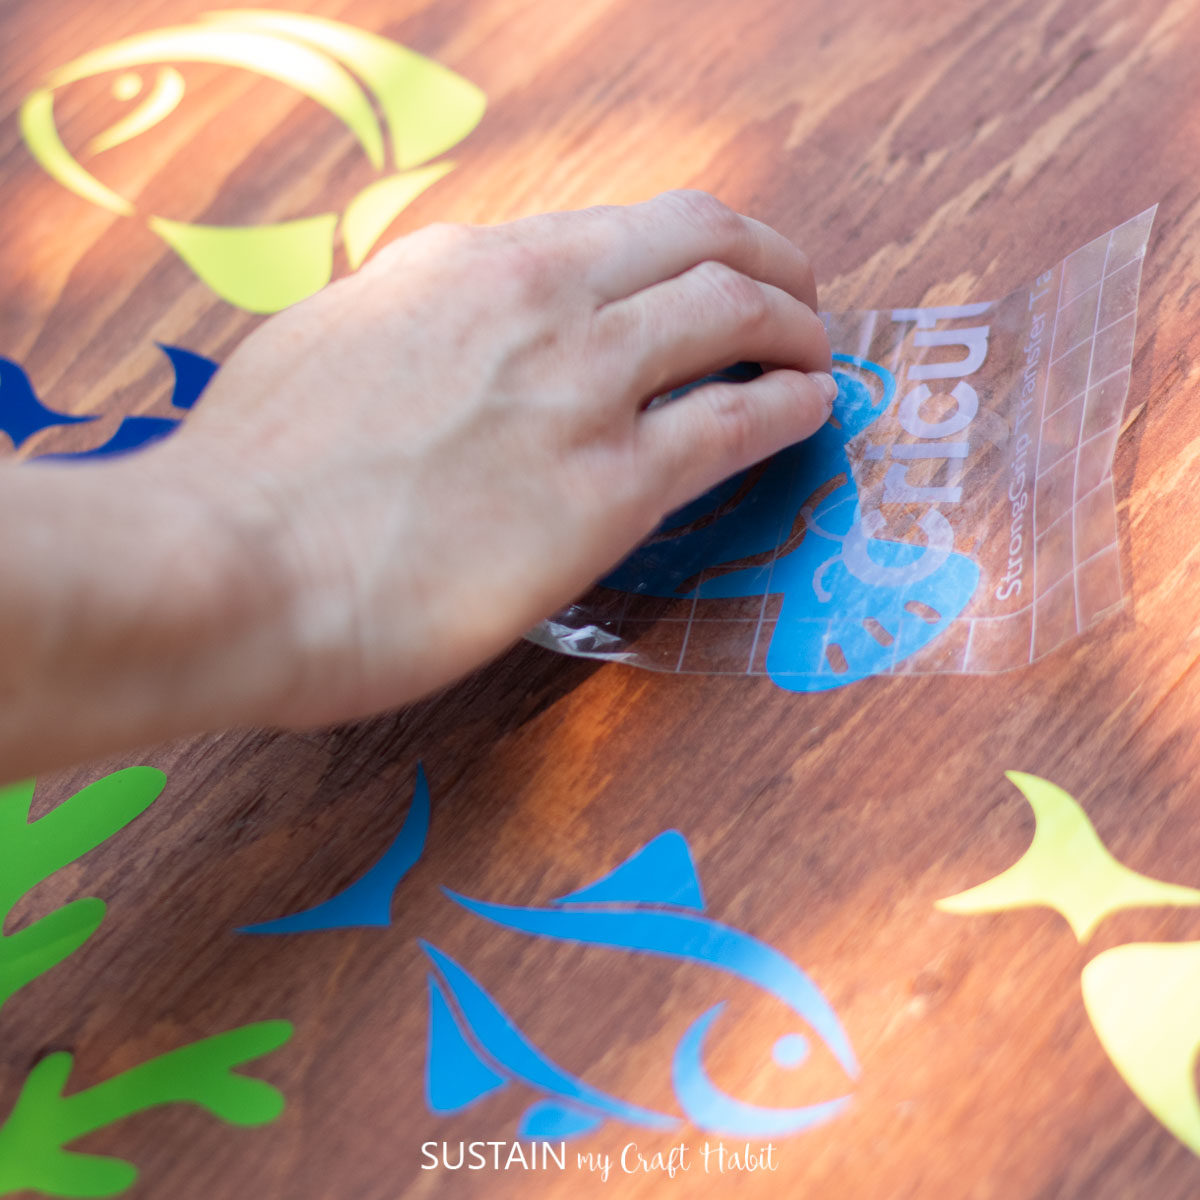
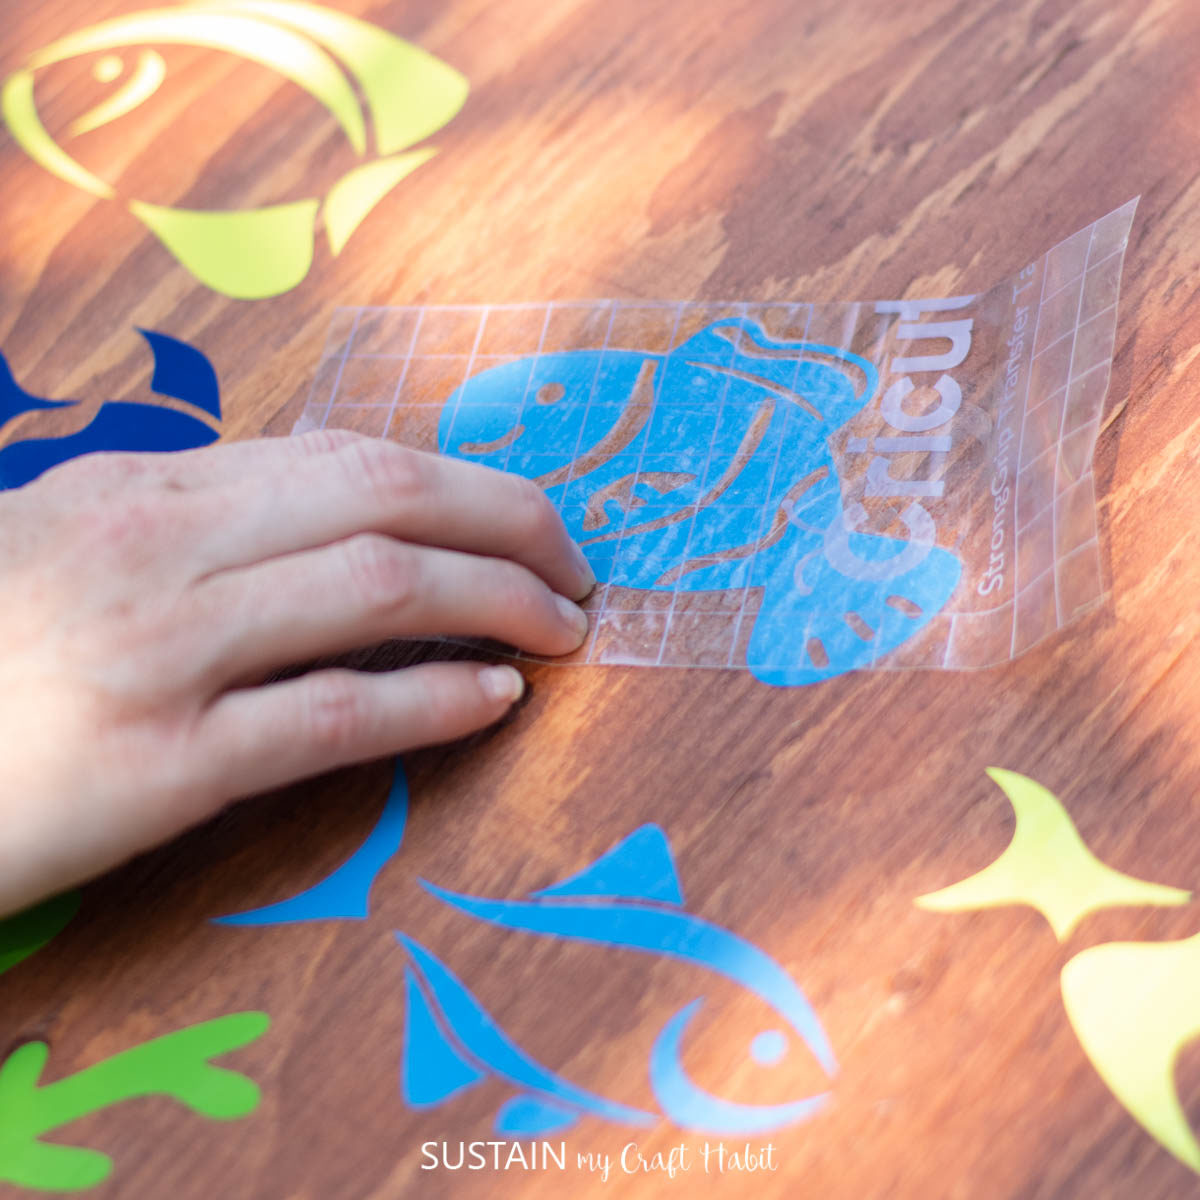
Carefully peel away the clear transfer sheet leaving behind only the design.
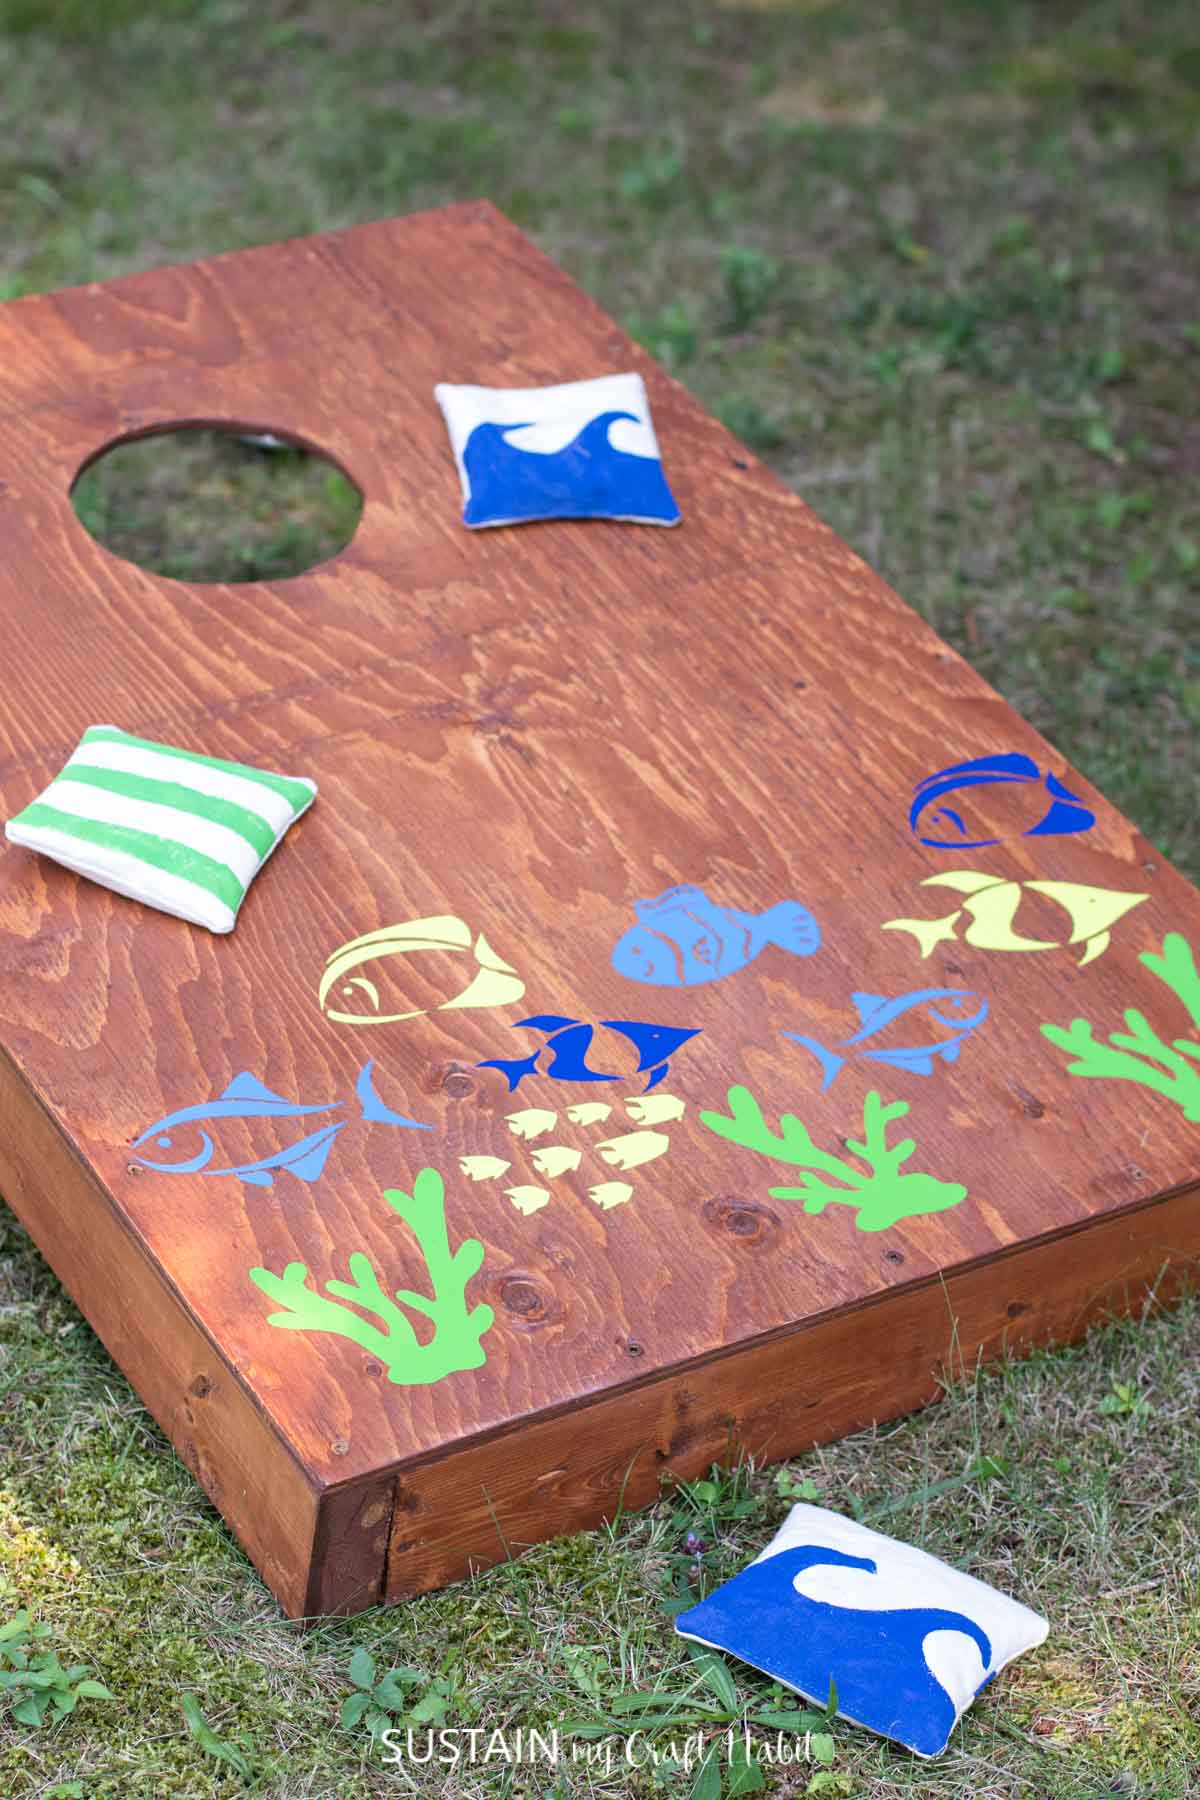
Continue until all the pieces are transferred on to the board and then apply the 2nd set on to the other board.
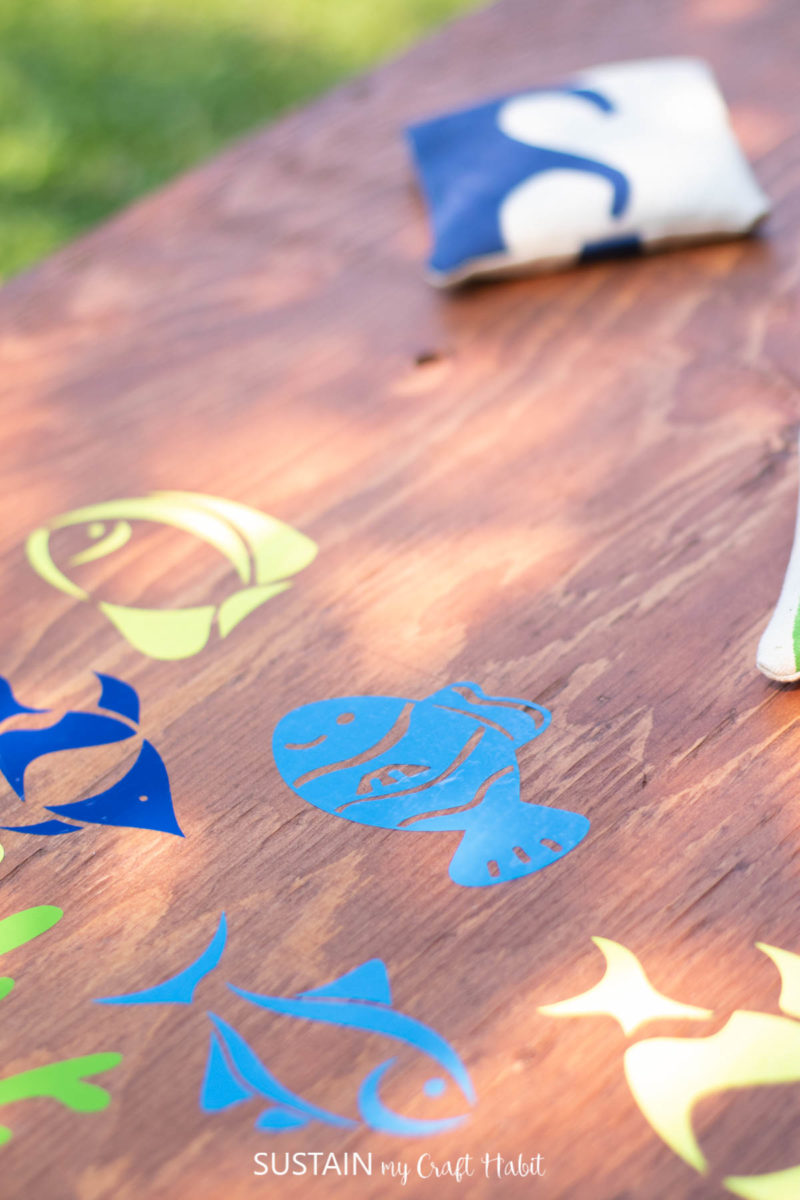
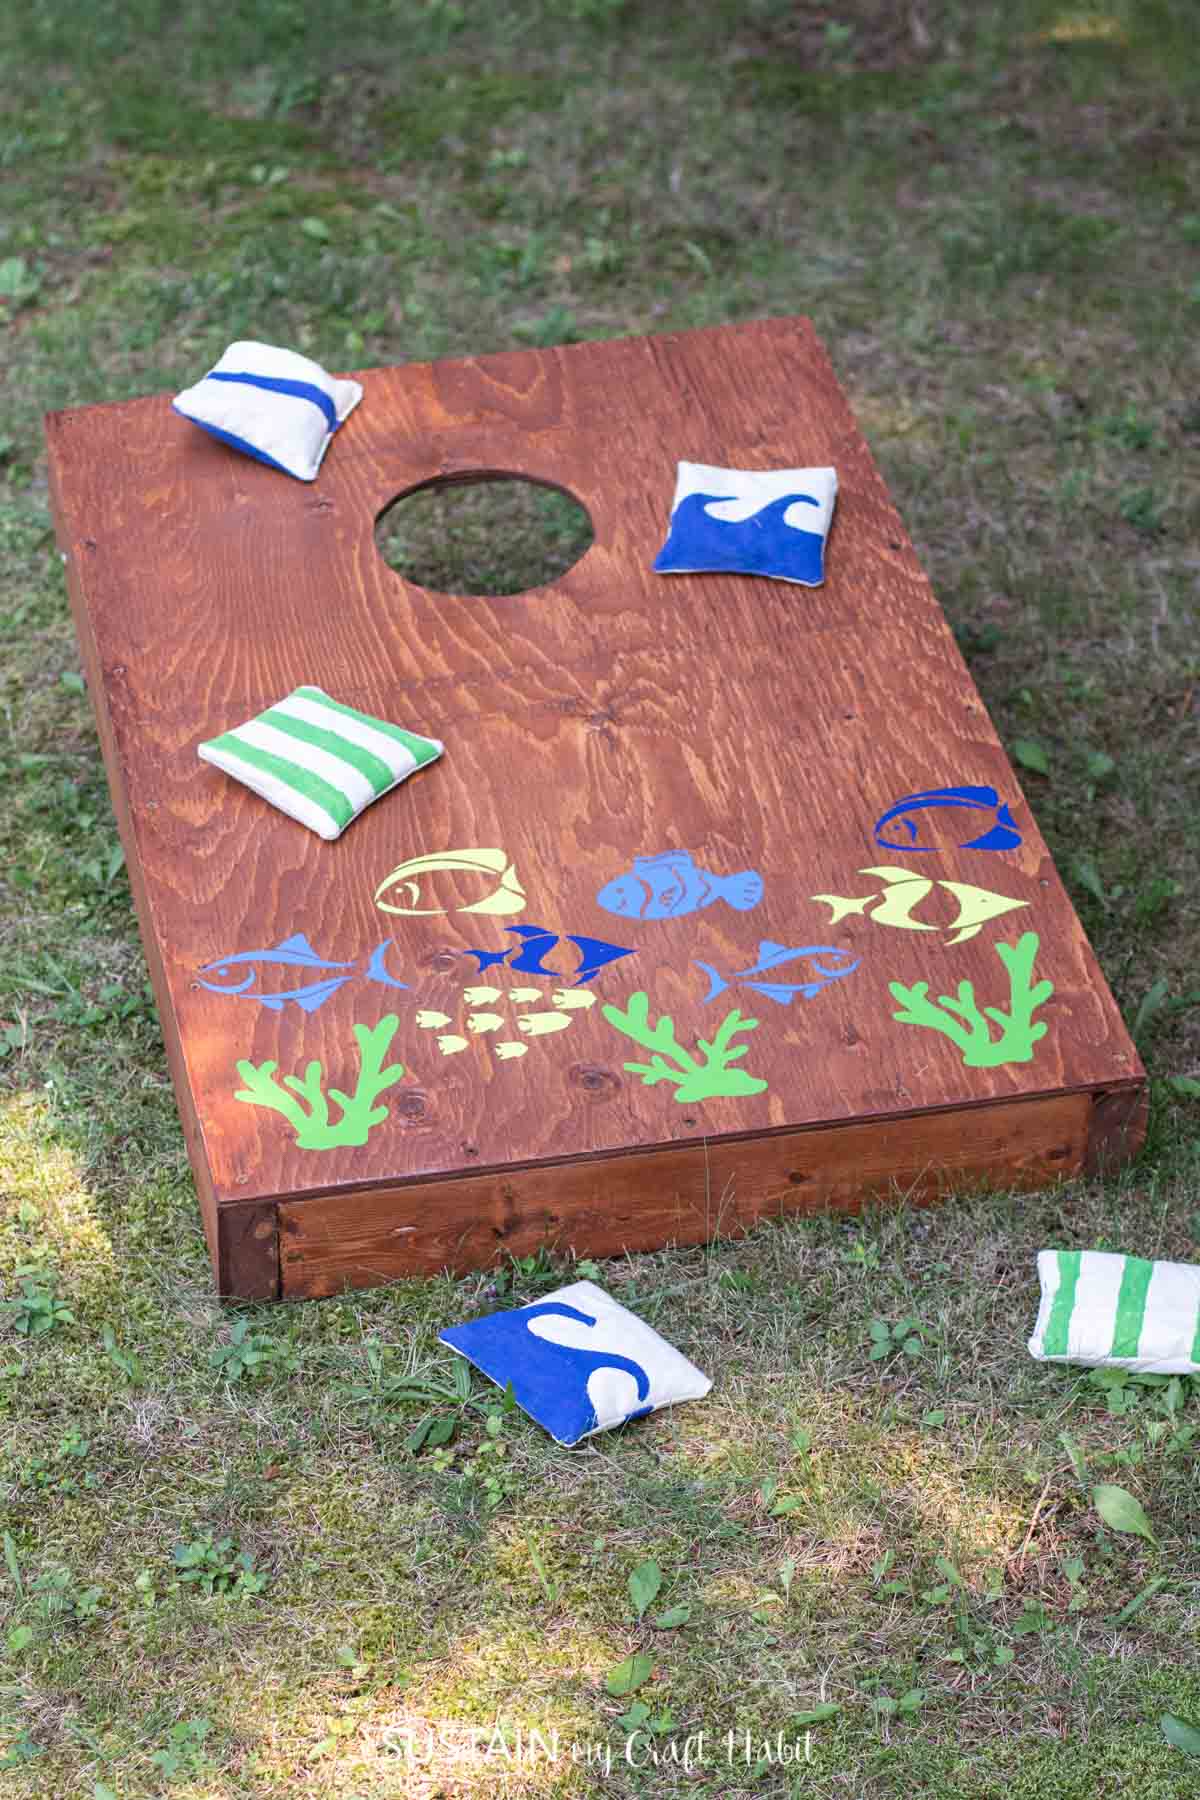
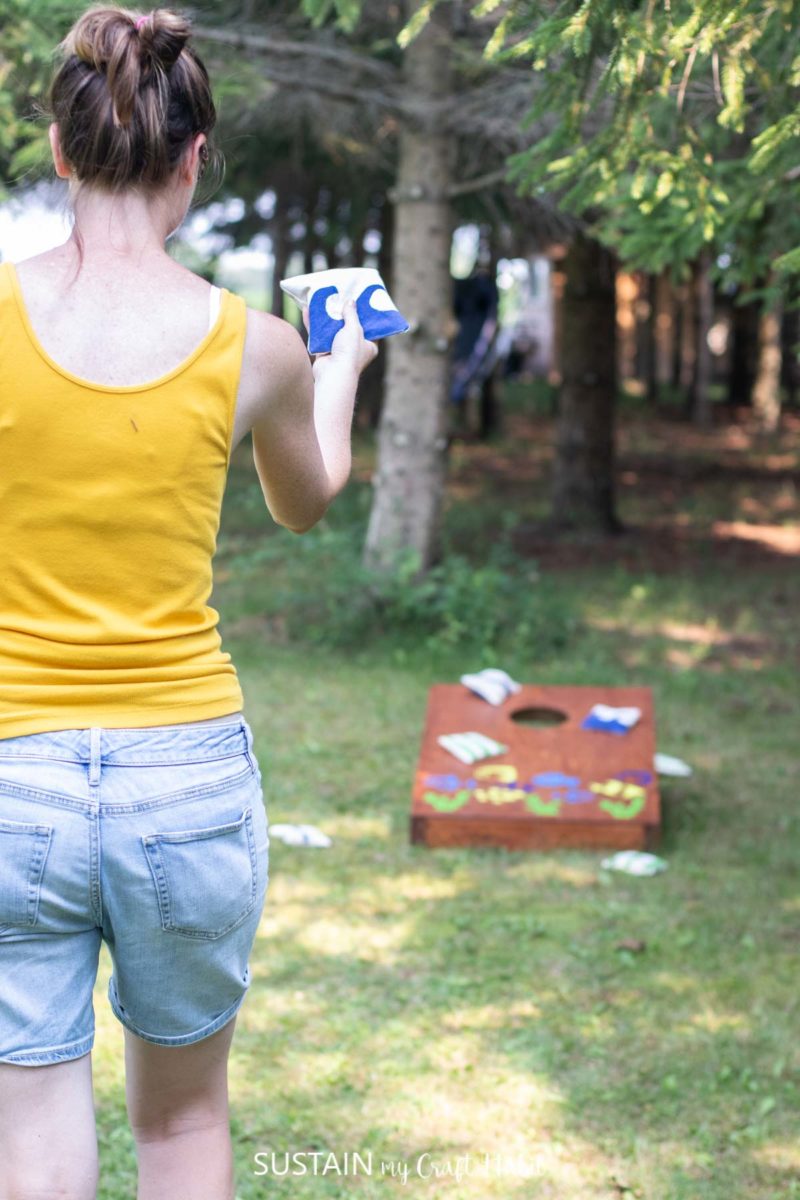
With that, the outdoor game is ready for playing and the family fun can begin!
Store the game in a dry place when finished using it to keep the fun long lasting. To learn the rules of the game, visit our post on making a cornhole game board for your backyard.
Grab your own
More Creative Cricut Joy Crafts
Although these are not exactly DIY outdoor games, they are fun craft projects to make and enjoy.

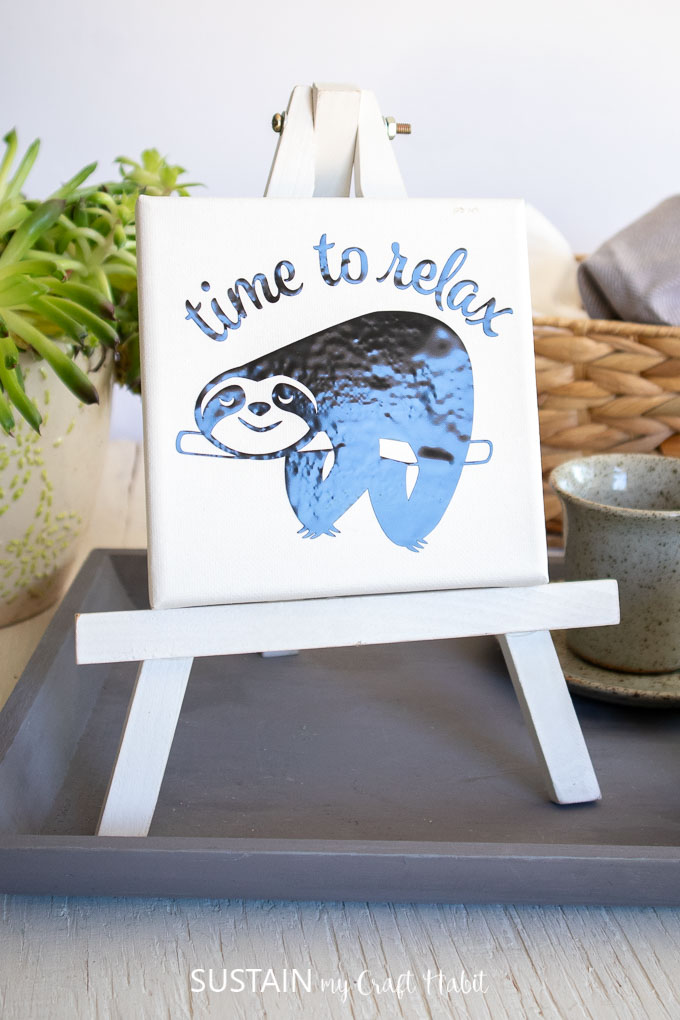
Thanks a Latte Card 
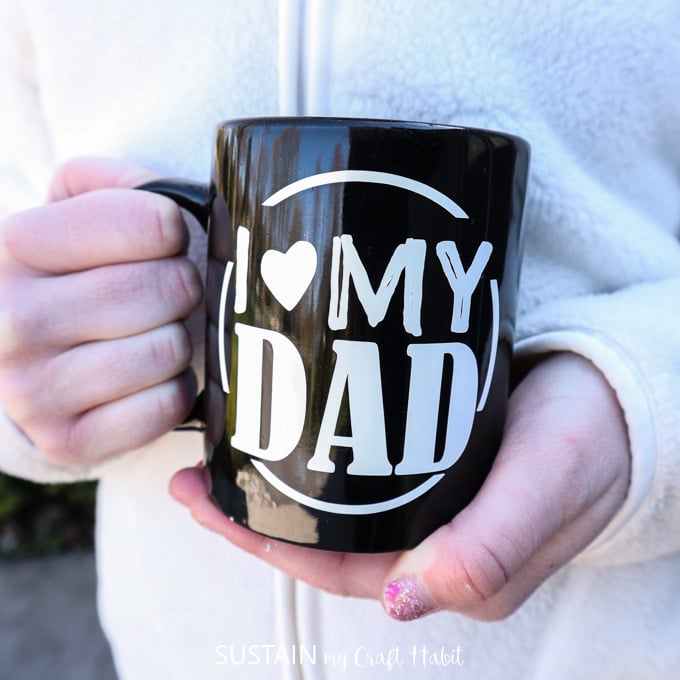
DIY Sloth Art Garden Markers I Love My Dad Coffee Mug 
Embellished Womens Jumpsuit 
Personalized Gardener’s Gift Set

Be sure to SUBSCRIBE for additional Cricut craft ideas (+ access to our resource library filled with SVG cut files).
Like it? Pin it for later!