Making A Card With Cricut Joy
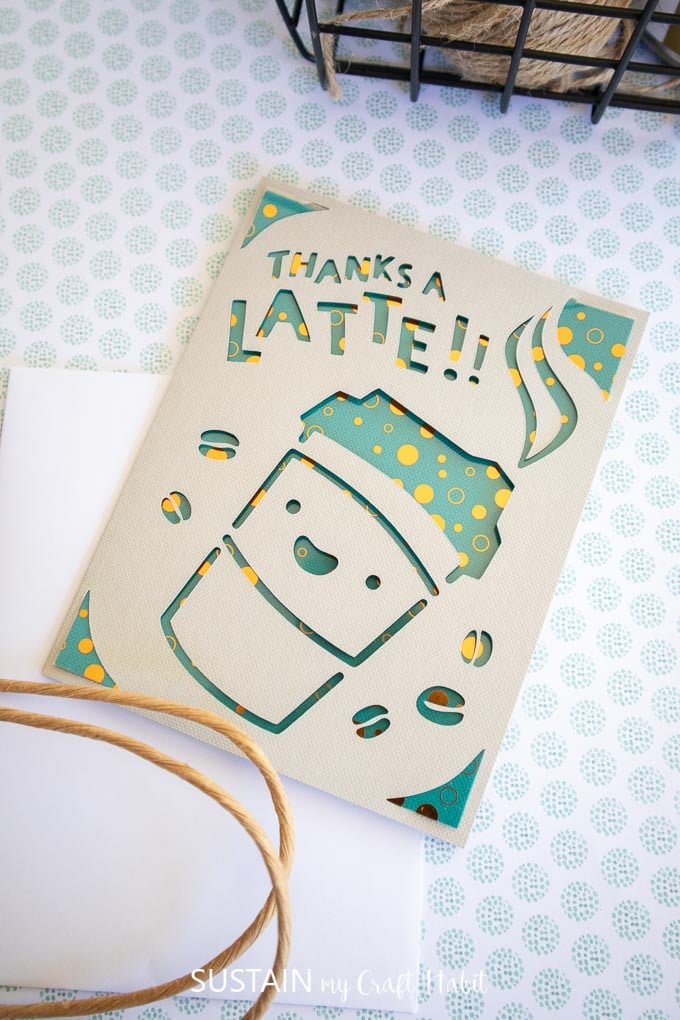
From healthcare workers, teachers, neighbors and all those who have gone the extra mile over these past months, there are so many people to thank! We’re going to show you how easy it is to make a beautiful “Thanks a Latte” card with the new Cricut Joy.
Welcome to the Creative Craft Blog Hop!
Today we’re joing in with some of our crafty blogging friends for the Creative Craft Blog Hop. If you’re coming by from Purple Hues and Me – welcome! Wasn’t Gail’s decoupage project so pretty?
We’re so happy to have you here and invite you to poke around our blog where we share nature-inspired DIY, crafts and home decor ideas. We’re Jane & Sonja, sisters, moms and craft addicts who live outside of Toronto, Canada.
This Creative Craft Blog Hop is hosted by Chloe at Celebrate & Decorate as well as Andrea at Design Morsels. Be sure to explore all the fun craft ideas. Head on over to Cha’s Crazy Creations next – she’s sharing a flower pot lighthouse project we’d love to make!
Celebrate And Decorate | Design Morsels | My Thrift Store Addiction
Home Is Where The Boat Is | Purple Hues And Me | Sustain My Craft Habit
Chas’ Crazy Creations | Bluesky At Home | Raggedy Bits | Decorate & More with Tip B4s and Afters | The Painted Apron | Birdz of a Feather | Debbees Buzz
My Hubbard Home | Zucchini Sisters | White Arrows Home
Card Making with the Cricut Joy
Ever since we received the new Cricut Joy a couple of months ago, we’ve been wanting to try our hand a card making with this. Cricut makes it so easy with a special card mat designed specifically for the job. They also have packages of cards with inserts and envelopes. Just pick a design and you’re good to go!
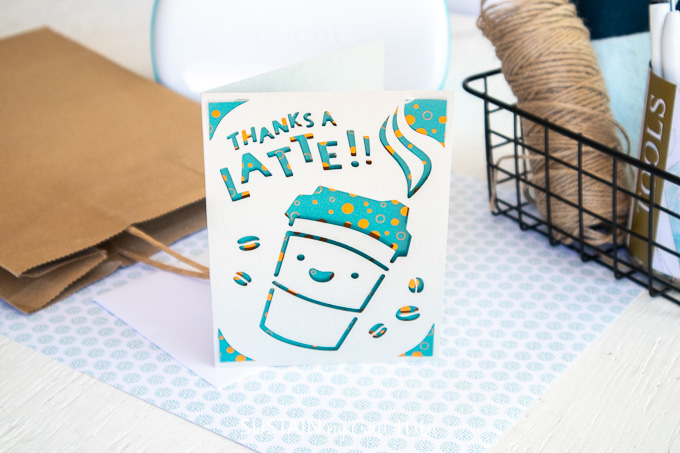
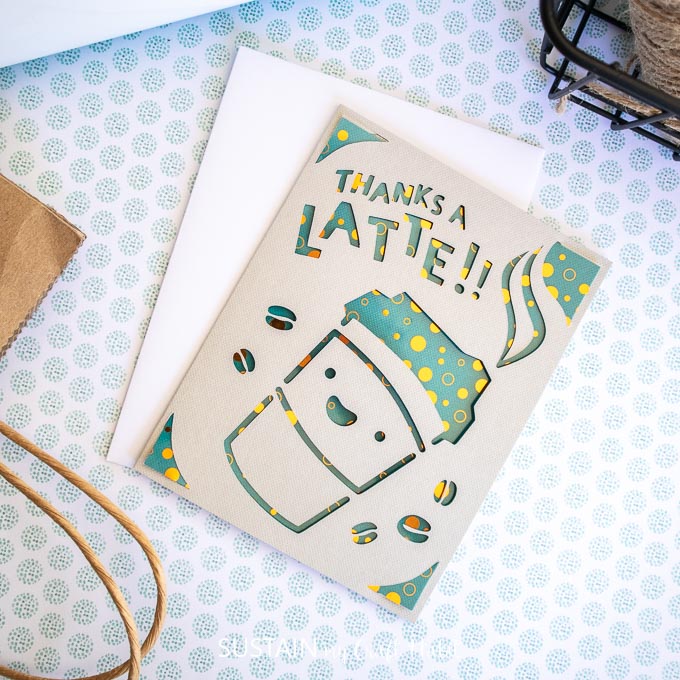
We thought this “Thanks a Latte” sign was perfect for any coffee loving recipient. Tuck a gift card in there for a favorite coffee shop and it makes a thoughtful end-of-year gift for teachers, a sign of appreciation for our healthcare workers, or anyone who has lent a hand.
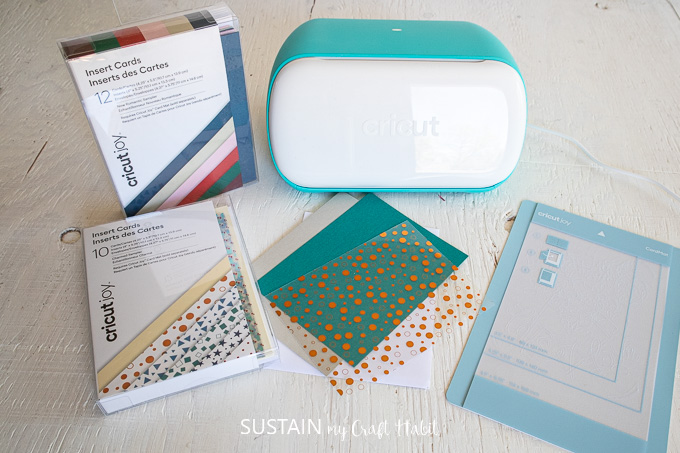
Materials Needed to Make a “Thanks A Latte” Card
Disclosure: This post contains affiliate links for your shopping convenience. Should you choose to purchase through them, we will make a small commission at no extra cost to you. You can read our full disclosure policy here.
- Cricut Design Space Card Image #M1504A408
- Cricut Joy with Fine Point Blade
- Cricut Joy Card Mat
- Cricut Joy Insert Cards, New Romantic Sampler using Khaki card color and Deep Teal Insert
- Cricut Joy Insert Cards, Charmed Sampler, using gold bubble vellum insert
How To Make a Card With Cricut Joy
Preparing the Image:
Open Cricut Design Space.
Click on the “+” sign to start a new project, opening up a blank canvas.
Click on the Images button from the toolbar.
Search card image #M1504A408 and then click on the image to make it.
Cutting the Image on the Card:
Remove the protective plastic cover from the mat.
Open the pre-folded card and from the left, slide one side of the folded card under the plastic divider.
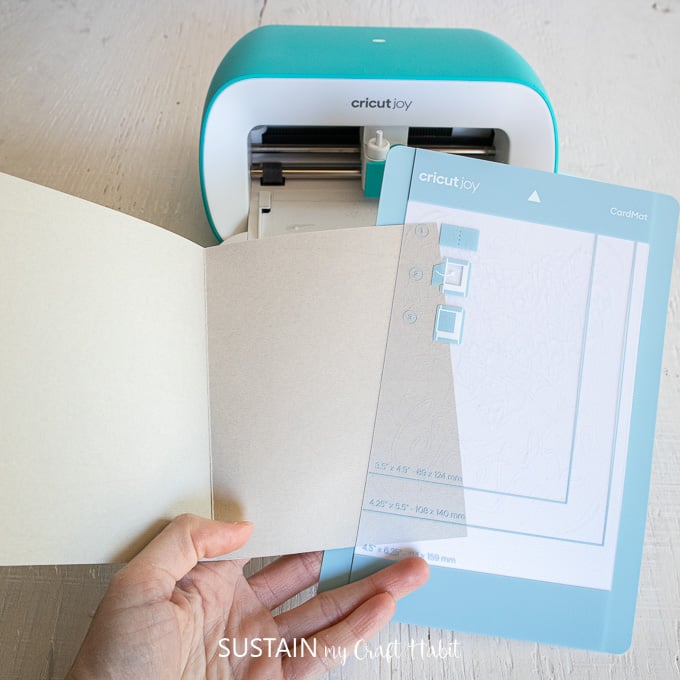
Make sure the card is flush with the top, then align the inside fold of the card against the plastic divider.
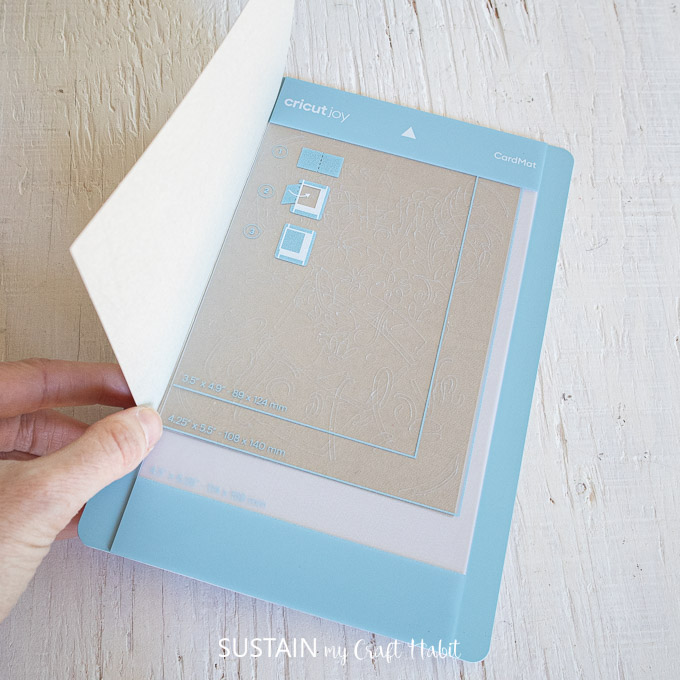
Press the front of the card down against the adhesive on the mat.
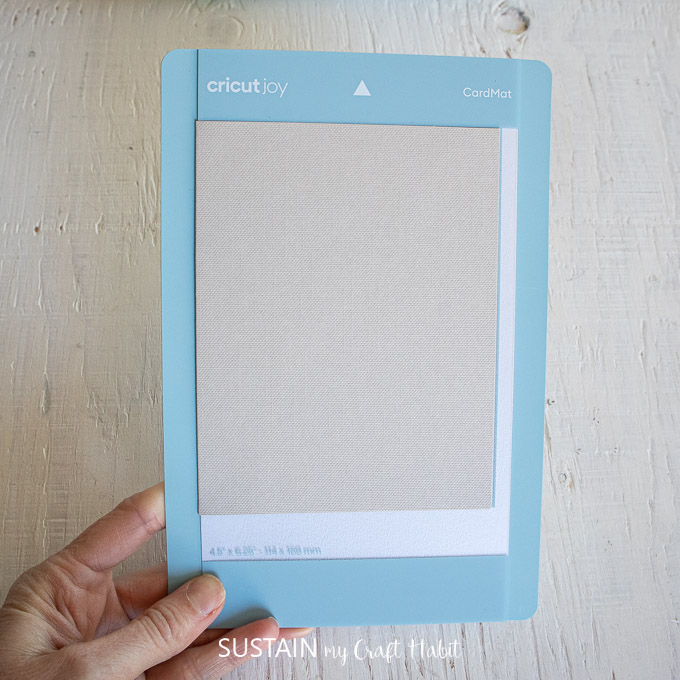
Select browse all materials and choose “Insert Card-Cardstock” from the list of materials.
Following the instructions prompted on the screen, cut out the pattern.
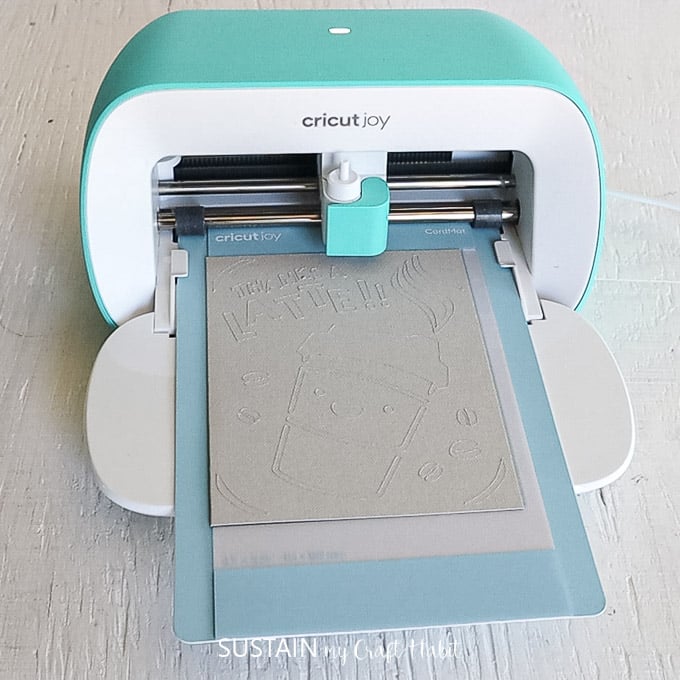
Finishing The Card
Remove the mat from the machine when the cut is complete. Carefully peel off the mat from the card and trim or remove any small attached pieces.
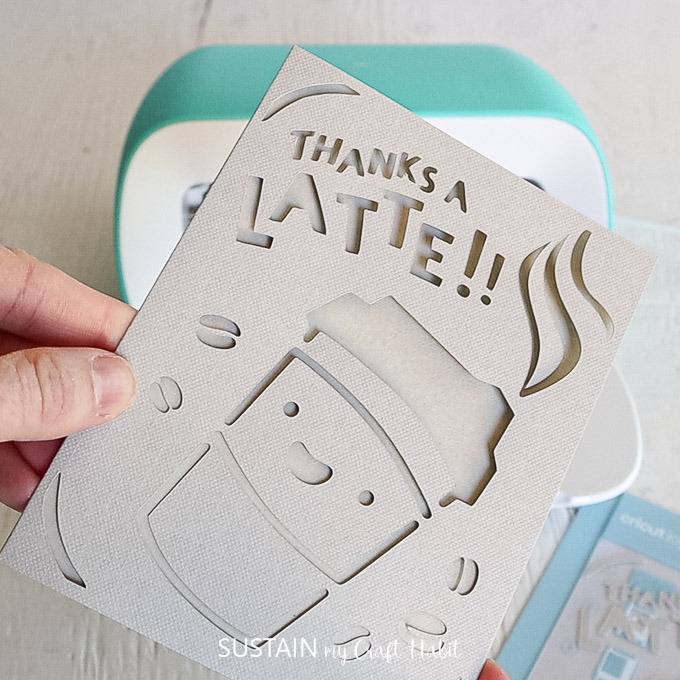
Stack the two inserts (the vellum over top of the deep teal insert) and tuck the inserts into the corner cut-outs to hold in place.
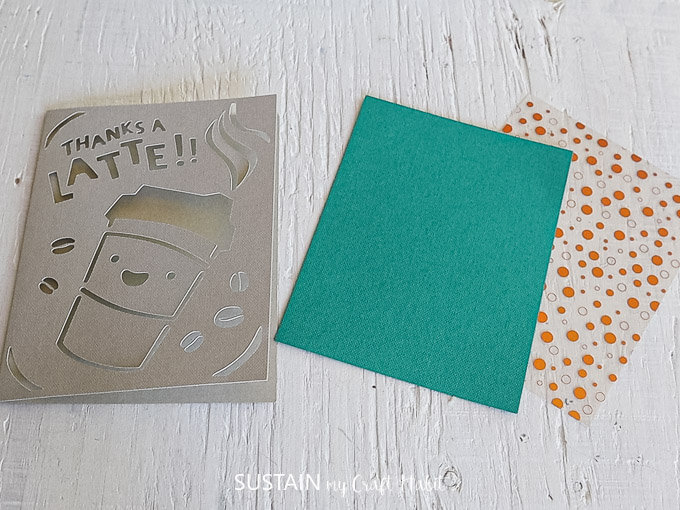
And that’s it – card making made super-easy!
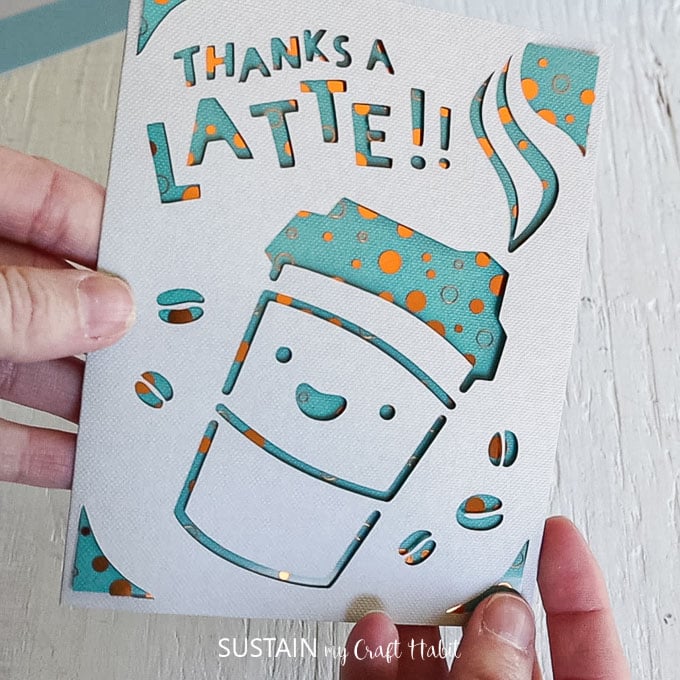
Best part is you can make a bunch of these beautiful cards in one crafting session and have them on hand for any special occassion.
Like it? Pin it for later!
Making a Card with Cricut Joy
Materials
- Cricut Design Space Card Image #M1504A408
- Cricut Joy with Fine Point Blade
- Cricut Joy Card Mat
- Cricut Joy Insert Cards New Romantic Sampler using Khaki card color and Deep Teal Insert
- Cricut Joy Insert Cards Charmed Sampler, using gold bubble vellum insert
Instructions
- To prepare the image, open Cricut Design Space.
- Search card image #M1504A408 and then click on the image to make it.
- To cut the image onto the card, remove the protective plastic cover from the mat.
- Open the pre-folded card and from the left, slide one side of the folded card under the plastic divider.
- Press the front of the card down against the adhesive on the mat.
- Choose “Insert Card-Cardstock” from the list of materials.
- Following the instructions prompted on the screen, cut out the pattern.
- Remove the mat from the machine when the cut is complete.
- Carefully peel off the mat from the card and trim or remove any small attached pieces.
- Stack the two inserts (the vellum over top of the deep teal insert) and tuck the inserts into the corner cut-outs to hold in place.


What a wonderful idea and such a thoughtful gesture! I’m also a sucker for anything ‘punny’! Well done!
Very cute!!! Your Cricut Joy looks like a lot of fun!
I love using my Cricut. I’ve wondered about the Cricut Joy. It looks like a baby Cricut so thank you for showing it and demonstrating how to use it. Pinned to my Cricut board.
How fun is this! Looks great and I totally want a Cricut… Thanks for sharing and lovely crafting with you!
What a clever and fun card! I love sending and receiving cards, and this handmade design is really special. Great tutorial too — thanks!
I’ve never used an Cricut before, but projects like your cute card make it so tempting!
How cute! Such a fun idea and I love the colors you used! Blessings, Cecilia @My Thrift Store Addiction
What an adorable card! I’ve resisted getting any type of cutting machine but your tutorial using the Cricut Joy is making me have second thoughts! Thanks for the great tutorial!
I’ve had the Cricut Maker for about 8 months and I love it! How fast it was to make your thank you card! Very nice! I never was into card making much– now I’ve been doing it more and more.
Liberty
That’s so cute for a coffee gift. I haven’t searched but I am wondering what the difference is between the different cricut machines. Would love to read about that some day too. Thanks for taking part in the hop. Look forward to more cool projects from your cricut.
This is so cute! Love it! Glad to be hopping with you!
I just got my first Cricut and am having such a good time learning and creating with it! This looks a little beyond my current skills, but this is just adorable!! Such a fun card this would be to receive!
The tutorials y’all post are always fabulous! Now I’ll have to get my Cricut Joy out and start some card-making!
I’d love for you to join us over at our weekly Linky Party every Wednesday through Sunday
https://creativelybeth.com/creative-crafts-linky-party-42/
Followed and Pinned! ????
Creatively, Beth