DIY Repurposed Sawhorse Wood Reindeer
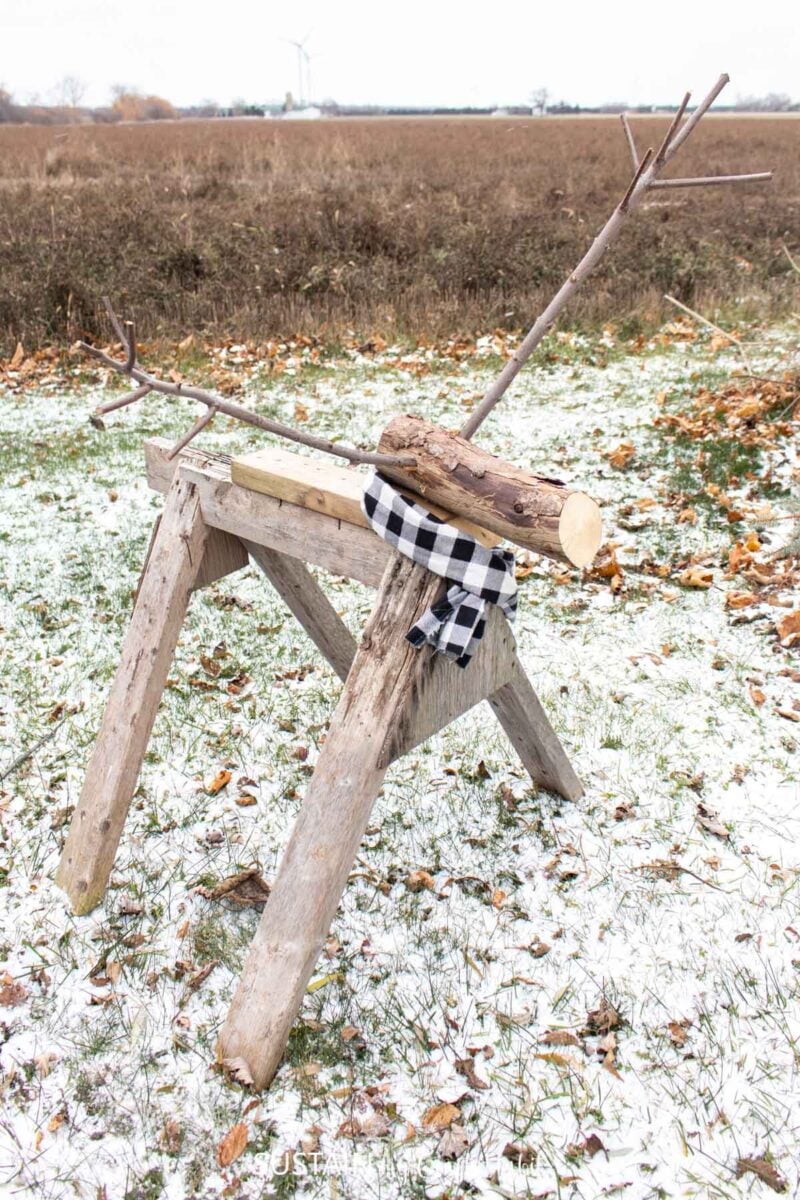
Although you really can’t get much more rustic than these outdoor DIY wooden reindeer made from repurposed sawhorses, we think they are pretty darn cute!
DIY Wooden Reindeer for Outdoor Decor
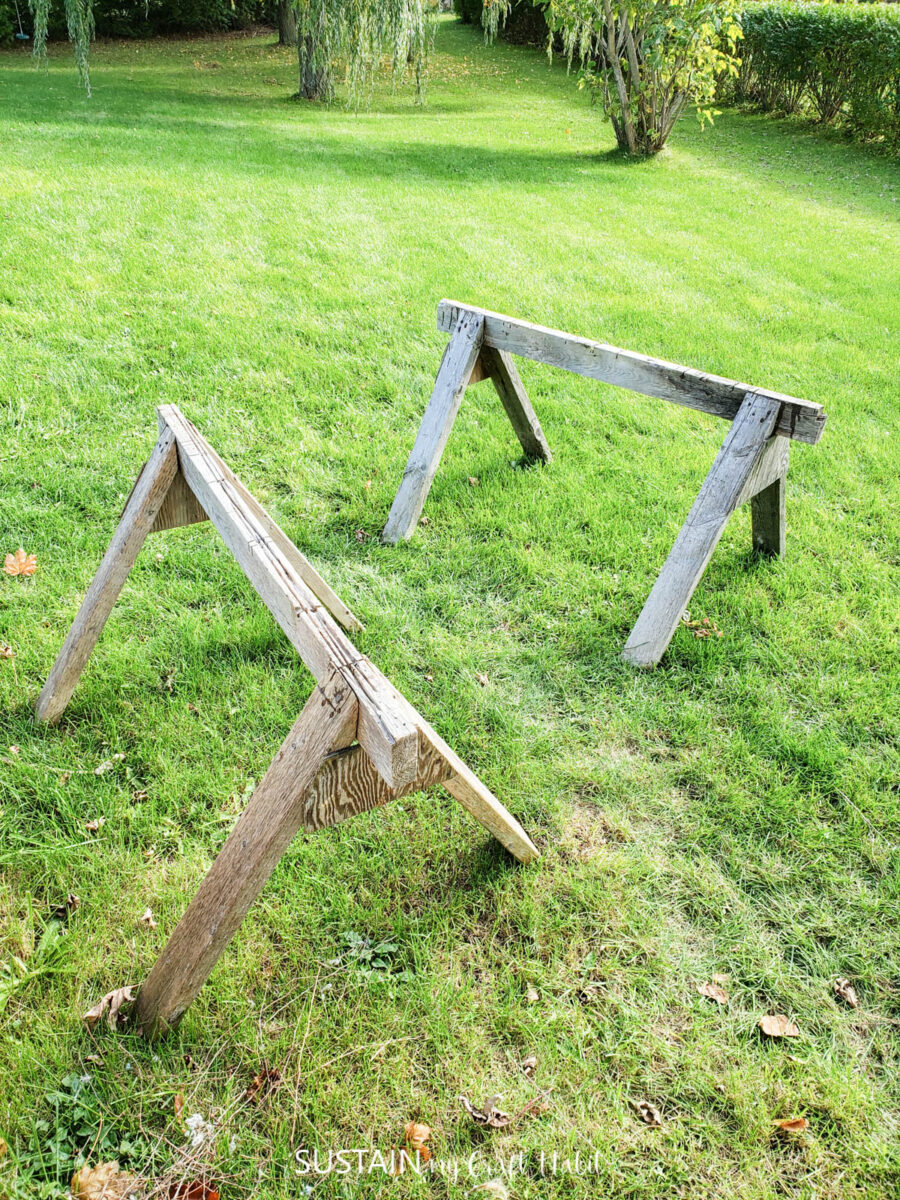
When we moved in to our new house this past Fall, the previous owners left a pair of old sawhorses in the backyard. Instead of tossing them in to the campfire, I started thinking of what else they could be used for. One of the first things that came to mind what a set of outdoor wooden reindeers for our Christmas decorating. I’ve always wanted my own birch wood reindeers that I’d seen in other people’s front yards.
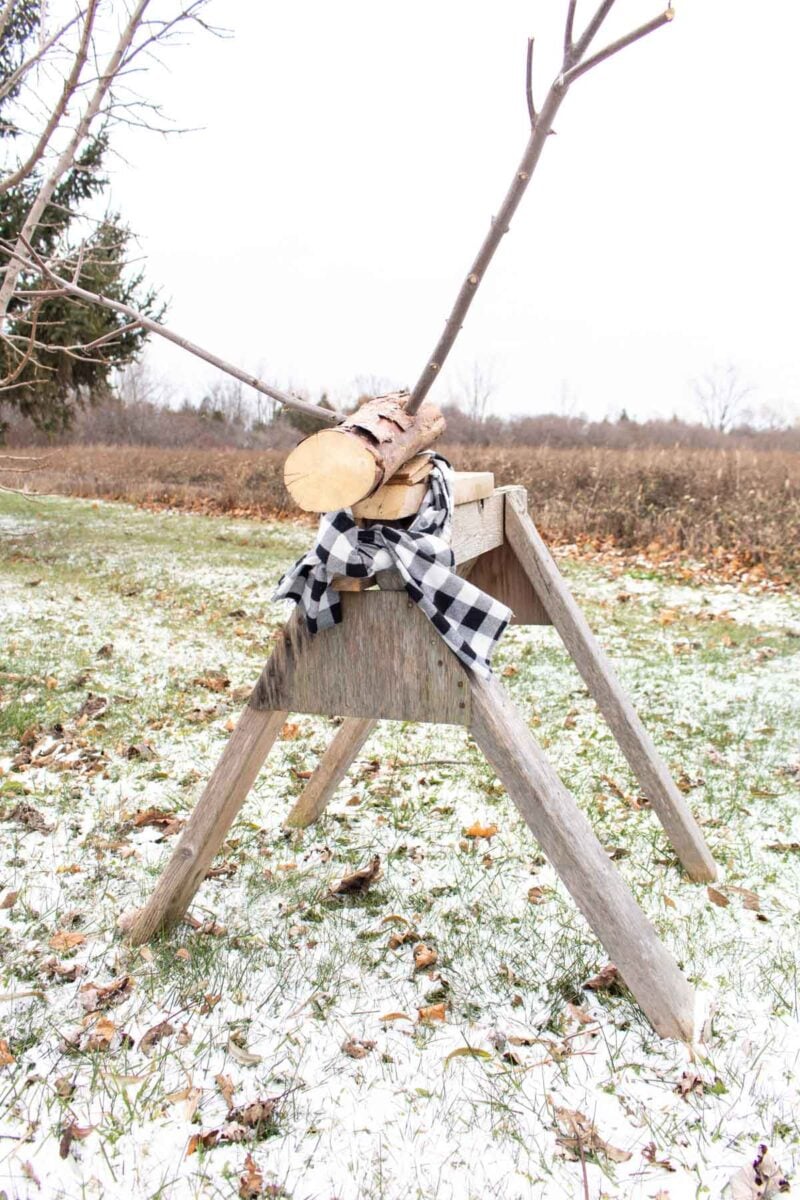
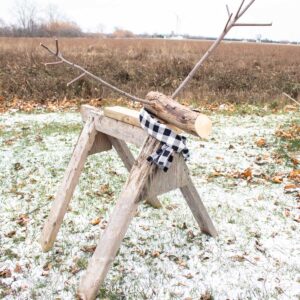
With a few other pieces of cut wood for the head and antlers and a bit of imagination, the reindeer came together! We finished the reindeer off by tieing some scrap fabric around the neck for a scarf. It’s the same scrap buffalo plaid fabric we used to make this whimsical snowman door decoration and these painted pinecone Christmas ornaments.
Materials Needed
Disclosure: This post contains affiliate links for your shopping convenience. Should you choose to purchase through them, we will make a small commission at no extra cost to you. You can read our full disclosure here.
- Sawhorse
- Various sizes of tree branches
- Circular Saw
- Mitre Saw
- Scrap 2×4 pieces
- Drill
- Screws
- Drill Bits
- Fabric for scarf
How to Make a Wooden Reindeer with a Repurposed Sawhorse
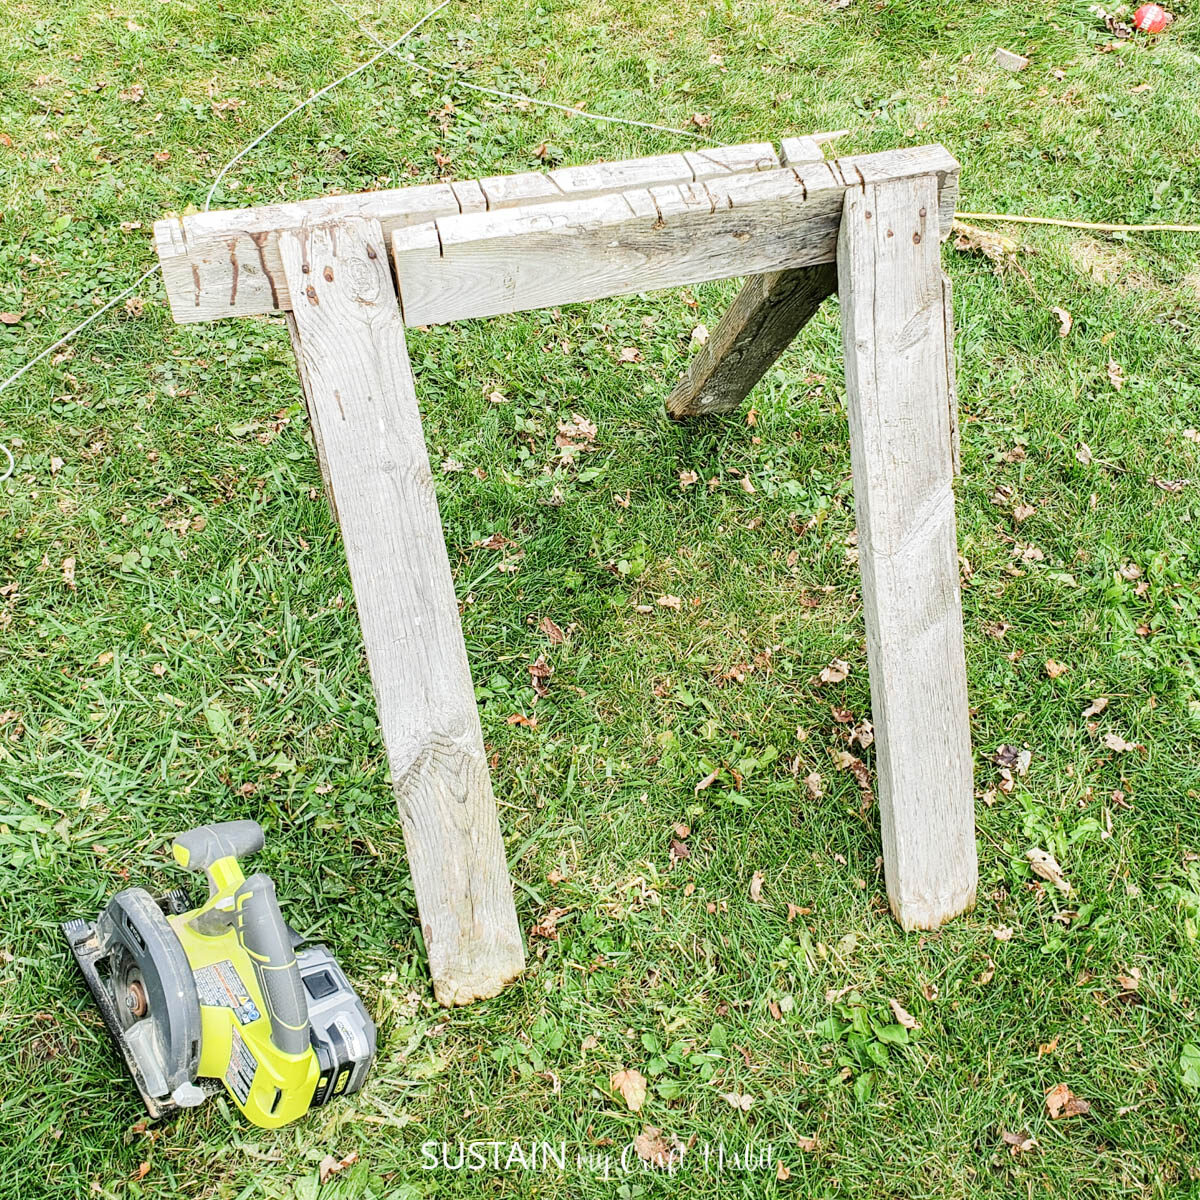
First, start by cutting the sawhorse in half to shorten the length of the soon to be “reindeer”. Overlap the cut ends as shown and then screw the overlapping ends together doubling the thickness of the reindeer body.
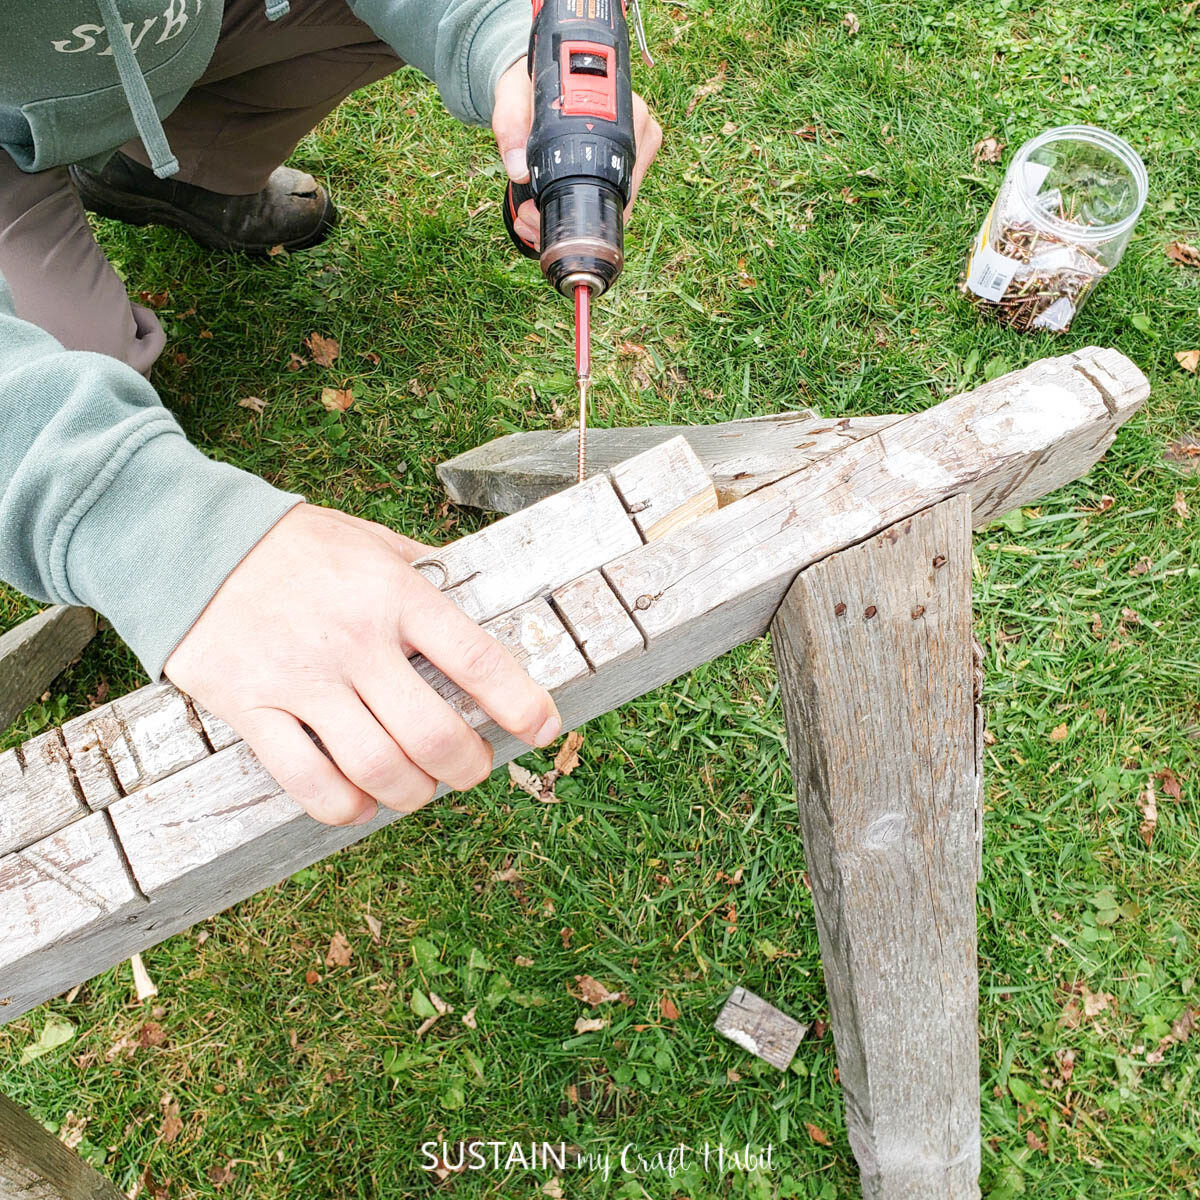
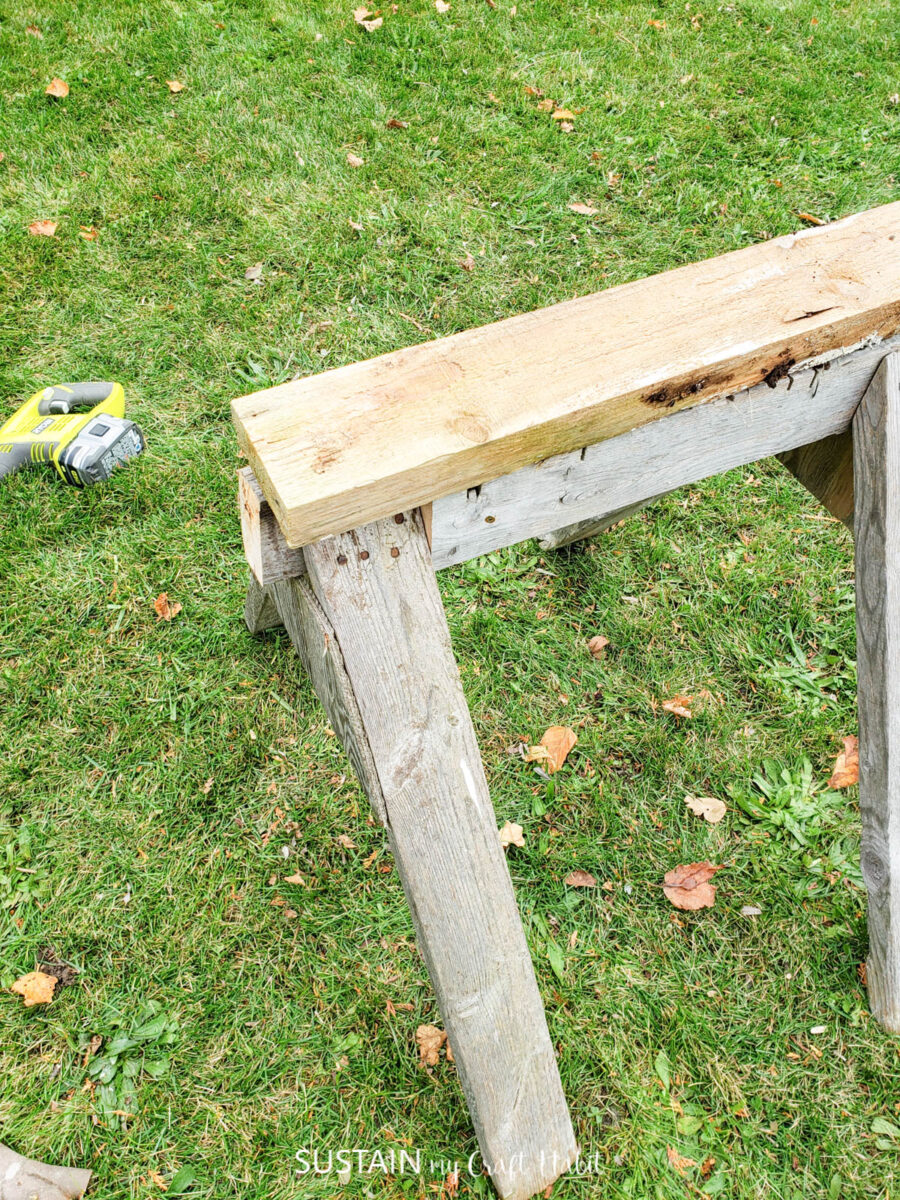
Next, cut a piece of 2×4 wood (we had some scrap wood lying around for this) and place it on top of the sawhorse. Screw the wood on top to secure in place.
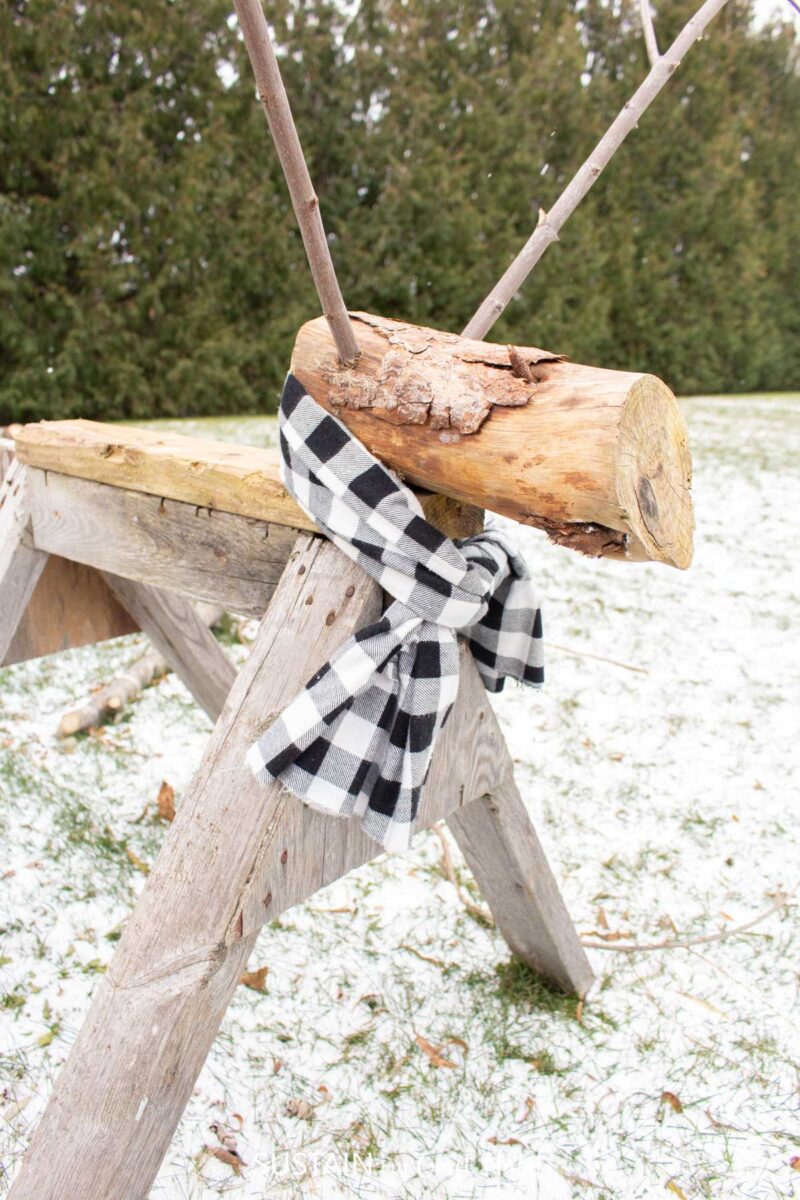
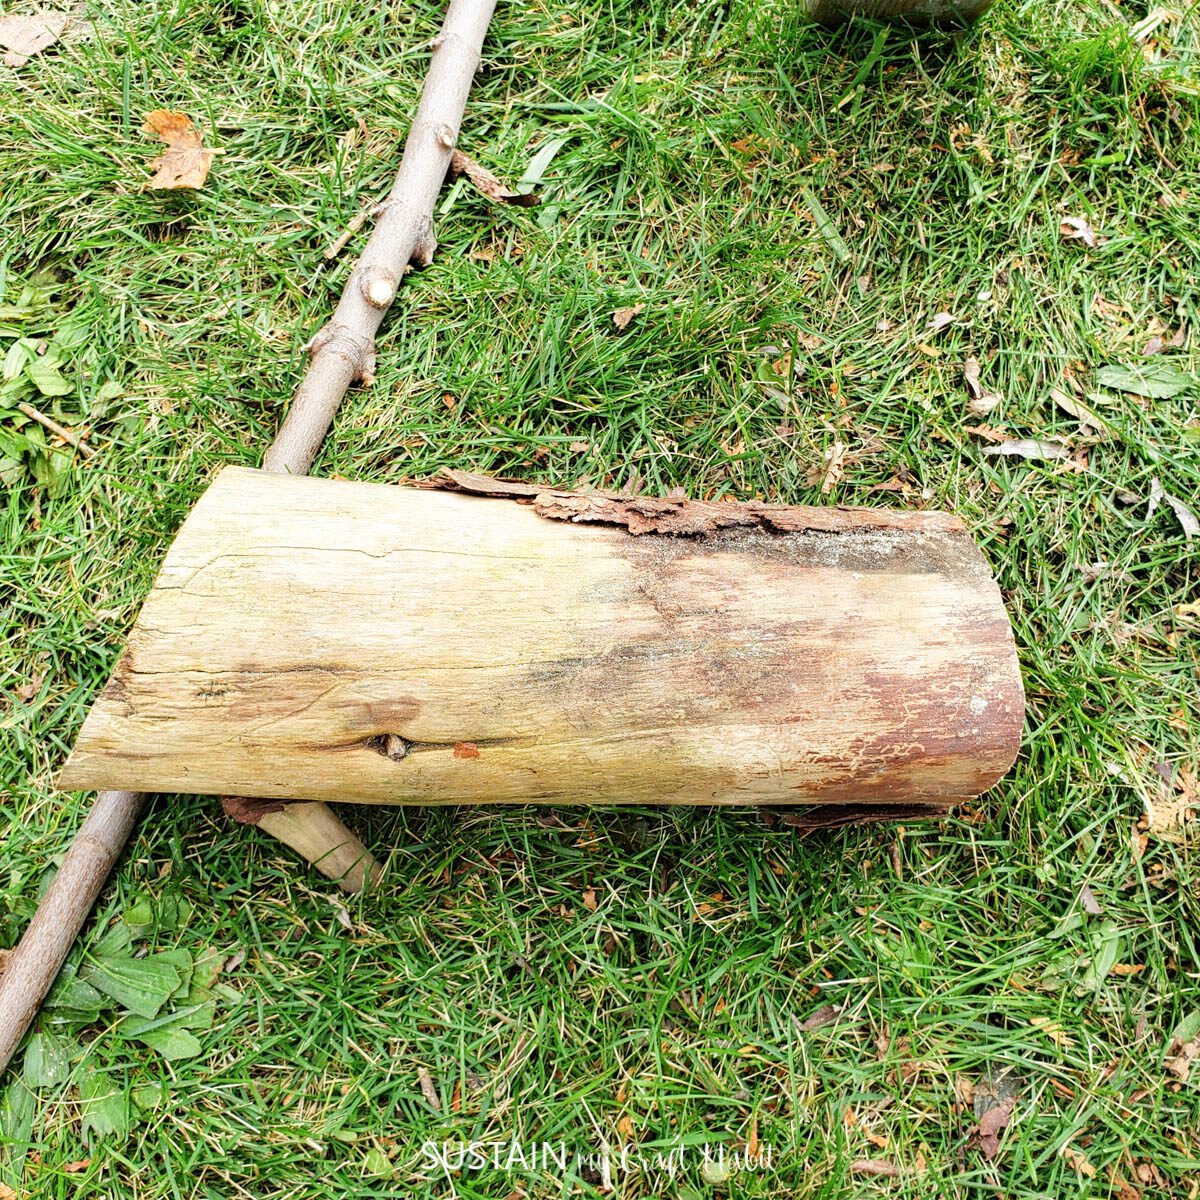
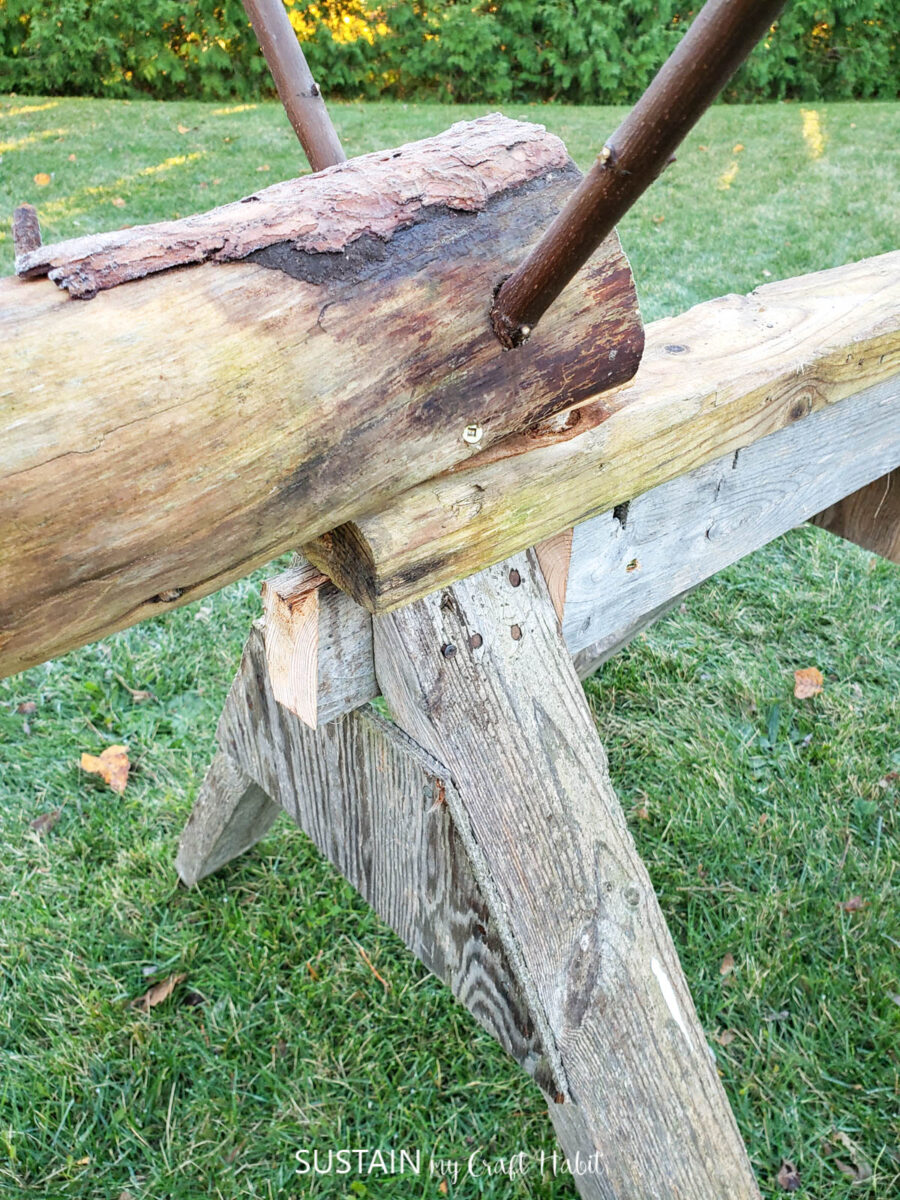
For the head of the reindeer, we used a cut end of a large tree branch or log with a circular saw (or a miter saw if you don’t have a circular saw). The size doesn’t have to be exact, just something that looks proportional with the body.
To create the antlers, find two branches that are relative in size to the reindeer head. Trim the ends leaving some pieces protruding outward mimmicking actual antlers.
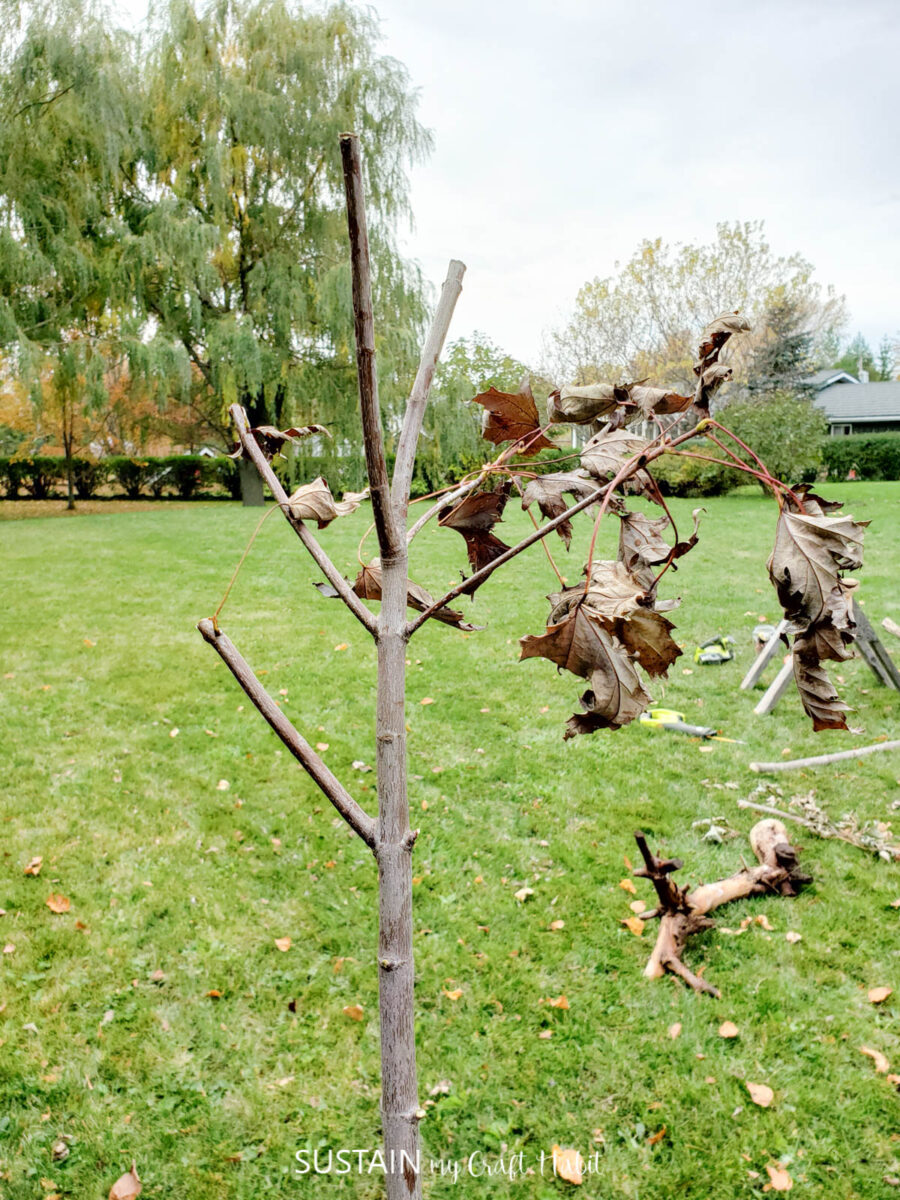
Using a drill bit the same size/diameter as the antler branches, drill two holes into the ‘head’ and insert the branches.
Next, place the “head” on top of the “body” on one end and using a drill, screw the head to the sawhorse. You can also prop up the back end of the head with another block of wood that is also secured to the sawhorse.
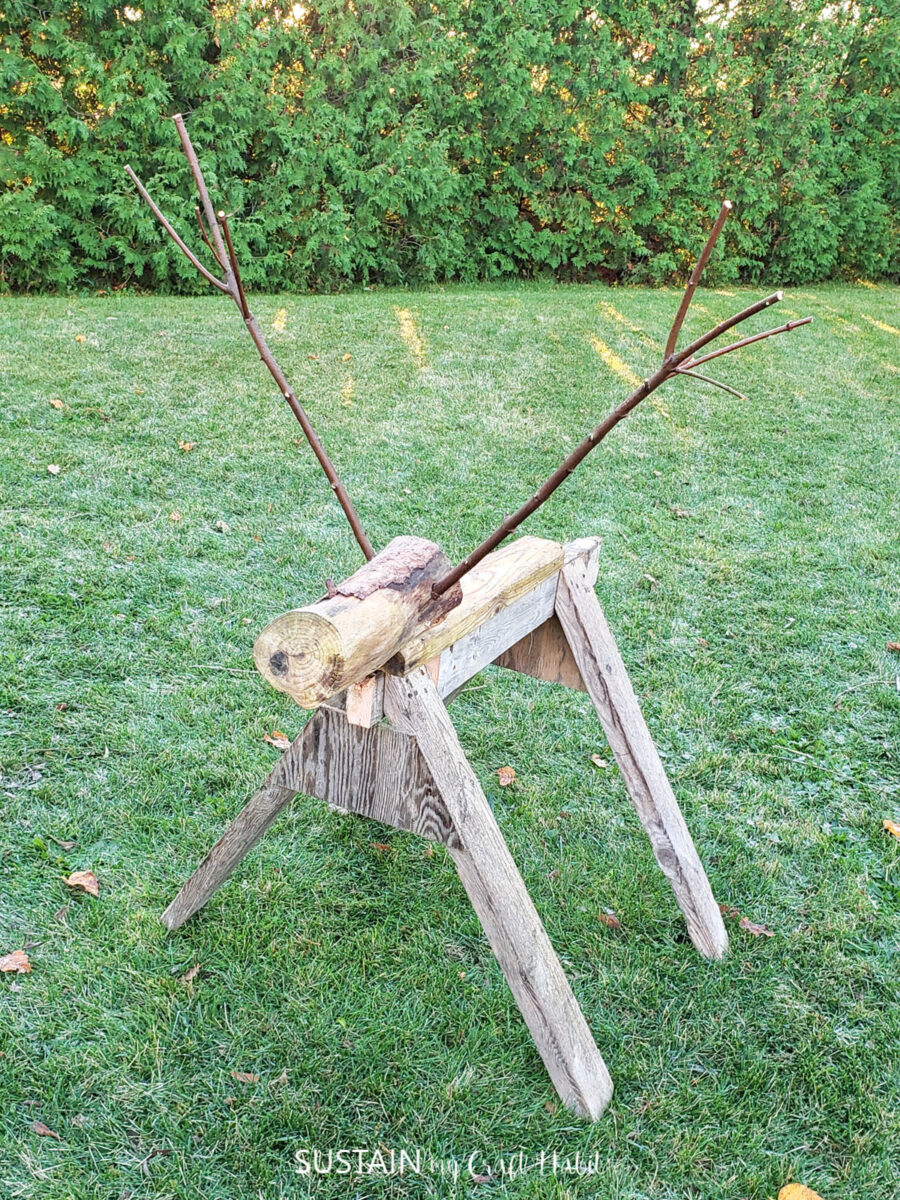
Once all the pieces are secured, step back and admire the wooden reindeer! And since we had two sawhorces, we made two reindeers!
Take the fabric and create a scarf and tie it around the neck of the sawhorse reindeer. Voila! What do you think? Pretty cute, huh?
More Repurposed Projects to Make for Christmas and Winter Decor
- Reindeer Driftwood Ornaments
- DIY Christmas Card Display
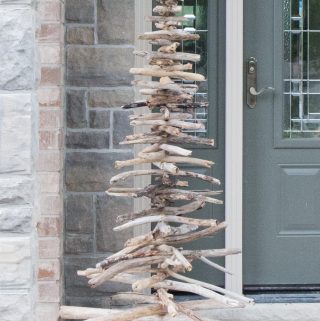
- Driftwood Christmas Tree
- Upcycled Coastal Christmas Wreath
- Upcycled Bed Rail Monogram Decor
- Repurposed Paper Napkin Wood Slice Ornaments

Driftwood Ornament 
Christmas Card and Photo Display 
Driftwood Christmas Tree 
Upcycled Wreath Monogram Decor 
Napkin Mod Podge Wood Slices


Like it? Pin it for later!

DIY Repurposed Sawhorse Wooden Reindeer
Materials
- Sawhorse
- Various sizes of tree branches
- Circular saw or miter saw
- Scrap 2×4 pieces half the length as the sawhorse
- Drill
- Screws
- Drill Bits
- Flannel fabric for scarf
Instructions
- Cut the sawhorse in half. Overlap the cut ends and using the drill, screw the cut sides together.
- Next, screw a piece of 2×4 on the top of the sawhorse.
- Cut a log for the reindeer head.
- To create the antlers, find two branches that are relative in size of the reindeer head. Trim the ends for an antler effect.
- Using a drill bit the same size as the antler branches and drill two holes into the ‘head’ and insert the branches.
- Next take the ‘head’ and using the drill, screw the head to the one end of the sawhorse.
- Take the fabric and create a scarf by tieing it around the neck of the sawhorse reindeer.