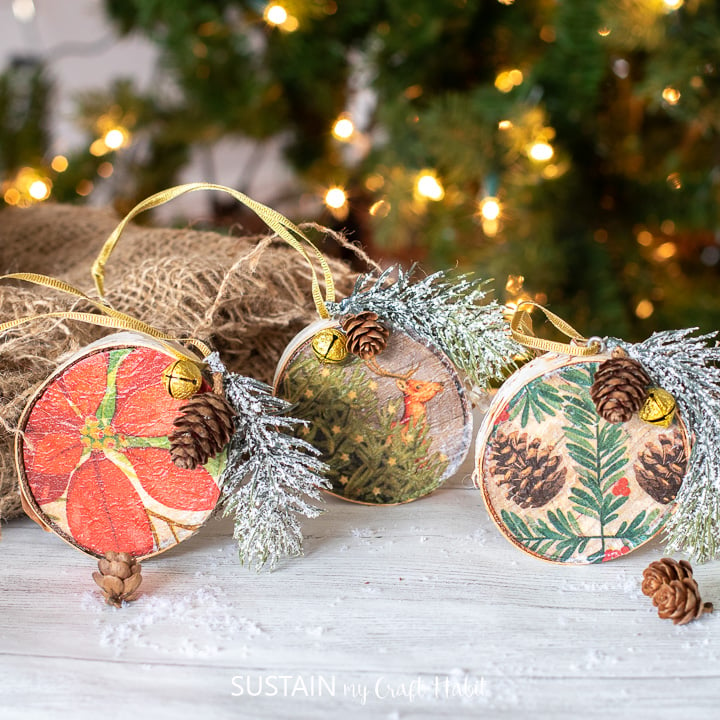
Repurposed Paper Napkin Wood Slice Ornaments
If you’re like me and have a thing for pretty paper napkins, then consider using them to make your own set of unique wood slice ornaments for Christmas.

How to Mod Podge Napkins on Wood
When I say “thing”, I mean I have an adoration for beautifully designed paper napkins, especially at this time of year. I really enjoy looking at the options at the store and will treat myself to a new set of napkins for the holidays. What can I say, it’s the little things that make us happy, right? Last year I found this set of napkins that had a deer peeking out from behind a tree; it was the perfect match to my woodland themed Christmas decor.
The other napkins that I found at the dollar store didn’t look like anything special at the store but once I put them on to wood slices, I was in love! I’m so happy with the look of these ornaments and how well they coordinate with my rustic and cozy Christmas tree.
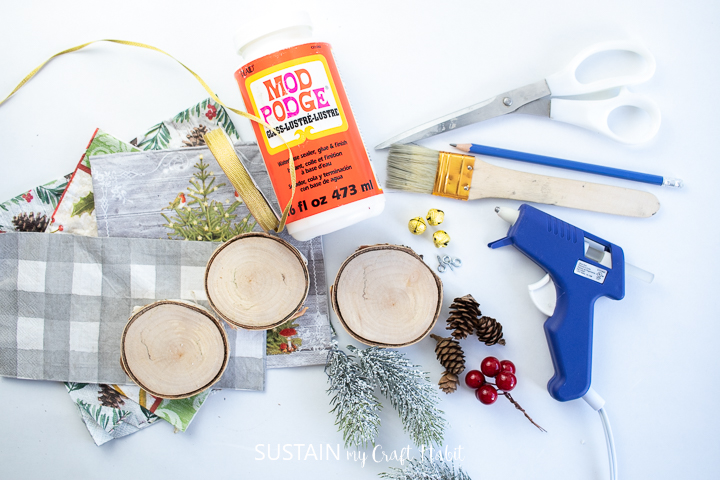
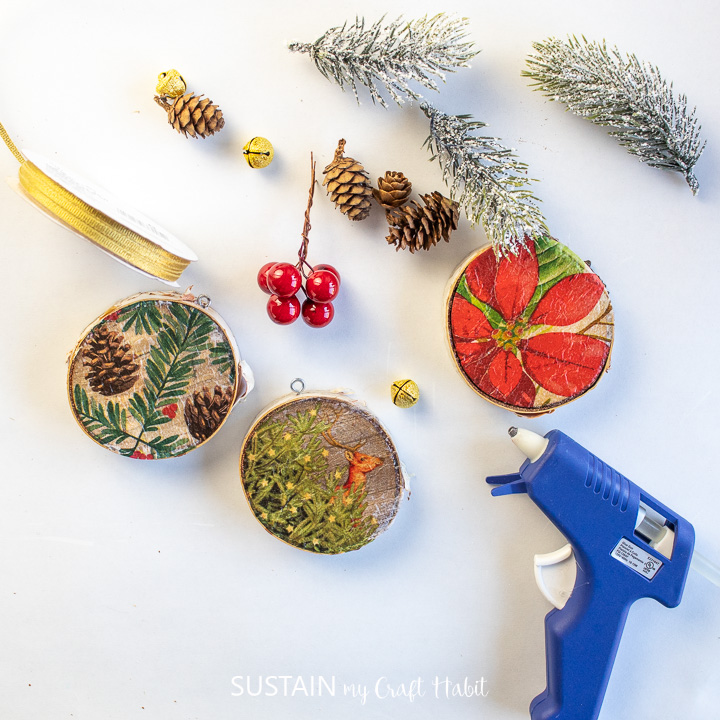
Materials Needed:
Disclosure: This post contains affiliate links for your shopping convenience. Should you choose to purchase through them, we will make a small commission at no extra cost to you. You can read our full disclosure policy here.
- wood slices, about 2.25” in diameter
- assorted paper napkins
- scissors
- pencil
- Mod Podge, glossy finish
- paint brush, 1”
- faux greenery, mini pinecones and small gold bells
- decorative ribbon
- screw eye, ½”
- hot glue gun with clear glue sticks
How to Make Repurposed Paper Napkin Wood Slice Ornaments
How to mod podge with napkins
Working one ornament at a time, place a wood slice over top of the napkin and trace along the outer edge.

Using a pair of scissors, cut along the pencil line.
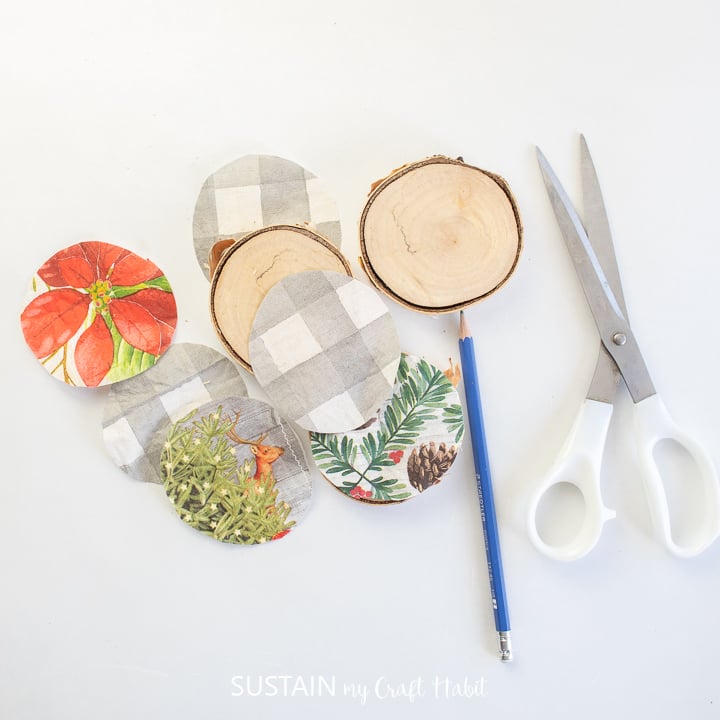
Position the cut out napkin on top of the wood slice to ensure it fits. If too big, trim off the edges a bit.
Before you begin, remove the inner ply of the napkin and discard if your napkins happen to be two-ply.
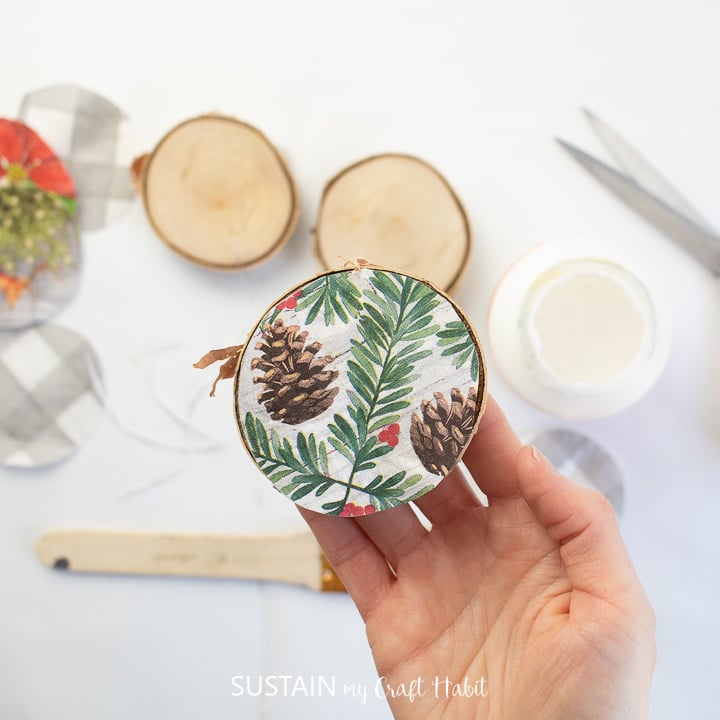
Brush on a layer of mod podge over the wood slice.
Press the napkin circle on to the wood slice and press gently with fingers.
Apply a thin layer of Mod Podge over top of the napkin and leave it to dry fully before applying on the back side.

If you want a more opaque finish, paint the surface of the wood slice in white before mod podging the napkin. Otherwise the white areas of the napkin turn clear after they are mod podged.
Assembling the Ornaments
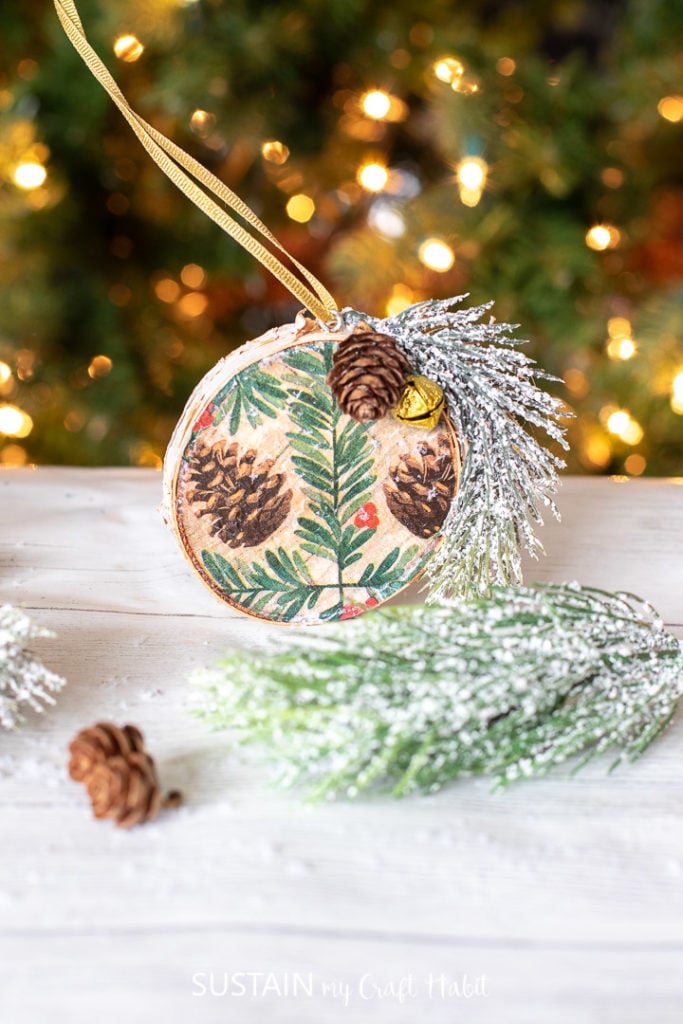
Insert the screw eye to the top of the wood slice. If needed, use a drill with a similar sized drill bit to make a pilot hole.
Cut ribbon 10” long and insert the end of the ribbon through the screw eye and tie ends together.
With a hot glue gun preheated, apply a dab of glue to the top of the ornament and press the faux greenery into the glue. Hold the pieces until secure to make sure they don’t fall off.
Glue the pine cone and bell in place in the same way.
With that, the ornament is complete! You can make as many or as little as you like. Aren’t they soooo pretty? I bet you’ll never look at paper napkins the same way :).

More DIY Wood Ornament Crafts
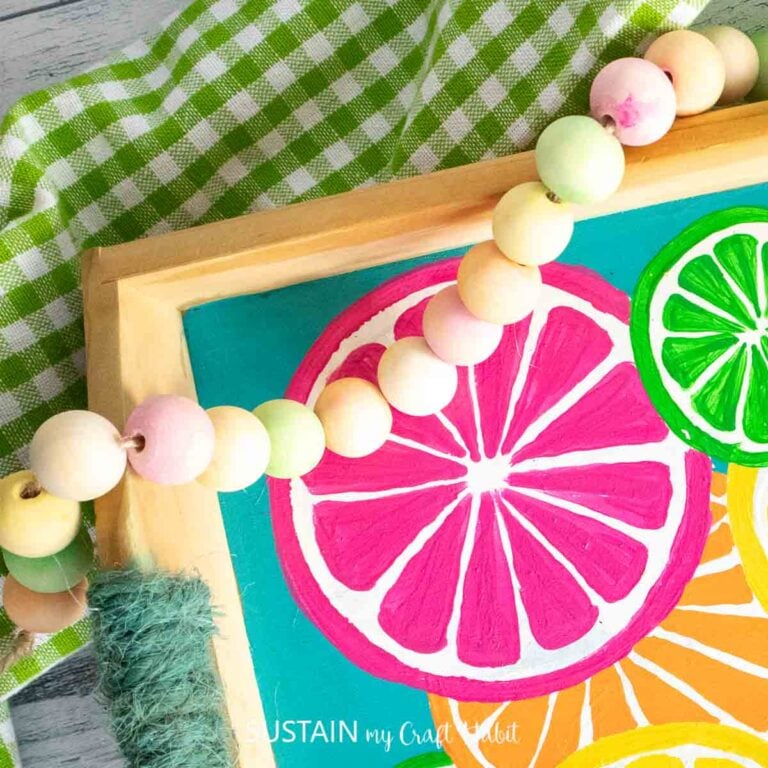
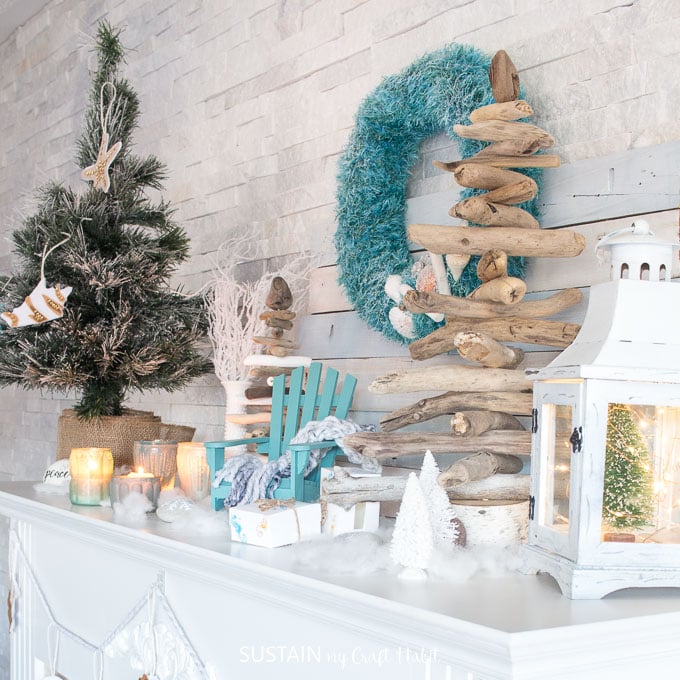
To make some more handmade ornaments, check out these creative DIY ideas using wood slices and even driftwood!
- Coastal Christmas ornaments
- Silent Night wood ornaments
- Reindeer ornaments
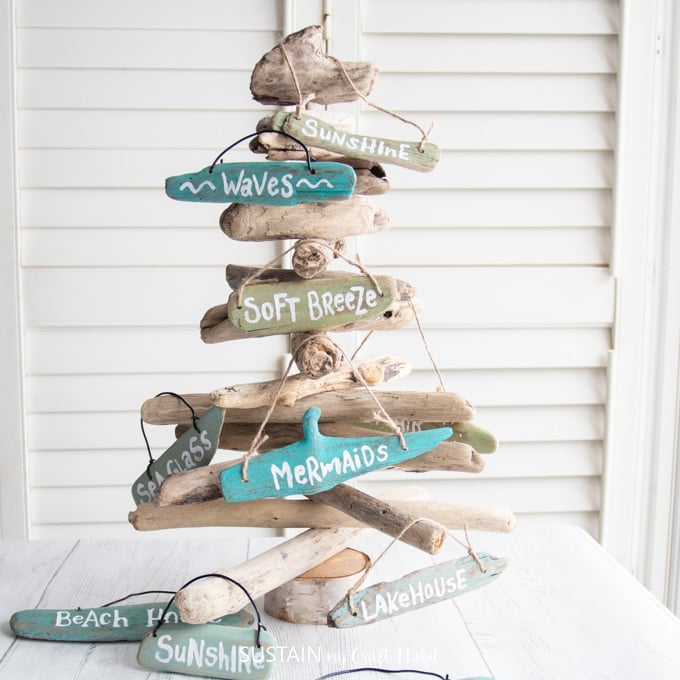
- Driftwood tree ornament
- Glittering wood slice ornaments

Coastal Ornaments with Driftwood 
Glittering Wood Ornament Reindeer Ornament 
Driftwood Ornament 
Glittering Wood Slice Ornaments


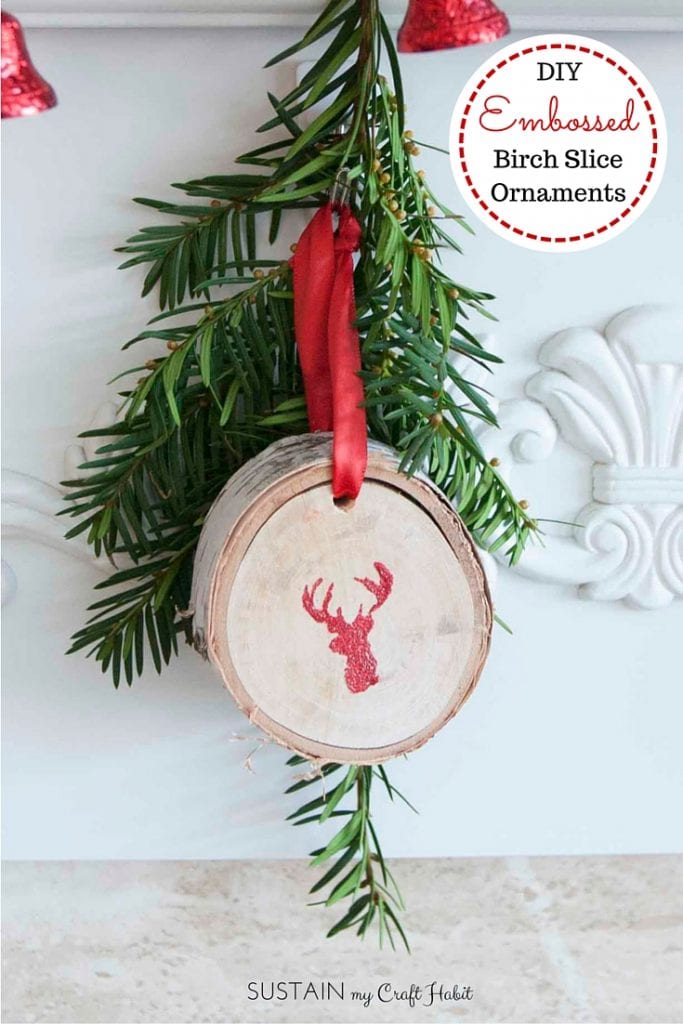
Like it? Pin it for later!


Repurposed Paper Napkin Wood Slice Ornaments
Materials
- wood slices about 2.25” in diameter
- assorted paper napkins
- scissors
- pencil
- Mod Podge glossy finish
- paint brush 1”
- faux greenery mini pinecones and small gold bells
- decorative ribbon
- screw eye ½”
- hot glue gun with clear glue sticks
Instructions
How to mod podge with napkins
- Working one ornament at a time, place a wood slice over top of the napkin and trace along the outer edge.
- Using a pair of scissors, cut along the pencil line.
- Brush on a layer of mod podge over the wood slice.
- Press the napkin circle on to the wood slice and press gently with fingers.
- Apply a thin layer of Mod Podge over top of the napkin and leave it to dry fully before applying on the back side.
Assembling the Ornaments
- Insert the screw eye to the top of the wood slice. If needed, use a drill with a similar sized drill bit to make a pilot hole.
- Cut ribbon 10” long. Insert the end of the ribbon through the screw eye and tie ends together.
- With a hot glue gun preheated, apply a dab of glue to the top of the ornament and press the faux greenery into the glue. Hold until secure.
- Glue the pine cone and bell in place in the same way.