Happy Hamster Printable Bookmark Craft
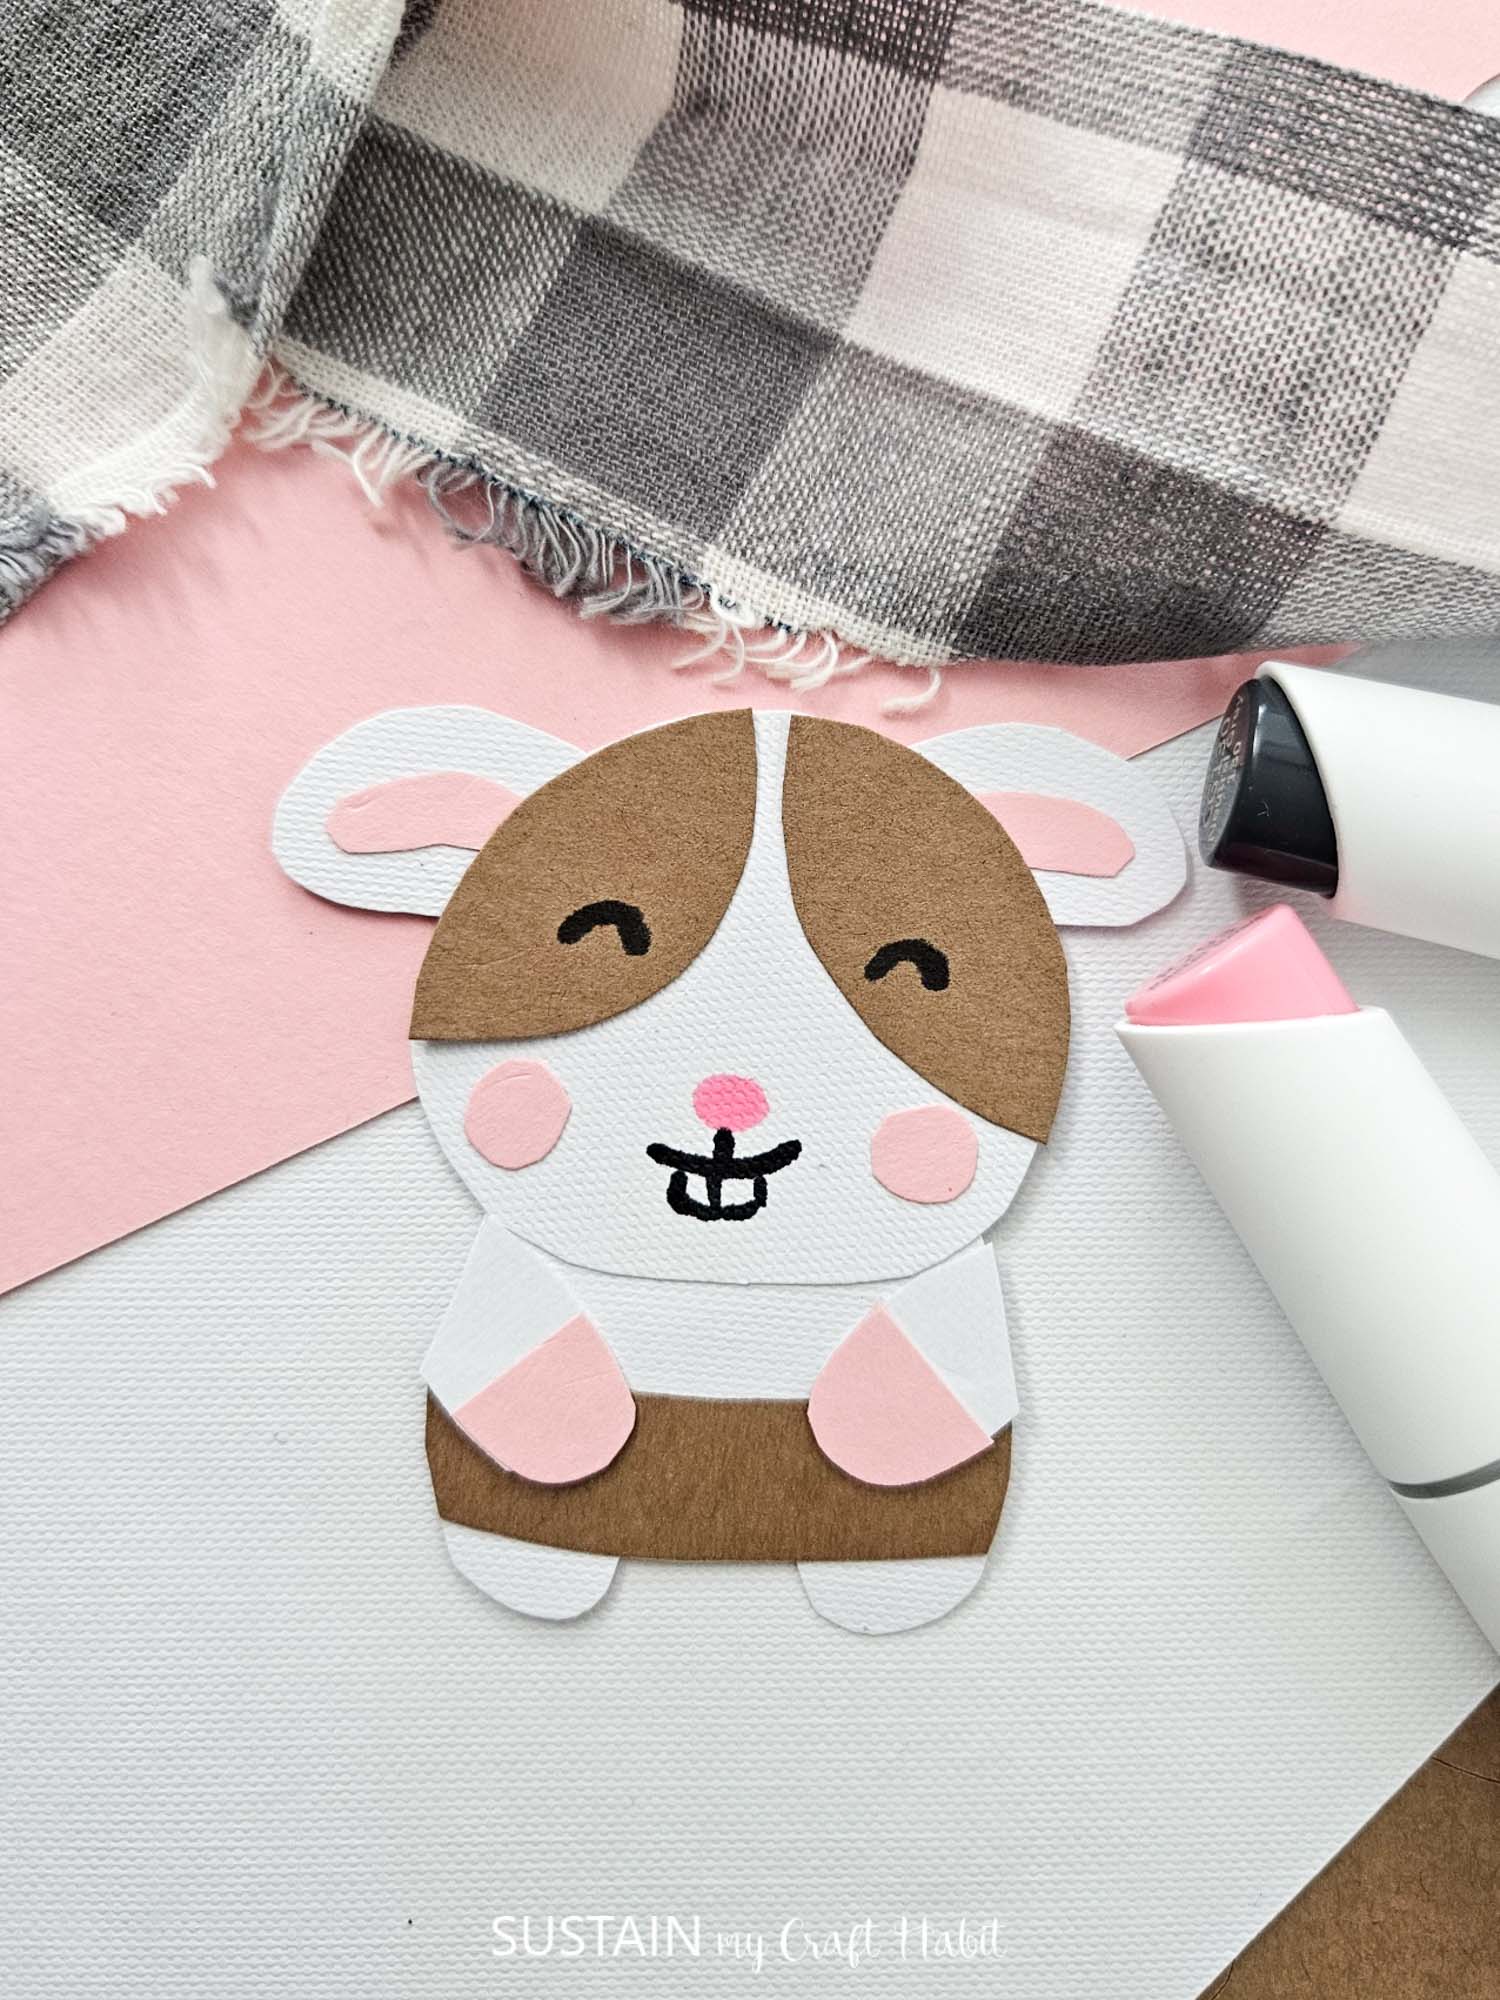
Do you have someone in your life that loves hamsters or even has one as a pet? Then this craft is for you! Get creative with our adorable hamster printable bookmark craft. Perfect for all ages, this DIY project adds a touch of fun to your reading!
Make the Cutest Hamster Bookmark
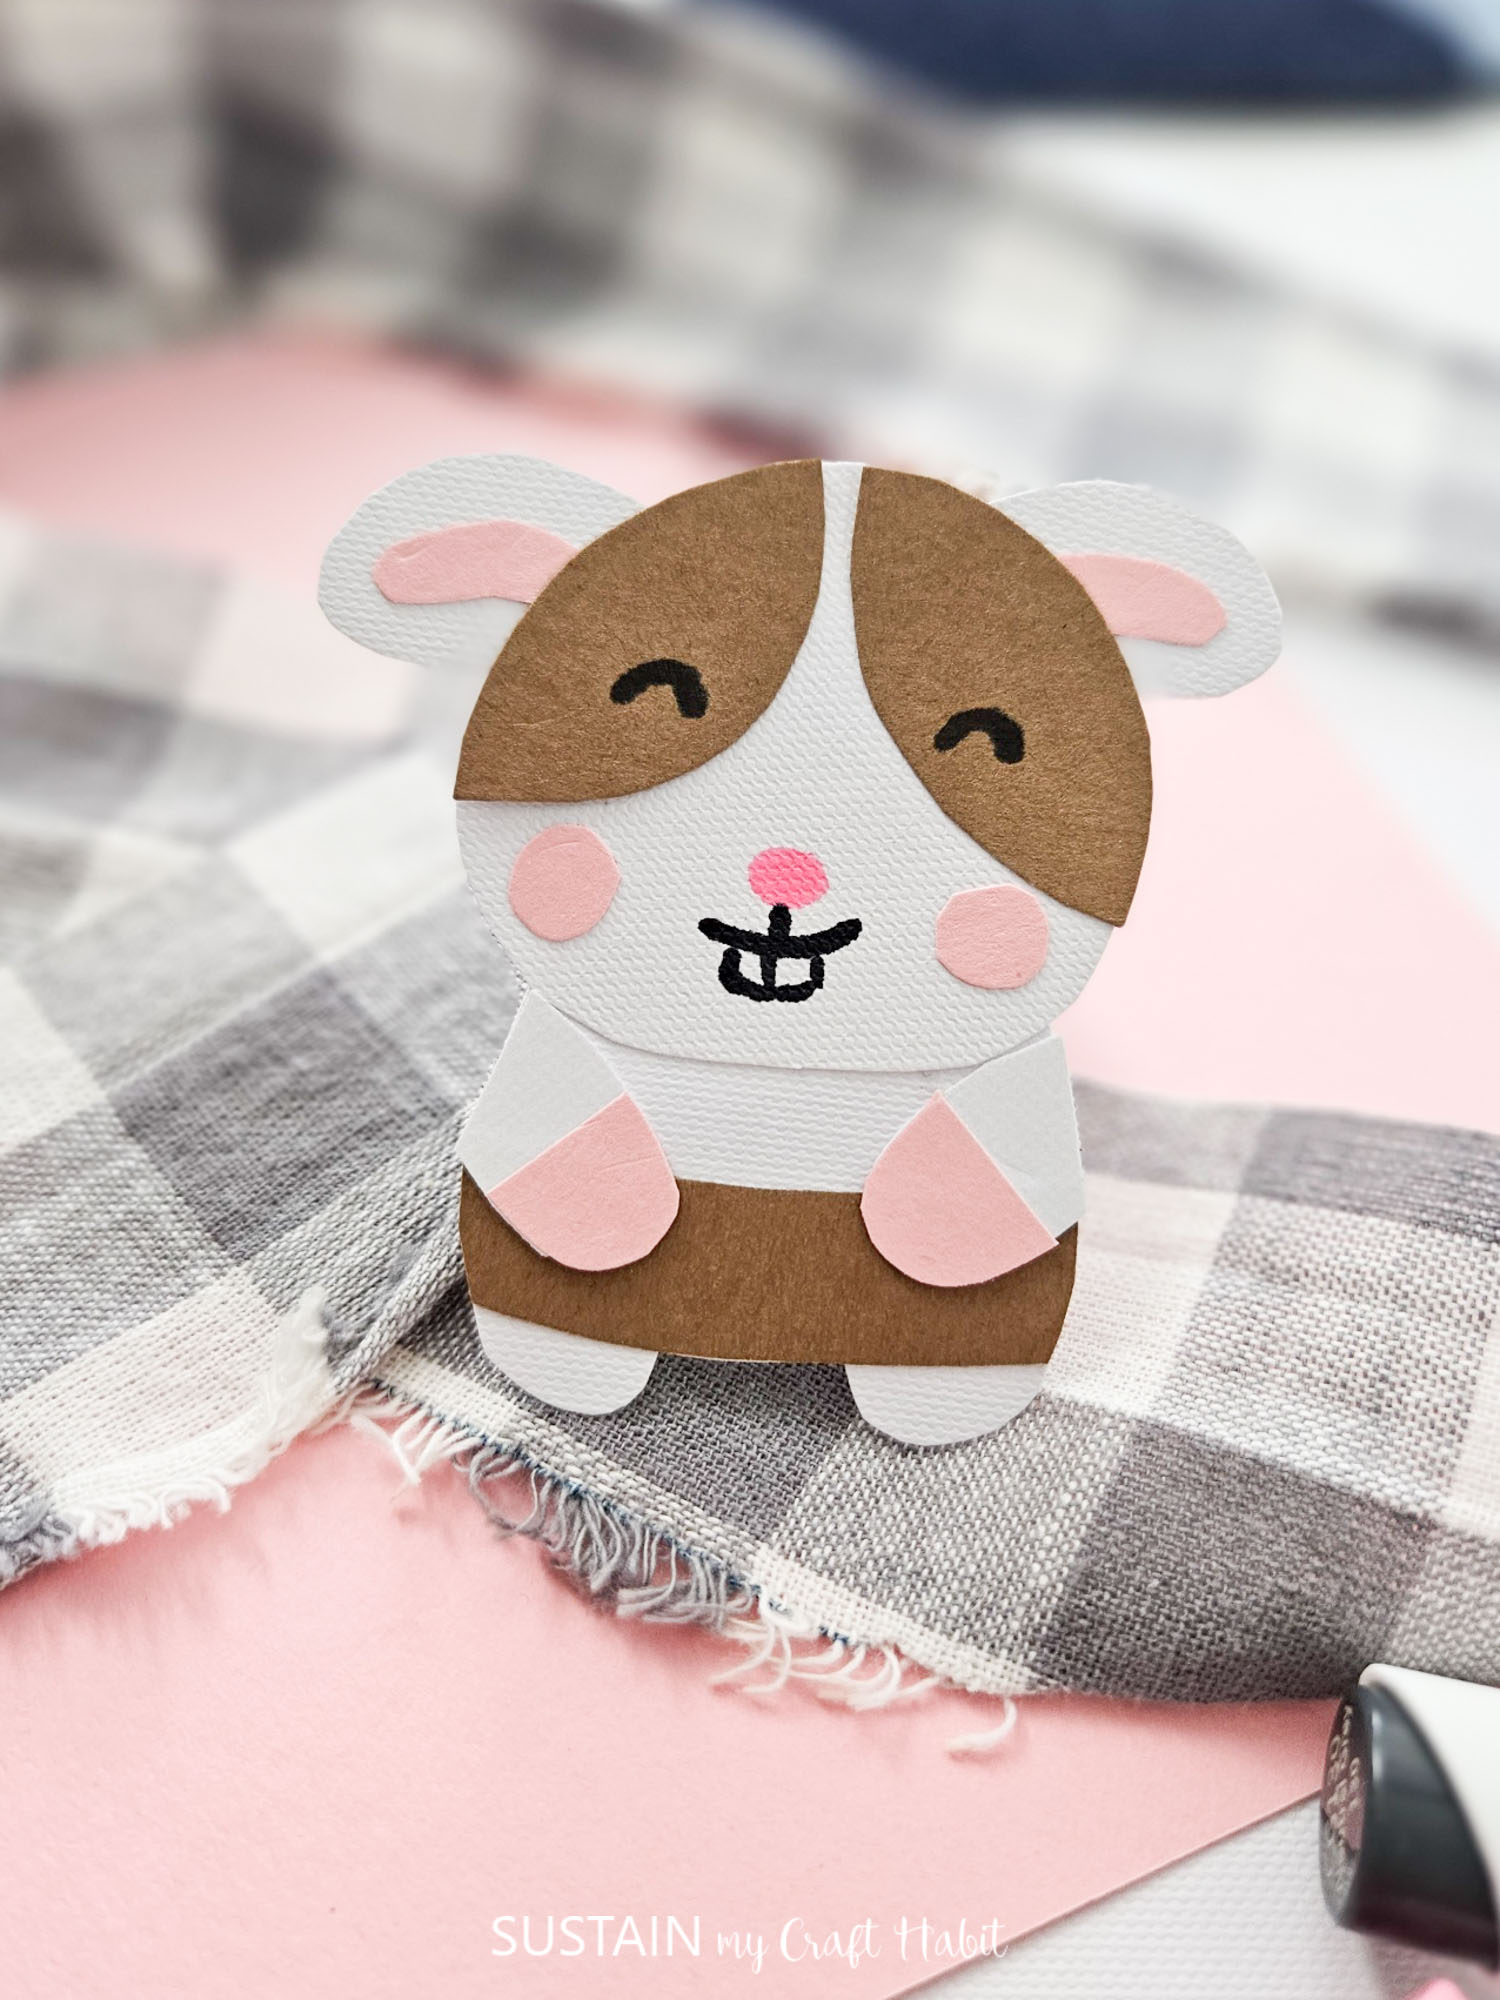
Get ready for cuteness overload with this free hamster bookmark printable. Kids of all ages (and adults) will flip for this craft. Not only is it adorable, but it is super easy to put together. It’s as easy as printing, cutting and gluing.
Think about how many fun ways you can use this printable:
- It would be a great craft to make at a kids’ birthday party. Each child could go home with their own bookmark.
- You can also include it with a book as part of a gift that any book lover would enjoy.
- Turn it into a Christmas ornament for the tree – use paper or even flat sheets of felt to make adorable hamster ornaments
- Use the bookmark (or ornament) as a stocking stuffer at Christmas.

The best part? You can print as many as you want and spread a little happiness without spending a lot of money. You can even change out the colors of the papers to match the colorings of actual hamsters! We love quick and easy crafts created on a budget.
Want to receive a ton of inspiration and money saving ideas for decorating, gift-giving and crafting? Join HERE!
Materials Needed
Disclosure: This post contains affiliate links for your shopping convenience. Should you choose to purchase through them, we will make a small commission at no extra cost to you. You can read our full disclosure policy here.
- Colored cardstock paper or thick craft papers
- Free hamster printable template
- Pencil
- Scissors
- Craft glue
- Sharpies
How to Make a Happy Hamster Printable Bookmark Craft
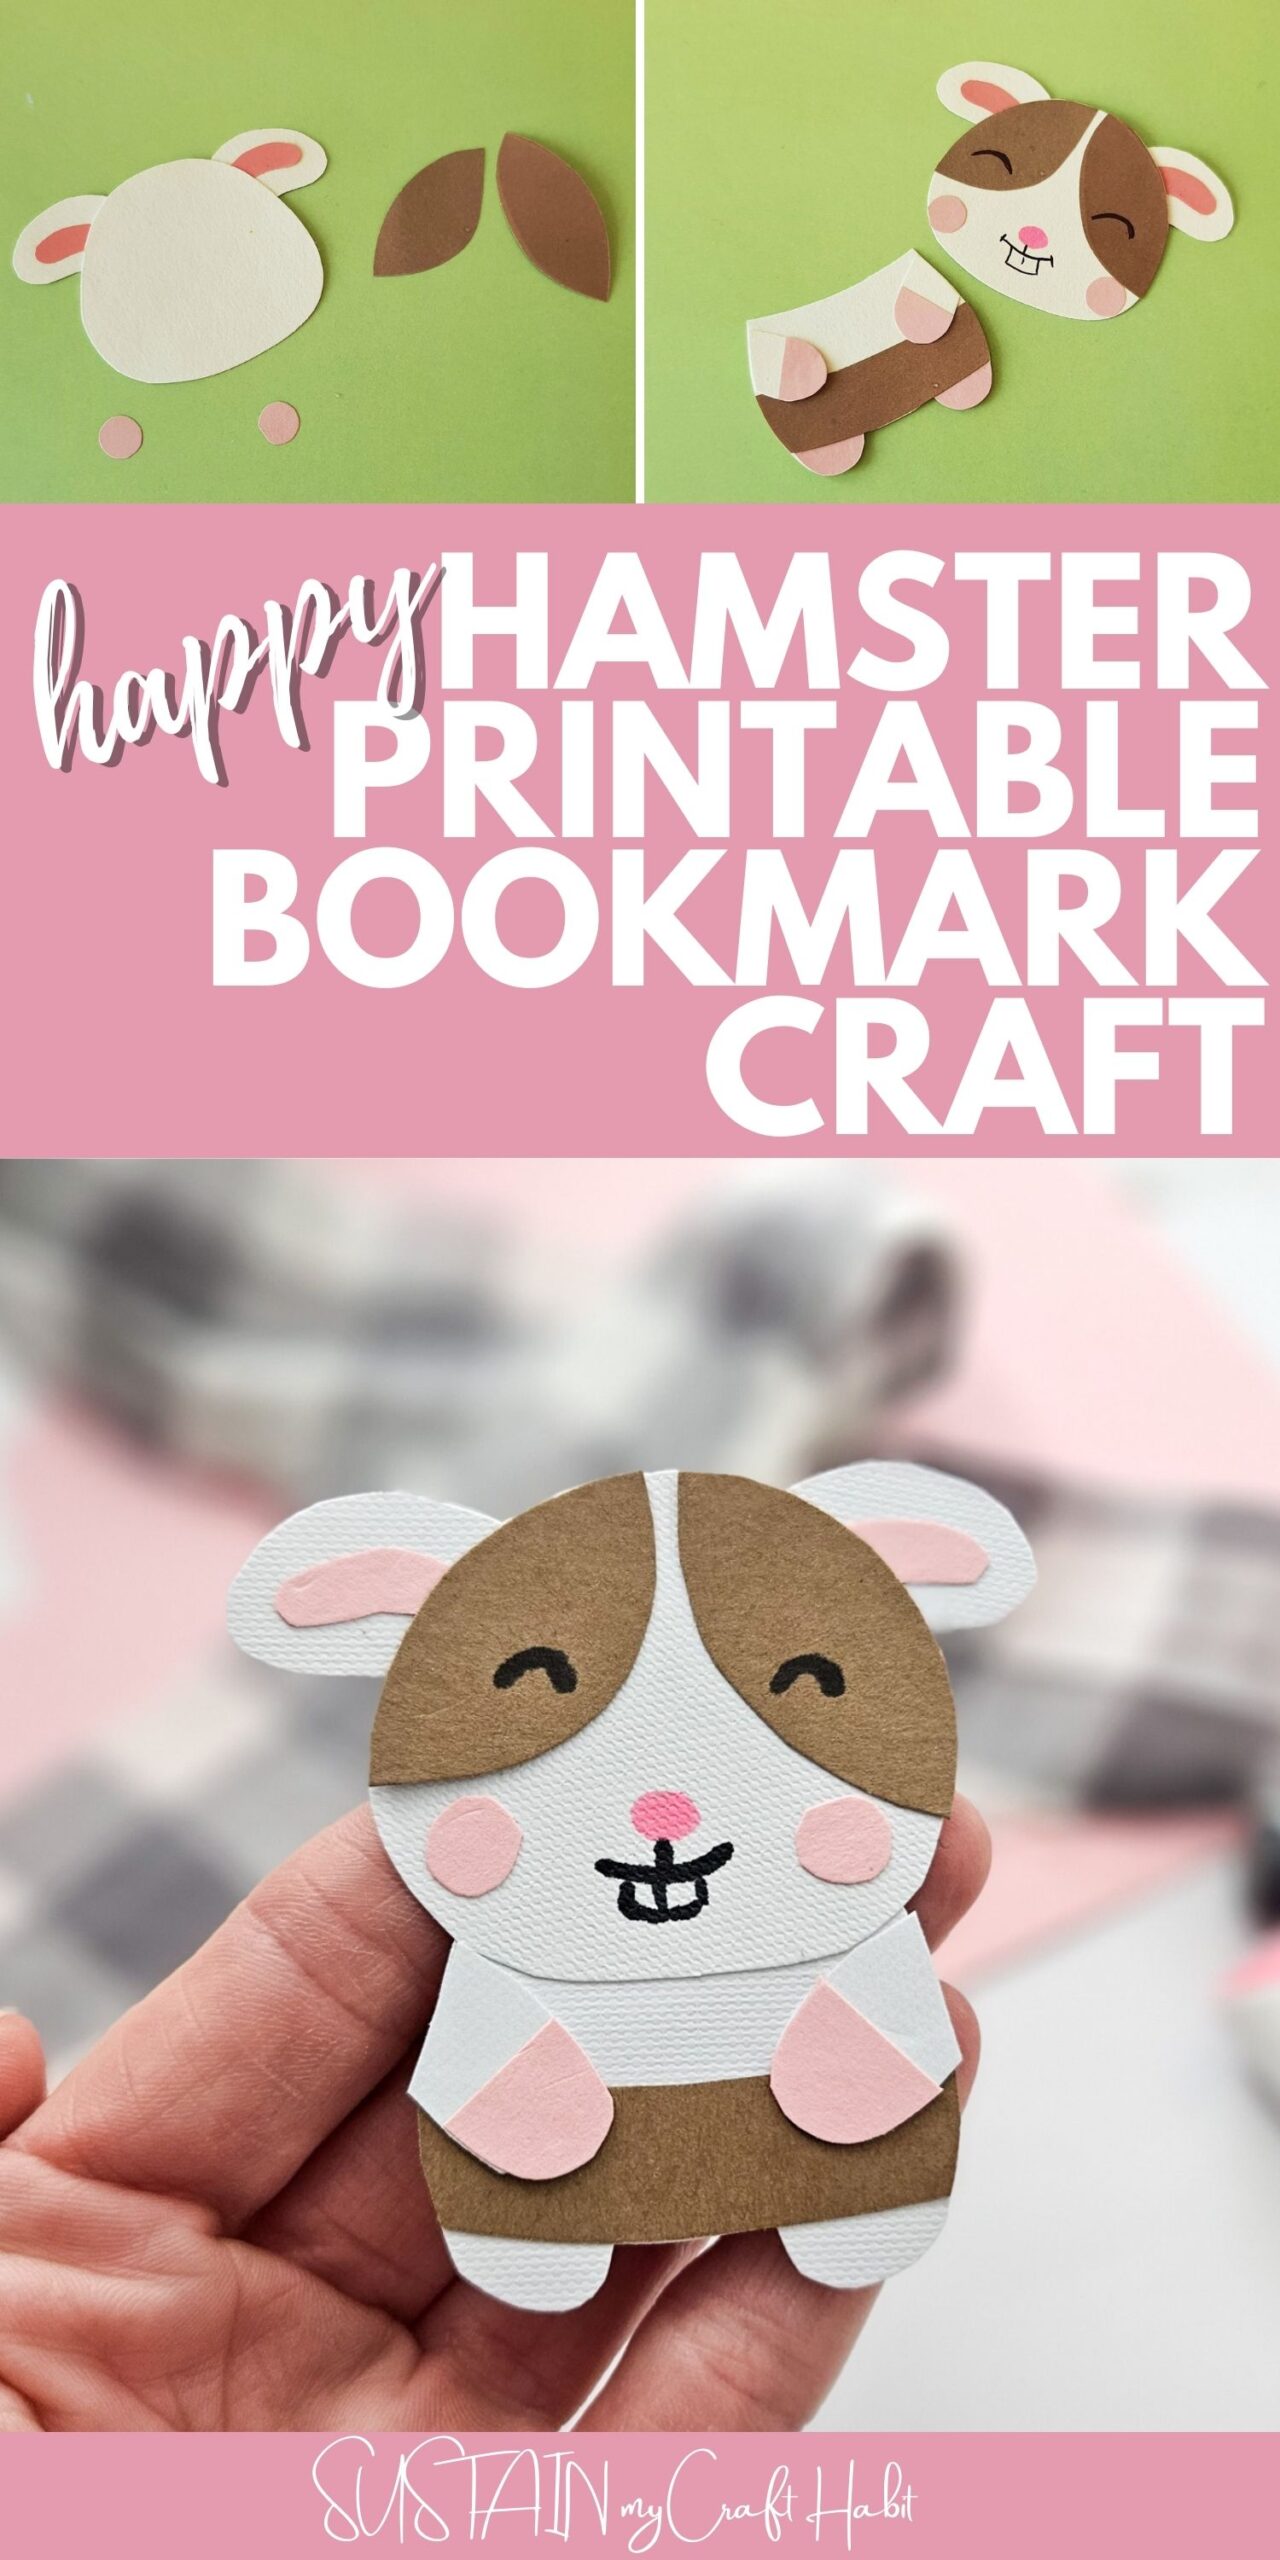
Select brown, white and pink colored craft papers for the hamster bookmark pattern. The template includes body base, head, outer ears, inner ears, blush, body spots, upper legs. Trace the template patterns on the selected craft papers and cut them out nicely.

Attach the inner ear cutouts (from pink paper) on the outer ear cutouts.

Then attach the ear patterns on the top side of the head cutout.

Attach the head spot/mark cutouts on the head (on the top side).

Next, attach the blush cutouts on both cheeks and then use a pen to draw the eyes, nose, mouth and teeth of the paper craft hamster.

Use a pink sharpie to trace and fill the feet parts on the open-round ends of the upper leg cutouts and the bottom ends of the leg parts of the body base.
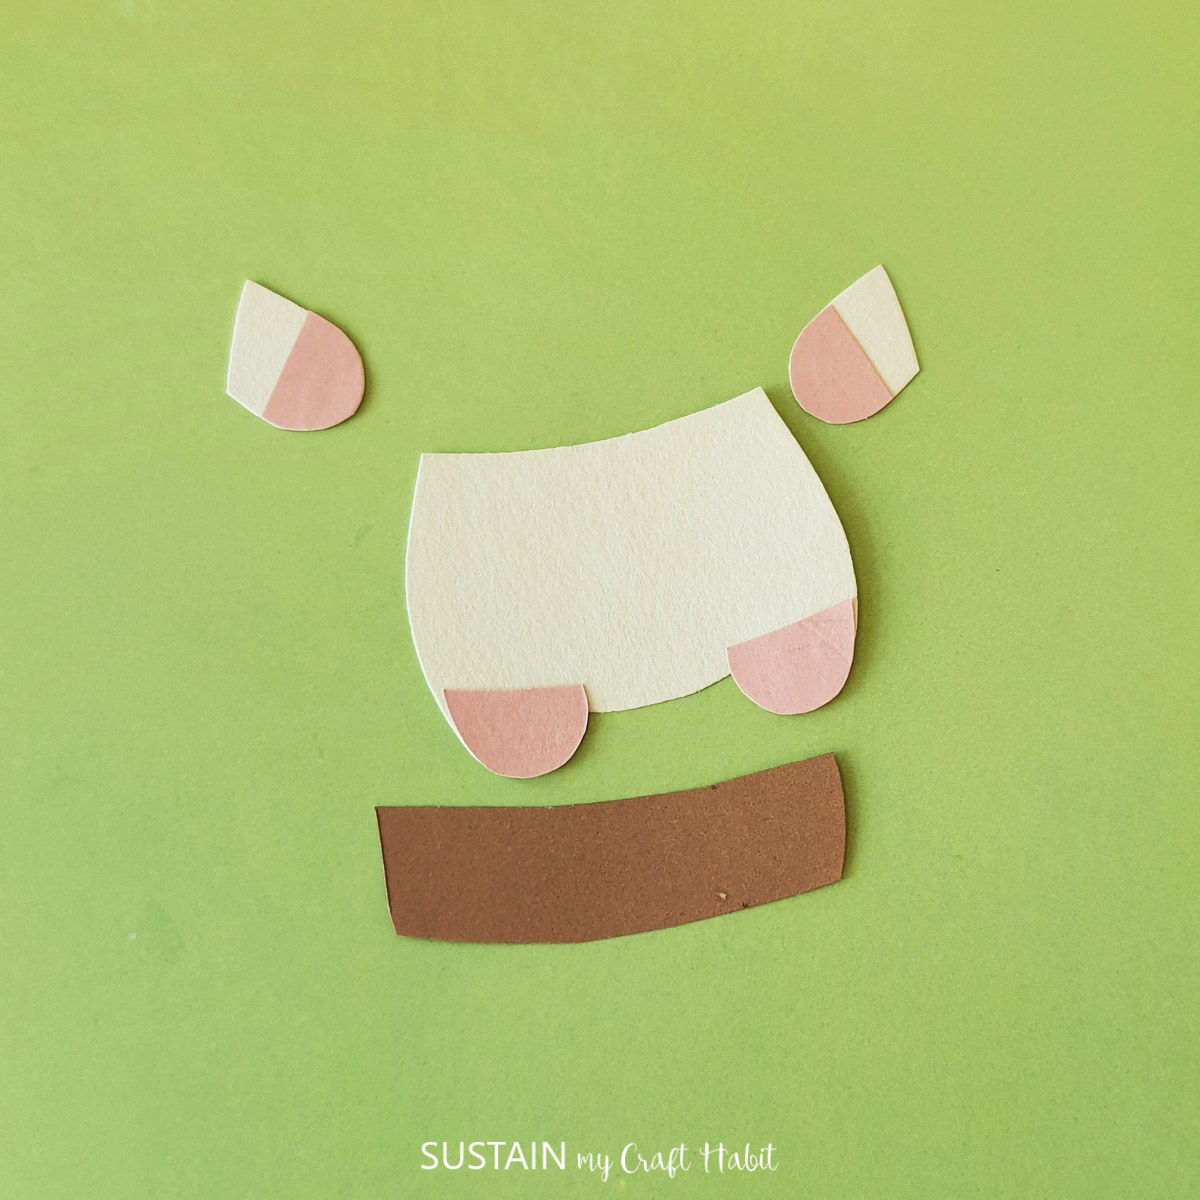
Attach the body spot/mark cutout along the bottom part of the body base.
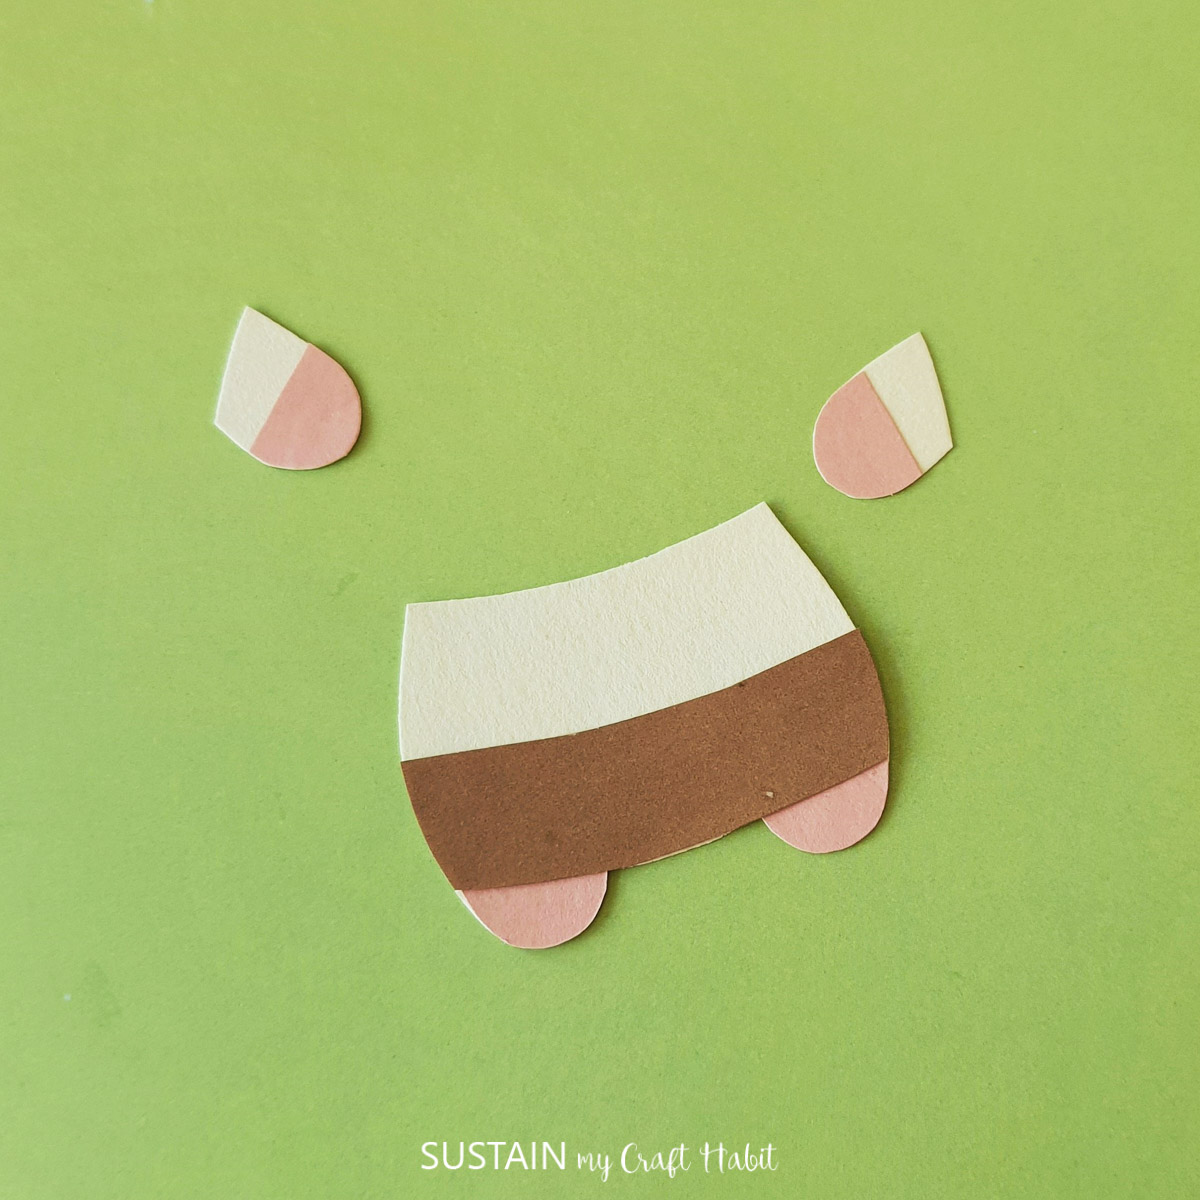
Attach the upper leg patterns on a side of the body base, near the top and only along the edge; keep the rest of the upper leg free from glue so that you can easily slide a page under it.

Similarly, attach the other upper leg on the other side of the body base.

Attach the head pattern on the top side of the body base to complete the hamster bookmark.
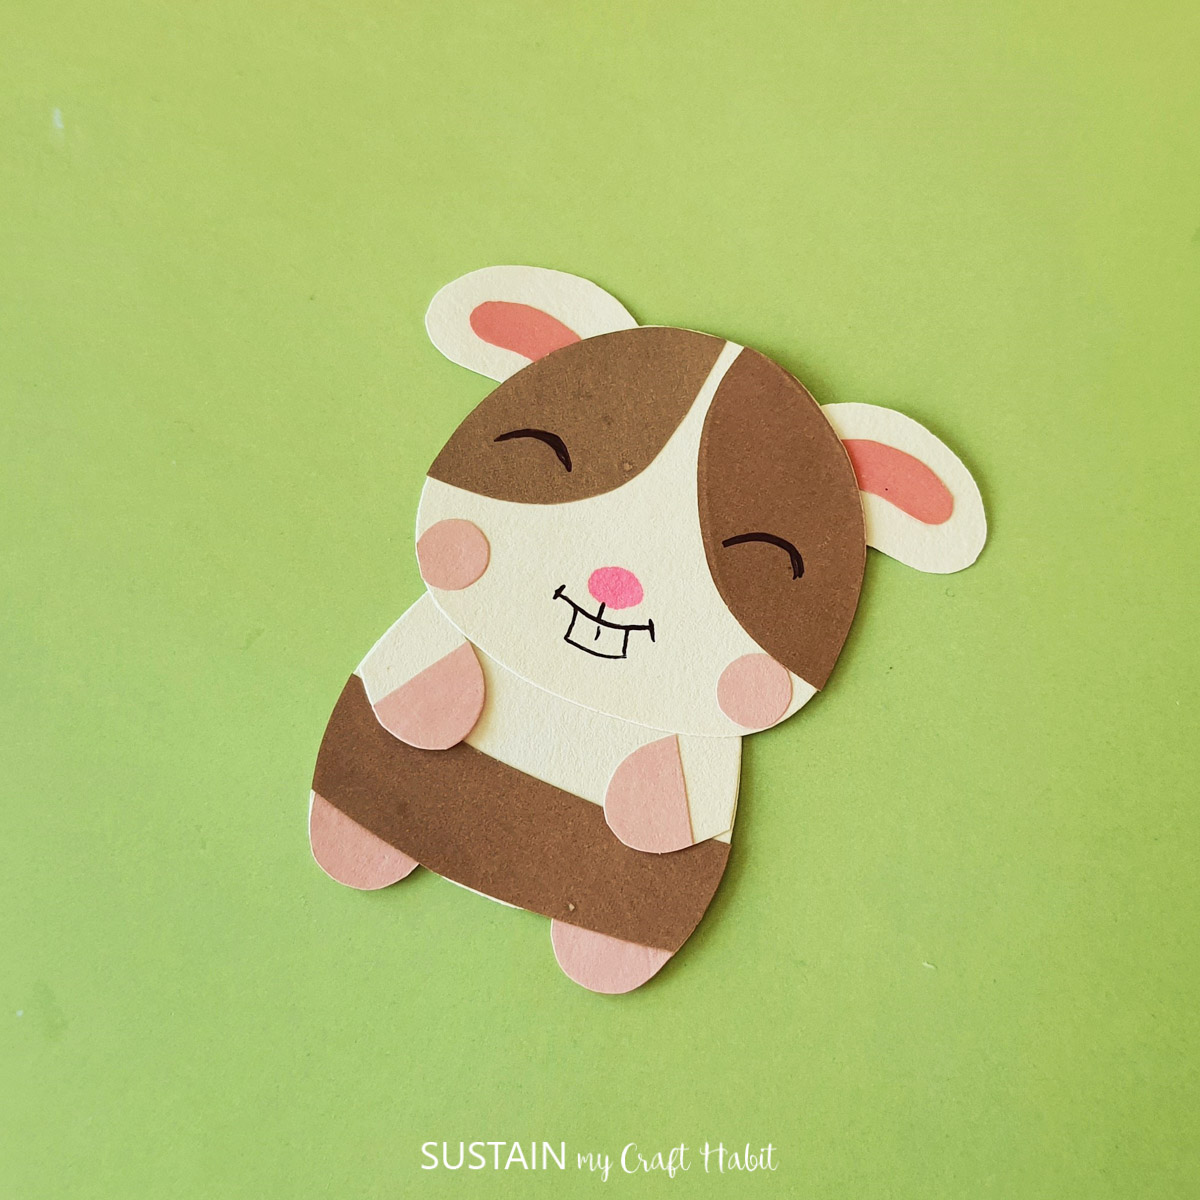
That’s all there is to it! An absolutely adorable hamster bookmark that you can make in just a few minutes. What do you think of this little cutie? Are you ready to make your own? If you do, make sure to show it off to us! Tag us on Facebook or Instagram– we can’t wait to see it!
More Bookmark Crafts to Make
Any bookworm will appreciate any of these DIY bookmarks:
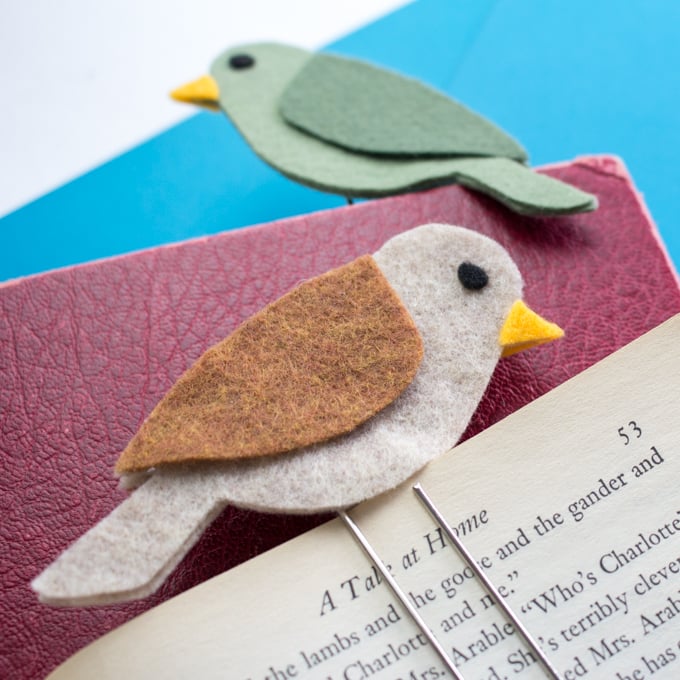
- Tweety Felt Bird Bookmarks
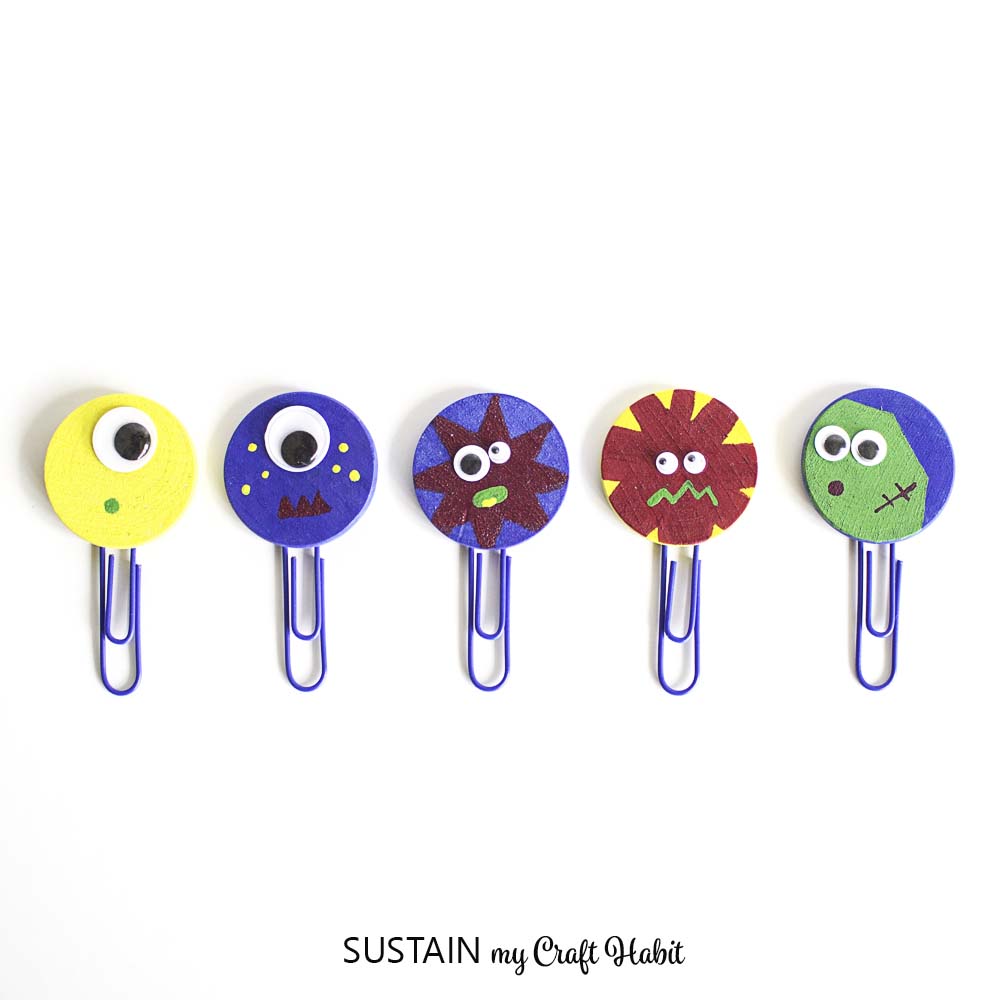
- Colorful Monster Paperclip Bookmarks
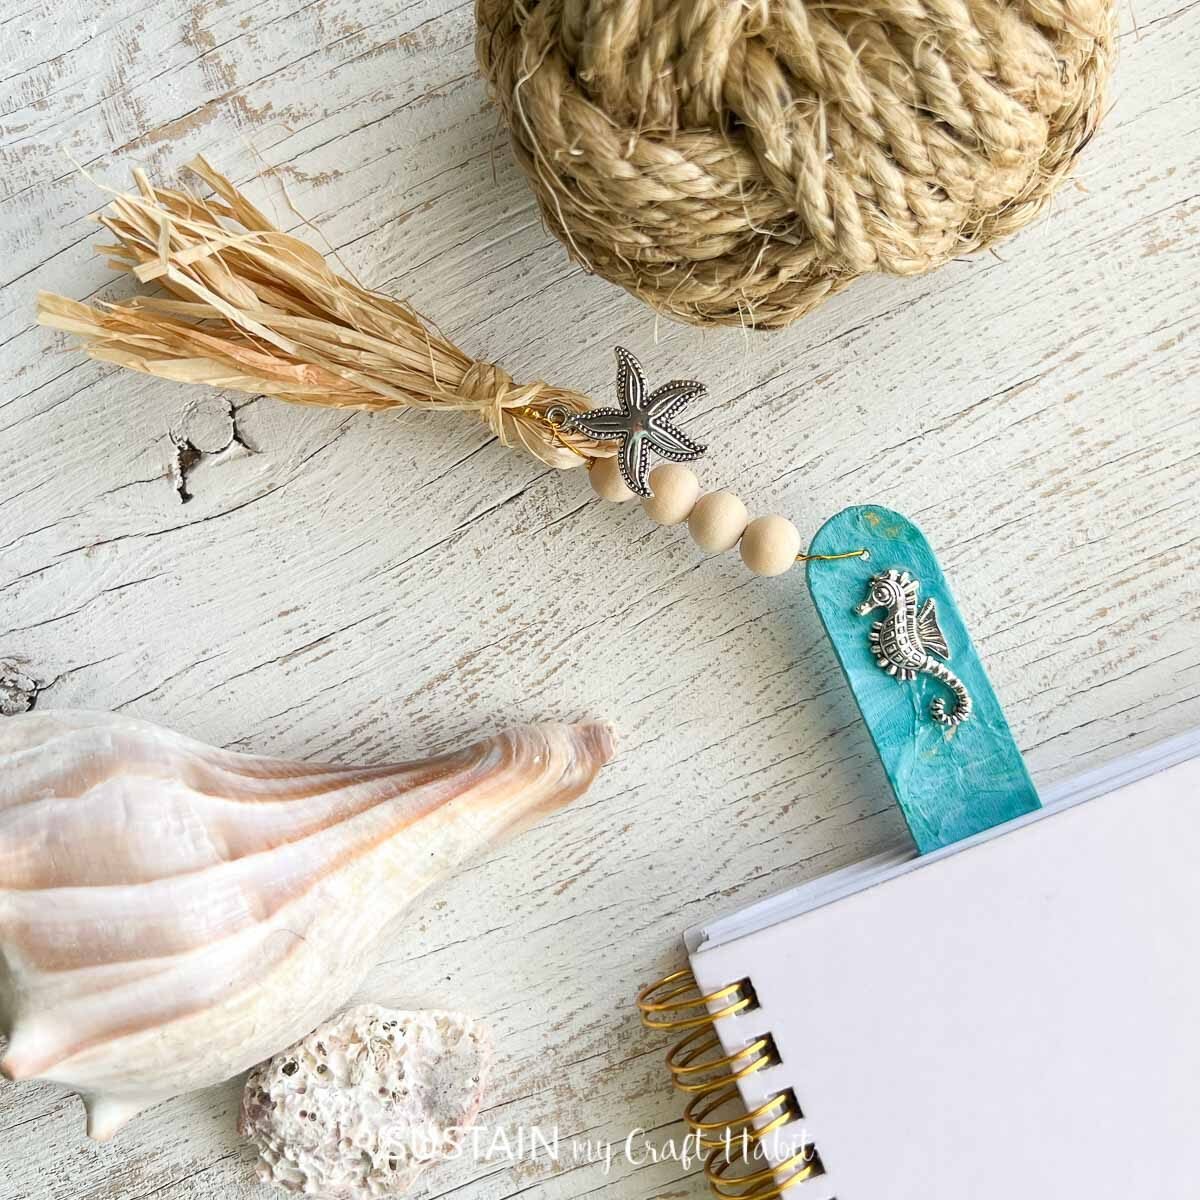
- Beachy Bookmark with Paint Pouring
- Coloring Bookmarks with the Cricut Maker
- No Sew Elastic Book Band

Get updates on the latest posts and more from Sustain My Craft Habit straight to your inbox by joining our weekly newsletter. We promise to send you only the good stuff!
Like it? Pin it for later!

Happy Hamster Printable Bookmark Craft
Materials
- Colored card stock paper or thick craft papers
- Free hamster template
- Pencil
- Scissors
- Craft glue
- Sharpies
Instructions
- Select brown, white and pink colored craft papers for the hamster bookmark pattern. Trace the template patterns on the selected craft papers and cut them out.
- Attach the inner ear cutouts (from pink paper) on the outer ear cutouts.
- Attach the ear patterns on the top side of the head cutout.
- Attach the head spot/mark cutouts on the head (on the top side).
- Attach the blush cutouts on both cheeks and then use a pen to draw the eyes, nose, mouth and teeth of the papercraft hamster.
- Use a pink sharpie to trace and fill the feet parts on the open-round ends of the upper leg cutouts and the bottom ends of the leg parts of the body base.
- Attach the body spot/mark cutout along the bottom part of the body base.
- Attach the upper leg patterns on a side of the body base, near the top and only along the edge; keep the rest of the upper leg free from glue so that you can easily slide a page under it.
- Similarly, attach the other upper leg on the other side of the body base.
- Attach the head pattern on the top side of the body base to complete the hamster bookmark.


