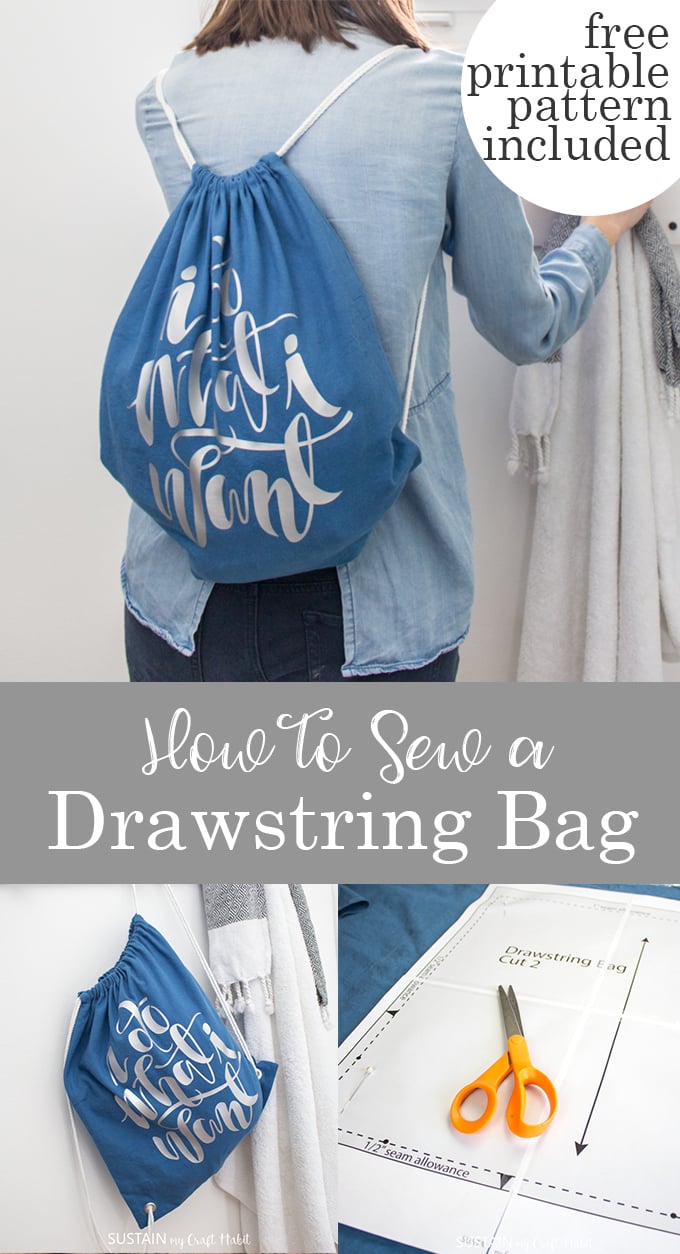
How to Sew a Drawstring Bag (Free Printable PDF Pattern)

Drawstring bags have become a staple item in my household for carrying our things as we go from one activity to the next. They’re lightweight, spacious yet portable making them a practical bag option for carrying our belongings. We’ll show you how to sew a drawstring bag to carry around all your summer belongings! Read on to snag the printable drawstring bag pattern free PDF!
Making Pretty-yet-Practical Tote Bags
Partnering with Canvas Etc. we used the leftover 100% cotton canvas from our DIY simple utility aprons to make this handy drawstring bag. The versatile medium weight canvas fabric works perfectly for this quick sewing project.
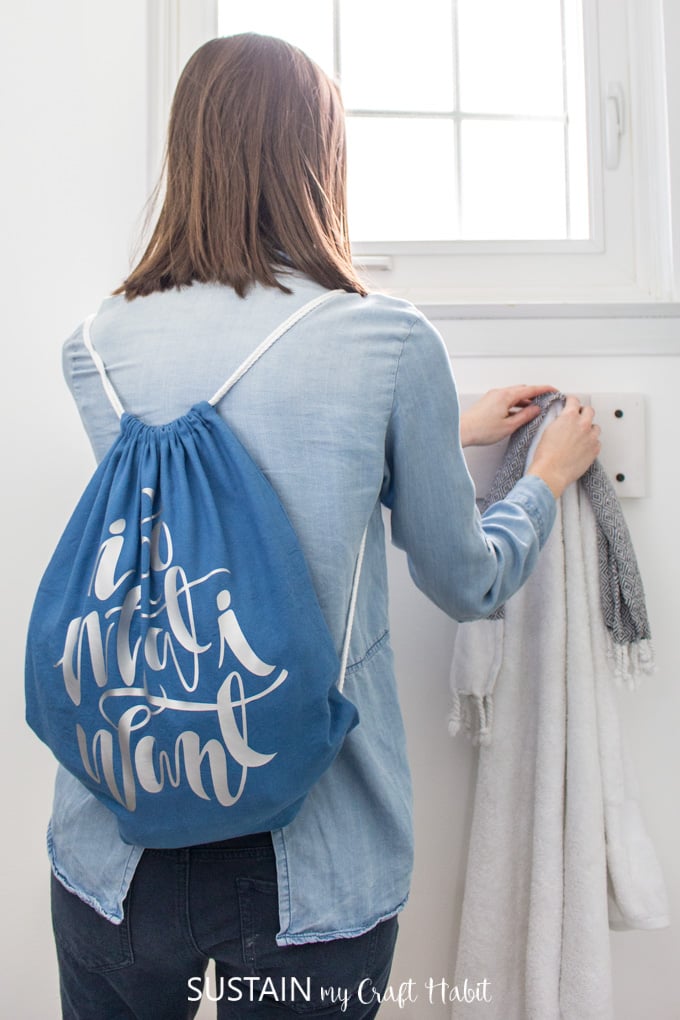
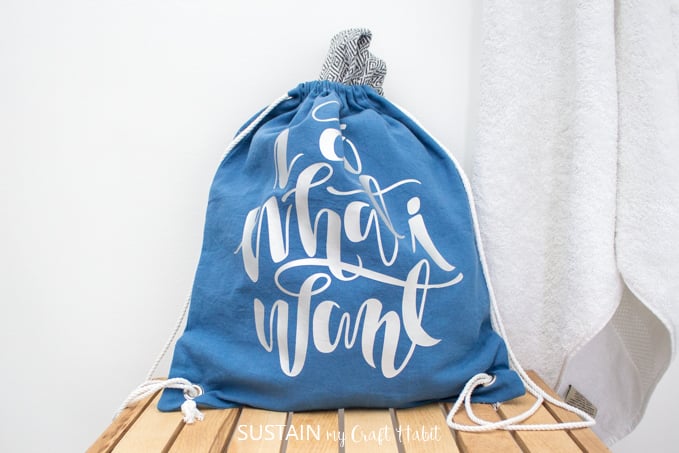
The finished dimensions of the drawstrting bag measures a roomy 15” wide by 17” high making it great for holding toiletries, towels, snacks, running gear, awater bottle or anything else you need. They are a really practical type of bag because they securely hold all your contents without the need of a closure such as a zipper, buttons or Velcro tape. This also means drawstring bags make ideal sewing patterns for beginners since there’s no need to fuss with difficult closures.
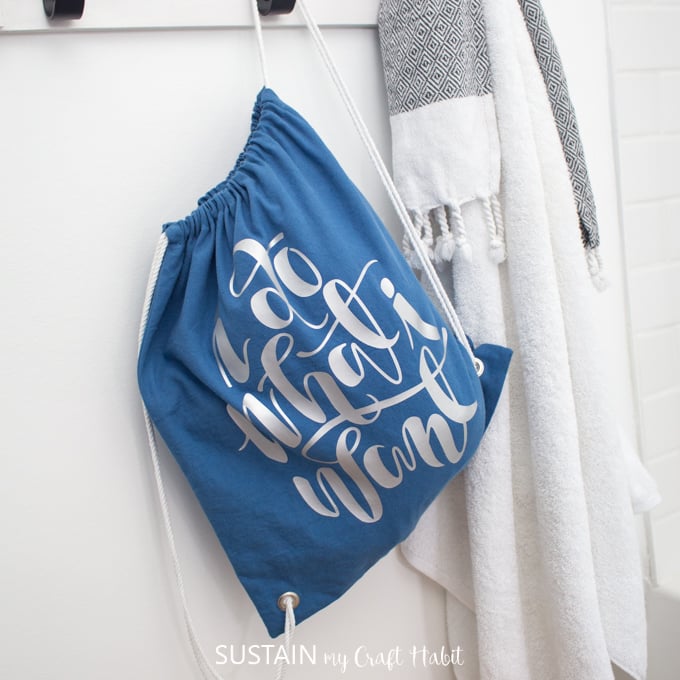
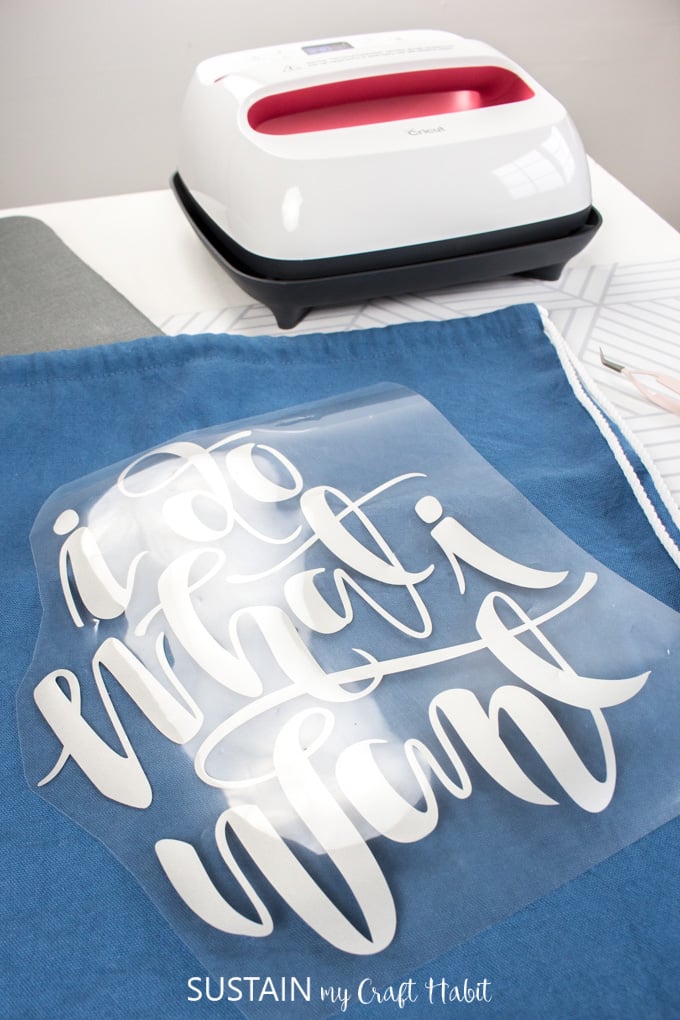
We decided to add this fun “I do what I want” lettering in silver iron-on vinyl to the bag using our Cricut Maker and EasyPress. The silver compliments the soothing blue canvas beautifully and coordinates with the brushed silver metal grommets.
I previously made another drawstring bag for my daughter in which I personalized the bag with her monogram in a glitter iron-on vinyl. You can find the instructions for adding the “I Do What I Want” iron-on vinyl using the EasyPress 2 here.
Materials Needed for Making a Drawstring Bag:
Disclosure: This post is sponsored by Canvas Etc. but all opinions are our own. This post also contains affiliate links for your shopping convenience. You can read our full disclosure statement here.
- 100% Canvas, 7oz, ½ yard at 60” wide (in blue but you can use any color of your choosing)
- Printable Drawstring Bag Pattern free PDF
- 4 yards of drawcord, ⅜” thickness (cut into two pieces, each measuring 70” long)
- Fabric scissors
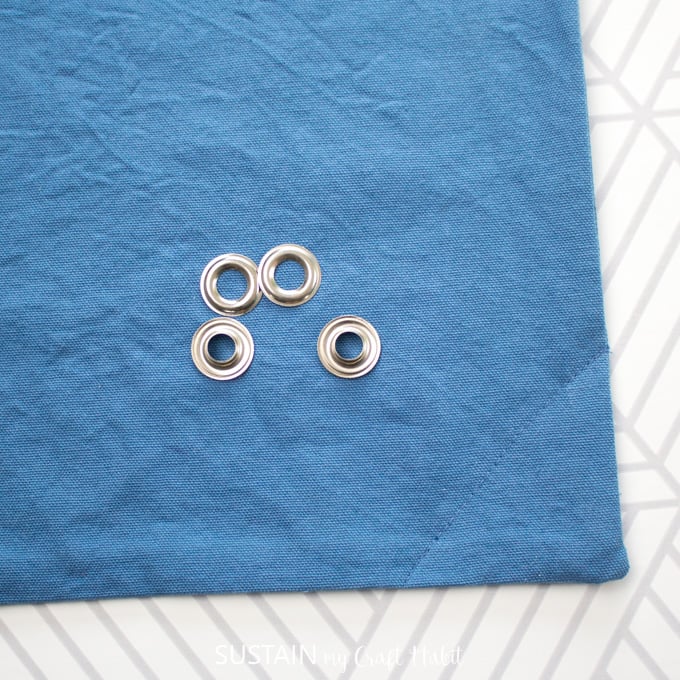
- X2 large metal grommets, 3/8″ size
- Chalk, ruler, measuring tape
- Iron and ironing board
- Sewing machine and matching thread color
- “I do what I want” Iron-On Vinyl embellishment (optional)
How to Sew a Drawstring Bag:
If you’re unclear on any of the sewing terms mentioned below, you can refer back to our how to make an apron post for clarity.
Prewash and dry the cotton canvas prior to cutting and sewing. Remove it promptly from the dryer to minimize wrinkles and creases.
Cutting
Print off the free printable drawstring bag pattern on 6 sheets of 8.5×11 paper. Align the paper edges and tape the pieces together as shown. The dashed line (aka the sewing line) of the pattern will measure 15” wide and 17” high when the pattern is taped together properly.
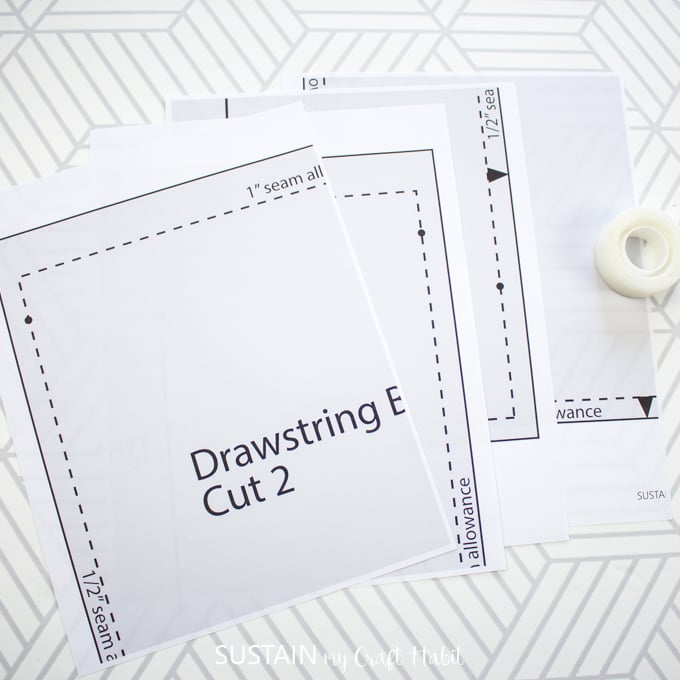

Cut along the solid lines. As mentioned above, the dash lines represent the sew lines.


Remember to clip the notches and mark all dots on the pattern using a piece of washable chalk or wax. Poke the center of the dot with a pin, lift pattern up and mark on the fabric where the pin meets the fabric. These markings will guide you on the start and stop sewing positions for the bag.


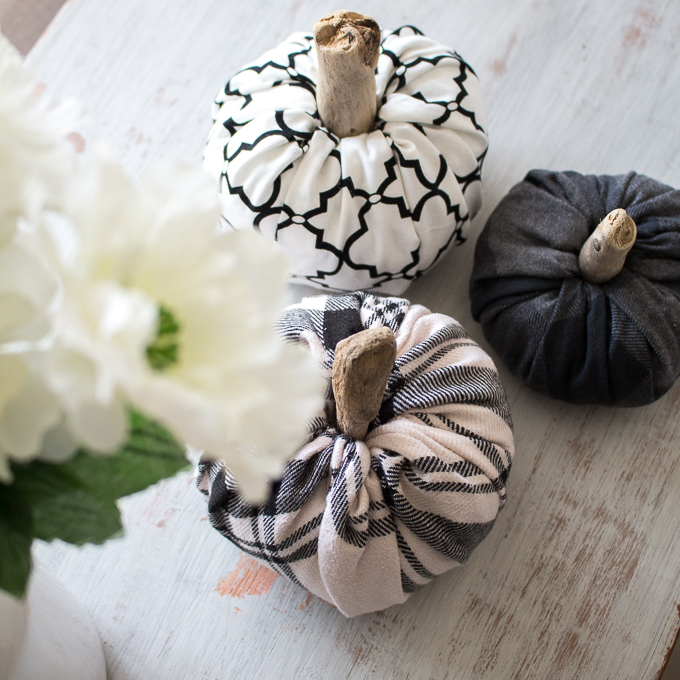
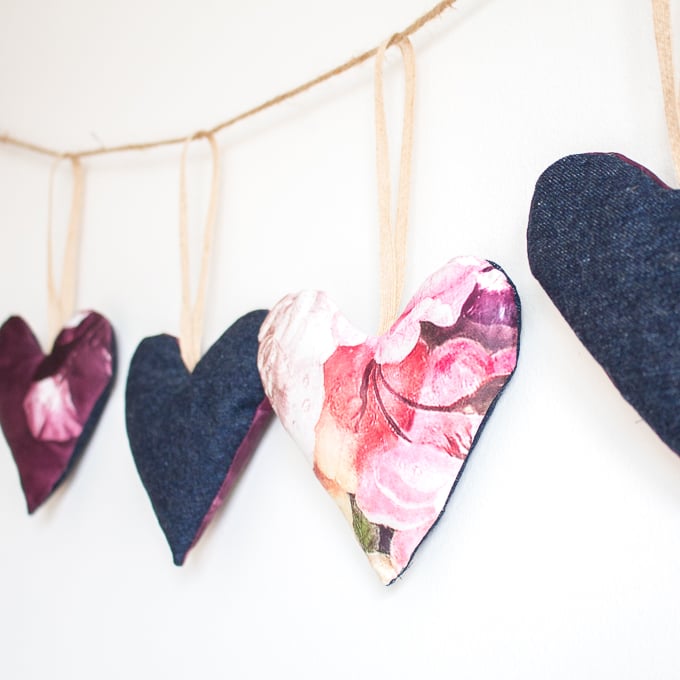
Remember to save your leftover fabric and scraps from your sewing projects. Those small pieces can be used to make these canvas ornaments or this scrap fabric heart garland or even these scrap fabric pumpkins decor!
Sewing
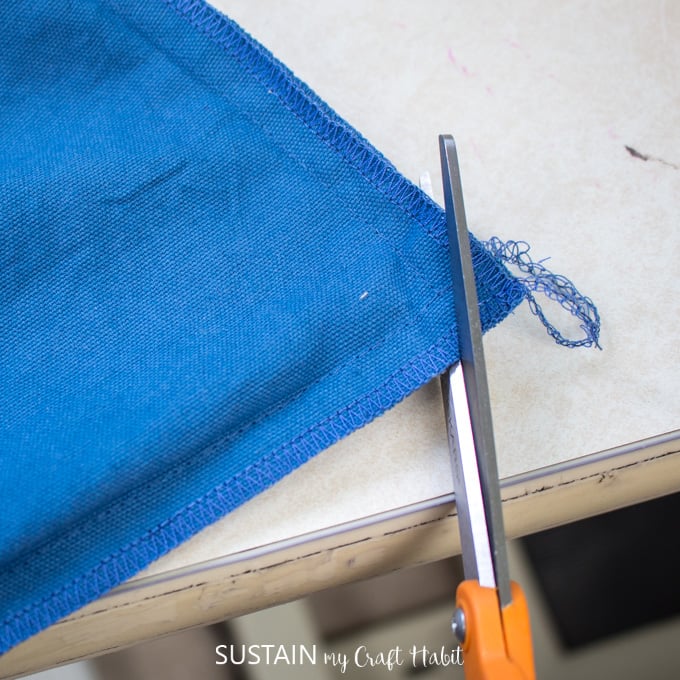
To prevent the fabric edges from fraying, finish all edges of both pieces using a zig zag stitch or serger as shown.


With right sides together and notches aligned, place the start of the stitch line where you marked one of the small dots. Stitch together with a ½” seam allowance, sewing around the perimeter of the bag and stop at the second small dot marking. Be sure to back tack at the start and at the end of the stitch line.


Press seam allowances open.


Clip the corners to reduce the bulkiness when bag is turned inside out.
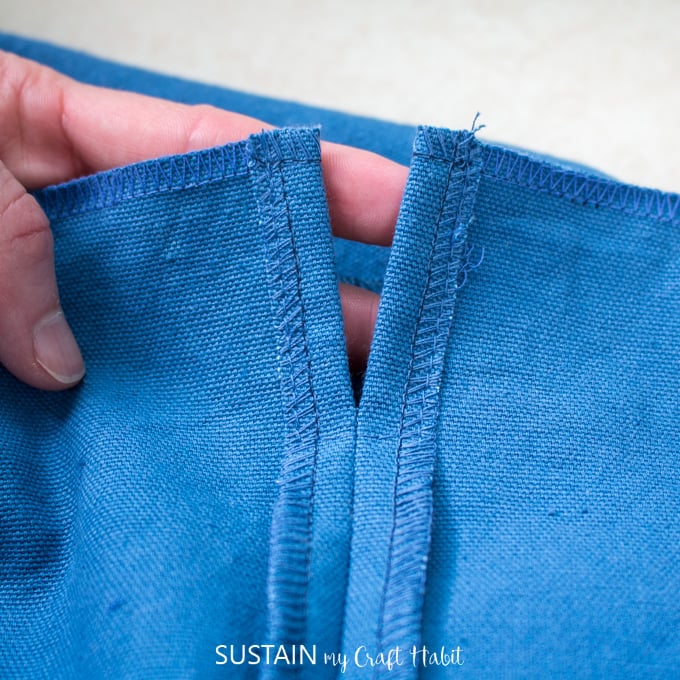
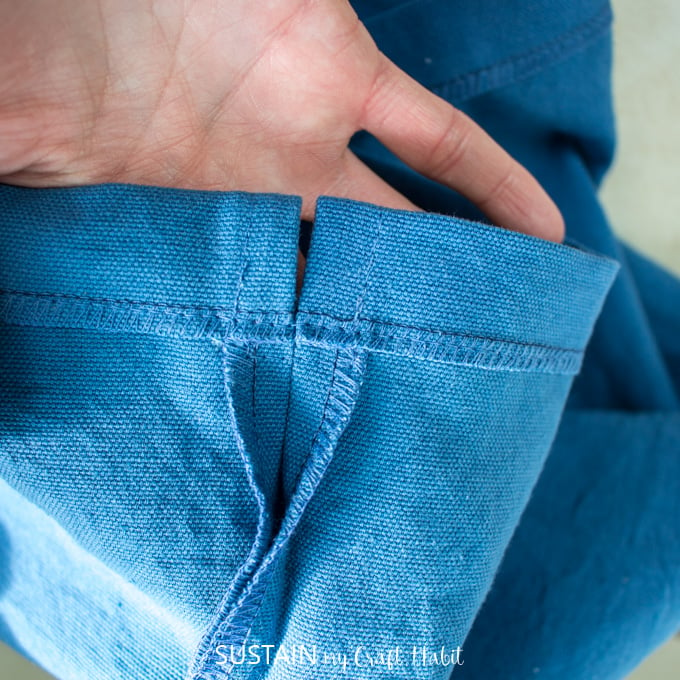
To form the openings for the drawstring, sew the pressed seam allowance down at the top side slits.

Fold the top edge of the bag over with a 1” hem allowance and sew in place creating a tunnel for the drawstring to be encased into.
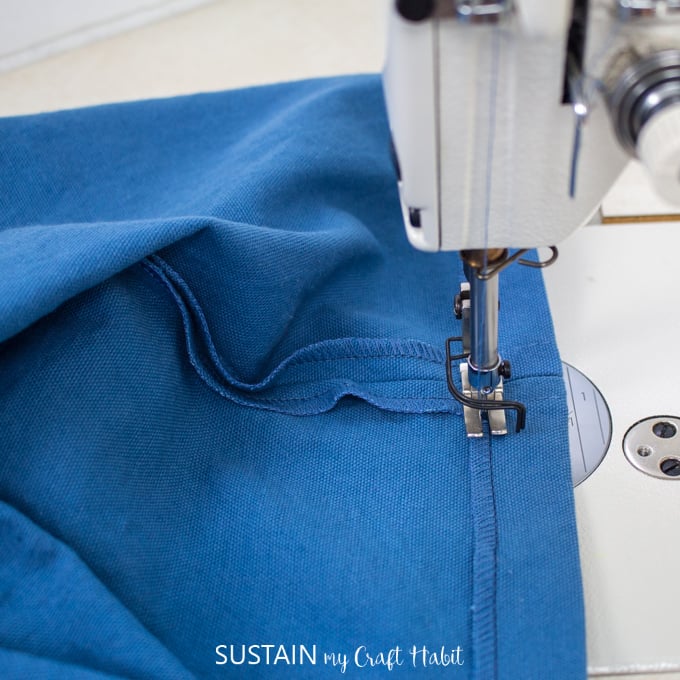

The sewn drawstring tunnel will be open on both sides as shown here.

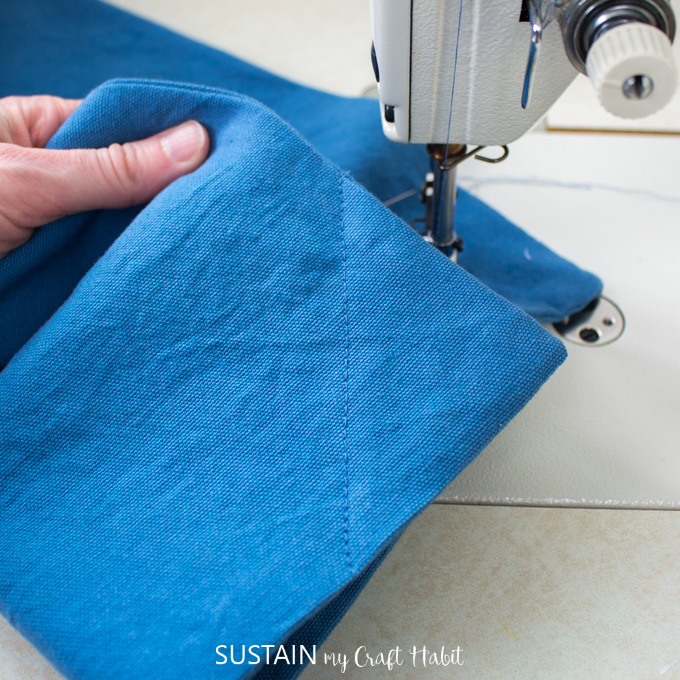
Turn the bag inside out and push out the corners to form a nice 90 degree angle. Press the bag and all seams flat.
Mark the bottom corners 3” up and over on both sides. Sew a diagonal line joining the two points.

Finishing
Following the instructions on the packaging, attach one grommet to each bottom corner. If you decide to use a thinner fabric, be sure to add some interfacing to the wrong side of the fabric in the areas you’ll be attaching the grommets.


Working one side at a time, thread the drawstring end through the grommet and up the side of the drawstring bag. Attach a safety pin to the end to help pull the drawstring through the channel at the top of the bag. Run the drawstring around the entire top opening and then back down the side to the same grommet. Relax the drawstring so it follows the length of the drawstring and circumference of the bag, approx. 70″ needed. Knot the ends together and repeat the same steps on the opposite side.


When the drawstring is pulled away from each other, the bag should cinch closed securing the items inside.
To add a decorative embellishment like we did with this silver iron-on vinyl “I do what I want” lettering, head here.
If you’re looking for more sewing projects, learn how to make an infinity scarf or learn how to sew a pencil case with a zipper. Both make great gift ideas! Or if you’re looking to change your home decor, learn how to make easy fabric curtains.
Like it? Pin it for later!


A great pattern to teach kids to sew
Great directions!
Thanks for the simple to follow instructions!
Thank you for sharing! I just finished making the bag. The grommets were a learning curve for sure, but it worked out perfectly. Fingers crossed the grommets on the second bag go smoother 🙂