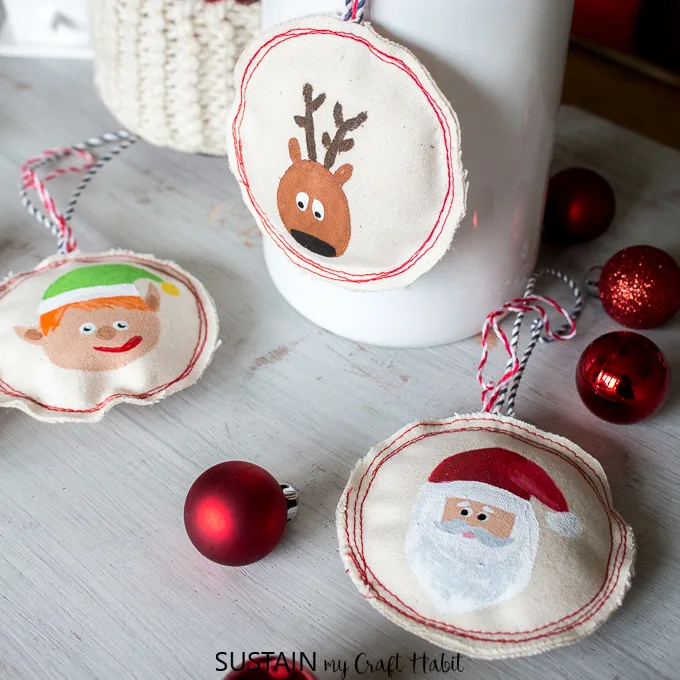
Hi friends! We’ll be showing you how sewing Christmas ornaments can truly be simple and easy for all skill levels. These adorable handmade DIY Christmas ornaments are perfect for the tree, as gift toppers, stocking stuffers or even little scented sachets!

Sewing Christmas Ornaments
Disclosure: This project is sponsored by Canvas Etc. All opinions are our own. Also, this post contains affiliate links for you shopping convenience. You can read our full disclosure statement here.
Friends, we have a great new collaboration to share with you! Over the coming months we’ll be partnering with Canvas Etc. the largest online fabric store offering textiles and sewing supplies for all your crafting needs. This means we’ll be able to bring you loads of new fabric and sewing projects using a wide range of materials. Sewing has always been one of my favorite hobbies, yet we’ve only done a handful of sewing projects to date, such as our upcycled leather bag , DIY Christmas stocking and our DIY linen napkins.
Canvas Etc is a growing online fabric supply store. In addition to a huge selection of affordable textiles, they offer finished products such as totes, custom sewing and on-demand printing. Stop on by and see their selection of hundreds of patterns by renowned artists, which they can print onto 20 different fabrics. Or upload your own!
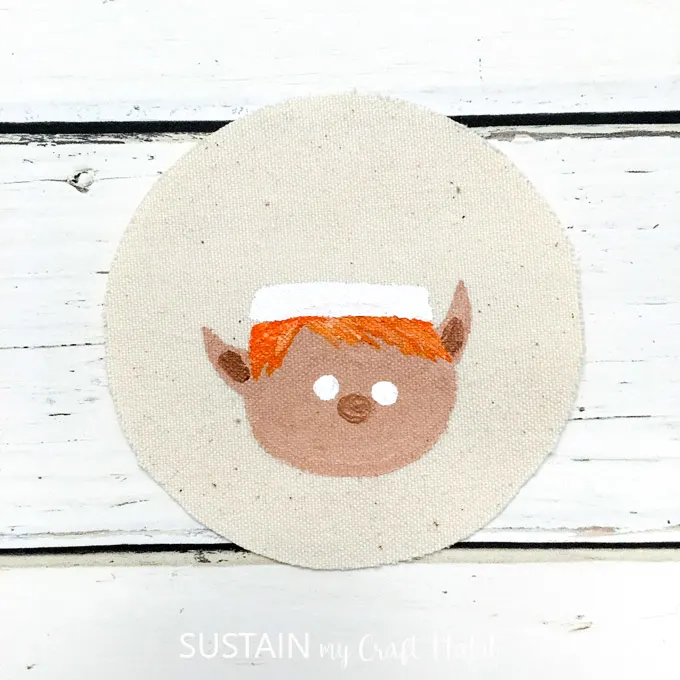
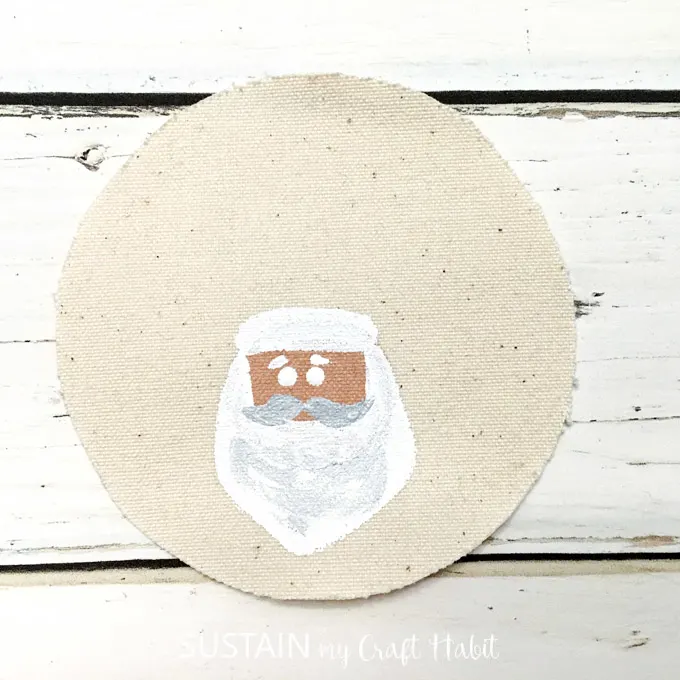
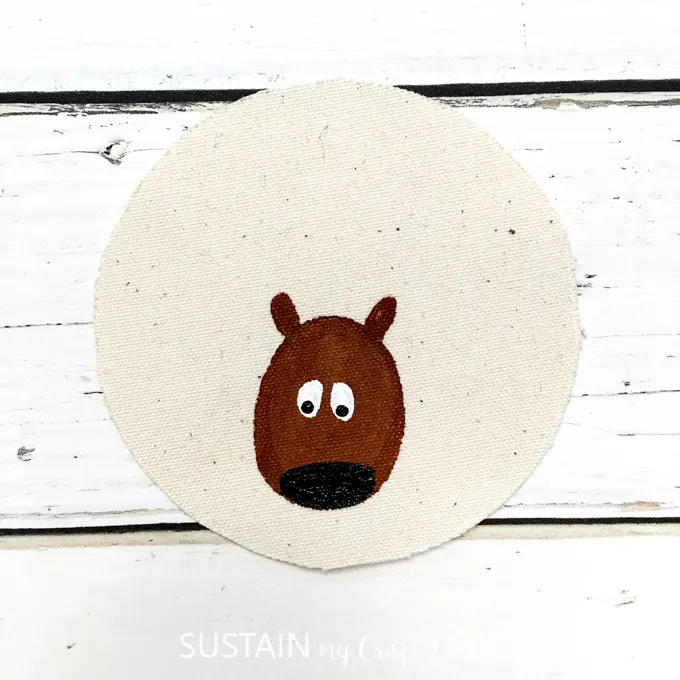
You might recall some of our Christmas rock painting ideas from last year, called Santa’s Little Helpers. Well, we applied the same Elf, Reindeer and Santa designs to a canvas material to make these adorable ornaments. By the way, painting on canvas is waaay easier than painting on rocks, in case you were wondering! So easy in fact, that we chose to make these ornaments two sided. There’s no need for expert sewing skills: these ornaments are perfect for beginners and experienced sewers alike.
- Christmas ornaments
What is canvas?
Canvas, also referred to as Duck Cloth, is a durable, plain woven fabric, most often made from cotton but can also be made from linen or blended with synthetic fibers, such as polyester and nylon. Canvas comes in a range of weights depending on the end use making it a very versatile medium to work with. It’s not just for tents, slipcovers or for artists to paint on; canvas is an excellent high quality, low cost option for all kinds of sewing and DIY projects such as these ornaments. If you found this interesting, you’ll want to check out Canvas Etc. blog to learn more about various textiles.
Materials needed to make 3 DIY Christmas ornaments:
- 1 yard medium to heavyweight canvas such as this 12.8oz 100% Cotton Army Ducks canvas
- Fabric Scissors
- Polyfill Stuffing
- Baker’s Twine
- Sewing Machine
- Pencil (for hand lettered side)
- Black permanent marker (for hand lettered side)
- Americana Multi-Surface Acrylics in assorted colors (for the list of required colors, refer to the tutorial here)
- Fine tip acrylic paintbrushes
Instructions for Sewing Christmas Ornaments (set of 3):
Step 1: Preparation
Cut out 6 same sized circles measuring 3 3/4” diameter.
For hand lettering:
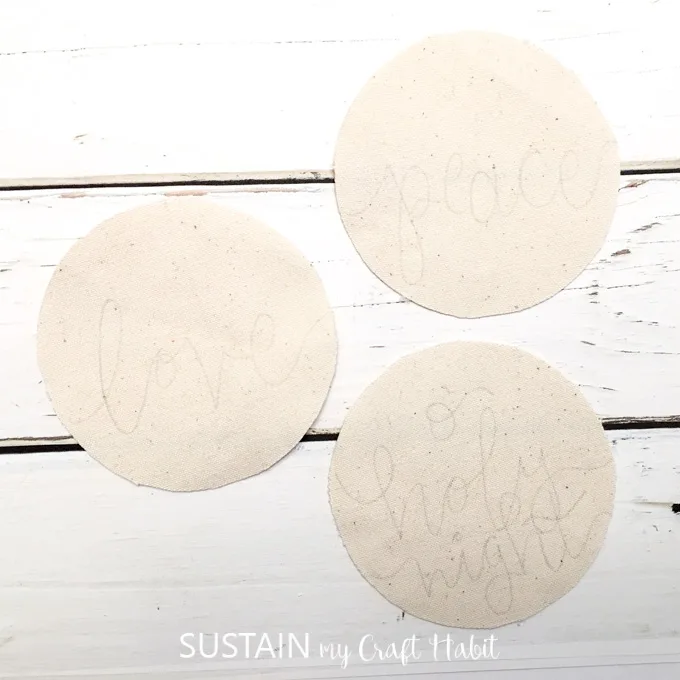
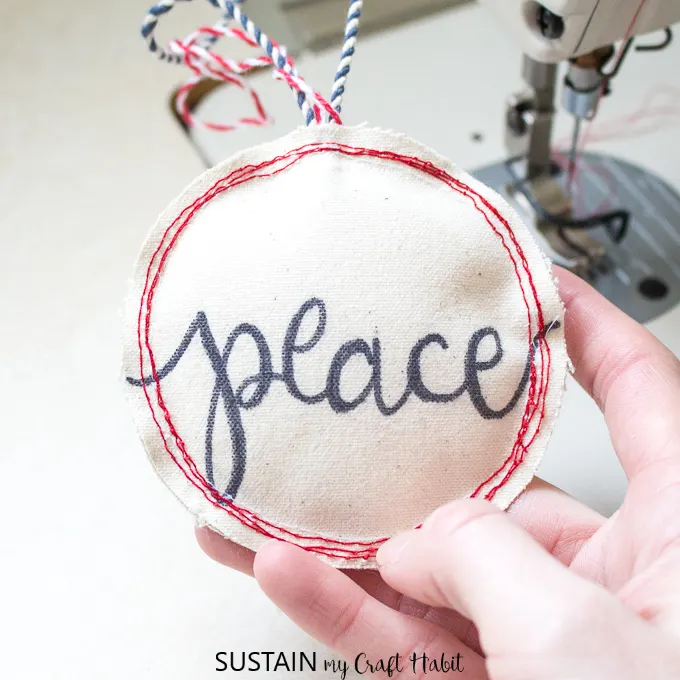
Using a pencil, lightly hand letter any word of your choosing, such as “peace”, “o’ holy night” and “love”.
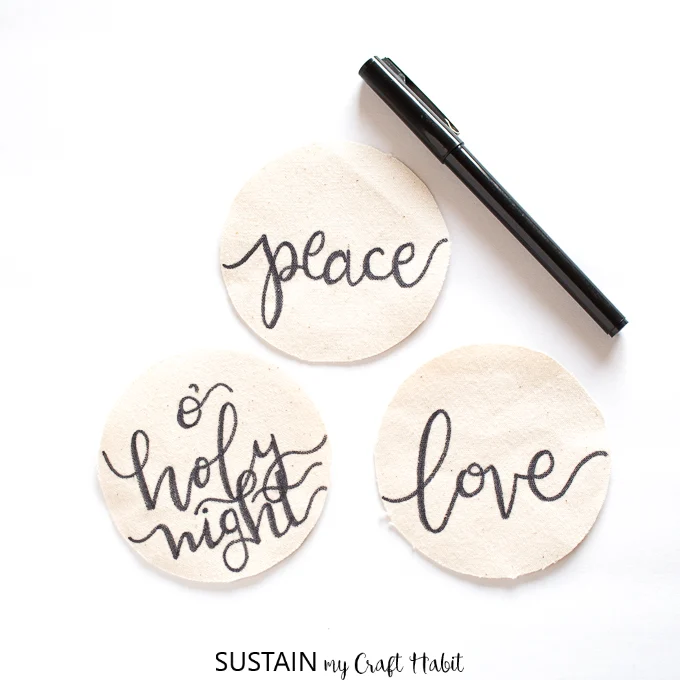
Trace over the pencil lines using a black fine point magic marker and put aside.
For painted Santa’s little helpers:
Follow the instructions found here to paint these characters. Put aside to dry fully before moving on to next step.
Step 2: Assembly
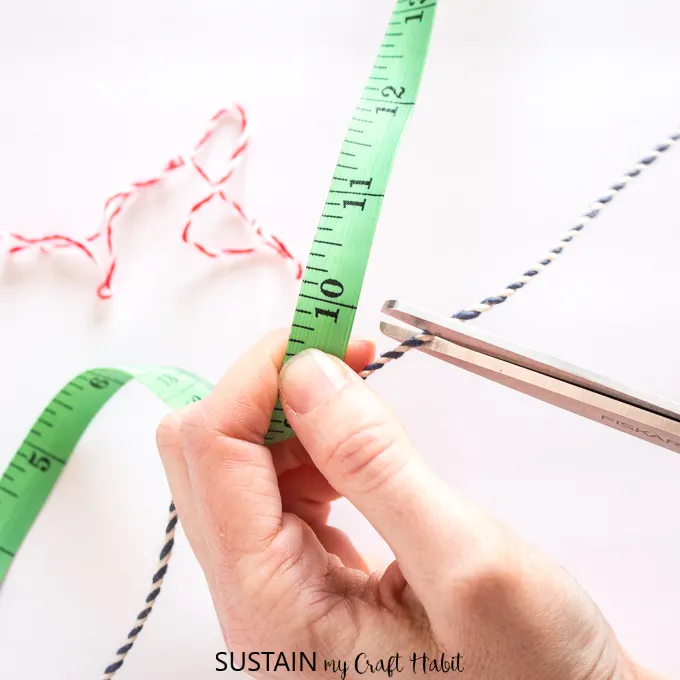
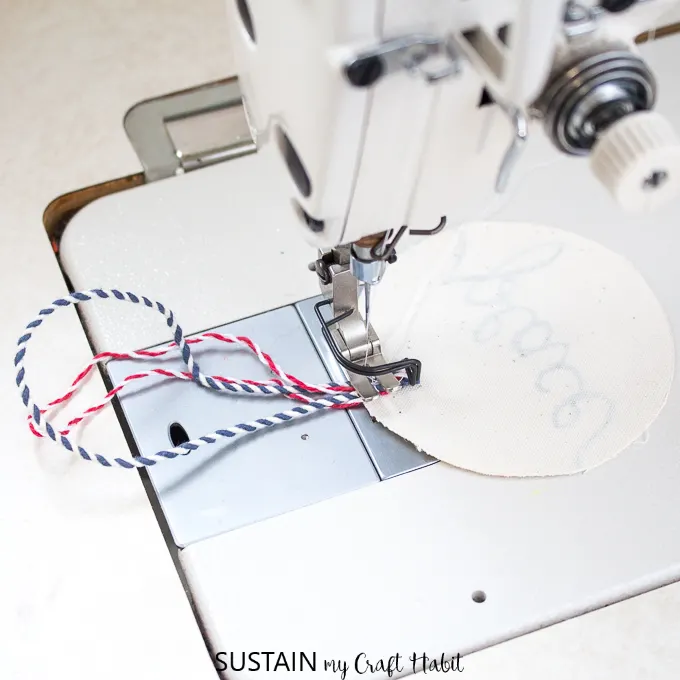
Cut a piece or two of baker’s twine to 10” long. Fold in half and place at the top of the hand lettered circle onto the wrong side. Using a matching thread color, sew loop in place.
Align two circles together with right sides facing out: one side with hand lettering and the other side with a painted character. Ensure the tops of both circles are aligned.
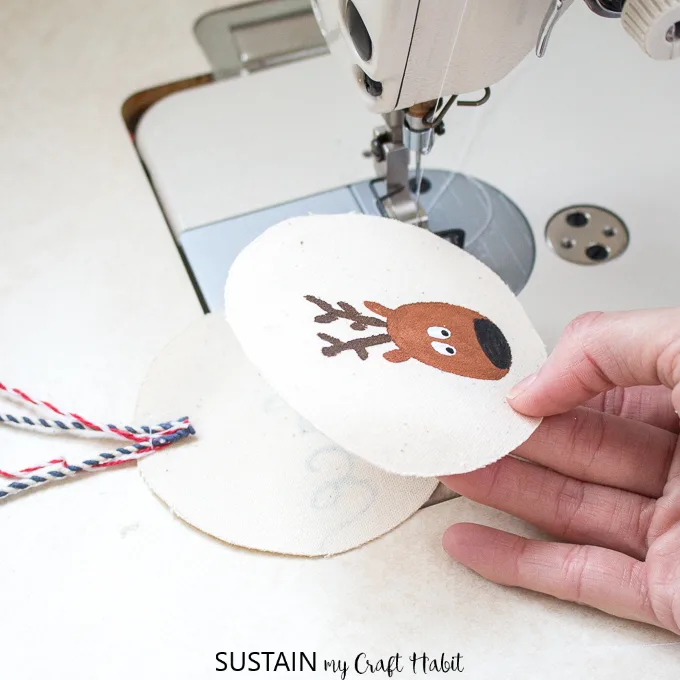
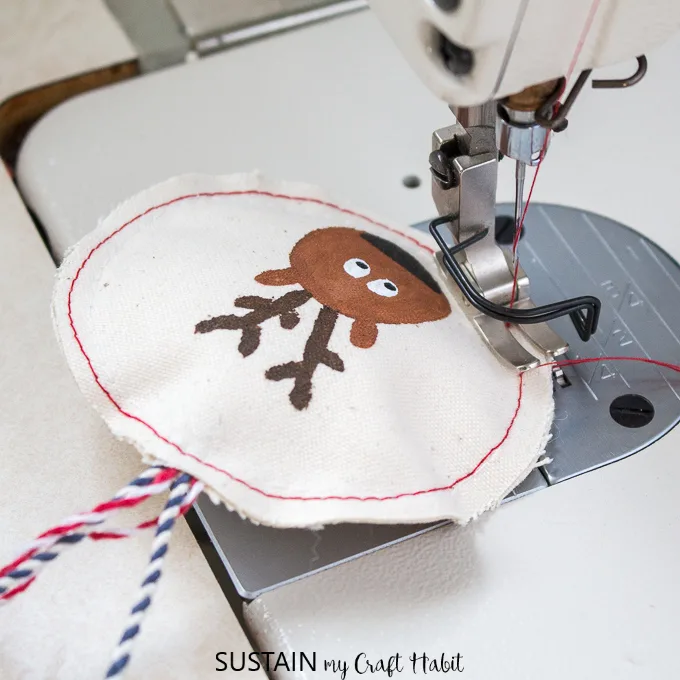
Using a matching thread color, do a single stitch around the edge leaving a 1” opening. You can also use red thread color instead of matching since it will just blend in with the finishing stitches.
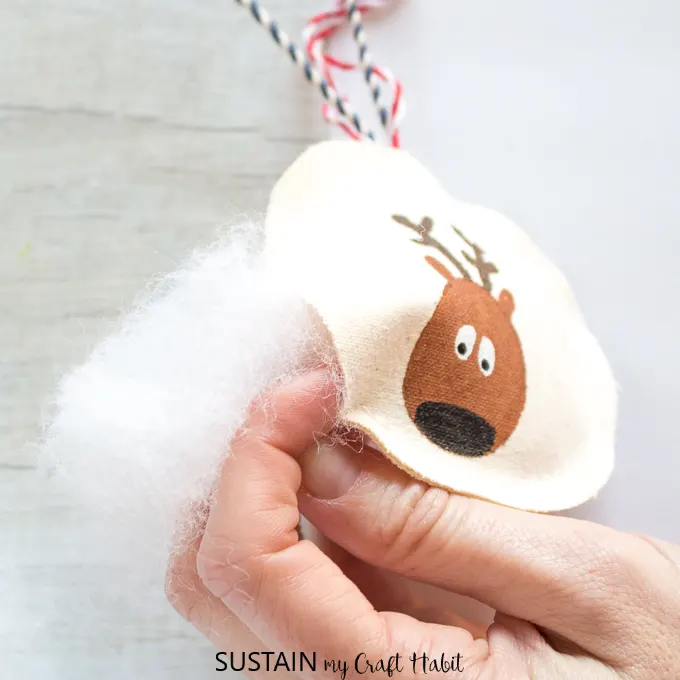
Fill the circle with polyfill stuffing as shown.
Step 3: Finishing
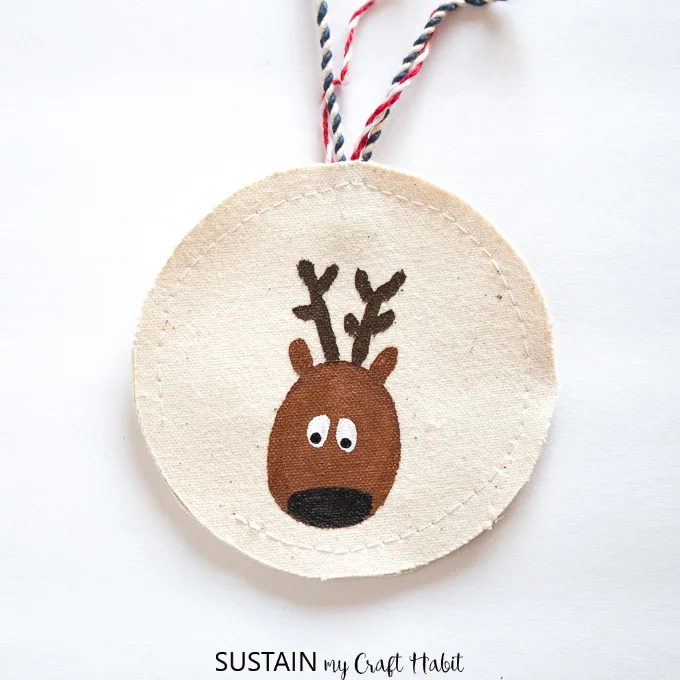
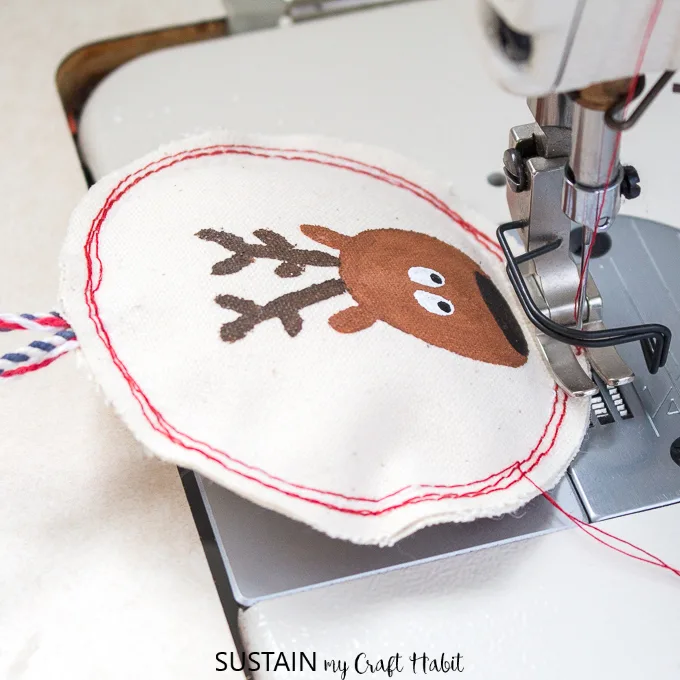
Change sewing machine thread colour to red and sew around the perimeter of the circle mis-aligning the stitch placement for the 2nd and 3rd laps by 1/16” or ⅛”. No perfect stitching needed here 🙂 Repeat with the remaining prepared circles.
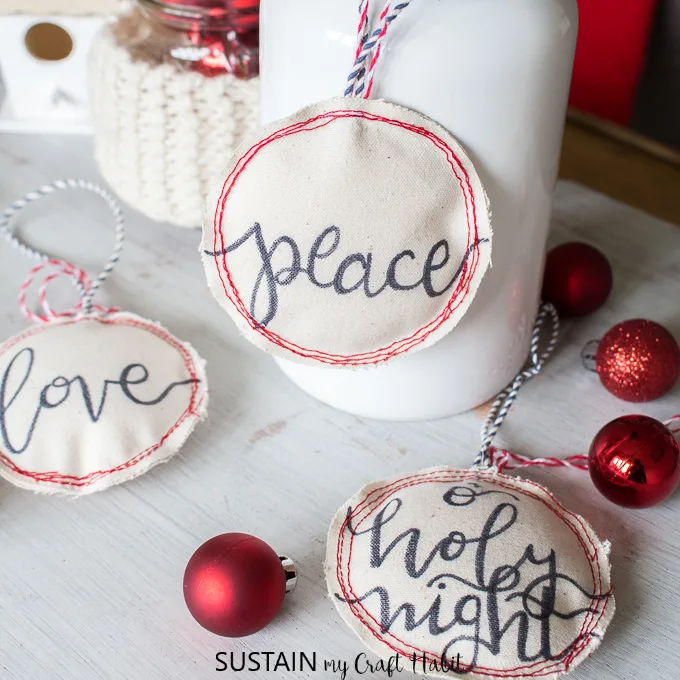
And there you have it, three beautifully painted canvas DIY Christmas ornaments! Wouldn’t these make wonderful stocking stuffers or gift toppers to share with your friends and family?
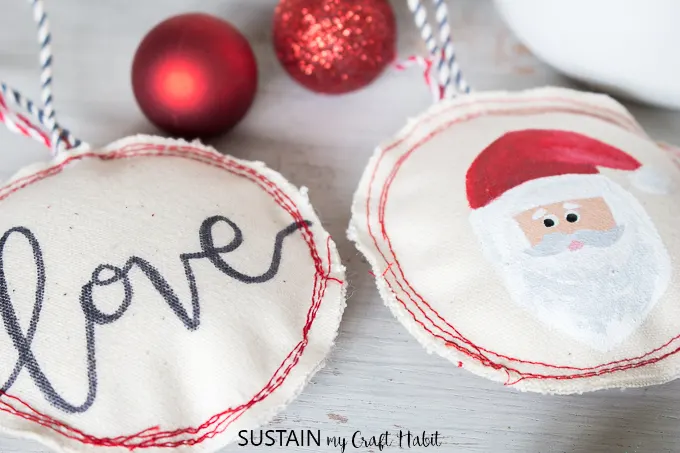
You could also stuff them with lavender or other scents to use as sachets.
If you’re looking for more DIY Christmas Ornament ideas, check out these Nativity-themed felt ornaments and these driftwood reindeer ornaments.
Thank you to Canvas Etc. for partnering with us on this project. Be sure to stop by and visit them for all your sewing Christmas ornaments needs!
Like it? Pin it for later!

Claire
Tuesday 13th of November 2018
These are fabulous. I love the machine stitching around the edge.
Jane and Sonja
Saturday 17th of November 2018
Thank you, Claire! And we love that you don't need to be an expert sewer to stitch up these ornaments:)