
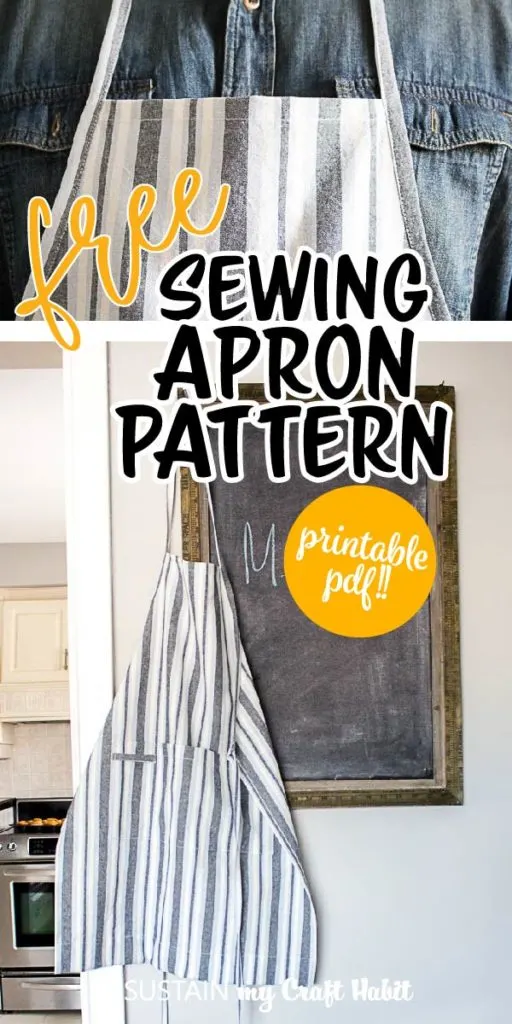
As an appreciation for all the cooking my hubby does for our family, I wanted to make him a styln’ new apron. Aprons are perfect sewing patterns for beginners as well as for experienced sewers, so whether you’re new to sewing or not, this free apron sewing pattern is right for you.


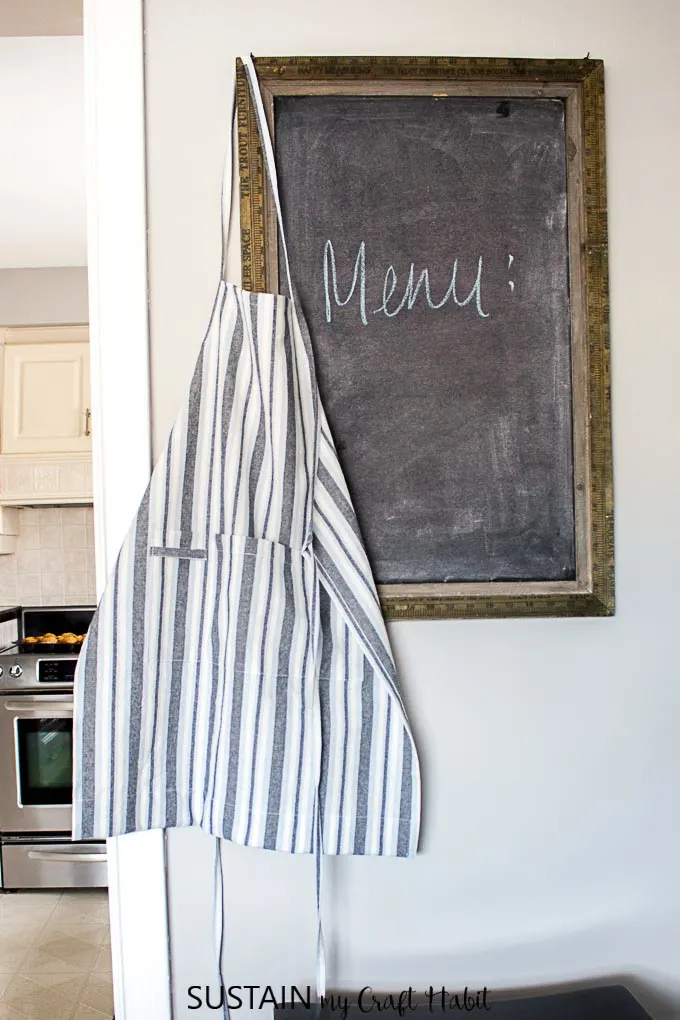
I chose a lightweight woven cotton fabric with yarn dyed vertical stripes in subtle blues, grays and whites. Choosing the fabric is one of the best parts of home sewing and I immediately fell in love with this one. You can make this apron for your loved one or make it for yourself, it’s a standard adult sized apron so one size fits all.


Here’s an explanation of the terminology I’ll be using to describe the how-to instructions below.
- Notches – small marks made on the pattern to ensure that one pattern piece will match up to the pattern next to it. They can be used as markers along a seam to make sure that the two pieces of fabric will come together correctly when sewn
- Dots – large dots or circles are there to match up with their equivalent dot on another piece and guide your sewing
- Sewing line – this is the dashed line that runs parallel to the cutting line
- Cutting line – this is the solid line around the perimeter of the pattern
- Grainline – indicates how the pattern piece should be placed on the uncut fabric, in relation to the selvedges, they are typically placed parallel to the selvedge edge of the fabric.
Materials Needed:
- Woven 100% cotton fabric, medium weight, 1 yard
- Domestic sewing machine
- Iron
- Fabric scissors (these are my all-time favourite fabric shears)
- Pins
- Apron Sewing Pattern (finished apron measures 28″ long x 20″ wide)
- Marking tool such as washable wax or chalk
- Scotch tape

Instructions for this Apron Sewing Pattern:
Preparing the material for sewing:
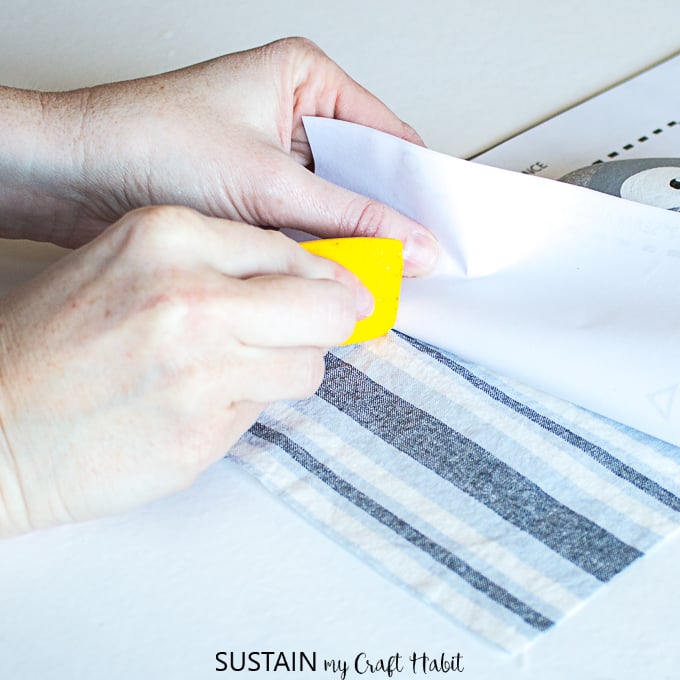
Print off the apron pattern on 8 sheets of 8.5″x 14″ legal sized paper (or use 8.5 x 11 but you’ll need more sheets) and align papers together to form apron pattern. Tape paper pieces together.
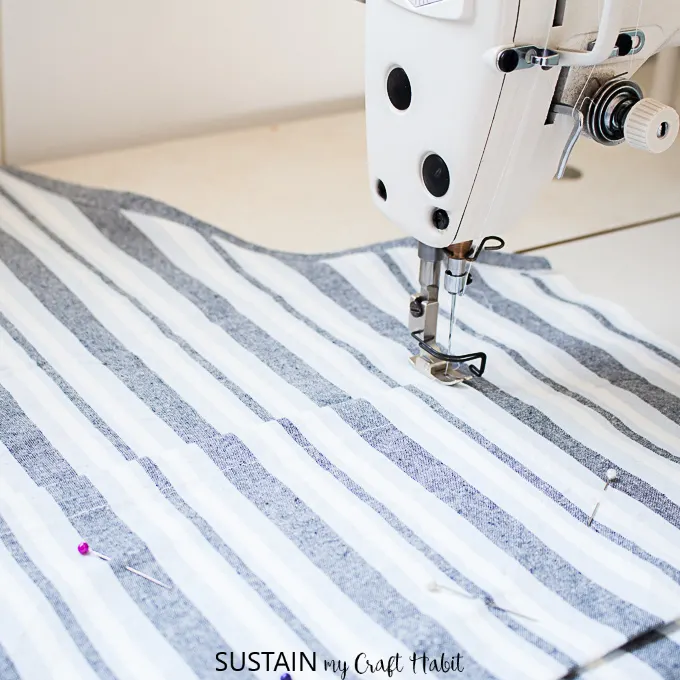
Lay fabric out flat on a large level surface. Do not fold fabric in half.
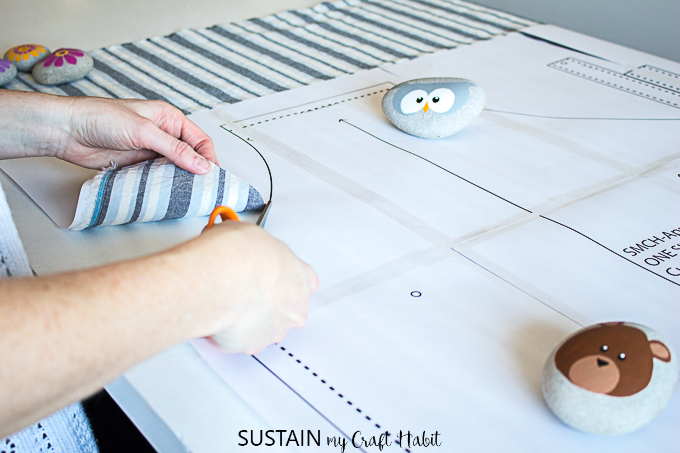
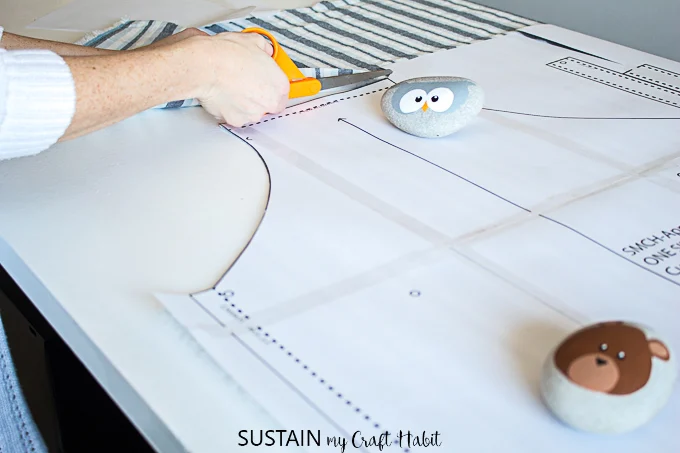
Place apron body pattern on top of the fabric with the arrow following the grainline of the fabric (lengthwise). Pin paper pattern in place or use paper weights (like these woodland animal painted rocks) on top to hold the paper in place:)
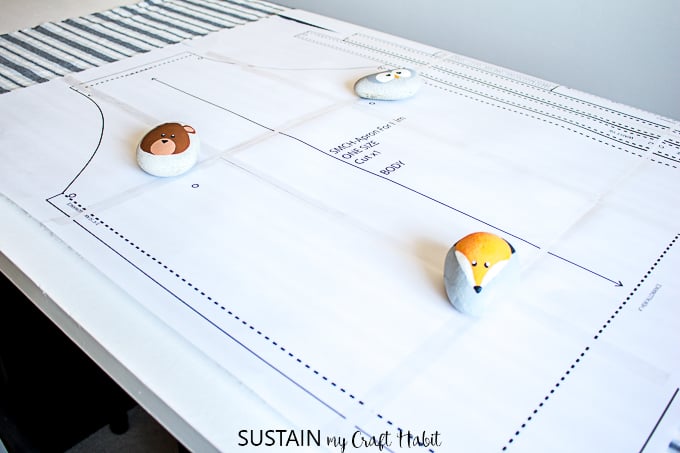
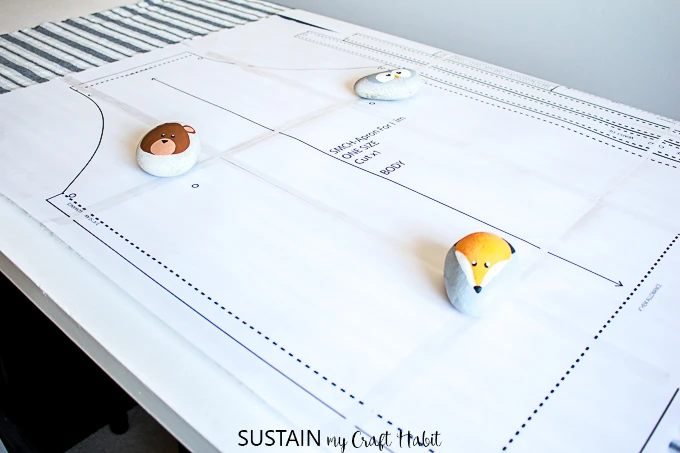
Cut along the solid line.


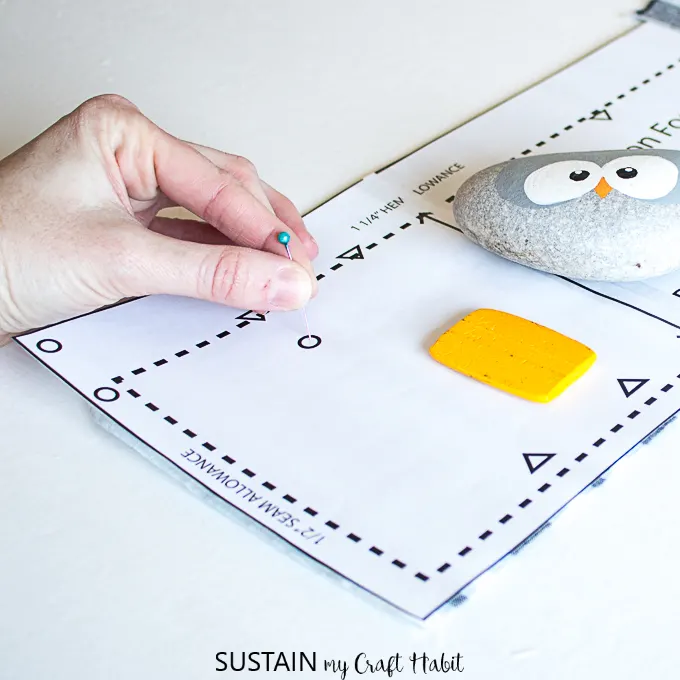
Mark all dots on the pattern using a piece of washable chalk or wax. Poke the center of the hole with a pin, lift pattern up and mark on the fabric where the pin meets the fabric.


Sewing the Body Pattern:
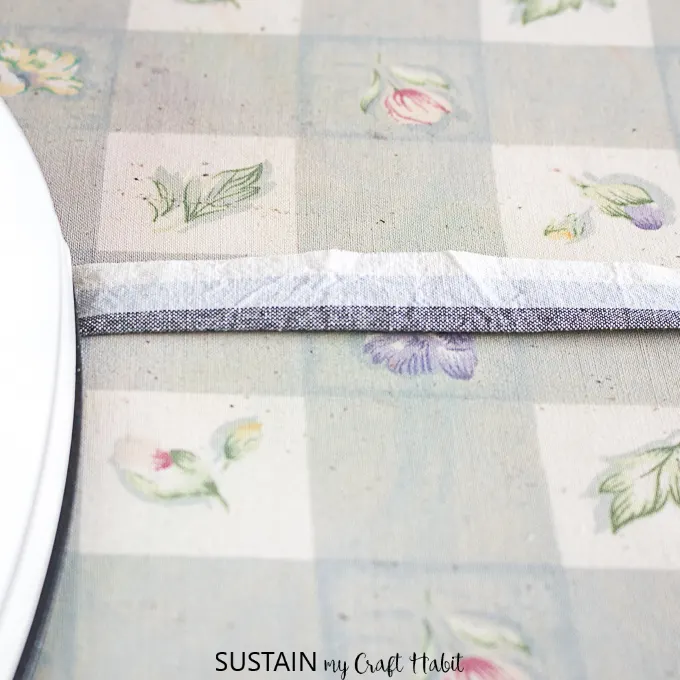
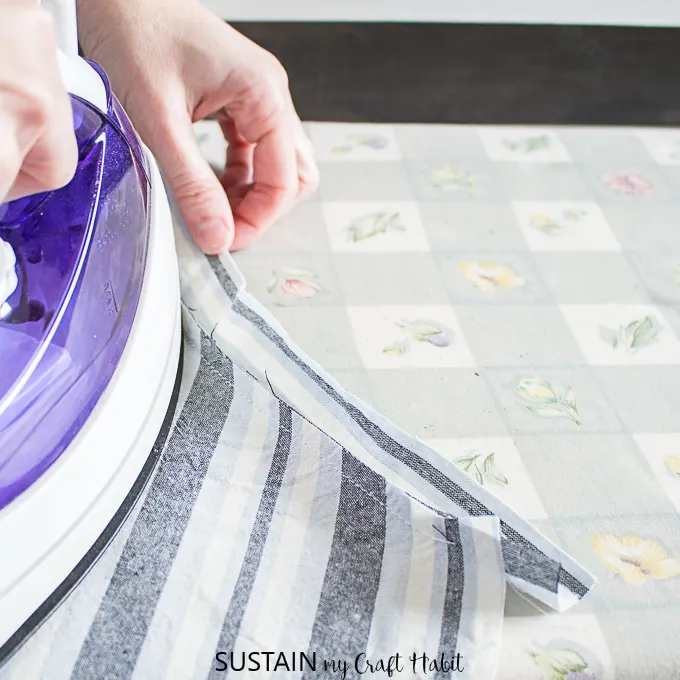
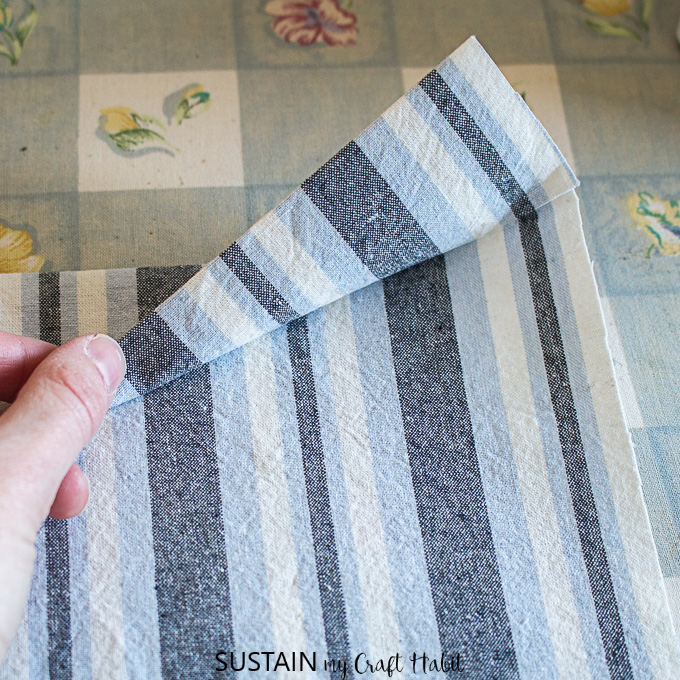
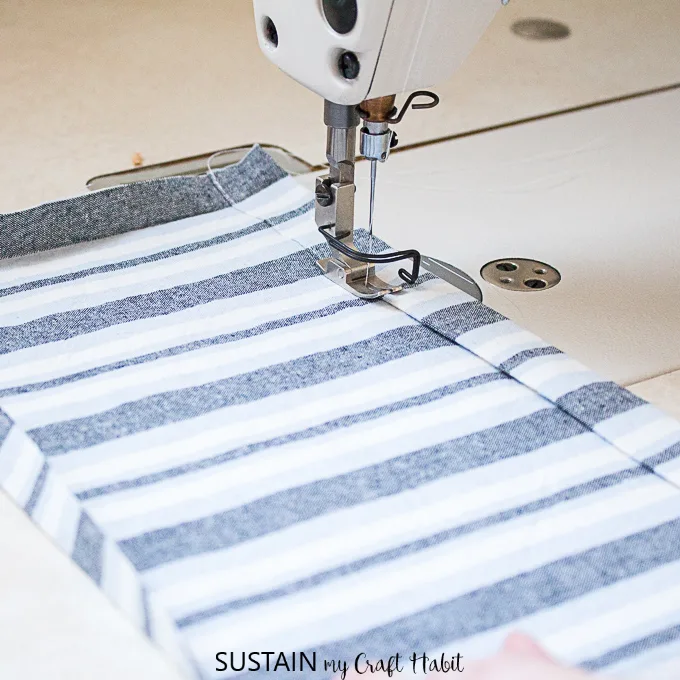
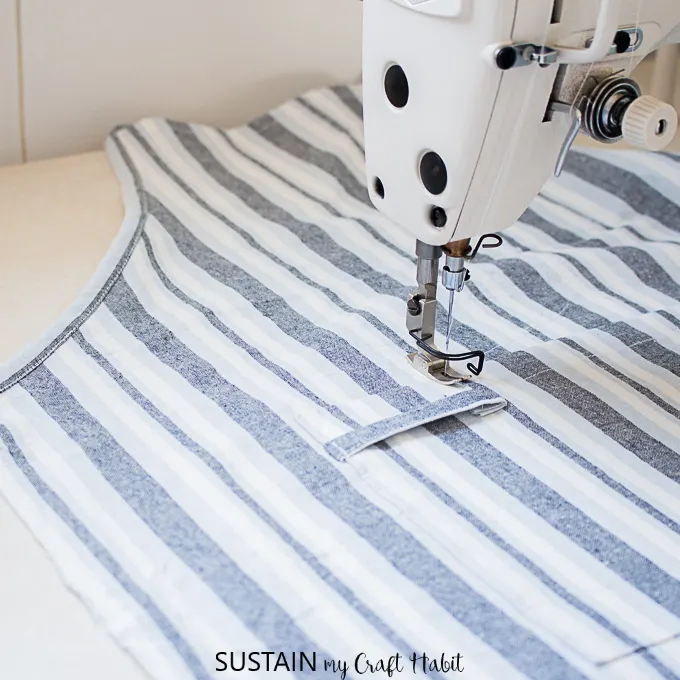
Working with the pattern piece facing WRONG side up, fold the neck edge over by ½” and iron along the folded edge. Fold it a second time another 1” and iron. Total hem allowance is 1 ½”. Edgestitch along the fold line from one end to the other.
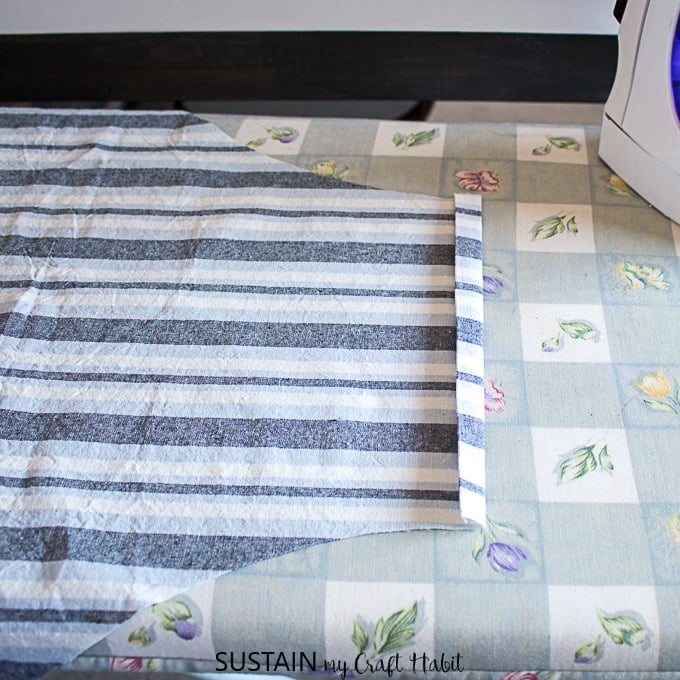


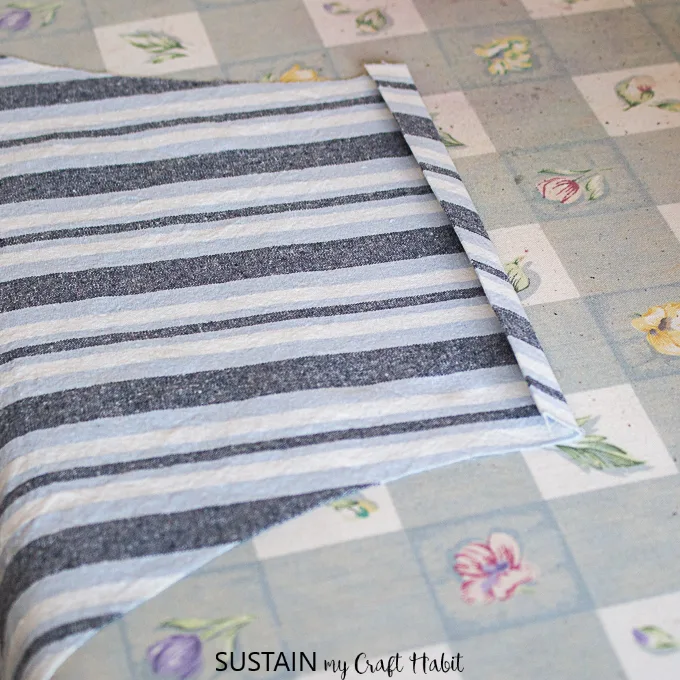
Next, move to the bottom hem, fold the bottom edge over by 1”. Fold it a second time another 2” and iron in place. Total hem allowance is 3”. Edgestitch along the fold line from one end to the other.

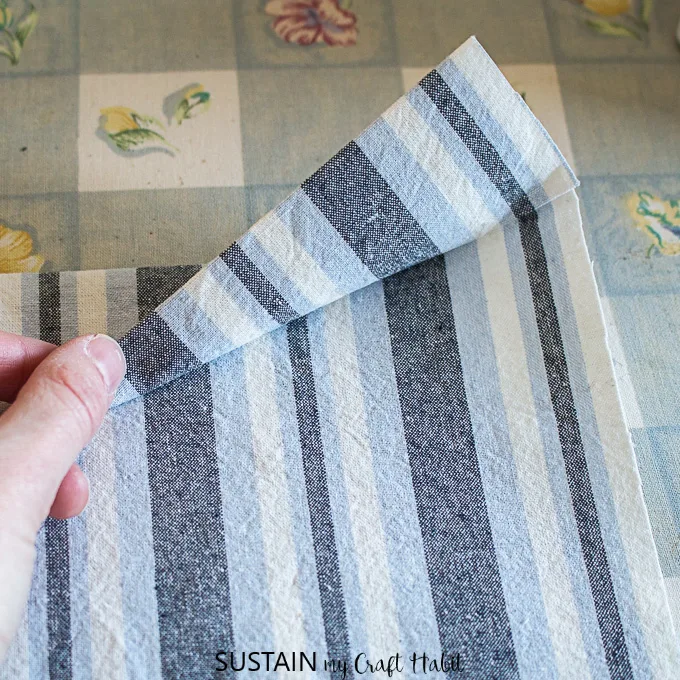
double fold and press hem in place for sewing
Sewing the Neck Tie:
With RIGHT sides together, align the double notches and stitch the neck tie together at center back neck. Press seam allowance open.


Fold the neck tie in half lengthwise and press creating a crease line down along the center.

Open the neck tie and fold the cut edge in by ¼”.


Align the neck tie edge at the waist level to the body pattern piece and with RIGHT sides together, sew pieces together with a ¼” seam allowance.


Iron along the seam line.

press apron as you sew to keep all edges neat and crisp
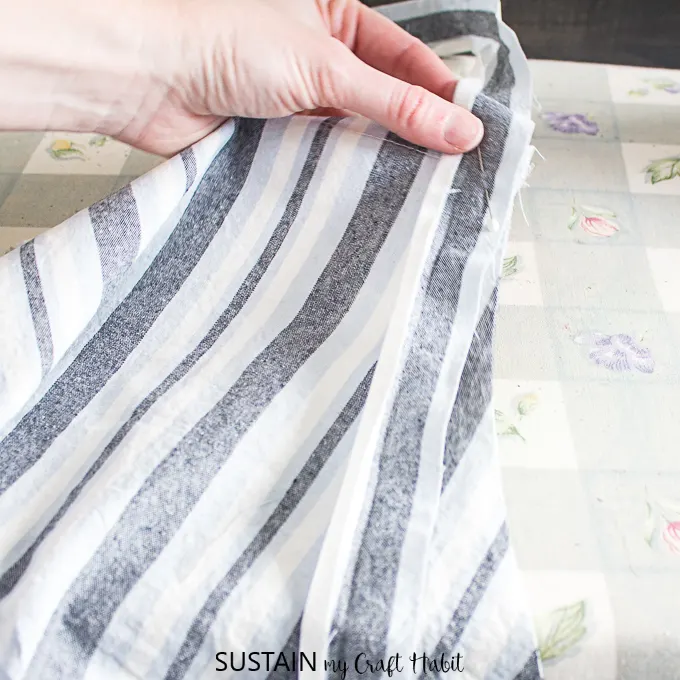
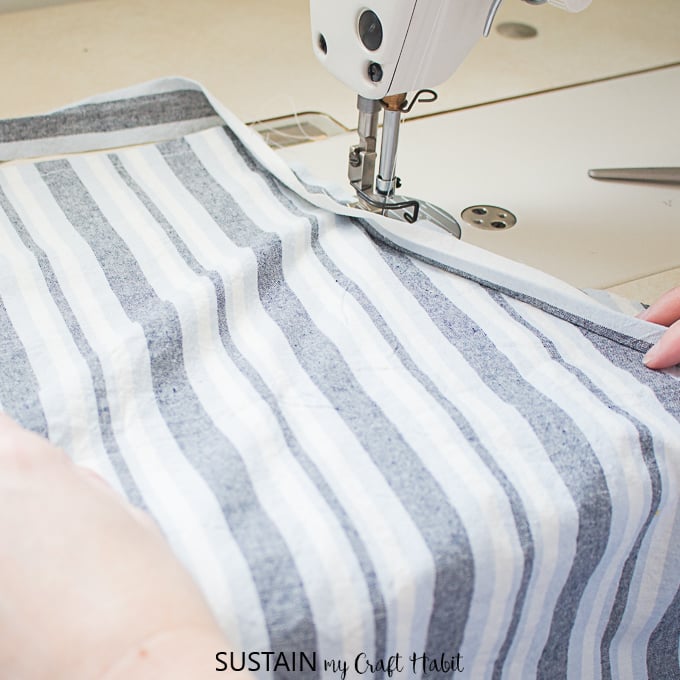
Fold in the ¼” cut edge and fold again in half, sew the neck tie binding together to clean finish the upper side edges of the apron. Continue all the way around.
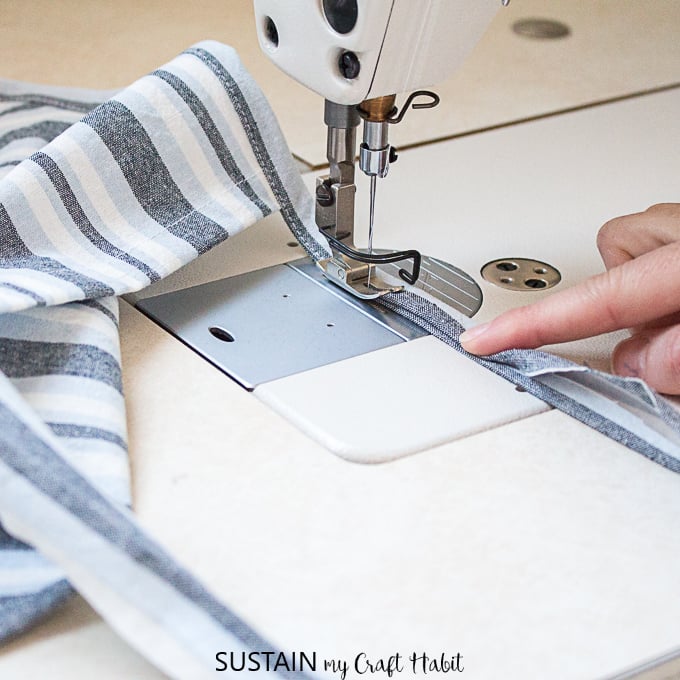

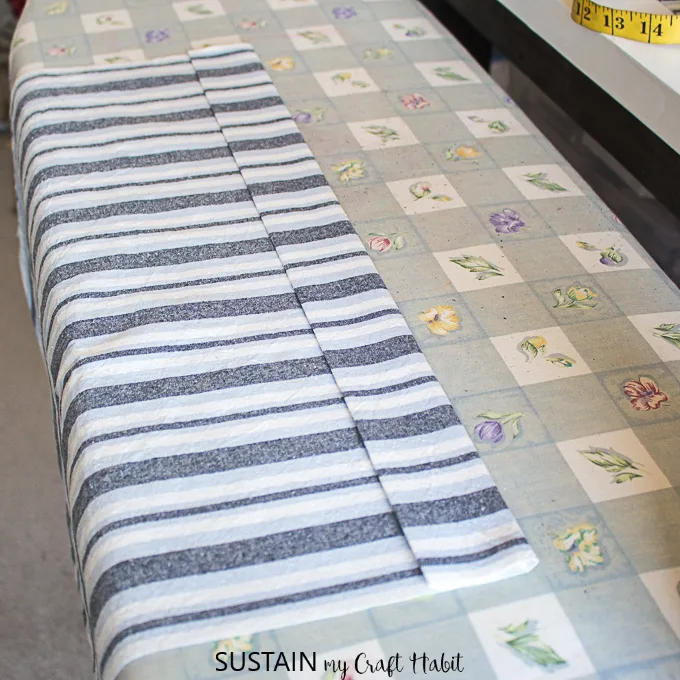
Finish the sides of the apron by double folding the edges towards the WRONG side of the fabric (3/4″ total hem allowance) and edge stitching along the fold line.
Sewing the Waist Ties:
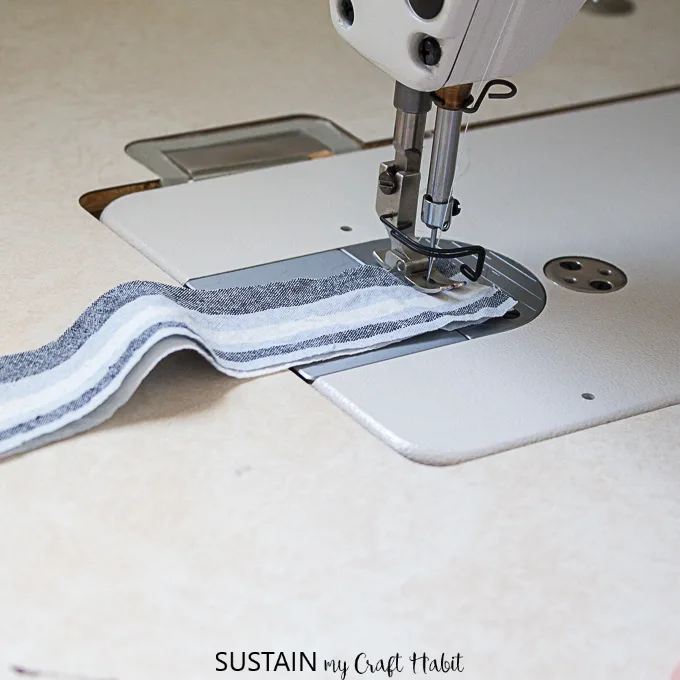
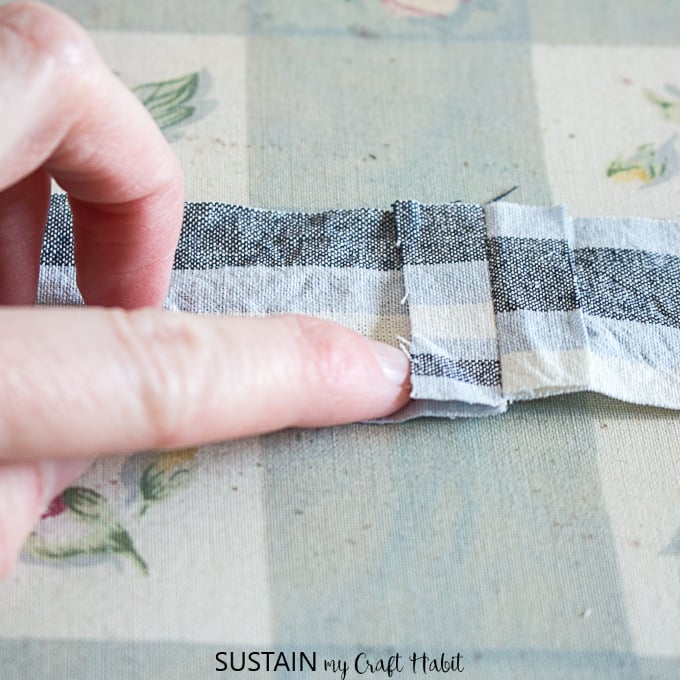
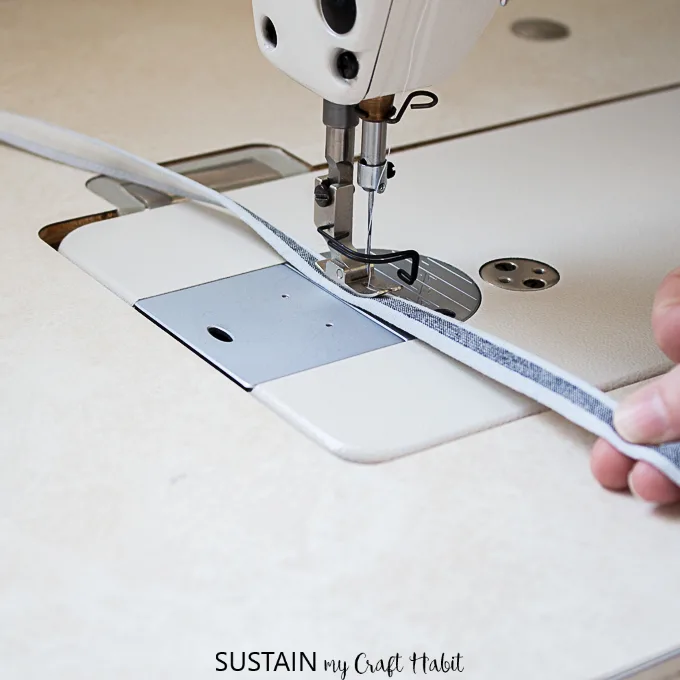
Working with one waist tie at a time, fold the waist tie in half lengthwise and press creating a crease line down the center. Open the waist tie and fold the cut edges in by ¼”and press creating crease lines.
After creases are formed, fold in the ¼” cut edges and fold again in half, stitch along the entire length of the waist tie.

Attach the waist tie to the apron body, aligning dots on the pattern.
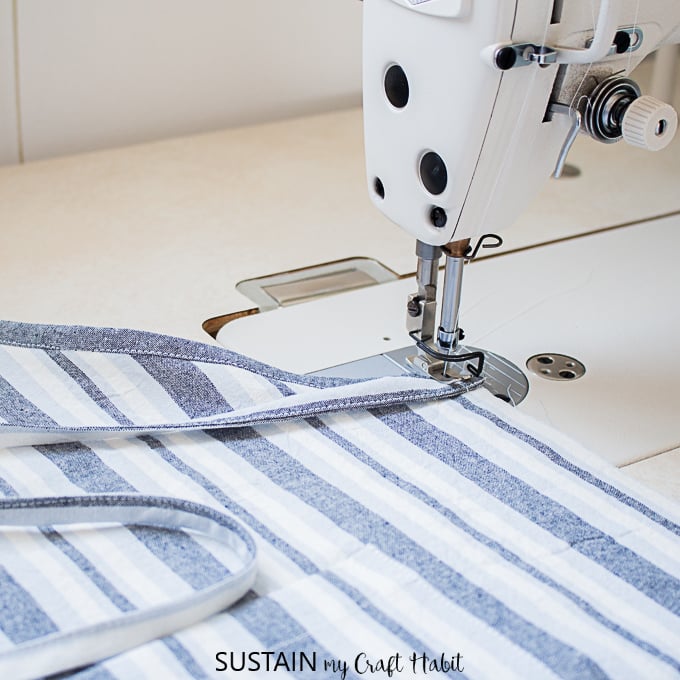


Double fold the waist tie ends and stitch in place.


Sewing the Pocket:
Working with the fabric WRONG side up, fold and press the top edge of the pocket over by ½”. Fold it a second time another ¾” and press in place. Total hem allowance is 1 ½”. Edgestitch along the fold line from one side to the other.
Fold all other edges of the pocket in by ½”.

Prepare, sew and attach the pocket loop similarly to the waist tie. Align the dot on the loop with the dot on the pocket piece for loop the placement.
Position the pocket onto the body of the apron, with small dots aligned and pin in place.

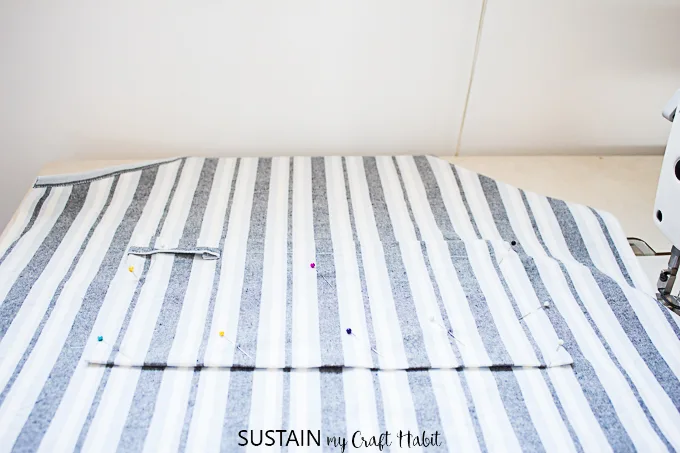
Edgestitch the pocket in place along all 3 sides of the pocket. For added reinforcement, add a small triangle stitch to both corners of the pocket opening.

Stitch a vertical line down through the pocket to create a small pouch on one side.

Clip all loose hanging threads and iron as needed to eliminate wrinkles. Wear and enjoy!


I’ll be working on a kid’s size version of this apron. Maybe this will help get the kid’s to help out in the kitchen more….maybe, just maybe.


For more easy sewing patterns for beginners, learn how to sew an infinity scarf, learn how to make curtains and check out this DIY linen napkin idea and this DIY beach themed felt throw pillow.
Like it? Pin it for later!


Susan
Wednesday 29th of June 2022
Can you give !e measurements for the waist ties? I'd rather cut them myself rather than using the pattern. I'm a petite woman, the pattern fits me perfectly but making one for a friend that is bigger than me so made it an inch bigger all around. Its a good guide.
KB
Saturday 4th of December 2021
For some reason, when I try to print this pattern, it doesn't print correctly. The sizeing is off no matter what.
Georgia
Wednesday 3rd of February 2021
Hi, Ik just wondering why there is no seam allowance on the pattern for the top sides of the apron. If these sides were folded in and seen, the top part would be really thin and disproportional? Shall I just add my own seam allowance for that part? Also the part that says to attach the neck ties onto the waist part of the pattern, I don’t understand that?
Thanks
Lindsay
Wednesday 3rd of February 2021
Hi! For the neck tie, do you fold in 1/4” on BOTH cut edges? Or just the one not initially seen to the body? I am having trouble figuring out how to attach the next tie and also it looks like you left it sticking out a bit to catch the waist tie...?
Any help would be appreciated! Lindsay
Betty Claus
Friday 16th of October 2020
Hi ,just wondering where you buy the fibric for this apron. I can't seem to find where to buy, maybe you could send a link thank you Betty
Jane and Sonja
Friday 16th of October 2020
Hi Betty, I bought the fabric at a local Fabricland store but it's similar to a cotton/poly yarn dyed stripe oxford cloth - here is an affiliate link: onlinefabricstore.2xje.net/BjE99. Hope that helps! - Sonja