Leather DIY Cord Organizer Gift Idea
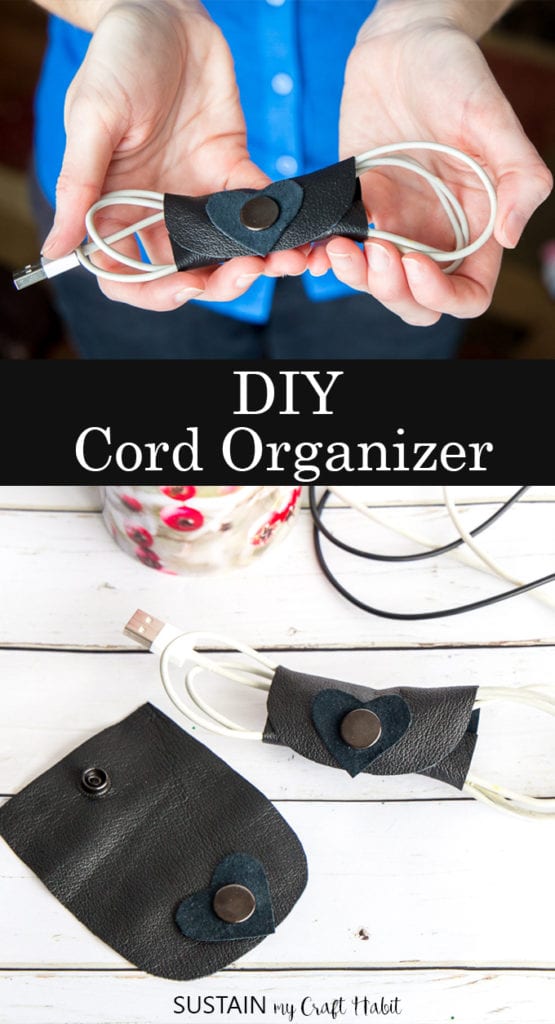
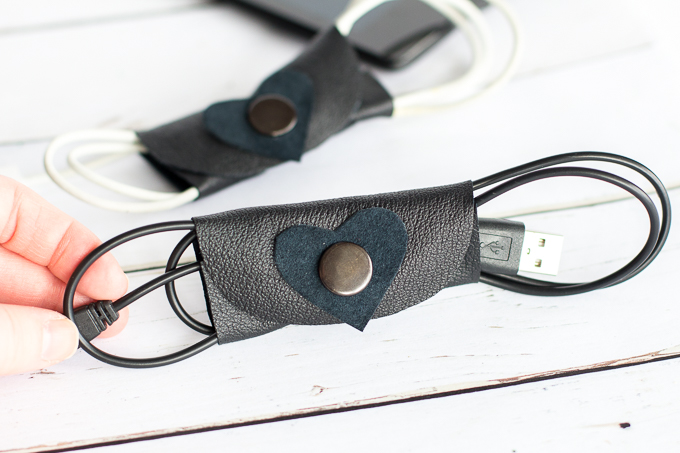
Do you also struggle with what to give your sweetie for Valentine’s? If he’s anything like mine he has a great collection of cords and wires for his electronics. This DIY cord organizer, made with upcycled pieces of leather fabric, makes a thoughtful gift idea.

DIY Cord Organizer
With each new electronic device we bring into our home there seems to come a ton of new cords and cables. These cords pile up become quite the eyesore sitting on the counter. In my own purse they manage to crochet themselves together into a tangled mess! I can only imagine what they do in hubby’s pockets and bags.
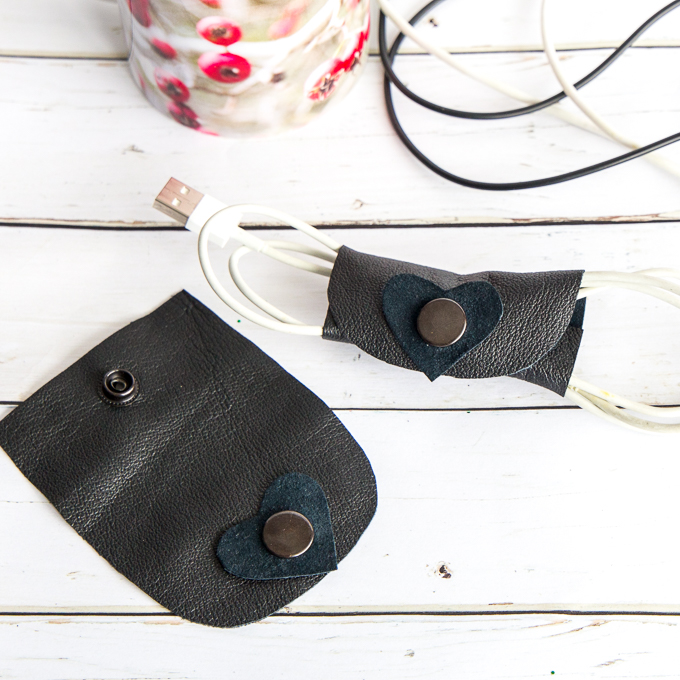
When I saw these fun and practical DIY felt cable organizers I knew my hubby would appreciate something similar. Using leftover scrap leather from our upcycled leather purse project, I made these useful DIY cord organizers just in time for Valentine’s Day. Make one or make a few and give them to your sweetie as a gift to bring some needed organization to his life (and yours). And with the little heart embellishment, he’ll think of you each time he uses it!
ORGANIZING PROJECTS: Get 7 days of free tips and resources for organizing any room in your home. Join HERE!
Materials Needed for this DIY Cord Organizer:
- Leather scraps
- Fabric Scissors
- Free Printable Template
- Metal cap snap kit, 15mm, black matte
- Awl
- Hammer
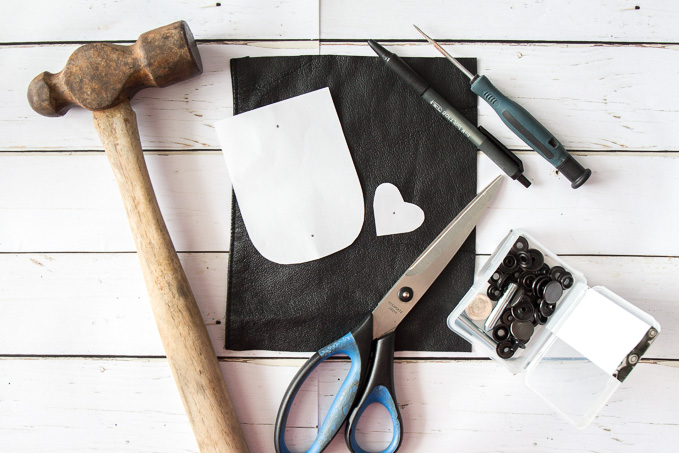
How to make a DIY Cord Organizer with Scrap Fabric:
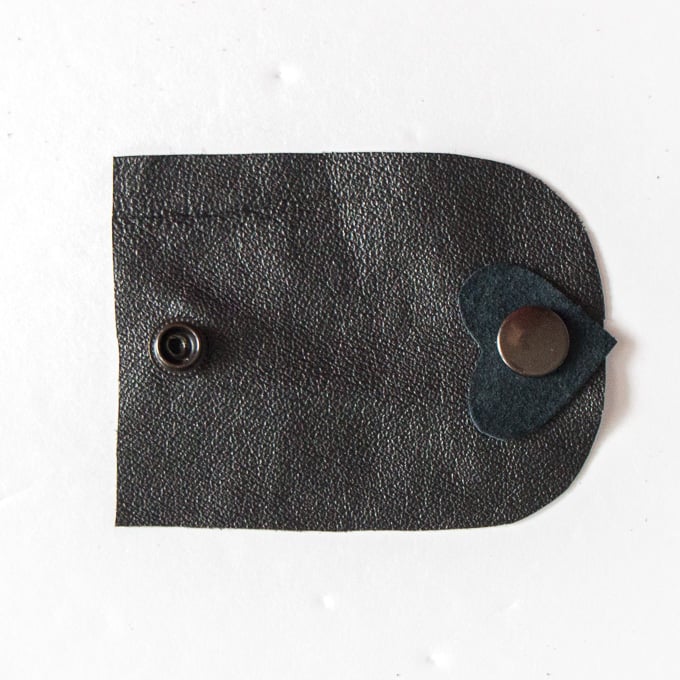
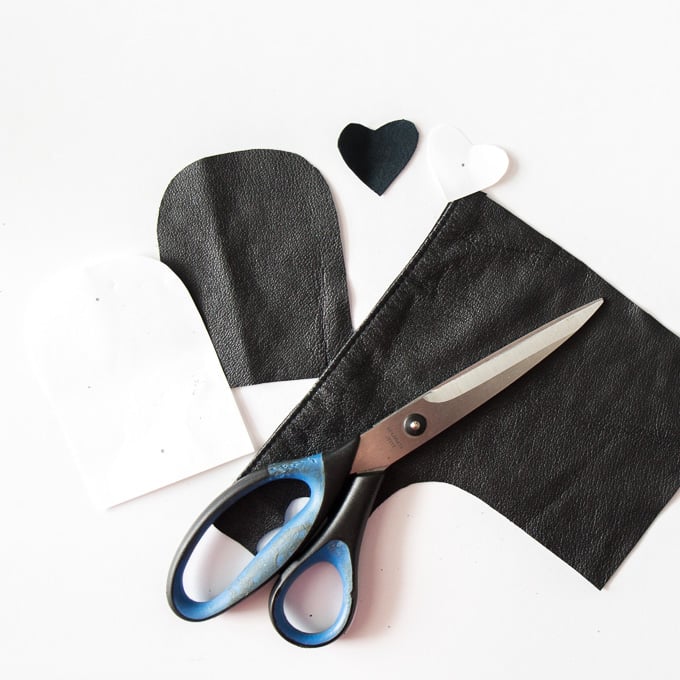
Using a pair of fabric scissors, cut out the leather pieces using the template provided.
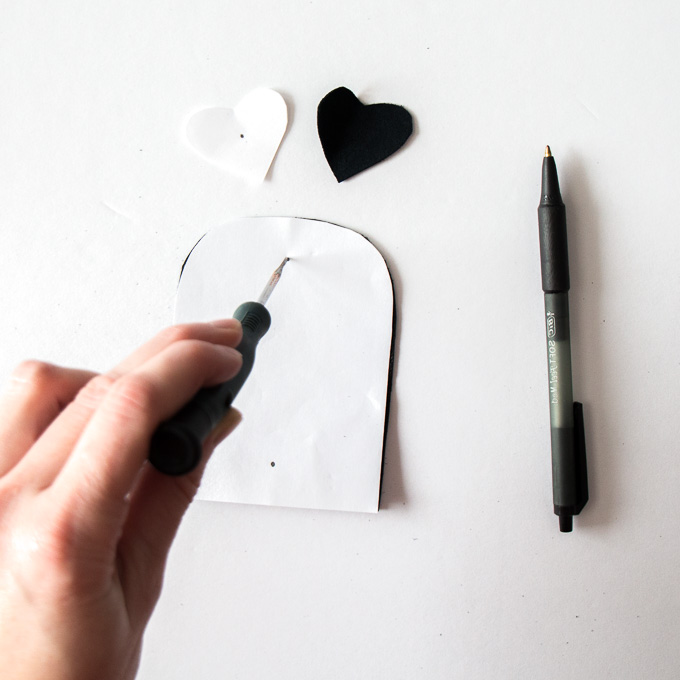
With the help of an awl and pen, mark the areas where the snap will be attached.
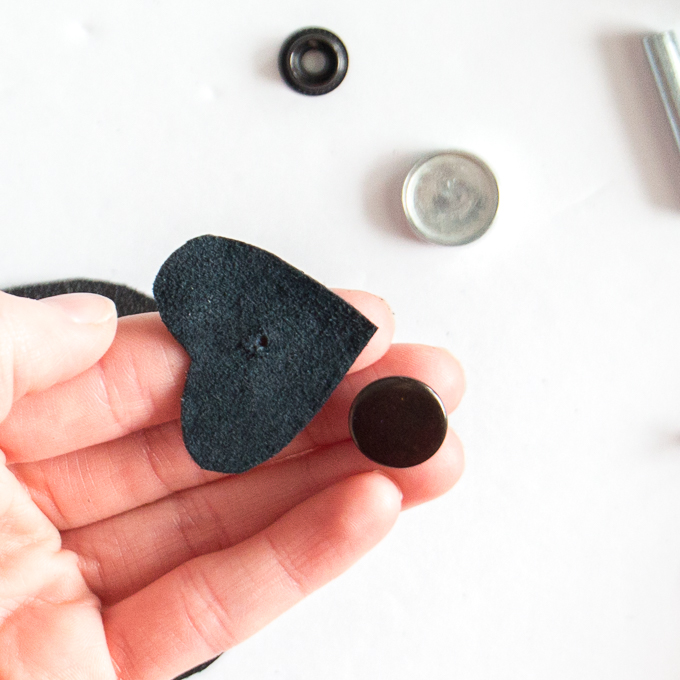
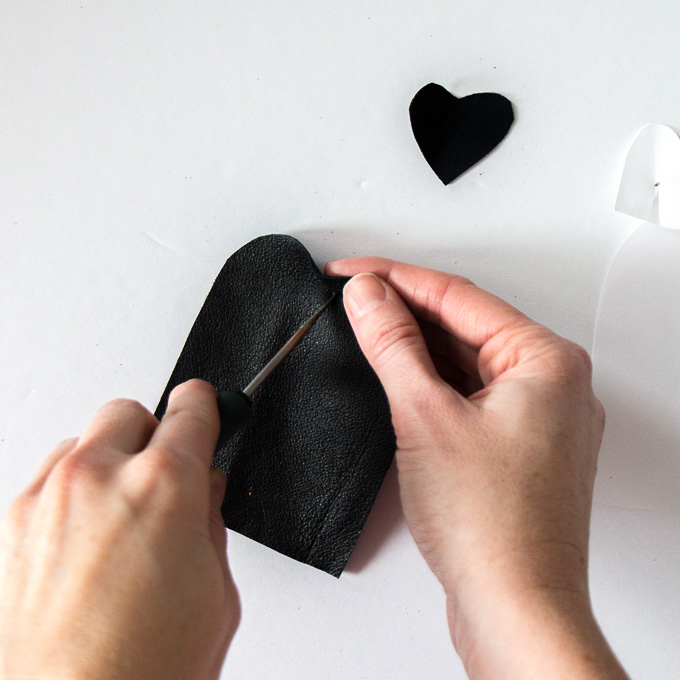
Poke a hole through each of the marked spots using an awl and push the awl all the way through to enlarge the hole. To make the holes even larger so the snap parts fit through, use the tip of the scissors and trim away just a bit of fabric.
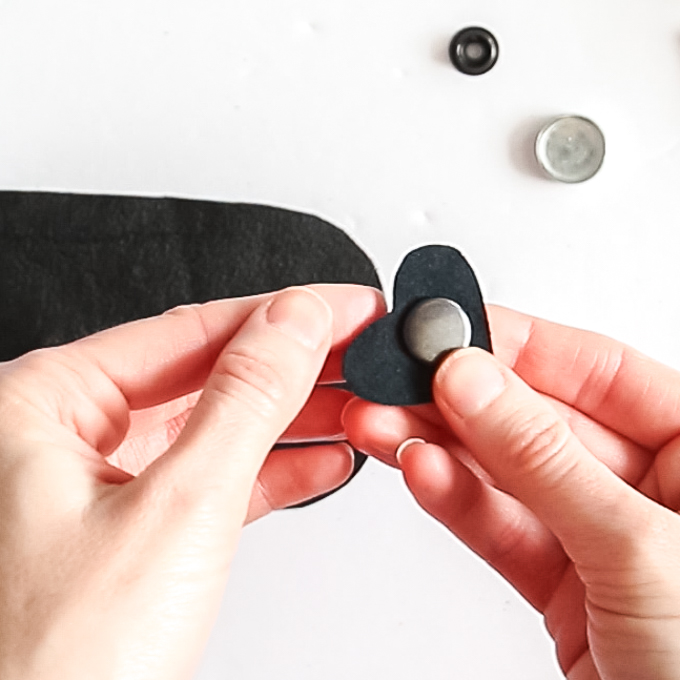
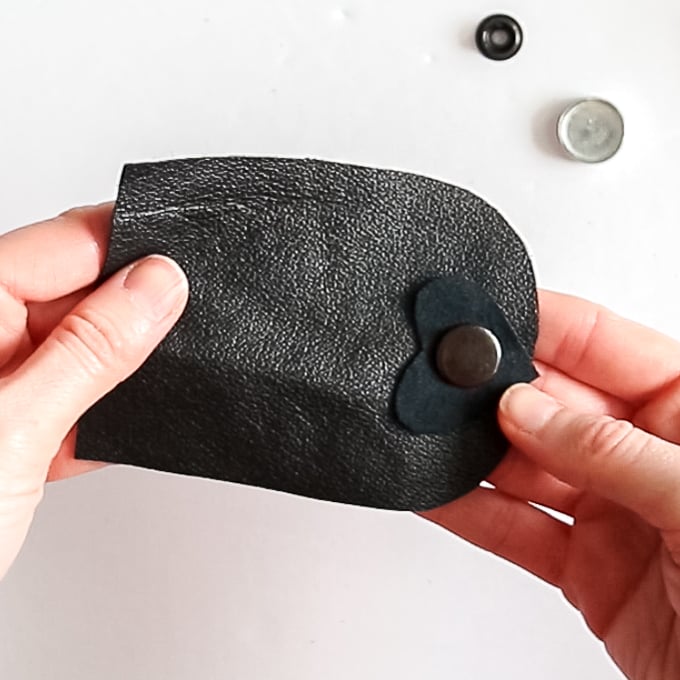
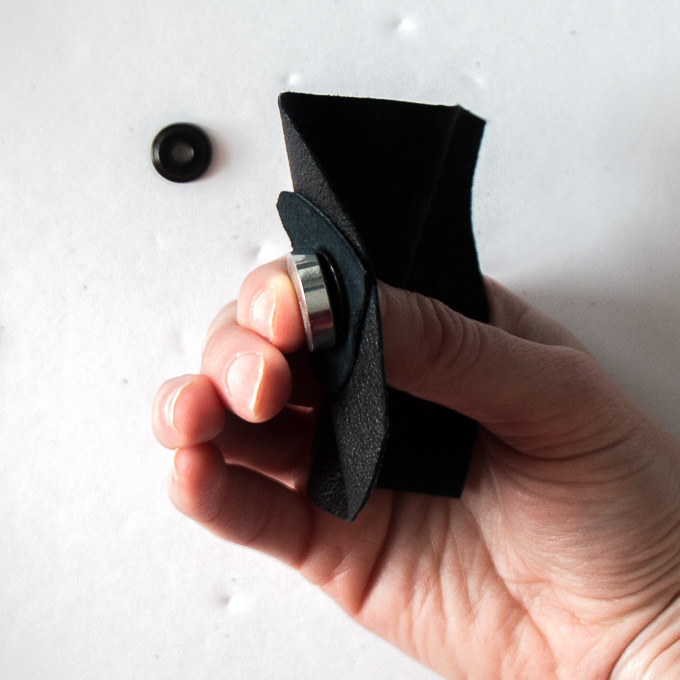
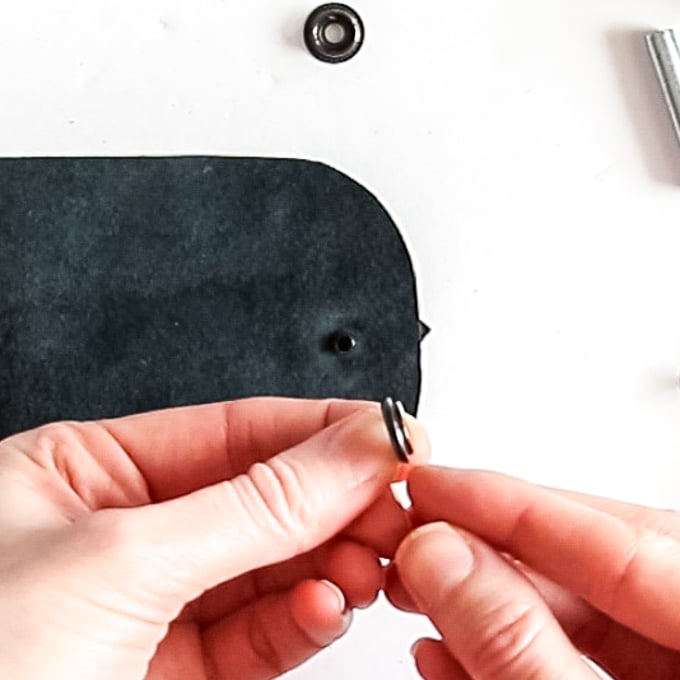
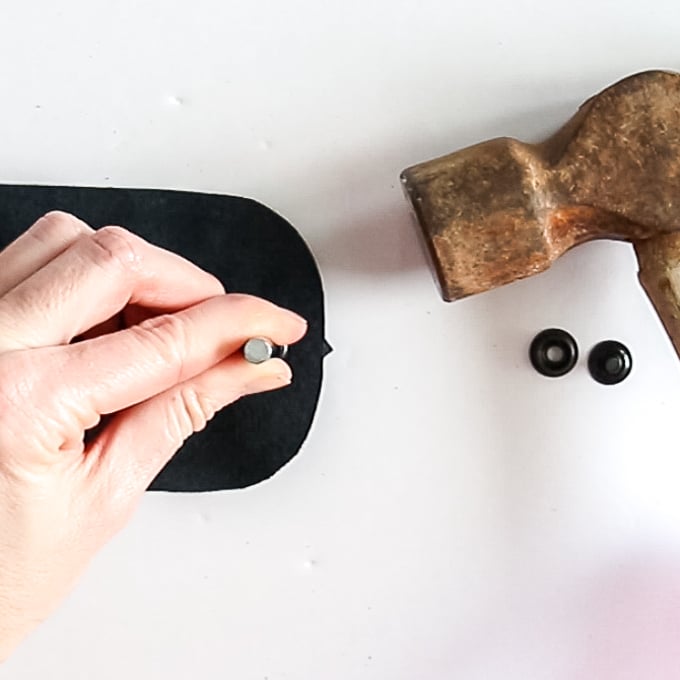
Be sure to work on a hard, flat surface. First, place the cap shaft through the hole of the heart shaped cut out (suede side up). Then place the cap shaft though the larger leather piece as shown.
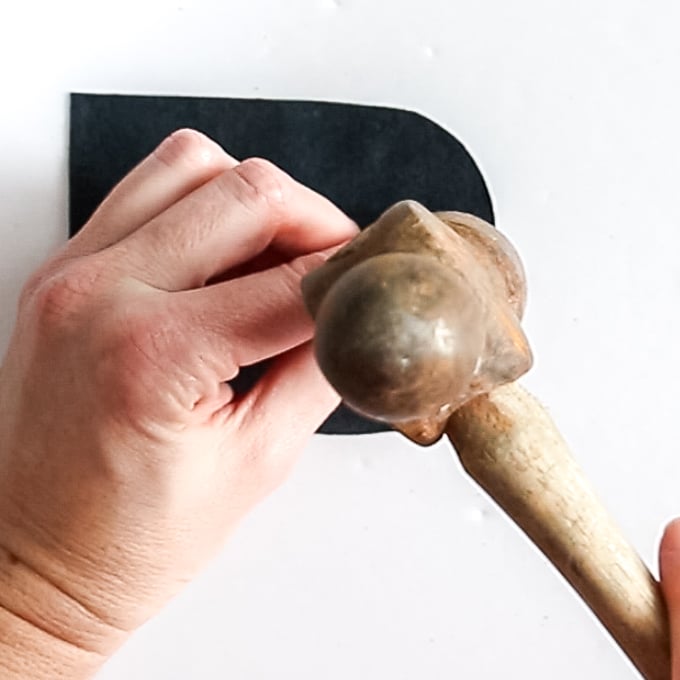
Place ringed part over shaft and using the snap tools provided, gently hammer into place.
Repeat with the bottom side of the snap parts in the remaining hole on the opposite end.
Wrap around an unruly cord and snap in place.
Stay in the know on our latest crafts, special offers and freebies by joining our mailing list.
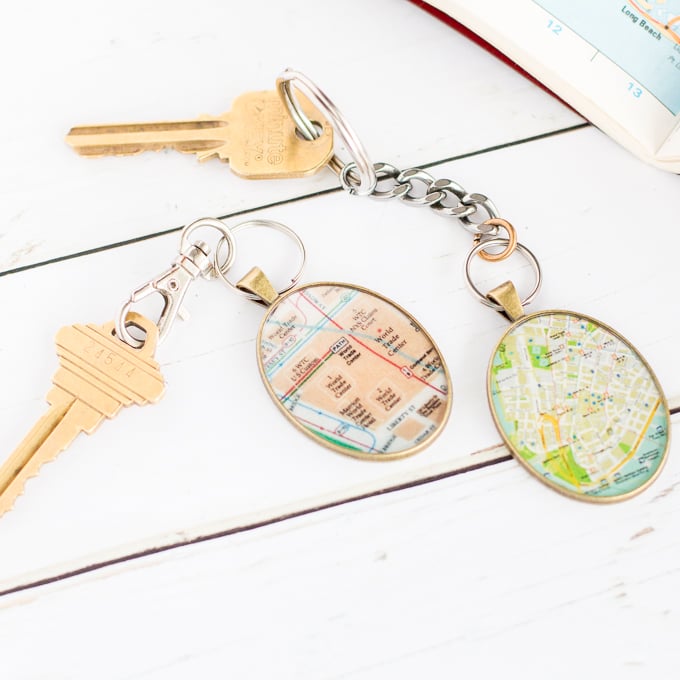
This DIY cord organizer turned out so nicely I had to make a few for myself 😀 . They compliment the matching DIY vintage map keychains I made for us last year. Or if you don’t have time to DIY, consider these non-stuff gift ideas for your spouse.
This project originally appeared on Crafts By Amanda.
Like it? Pin it for Later!
