How to Make a DIY Wine Cork Bath Mat
It’s hard to believe that we’re already in week 4 of our cottage bathroom renovation. I guess it wouldn’t be called a One Room Challenge if it wasn’t in fact a challenge. And although we’ve been working away at the projects as best we can given that we are two hours away (yep, this distance thing being the biggest challenge by far), we still have so much to do!
So far, this is what we have accomplished and have yet to complete:
Week 1: The Before Photos and Video
Week 2: The Inspiration, Design Plans and our Sponsors
Week 3: Small Bathroom Remodel Tips
Week 4: (you are here) DIY wine cork bath mat
Week 5: Upcycling a Bathroom Vanity the Easy Way
Week 6: The Final Reveal!
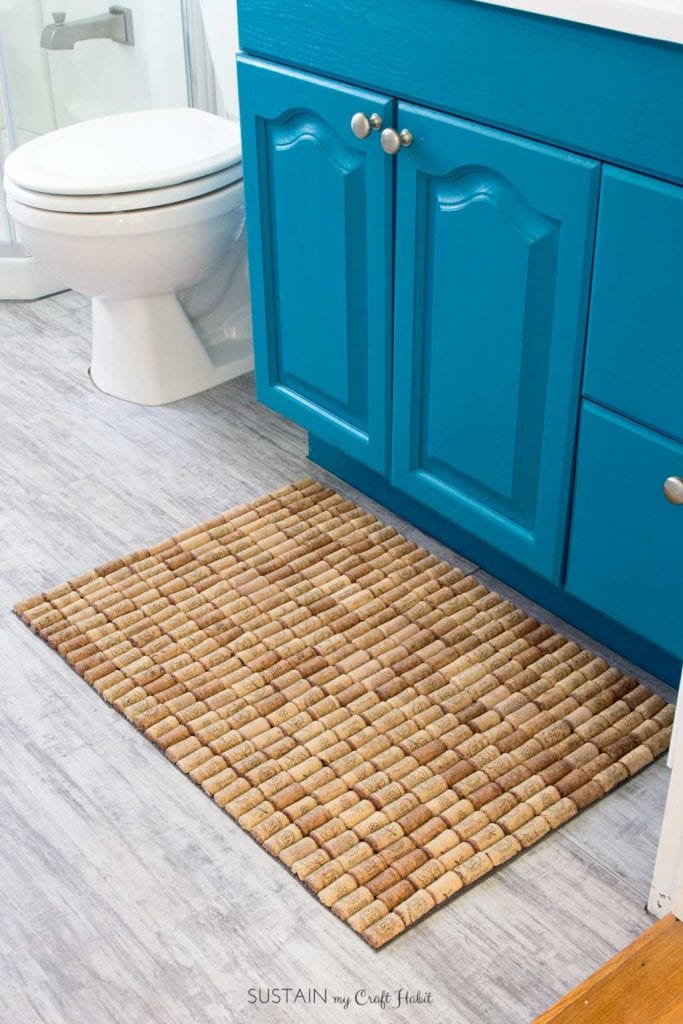
This week we tackled a DIY bath mat using wine corks! We’re no strangers to using wine corks in our projects, such as this Sparkling Wine Cork Star we made not too long ago.
As for the bath mat, we wanted to create something that was earthy and rustic. We came across this wine cork bathmat idea from Crafty Nest and decided to give it a try as part of our coastal bathroom makeover. Check out her DIY for plenty of great information and helpful tips!
After testing out a few different adhesives, we decided to use LePage White Wood Glue to apply the corks. For your reference, we also tried using Gorilla Glue, a hot glue gun with clear glue sticks, and Yellow Wood Glue but after a 24 hour curing period, we found the LePage White Wood Glue to be the most durable in this case. So decision made, white glue it was!
Materials needed to make your own wine cork bath mat (20” x 32” size):
“Disclosure: This post contains affiliate links for your shopping convenience (indicated with *). Should you choose to purchase items through these links we will make a small commission – at no expense to you. Find our full disclosure here.”
- Nonslip Liner* in a neutral color that won’t distract from the cork
- Wine corks* cut in half lengthwise (quantity as needed)
- LePage Wood Glue, white dries clear
- Small paint brush
- Scissors
- Wax paper* to keep glue from sticking to your work surface
Steps to making your own wine cork bath mat:
1. Prepare your corks.

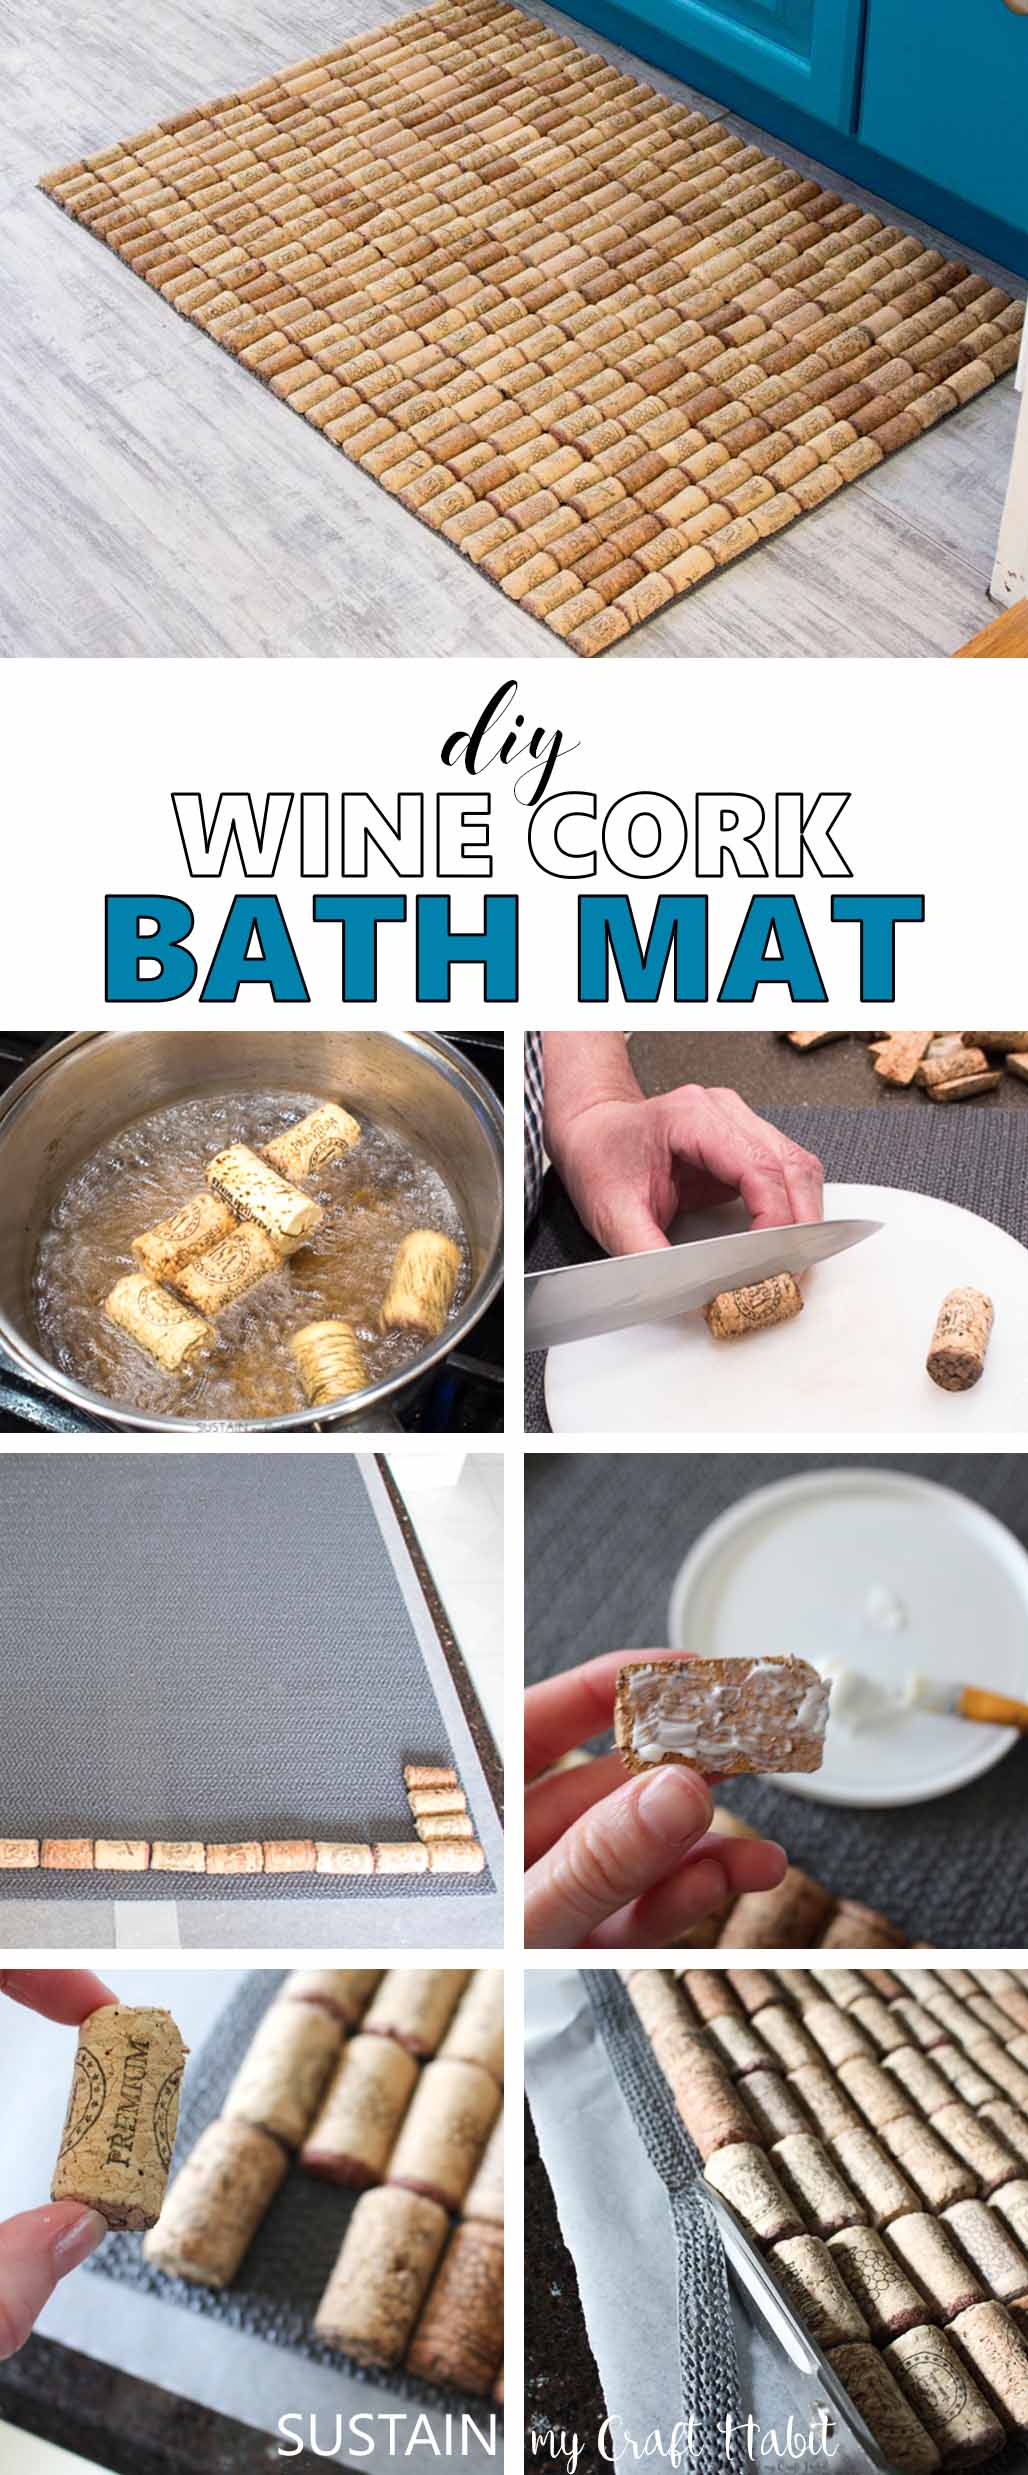
Corks are very difficult to cut. In order to cut corks with ease, boil handfuls of cork at one time and remove from water just before you cut. Place the boiled corks on a wood cutting board over a non-slip surface. Be very careful when handling the hot corks and when cutting. Hold the cork firmly in place and cut in half lengthwise. Put aside and let dry fully before moving on to next step. Continue until you have enough cut corks for your bath mat.

2. Prepare your nonslip bath mat base.
Cut the nonslip liner to a size slightly bigger than your finished bath mat. Place it overtop of wax paper.

3. Positioning the wine corks.
Once the corks are fully dry, begin to place them over your nonslip liner. Align the corks in a row by size. Place one row at a time and occasionally measure the lengths and widths throughout to ensure your cork bath mat is still evenly shaped all around.

4. Adhering the wine corks.
Using a small paintbrush and wood glue, brush the wood glue to the cut side of the cork and press firmly into place on the liner. Hold firmly in place for 5-10 seconds before moving on to next cork. Work one section at a time and place a heavy board on top until corks are sealed well to the liner. The wood glue typically takes 24 hours to cure fully. Tip: Take it from me and avoid rushing the glueing process. Take your time to ensure each cork is adhering well.


5. Finishing.
After 24 hours of cure time. double check that all the corks are secure. If not, remove or lift up loose corks and apply more glue. Repeat step 4 for each loose cork. Once completed, peel away the wax paper and trim away the exposed liner edges as close to corks as possible.


Place your new wine cork bath mat on the floor and enjoy!
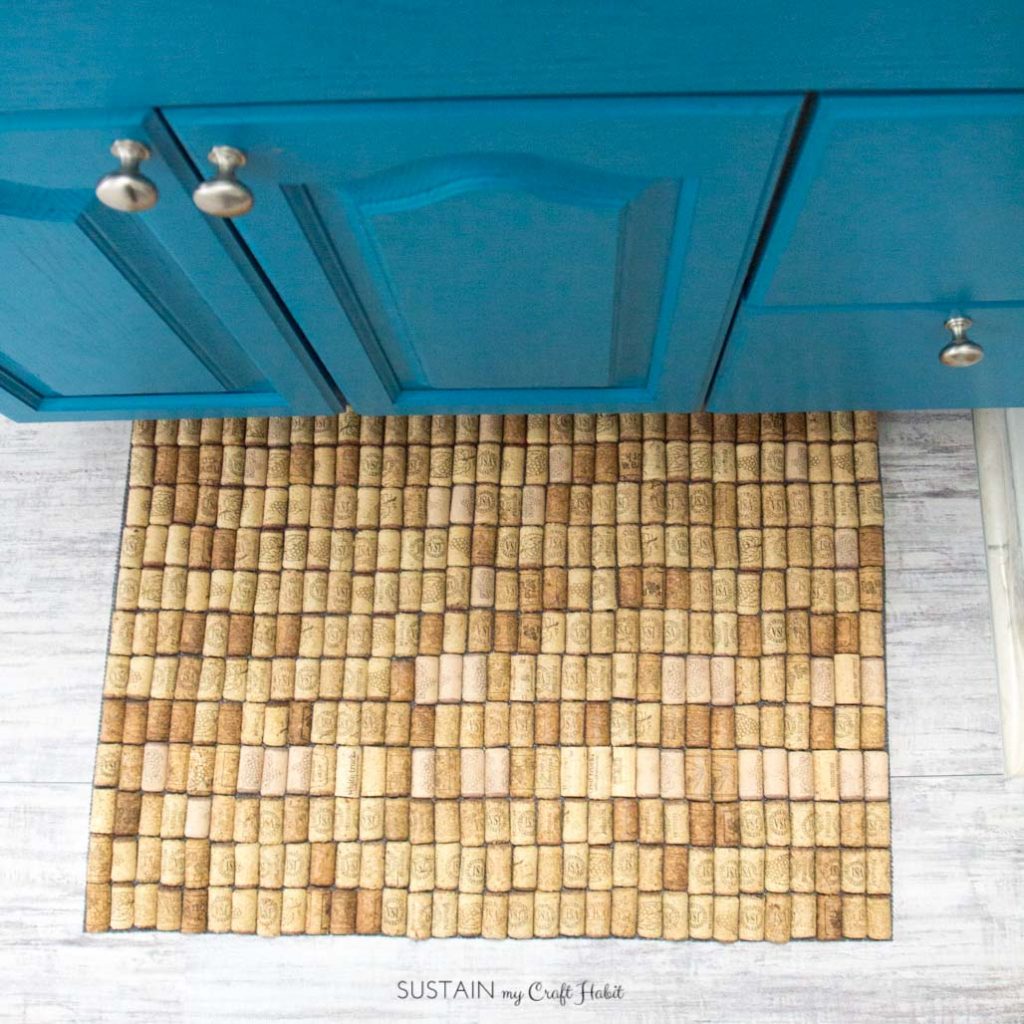
The bath mat looks amazing on the new Allure ISOCORE brushed white plank vinyl flooring we received from the Home Depot Canada for the bathroom remodel. You can check out our full tutorial, including video how to install the Allure ISOCORE floor.

If you haven’t had a chance to check it out, you can find the entire completed beach themed bathroom makeover here!
Have you ever tried or considered making a wine cork bath mat?

Like it? Pin if for later!

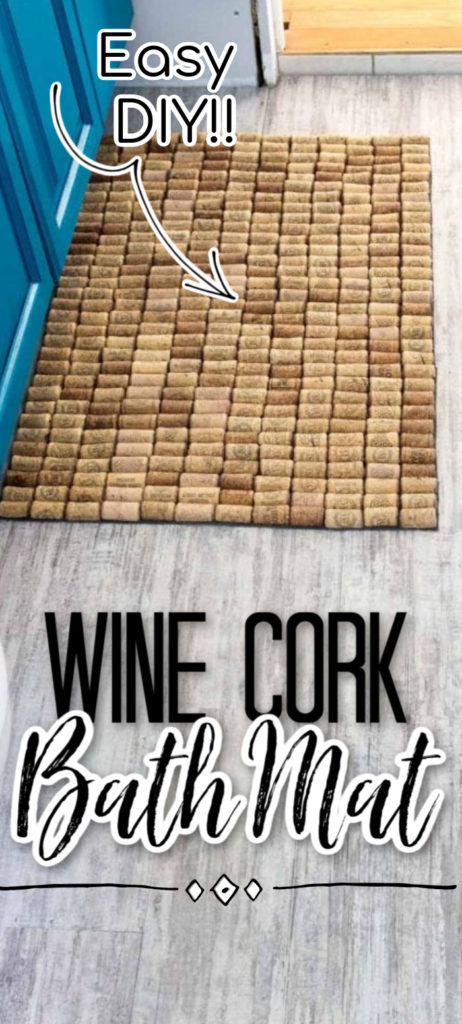
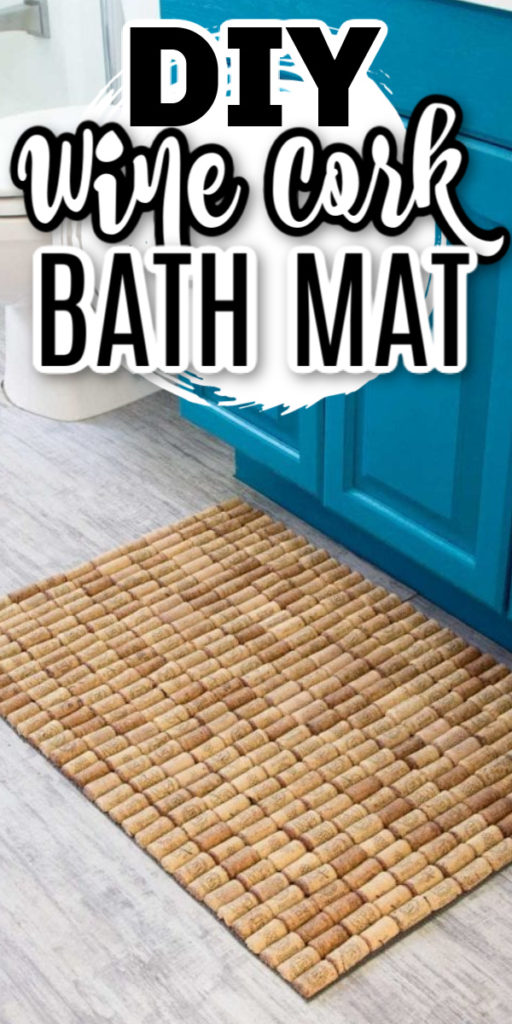
great tip about boiling the corks to make them easier to cut. Good luck with the challenge!
Thank you Alana! Boiling the corks made all the difference for cutting. It’s surprising how difficult they are to cut otherwise.
Boiling the corks helped with cutting so much but left a sticky/stinky/wine-y sludge all over my pot! Not too hard to clean off though!
@Jenna, I have read to add a bit of bleach …I would be more likely to use vinegar.
Your cork mat is really cool! I’m looking forward to seeing your bathroom reveal.
Thank you Joann! It’s actually feels very cushy for the feet.
What is it like to stand on? I have hundreds of corks to make into fun crafts.
It’s actually really soft and squishy! We have a whole Pinterest board filled with creative wine cork crafts: https://www.pinterest.ca/sustainmycrafth/wine-cork-projects/ . Let us know if you make the mat! -Jane
I’ve been saving wine corks for a long time, but many are rubber. Can I use rubber corks for this craft, or does it only work with real corks?
Hi Emily!
I don’t see any reason why rubber corks wouldn’t work. I just think you might have a hard time cutting the corks in half (rubber is tougher than cork). I also don’t think the rubber would be as cushion-y as the corks are. You might end up with a harder rug (although still might feel neat underfoot).
You have to let us know if you try it!
Jane
Hi! I have a TON of wine corks and I’ve been wanting to make something like this with them for a while. My only worry is that if cork is being used as a bath mat, it will be getting wet every day and will become a breeding ground for bacteria. A cloth bath mat can just be thrown in the wash, but what do you do to keep a cork bath mat clean?
I had the same question as well as wouldnt regular glue stick work just as well and do the corks need to be cut, cant I glue them down without cutting them?
I had the same question as well as wouldnt regular glue stick work just as well and do the corks need to be cut, cant I glue them down without cutting them?
I am thinking of making this for a gift, can I fold the mat for shipping?
Hi Lori, That sounds amazing! In my opinion, I don’t think you’ll be able to fold it, I’d be worried the mat would become damaged when folded and packed.
Hi. Looking to create a rug for my kitchen with my corks. Question: how do you clean it? Vacuum?
Hi Barbara,
If your glue holds well you’d be able to flip it over to gently shake it out. But otherwise, yes, a vacuum and spot cleaning if needed.
Thank you for stopping by!
Jane
Hey, thanks for sharing this valuable information.
How long do you boil the cork?
Hello. We boiled them for about 10 minutes. Hope that helps!
Jane
HI! I cant find the glue you recommended anywhere, but what do you think is the next best option?
Do you think that the glue is waterproof? I’d like to use it to step out of the shower on.