Framed Easter Bunny Craft Idea
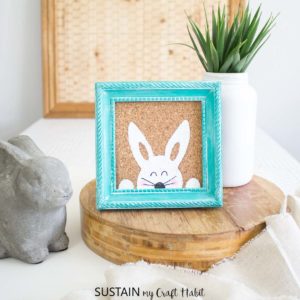
How cute is this little peeking bunny? We painted him on to a sheet of cork and then used an inexpensive thrift store picture frame to display him. So if you’re looking for some fun and simple holiday DIYs, add this Easter bunny craft idea to your crafting list.
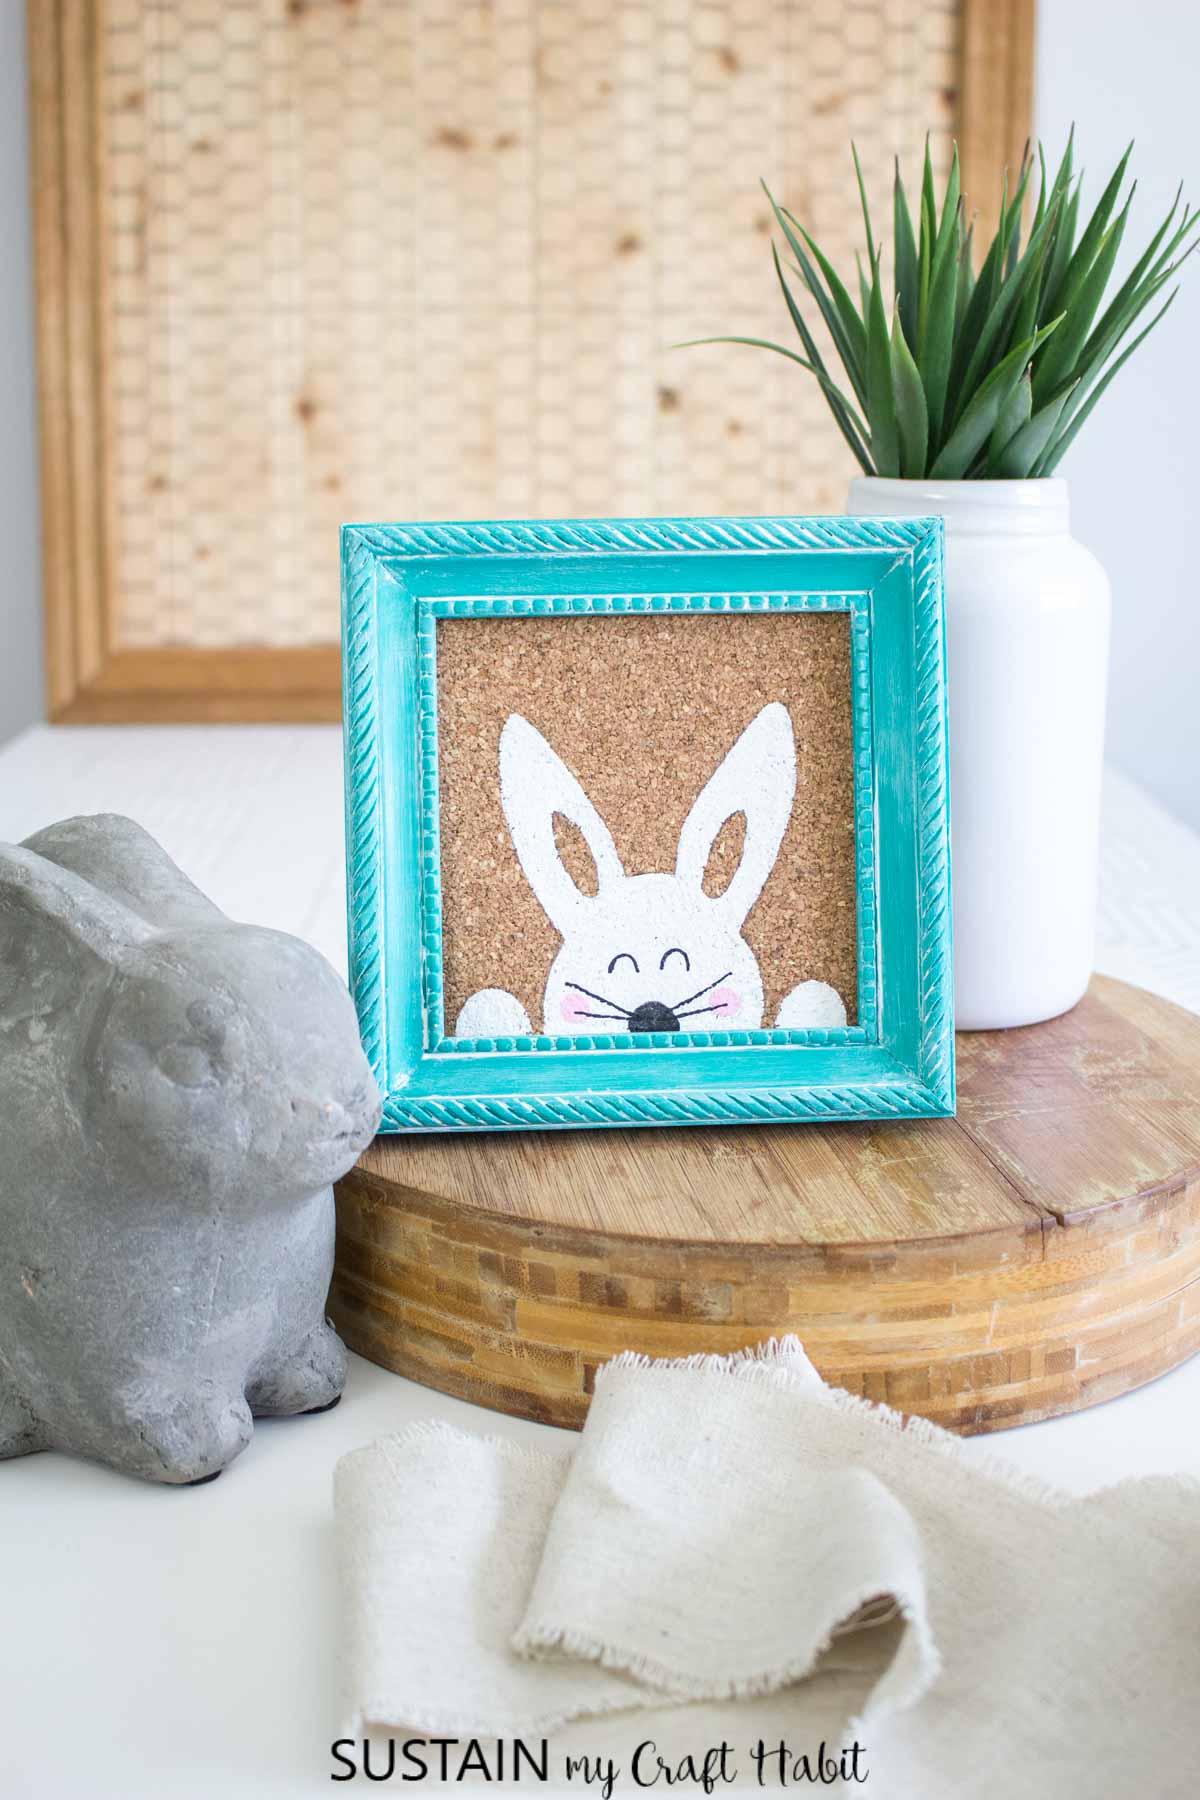
Adorable Peeking Bunny Art
To make it even simpler, we’re including the printable for the peeking bunny so you can just cut it out and trace it if your prefer. Otherwise, go ahead and paint the bunny shape on to the cork sheet directly. I had a bunch of these cork sheets lying around for years and I can’t even recall why I bought them in the first place! If you’ve ever used cork sheets before, please tell me for what as I’d love some inspiration. I made a similar framed craft for St. Patrick’s Day by painting a metallic rainbow on to cork.
RELATED: 45 Craft to Make with Picture Frames
More Easter Bunny Crafts
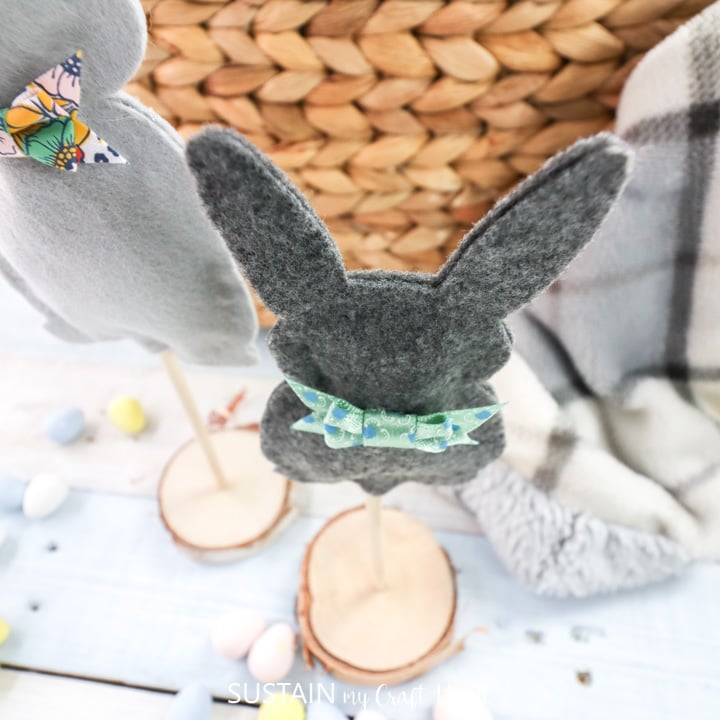
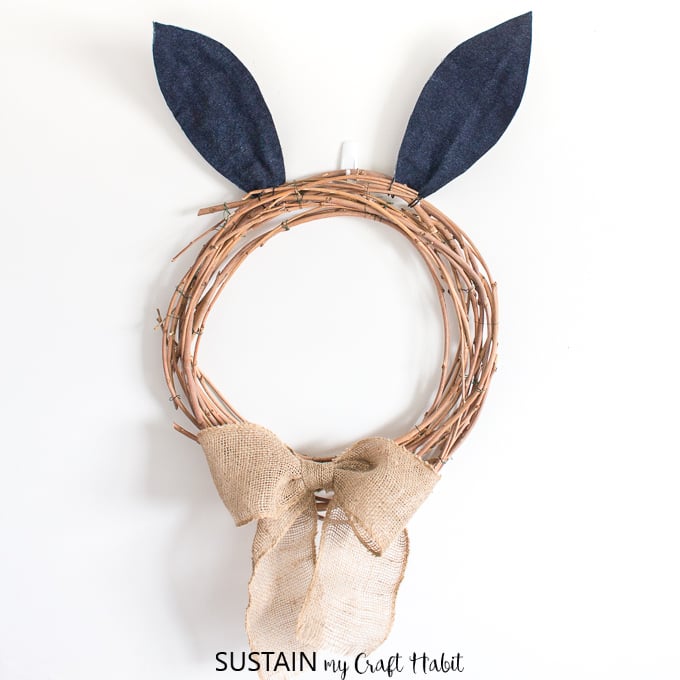
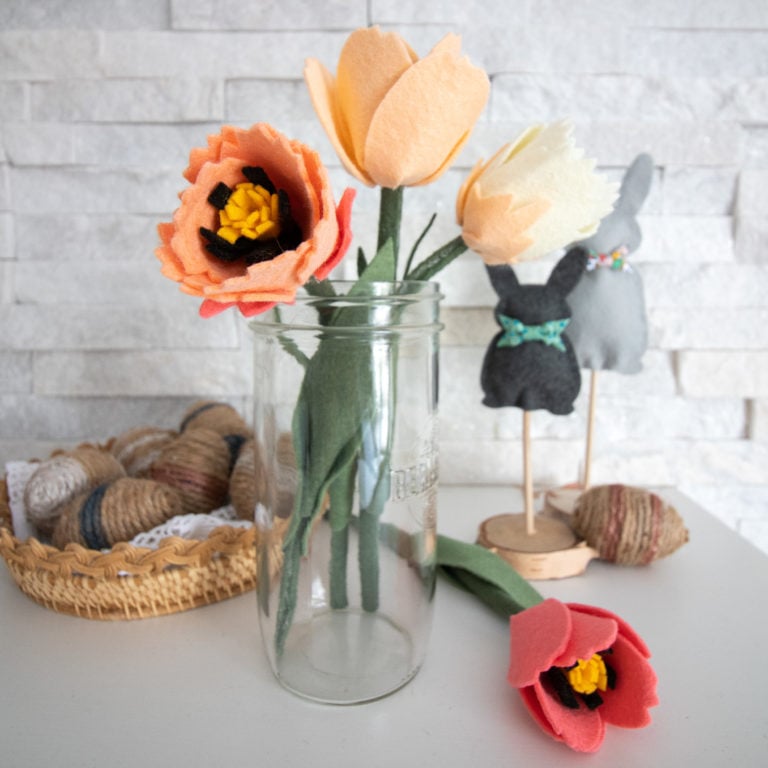
In addition to this framed bunny craft; we also have this quick and simple bunny wreath; this DIY bunny-full paper garland; and this felt bunny decor idea and crochet bunny finger puppets!

Felt Bunny Decor 
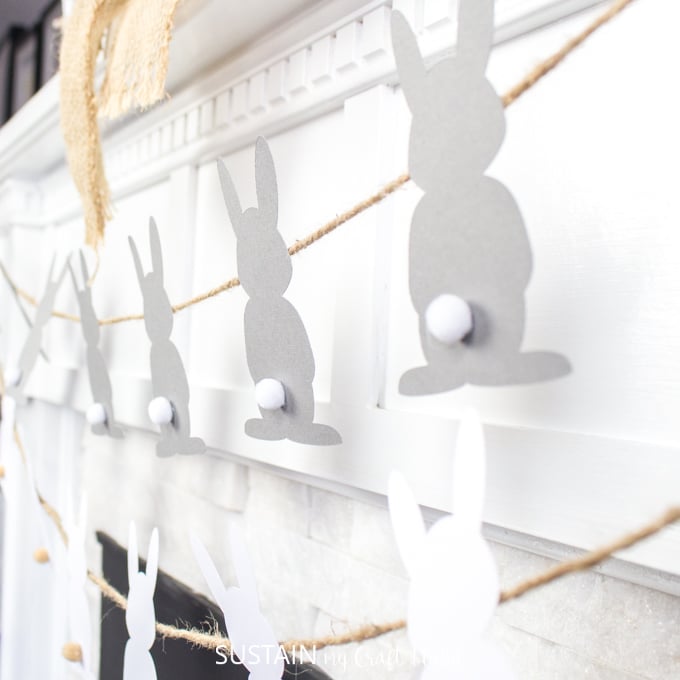
Spring Wreath with Bunny Ears DIY Easter Garland with Paper Bunnies 
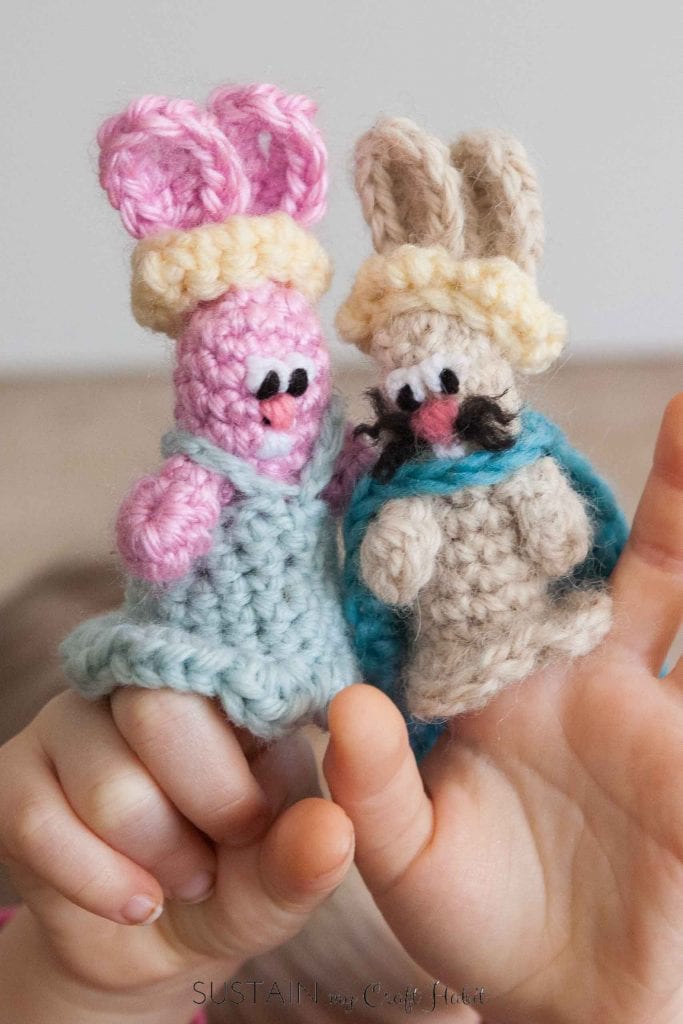
Crochet Bunny Finger Puppets
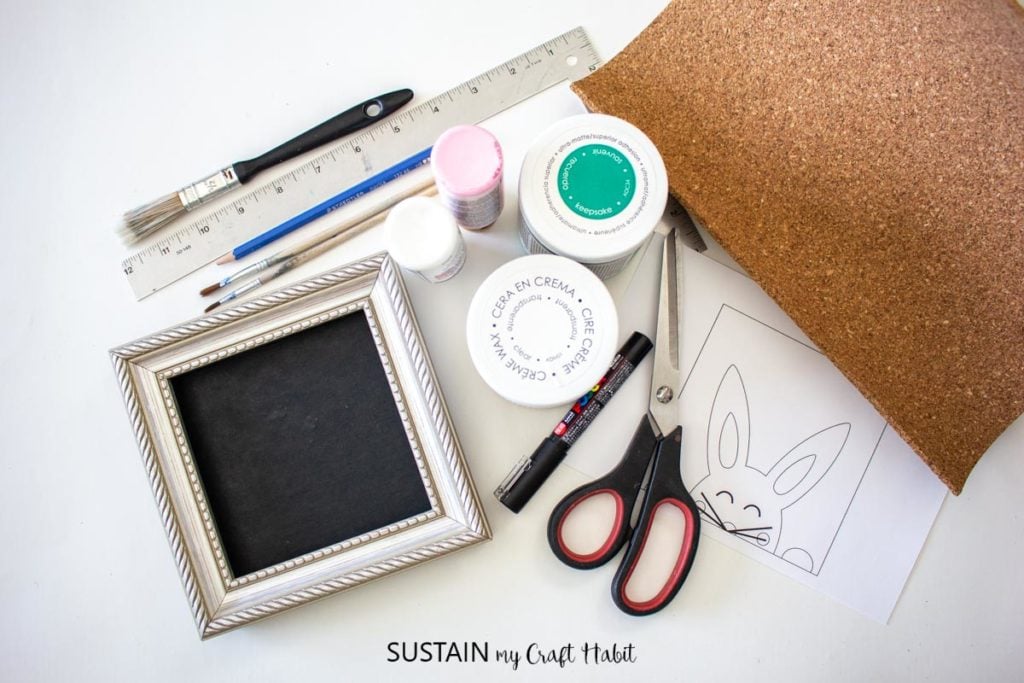
Materials Needed:
Disclosure: This post continues affiliate links for your shopping convenience. You can find our full disclosure policy here.
- 5”x5” inexpensive thrifted or Dollar Store photo frame
- Americana Decor Chalky Finish in Keepsake and Americana Decor Creme Wax in white
- Americana Acrylics in Snow White and Poodleskirt Pink
- Black paint pen
- Paintbrushes, assorted sizes and paper towel
- Cork sheet
- Printable Peeking Bunny template
- Pencil
- Scissors
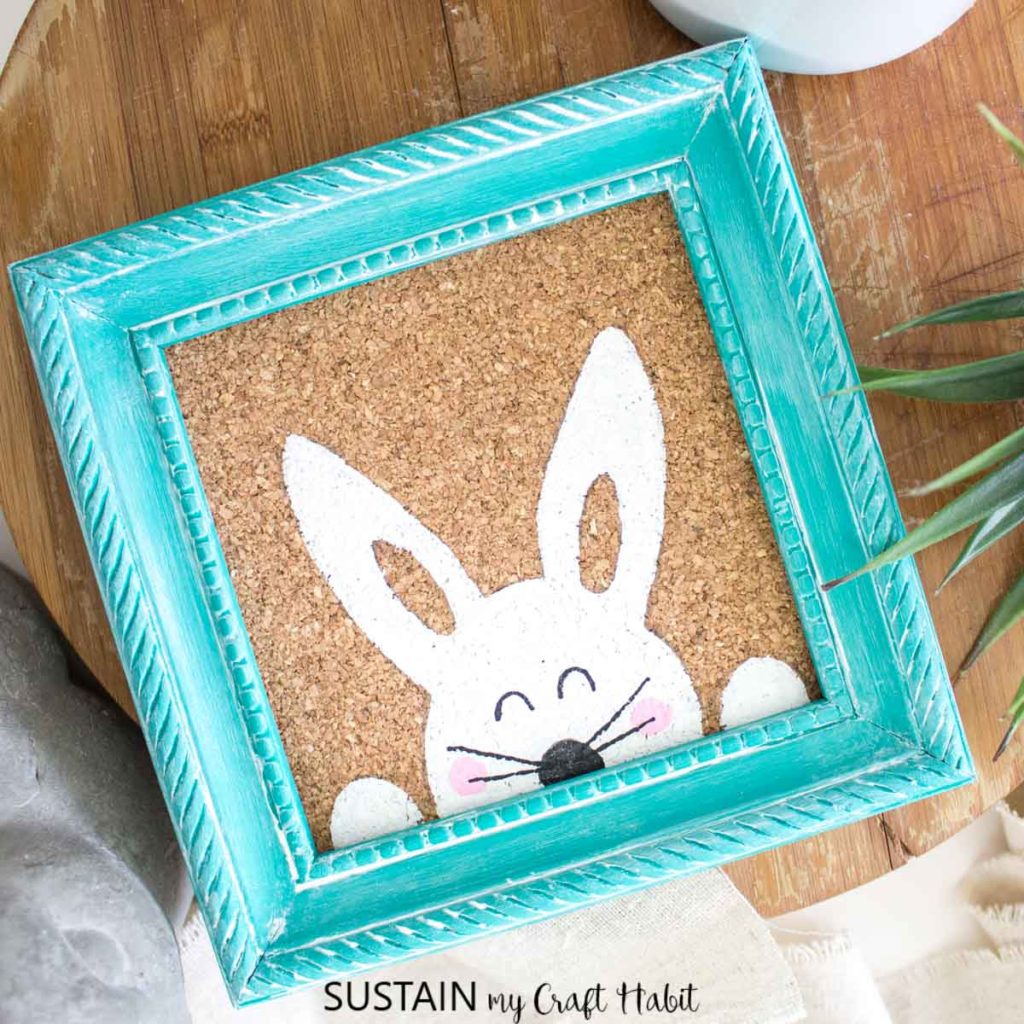
Painted Easter Bunny Craft Idea
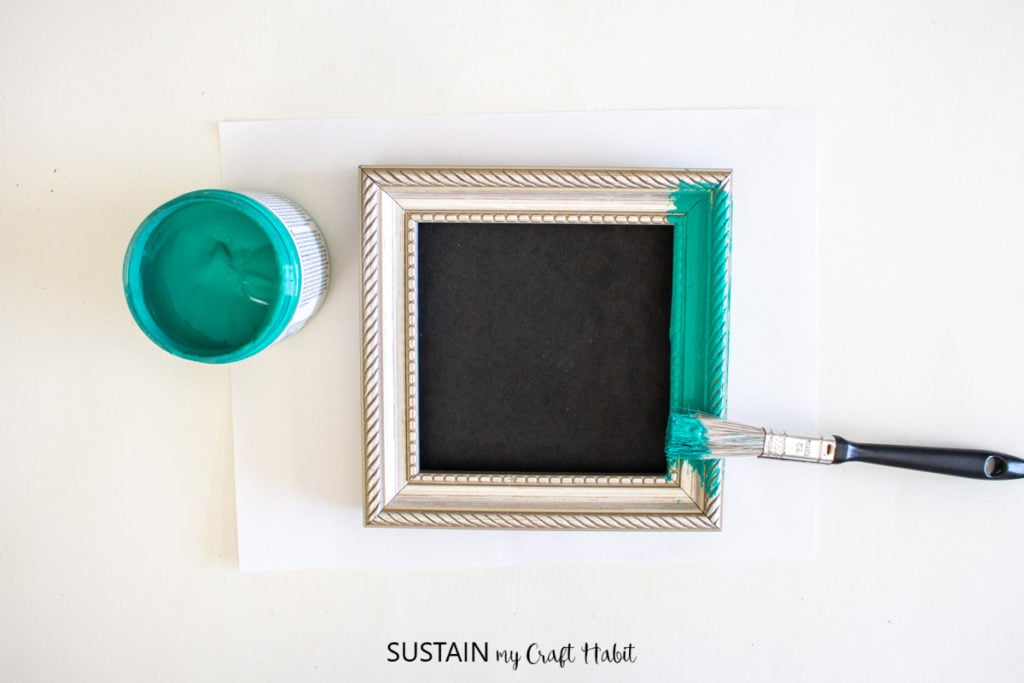
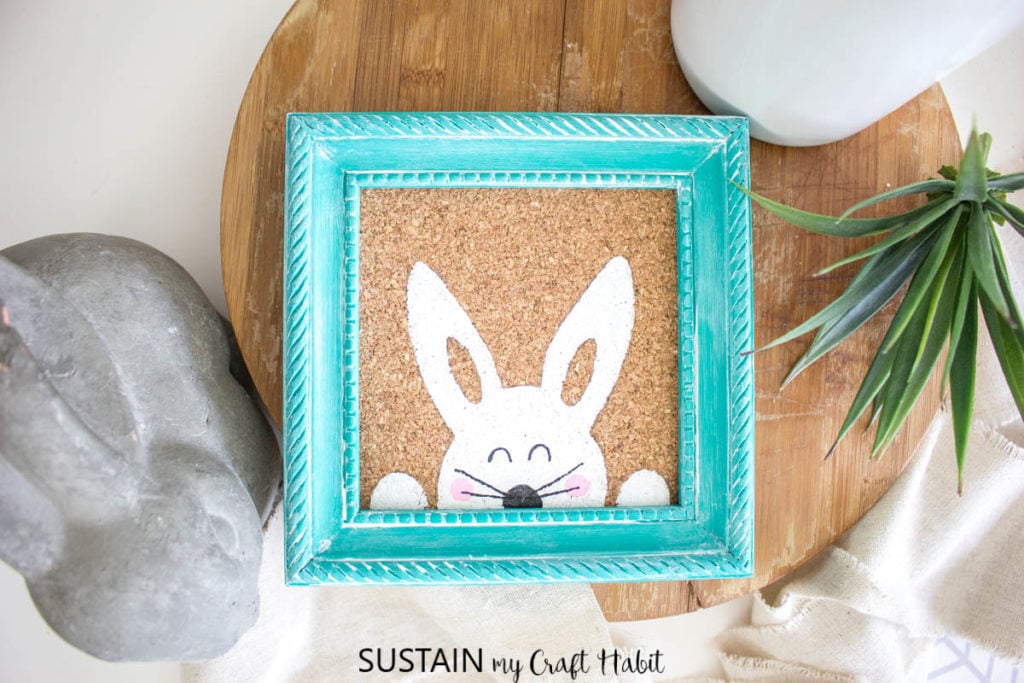
Remove the glass and picture frame backing. Apply a coat of chalky paint in Keepsake color to the frame and let it dry fully.
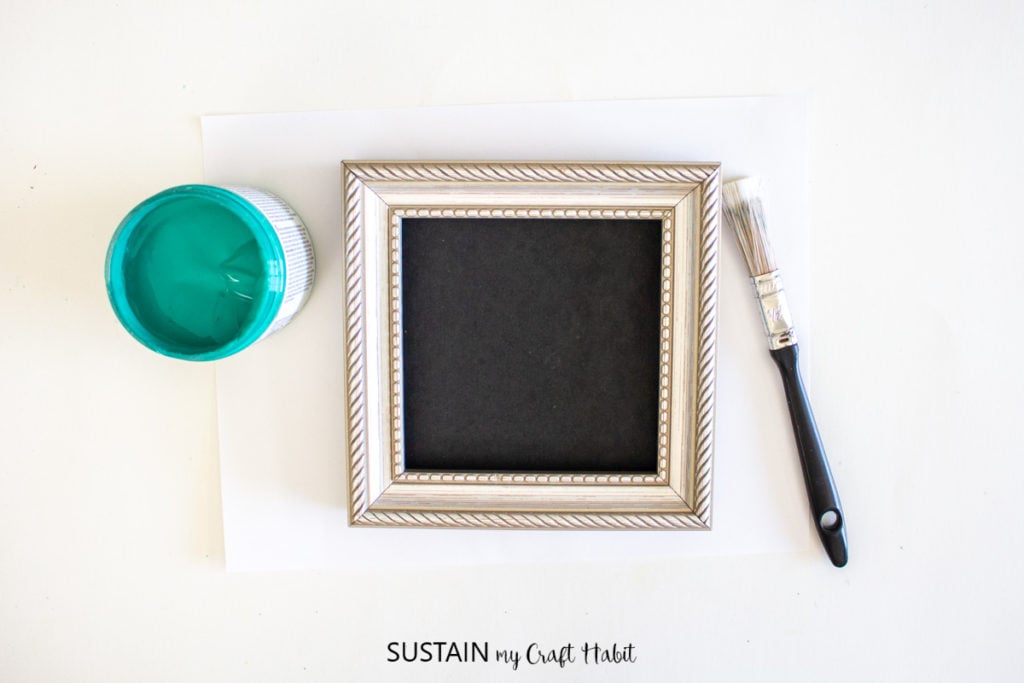
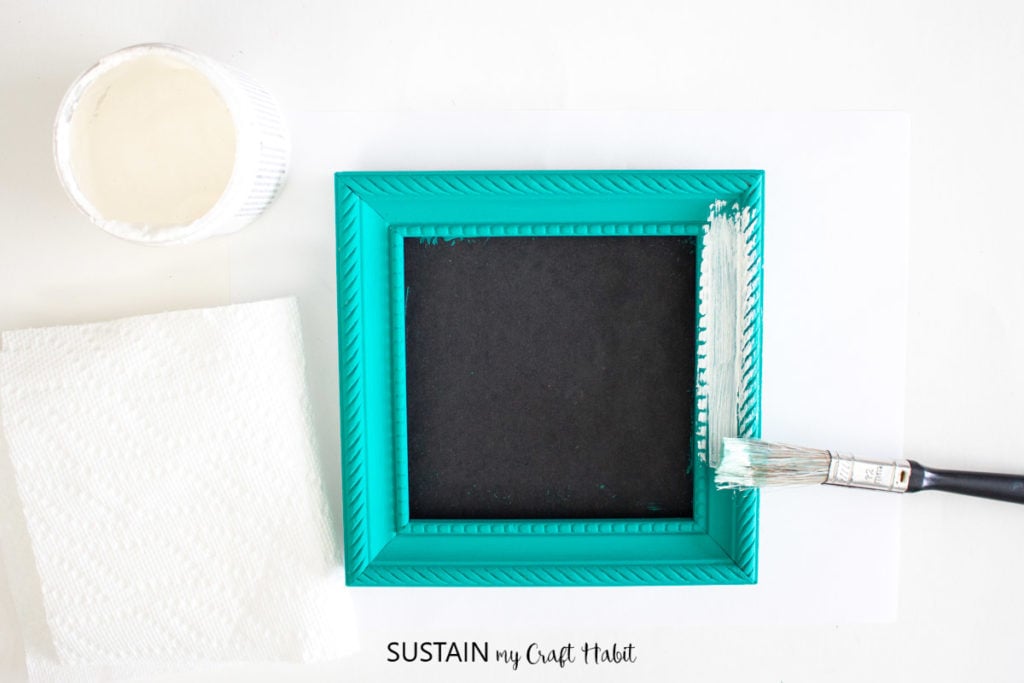
Once dry, apply a coat of white wax over the frame and rub excess off with a clean paper towel and put it aside to dry.

Prepare a sheet of cork to fit inside the photo frame, measure length and width, mark with pencil and cut.


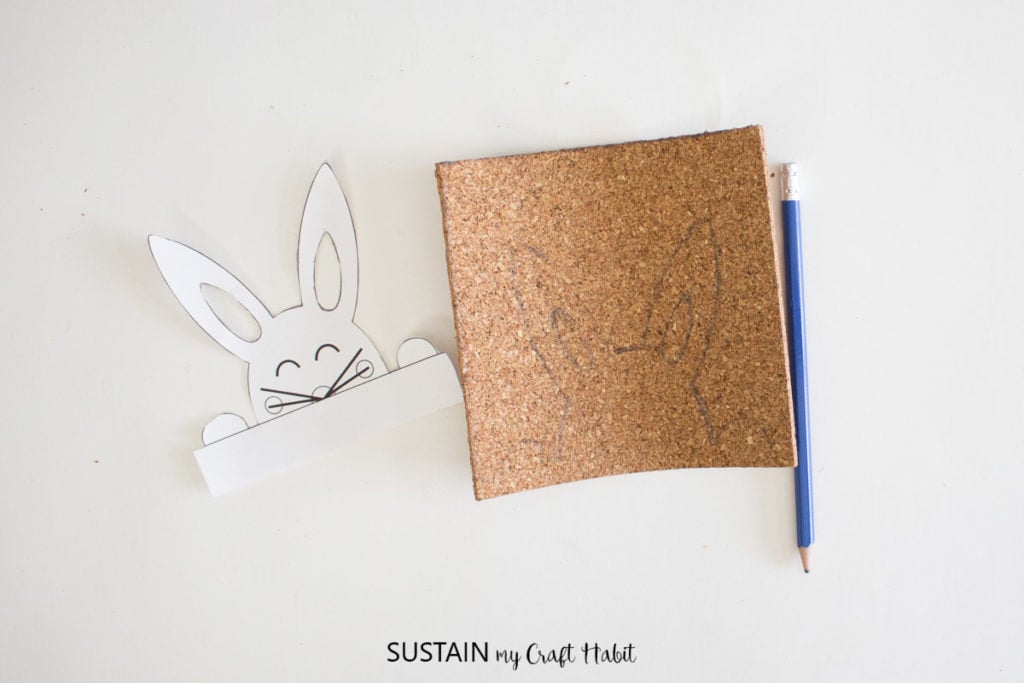
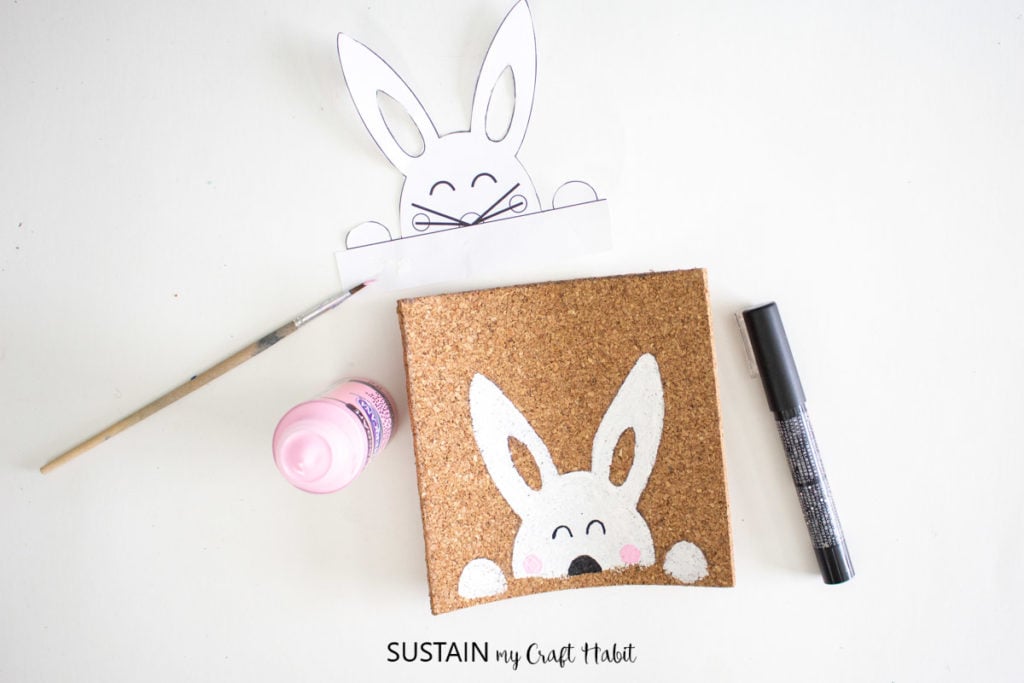
Print out the peeking bunny template and size as needed to fit your frame.
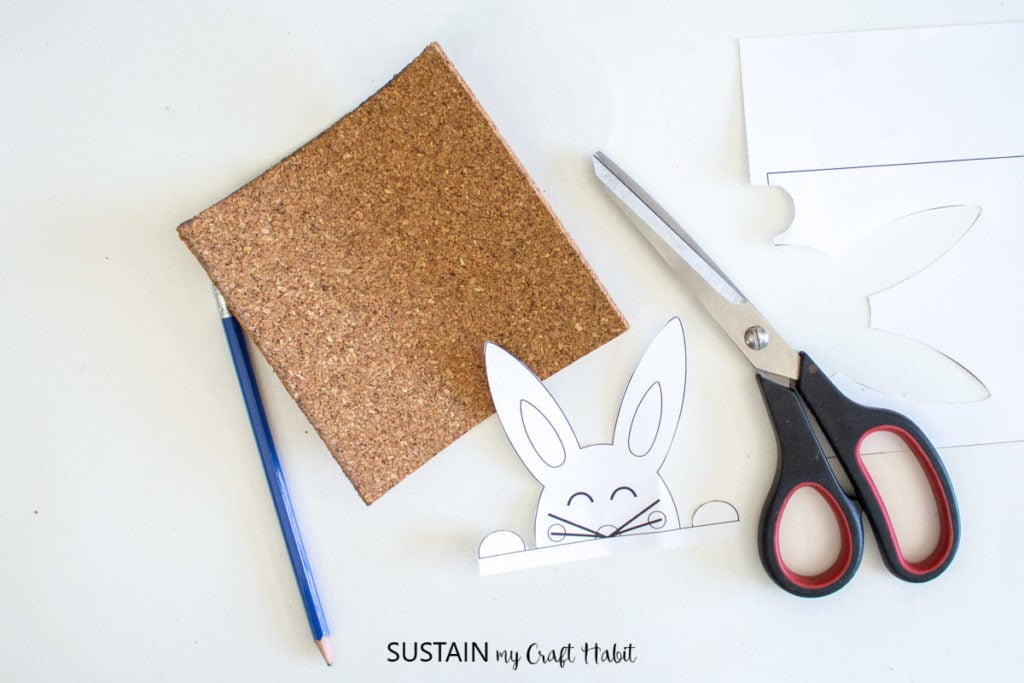
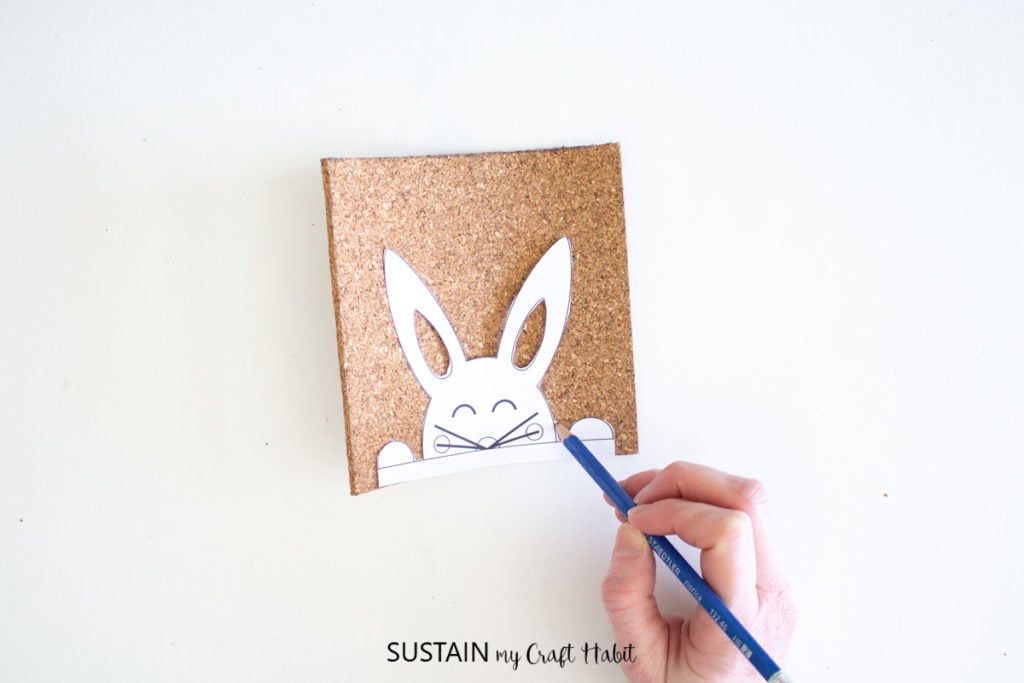
Cut out around the bunny along the solid line. Use the cut out as a stencil to mark on to the cork and trace around the bunny directly on to the cork.
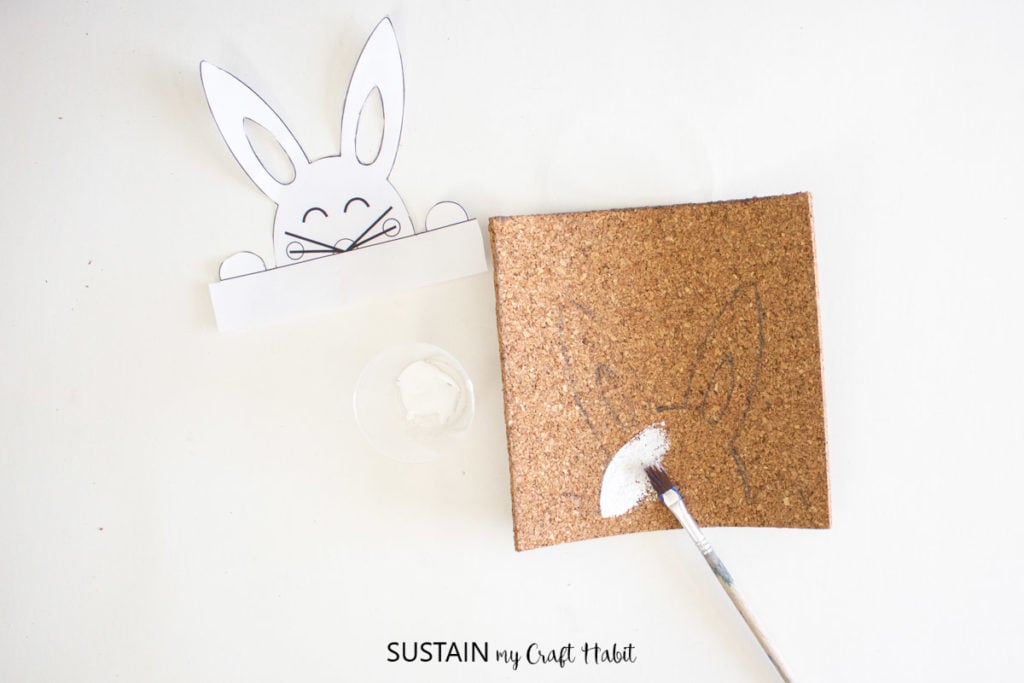
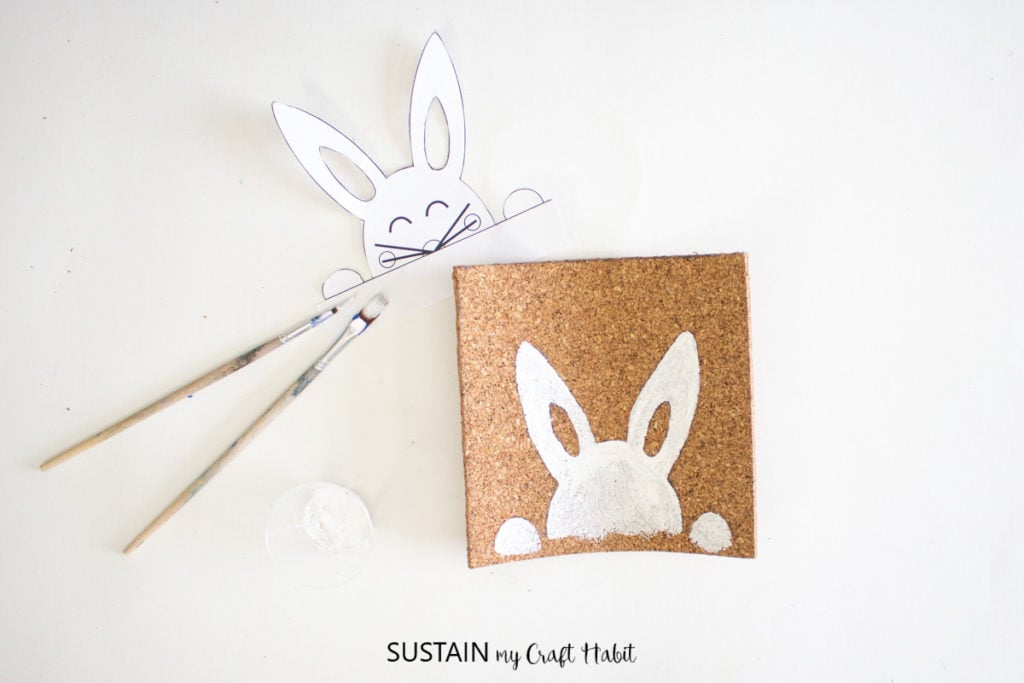
Using a fine tip paintbrush, fill in the penciled area with white paint. Let dry and add an extra coat of paint if needed.
Next, paint and fill in a half circle with black paint pen for the bunny nose and two small circles in pink for the bunny cheeks.

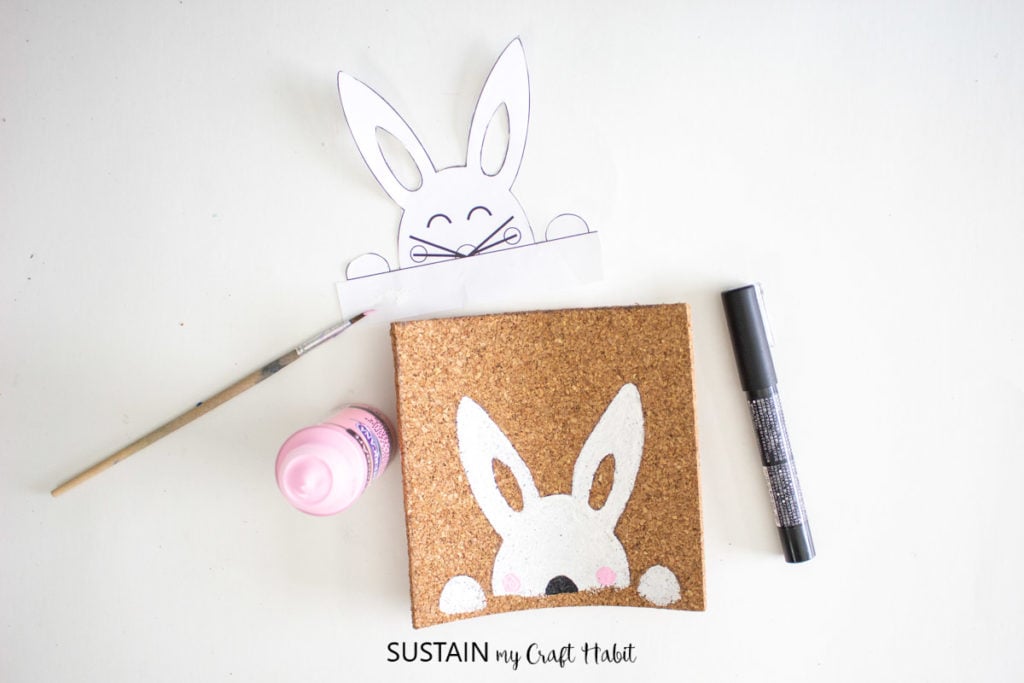
And then paint two upside down half circle lines for the eyes and add the whiskers when cheeks are dry.
Insert the bunny art back into the photo frame to finish and place on a table for display!
How much Easter decorating do you do?
Like it? Pin it for later!

Painted Easter Bunny Craft Idea
Materials
- 5”x5” Photo frame Inexpensive thrifted or Dollar Store
- Americana Decor Chalky Finish in Keepsake
- Americana Decor Creme Wax in White
- Americana Acrylics in Snow White and Poodleskirt Pink
- Black paint pen
- Paintbrushes assorted sizes and paper towel
- Cork sheet
- Printable Peeking Bunny template
- Pencil
- Scissors
Instructions
- Remove glass and picture frame backing. Apply a coat of chalky paint in Keepsake to frame. Let it dry fully.
- Once dry, apply a coat of white wax over the frame and rub excess off with a clean paper towel. Put aside to dry.
- Prepare a sheet of cork to fit inside the photo frame, measure length and width, mark with pencil and cut.
- Print out the peeking bunny template and size as needed to fit your frame.
- Cut out around the bunny along the solid line. Use the cut out as a stencil to mark on to the cork. Trace around the bunny directly on to the cork.
- Using a fine tip paintbrush, fill in the penciled area with white paint. Let dry and add an extra coat of paint if needed.
- Paint and fill in a half circle with black paint pen for the bunny nose and two small circles in pink for the bunny cheeks.
- Paint two upside down half circle lines for the eyes and add the whiskers when cheeks are dry.
- Insert back into the photo frame to finish.

Every time I click on the Bunny Printable it takes me to the directions. Nowhere do I find the Printable. How do I get the Printable? Am I doing something wrong?
Oh shoot! We’re so sorry about that Judi. We’ve fixed the link. You can access the file here: https://drive.google.com/file/d/1oYwLU_xQyhS96ReifHKqFUnr2azEl4LR/view?usp=sharing
Jane