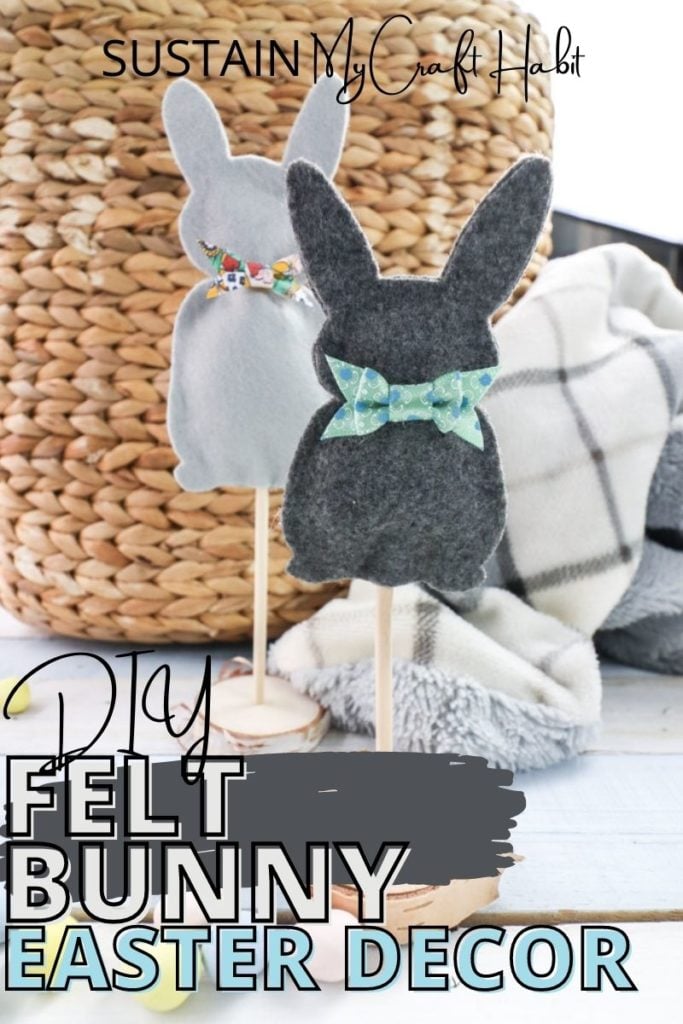
Felt Bunny Easter Decor
Make yourself some adorable Easter decor with this fun felt bunny craft idea using a printable bunny pattern.
Simple Felt Bunny Pattern
We definitely have a thing for bunnies here on the blog! From this bunny-full paper Easter garland to this mulberry vine bunny wreath and these super cute crochet bunny finger puppets; there’s no shortage of hopping going on. We love adding these sweet touches of Easter to our homes at this time of year.
We made a similar craft at Christmas time with these 3D felt trees as well as these zero-waste eco-friendly tree decor we sell in our SMCH_Stitched Etsy shop; which inspired us to make some cute Easter decorations.
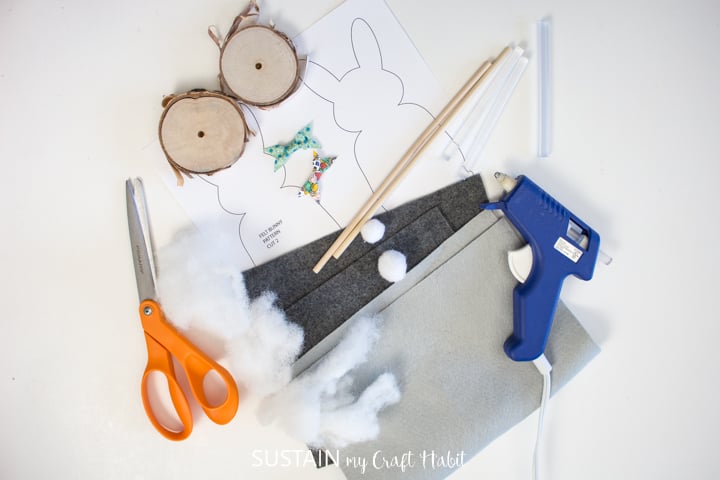
Materials Needed:
Disclosure: This post continues affiliate links for your shopping convenience. You can find our full disclosure policy here.
- Printable Bunny template or Bunny SVG to cut with cutting machine such as a Cricut Maker
- Felt sheets in 2 coordinating colors such as light and dark grey (we used Silver and Graphite from BenzieDesigns
- Fabric scissors
- Hot glue gun and clear craft glue
- Wooden dowel, ¼” diameter and 8” long for larger bunny / 6” long for smaller bunny
- Birch slices, pre-drilled in the center for dowel
- Polyester batting
- Decorative craft bows
- White pom-poms (¼” and ½” diameters)
How to Make Felt Bunny Easter Decor:
Preparing the Materials
Drill a hole in the center of the birch slices the same size as the wooden dowel.
Cutting Felt Out by Hand
Print off the felt bunny pattern template on 8.5×11 sheet of paper and cut around each of the pattern pieces.
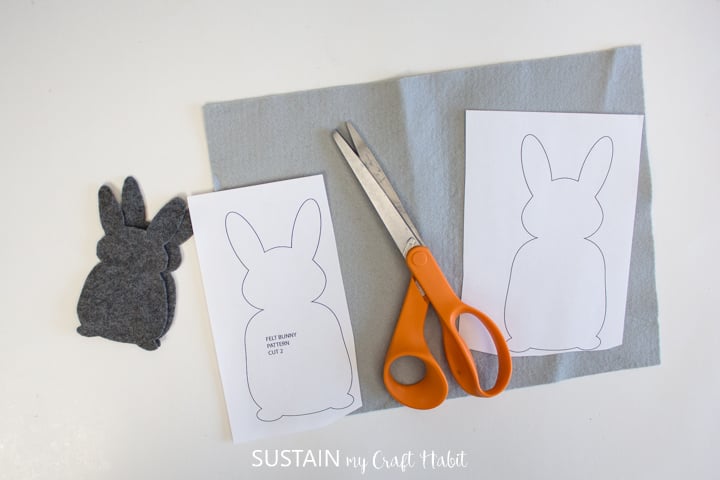
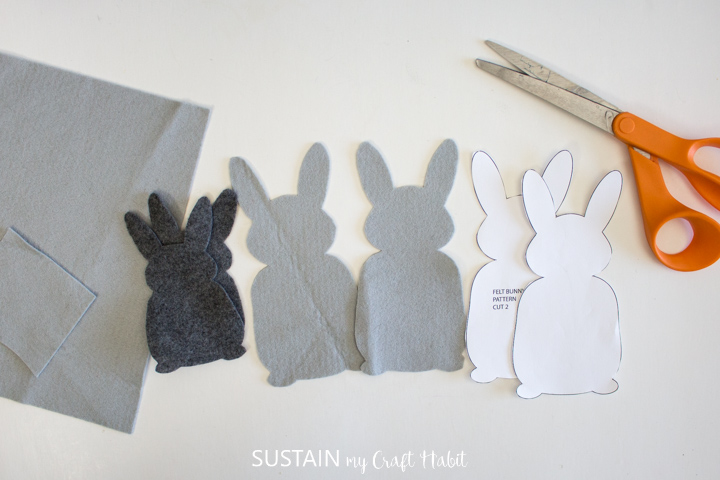
Cutting out one bunny shape at a time, place the pattern on top of the felt sheet in your desired color. Using a pair of fabric scissors, cut out the bunny shape along the solid line. Cut 2 pieces for each bunny.
Using Cricut to Cut the Felt
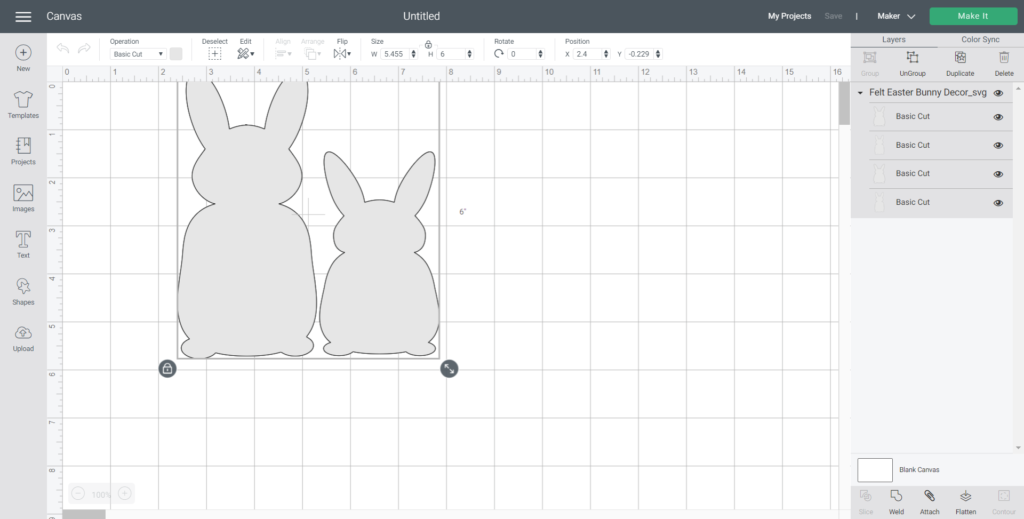
Alternatively, you can use a cutting machine, like our Cricut Maker and SVG file to cut bunny shapes out of felt. Open a blank canvas in Cricut Design Space and upload the Bunny SVG File into Design Space.
Select “Make It” in Design Space and set the material type to Felt.
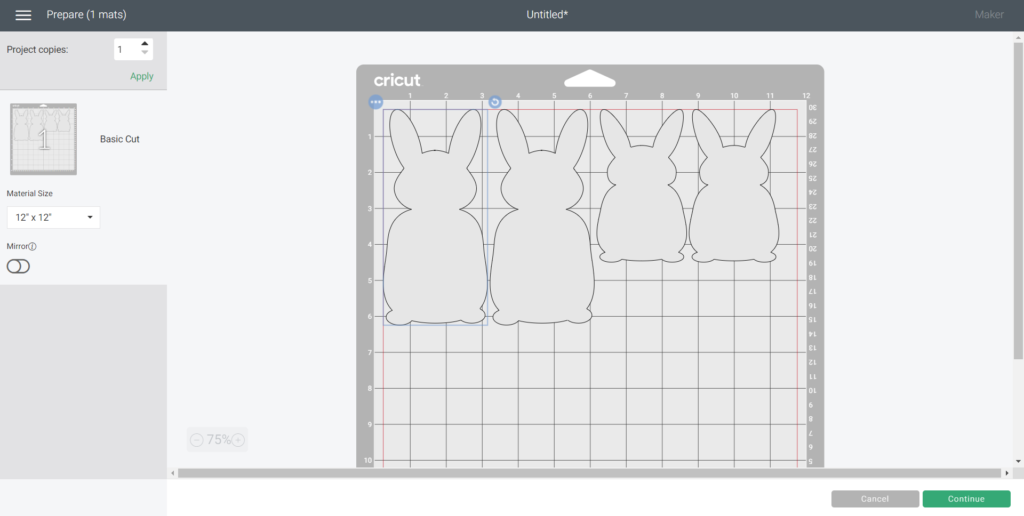
Follow prompts for loading the mat into the Cricut cutting machine and cutting the felt. When prompted, unload the mat from the cutting machine and continue cutting 2 pieces for each bunny.
Assembling the Felt Bunnies
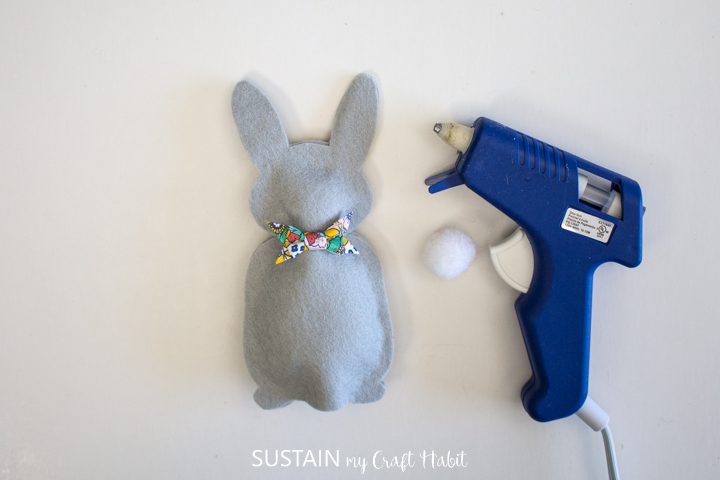
Preheat a hot glue gun. Place identical cut bunny shapes side by side. Working quickly and in small sections at a time, apply hot glue to the bunny ears on one of the cutouts.

Place the other bunny shape on top and press the ears together.
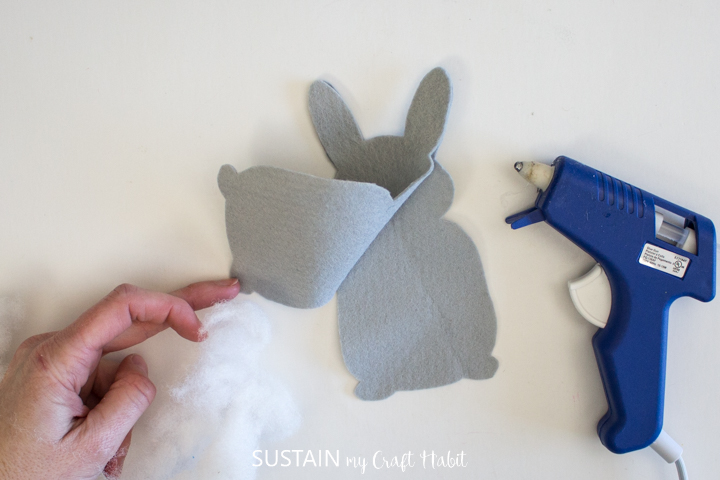
Continue glueing the two shapes together. Apply glue along the outer edge of the bunny cutout leaving the center of the bunny without glue.
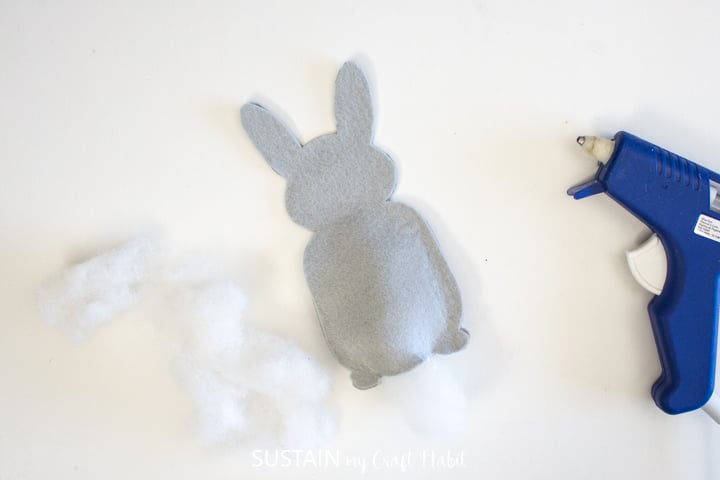
Leave an opening at the bottom of the bunny unglued for the dowel to be inserted and gently fill the bunny with batting.
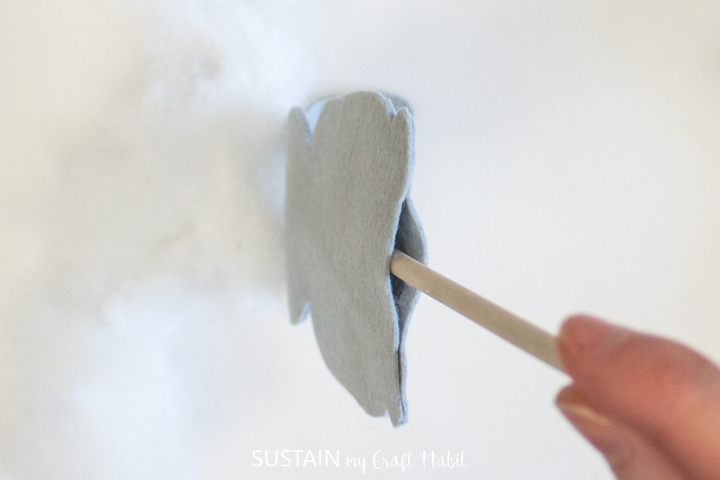
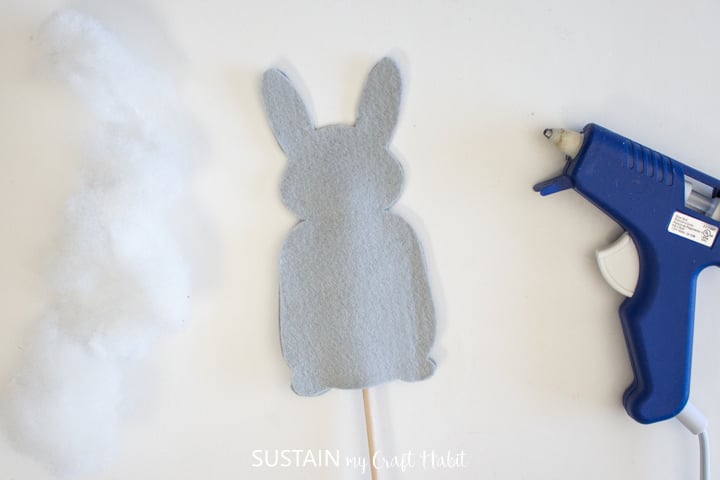
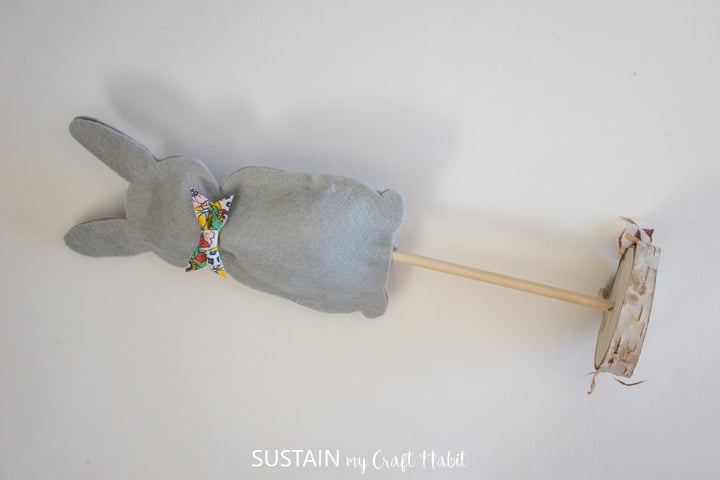
Insert the dowel and push it all the way to the top. Glue the bottom opening closed with the dowel inserted.
Glue decorative bow to one side at neck area.
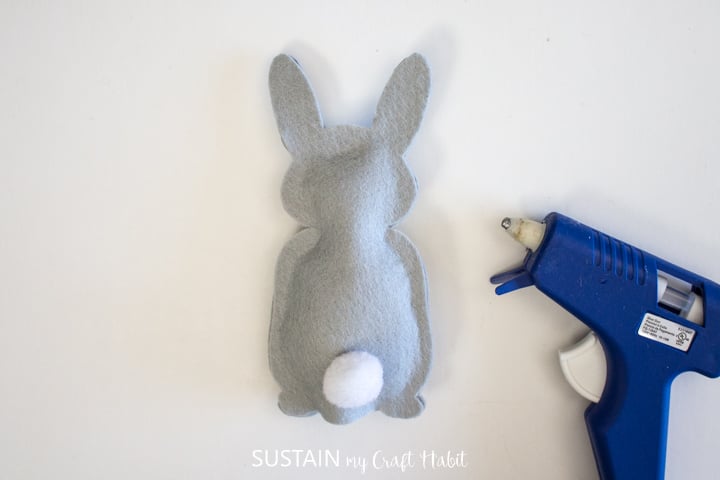
Lastly, glue a pom-pom to the reverse side for bunny tail.
Insert the bottom end of the dowel into one of the wood slices.
Repeat for the other bunny shape.
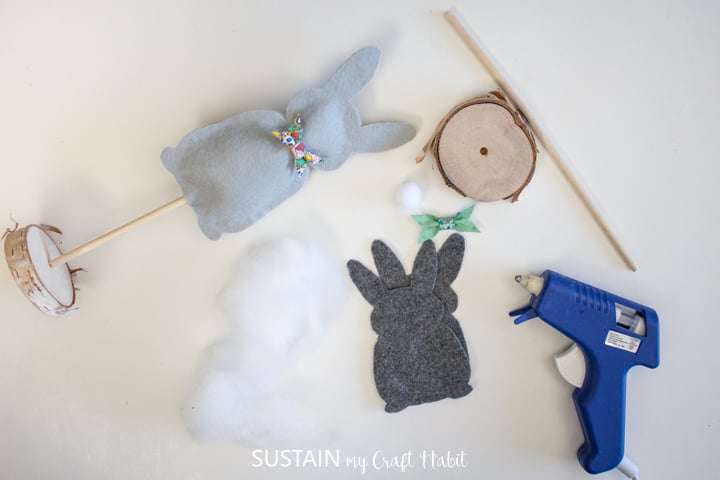
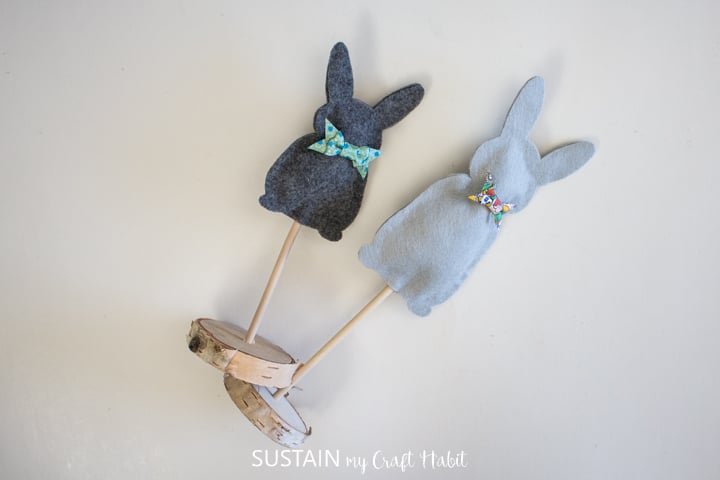
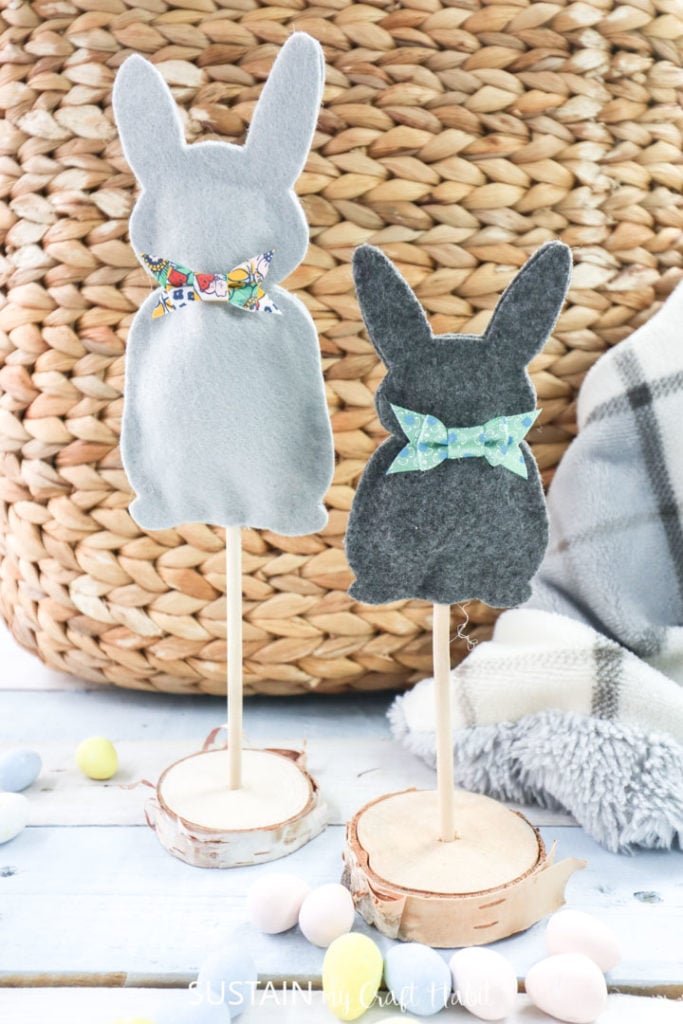
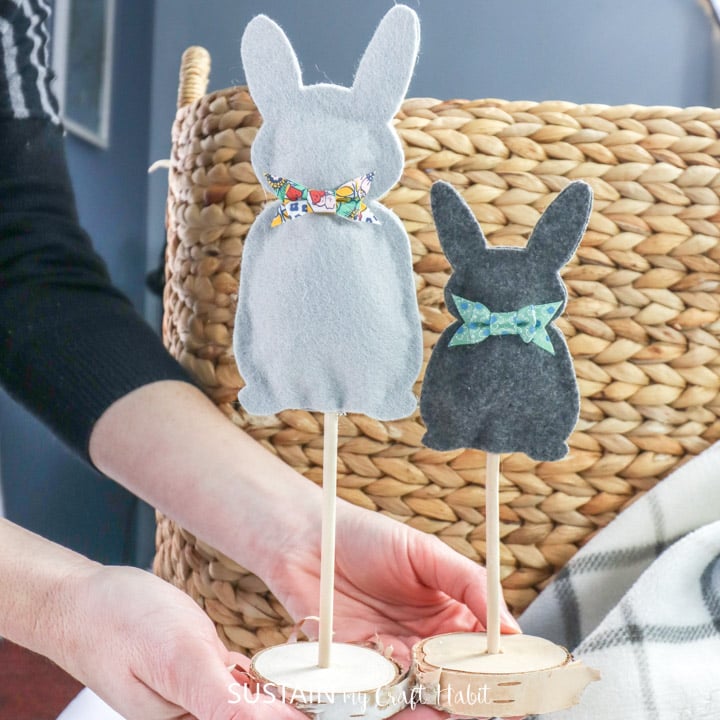
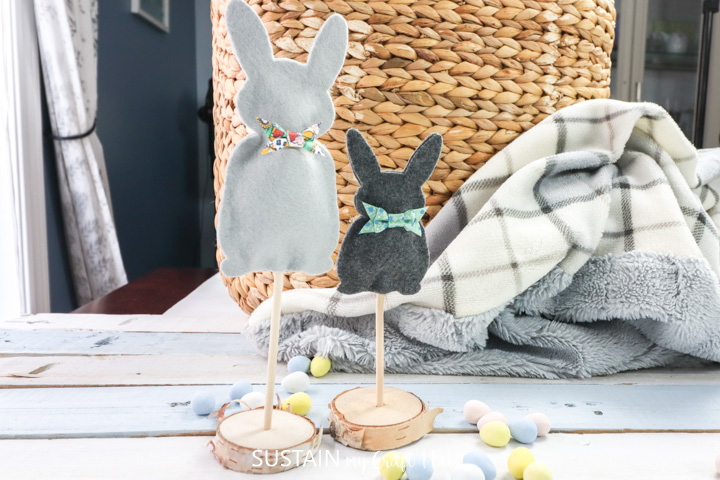
And that’s all! The pair of adorable felt bunnies is complete and ready to add to your Easter decorations.
More DIY Easter Decor
Since decorating for Easter is almost as fun as decorating for Christmas, we’ve got loads of Easter craft ideas to try out.
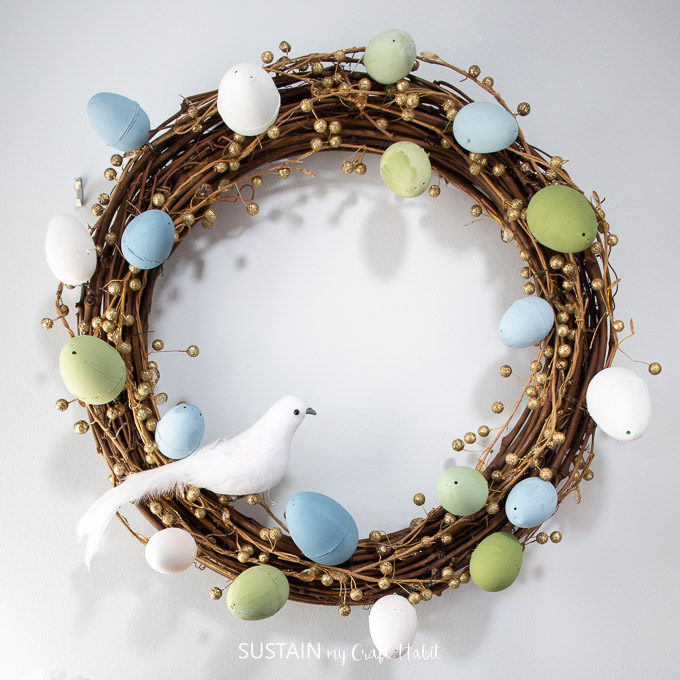
- Easter wreath with chalky painted eggs
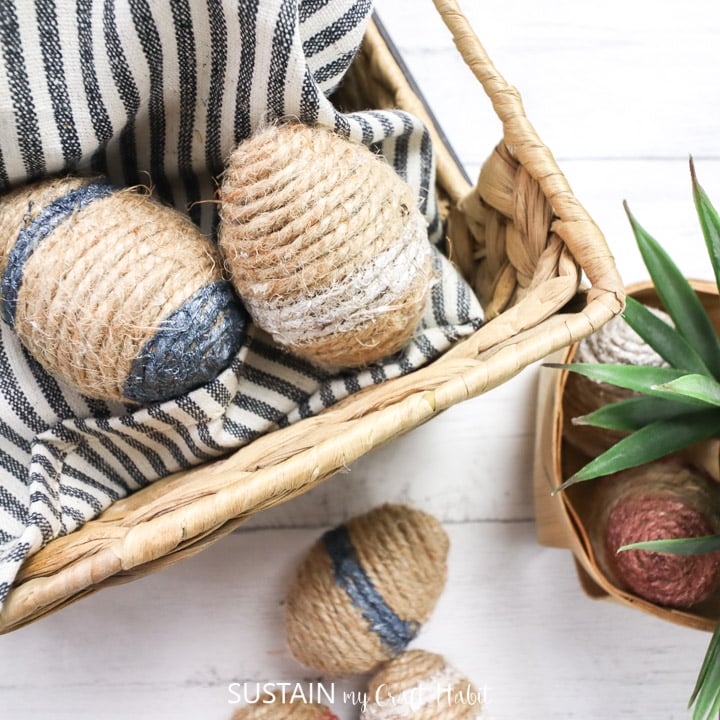
- Twine wrapped plastic eggs
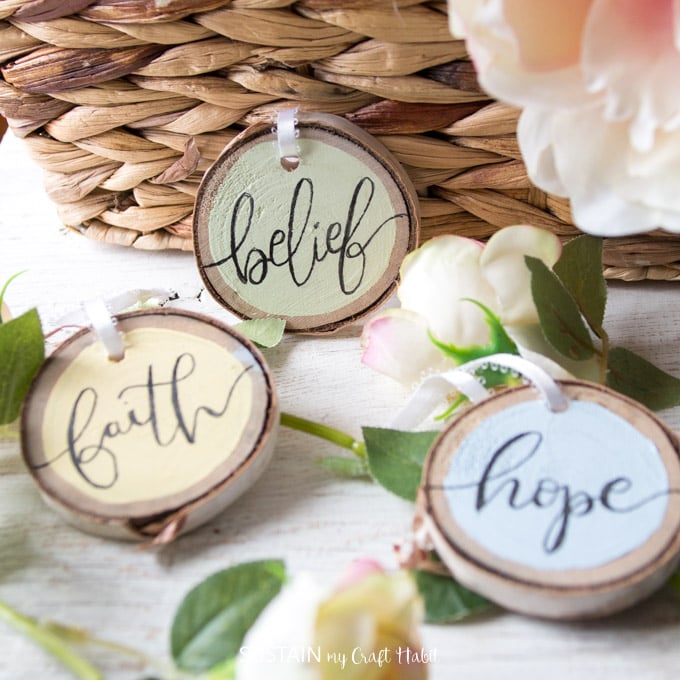
- Hand lettered wood slices
- DIY mini Felt Easter basket

Mini Felt Easter Baskets 
Twine Wrapped Plastic Eggs DIY Easter Wreath Wood Slice Easter Ornaments

Like it? Pin it for later!

Felt Bunny Easter Decor
Materials
- Printable Bunny template
- Felt sheets in 2 coordinating colors we used Silver and Graphite from BenzieDesigns
- Fabric scissors
- Hot glue gun and clear craft glue
- Wooden dowel ¼” diameter and 8” long for larger bunny / 6” long for smaller bunny
- Birch slices pre-drilled in the center
- Polyester batting
- Decorative craft bows
- White pom-poms ¼” and ½” diameters
Instructions
Preparing the Materials
- Drill a hole in the center of the stump the same size as the wooden dowel.
Cutting Felt Out by Hand
- Print off pattern template on 8.5×11 sheet of paper.
- Cut around each of the pattern pieces. Cut 2 pieces for each bunny.
Using Cricut to Cut the Felt
- Open a blank canvas in Cricut Design Space.
- Upload the Bunny SVG File into Design Space.
- Select “Make It” in Design Space.
- Set material type to Felt.
- Follow prompts for loading the mat into the Cricut cutting machine and cutting the felt. When prompted, unload the mat from the cutting machine.
- Continue cutting 2 pieces for each bunny.
Assembling the Felt Bunnies
- Preheat hot glue gun. Apply hot glue to the bunny ears on one of the cutouts.
- Place the other bunny shape on top and press the ears together.
- Continue glueing the two shapes together. Apply glue along the outer edge of the bunny cutout leaving the center of the bunny without glue.
- Leave an opening at the bottom of the bunny unglued.
- Gently fill the bunny with batting.
- Insert the dowel and push it all the way to the top. Glue the bottom opening closed with the dowel inserted.
- Glue decorative bow to one side at neck area.
- Glue pom-pom to the reverse side for bunny tail.
- Insert the bottom end of the dowel into one of the wood slices.
- Repeat for the other bunny shape.