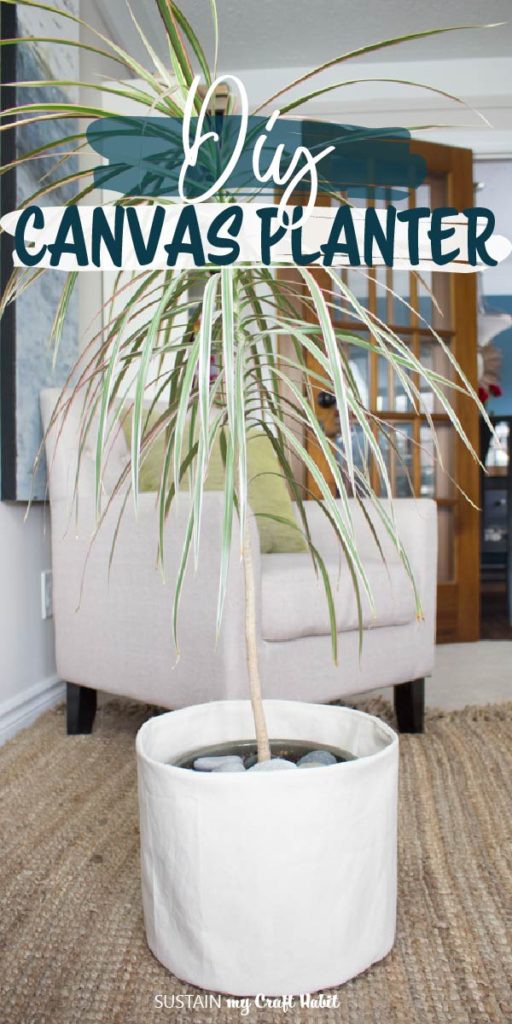
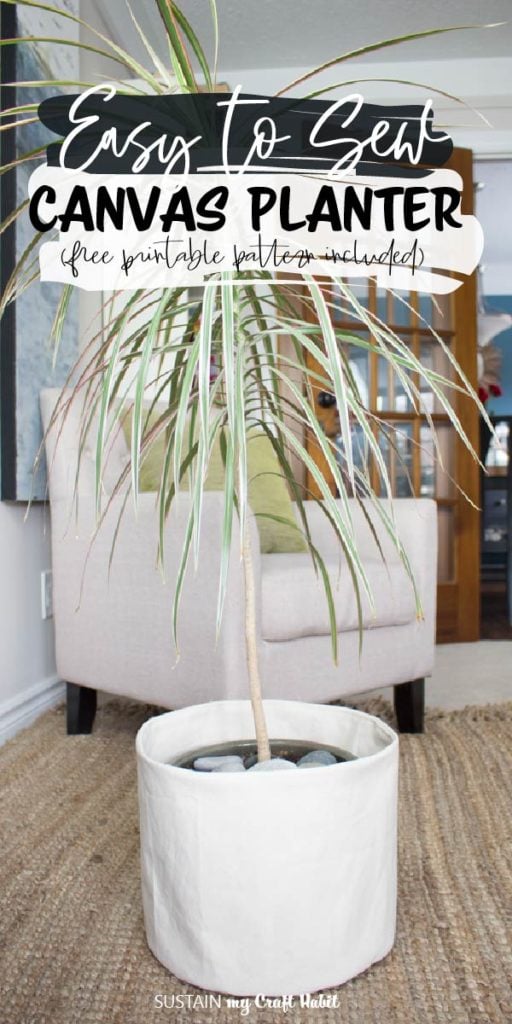
Sewing a Modern Canvas Planter
Hi friends! Do you have any mismatched planter pots or some not-so-pretty planters in need of a makeover? If so, I’ll show you how to sew a modern canvas planter that’ll do just the trick!
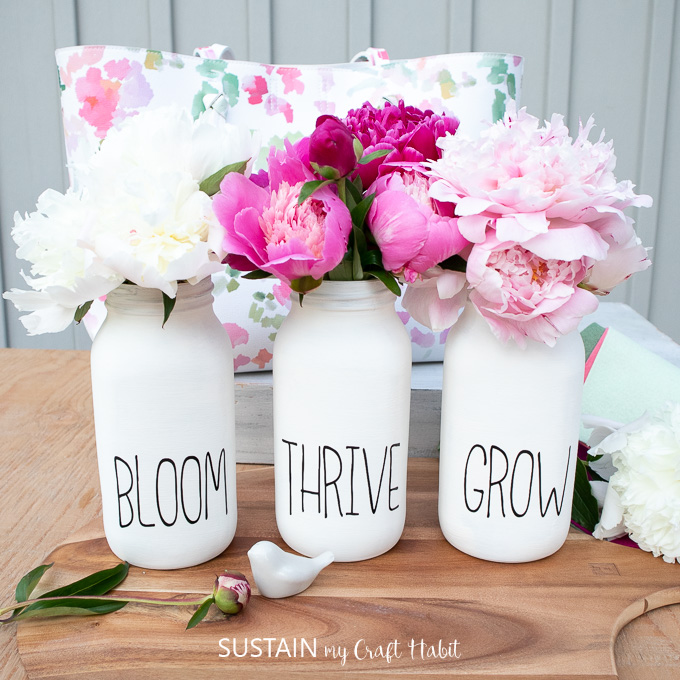
A Stylish DIY Canvas Planter Bag
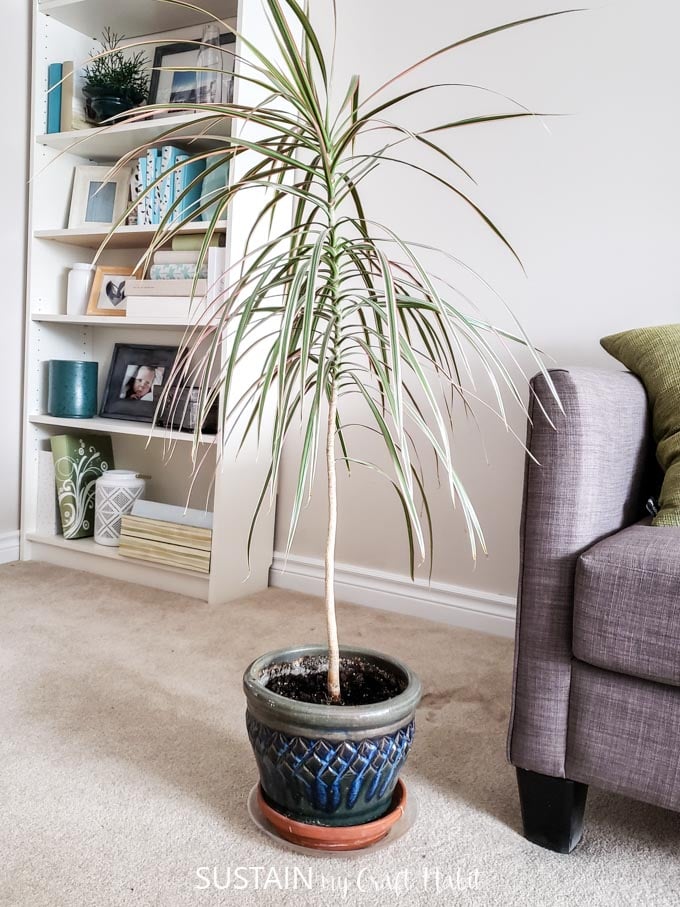
A while back, I inherited this potted plant from someone who no longer had space for it. And although I loved the plant, the ceramic pot in which it came was a bit of a mess. The pot itself sits inside a terracotta water dish and that sits inside a plastic container. Since the plant was healthy and not in need of transplanting, I opted to make this simple, modern canvas planter.
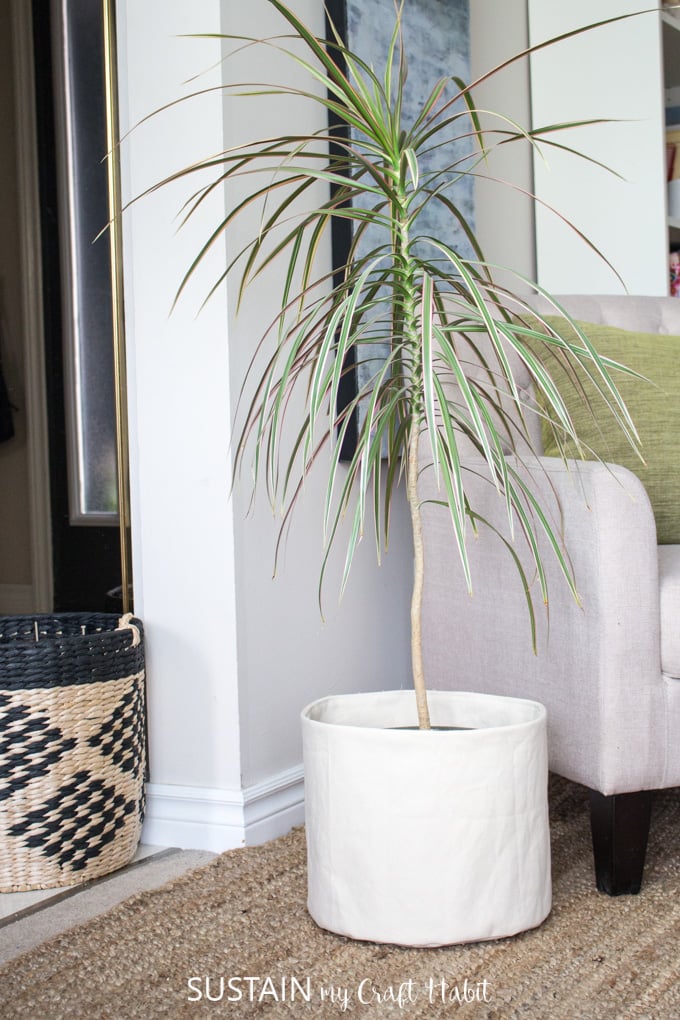
These canvas planter bags are pretty popular these days, with their minimal design made simply from natural cotton canvas fabric. I’d love to make more in different sizes for some of my other potted plants! And I think next time, I’d paint some simple geometric shapes all over the fabric inspired by these adorable planters.
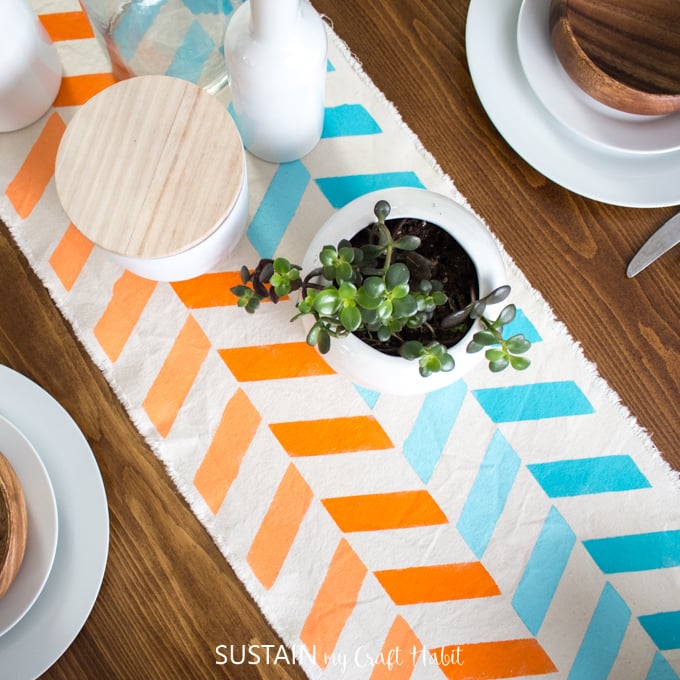
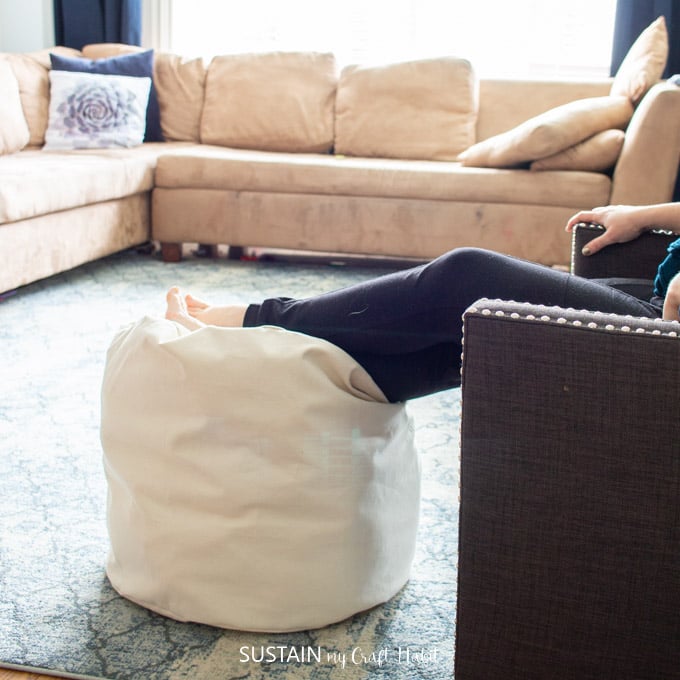
I used the same versatile cotton fabric from Canvas Etc to make this modern stenciled table runner, dining chair slipcover and this storage ottoman. Although this fabric is a sturdy medium weight, my canvas planter bags are fully lined to give it extra stability. You could make them single layer and hemmed at the top but I would suggest reducing the canvas planter bag size so it fits more snug around your potted plant to help hold it in place.

Modern Stenciled Table Runner Canvas Storage Ottoman
Materials Needed:
- 1 meter of Number 12 Canvas Material, 72″ wide
- Sewing Machine and matching thread color
- Fabric Scissors (these are our favourite, budget-friendly fabric scissors)
- Iron and ironing board
- Fabric chalk or pencil, ruler, measuring tape
- Canvas Planter Pattern (makes a planter sized 10.5″ high with 38″ circumference)
How to Sew A Canvas Planter:
Determining the Size of your Canvas Planter:
Note: The finished size of my canvas planter is 10.5″ high with a 37″ circumference. Grab the printable pattern here.
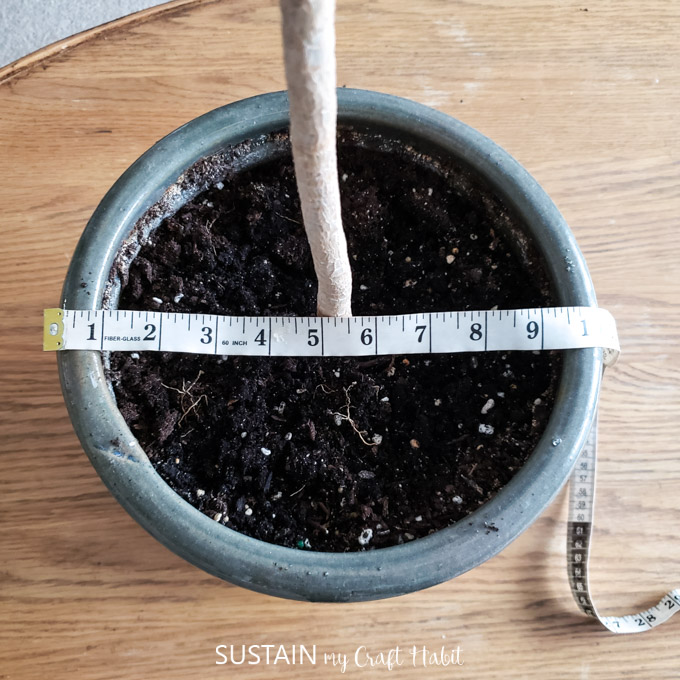
To adjust the pattern to fit around your planter, you’ll need to measure your planter like I did and then add extra width and length to fit loosely around it.
In my case, the widest point of my ceramic planter was the upper rim.
Whatever your measurements are, you will need to make the canvas planter bigger by 1.5” width and height.
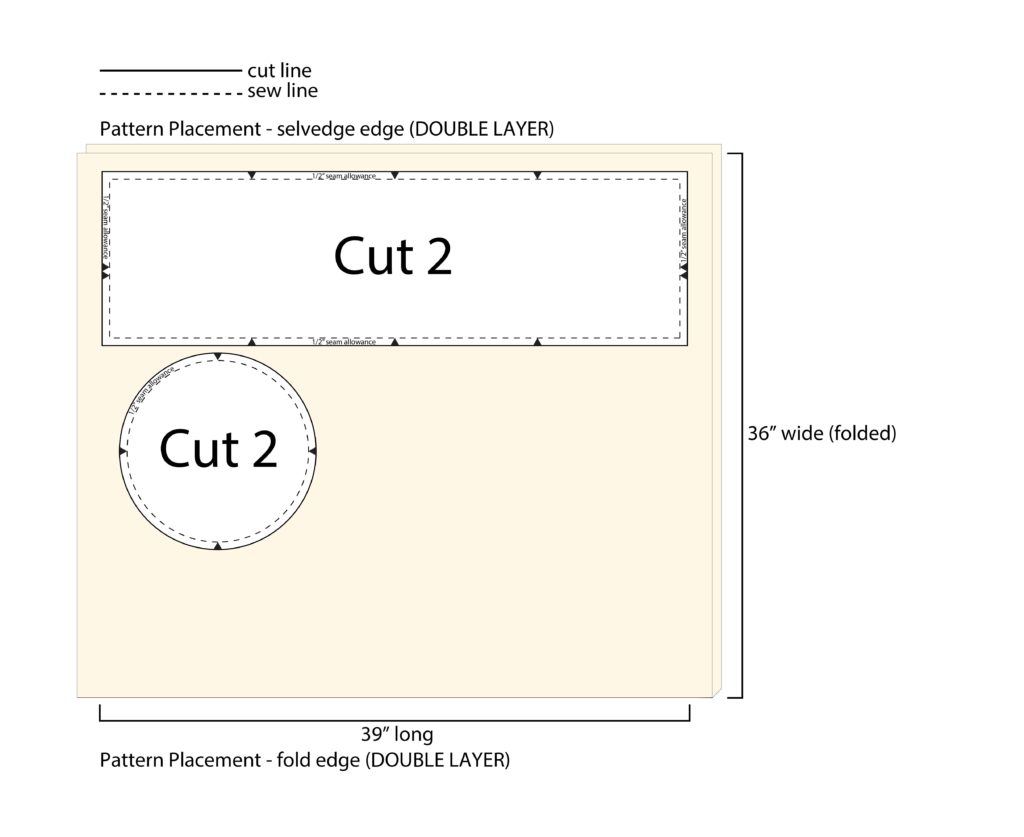
The canvas planter pattern consists of 2 shapes: one circular and one rectangular shape. The circular pattern piece makes up the base and determines how much space will be around the potted plant. The rectangular piece makes up the sides of the canvas planter so the width of the rectangle determines the height of the planter.
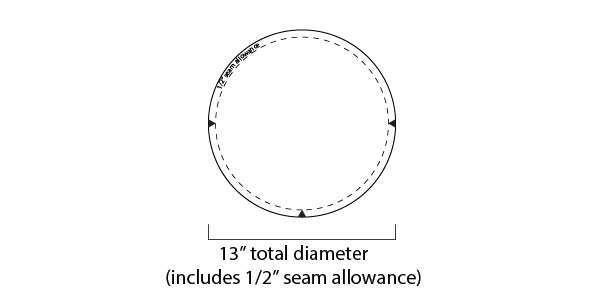
- CIRCULAR PATTERN PIECE
- I am making my circle shape 12”, which is 1.5” wider than my ceramic planter diameter and then I am adding ½” extra all around for my ½” seam allowance. See pattern for guide.
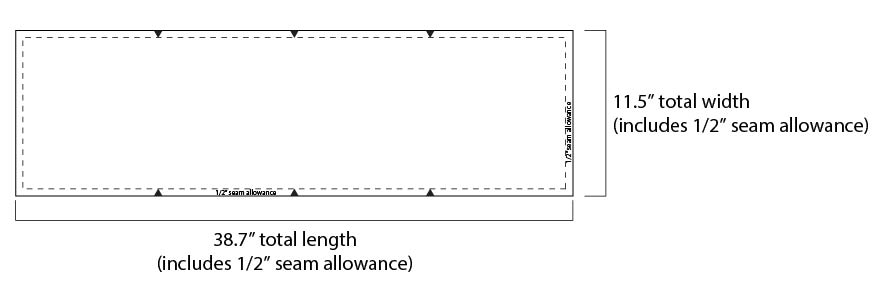
- RECTANGULAR PATTERN PIECE
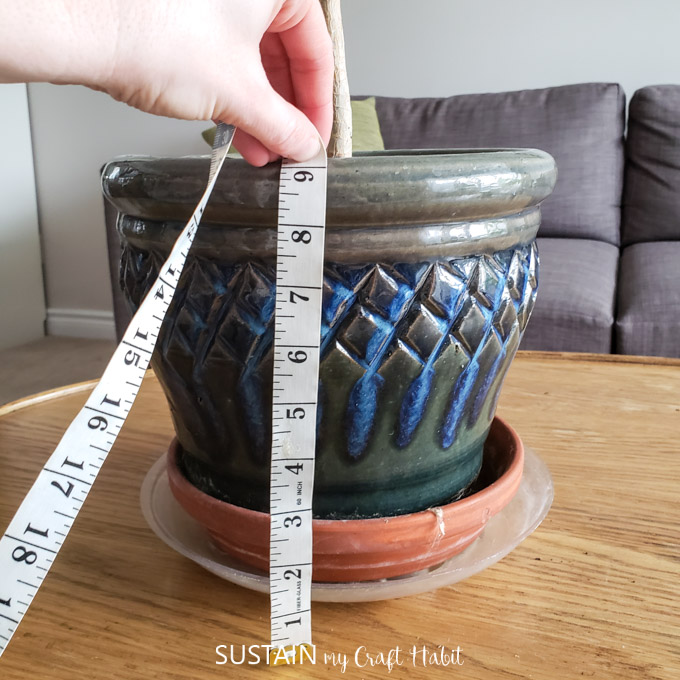
- I am making my canvas planter 10.5” high, which is 1.5” higher than my ceramic planter and then I am adding 1/2″ extra along both sides for my ½” seam allowance.
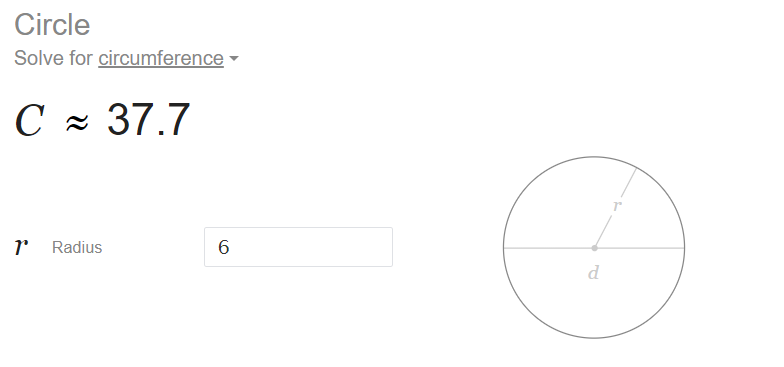
- Next, to determine the length of the rectangle, you need to calculate the circumference of your circle. In my case, the circumference is 37.7” based on a radius of 6” (for a 12” diameter circle). See screenshot for reference, I just googled “circumference of a circle” and plugged in the radius to get my measurement.
- So the rectangle dimensions will be 11.5” high x 38.7” which includes an extra ½” at the cut ends for my ½” seam allowance. See pattern for guide.
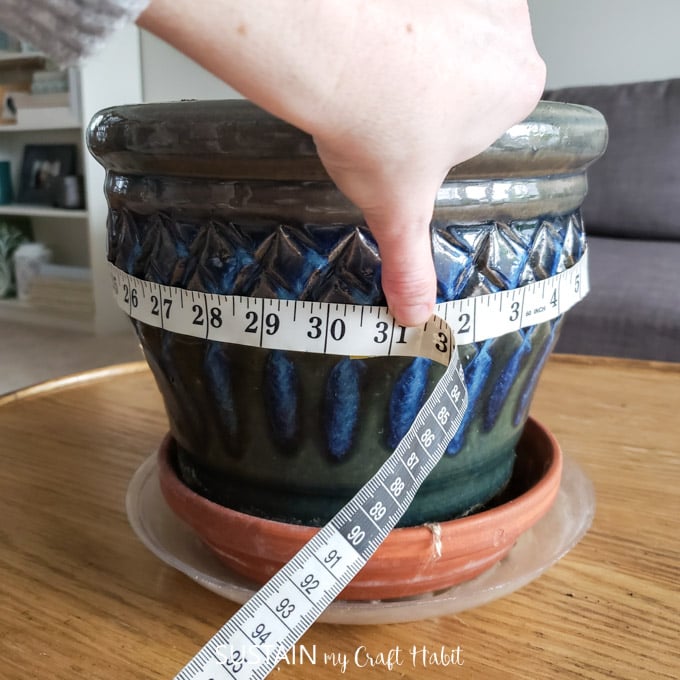
Alternatively, if the widest point of your planter is in the middle, then measure the circumference as shown here for example. Record the measurement for circumference and height before proceeding. And then calculate your planter dimensions based on the circumference of the circle instead of the diameter.
Cutting Fabric
Wash and dry the fabric prior to sewing, removing promptly from the dryer to reduce wrinkles. Iron out any creases and wrinkles prior to cutting.
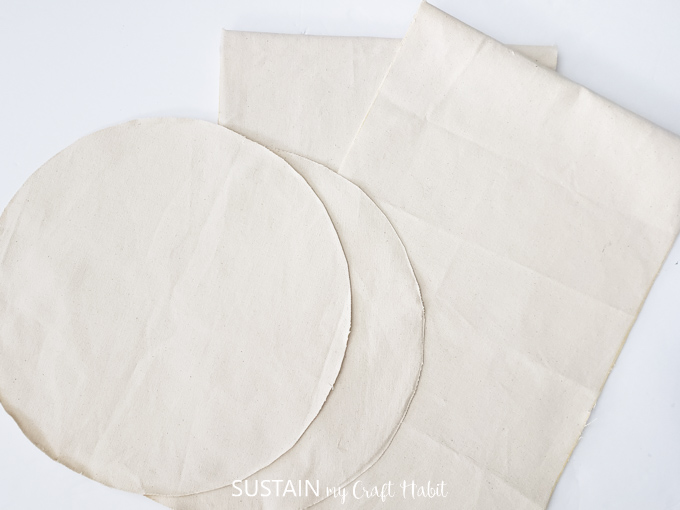
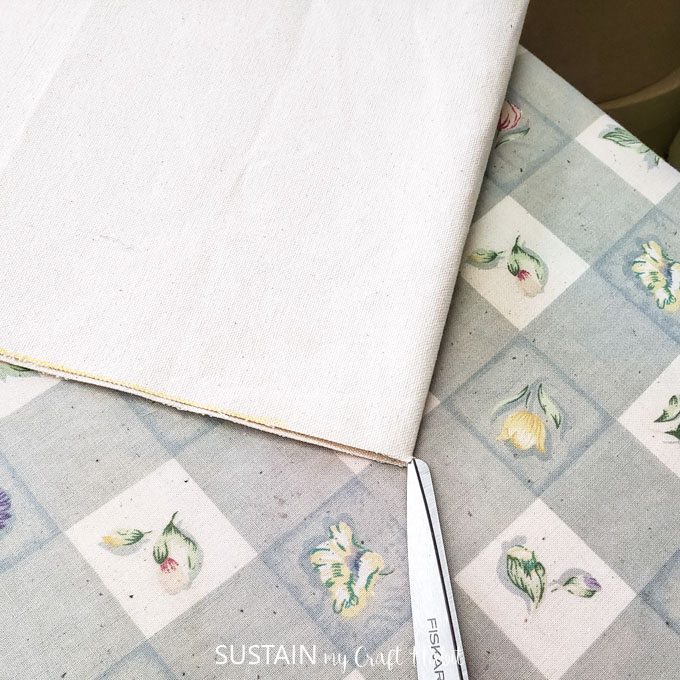
Cut two large rectangular pieces measuring to your calculations. In my case, 11.5” wide x 38.7” long.
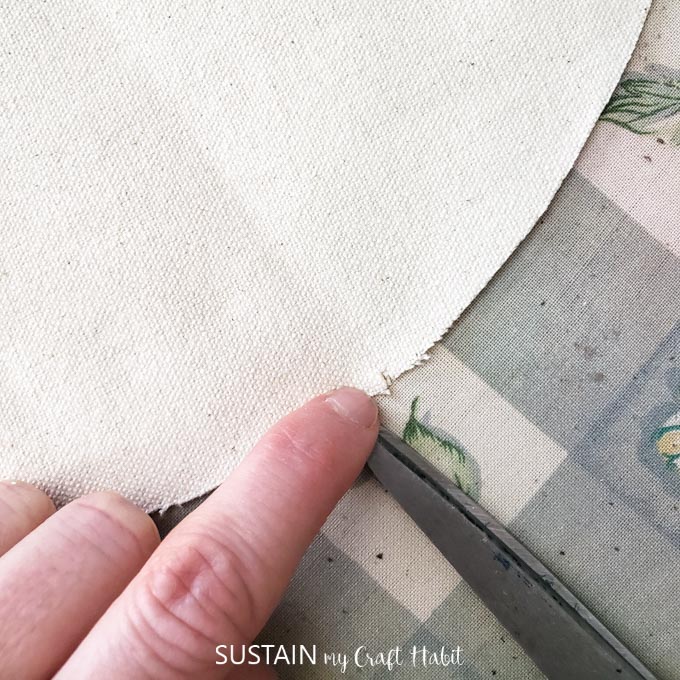
Cut two circular pieces measuring measuring to your calculations. In my case, 13” wide.
Divide the rectangular pieces by 4 and notch the long sides at 4 evenly spaced spots. Notch the perimeter of the circles at 4 evenly spaced spots.
Sewing
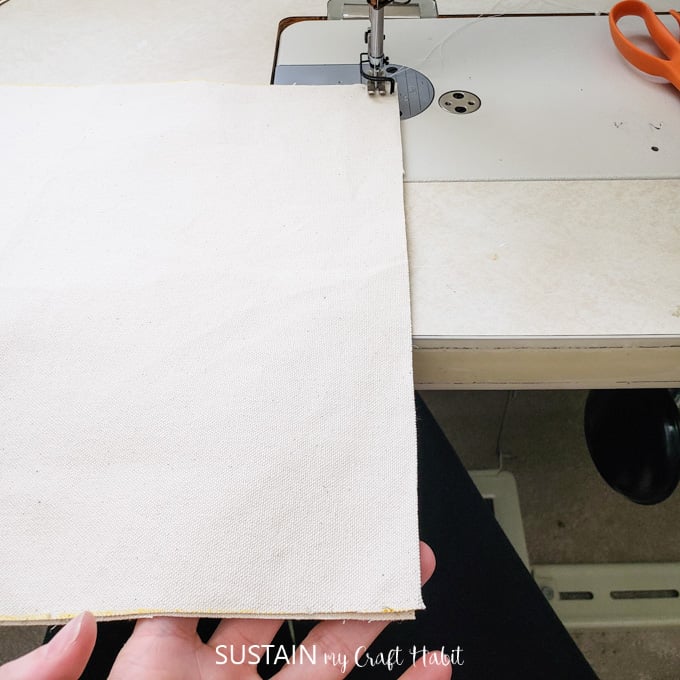
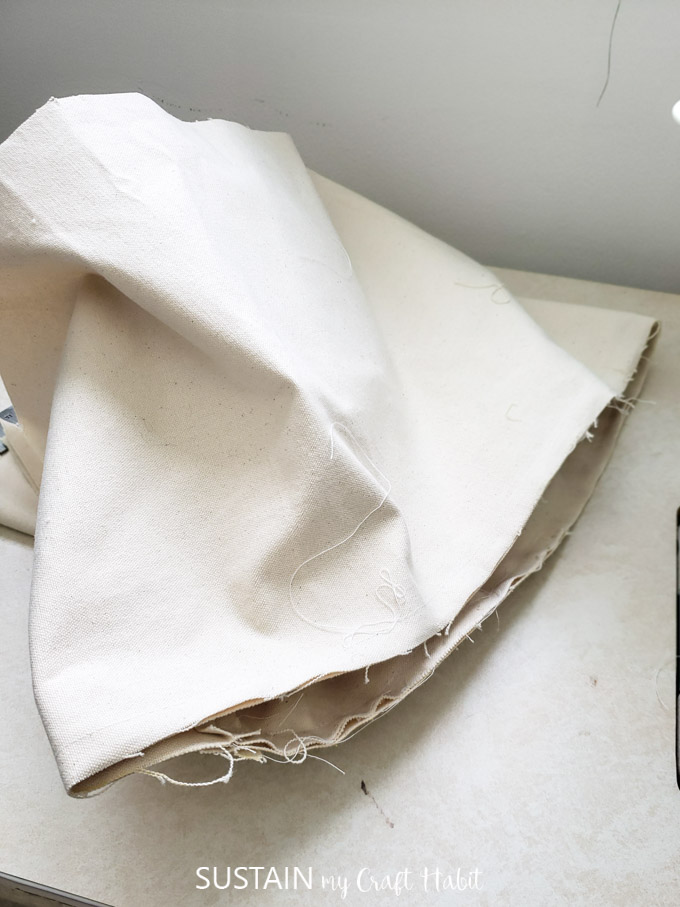
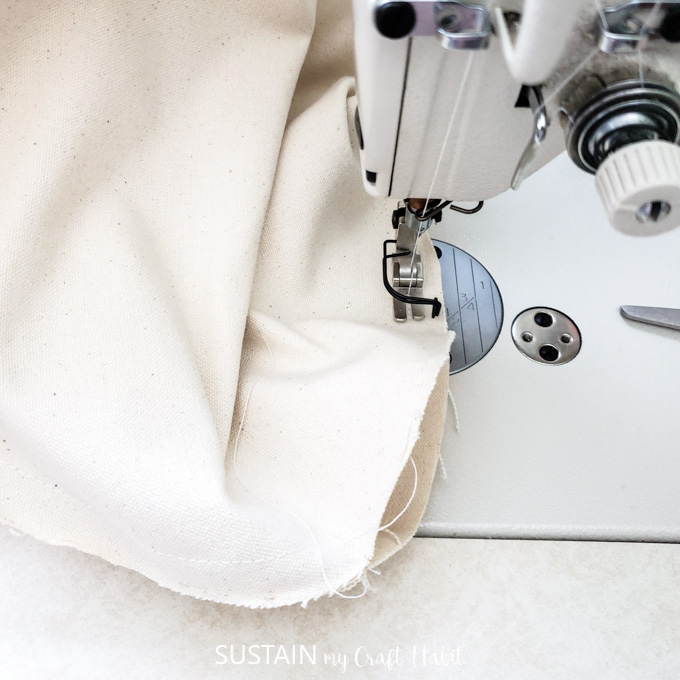
Working with one rectangular piece at a time, fold the piece in half RIGHT sides together matching the short ends. Sew the edges together with a ½” seam allowance. Remember to back tack at the start and end of all your stitch lines. Repeat with the other rectangular piece.
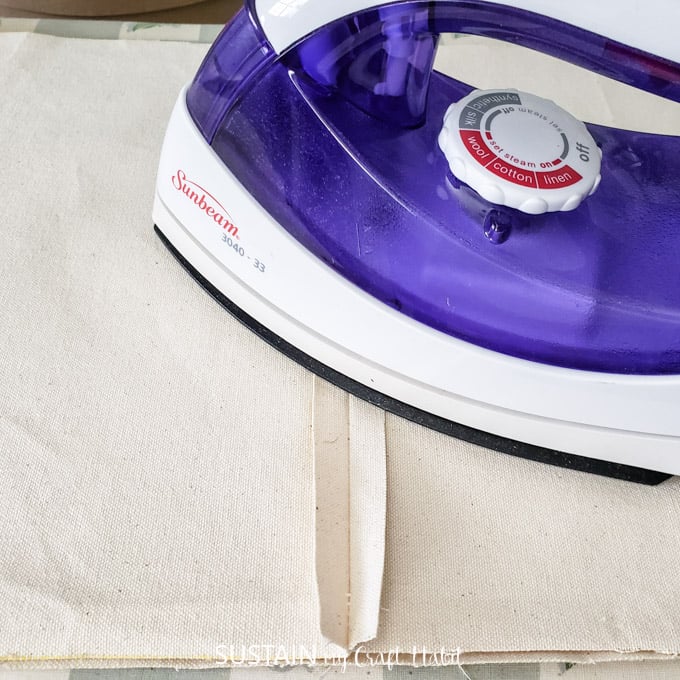
Using an iron, press the seams open.
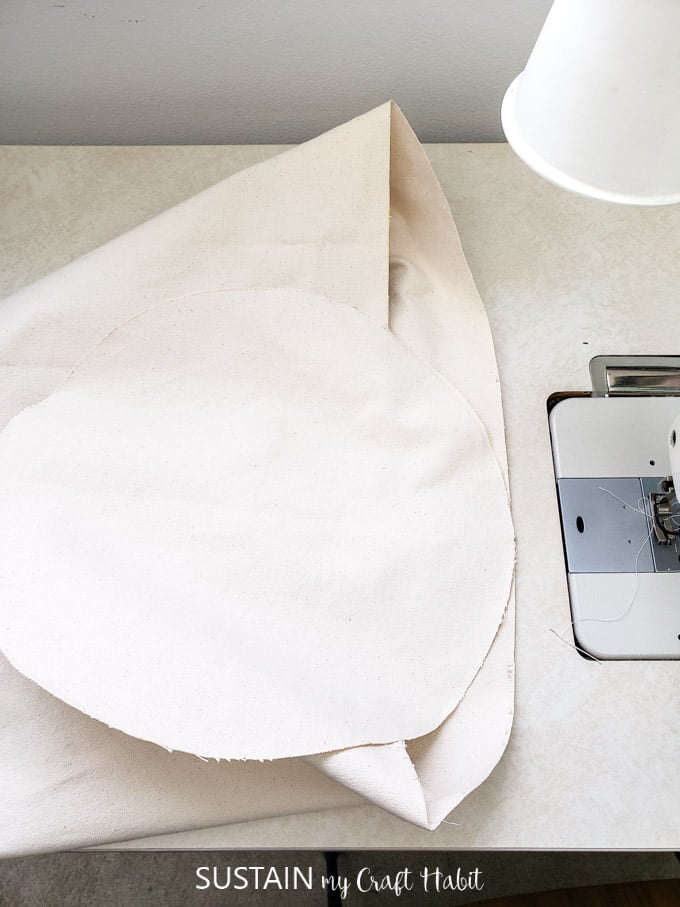
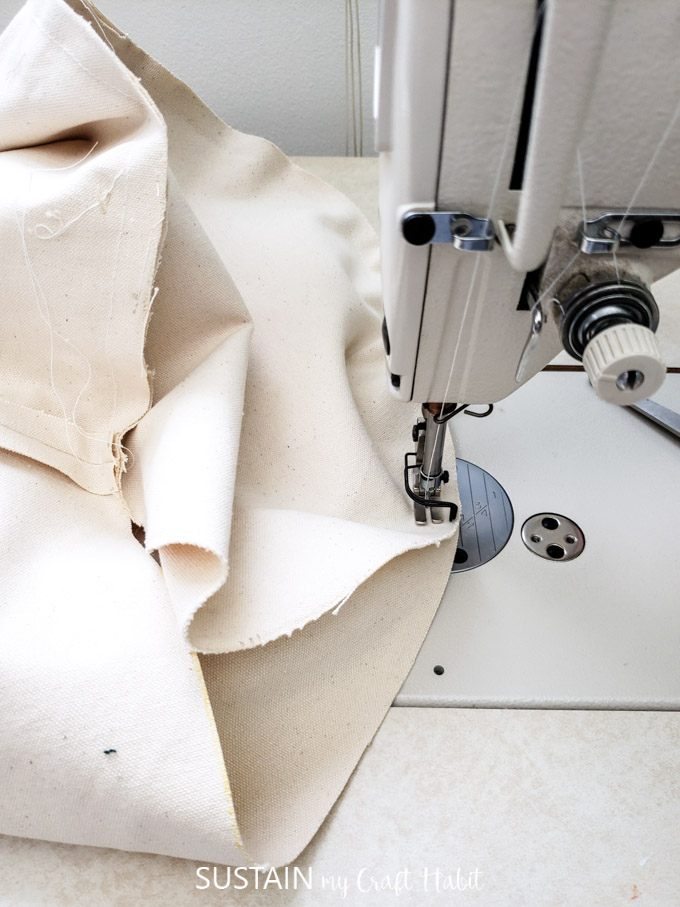
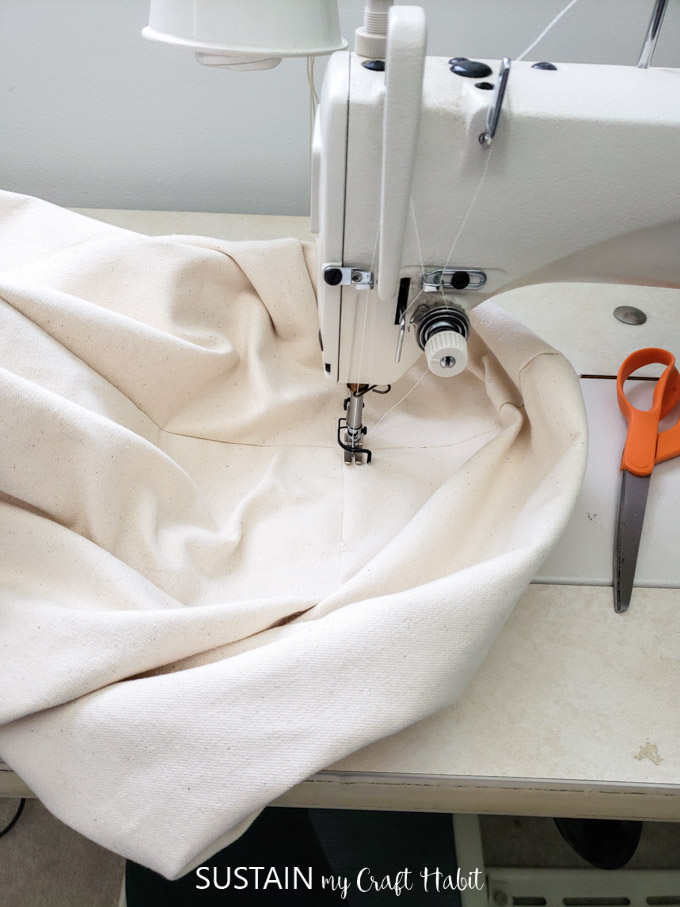
Next, take one circle piece and one rectangle piece and align the notches with RIGHT sides together. Pin together if needed.
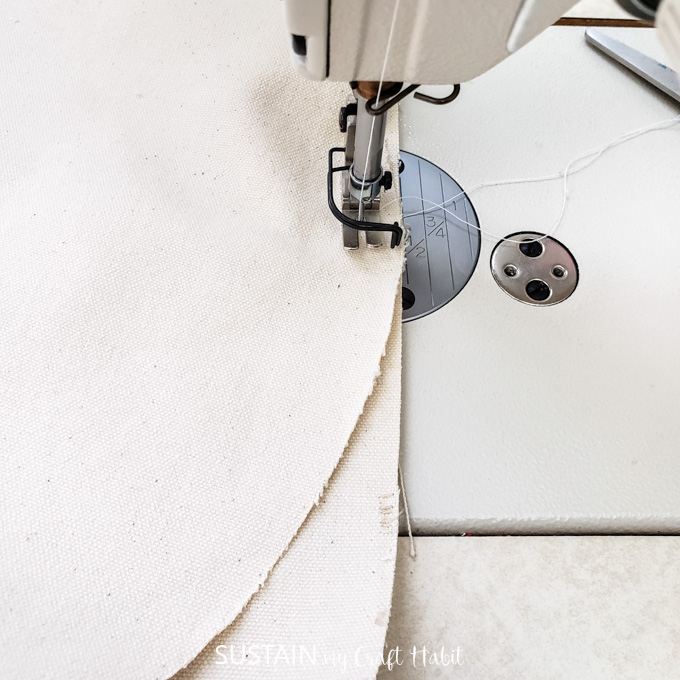
With a single needle stitch, sew the two pieces together.
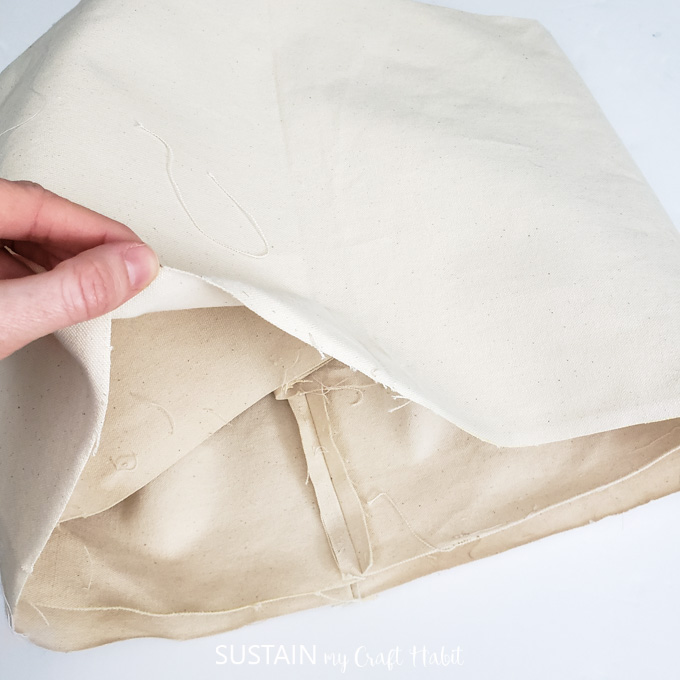
This completes the outer layer of the canvas planter. To sew in the the lining, continue with the remaining instructions.
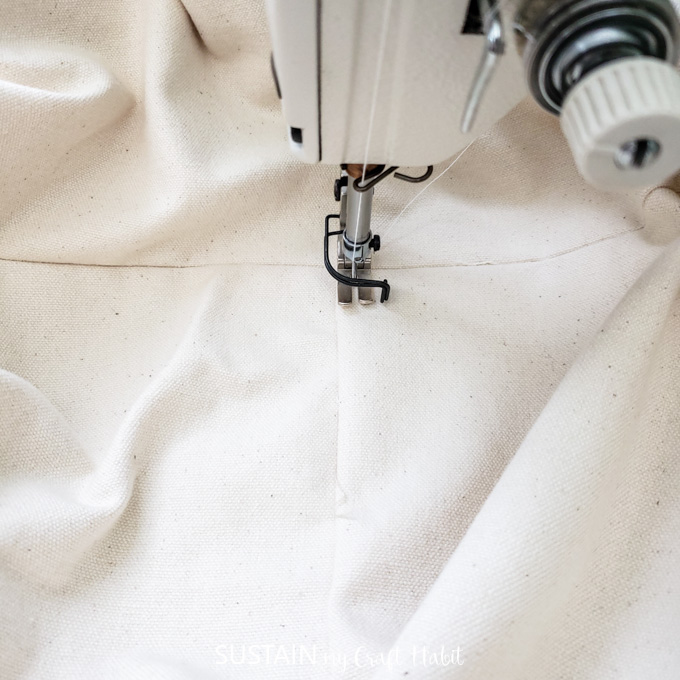
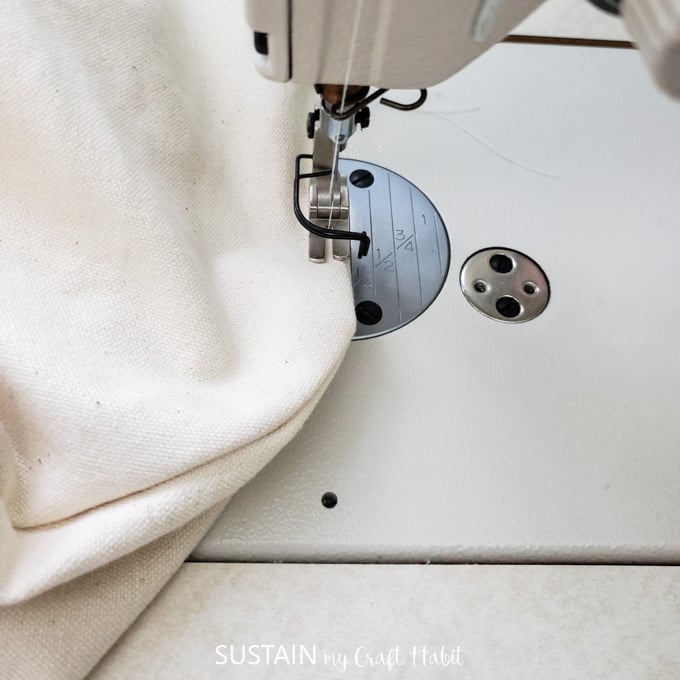
With RIGHT sides together, align the vertical seam from the rectangular pieces with each other. Aligning the notches, sew the two rectangular pieces together.
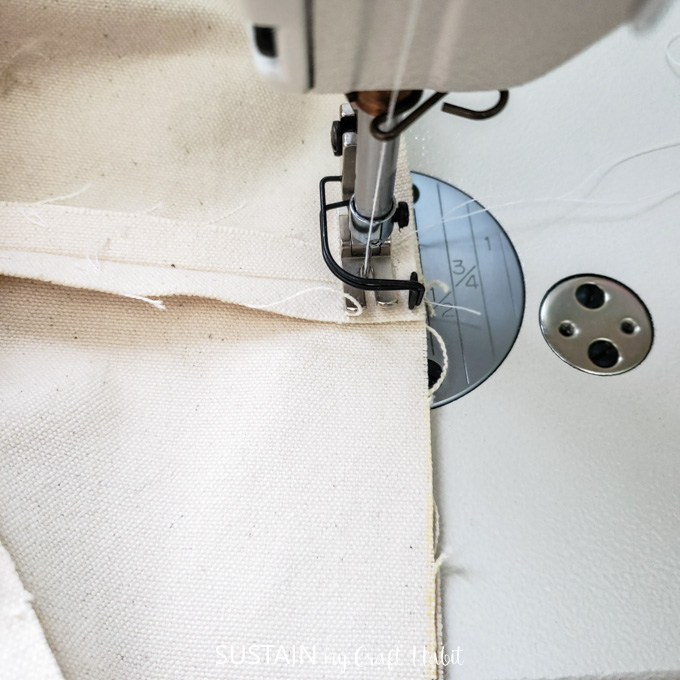
Fold the seam allowance towards the side with the open bottom and understitch along the seam to hold in place.
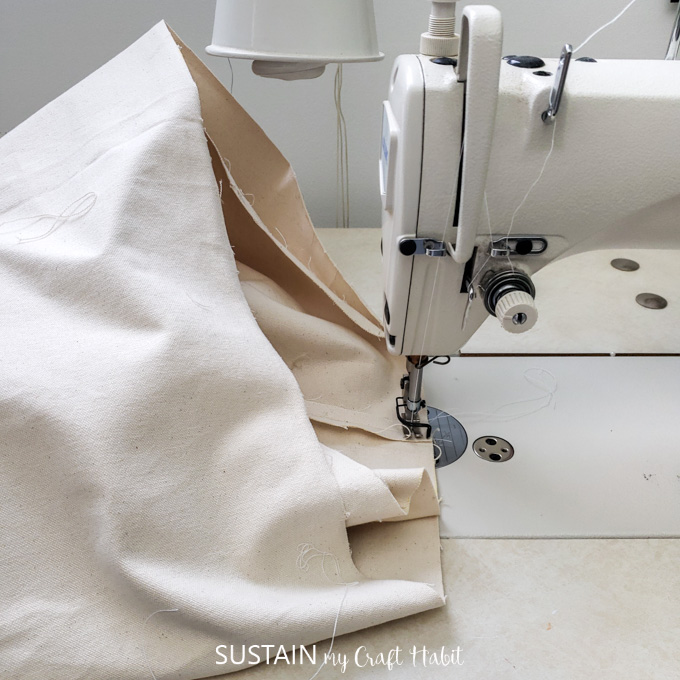
Take the other circle piece and align it with the opening matching notches.
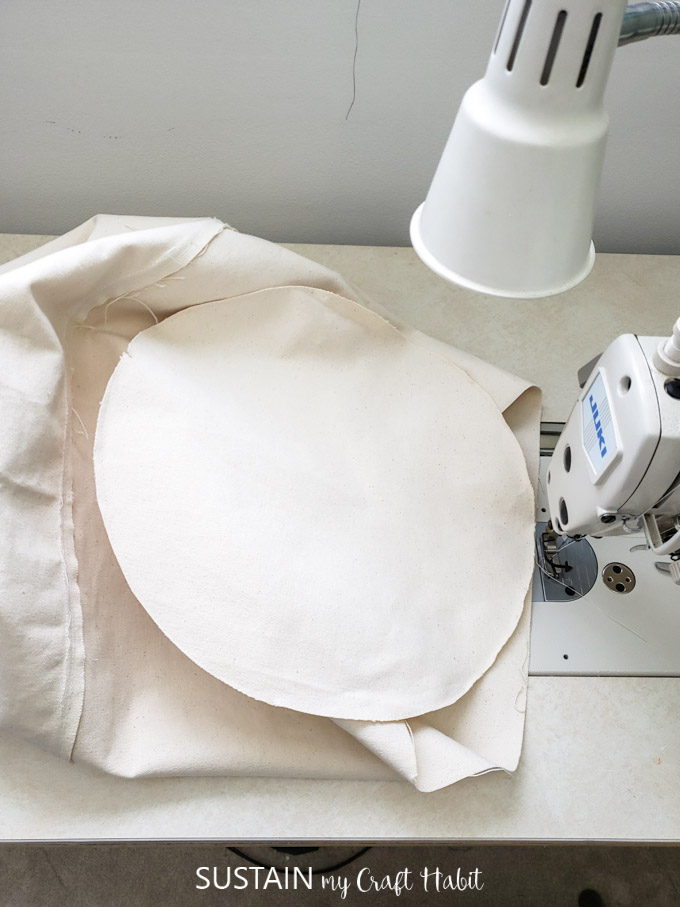
Pin together (if needed) and sew together leaving a 4”-5″ gap opening.

Turn the piece right wide out through the 4”-5″ opening at the bottom.
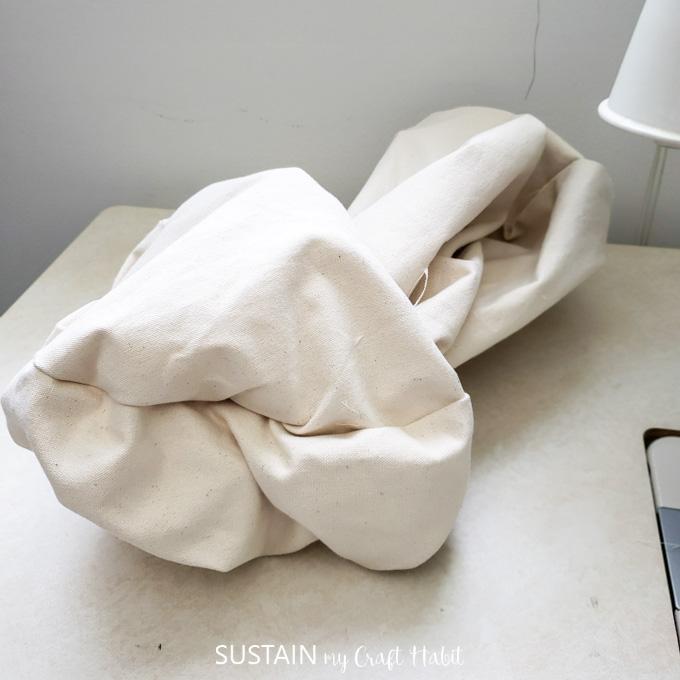
Stitch the opening closed.
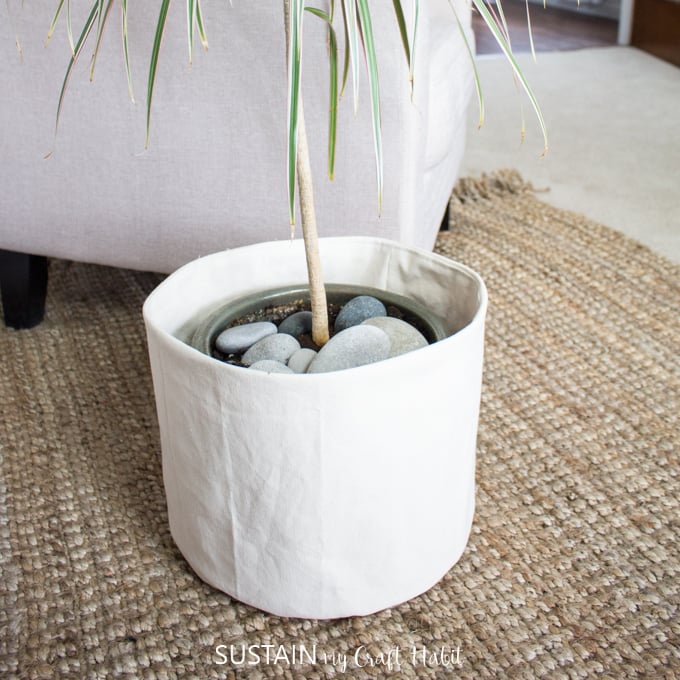
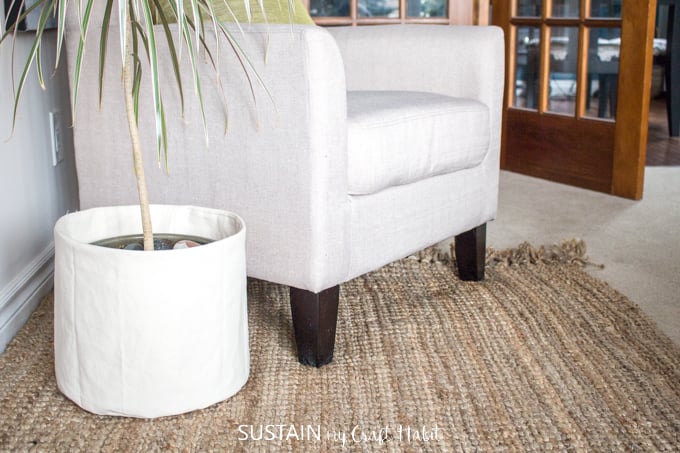
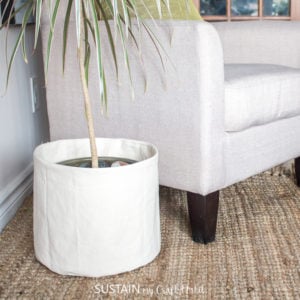
Place your potted plant inside your new modern canvas planter cover and enjoy!
And if you have any leftover scraps, save them to make these painted canvas Christmas ornaments.
Like it? Pin it for later!
Sew a Modern Canvas Planter
Materials
- 1 meter of Number 12 Canvas Material 72″ wide
- Sewing machine and matching thread color
- Fabric Scissors
- Iron and ironing board
- Fabric chalk or pencil
- Ruler and measuring tape
- Canvas Planter Pattern makes a planter sized 10.5″ high with 38″ circumference
Instructions
- To adjust the pattern to fit around your planter, you’ll need to measure your planter and then add extra width and length to fit loosely around it.
- The canvas planter pattern consists of 2 shapes: one circular and one rectangular shape.
- Wash and dry the fabric prior to sewing, removing promptly from the dryer to reduce wrinkles. Iron out any creases and wrinkles prior to cutting.
- Cut two large rectangular pieces measuring to your calculations. In my case, 11.5” wide x 38.7” long.
- Cut two circular pieces measuring measuring to your calculations. In my case, 13” wide.
- Divide the rectangular pieces by 4 and notch the long sides at 4 evenly spaced spots. Notch the perimeter of the circles at 4 evenly spaced spots.
- Working with one rectangular piece at a time, fold the piece in half RIGHT sides together matching the short ends. Sew the edges together with a ½” seam allowance. Repeat with the other rectangular piece.
- Using an iron, press the seams open.
- Next, take one circle piece and one rectangle piece and align the notches with RIGHT sides together. Pin together if needed.
- With a single needle stitch, sew the two pieces together.
- This completes the outer layer of the canvas planter. To sew in the the lining, continue with the remaining instructions.
- With RIGHT sides together, align the vertical seam from the rectangular pieces with each other. Aligning the notches, sew the two rectangular pieces together.
- Fold the seam allowance towards the side with the open bottom and understitch along the seam to hold in place.
- Take the other circle piece and align it with the opening matching notches.
- Pin together (if needed) and sew together leaving a 4”-5" gap opening.
- Turn the piece right wide out through the 4”-5" opening at the bottom.
- Stitch the opening closed.
- Place your potted plant inside your new modern canvas planter cover and enjoy!