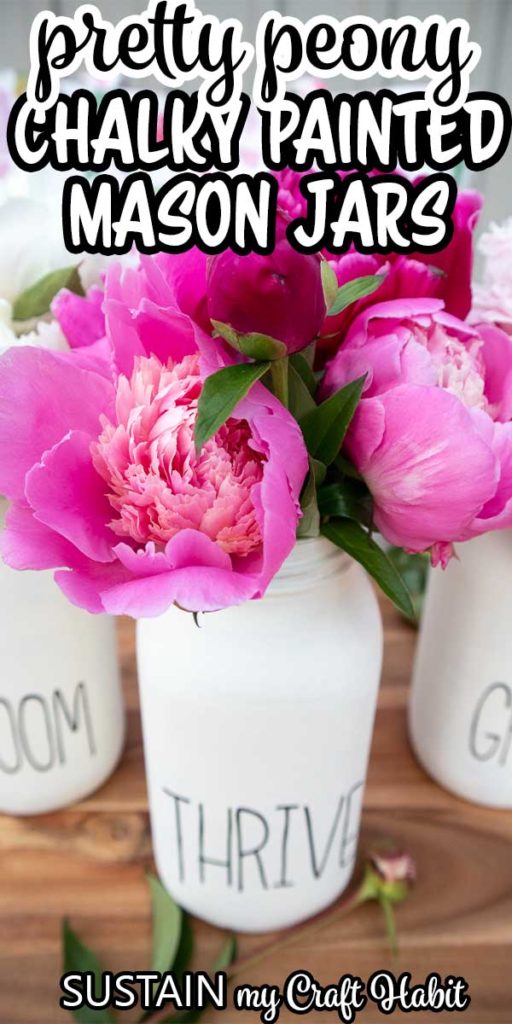

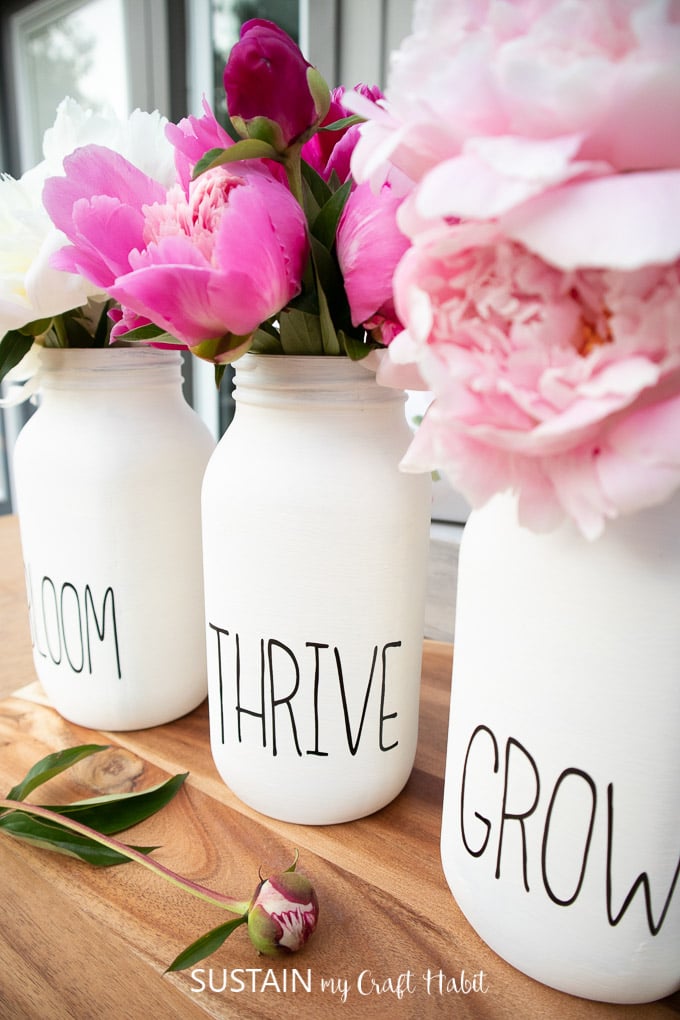
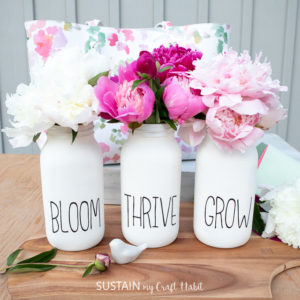
Such a simple farmhouse-inspired solution for arranging beautiful seasonal fresh flowers, a chalky painted mason jar flower vase always looks fresh and pretty.

Beautiful Peony Flower Jar
Filled with beautiful blooming perenial flowers our mom’s Summer garden is one of our favorite places to walk around and enjoy. We were excited to create a simple chalky painted mason jar vase to display her gorgeous peonies.


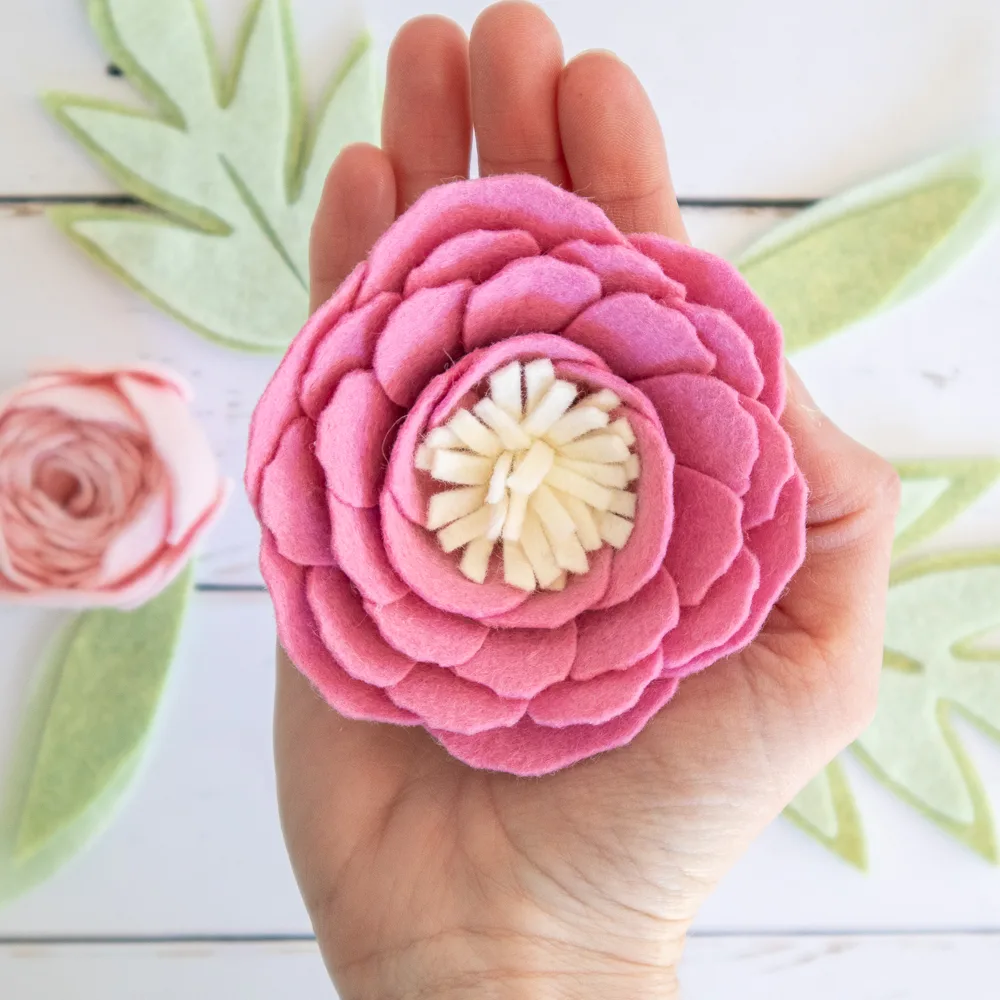
Although it’s true, we may have a bit of a weakness when it comes to peonies, having recently made these felt peony flowers that we can enjoy all year long. But as other flowers start to grow, bloom and thrive inthe garden we will happily create more mason jar flower arrangements using these vases.

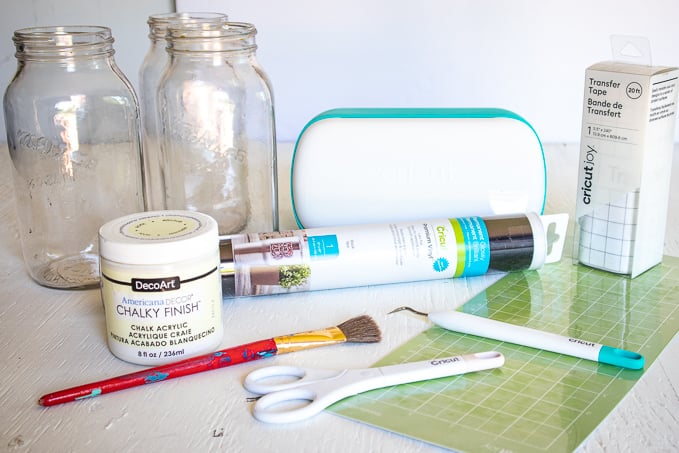
Materials Needed:
Disclosure: This post contains affiliate links for your shopping convenience. Should you choose to purchase through them, we will make a small commission at no extra cost to you. You can read our full disclosure policy here.
- Cricut Maker (or Cricut Joy) with Fine Point Blade
- Standard grip mat
- Cricut Premium Vinyl, Permanent in black
- 3 Mason Jars lids removed, 16oz
- Scissors
- Weeder tool
- Americana Chalky Finish (for Glass) in Lace
- Paintbrush

How to Make a Pretty Chalky Painted Mason Jar Flower Vase:
Gather all the supplies needed and thoroughly wash the jars with soap and hot water, leaving them to dry completely before using.
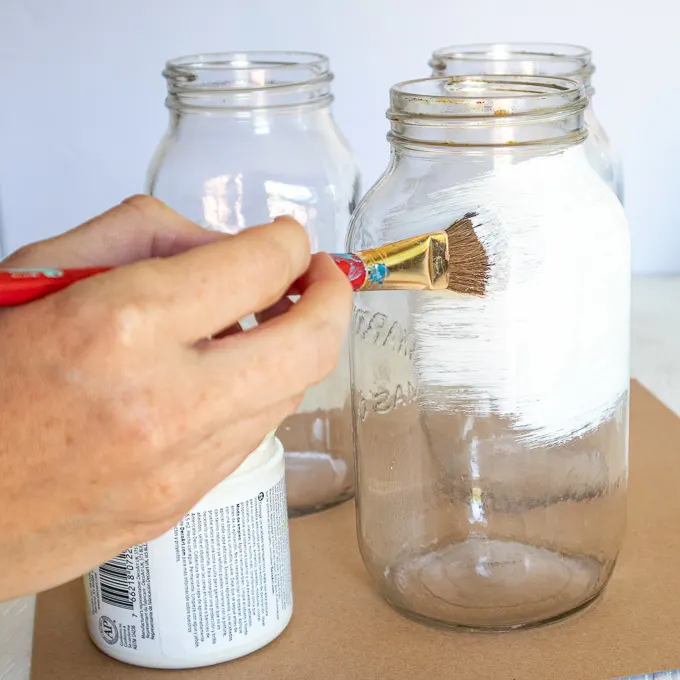
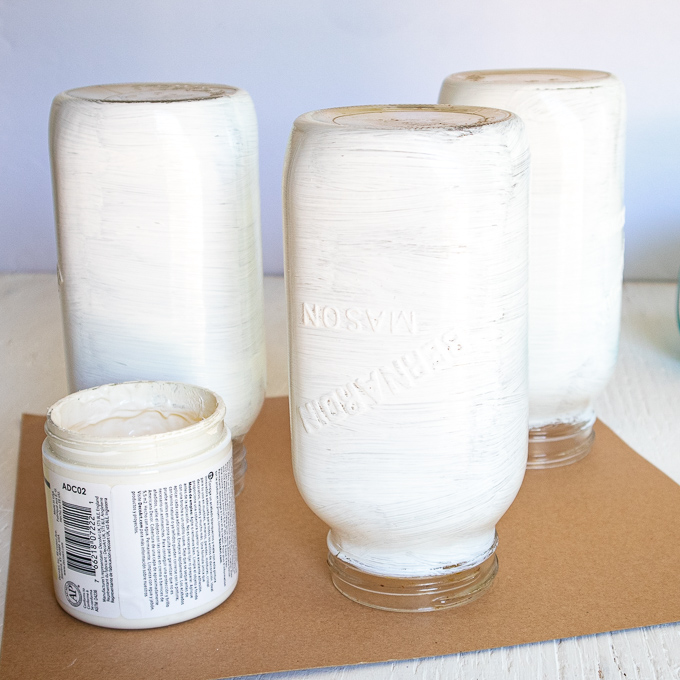
Preparing the Mason Jars
Apply a thin coat of chalky paint to each of the mason jars. Put them aside to dry fully and repeat with additional coverage as needed.


Creating the Text in Design Space
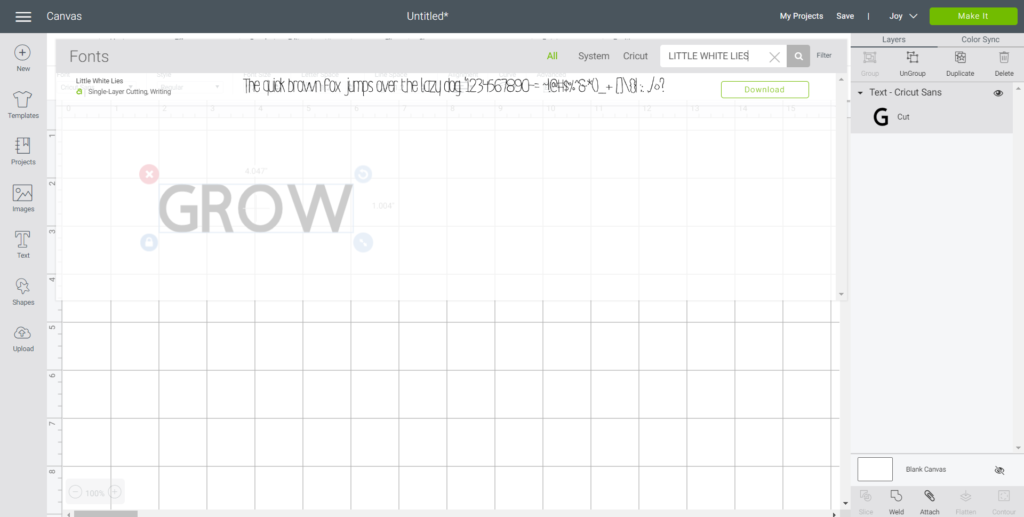
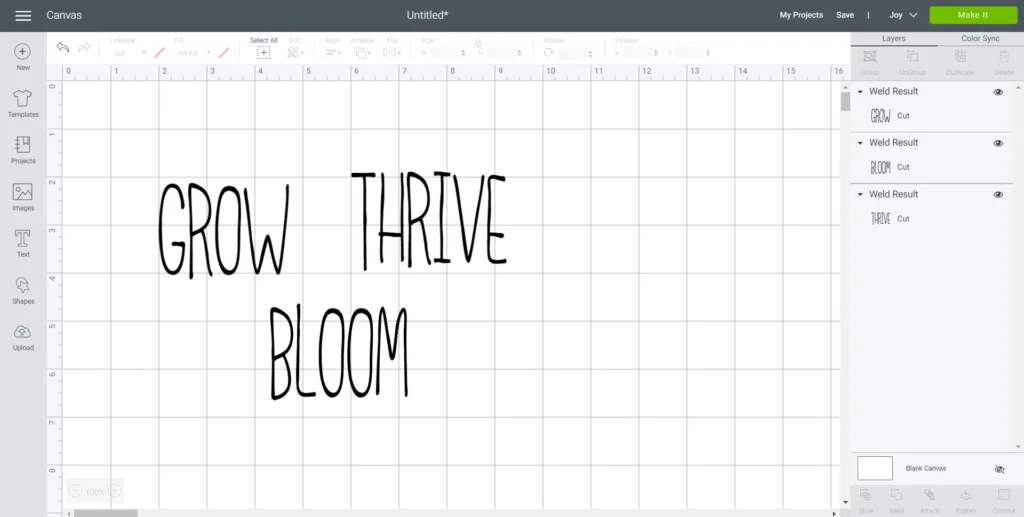
Open a blank canvas in Design Space. Select the text icon from the toolbar.
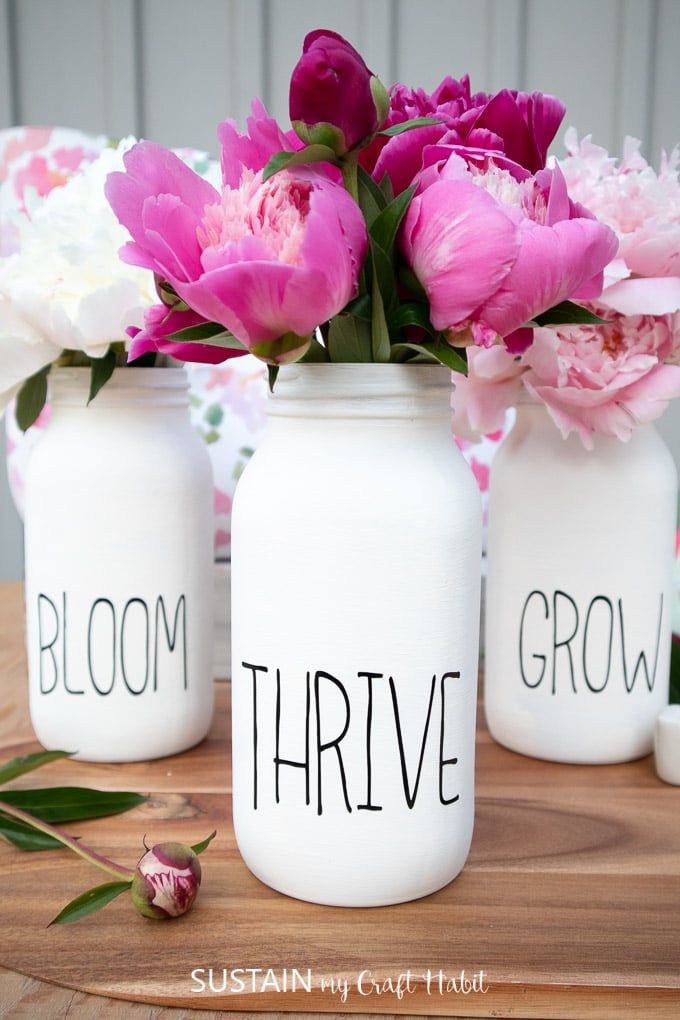
Type GROW.
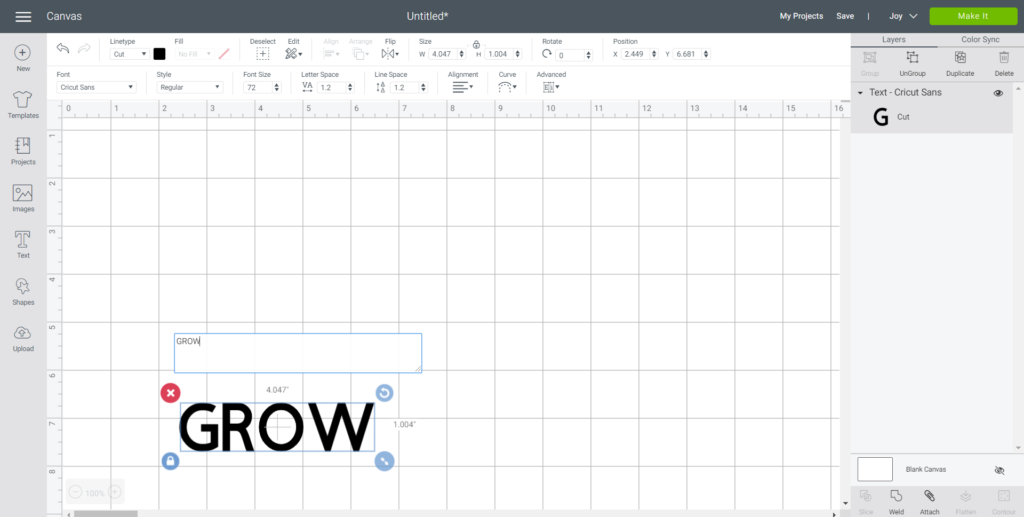
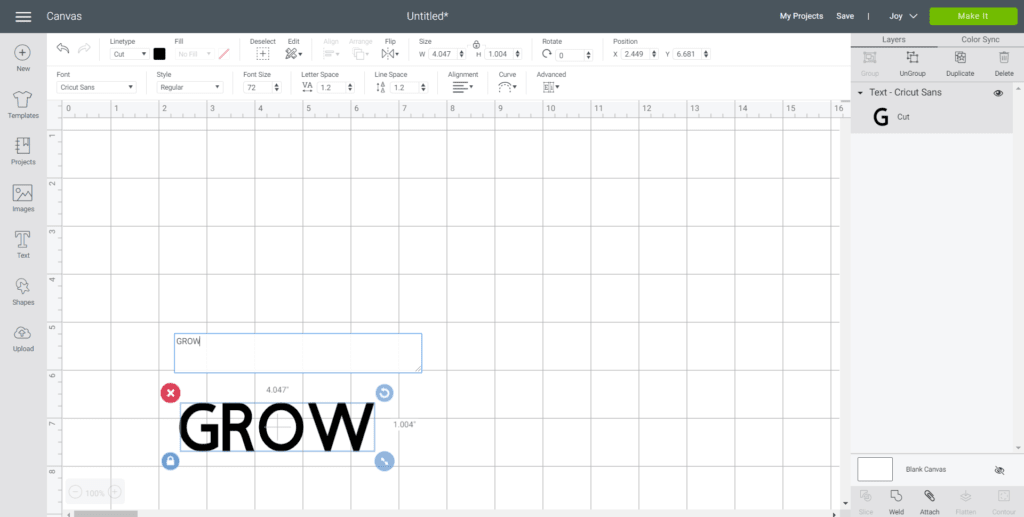
Change the font to “Little White Lies”.
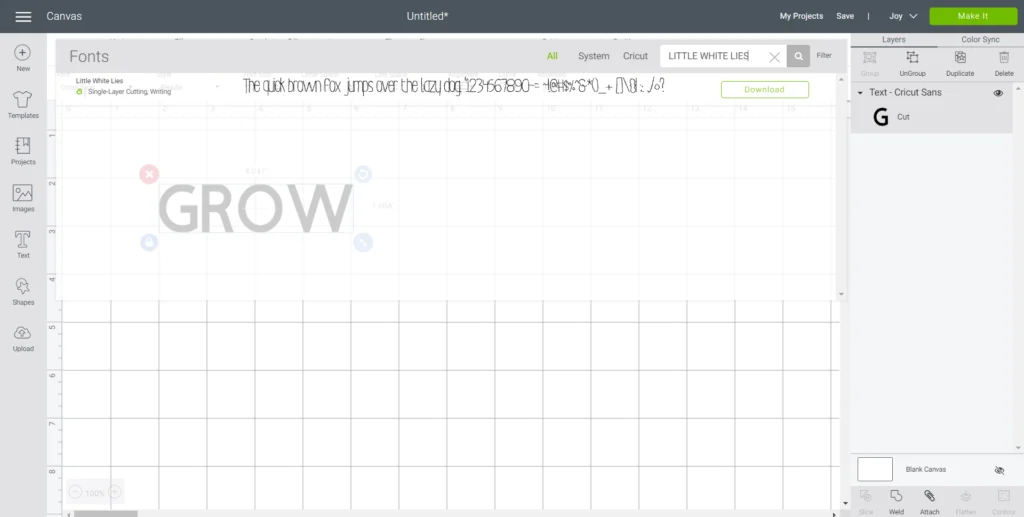
With the word highlighted, adjust the letter spacing to 0.7.
Stretch the lettering by clicking on the lock symbol above the size section and adjusting the height to 1.7” while keeping the width the same.


Next, click on the unlock symbol and adjust the word height to 2”.
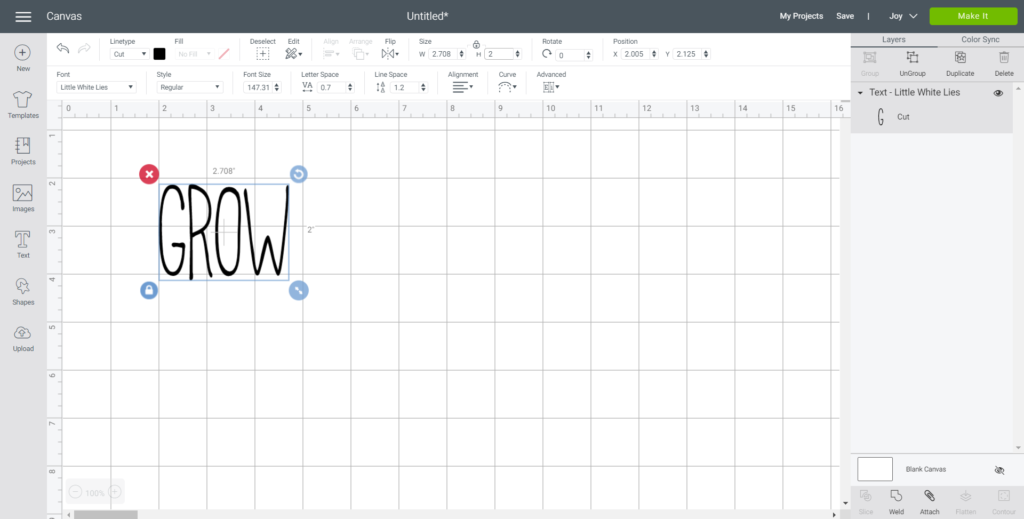

With the word highlighted, click on the “Weld” button.
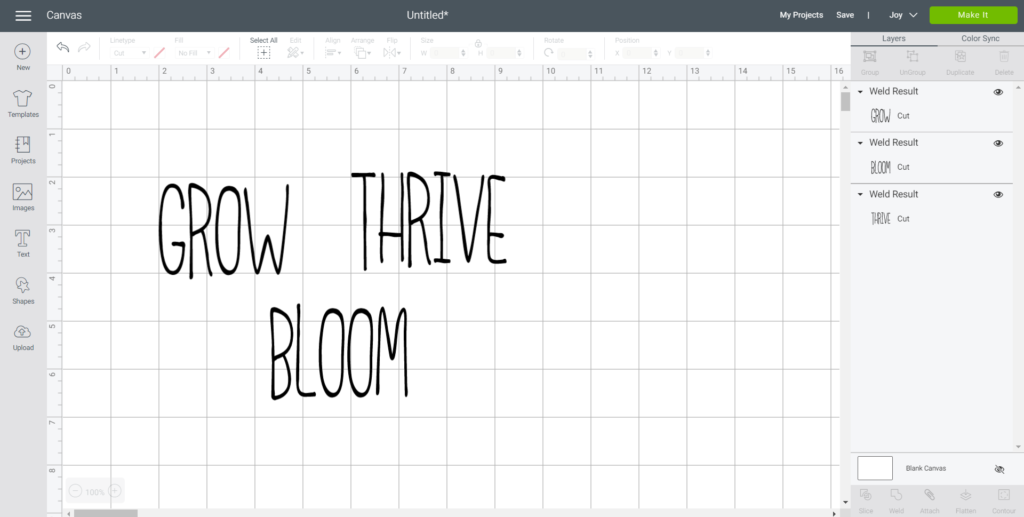
Steps 5-11 for the other words: THRIVE and BLOOM.
Cutting
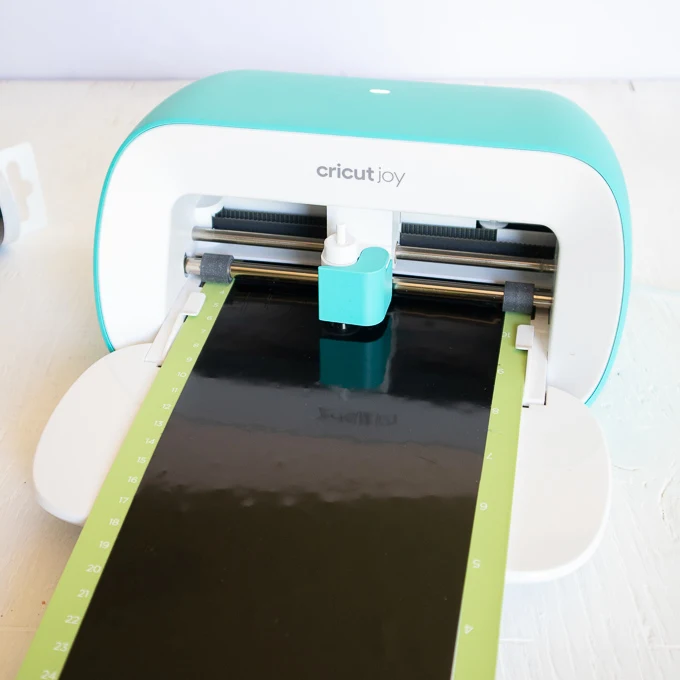
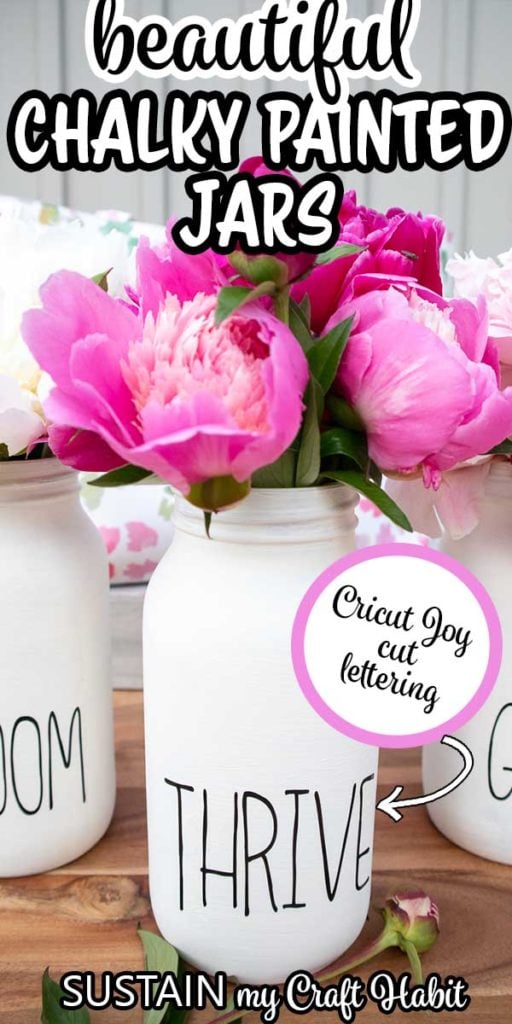
Select “Make It” in Design Space. Choose On Mat from the options for cutting Premium vinyl on a Cricut Joy standard grip mat.
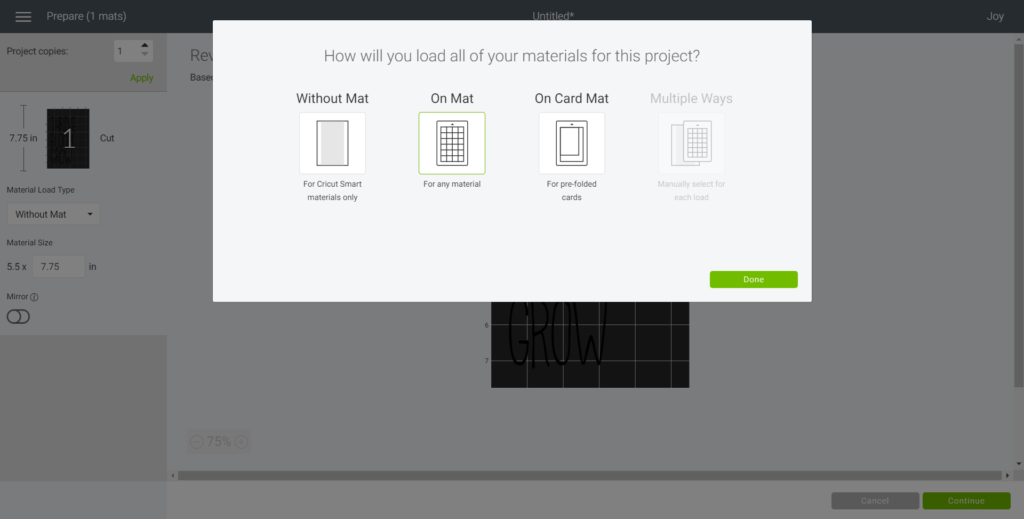
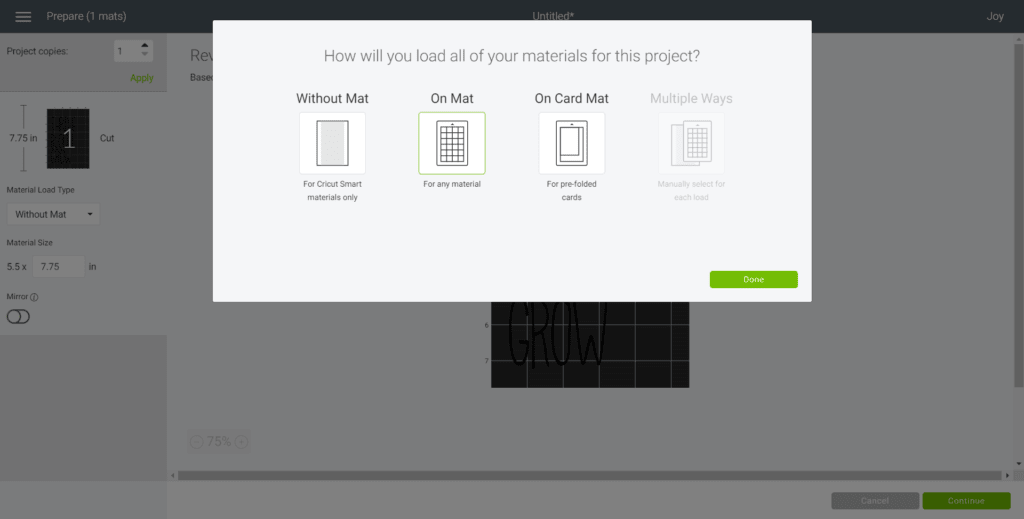
For cutting the words, set the material type to Premium Vinyl.
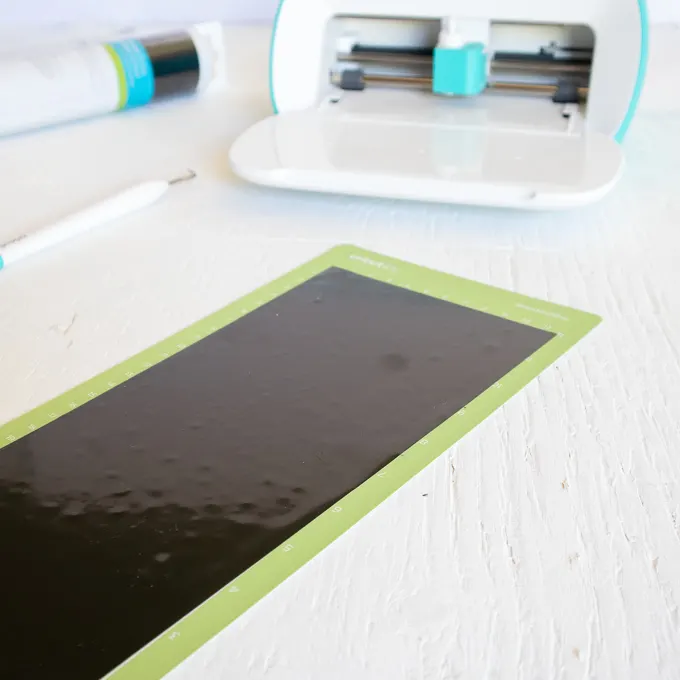
Follow prompts for loading the mat into the Cricut Joy and cutting the Premium Vinyl. When prompted, unload the mat from the cutting machine.
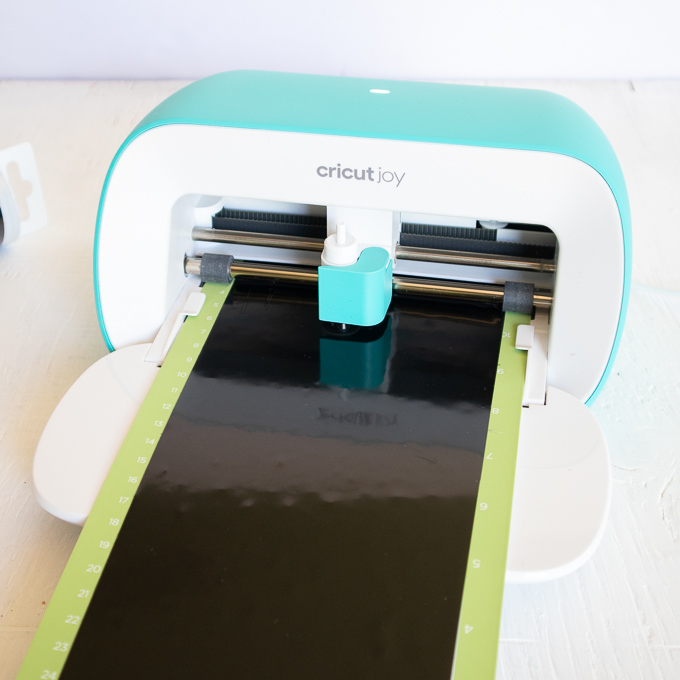
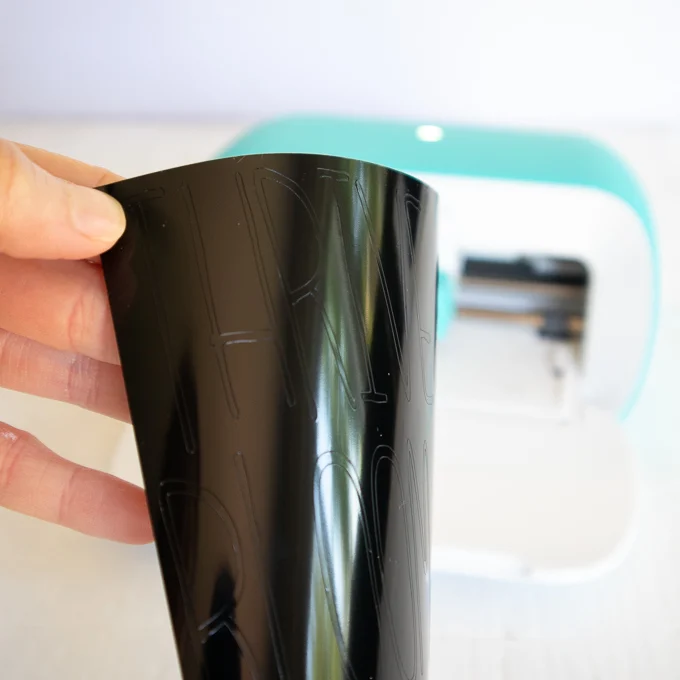
Remove the Premium Vinyl from the mat.

How to Assemble the Jars
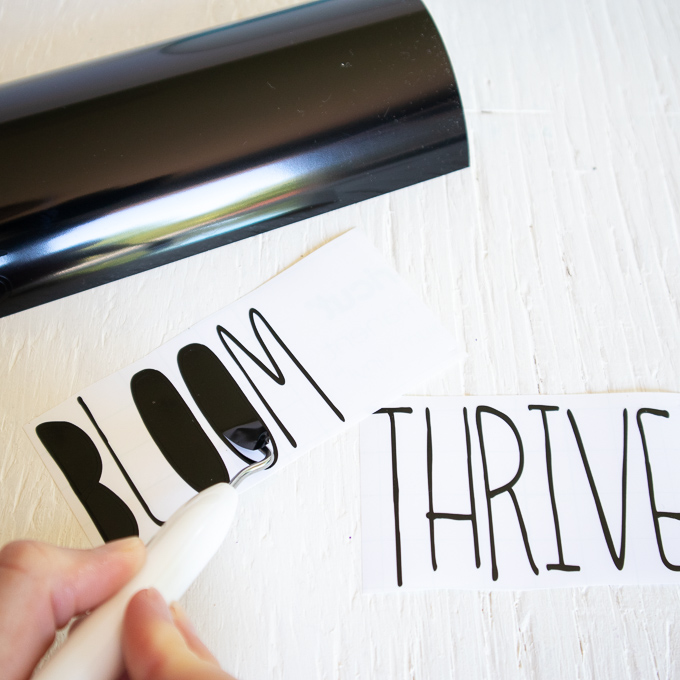
Cut around each word with a pair of scissors.


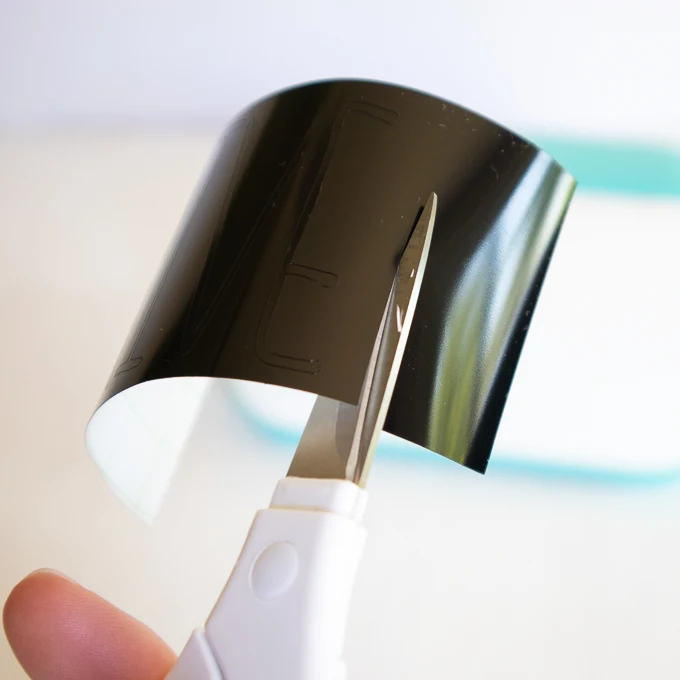
Using the weeding tool, peel away the excess vinyl around the cut images and discard.

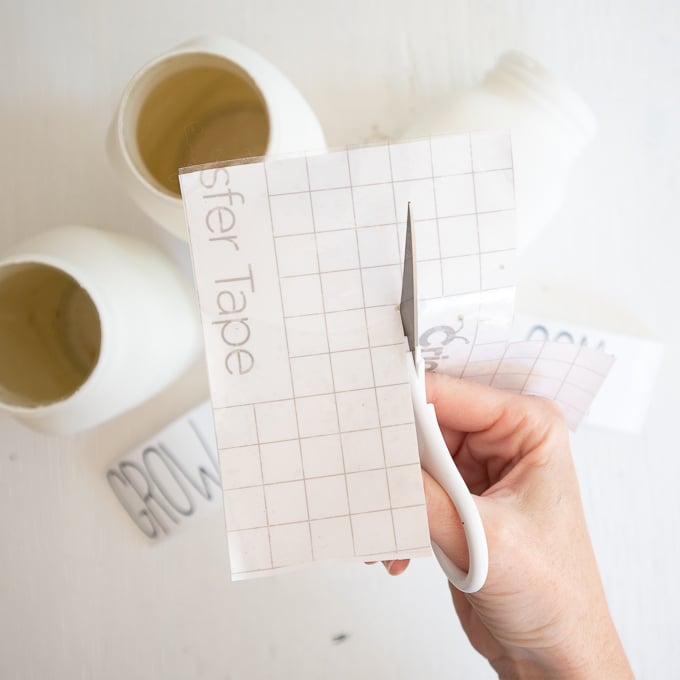
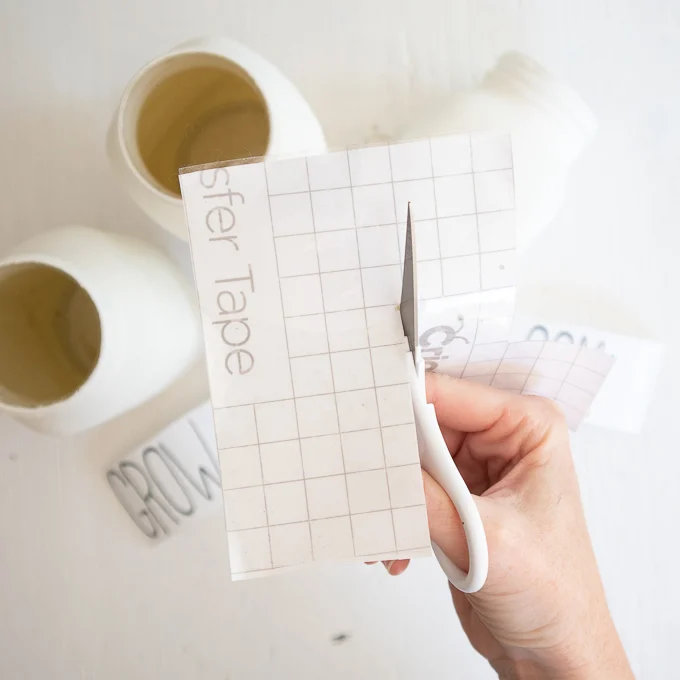
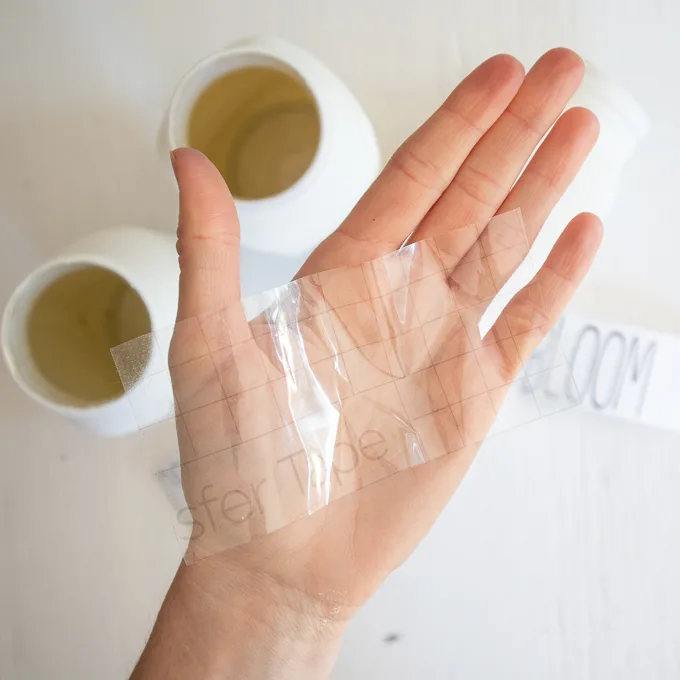
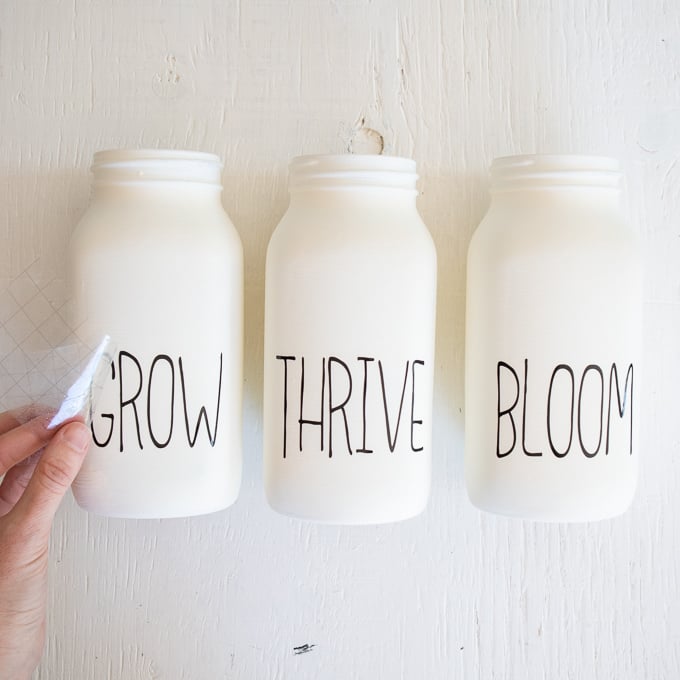
Cut a piece of transfer tape a bit larger than the size of the text.
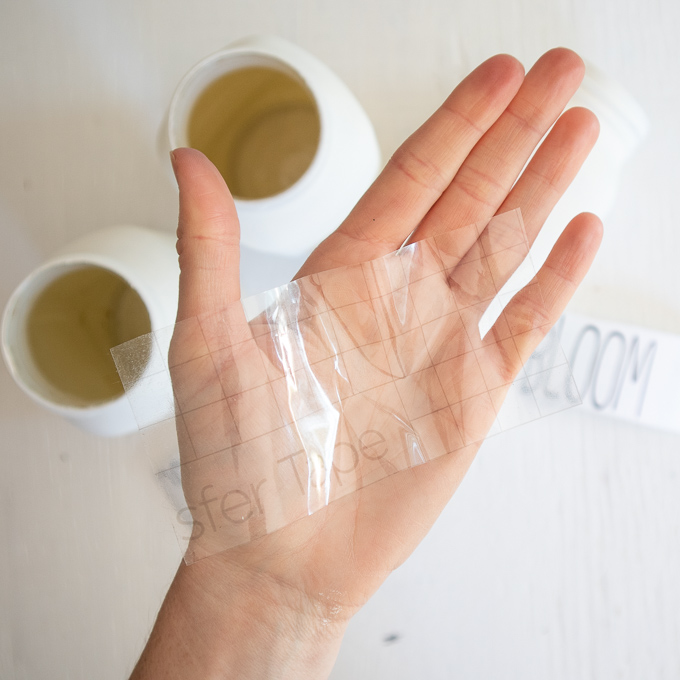
Peel away the transfer tape backing but ensure the transfer tape is not overly sticky. Dab the sticky side of the transfer tape with your hand to weaken the adhesive.
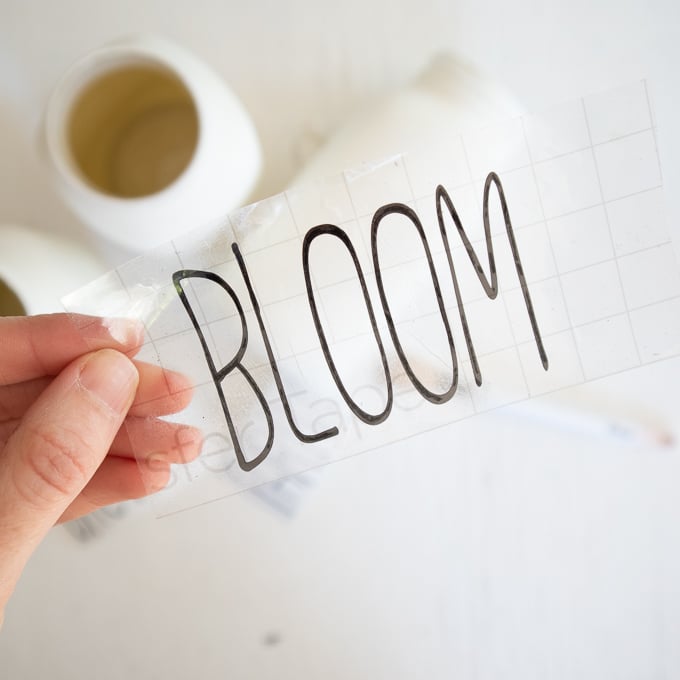
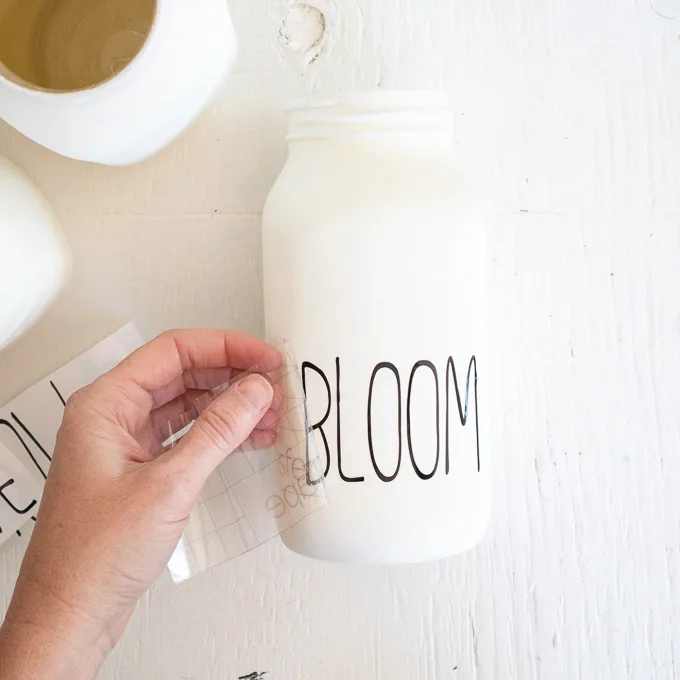
Place the transfer tape overtop of the cut word. Gently rub the vinyl to help it stick to the transfer tape.
Peel away the vinyl backing, leaving just the image adhered to the transfer tape.

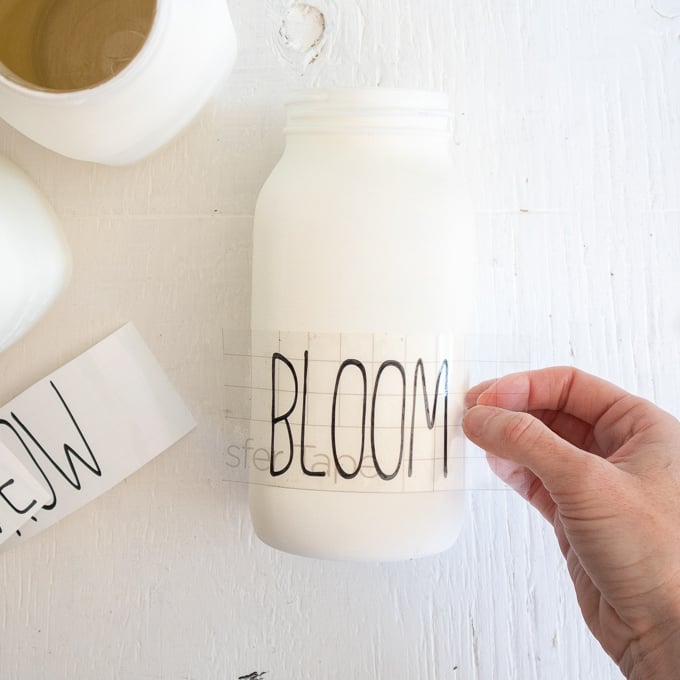
Position the phrase with the transfer tape on to the smooth side of a jar and press in place. Press the vinyl phrase down with your fingers to help it to stick to the painted glass jar.

Slowly and carefully remove the transfer tape leaving the vinyl image on the jar.
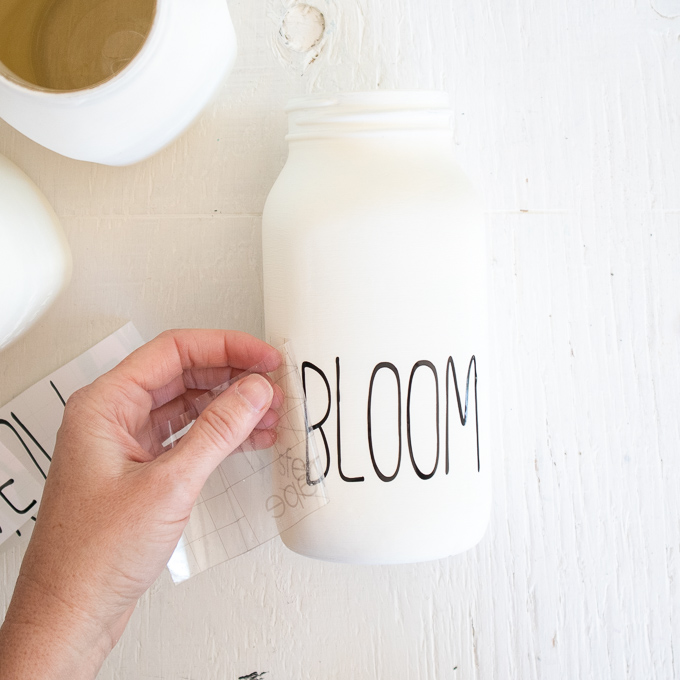
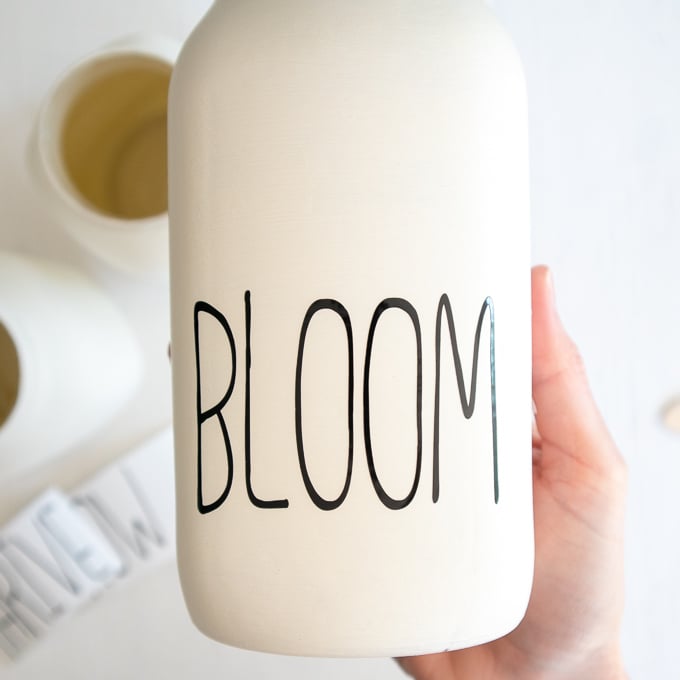
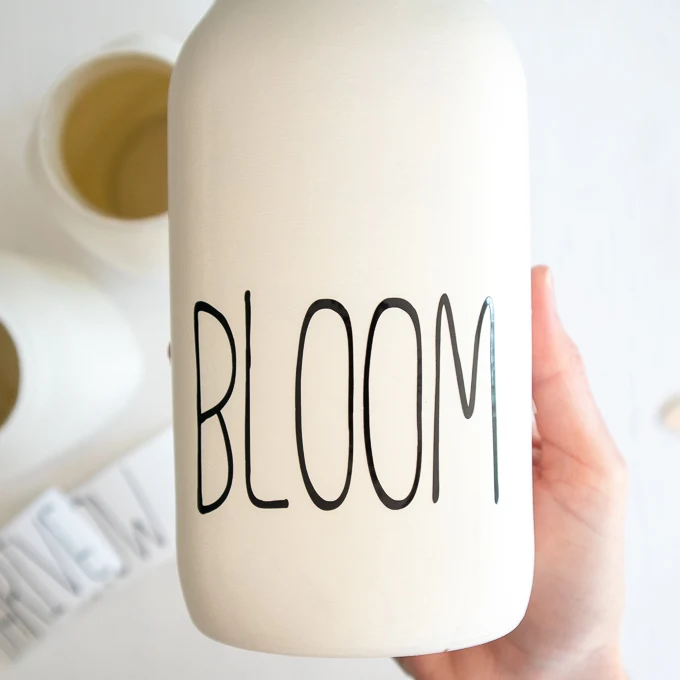
Repeat for the other mason jars.

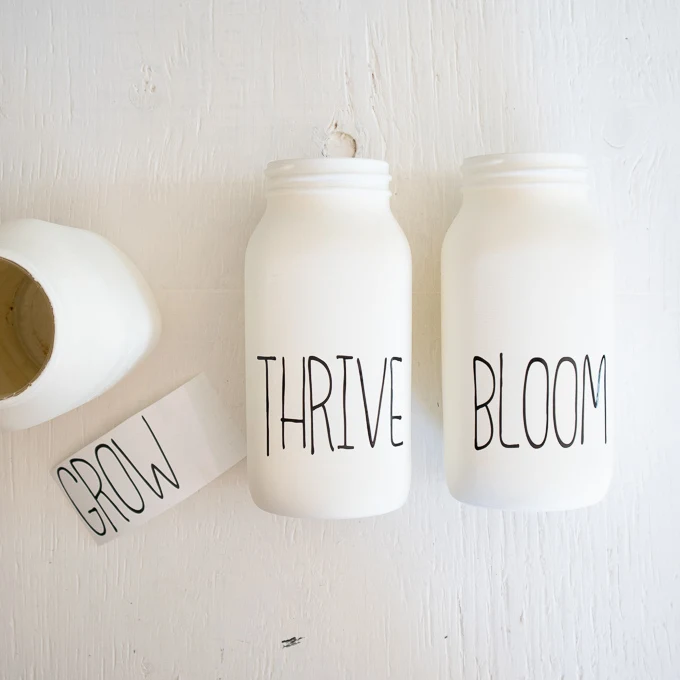

To finish, fill the containers with pretty peonies or other fresh flowers.

Looking for more Simple Mason Jar Flower Arrangements?
If you’re looking for more inspiration, take a look at this upcycled mason jar flower arrangement using hydrangea blooms.
Like it? Pin it for later!
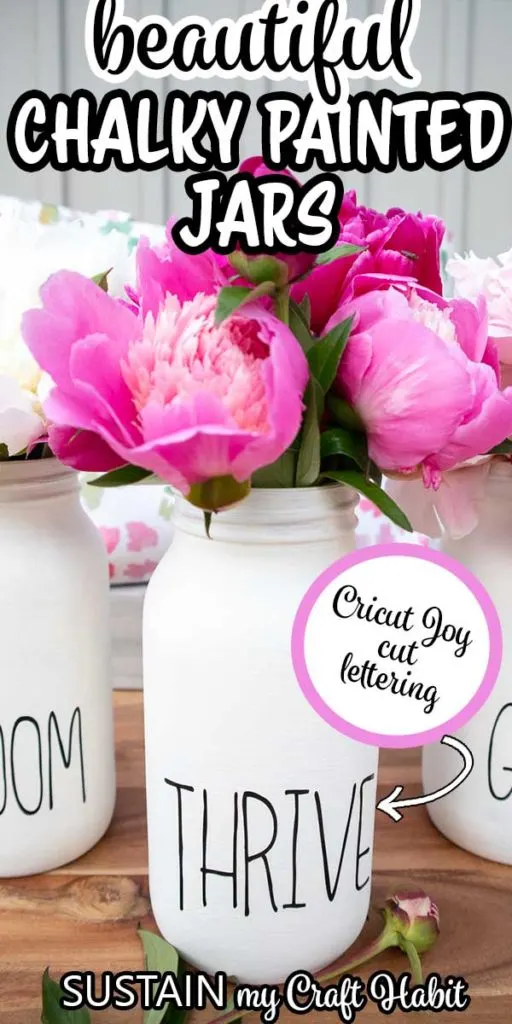

Pretty Chalky Painted Mason Jar Flower Vase
Materials
- Cricut Joy or Cricut Maker with Fine Point Blade
- Standard grip mat
- Cricut Premium Vinyl Permanent in black
- 3 Mason Jars lids removed 16oz
- Scissors
- Weeder tool
- Americana Chalky Finish for Glass in Lace
- Paintbrush
Instructions
Preparing the Jars
- Apply a thin coat of chalky finish paint to each of the mason jars.
Preparing the Vinyl Lettering
- On a blank canvas, select the text icon from the toolbar and type GROW.
- Change the font to “Little White Lies”. With the word highlighted, adjust the letter spacing to 0.7.
- Stretch the lettering by clicking on the lock symbol above the size section and adjusting the height to 1.7” while keeping the width the same.
- Next, click on the unlock symbol and adjust the word height to 2”.
- With the word highlighted, click on the “Weld” button.
- Complete the same for the other words: THRIVE and BLOOM.
- Select “Make It” in Design Space.
- Follow prompts for loading the mat into the Cricut Maker or Cricut Joy and cutting the Premium Vinyl. Remove the Premium Vinyl from the mat when done.
- Cut around each word with a pair of scissors. Using the weeding tool, peel away the excess vinyl around the cut images and discard.
Assembling the Jars
- Cut a piece of transfer tape a bit larger than the size of the text.
- Peel away the transfer tape backing but ensure the transfer tape is not overly sticky.
- Place the transfer tape overtop of the cut word. Gently rub the vinyl to help it stick to the transfer tape.
- Peel away the vinyl backing and position the phrase with the transfer tape on to the smooth side of a jar and press in place.
- Slowly and carefully remove the transfer tape leaving the vinyl image on the jar.
- To finish, fill the containers with pretty peonies.